
Salt Painting for kids- this art project is such a blast! Watch the watercolor travel and be amazed!
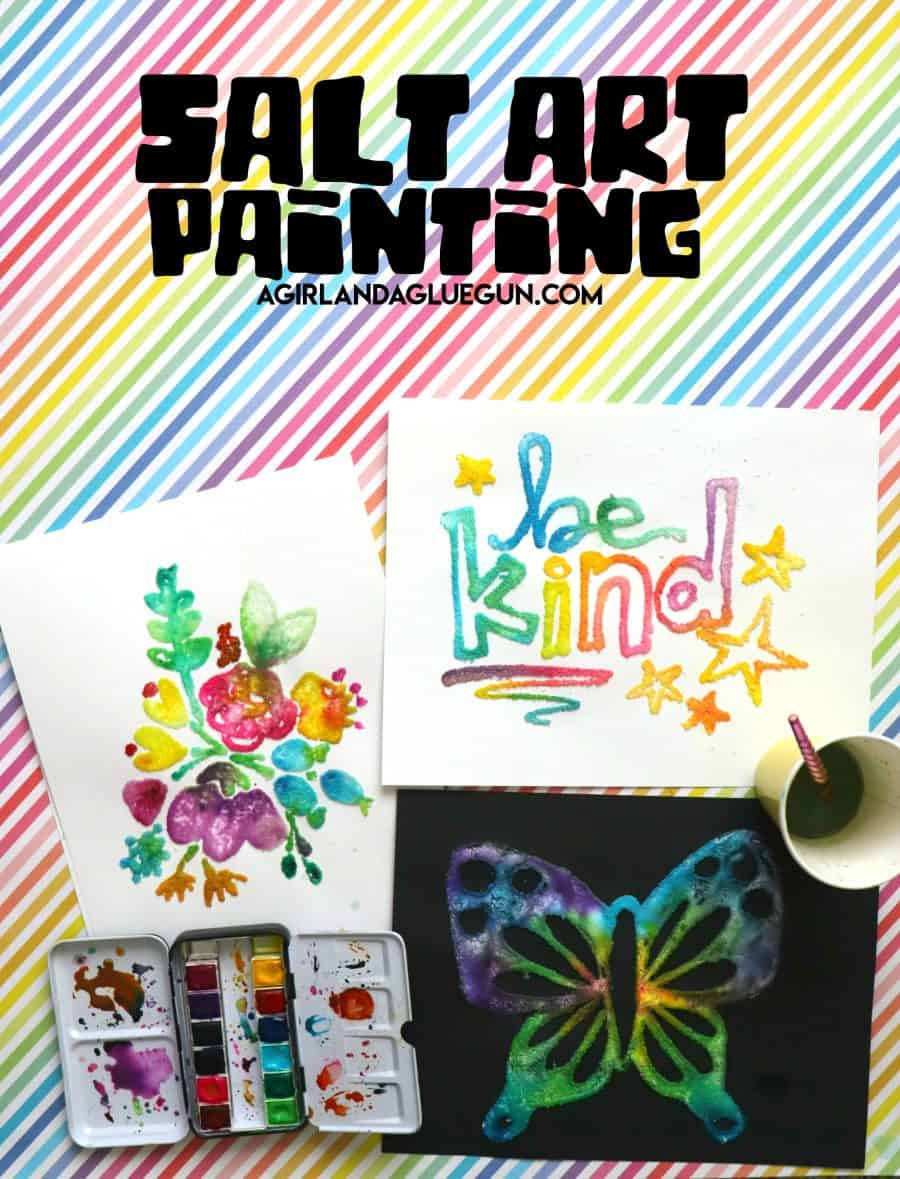
If you need a kids craft that includes items you probably already have on hand- then this one is it! Kids will love watching the watercolor spread through the salt! And realistically, it’s like two crafts in one: Drawing with glue, and then adding the paint!


If you are looking for more awesome ideas to do- You have GOT TO TRY THIS watercolor hack. and HOT ROCKS is literally the most satisfying thing ever.
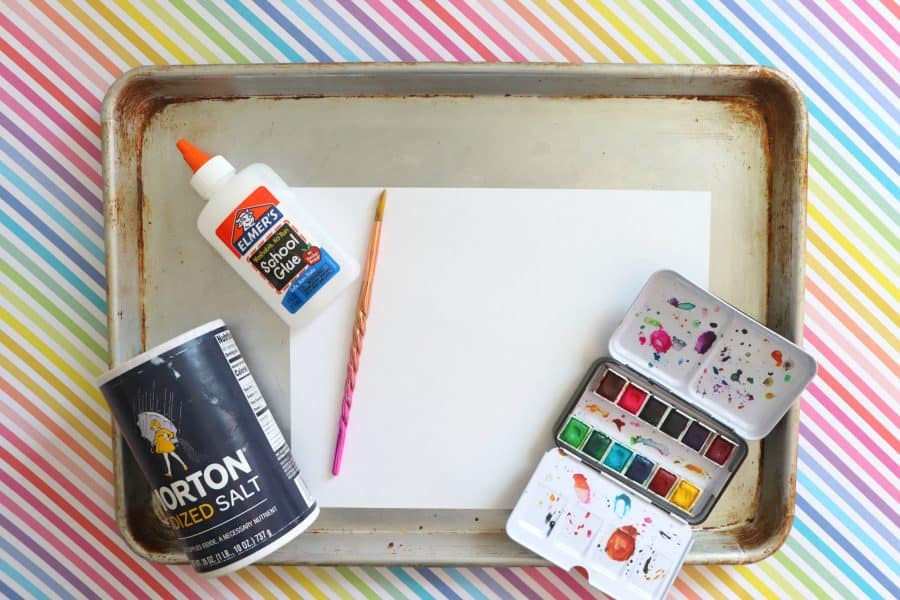
Supplies you need or Salt Art
- glue
- table salt
- cardstock
- watercolor (or food coloring mixed with water)
- paintbrush or eyedropper
- cookie sheet- totally optional but keeps the salt from making a huge mess
How to make Salt Painting
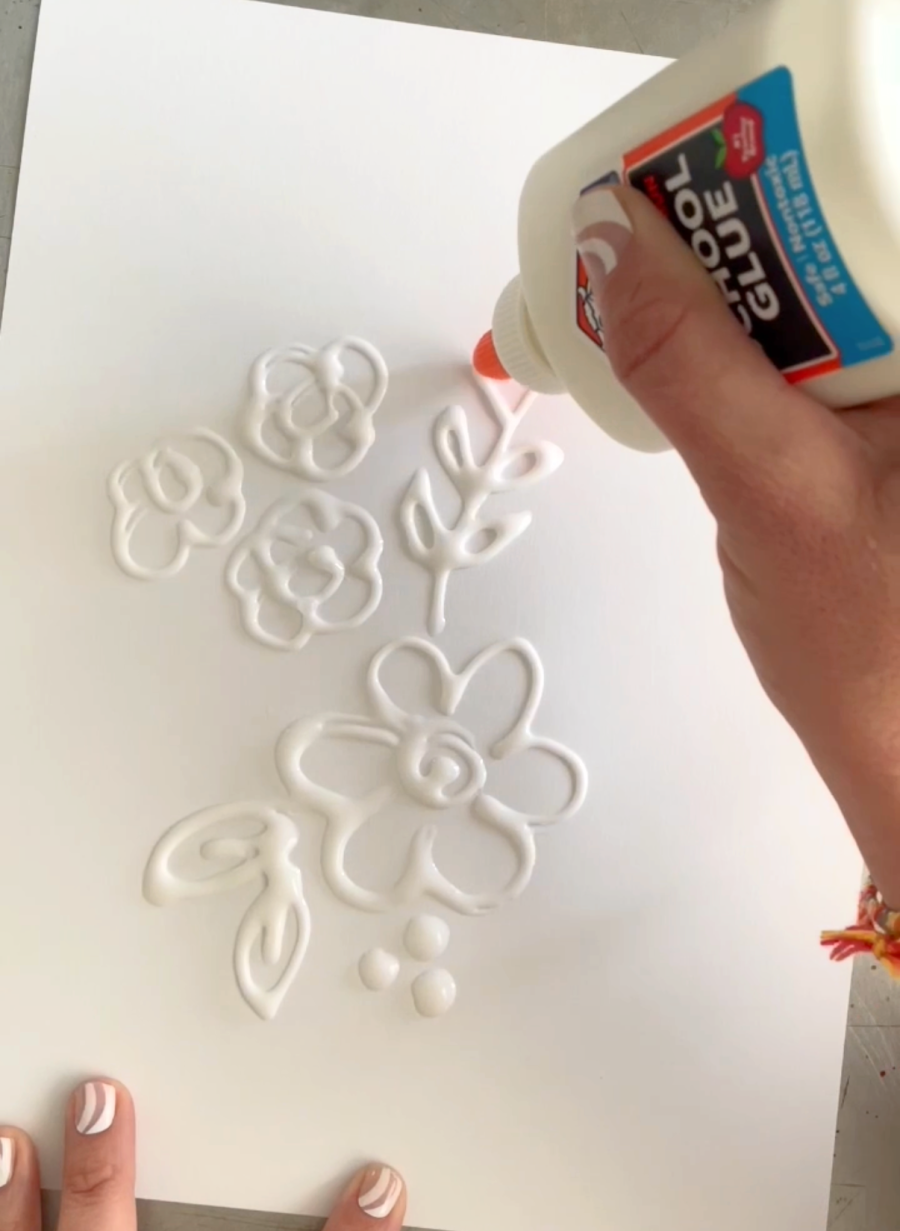
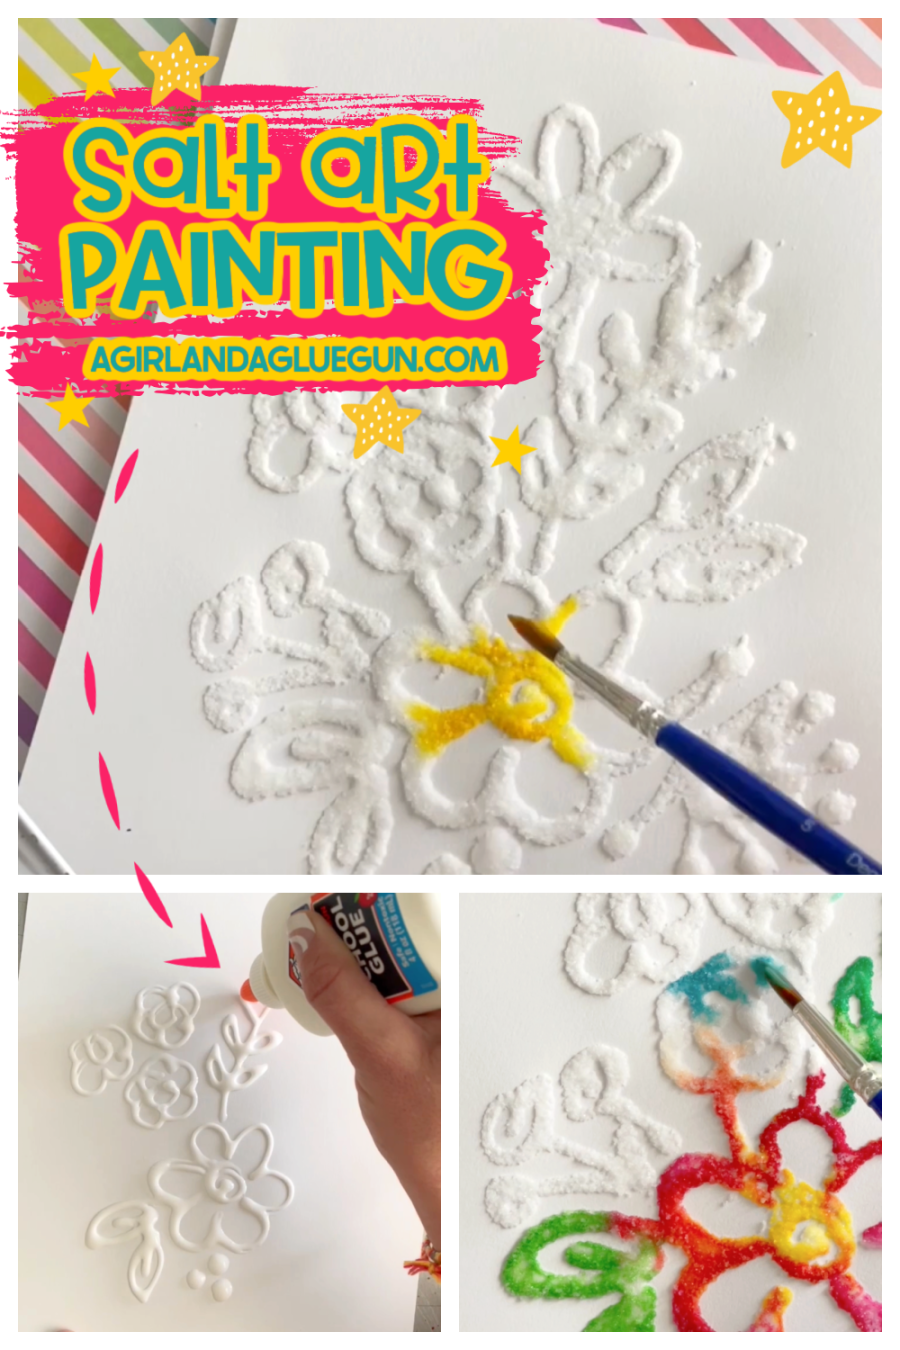
Step 1:
Draw a pretty picture with glue! Don’t be too crazy with it- It will take forever to dry. If you need help trying to figure out what to draw- check out my drawing prompts.
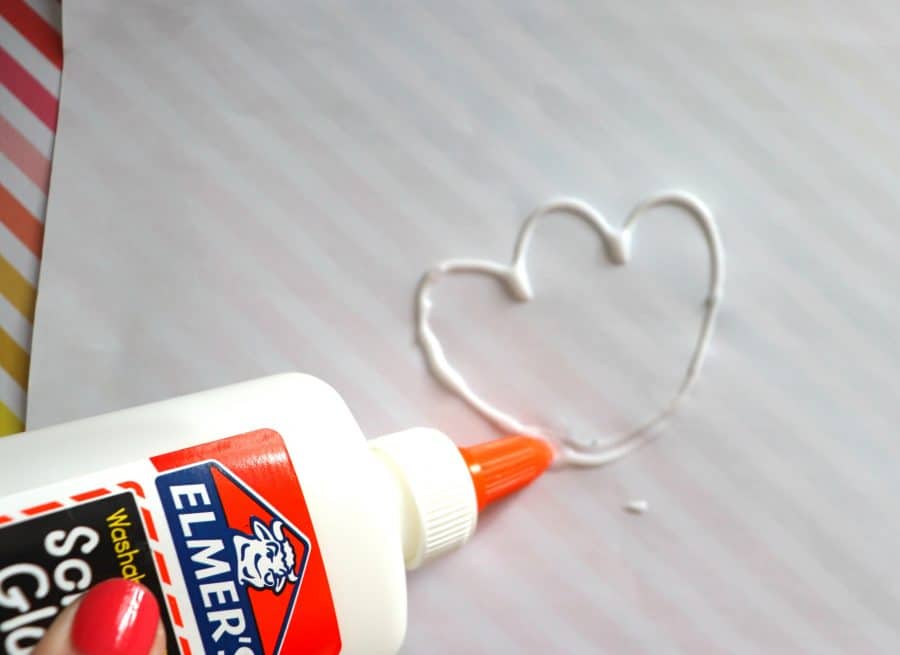
You can also print out a picture and place it underneath and trace it.
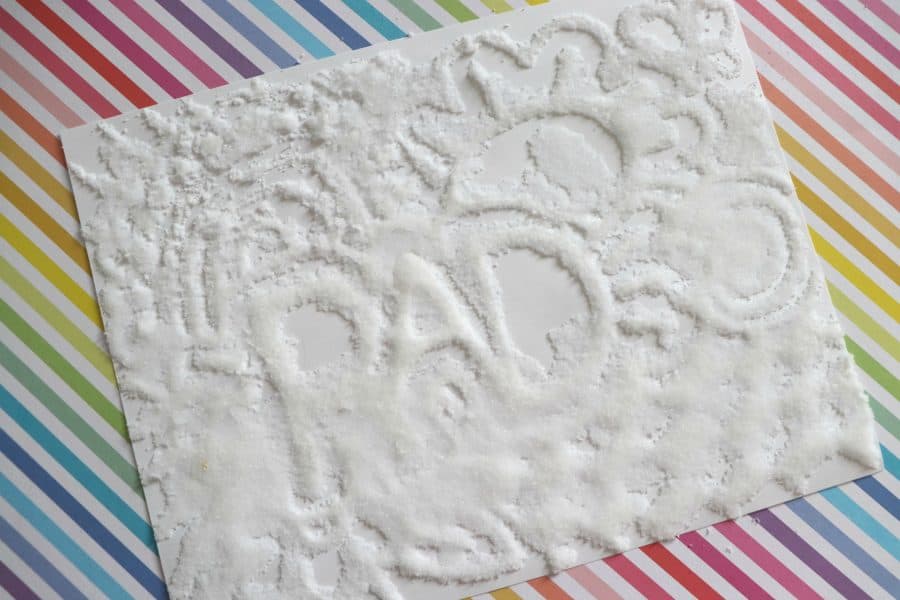
Step 2:
After you are done, sprinkle salt over the whole glue design!
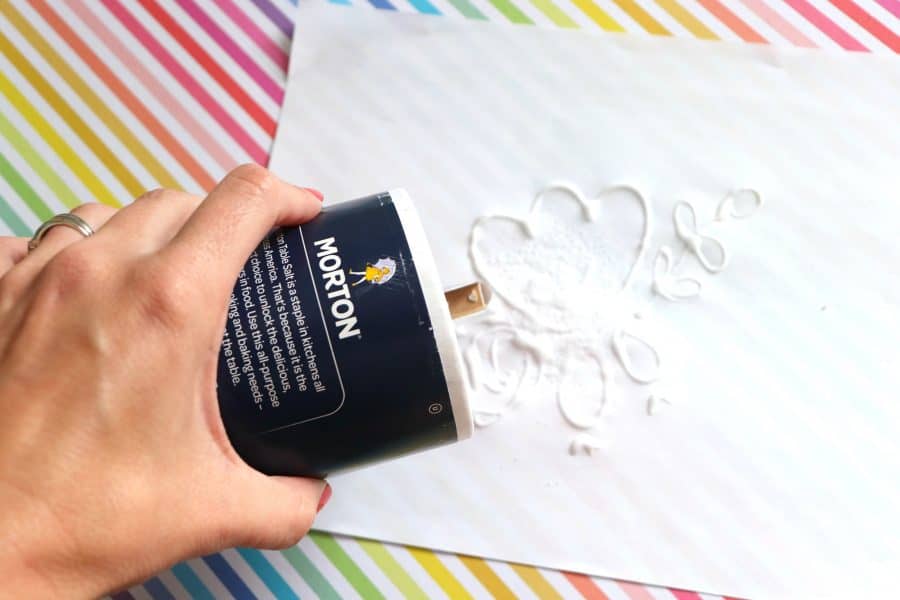
Immediately shake off the excess salt.
I tried letting the salt sit and it expanded!
You can reuse this salt for other pictures- but not for eating! I shake off on a cookie sheet to catch any of the excess salt!
Step 3:
You have two options here. You can let the glue dry OR start adding watercolor immediatly!
I tried both to see if there was a difference and realistically, the watercolor spread about the same.
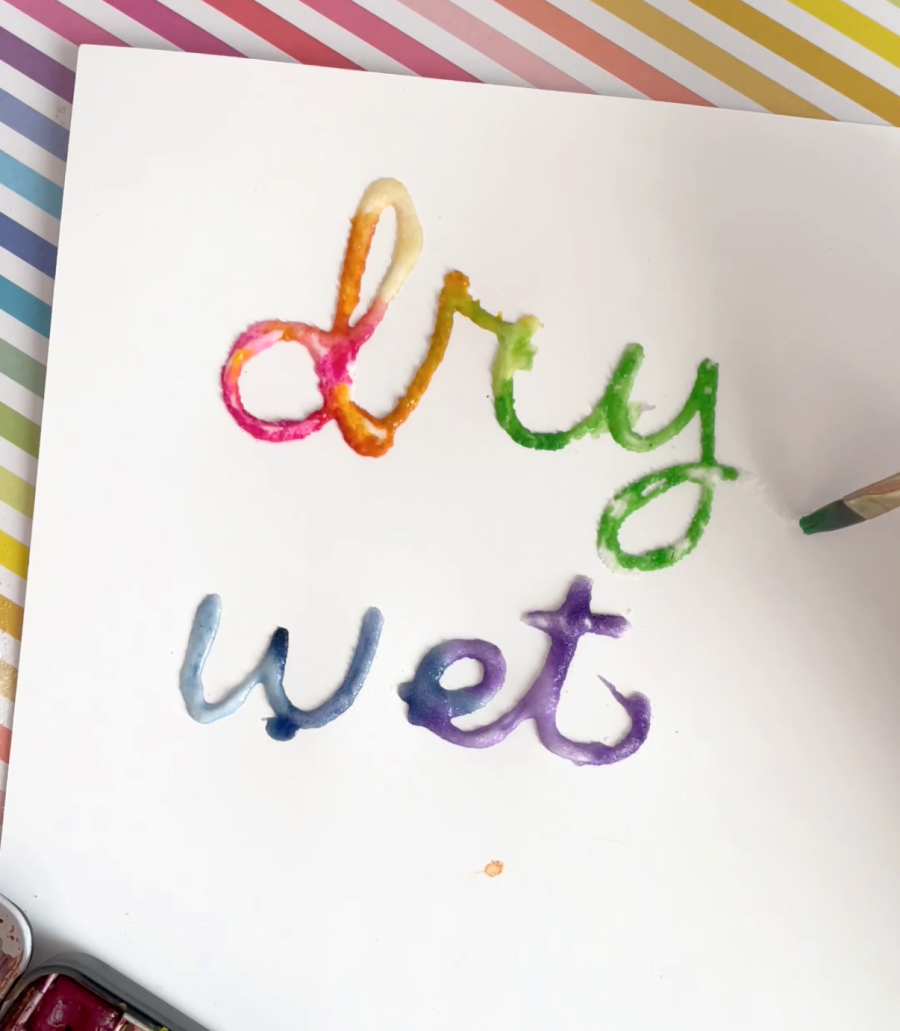
If your kids are impatient and wanting to get going, start painting right away. If the glue drawings took a lot of time and patience, save the watercolor for another day!
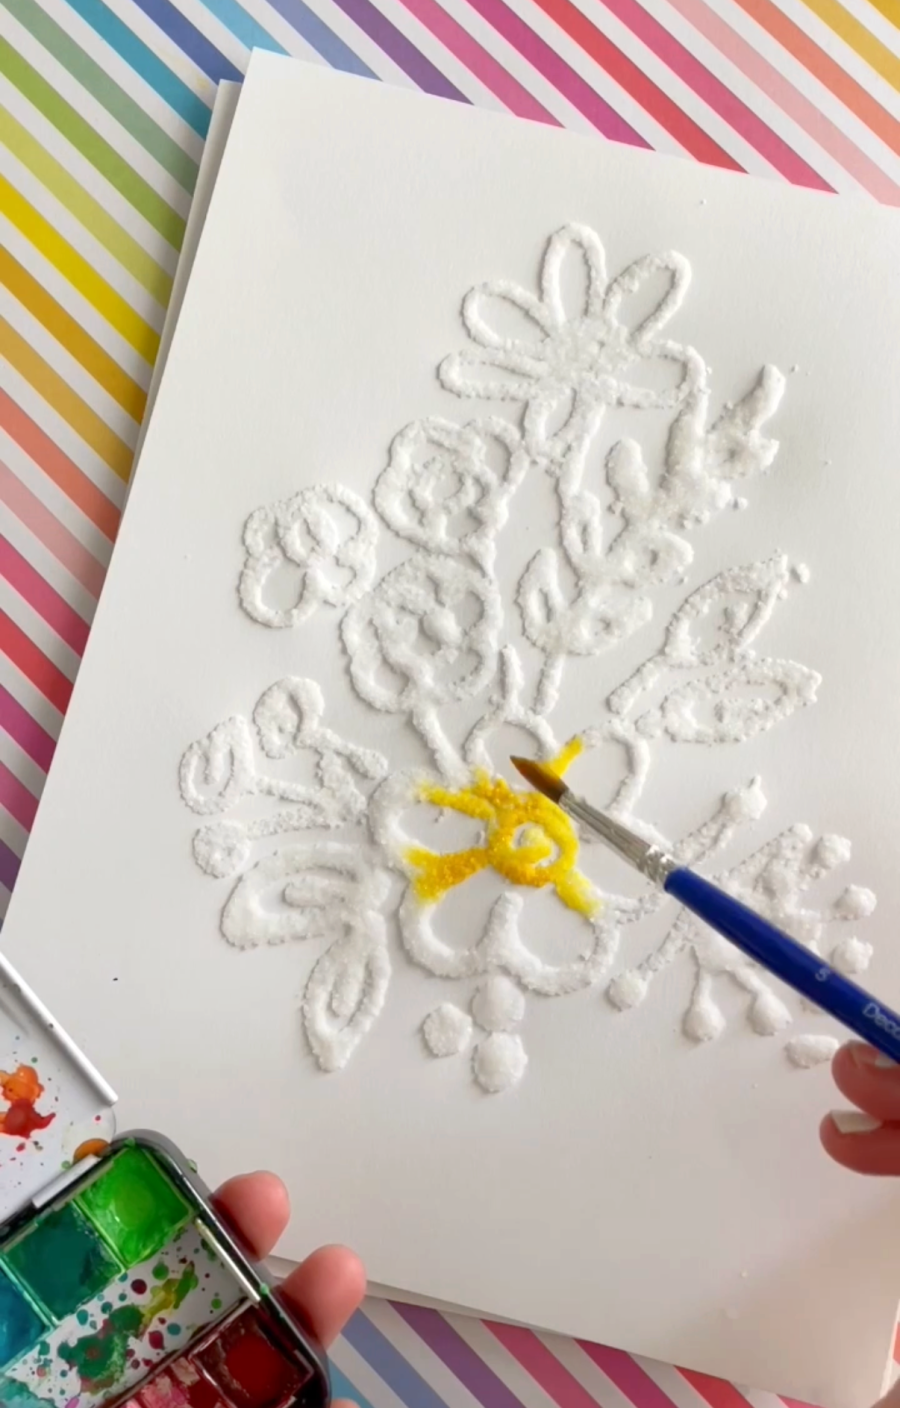
Step 4:
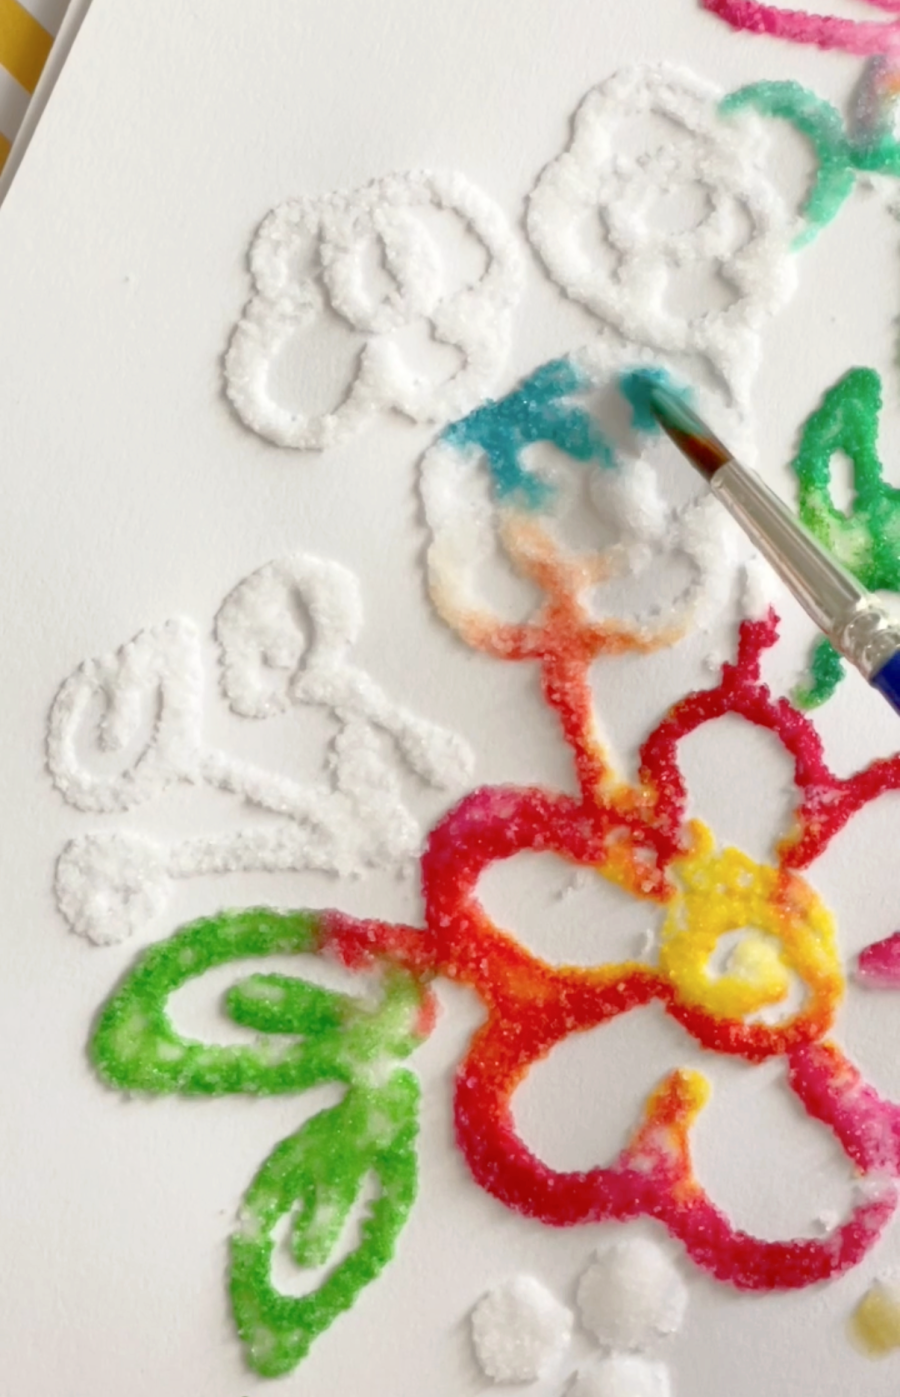
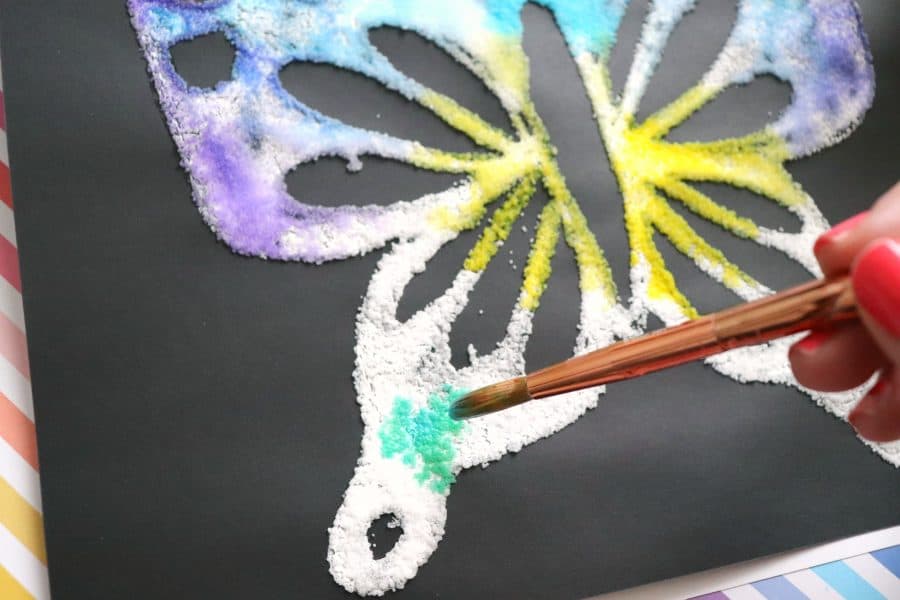
Grab your watercolor palette and spritz it with some water to get it flowing. You can also put some food coloring in water. We used a paintbrush to pick up the color and place it on the salt/glue.
When you touch the salt- the paint spreads like magic. It’s so cool to watch!
You could use an eyedropper as well!
Step 5:
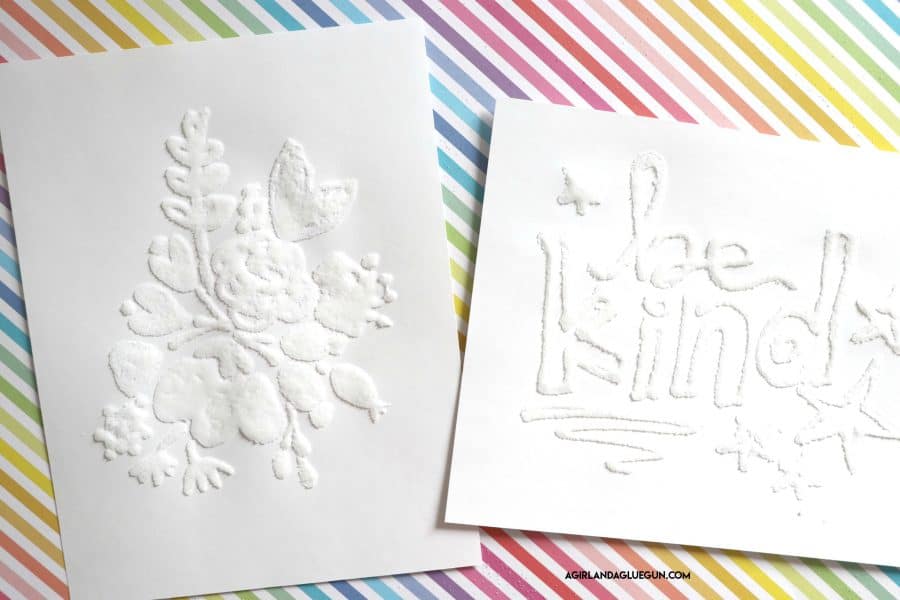
Let dry completely.
You will want to handle these pictures with care. After they dry, you will get some glue/salt that breaks off. It’s fine when it’s hung up but if you are touching it and rubbing against it, it will flake off!
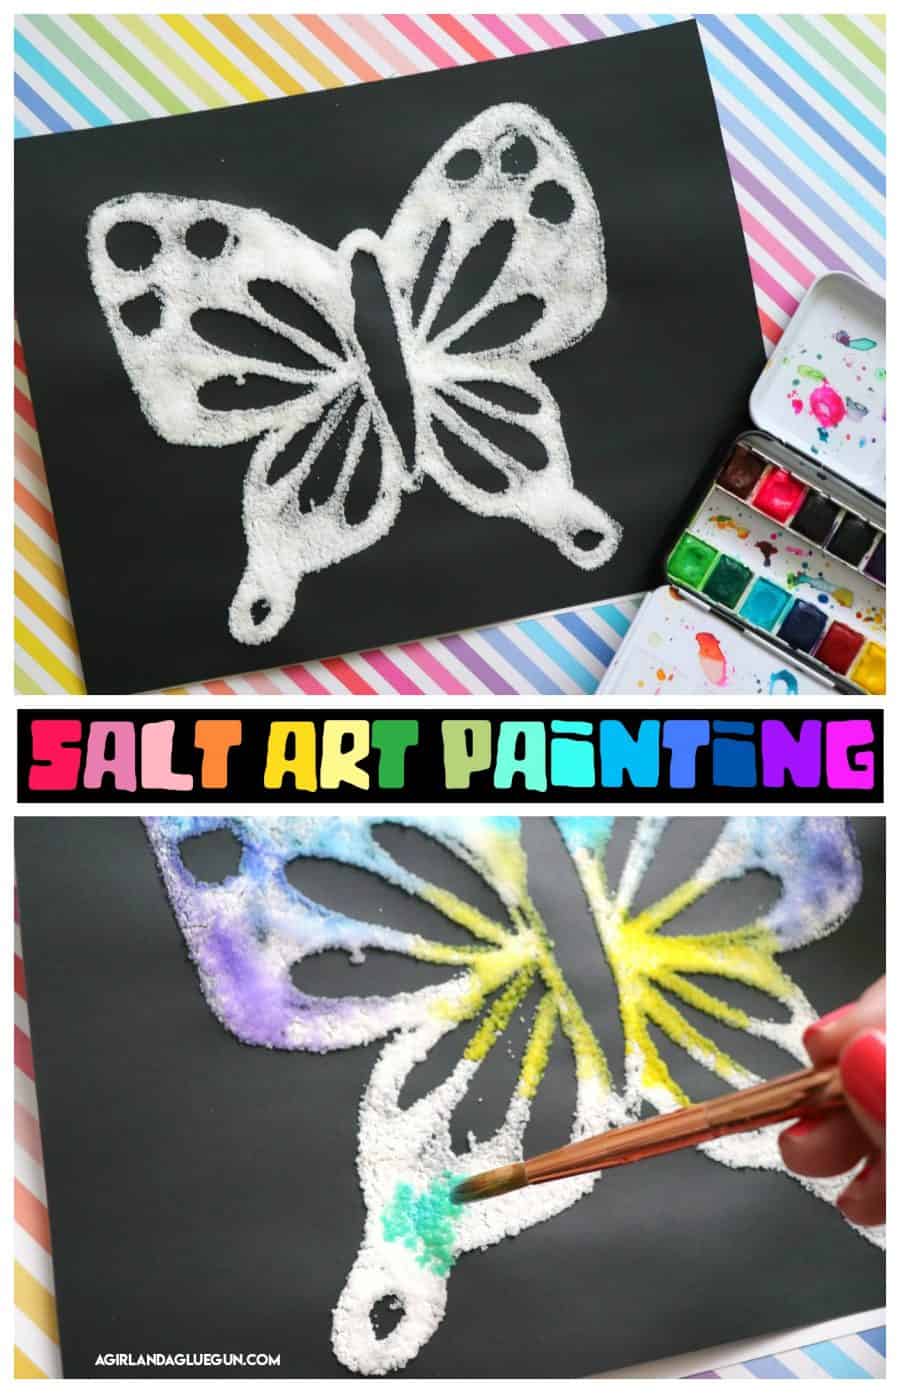
Variations to try:
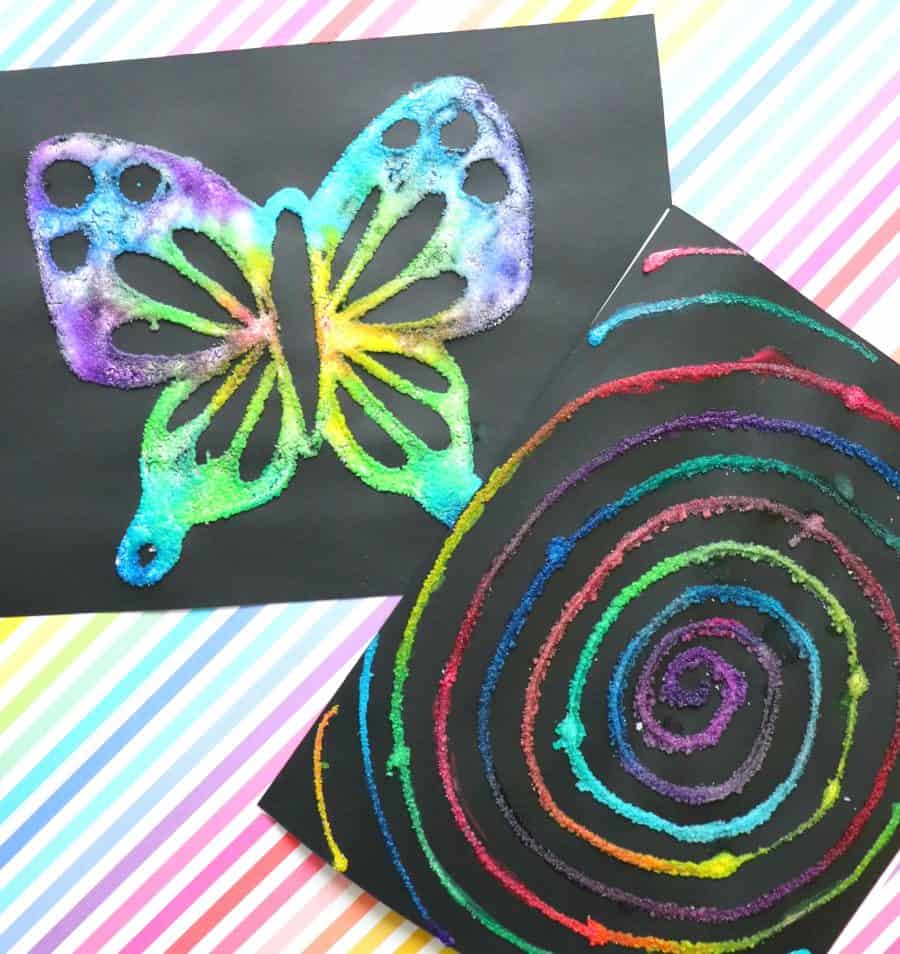
I tried it out on black paper as well and it worked the same!
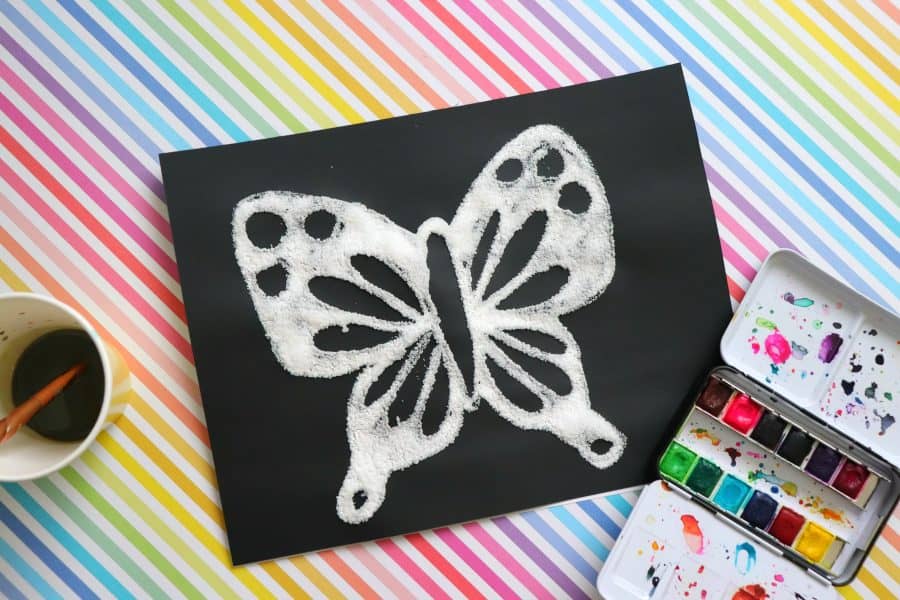
The colors really popped! It also might be easier for little kids to see where to put the paint versus white on white!
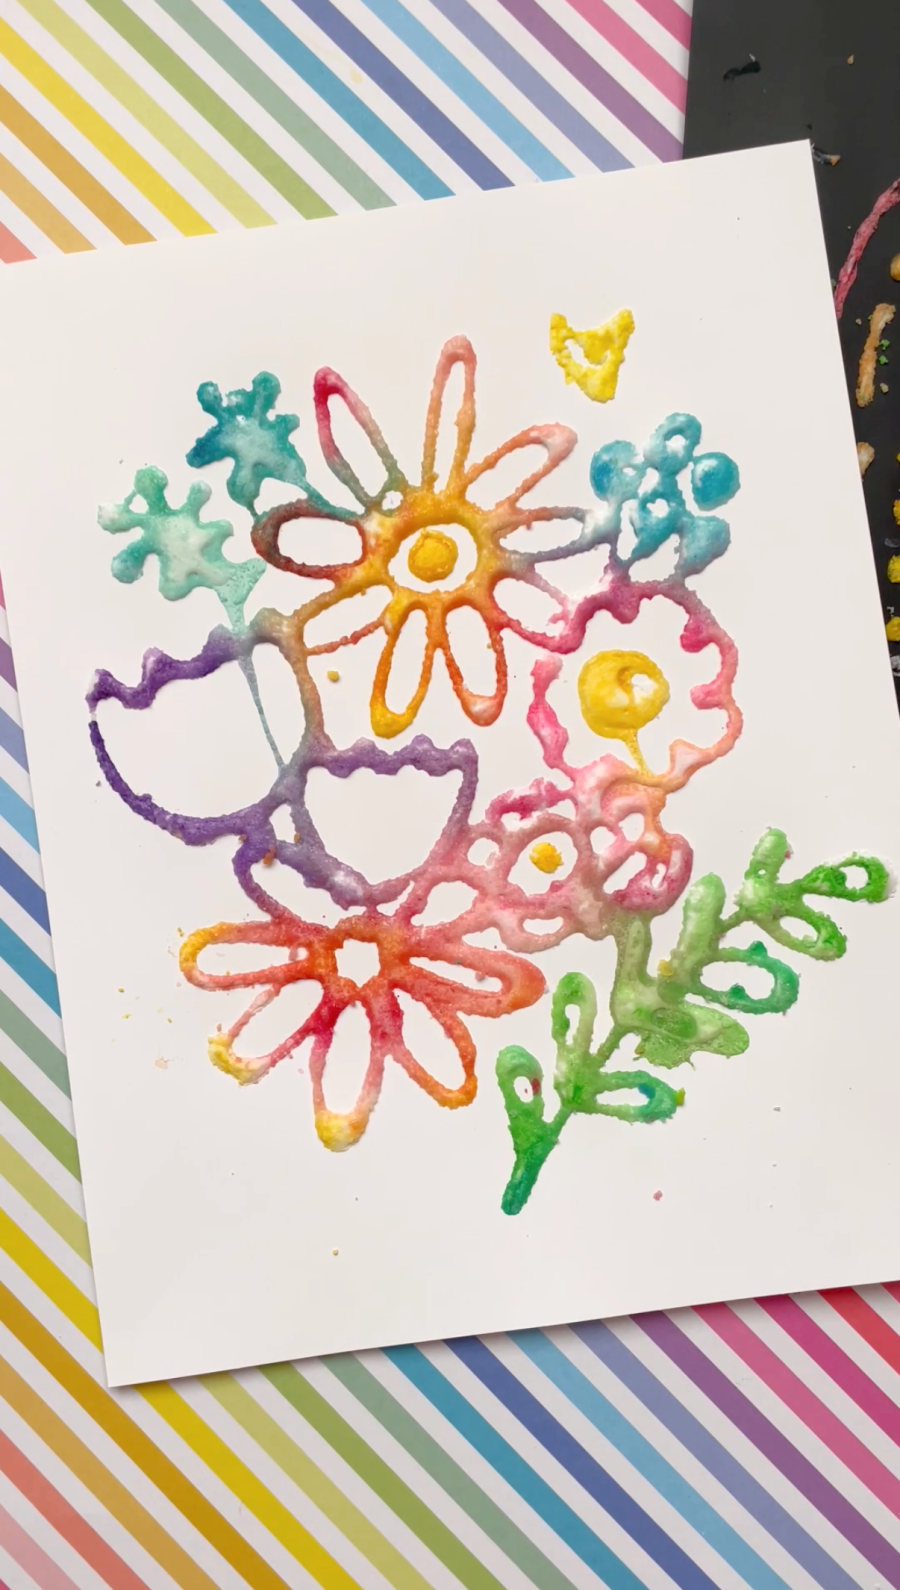
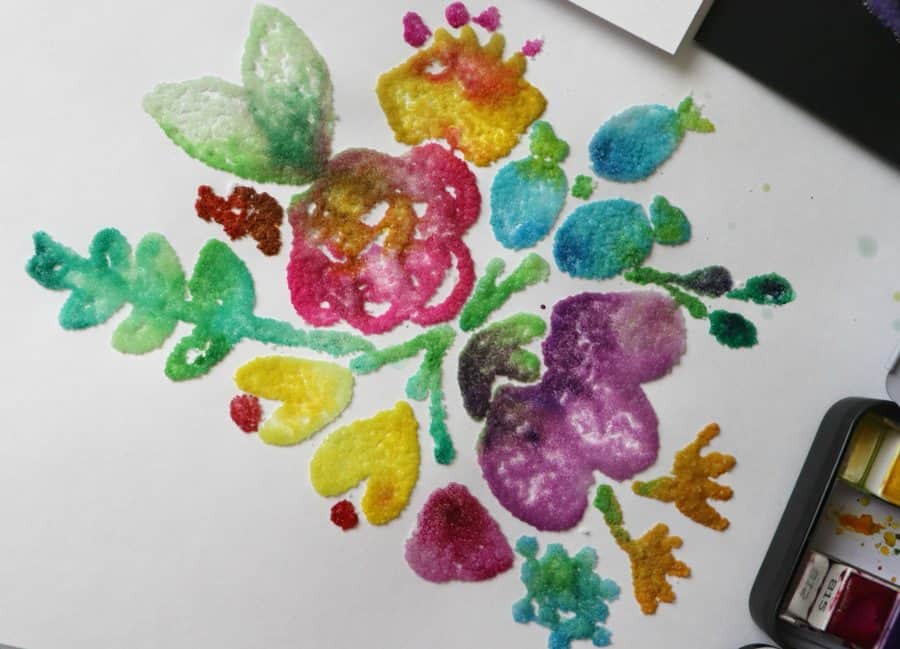
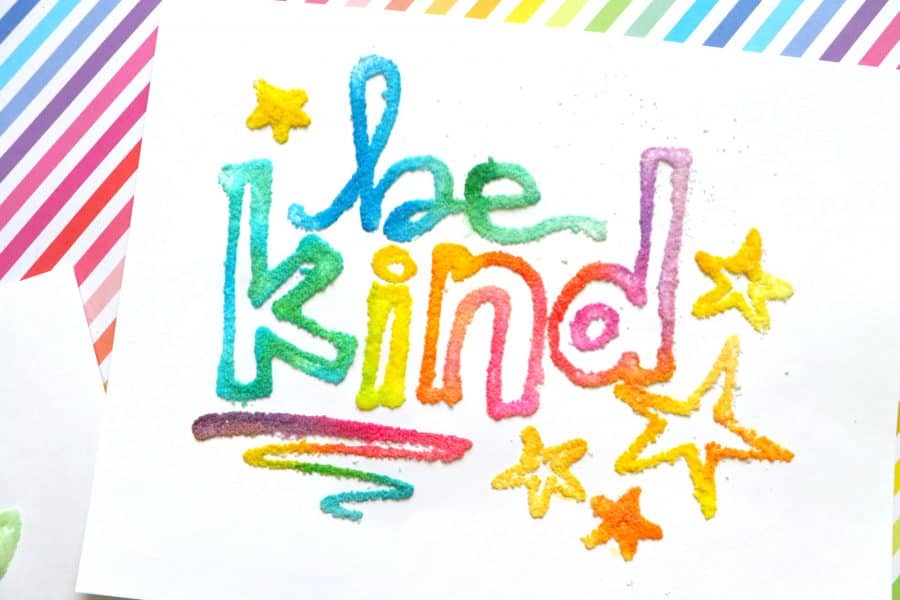
Here are some finished products!
Check out this video to watch the fun process of salt painting for kids (and adults! (and go ahead and follow me on agirlandagluegun)
Save for later
Too busy to get crafting today? No problem! Pin this post to remind yourself about this project later! Sharing my projects helps me reach more people, allowing me to continue sharing free content!
The BEST kid crafts and activities
and when I say kids, I mean kids of all ages!
- black glue art
- salt art
- hot rocks
- Yarn bracelets
- DIY window clings with puff paint
- Play dough activity mats
- Melted crayon art
- magic wallet
- Learn to make black scratch paper
- Melted Crayon Suncatcher
- Pressed Flowers Jar
- Bleeding Tissue craft
If you are looking for more fun kids’ crafts- my craft camp has two weeks full of fun projects that you will love to do as well!
Debbie stoops Stoops says
Awesome my 7yo granddaughter wants to do crafts as soon as she comes to stay and this will be something she’ll love. Thank you
Katherine Bacon says
Love this . I will be doing this with granddaughter this weekend.
Donna says
My granddaughter loves crafting!
Deanna Jenkins says
I’m a watercolor it’s, but I love to craft. I’m definitely going to try this.