
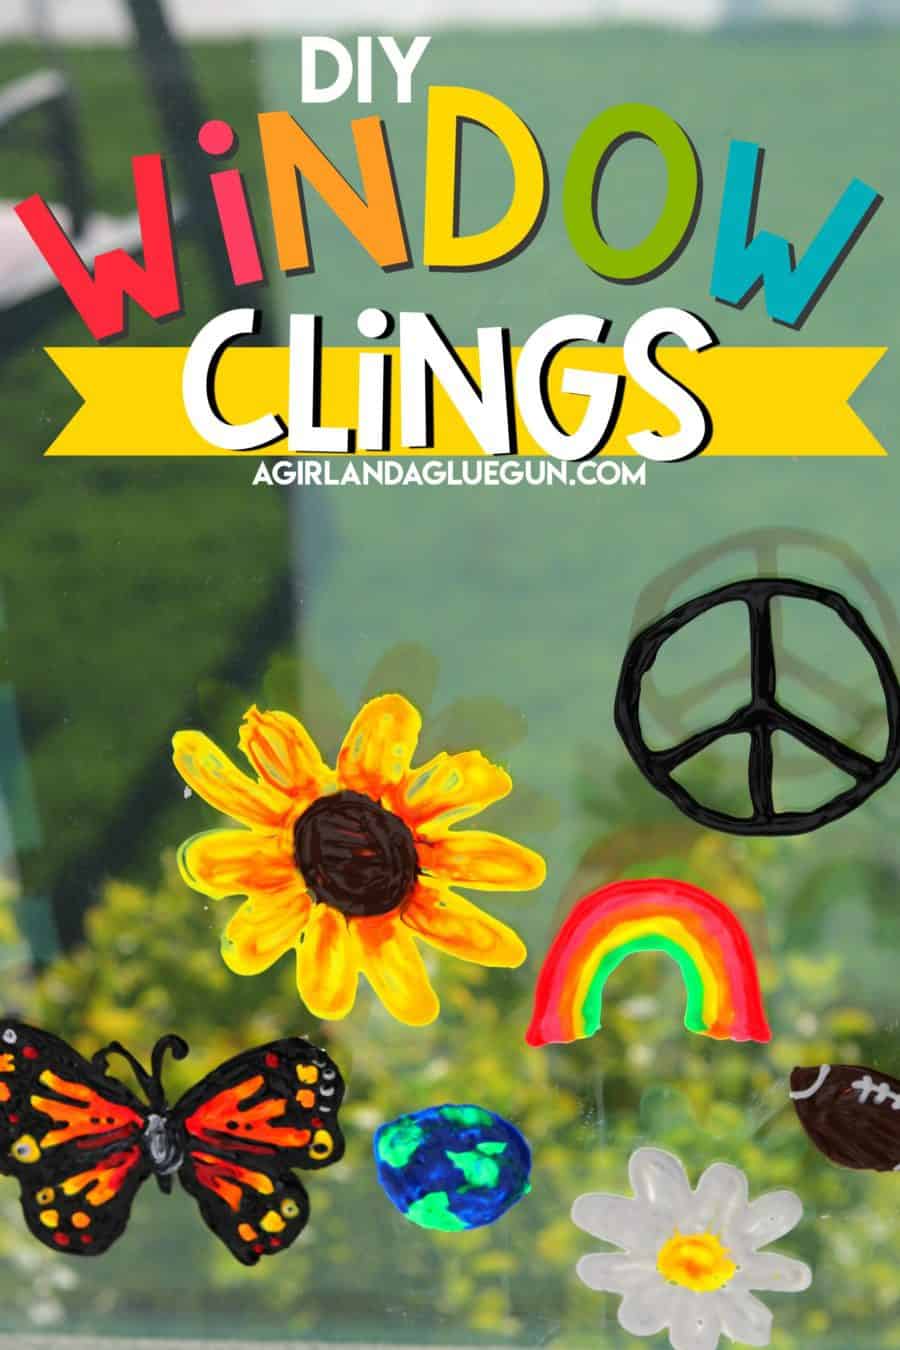
Did you know you could DIY your own window clings? Well, you can. and your windows will never be prettier! Grab some fabric paint and let’s make some!
DIY window clings are so much fun to make! So much fun in fact that we pretty much used ALL the fabric paint we bought! It’s such a quick and easy way to get your creative juices going without having to gather up tons of supplies or making a giant mess!
Supplies to make your own Window clings
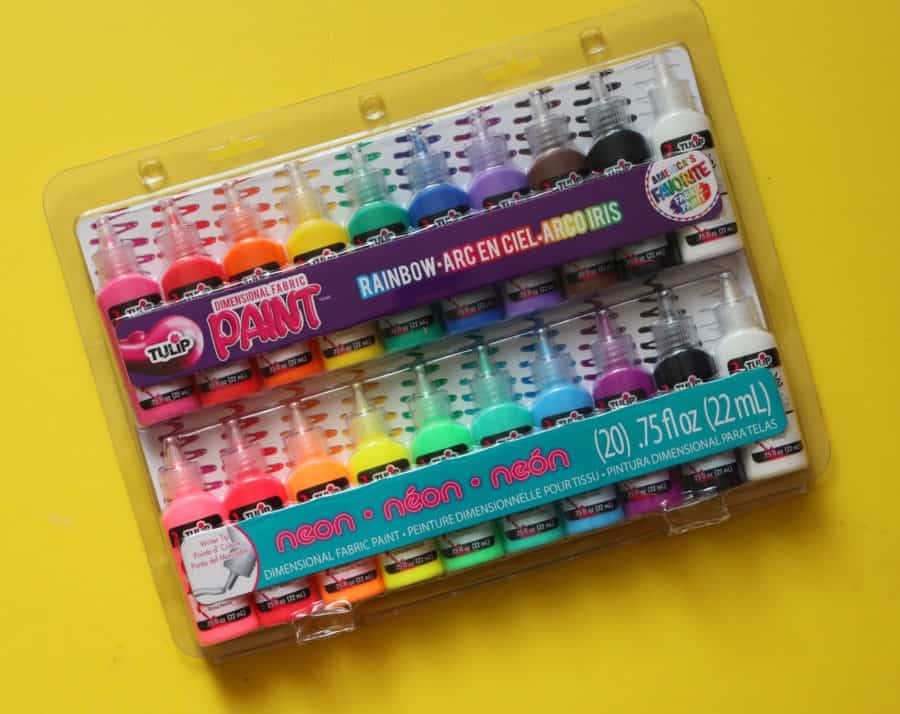
- Dimensional fabric paint
- Glow in the dark fabric paint
- plastic baggie (or parchment paper)
- printables to trace over (optional)
How to make window clings
So there isn’t too much to these tutorials. You will draw with the fabric paint basically like you would a marker.
What to draw on
I tried 3 techniques-
1. Wax Paper
The wax paper wouldn’t release the paint.

2. Parchment paper
The parchment paper wrinkled the designs as they dried.
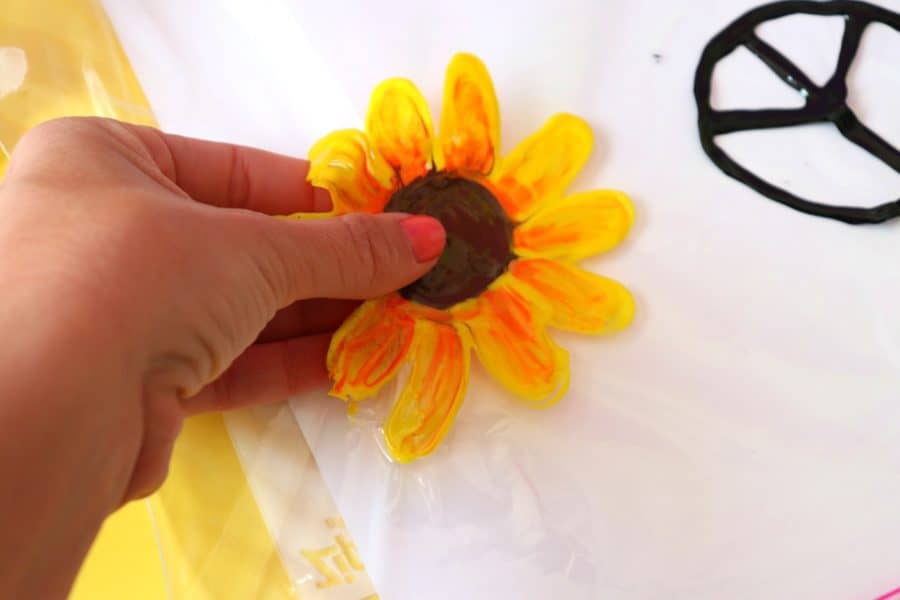
3. Plastic Baggie
A gallon-sized plastic bag worked perfectly for this project!
Someone on Instagram suggested putting the paint on the glass from a frame!
Draw the clings
Slip a piece of cardstock paper to help keep its shape and to see your doodles a little better.
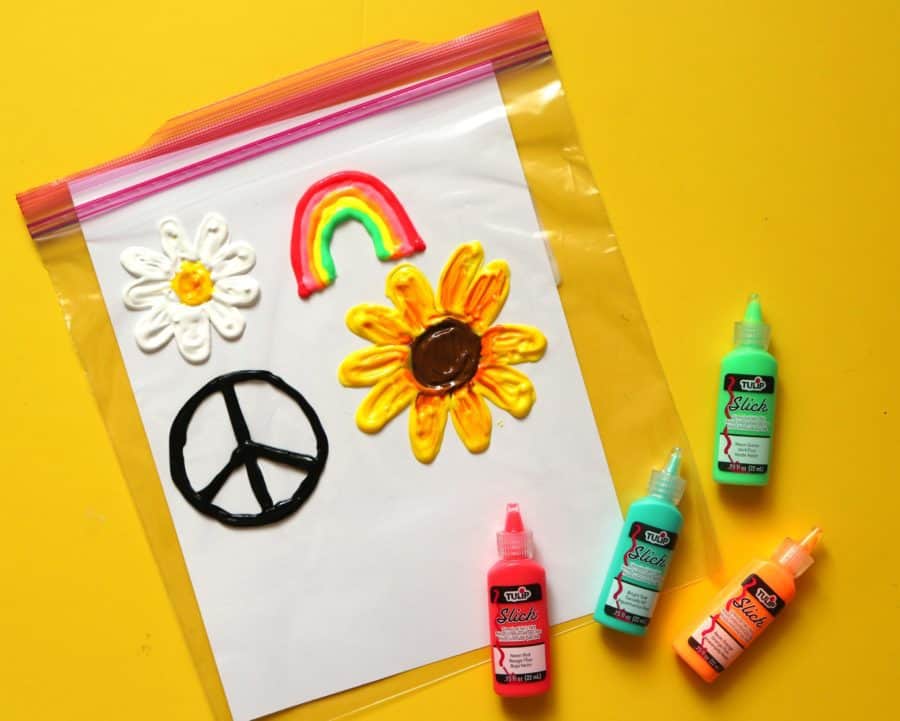
You can also slip in a tracing sheet if you don’t want to freehand.

Then just draw with the fabric paint like you would a marker!

Tips and tricks to drawing the best window clings
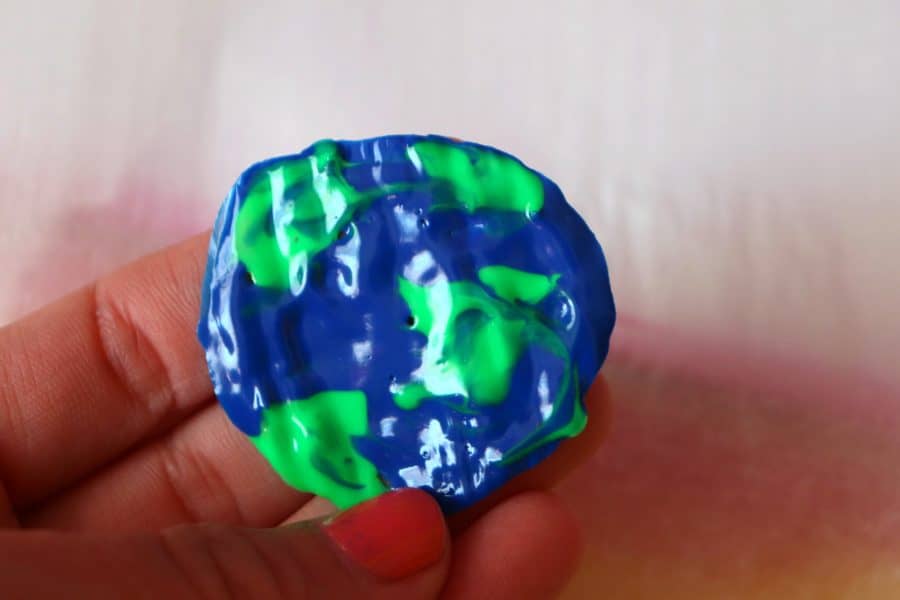
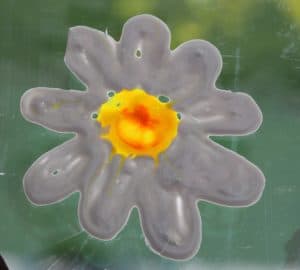
- It won’t “settle” you will see the bumps and ridges after it dries.
- Place it on thick! You won’t want holes or gaps of the paint.
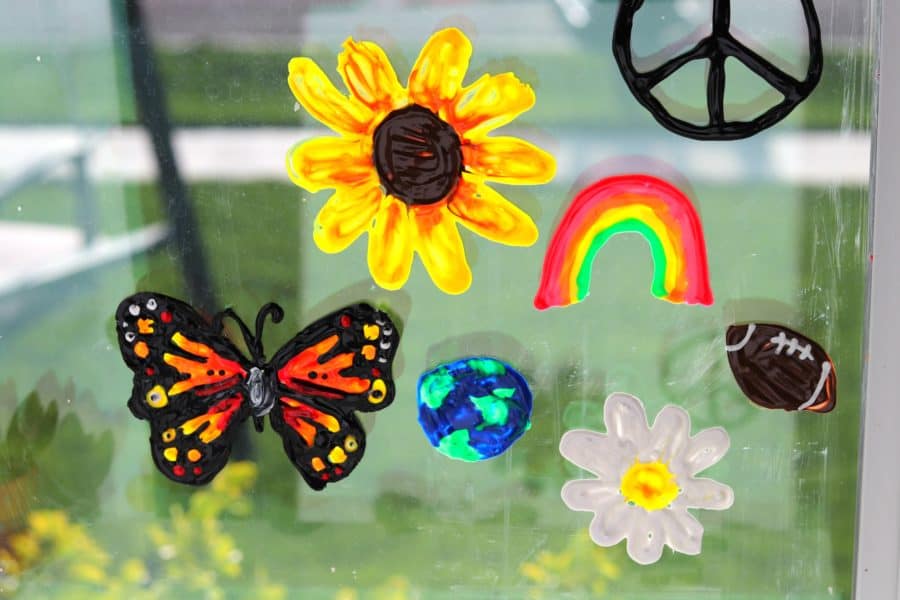
- Try to do a solid design. The peace sign was really flimsy (I mean, I made it work and it stuck on the window fine) but it can be tricky! If you are going to write your name- make sure it has nice bold and thick outlines!
Let Dry
These window clings take a 24 hours to dry! You can speed up the process by putting it in the sunshine. But I tried to peel them up after 12 hours and they were still wet in spots! It also depends on how thick the paint is! But just plan on 24 hours to be safe.
Apply to window
These window clings are funny- sometimes they are difficult to pull up off the plastic baggie. But literally, I can go to the opposite side and pull it off nice and easy! So if any pieces stick, just got at a different angle.
And then press onto a window!
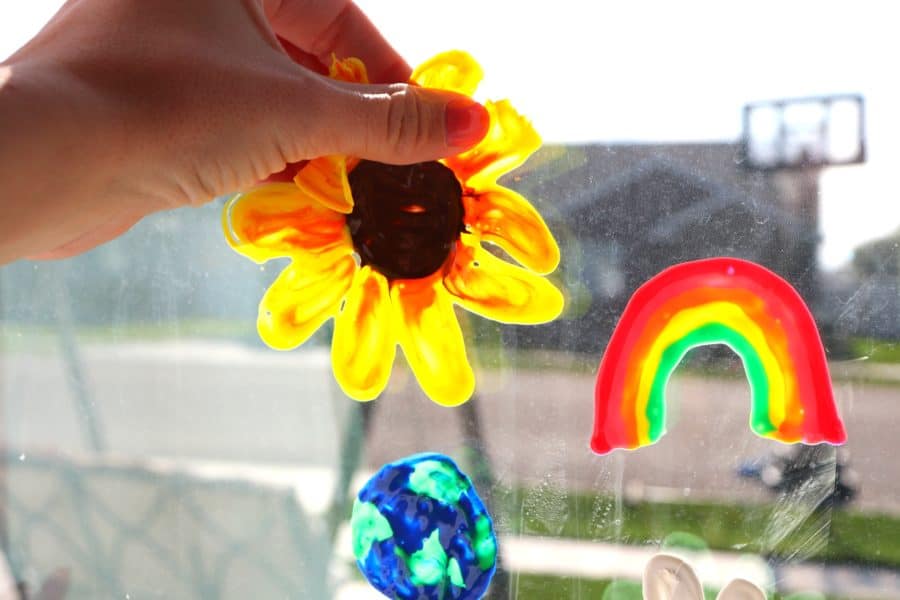
You can also apply these to a glass on a frame, a glass candle votive, or a cup!
Halloween window clings
Taking these a step further-We decided to make a Halloween version- with glow-in-the-dark fabric paint!
I created Halloween clipart to use for this!


Look how much these glow in the dark!

Save for later
Too busy to get crafting today? No problem! Pin this post to remind yourself about this project later! Sharing my projects helps me reach more people, allowing me to continue sharing free content!

The BEST kid crafts and activities
and when I say kids, I mean kids of all ages!
- black glue art
- salt art
- hot rocks
- Yarn bracelets
- DIY window clings with puff paint
- Play dough activity mats
- Melted crayon art
- magic wallet
- Learn to make black scratch paper
- Melted Crayon Suncatcher
- Pressed Flowers Jar
- Bleeding Tissue craft
If you are looking for more fun kids’ crafts- my craft camp has two weeks full of fun projects that you will love to do as well!
You have to check out my kids craft camp for more fun craft DIYS!

Leave a Reply