
No art skill needed to create this totally fun craft- Learn how to create gorgeous watercolor knockoff pictures with markers!
Fair warning–this craft is so darn easy and cheap and you will create way more watercolor things than you even know what to do with!!!
Right before we went on our camping trip–I stumbled upon this watercolor hack video from It’s Always Autumn. So I threw in the supplies before we left because I already had all of them around the house. When we had some down time to craft, I pulled out the supplies, gave a brief tutorial and let everyone create! They ended up creating for hours! It’s so fun and easy and can make such different results each time!


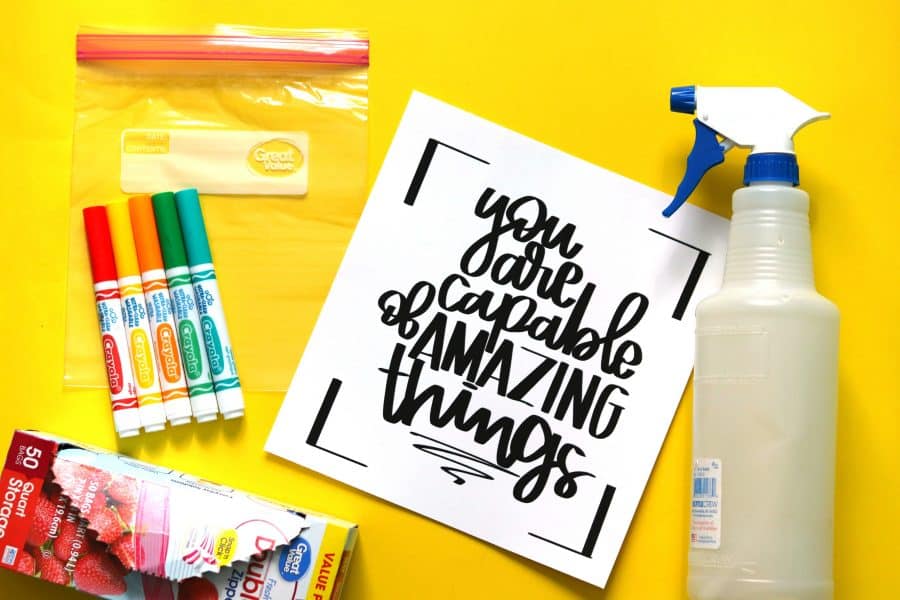
Supplies for knockoff Watercolor
- squirt bottle with water
- crayola washable markers
- plastic bag
- Paper towels
- paper/bookmarks/cards etc!
Prepping for Painting
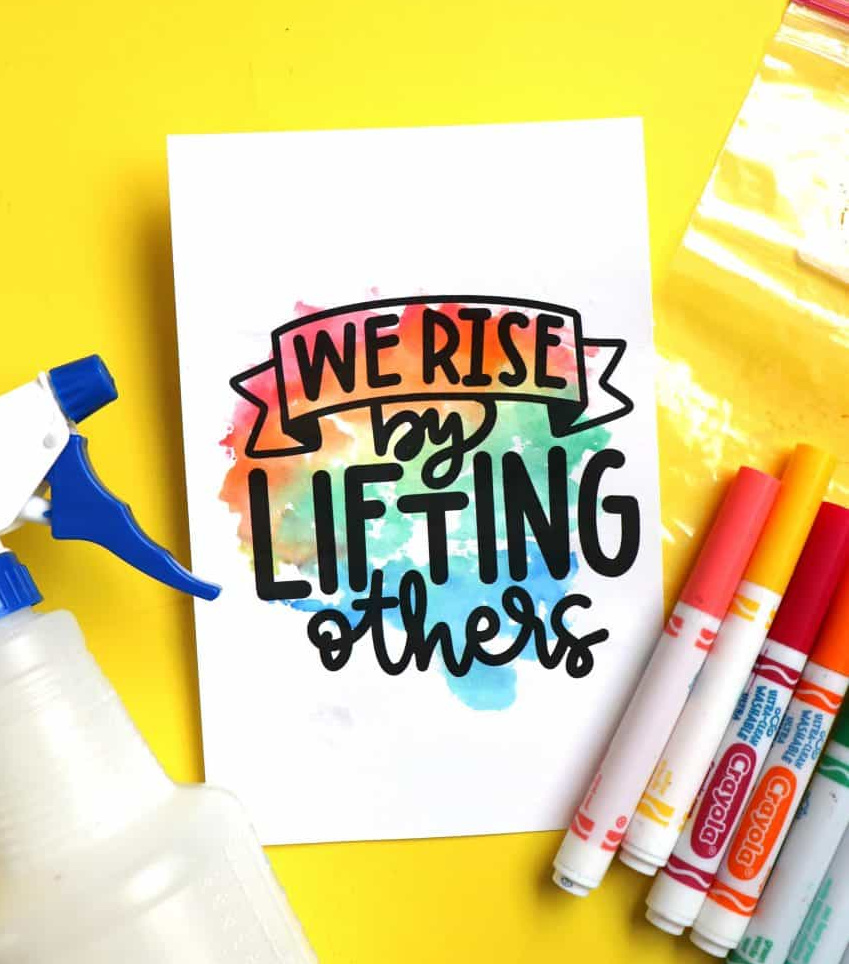
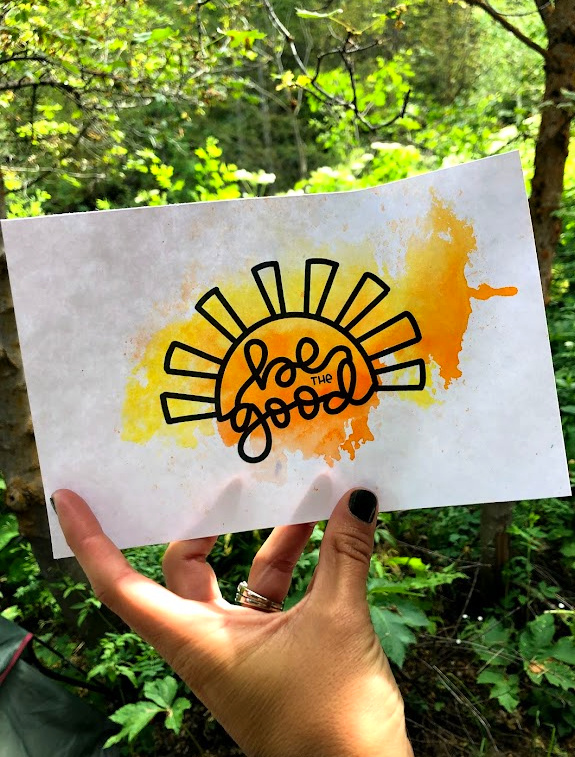
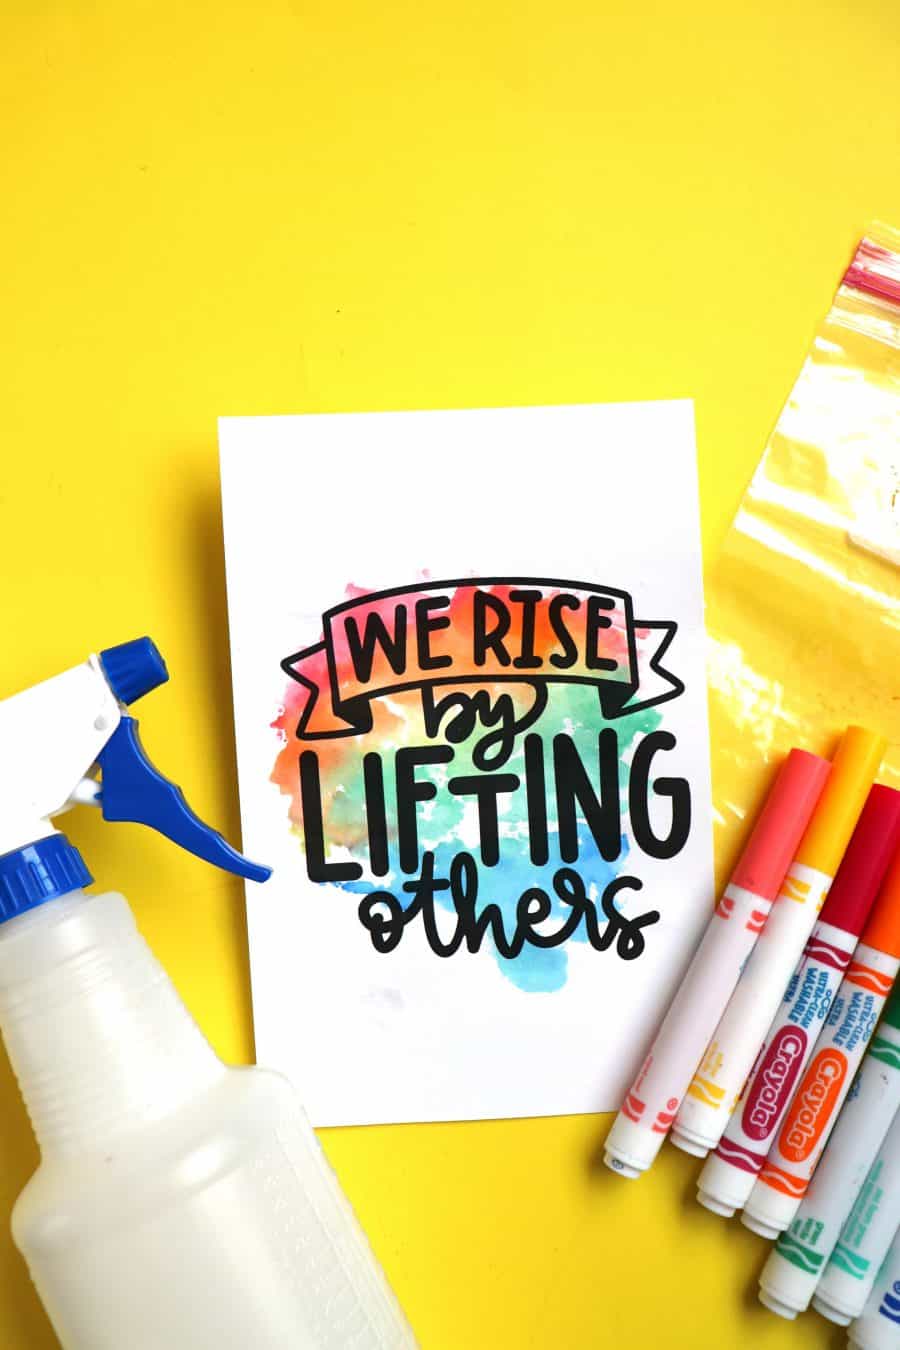
I decided to make my own inspirational printables–cause you know how I love creating cut files! You can find them in my shop here! (but all my cut files or fun free printables can be used!) I also just added some NOTECARDS that work great with this!
I printed my pages from my printer on regular cardstock. I did have some watercolor paper but my printer doesn’t handle thick paper really well and watercolor can get really pricey. I also purchased some blank notecards and bookmarks so the girls could have a variety of things to make!
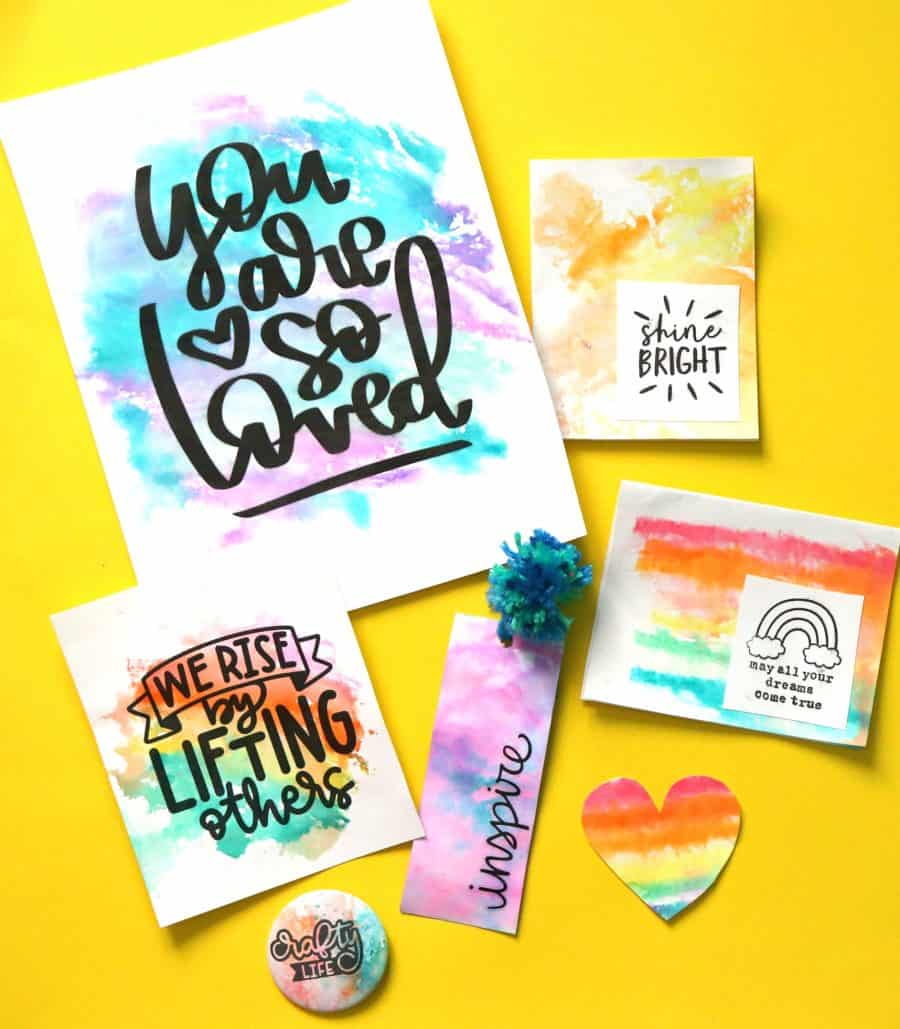
You can just do blank paper and people can add in their own quotes or drawings with pen after the watercolor dries.
Watercolor Knock Off Tutorial
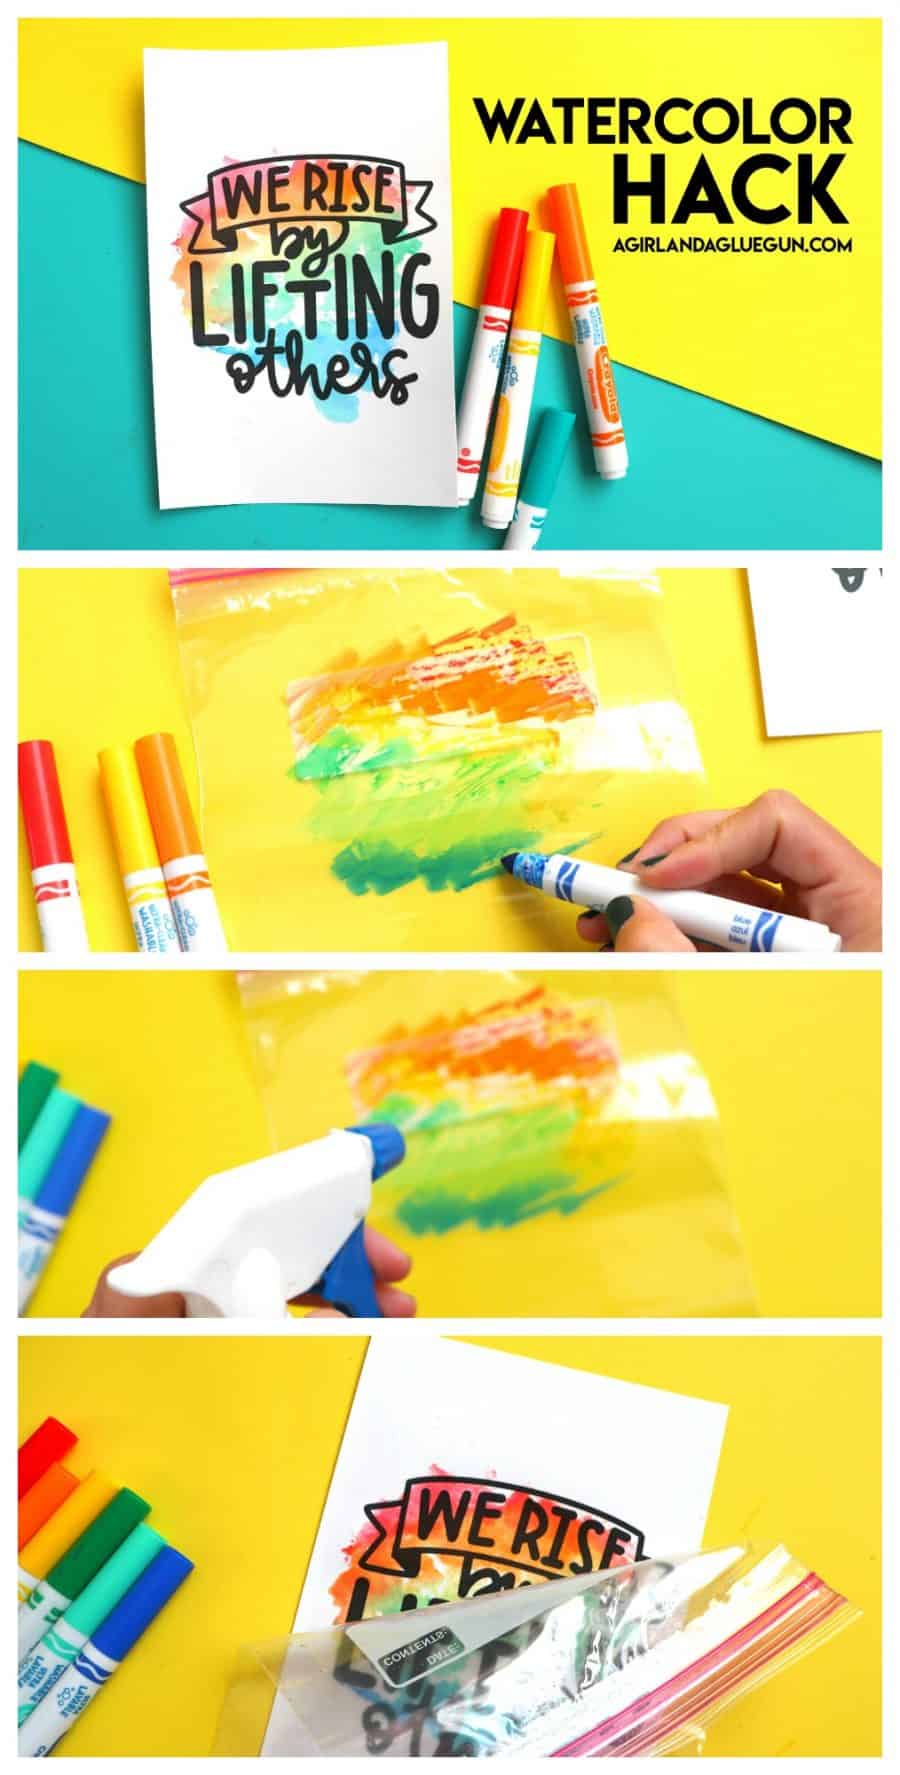
Step 1: Color
Pick out your colors and lay out your plastic bag. Draw on the baggie however you want.
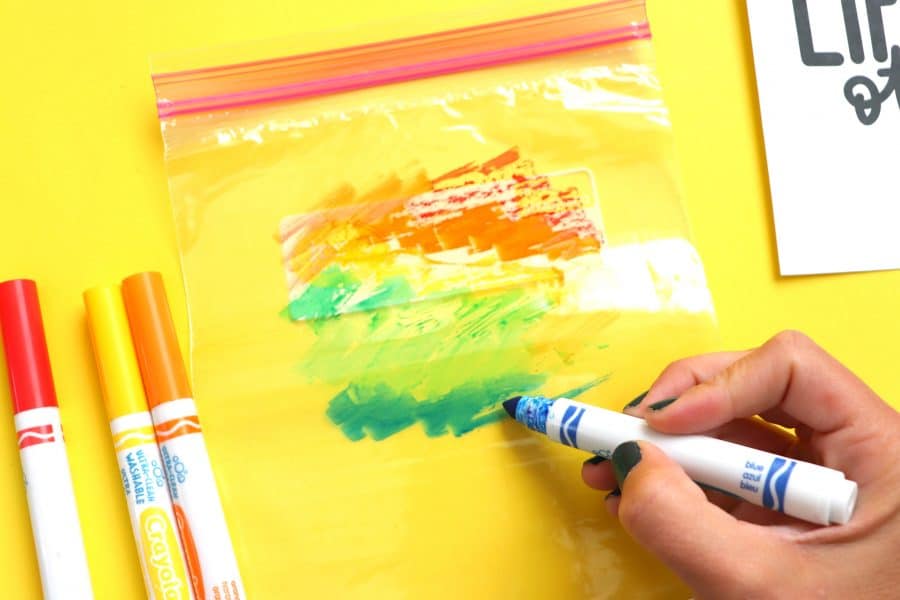
You can also use tinfoil instead of plastic bags like we did here for our fun Turkey Craft.
Step 2: Add Water
Taking your squirt bottle, mist a little over the plastic bag. Too much water creates a runny mess. Too little water makes it not spread enough. It’s fun to experiment with because they all create pretty results.
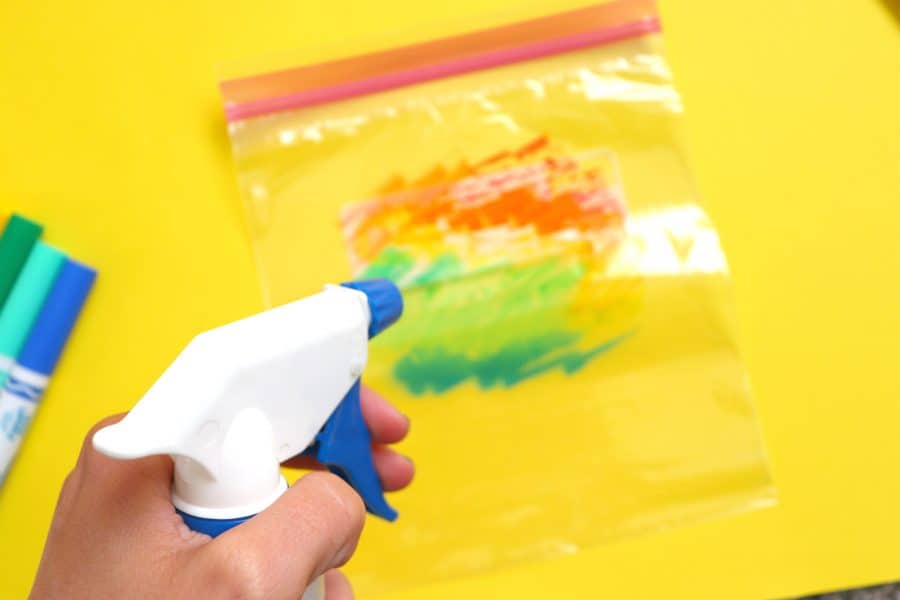
This one didn’t have enough water- but look how cool!
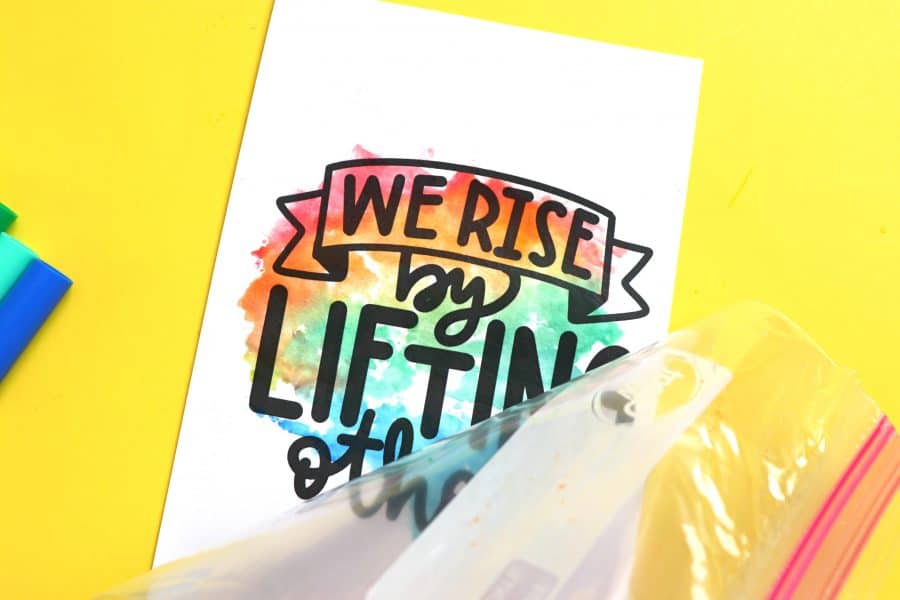
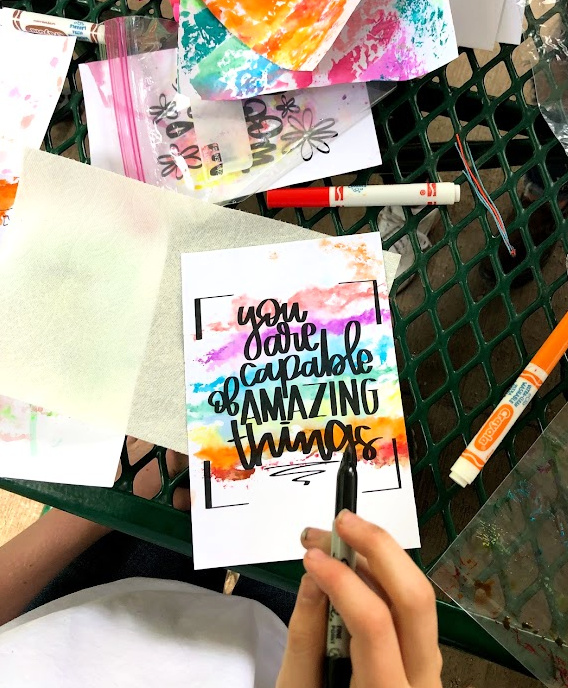
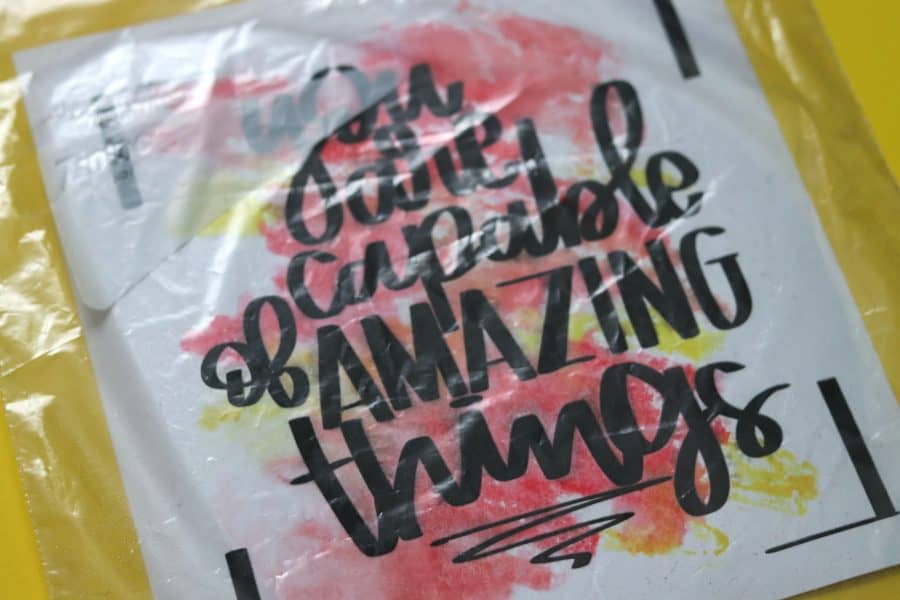
Step 3: Add paper
Take your paper and the place it design down on the plastic. If you try to put the plastic down on the paper, the water drips off. I like to flip the plastic bag and paper over so I can see where I need to spread the water. I do that by just spreading my finger around plastic to blend the colors.

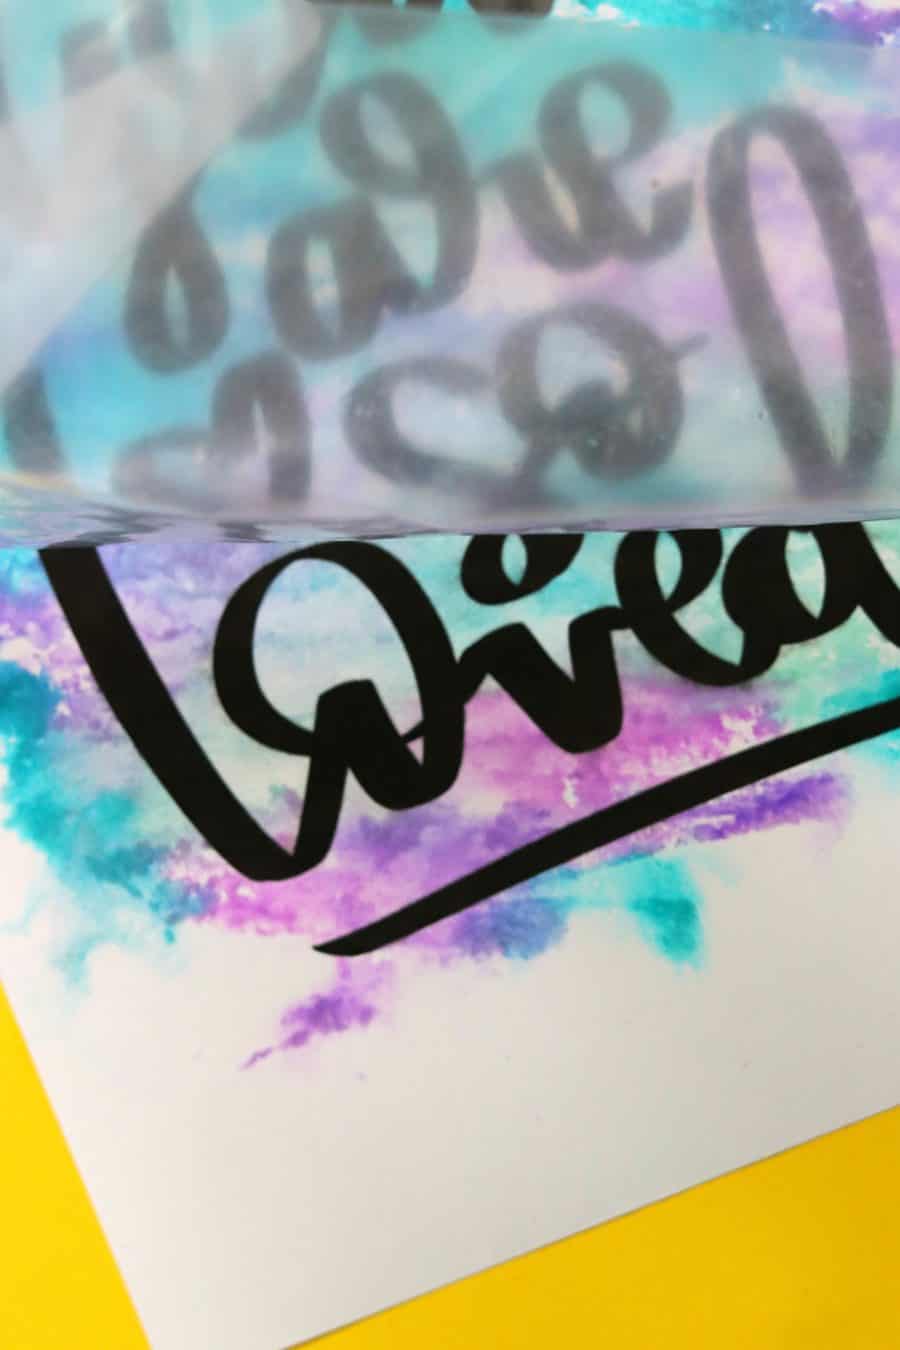
Step 4: Remove
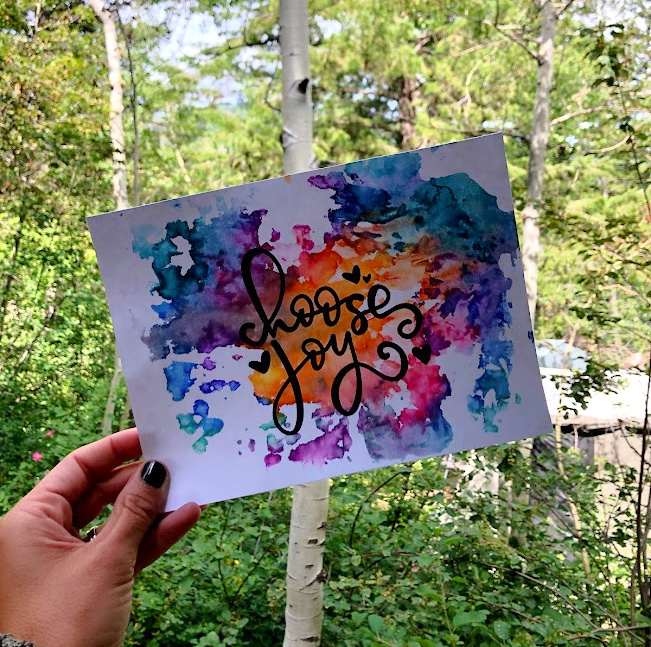
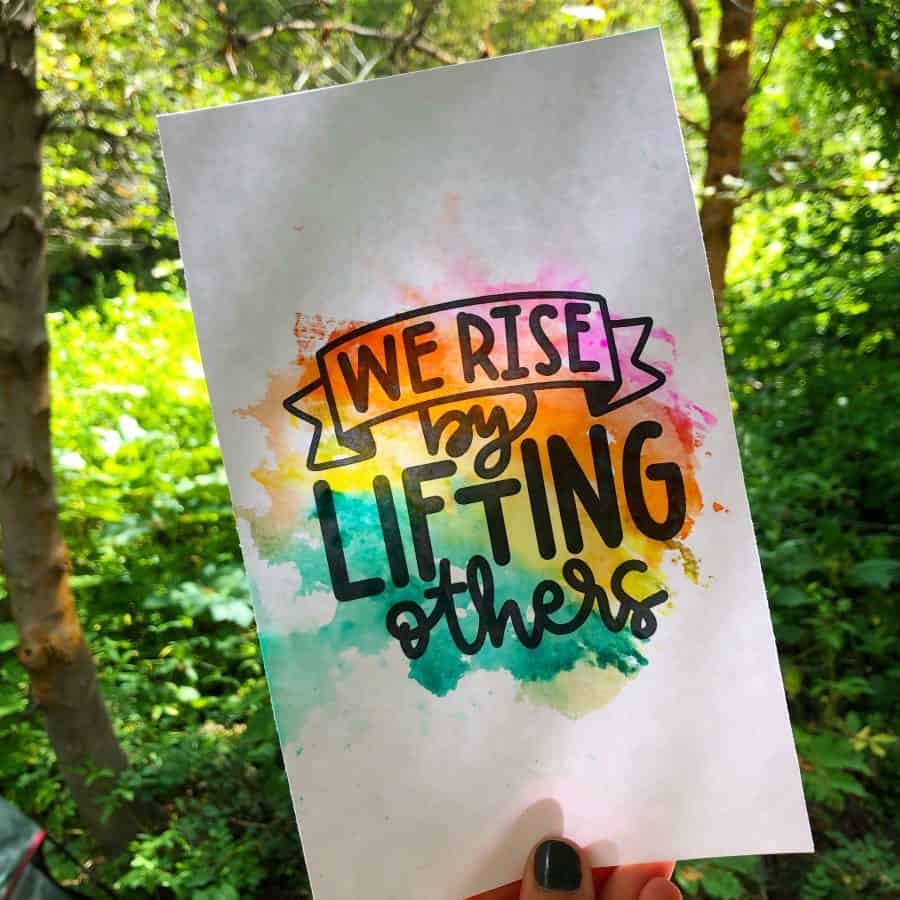
Take off the plastic to see your fun design!
The reveal is the BEST PART!
Step 5: Dry
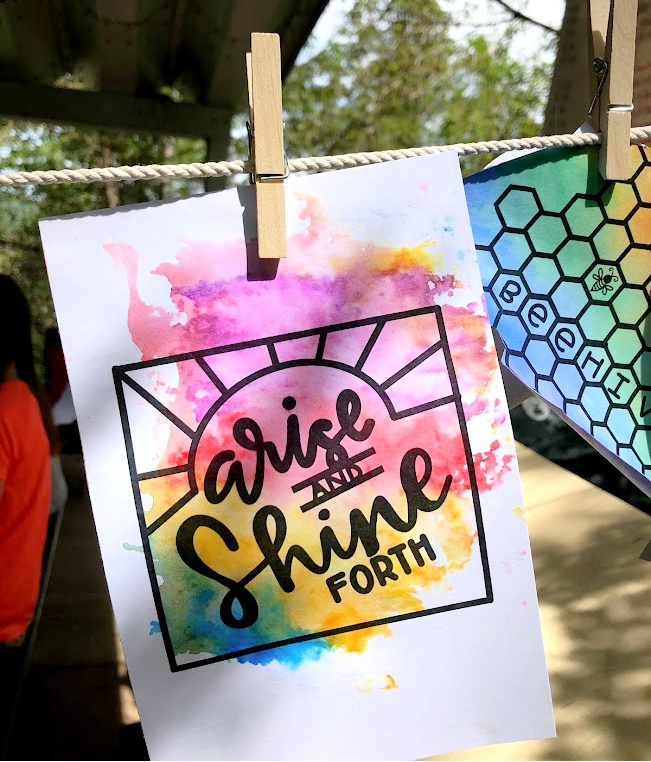
We had each person write their name on their artwork.
Then we clipped it up to let dry.
Step 6: Wipe clean
Take a paper towel and wipe off the plastic to reuse, then create another one!
You can really try lots of different fun twists–one color, stripes, just a little bit of water, crinkling up the bag! Once you get started you won’t want to stop!
Save for later
Too busy to get crafting today? No problem! Pin this post to remind yourself about this project later! Sharing my projects helps me reach more people, allowing me to continue sharing free content!
The BEST kid crafts and activities
and when I say kids, I mean kids of all ages!
- black glue art
- salt art
- hot rocks
- Yarn bracelets
- DIY window clings with puff paint
- Play dough activity mats
- Melted crayon art
- magic wallet
- Learn to make black scratch paper
- Melted Crayon Suncatcher
- Pressed Flowers Jar
- Bleeding Tissue craft
If you are looking for more fun kids’ crafts- my craft camp has two weeks full of fun projects that you will love to do as well!
Okay! go create!

Amy says
Does it make a difference if the size of plastic bag or if it’s freezer or storage?
Amy thuey says
Does it make a difference if the size of plastic bag or if it’s freezer or storage?
Kimbo says
Nope! It’s the plastic you need. The crayola won’t stick to the plastic letting it come off onto the paper! So any size or style will work!