
Learn how to make one of our favorite kids’ art projects: A melted crayon sun catcher! It’s a fun summer project to DIY!

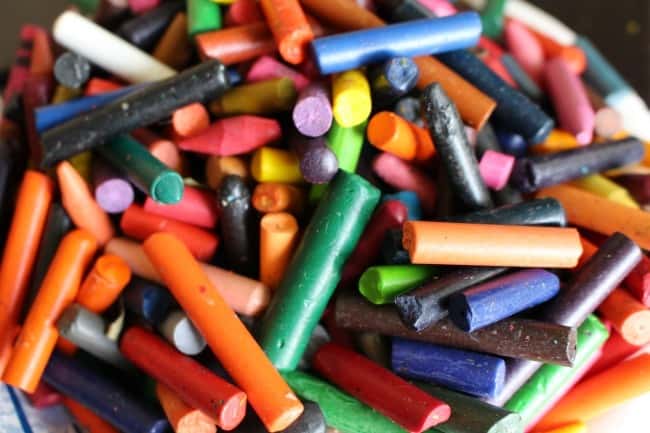
We love to color! We also love fresh new crayons which means we end up with so many old broken ones that we can’t seem to throw away! Today we are going to do a fun project that is perfect for all those broken crayons!

This project is part of my Kid’s Craft camp! Make sure to click on the image to see all 50 craft ideas!

Supplies to make melted crayon suncatchers
- crayons
- wax paper
- old towels
- iron
- knife or crayon sharpener

How to easily remove the paper on crayons
To use these crayons, you need to remove the paper from them. Don’t worry! There is a totally easy hack for doing it! Grab a bowl and fill it with hot water. Not HOT boiling water- but just hot from the tap water. Drop your crayons in for about 30 seconds! You can see the paper peeling right off! Just grab a crayon and remove the paper and put it on a paper towel to dry it off!

Once all the paper is peeled we can get to the making our melted picture!
How to make melted crayon suncatchers
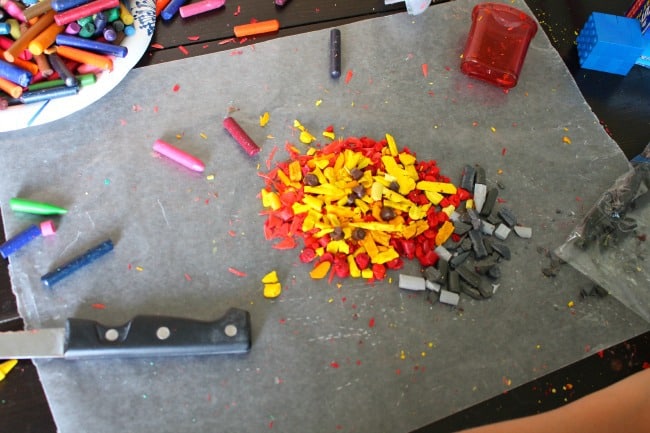
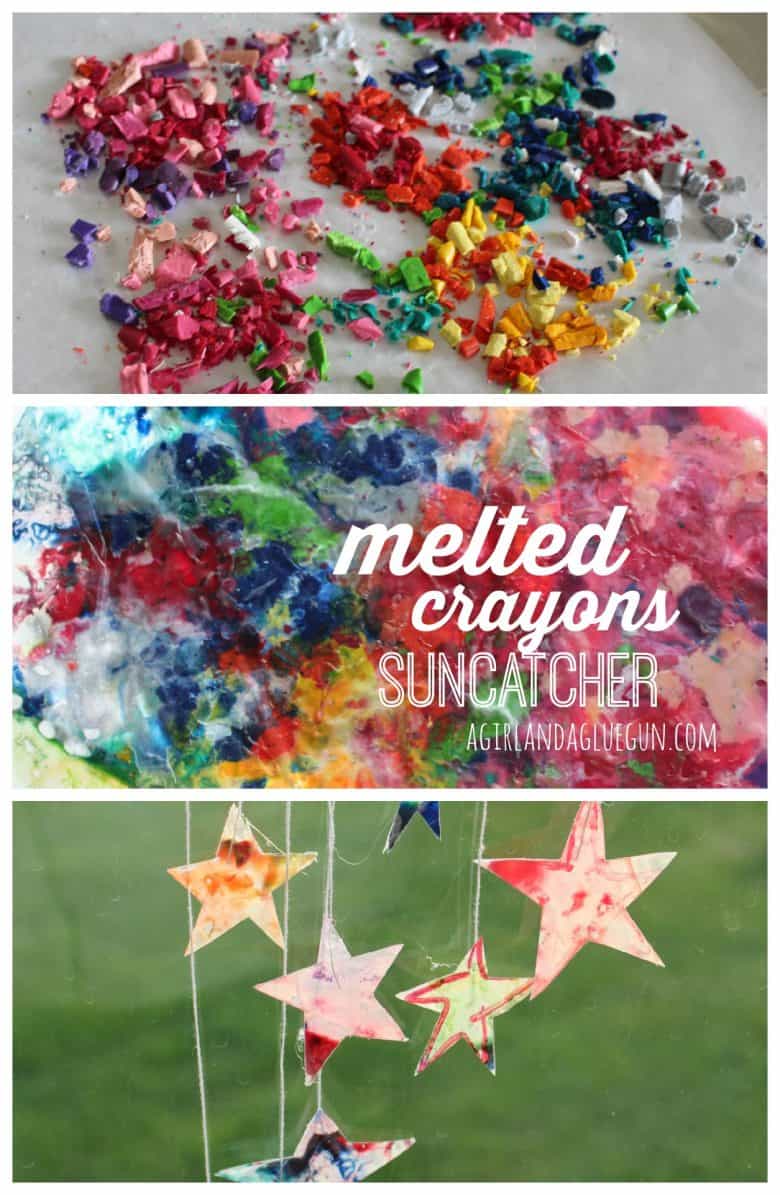
Step 1: Cut up the crayons
There are a couple different ways to do this! My personal favorite is sharpening the crayons and keeping all the shavings to “draw” with.

I just did one crayon in each color and we made about 20 pictures! A little goes a long way!

If you don’t have a sharpener (I do link one in the supplies), you can use a knife and just cut up the crayons into small pieces. This is more time consuming and is a little harder to melt since the chunks are bigger!
The last option is: (my kids favorite) to put in a plastic baggie and hit it with a hammer. This will turn it more into more of a powder but still works.
Create your picture
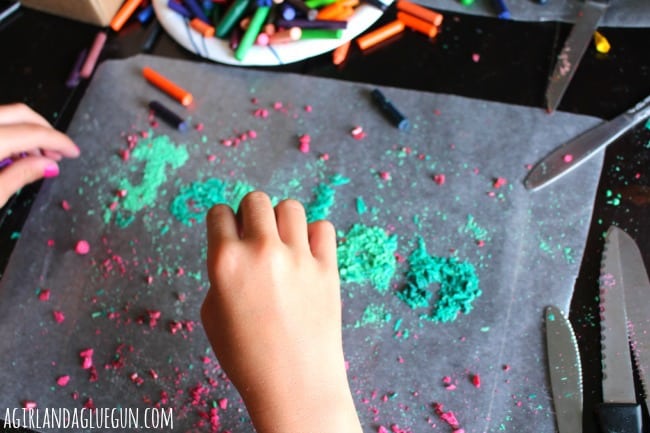
Once you have all your crayon pieces, you can start making pictures! Lay out a sheet of wax paper and sprinkle on your crayon shavings!

This is a great activity to learn about the color wheel because the crayons melt into each other. You don’t want to be heavy-handed with the crayons. If you cluster too many together, it will melt and run out everywhere.

You can try to make pictures- But the crayons have a mind of their own! We laid out the designs for butterflies, flowers, a moon etc. Just try to keep the crayons in the middle and not too close to the edge so it doesn’t make a mess.

Once you have all the crayons were you like it, you place another sheet of wax paper over to sandwich in the wax crayon pieces.
Melting the crayons
Just like there are a couple of ways to break up the crayons, there are a couple of different options to melt the crayons!
Recommended:
I use a hot iron. The crayons AND wax paper get…waxy! So you need to lay down an old towel or a pile of paper towels and lay down your picture. If you need to move it without the crayons shifting, just slide a piece of cardstock underneath the bottom layer of wax paper to hold it in place while you move it.
Obviously, this is the part that kids will need adult supervision with!
Layover another old towel and press with an iron. I just slowly moved the iron around and lifted the towel to check to see if the crayon was melting. The towels keep the wax from getting all over the table, ironing board, and or iron!

Here is the side-by-side of the before and after. The little shavings really spread when melted!

The reason I like the iron is because it seals the wax paper together and melts the crayons really quickly!

Another option we tried out to melt the crayons is to lay out in the sun. (If you are creating this craft in the summer!) It was 100 degrees and we had it out for an hour and didn’t really see any melting! I think it would take a lot longer. You also need to anchor it down with rocks so the wind doesn’t come blow anything away. Its worth the experiment!

You could put it on a towel and put it in your car…(if you are looking for a faster melt!) Then you can teach your kids how it gets even hotter in the car than outside.
Last option Put it in the oven on low (on an old baking sheet lined with tin foil.) This will melt the crayons. You might need to take a smooth rock and rub it around to get the wax paper to seal to itself!
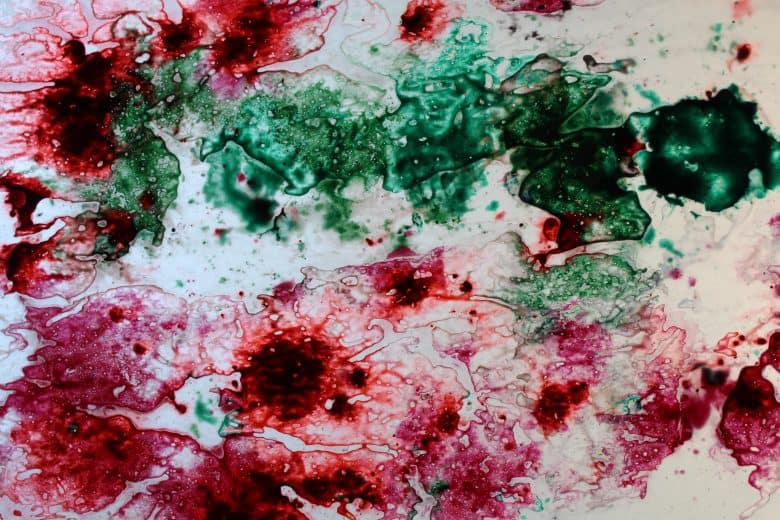
After your pictures are cool- you can admire them! They are super cool to look at!

or cut up and make a suncatcher….
How to create a suncatcher from melted crayons
You can just cut up your melted crayon art into any shape! My son did his intial.

But I had an extra embroidery hoop so we picked our favorite print and added it the the hoop and trimmed off the edges.

We cut lots of hearts and taped them to a string that we attached to the hoop!

It looks so pretty hanging up in our window! It creates fun heart-shaped shadows in our room too!

Other fun Crayon crafts
- Giant shaped crayons. You can grab these ice molds from the dollar store and create all different shaped crayons that are perfect for little hands!
- Rubbed leaf prints
- Melted art on a pancake skillet
- Hot Rocks
Too busy to get crafting today? No problem! Pin this post to remind yourself about this project later! Sharing my projects helps me reach more people, allowing me to continue sharing free content!


Sarah says
I had a 4-pack of ice cube trays with lids that I used to separate the colors. 14 squares per tray x 4 trays gave me 56 colors to choose from if I wanted (though that was way more than I needed). It was nice to snap the lid on after for another day of kid crafts
Kimbo says
what a great idea! Thanks for sharing!