
Looking for a fun, inexpensive, and creative craft that kids of all ages can enjoy? Pin prick art, also known as pin prick drawing, is a classic craft that combines creativity, fine motor skill development, and a little bit of magic. With just a few basic supplies, children can create beautiful artwork filled with patterns, shapes, and designs
Whether you’re looking for a homeschool activity, classroom art project, summer boredom buster, or rainy-day craft, pin prick art is an easy and engaging option.
This project is part of my kids craft camp series!


What Is Pin Prick Art?
Pin prick art is a simple art technique where children use a pin, push pin, or thumbtack to create tiny holes in paper. By carefully placing the holes close together, they can form pictures, outlines, patterns, and designs. When held up to the light, the finished artwork creates a beautiful glowing effect.
This traditional craft has been enjoyed for generations and remains popular because it requires very few supplies while encouraging creativity and patience.
Benefits of Pin Prick Drawing for Kids
Pin prick art isn’t just fun—it’s educational too!
Develops Fine Motor Skills
Carefully placing each pinprick helps strengthen hand muscles and improve coordination.
Encourages Concentration
Children learn patience and focus as they work on completing their designs.
Sparks Creativity
Kids can create their own original artwork or follow templates to make animals, flowers, shapes, holiday designs, and more.
Builds Confidence
Completing a detailed design gives children a sense of accomplishment and pride in their work.
Supplies Needed
One of the best things about pin prick art is how simple it is to get started.
You’ll need:
- Cardboard or foam core board (You could also do it on carpet)
- Push pin, thumbtack, or embroidery needle (or pen for little hands)
- Dark colored paper
- Pencil (optional for sketching designs)
- Tape
Adult supervision is recommended when younger children are using sharp tools.
The pins can be hard to hold cause they are small- I did find this large upholstery needle that looks like it would work well.
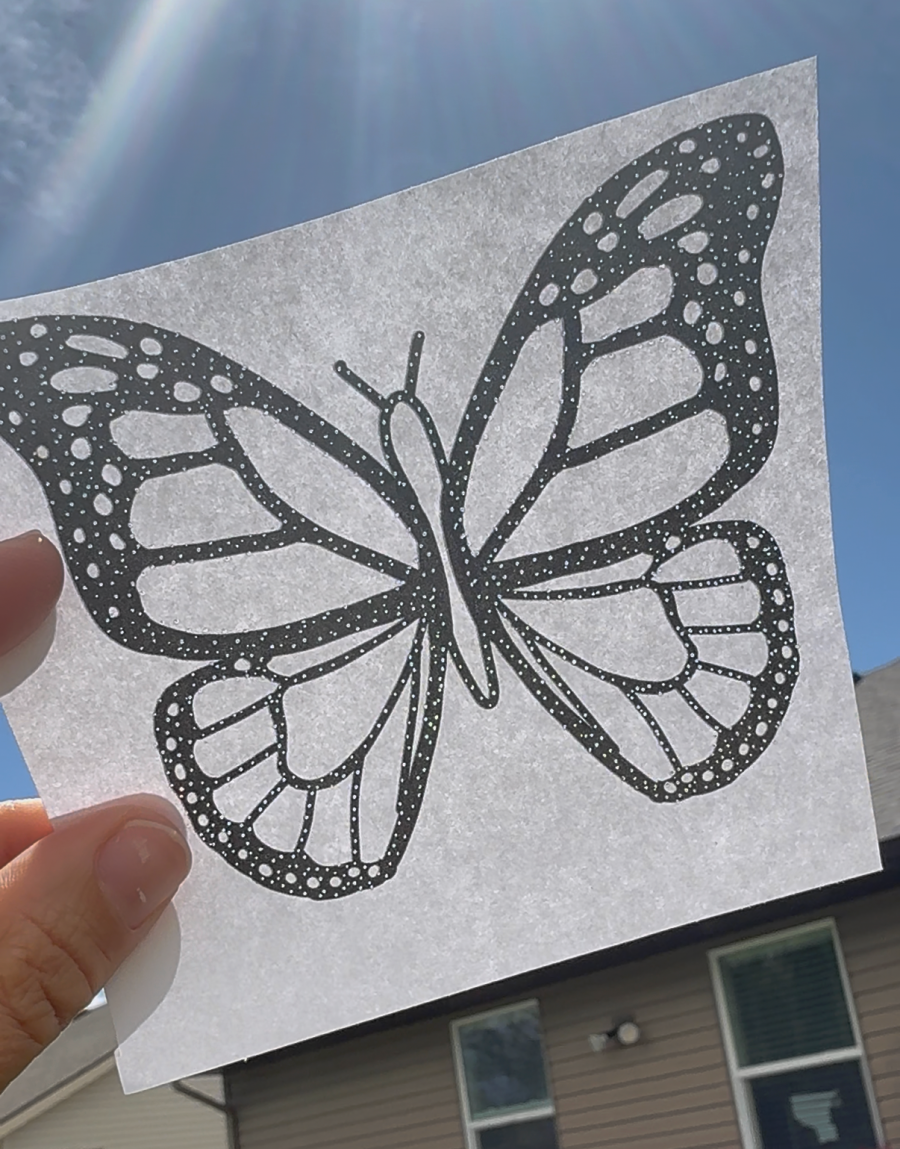
The darker paper makes the lights really pop when holding it up to the light. It still works with white or light colored paper it’s just not as vibrant.
How to Make Pin Prick Art
Step 1: Choose a Design
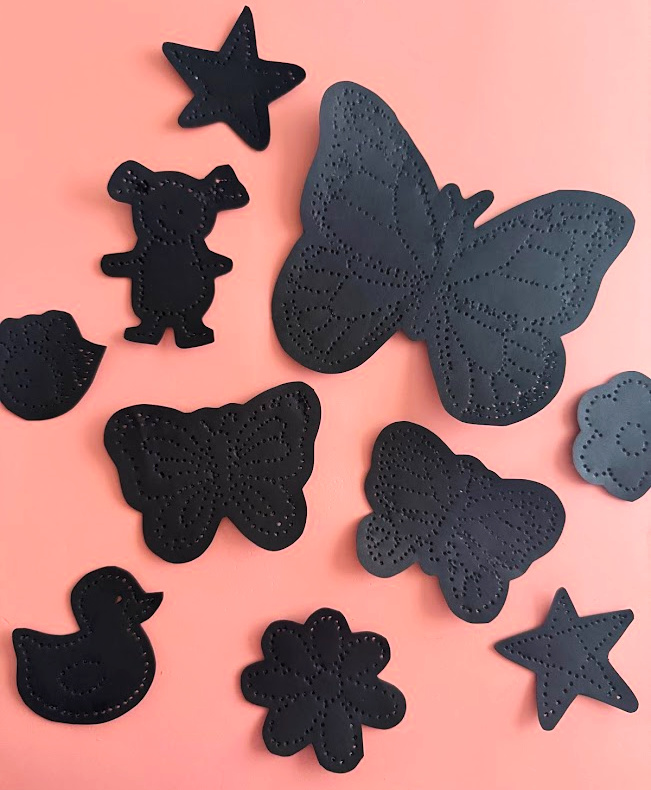
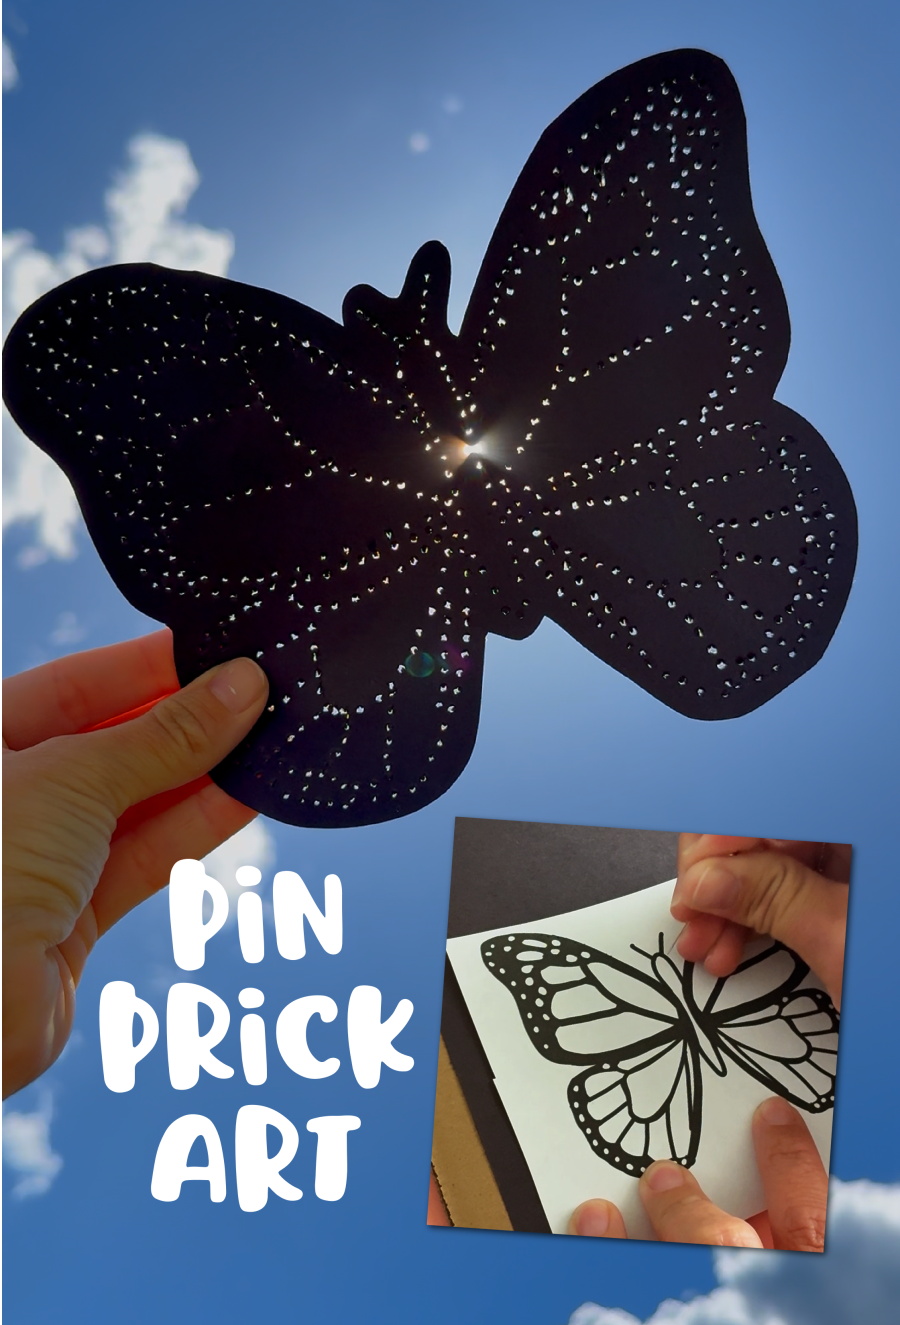
Draw a simple picture on cardstock or print a template. Popular choices include stars, hearts, butterflies, flowers, animals, and seasonal designs.
I do have some free images on my website that would make perfect guides
- Free clipart
- Lots of cute images here like seashells, watermelon, owls etc.
- Butterfly printables
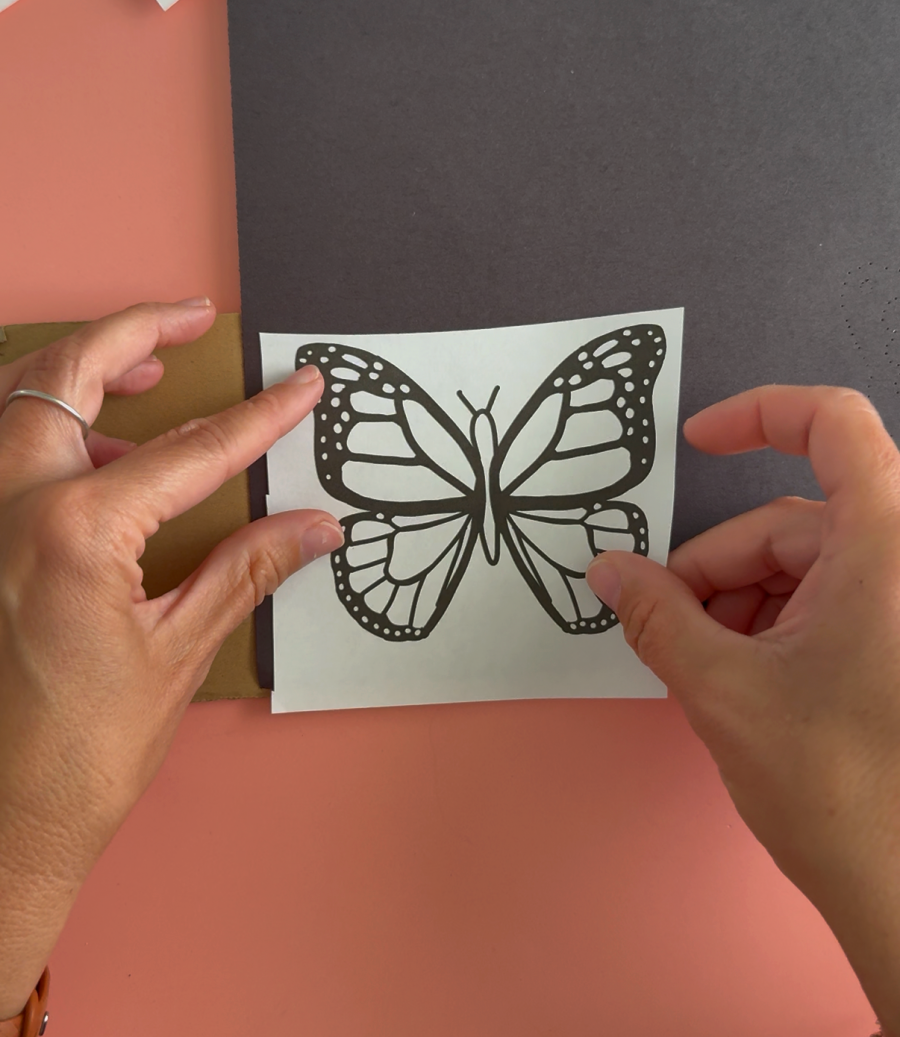
Step 2: Prepare Your Work Surface
Place the paper on top of a cork board, foam board, or folded newspaper to protect your table.
If using a picture as a guide, tape it to the dark colored paper so it doesn’t shift when kids are poking.
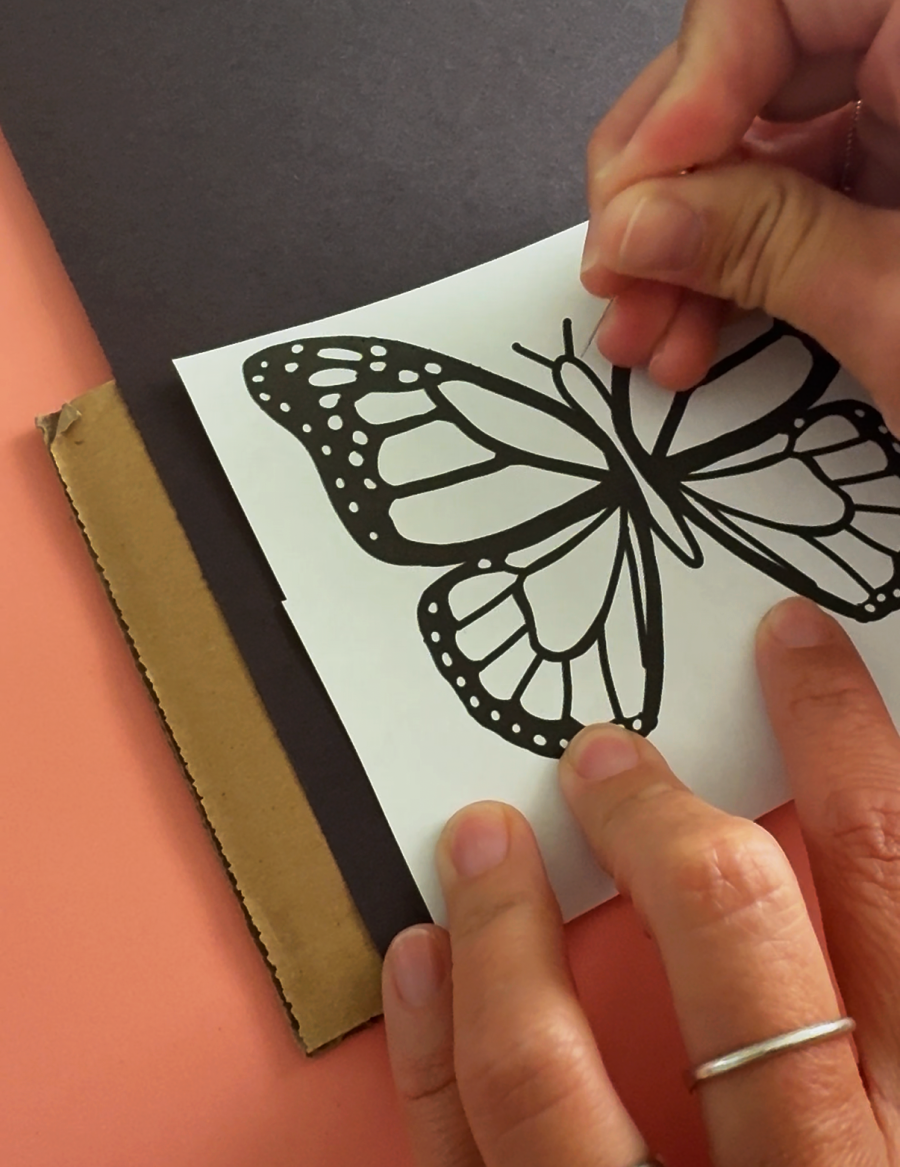
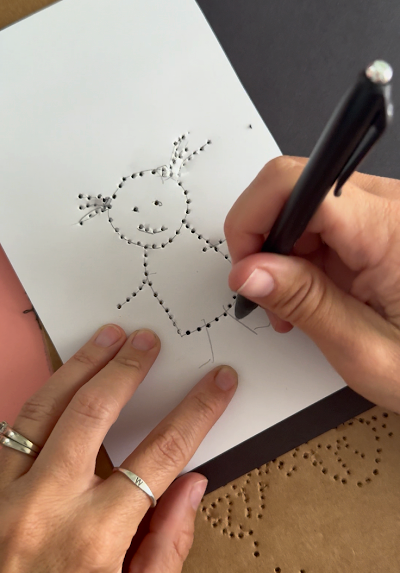
Step 3: Create the Pin Pricks
Carefully poke holes along the outline of your design. Encourage kids to space the holes evenly for the best results. To close together creates tears in the paper.
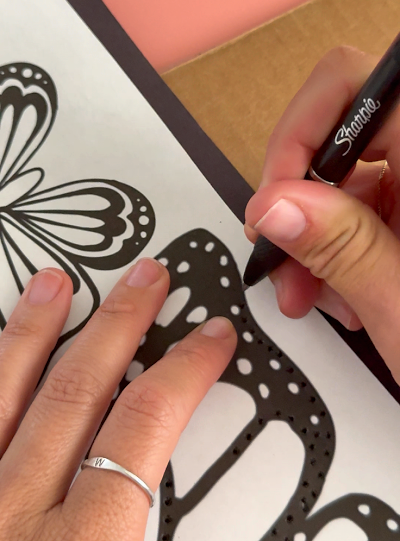
Step 4: Add Details
Fill in patterns, textures, or decorative accents using additional pinpricks.
The pins are pretty small so if you can’t see if you’ve done a section, it helps to flip it over and look at the back.

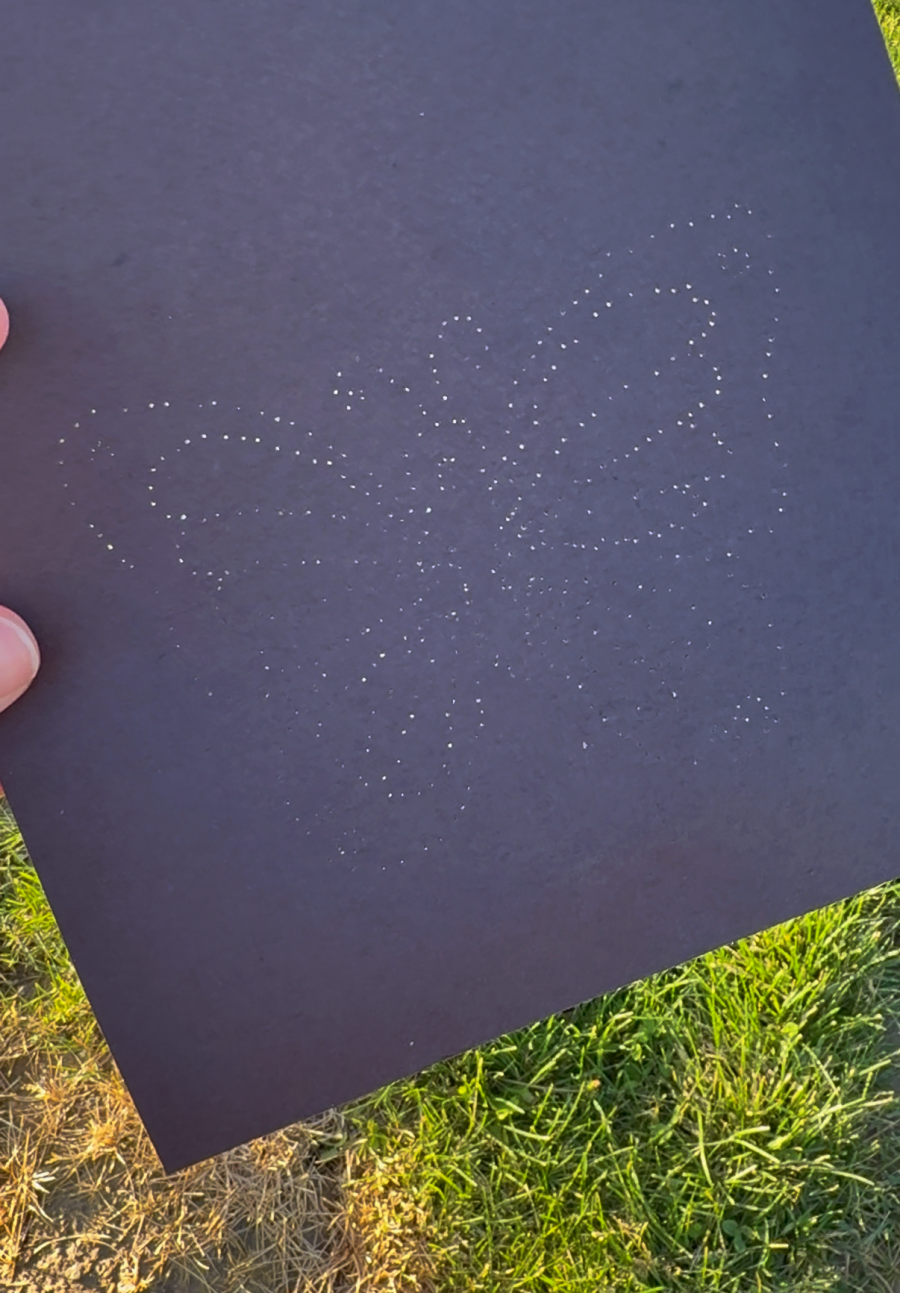
Step 5: Display Your Artwork
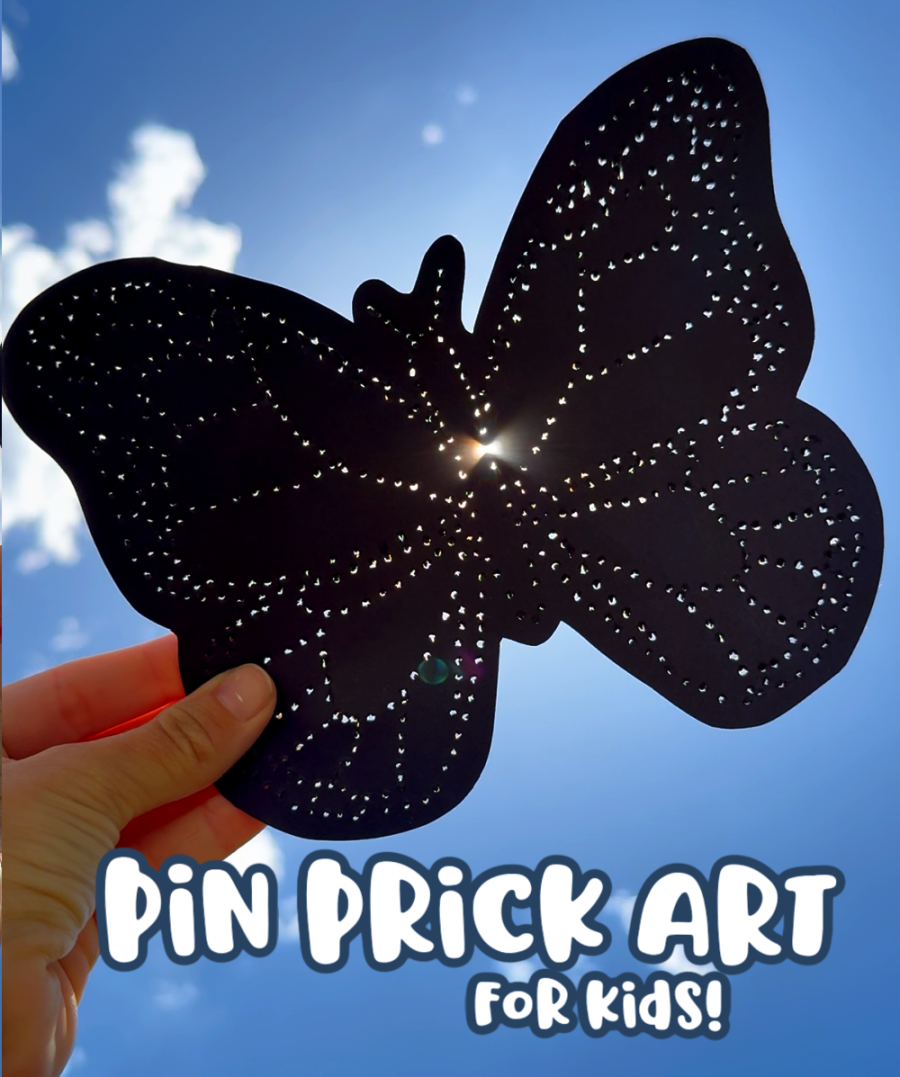
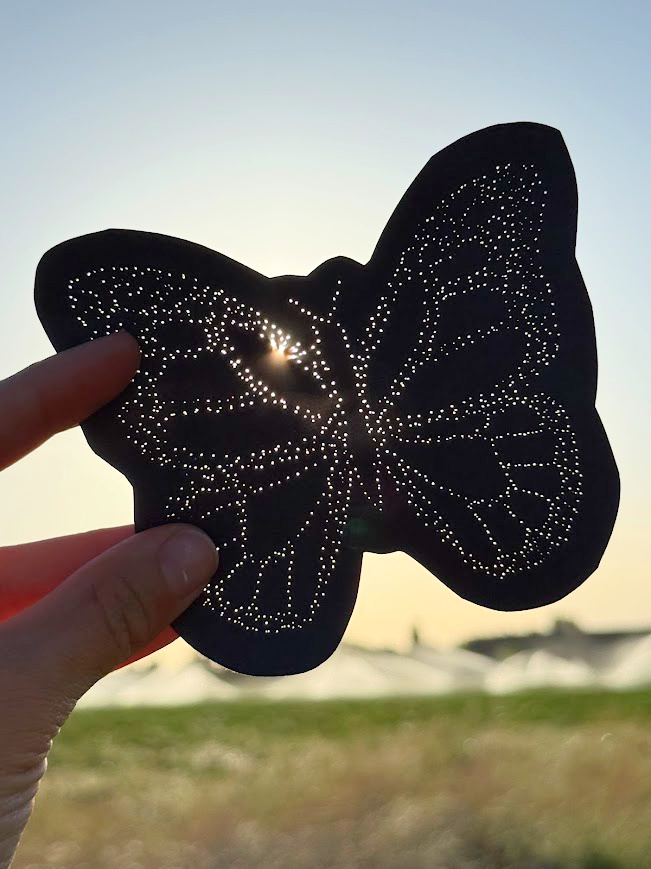
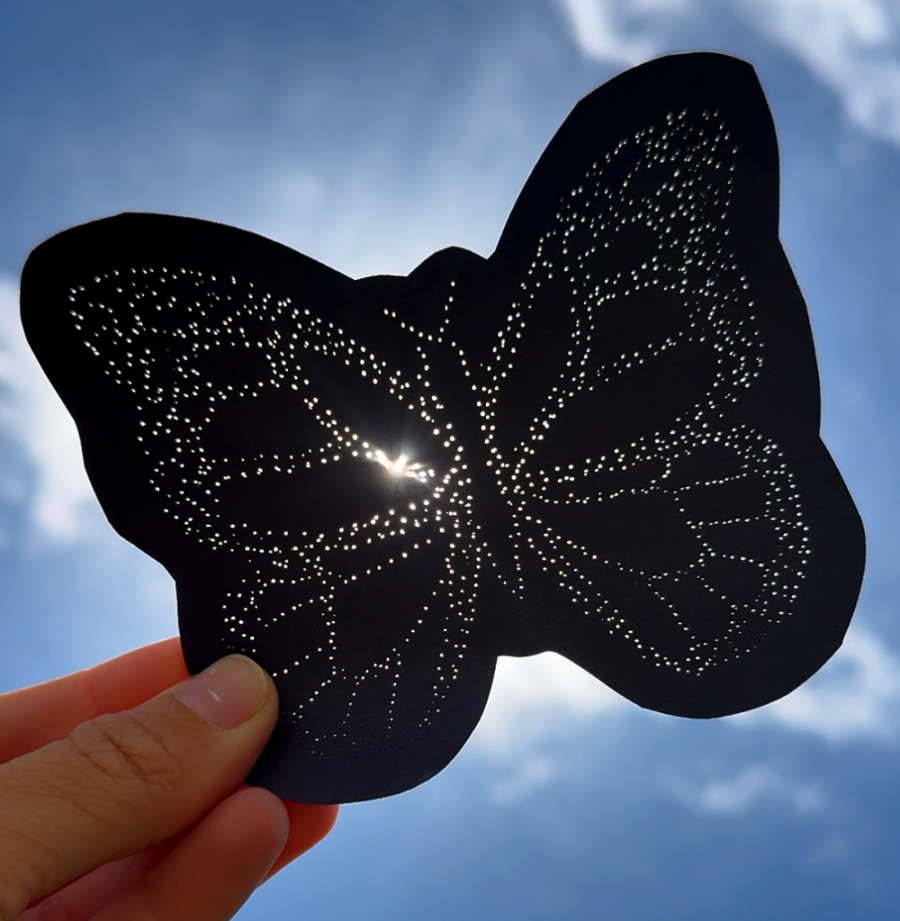
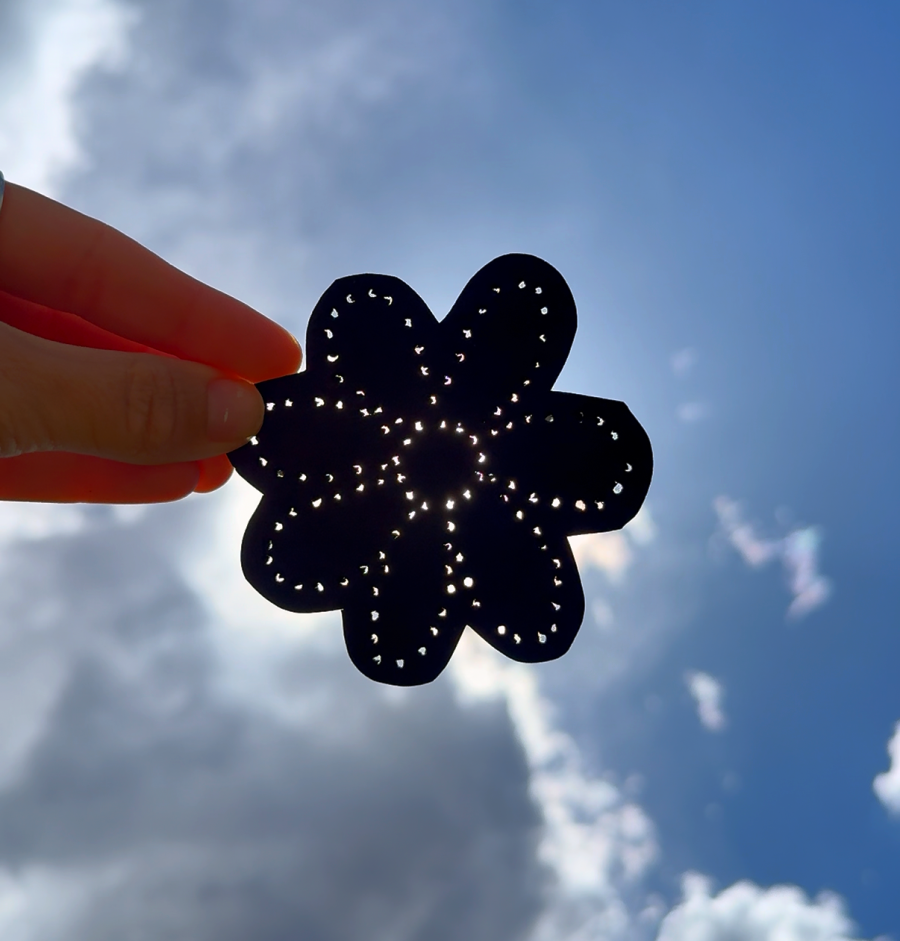
Hold the finished artwork up to a window or place it over a light source to see the design come alive.
This is what it looks like without any light behind it.
You really don’t have a clue just how cool it’s going to look until that light shines!
Fun Pin Prick Art Ideas for Kids
Need inspiration? Try these creative themes:
Nature Designs
- Butterflies
- Flowers
- Trees
- Leaves
- Bees
Seasonal Projects
- Snowflakes
- Pumpkins
- Easter eggs
- Christmas trees
- Fireworks
Everyday Favorites
- Hearts
- Stars
- Rainbows
- Initials
- Favorite animals
Educational Designs
- Alphabet letters
- Numbers
- Shapes
- Maps
- Constellations
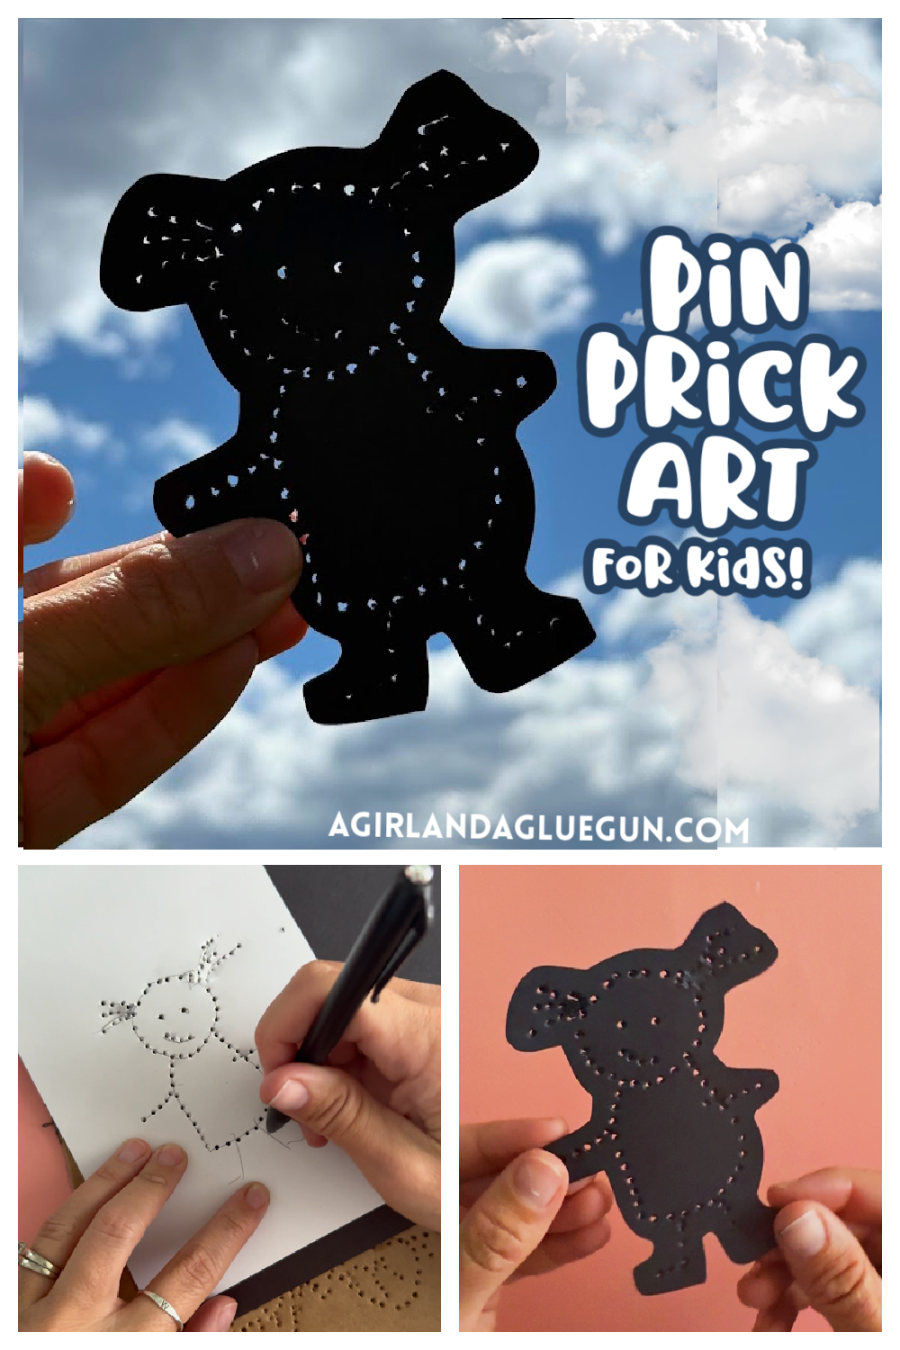
Tips for Doing this with Smaller kids
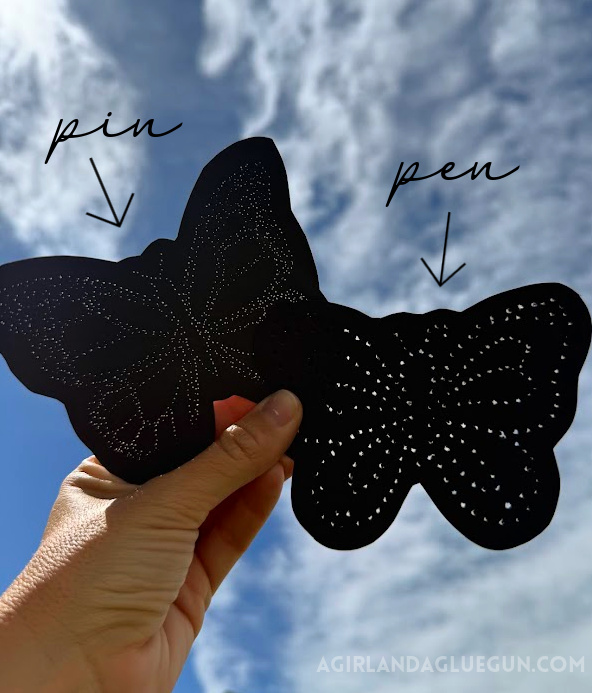
- Use a sharp pointed pen instead of pin/needle
- Start with simple designs for younger children.
Using a pen made it is easier to hold for smaller hands.
Here is a side by side on the difference of using a pin versus a pen!
Ways to have fun with your artwork
- Place colored tissue paper behind finished designs for extra color.
- Cut out around your art
- Hang in your window like a suncatcher
- Try holding up a flashlight to it in a dark room.
We noticed that our finished tracing sheet actually looked like it was glittering when held up to the sun!
Why Kids Love Pin Prick Art
Pin prick art combines creativity and discovery in a unique way. Kids enjoy watching a simple sheet of paper transform into a glowing piece of artwork. It’s a relaxing, screen-free activity that encourages imagination while helping develop important fine motor skills.
If you’re looking for an easy craft that works for classrooms, homeschool lessons, summer camps, or family craft time, pin prick art is a wonderful project to add to your list.
Give pin prick drawing a try and watch your child’s creativity shine through every tiny hole!
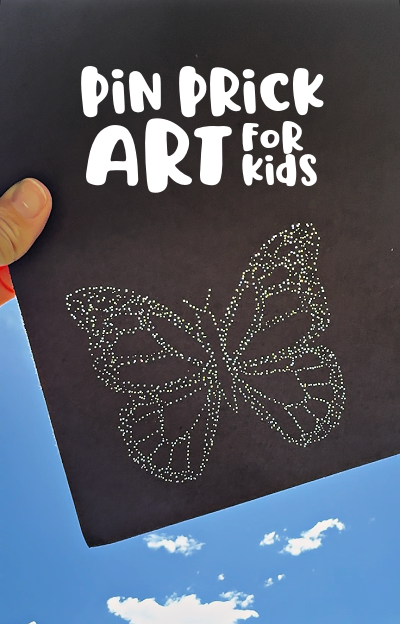
Save Pin prick art for kids for later
Too busy to get crafting today? No problem! Pin this post to remind yourself about this project later! Sharing my projects helps me reach more people, allowing me to continue sharing free content!

The BEST kid crafts and activities
and when I say kids, I mean kids of all ages!
- black glue art
- salt art
- hot rocks
- Yarn bracelets
- DIY window clings with puff paint
- Play dough activity mats
- Melted crayon art
- magic wallet
- Learn to make black scratch paper
- Melted Crayon Suncatcher
- Pressed Flowers Jar
- Bleeding Tissue craft
If you are looking for more fun kids’ crafts- my craft camp has two weeks full of fun projects that you will love to do as well!
Leave a Reply