
If you’re looking for a simple and fun Spring craft for kids, this tissue paper Easter egg craft is the perfect activity! Using small pieces of colorful tissue paper, kids can decorate egg shapes to create beautiful, vibrant Easter artwork. This craft is easy for little hands, inexpensive to make, and perfect for classrooms, homeschool activities, or Easter craft time at home.
Kids love the bright colors and the freedom to design their own unique eggs. Plus, the finished eggs make adorable spring decorations!
We made these for summer and created popsicles, but it was so fun we had to recreate it for Spring!
Check out all my fun Easter Kid’s crafts!
Why Kids Love This Tissue Paper Spring Craft
This craft is a favorite with kids because it’s simple and creative. Each egg turns into a unique piece of art!
Benefits of this craft include:
- Encourages creativity and color exploration
- Helps build fine motor skills
- Uses inexpensive materials
- Works for preschool, kindergarten, and elementary kids
It’s also a great craft for groups, making it perfect for Easter classroom parties.


Supplies Needed
- Cardstock
- bleeding tissue paper
- scissors
- Printable (Down below)
- Spray bottle
To make into a garland:
- tape or hot glue gun
- Bakers Twine
How to Make a Tissue Paper Easter Egg Craft
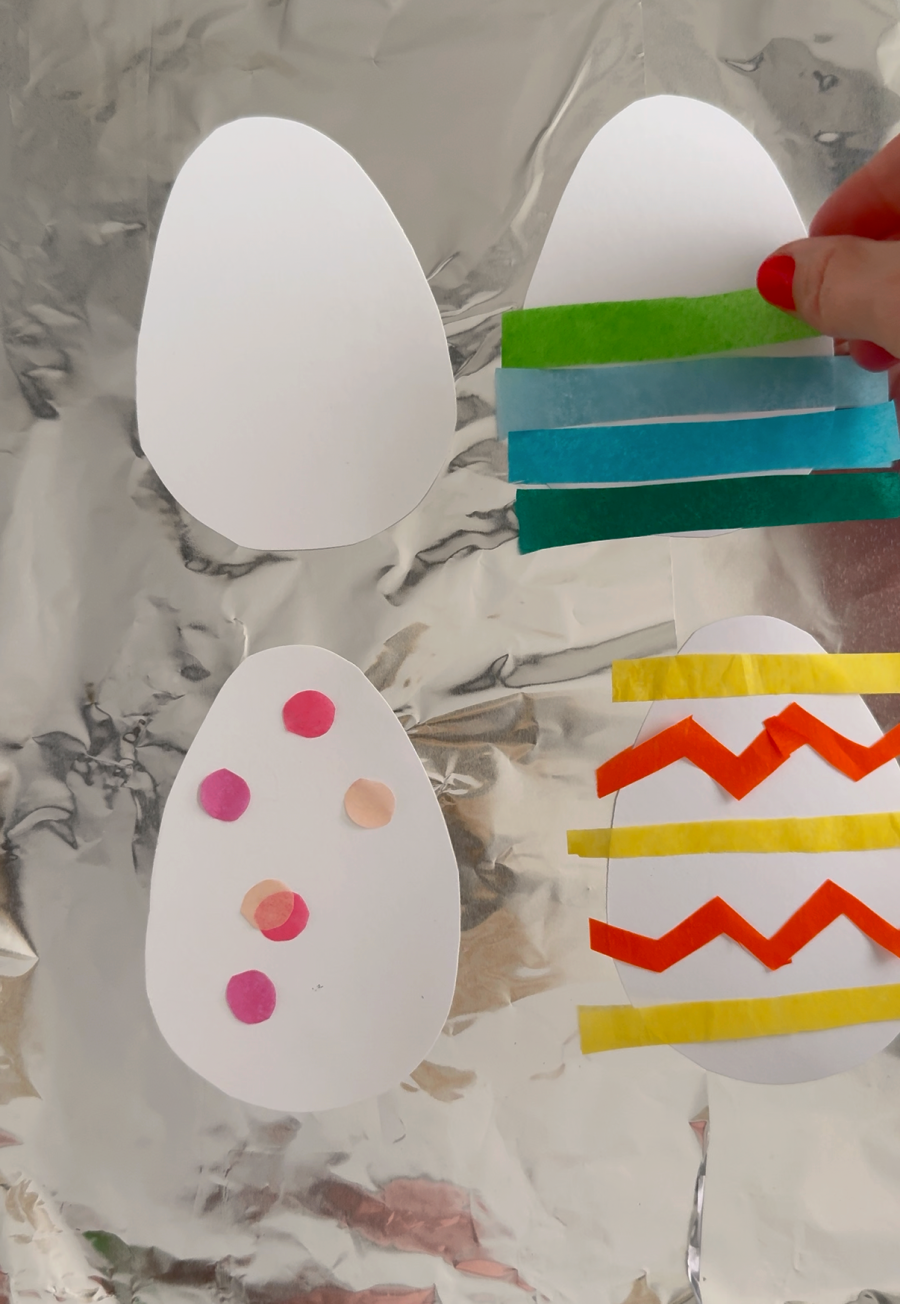
1. Draw or Print Egg Shapes
Start by drawing egg shapes onto cardstock or construction paper. You can make one large egg or several smaller eggs.
For younger kids, using a printable egg template makes this step even easier.
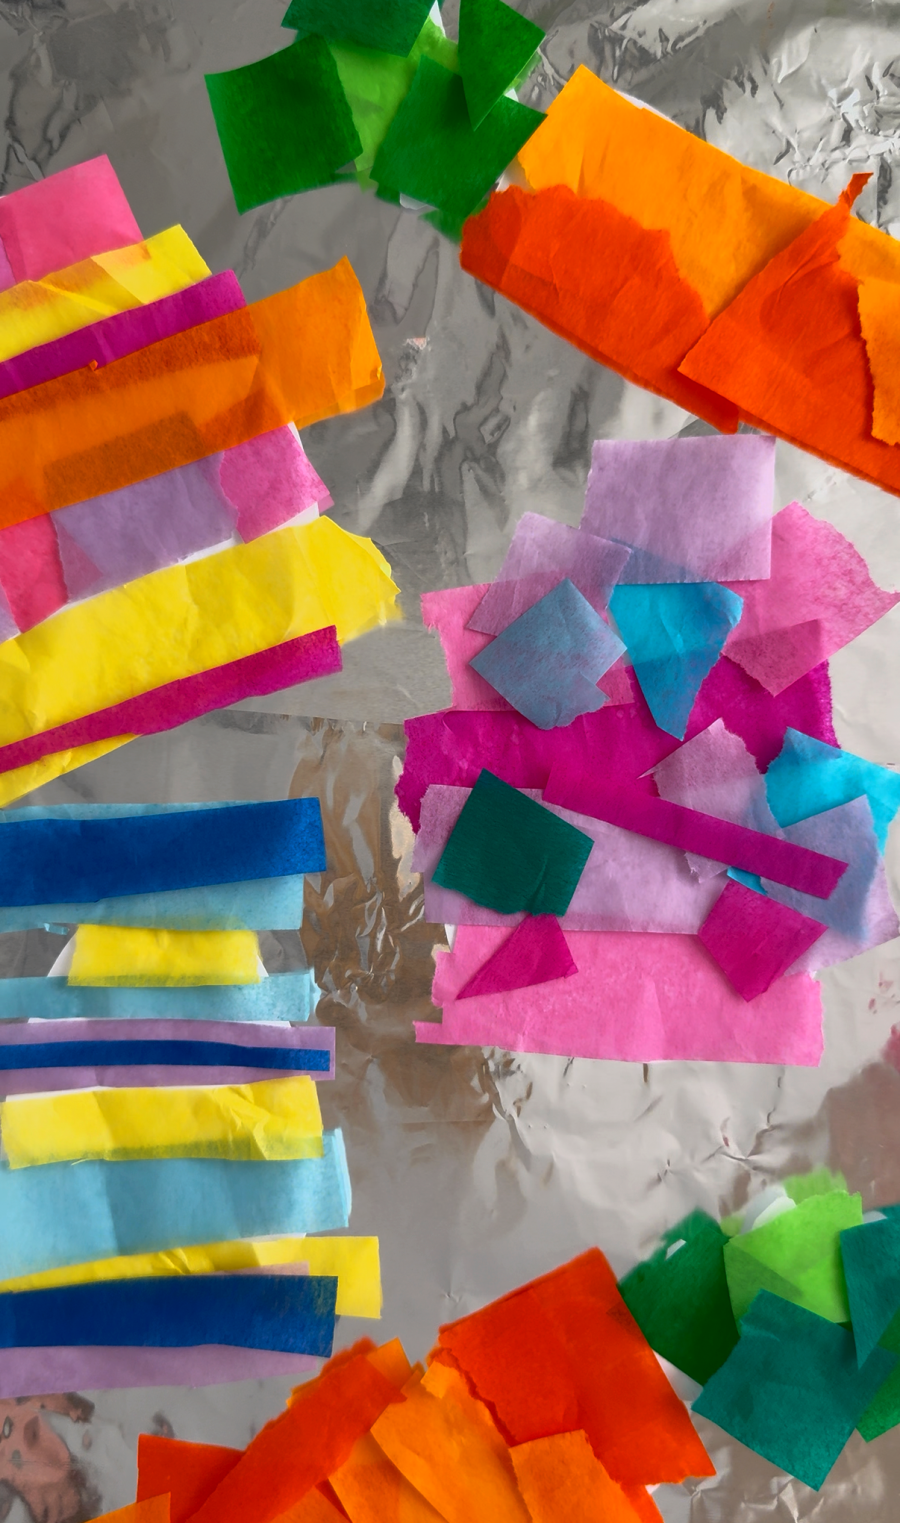
2. Tear the Tissue Paper
Have kids cut or tear tissue paper into small pieces. This step is great for younger children because tearing paper helps develop fine motor skills.
Use a mix of bright spring colors like:
- Pink
- Yellow
- Purple
- Blue
- Green

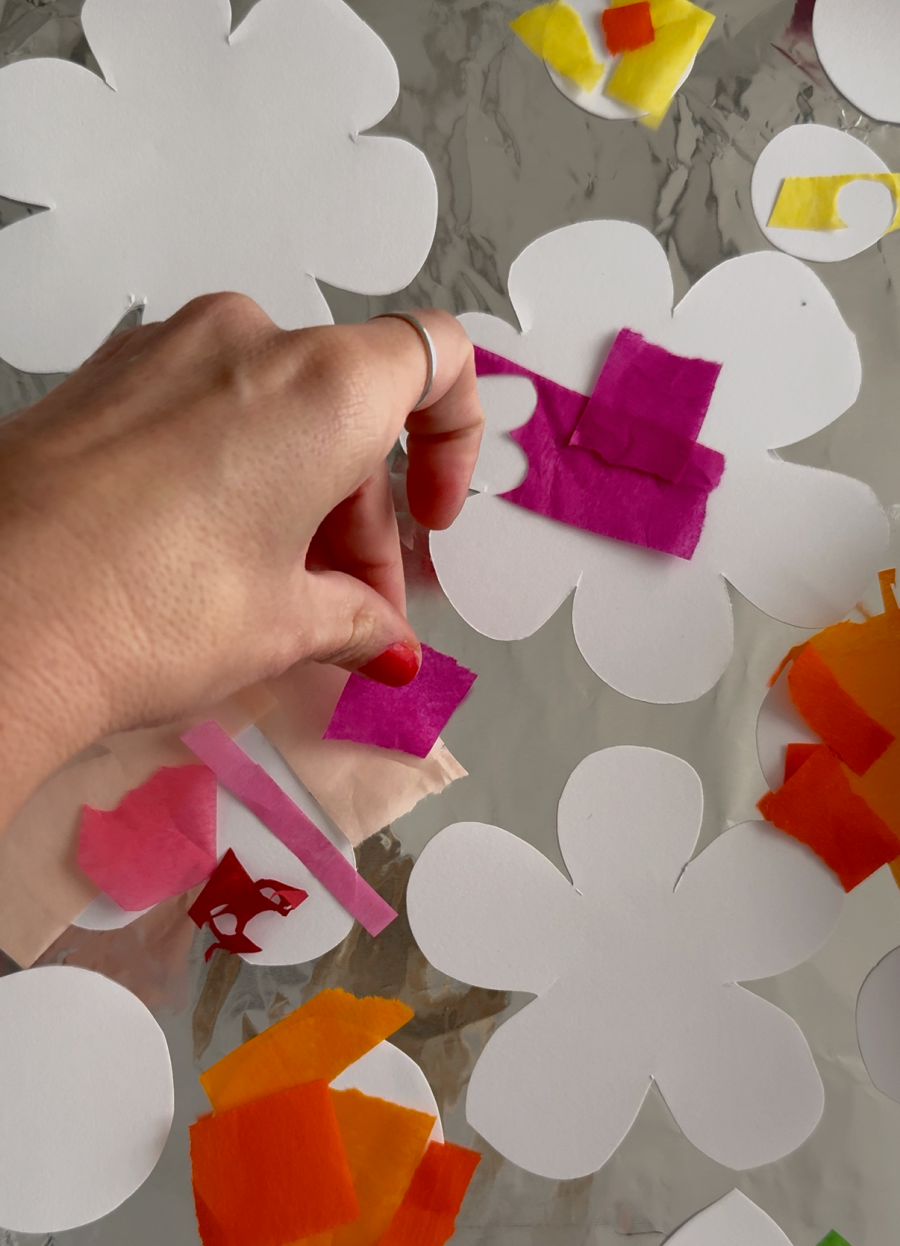
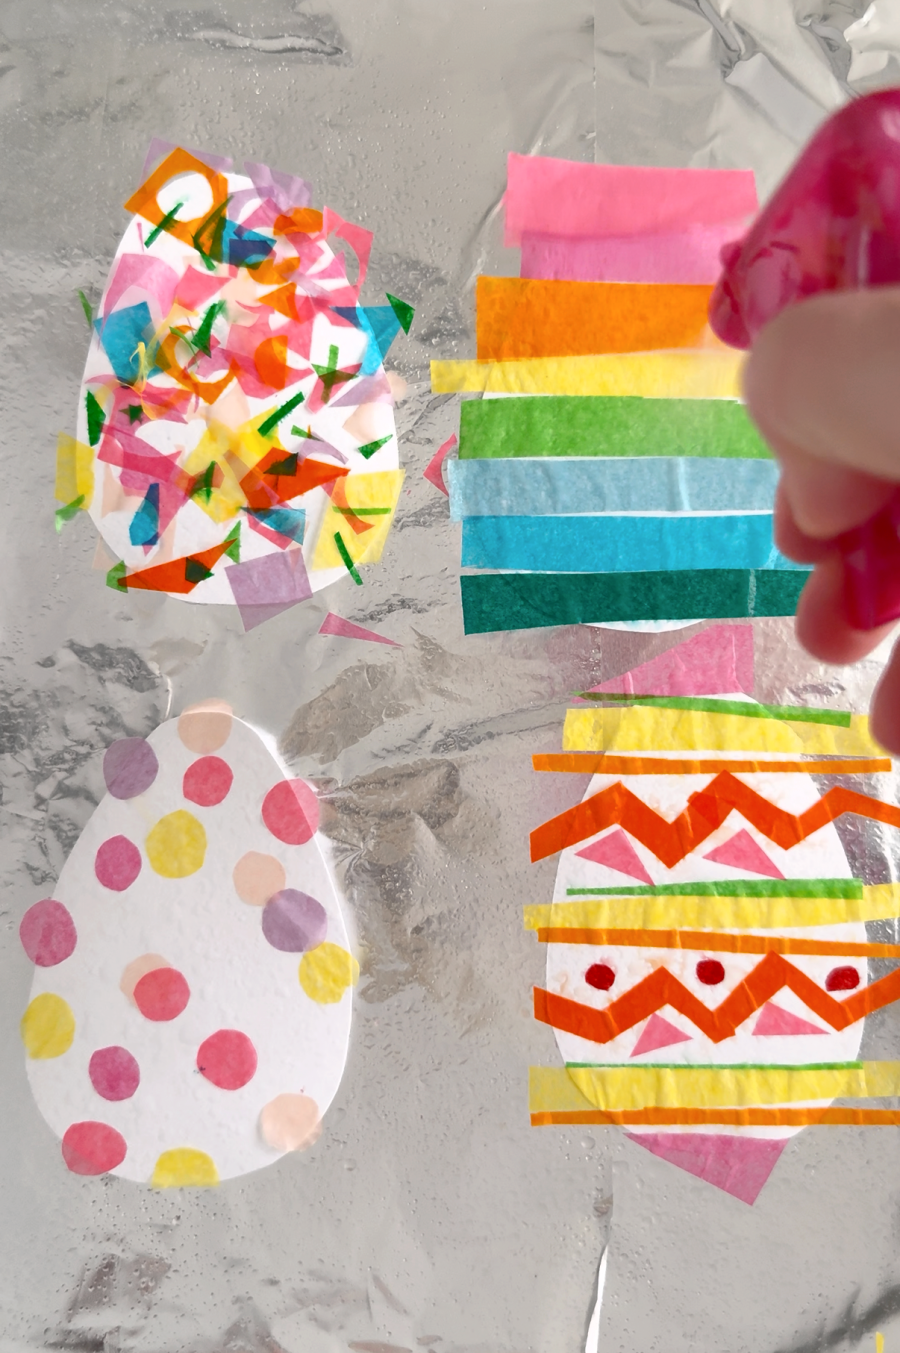
3. Place Tissue Paper onto the Egg
Next, spread glue inside the egg shape and press the tissue paper pieces onto the glue.
Kids can:
- Overlap colors for a mosaic look
- Create patterns or stripes
- Randomly fill the egg with bright colors
The layered tissue paper creates a beautiful stained-glass style effect.
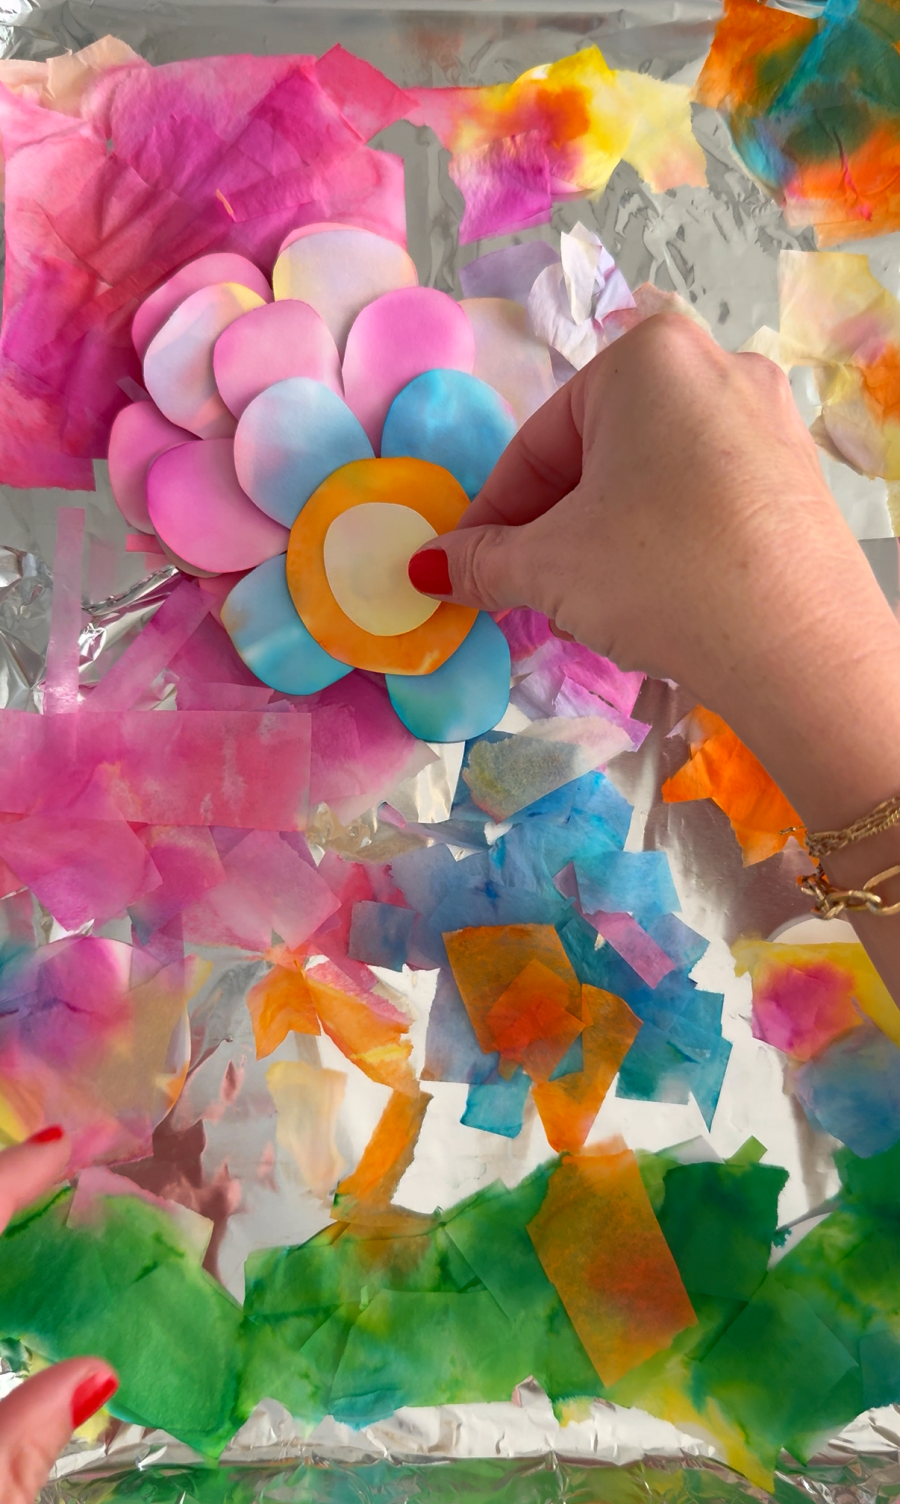
4.Spray with Water
Once all the designs are covered- Take a squirt bottle and spritz over the tissue paper. You want to come down on it so you don’t blow the tissue paper off. Completely saturated the tissue paper. The water is what makes the colors run and transforms the papers underneath!
5. Let the Craft Dry
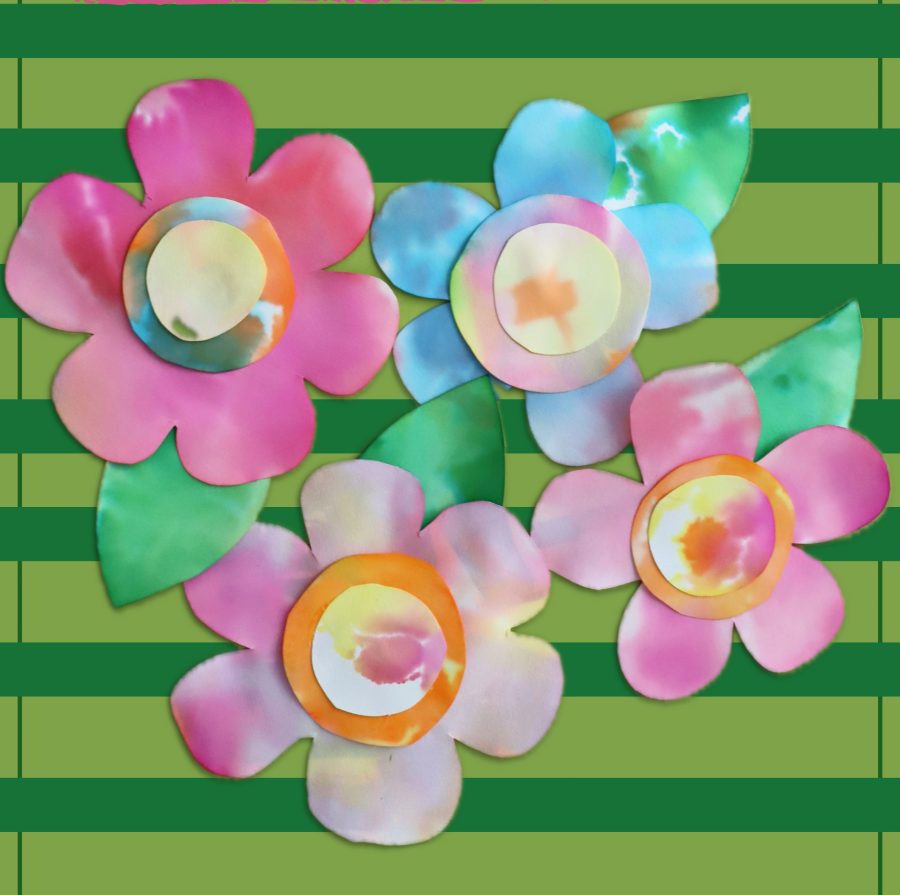
Here is the before and after. The tissue paper gets all wrinkly when it dries out.
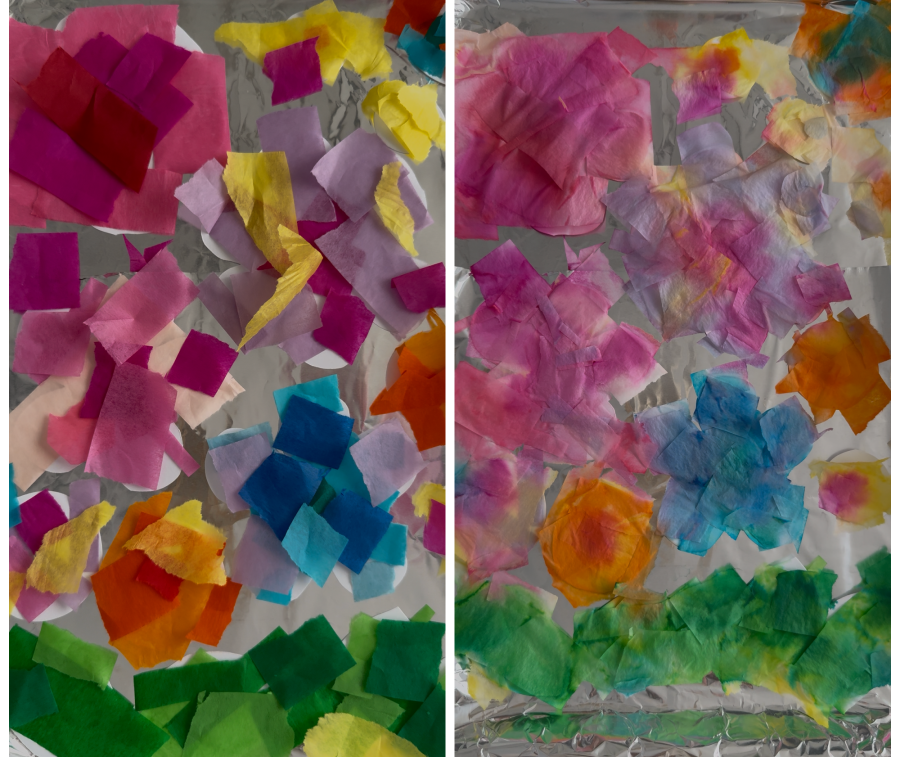
Allow the tissue paper to dry completely. This usually takes a few hours, depending on how much water was used.
If you wait for it to completely dry, the tissue paper comes off very easily. You can just life of the picture and it falls off.
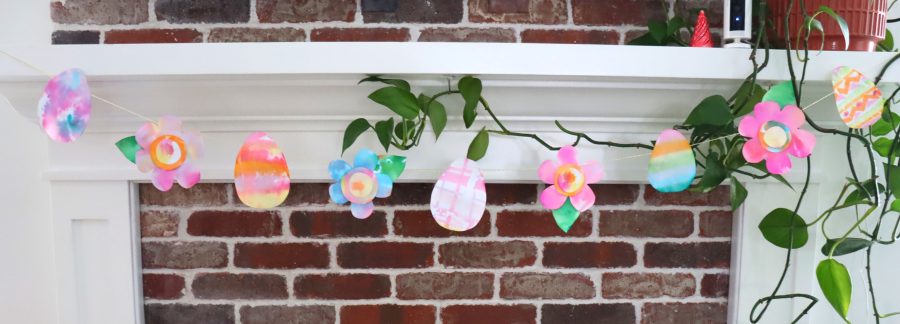
5. Display the Crafts
Now it’s time to show off the finished artwork!
You can display the eggs by:
- Hanging them on the refrigerator
- Creating an Easter bulletin board
- Turning them into Easter cards
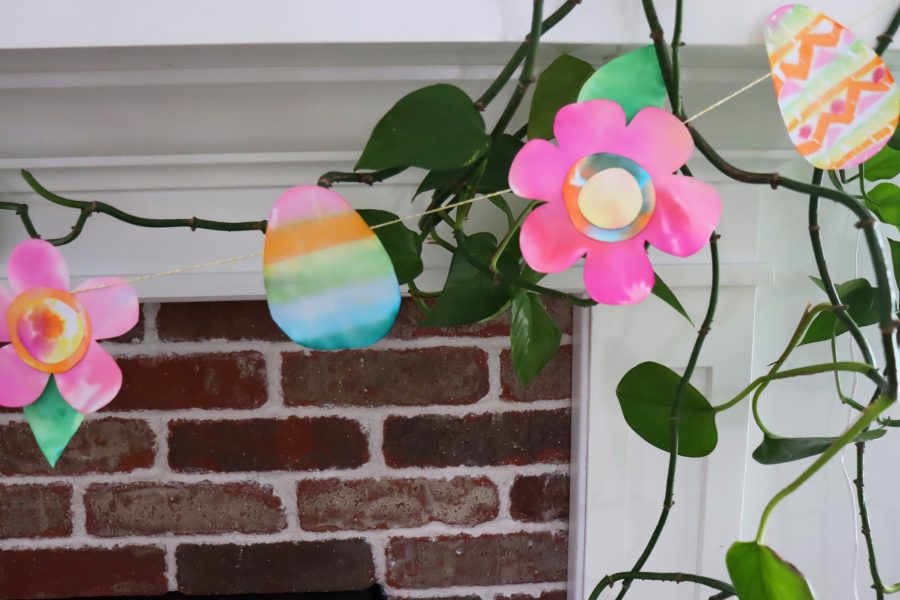
- Hanging them in a window for a colorful spring decoration
- Tape some twine to the back and create a garland
Tips for the Best Tissue Paper Egg Craft
Use different shades of the same color
This creates beautiful layered effects.
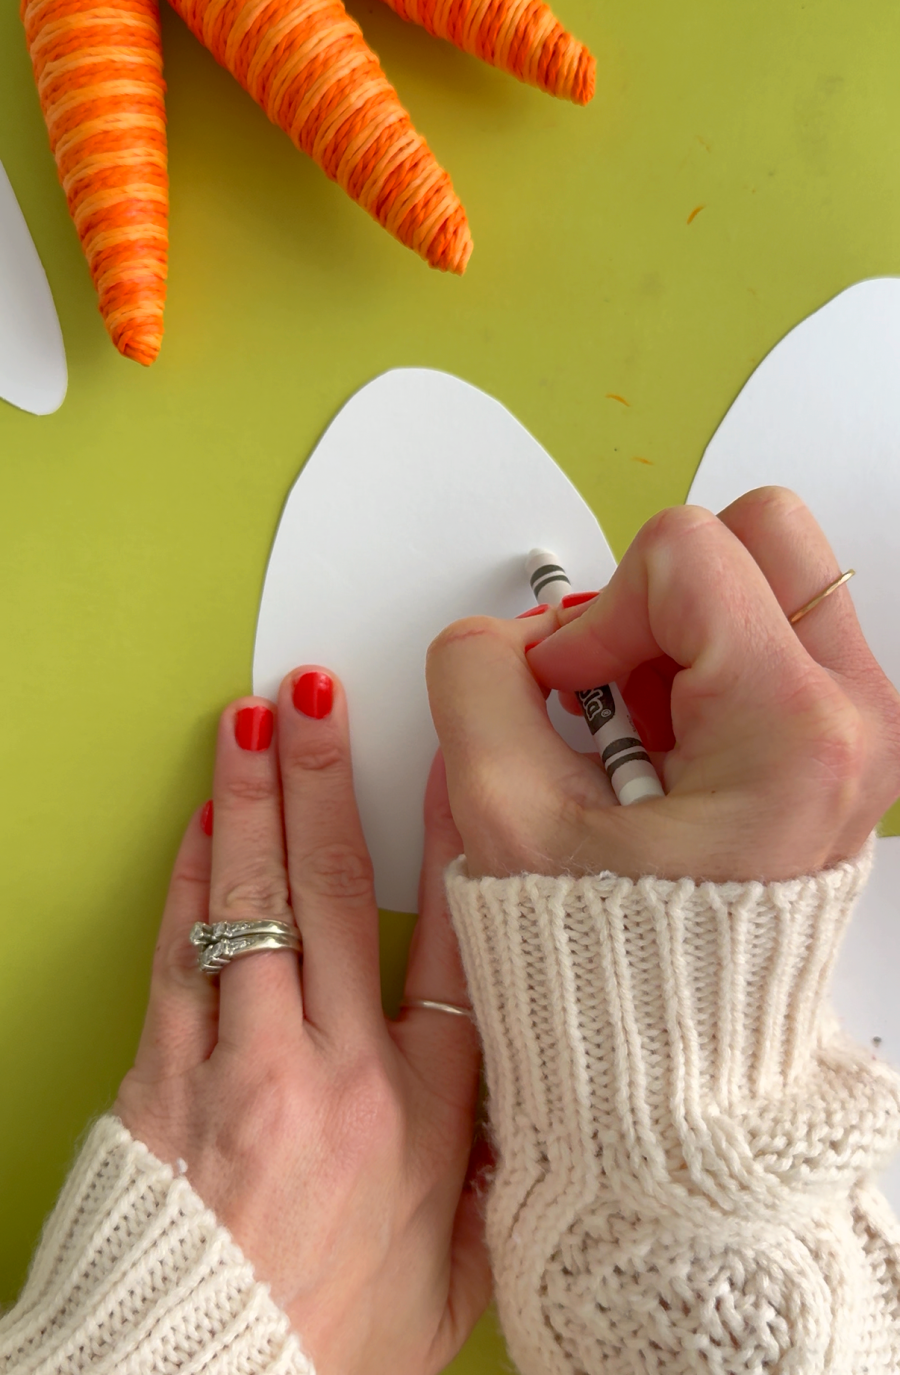
Outline the egg with a marker
A bold outline makes the colors stand out.
Try crumpling the tissue paper
Crumpled pieces add fun texture.
Use white glue or a crayon to create a water resist
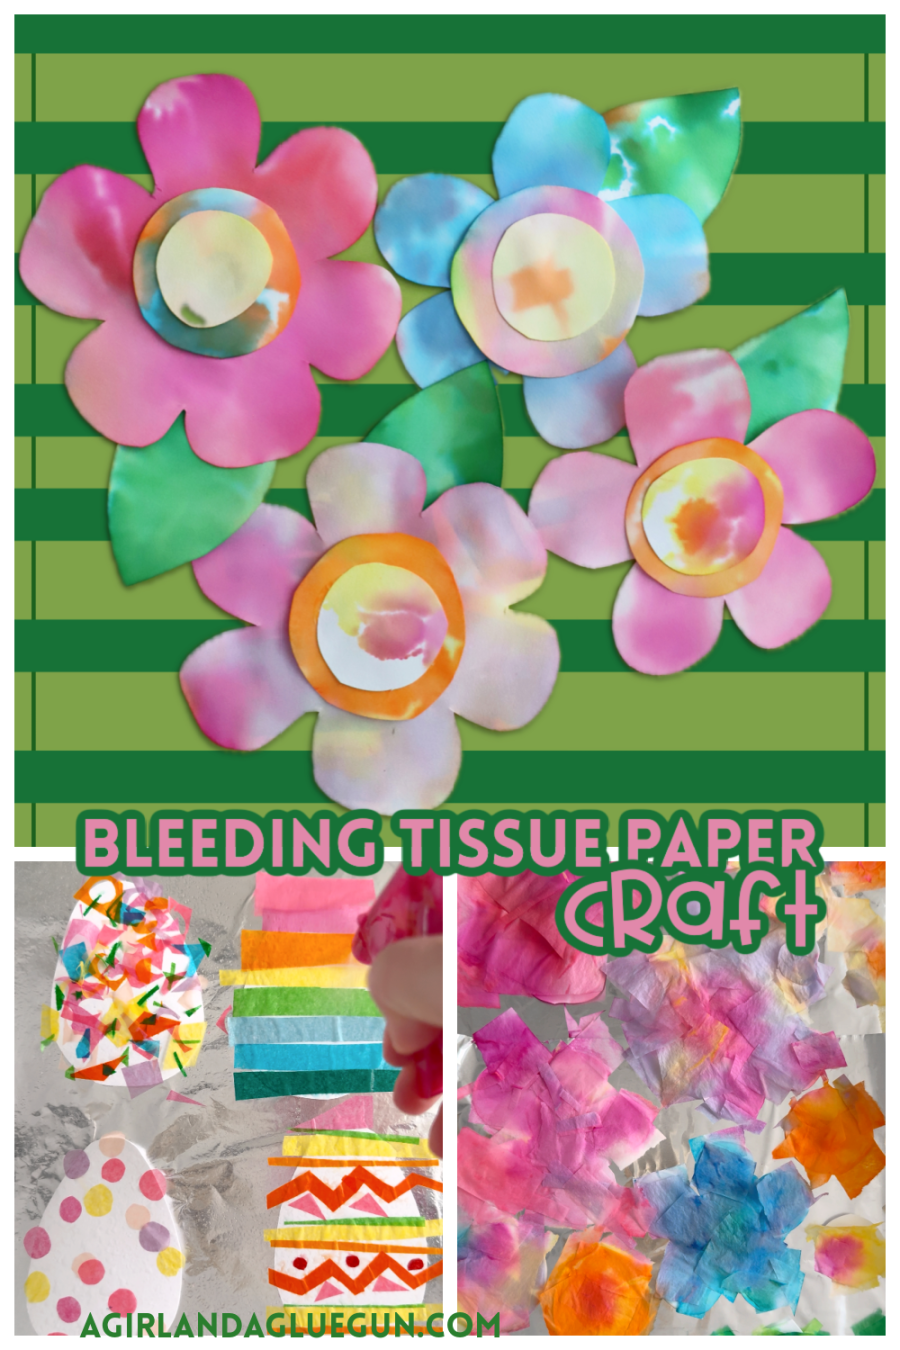
Save for later
Too busy to get crafting today? No problem! Pin this post to remind yourself about this project later! Sharing my projects helps me reach more people, allowing me to continue sharing free content!
A Bright and Easy Easter Craft
This tissue paper Easter egg craft for kids is a simple way to celebrate the colors of spring. With just a few materials and lots of creativity, kids can make beautiful Easter eggs that brighten up any space.
Whether you’re crafting at home or in the classroom, this project is a fun way for kids to get creative and celebrate the Easter season.
The BEST kid crafts and activities
and when I say kids, I mean kids of all ages!
- black glue art
- salt art
- hot rocks
- Yarn bracelets
- DIY window clings with puff paint
- Play dough activity mats
- Melted crayon art
- magic wallet
- Learn to make black scratch paper
- Melted Crayon Suncatcher
- Pressed Flowers Jar
- Bleeding Tissue craft
If you are looking for more fun kids’ crafts- my craft camp has two weeks full of fun projects that you will love to do as well!
Leave a Reply