
Looking for an easy travel activity that will keep kids entertained without screens? This DIY magnetic cookie sheet activity is portable, inexpensive, and perfect for road trips, airplanes, waiting rooms, church, restaurants, or quiet time at home. Best of all, you can customize it with your child’s favorite magnets!
If you’ve ever searched for a screen-free activity that actually keeps kids busy, this DIY magnetic cookie sheet is one of our all-time favorites.

It’s simple to make, easy to customize, and can be used for imaginative play, learning activities, storytelling, spelling practice, and more. Because everything sticks to the cookie sheet, there are fewer pieces rolling under the car seats—which every parent can appreciate!
Whether you’re planning a family vacation, looking for homeschool activities, or simply need something fun for rainy afternoons, this magnetic cookie sheet activity is one you’ll use again and again.
Why You’ll Love This DIY Magnetic Cookie Sheet
- Perfect for road trips
- Great quiet-time activity
- Encourages imaginative play
- Helps develop fine motor skills
- Easy to customize
- Uses inexpensive supplies
- Stores everything in one place
- Fun for toddlers, preschoolers, and elementary-aged kids
Supplies You’ll Need
You just need a cookie sheet and paint (and chalkboard paint if you want to go that route!)
- Metal cookie sheet or pizza pan
- Spray paint (optional)
- Acrylic craft paint
- Magnetic paint (if your pan isn’t magnetic)
- Paint brushes
- Clear sealer or Mod Podge
- Magnetic play pieces
Money-Saving Tip: Dollar Tree pizza pans are magnetic and make an inexpensive alternative to a cookie sheet.
How to Make a Magnetic Cookie Sheet Activity Board
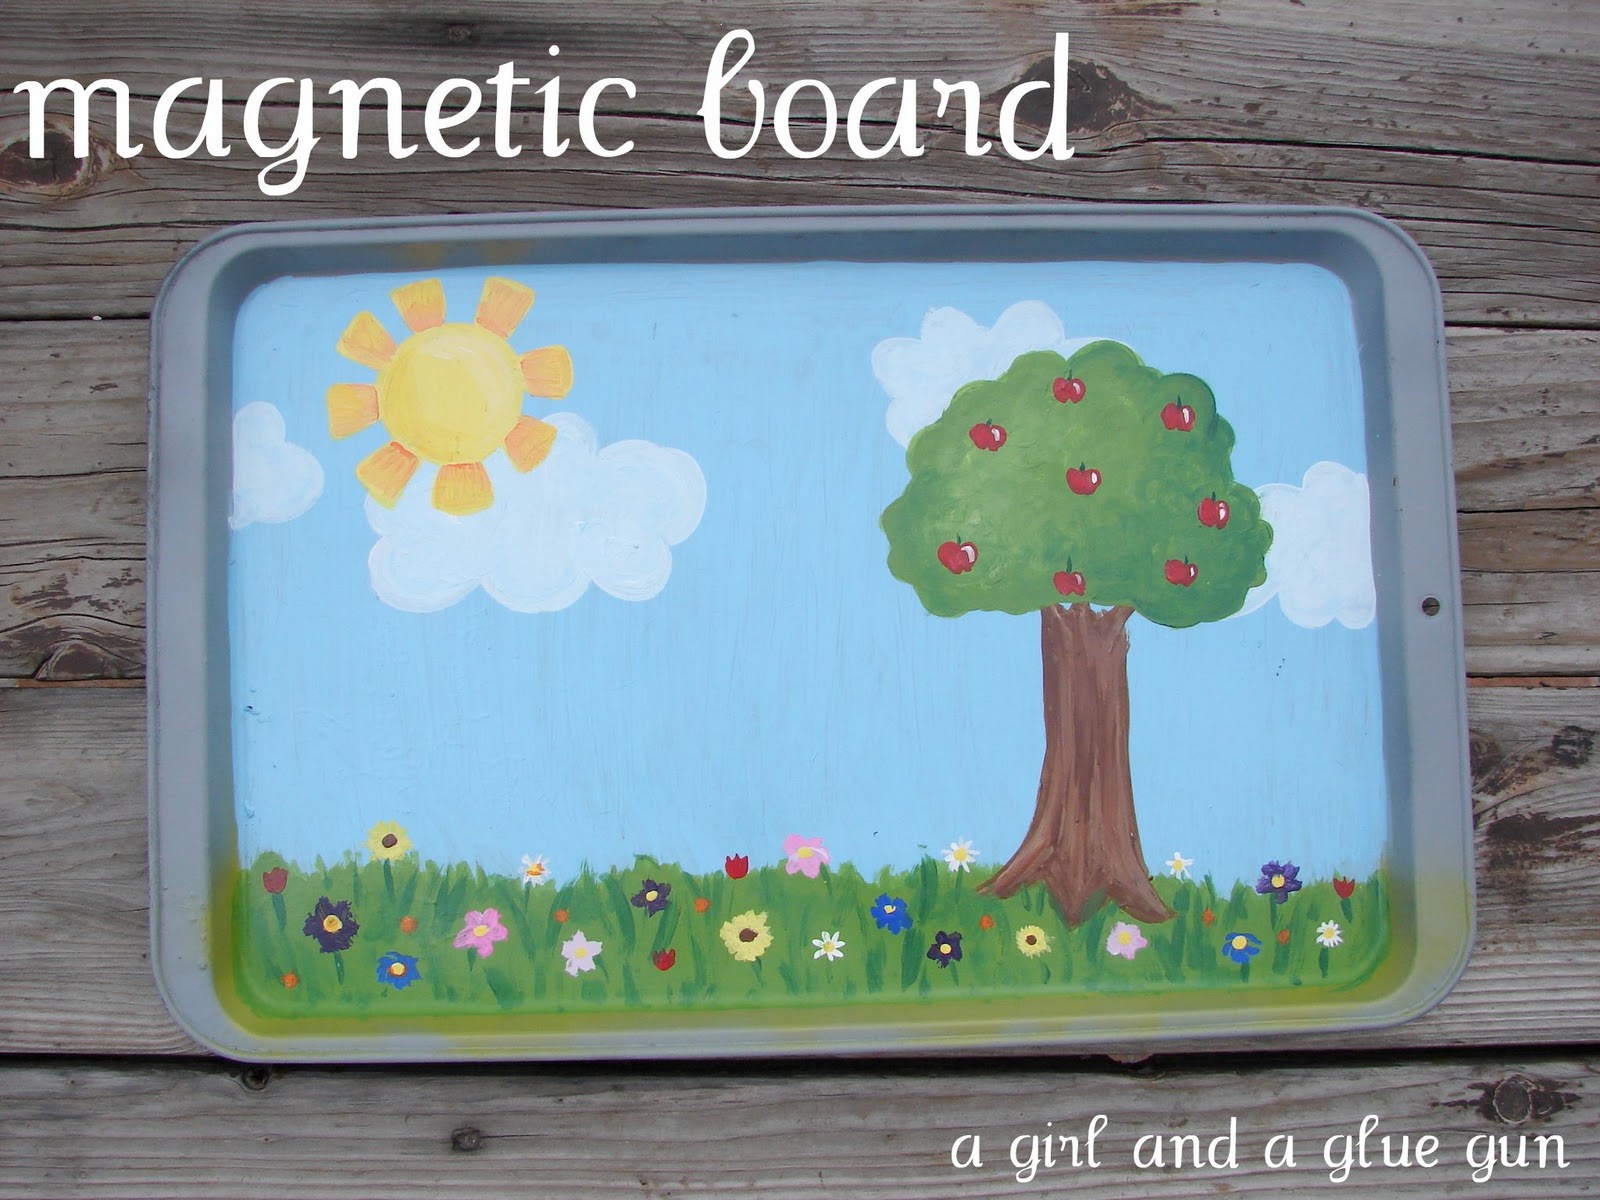
Step 1: Prepare Your Cookie Sheet
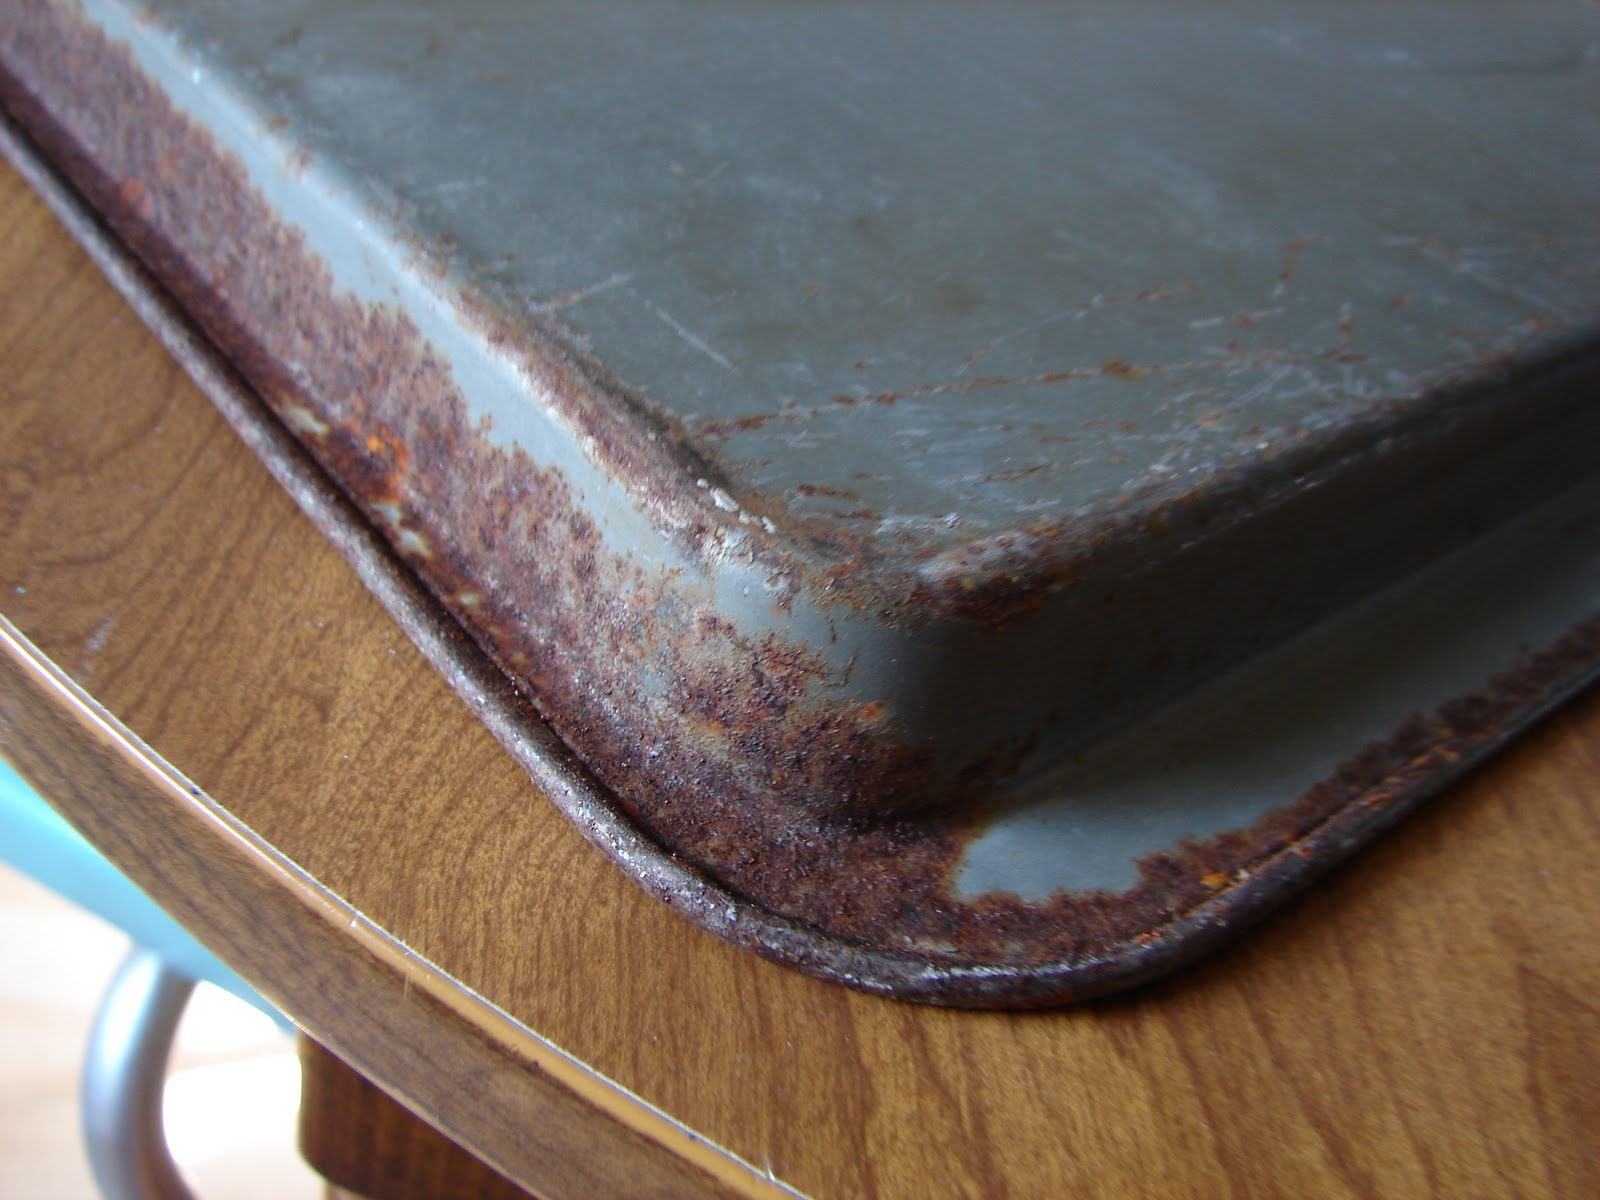
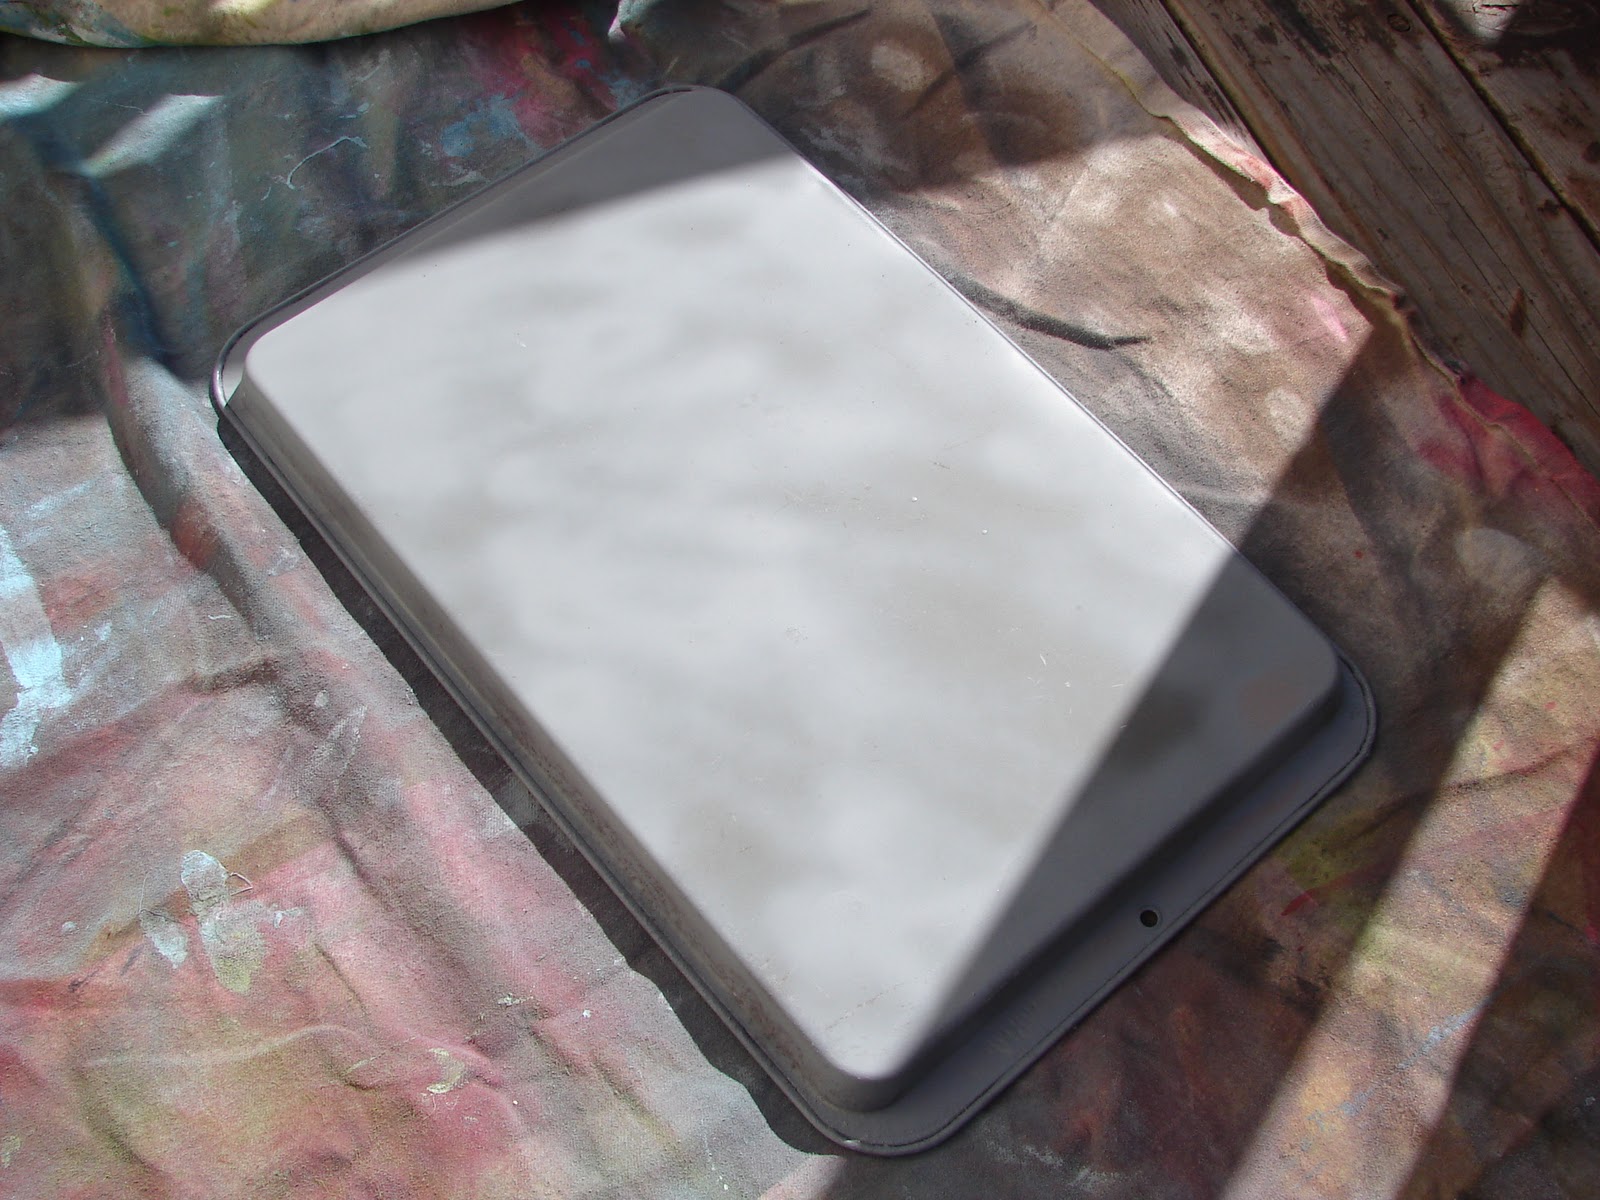
I had an older older cookie sheet, so I cleaned it well and spray-painted it with several light coats.
If you’re starting with a new cookie sheet or magnetic pizza pan, you can skip this step.
If your pan isn’t magnetic, simply apply magnetic paint before decorating.
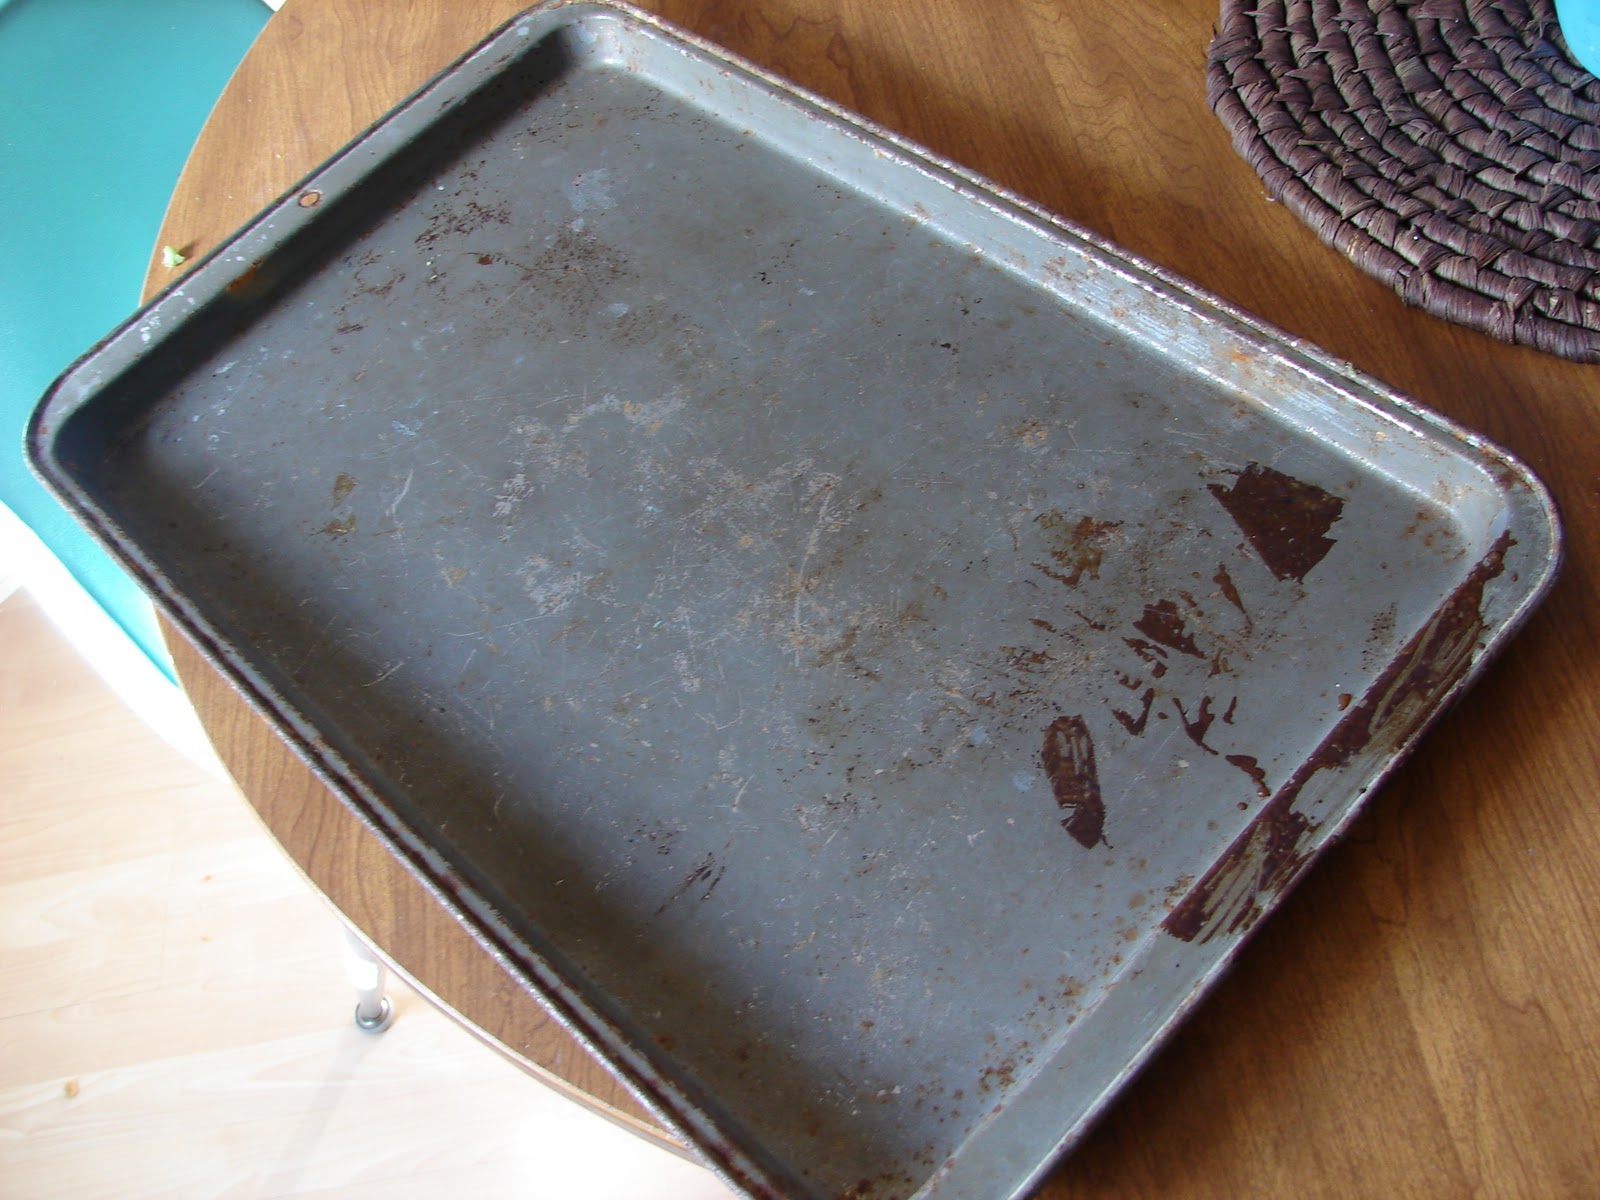
Don’t judge, I’m going to let you see a part of me that is seen by no man…
Step 2: Paint Your Background
Now comes the fun part!
Paint a background that matches the magnets your child will be using.
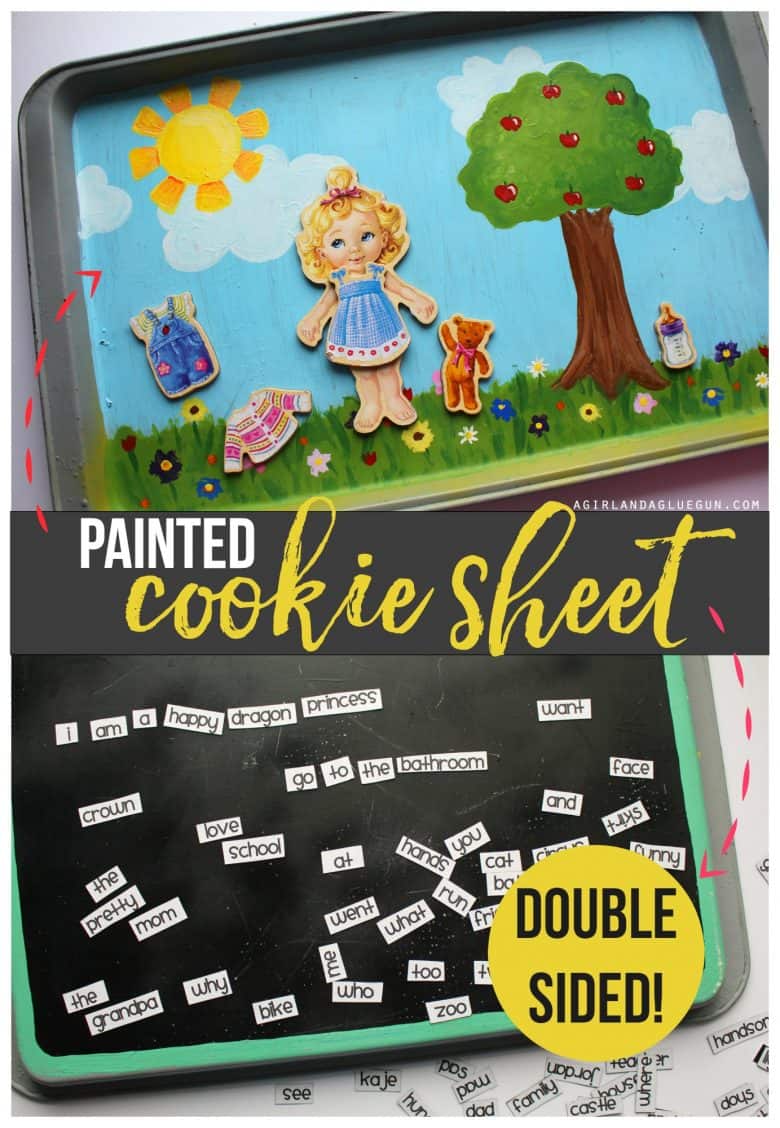
I created a grassy field with blue skies because we already owned lots of outdoor-themed magnets, but there are endless possibilities.
Some fun ideas include:
- Farm
- Zoo
- Beach
- Dinosaur world
- Outer space
- Fairy garden
- Construction site
- City streets
- Forest
- Under the sea
- Castle
- Airport
- Mountains
- Classroom
- Grocery store
The more personalized your scene is, the more your kids will enjoy playing with it.


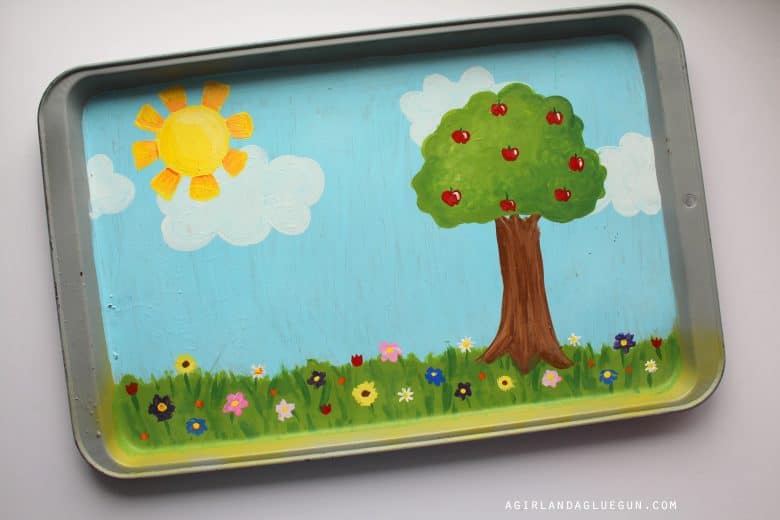
Step 3: Seal the Paint
Once your paint has completely dried, apply a clear spray sealer or a thin coat of Mod Podge.
This protects your artwork from scratches and helps it last through years of play.
Time to play!
We already had tons of magnets so I didn’t buy any specifically for this project, but I know you can get packs on Amazon! I’ll link a few cute ones I found below:
Magnets
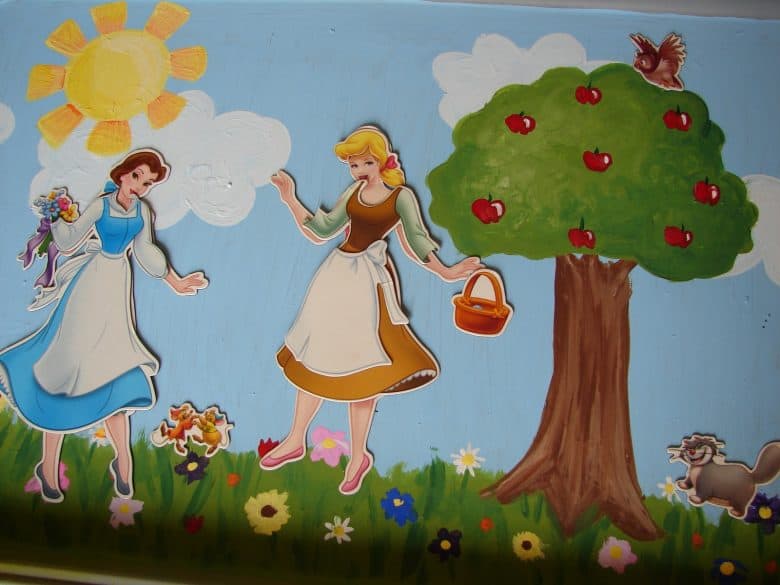

Some of them already came in tins to store, but you can always use a plastic bag, which I have found helpful for road trips, wedding ceremonies, and long graduations!
Make the Back into a Chalkboard
Want even more play value?
Paint the back of the cookie sheet with chalkboard paint.
Kids can:
- Practice handwriting
- Draw pictures
- Work on spelling words
- Practice math facts
- Play tic-tac-toe
- Write stories
It’s like getting two activities in one!
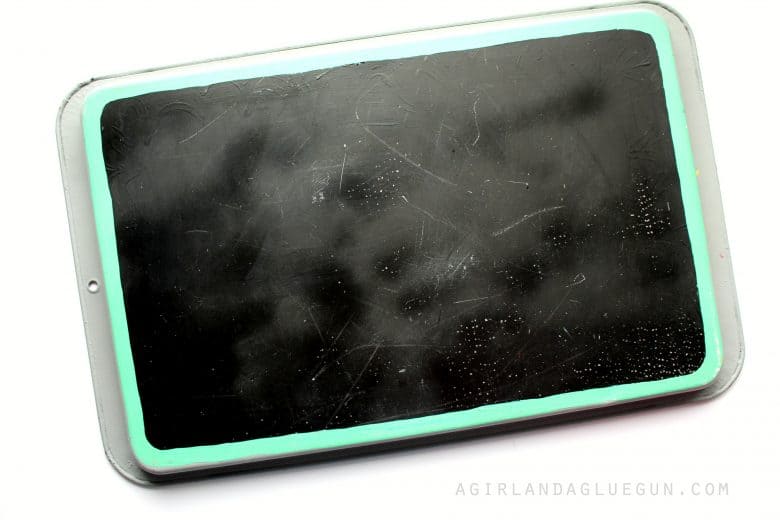


This was just some of the magnets we had for example! Its really up to you and what magnets you have for painting your background!
DIY your own magnets
If you want to make it more customizable for your kids, you can make your own magnets! This isn’t mandatory for this activity but its seriously such a fun and a unique way!
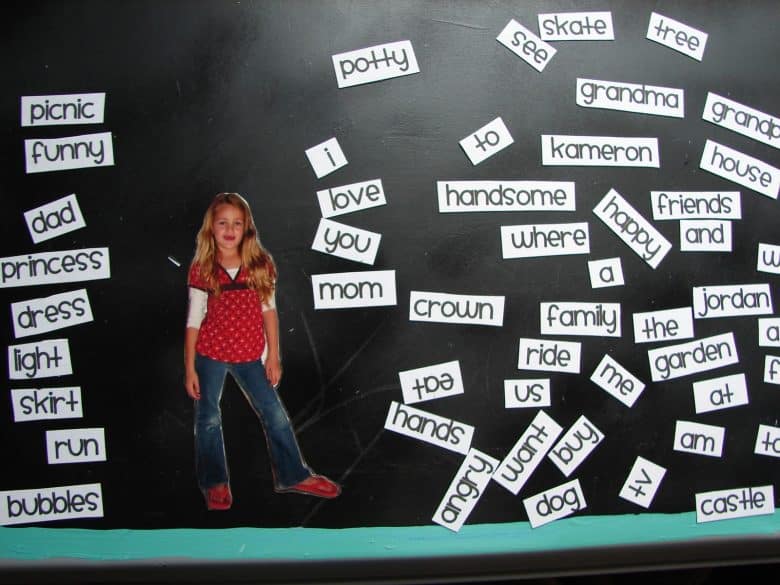
I just bought some magnetic paper and added a laminated picture (the laminating isn’t necessary, just a little obsessed at the moment)
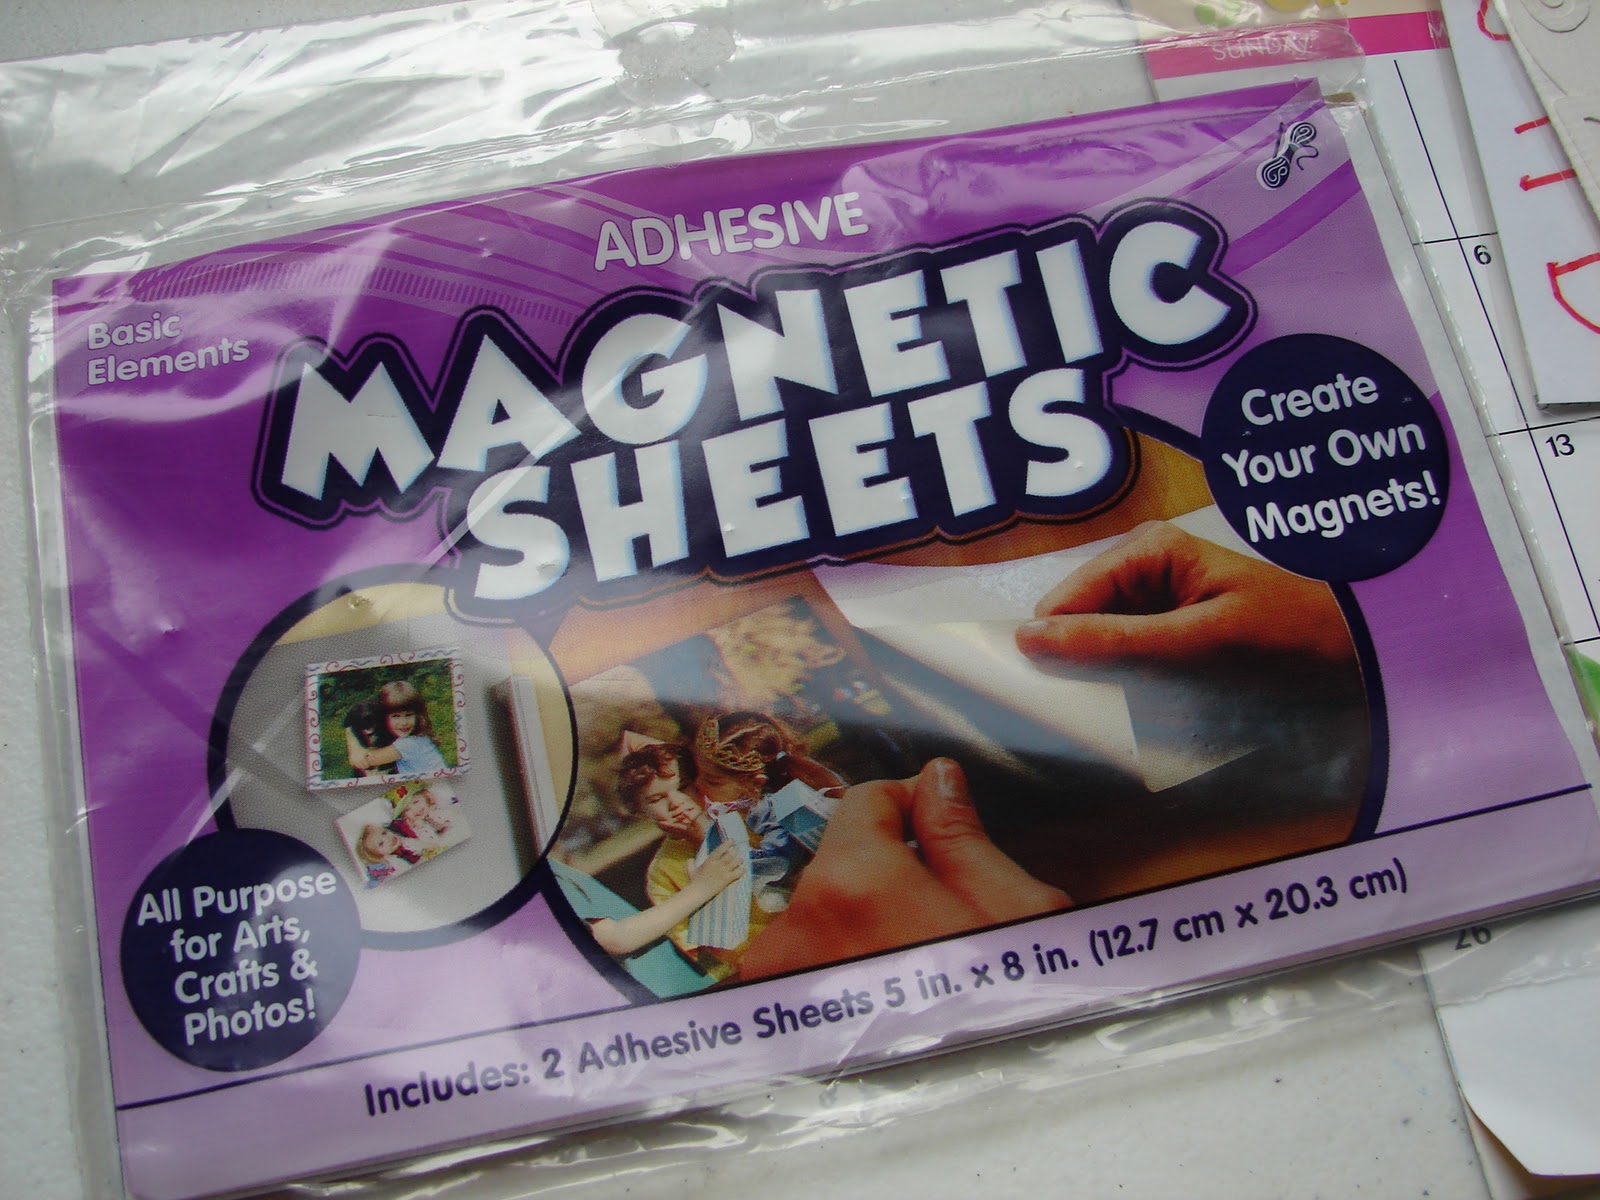
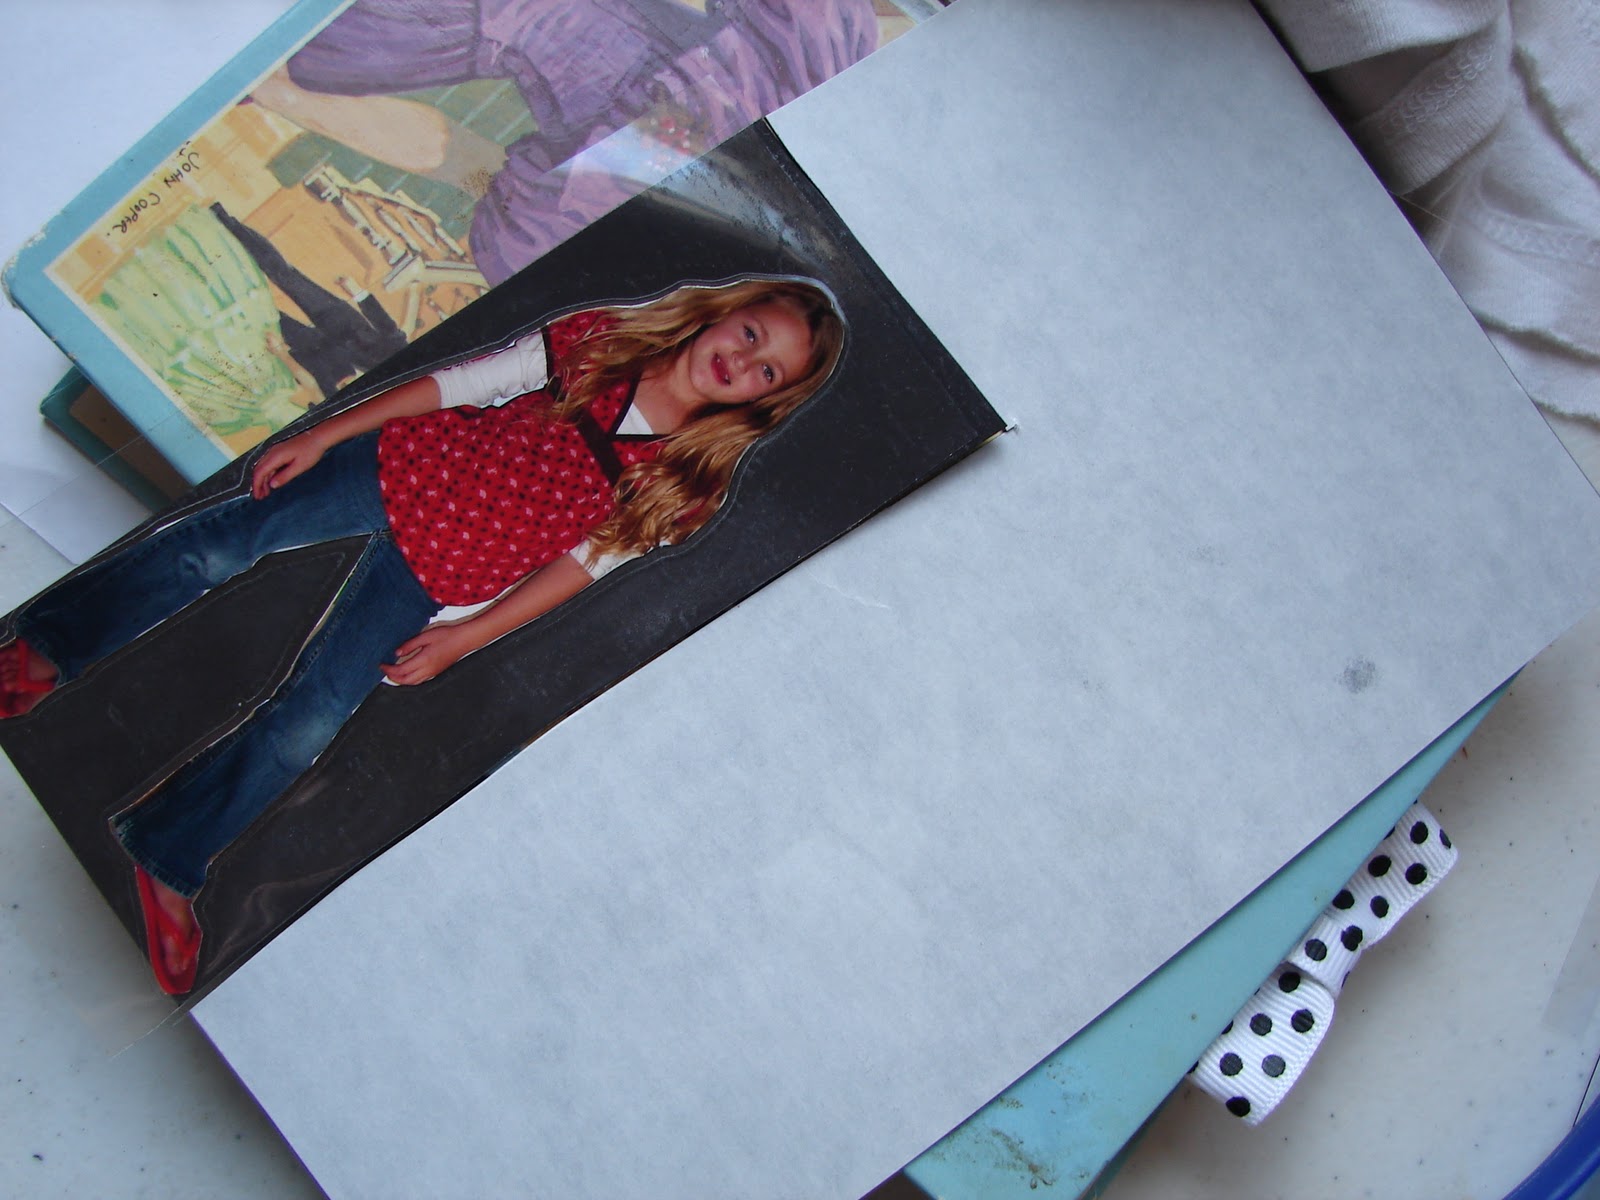
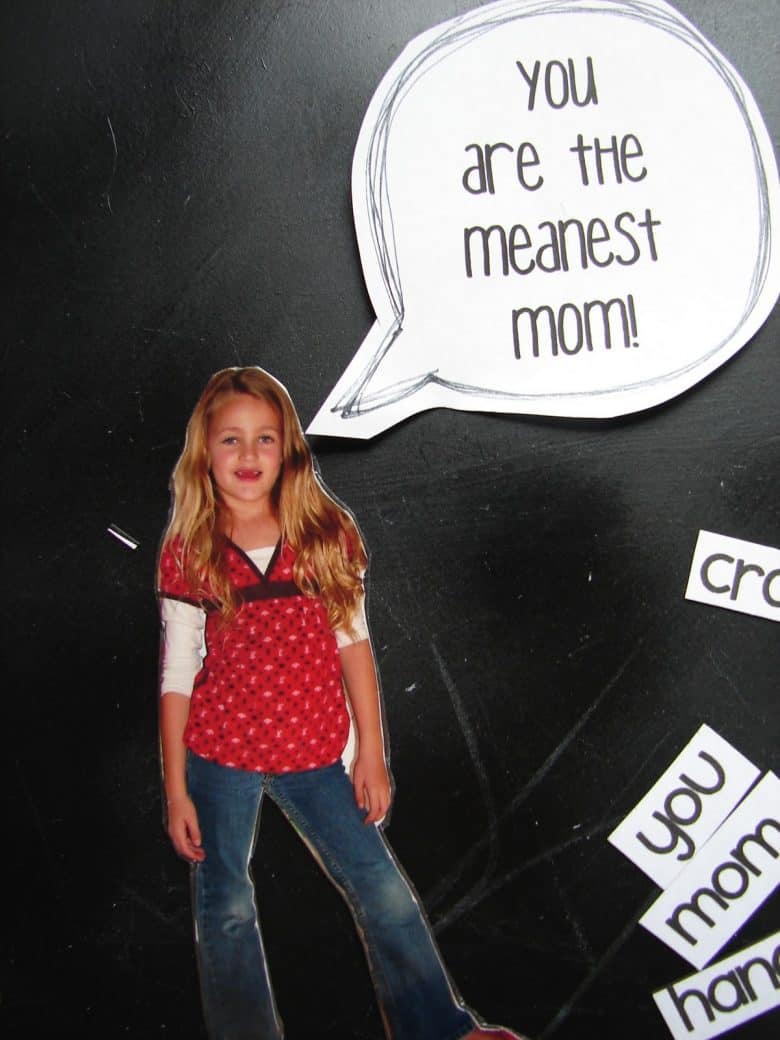
Find a photo you like and cut it out!
For the commentary, just open a word doc and start typing! You can use your kids names, numbers, types of animals, adjectives, etc. Anything that makes a fun sentence for your kids! I decided to make some words so my daughter can practice her sentences. (you can google site words for each grade!)

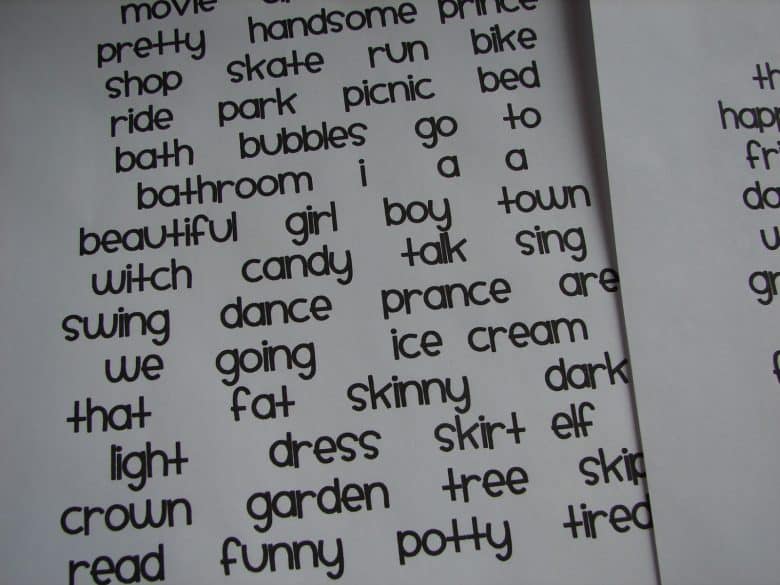

Print them out once you have your words and attach them to the magnetic paper.
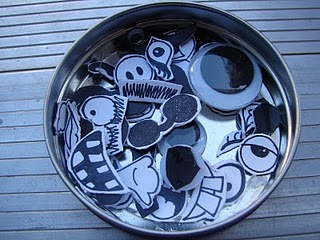
Then cut out all your words and you’re done! I love using altoid or mint tins to store stuff like this but I found this plastic case that worked perfectly. This is also great for traveling and can be thrown right into your purse.
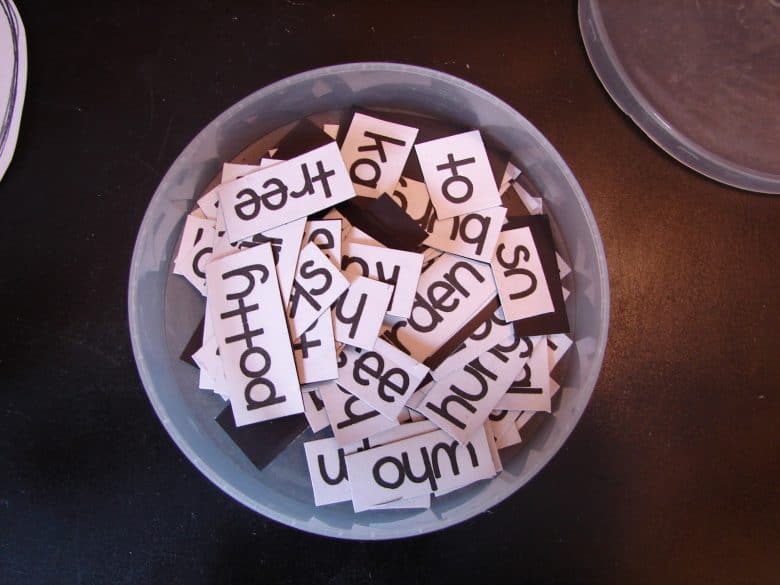

You can make magnets featuring:
- Family members
- Favorite pets
- Sight words
- Vocabulary words
- Numbers
- Letters
- Shapes
- Colors
- Emotions
- Animals
These pans can be stored in cupboards, under the bed, or in their toy bin! We had coloring book drawer and I would store our pan and magnets in there!
Educational Ways to Use a Magnetic Cookie Sheet
This activity isn’t just entertaining—it can also be educational.
Try using your magnetic board for:
- Sight word practice
- Sentence building
- Alphabet matching
- Counting activities
- Storytelling
- Pattern making
- Sorting by color
- Matching games
- Letter recognition
- Beginning reading practice
Teachers and homeschool families love this activity because it’s completely customizable.
Why This Makes the Perfect Travel Activity
Because everything sticks to the board, it’s ideal for:
- Long road trips
- Airplane travel
- Restaurants
- Church
- Waiting rooms
- Doctor appointments
- Grandparents’ house
- Camping trips
- Hotel rooms
The magnets stay contained, making cleanup quick and easy.
Frequently Asked Questions
What kind of cookie sheet works best?
A metal cookie sheet or magnetic pizza pan works best. Be sure to test it with a magnet before decorating.
What age is this activity for?
This project works well for toddlers through elementary-aged children. Just be sure to supervise young children with small magnets.
Can I use magnetic paint?
Yes! If your cookie sheet isn’t magnetic, magnetic paint is a great solution before decorating.
Can I make more than one scene?
Absolutely! Many families create seasonal scenes or switch out magnets throughout the year.
Storage Tips
One of the reasons I love this project is how easy it is to store.
Keep everything together by placing the magnets inside:
- A zipper storage bag
- Plastic pencil case
- Small storage bin
- Mint tin (for word magnets)
Then slide the cookie sheet into a bookshelf, toy bin, under the bed, or even behind a couch.
My kids loved this cookie sheet activity and all the customizable magnets! I hope your kids will love them too! If they enjoyed this craft- check out some of my other kids crafts I tagged down below.
Save This DIY Magnetic Cookie Sheet Activity for Later!
Too busy to get crafting today? No problem! Pin this post to remind yourself about this project later! Sharing my projects helps me reach more people, allowing me to continue sharing free content!
The BEST kid crafts and activities
and when I say kids, I mean kids of all ages!
- black glue art
- salt art
- hot rocks
- Yarn bracelets
- DIY window clings with puff paint
- Play dough activity mats
- Melted crayon art
- magic wallet
- Learn to make black scratch paper
- Melted Crayon Suncatcher
- Pressed Flowers Jar
- Bleeding Tissue craft
If you are looking for more fun kids’ crafts- my craft camp has two weeks full of fun projects that you will love to do as well!
Final Thoughts
A DIY magnetic cookie sheet is one of those simple projects that keeps kids entertained for years. Whether you’re using it for imaginative play, educational activities, or travel entertainment, it’s an inexpensive way to encourage creativity while cutting down on screen time.
The best part? You can customize it again and again with new themes, magnets, and learning activities as your child grows.
Kristy says
This is a great idea! My kiddos would all love this! Thanks for sharing!
taidyeoriginal says
You rock. that is all.
tai @ http://taidyeoriginal.blogspot.com
Cherie@DragonfliezCreationz says
love the travel size ones and the ones of your kids. Great idea!
Valerie says
I love this idea SO much. It is on my list of stuff to do. I plan to head to goodwill for some cookie sheets- I only have one and it's far worse than the one you used 😉
taidyeoriginal says
Oh wait, one more thing. several my pans totally look like that. lol
Christy Ross says
FANTASTIC idea! We've got lots of magnetic letters but a the front of our fridge ISN'T. This will be a GREAT way for the kids to practice and learn there letters and give me a little peace in the kitchen!
Tami / Maddie Lumpkin says
That is a fabulous idea! Would make great birthday party gifts. Also,loved seeing your art in the last post.Very impressive!
Amanda (Stitch To Stitch) says
Oooohhh! What a(nother) great idea. I might have to head to DI for some pans and then hit the Wal-Mart for some spray paint. Big Girl has some magnetic paper dolls that are longing for a place to spread out and play.
Thanks!
MommyMeagan says
Love the one of your daughter with the words for sentences. So cute. I made a mod podge- not NEARLY as fun as these- version for my girls on long road trips. http://www.fairlyfabulousblog.com/2010/09/car-trays.html
Michelle says
I stop by and read your blog daily! This is an awesome idea! Thanks so much for sharing!
AmieAnn says
Ha ha aha! Love the "Your the meanest Mom" I think I must hear that about 10 times a day.. oh wait.. did I say 10.. I meant 10 thousand! Thanks for the chuckle!
Lovely Lindsay says
what a great idea!!! love the magnet daughter doll! lol
Michelle says
I love these ideas! I am so going to make magnets out of pics of my girls. And the homemade word magnets…love it all!
~The Bargain Babe says
I have got to make a farm set! The dvd case is just genius, perfect for long car rides.
OOoh and wouldn't that make a great birthday gift for a child?! My youngest is turning one. As soon as he quits licking everything in sight, Mama is making him a travel magnet set!
MommyMeagan says
Thanks so much for adding me, lady!
Liz H says
Thanks for featuring me on your blog!
Tam @ Sew Dang Cute says
Awww, thanks Kimbo for featuring my magnets and mentioning my blog! You are so sweet!!! This is a super cute idea, I especially love the princesses. My girls would flip over those!!
Jessica says
This has to be one of my favorite things you've posted about! I LOVE this idea. I picked up a small cookie sheet at the dollar store and I was wondering if I could paint it the other day. I totally can! Thanks for the inspiration! I can't wait to try this out.
justenoughstyle.blogspot.com
Elizabeth says
A new follower…. I like this blog and the last idea. It is nice that I found you.. I invite you to follow my blog as well. I think you like it.
Een nieuwe volger. Ik vind dit blog en de het laatste idee leuk. Het is fijn dat ik je gevonden heb. Ik nodig je uit om mijn blog te volgen. Ik denk dat je het leuk zult vinden.
Hartelijke groeten. Elizabeth
Lee Ann says
Oh this is great! What kind of paint did you use for the picture? x
Nelly says
What a great idea.
http://sassandfrasscrafts.blogspot.com/ says
LOVE IT.
Tess
Christina says
That is really an awesome idea!
Rhonda says
That is so adorable! I love the dolls you made of your daughter… what a great idea!
betsey at b.bar says
This is such a cute idea!! Love the magnetic words! And I'm SO happy to see I'm not the only one that has a baking sheet like that. One question – what is this DI place everyone keeps talking about???
Betsey at b.bar
http://www.bybbar.blogspot.com
Kristin says
This is my new weekend project! Thank you!! I love it 🙂