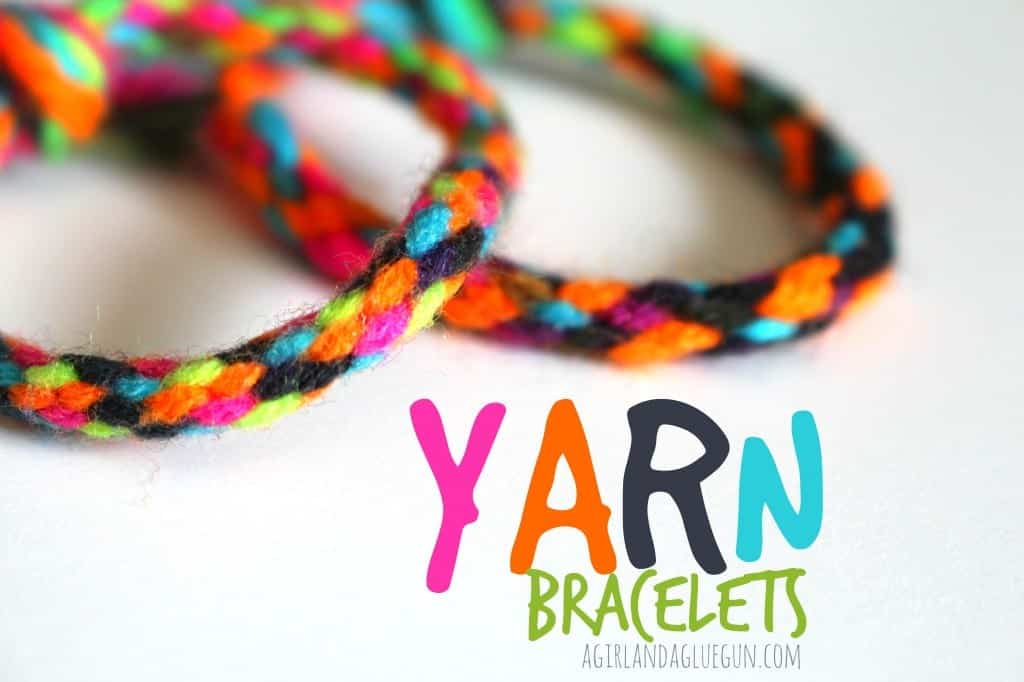
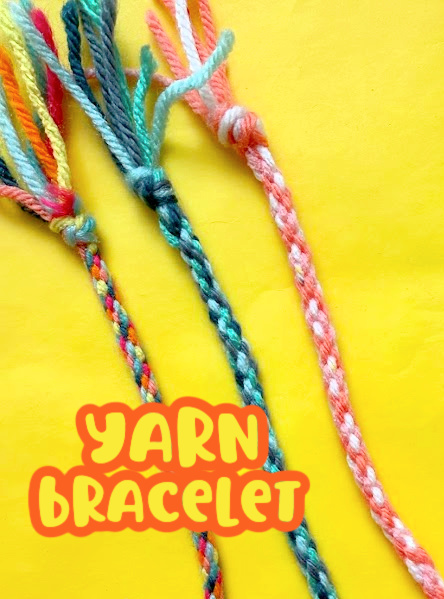
Looking for an easy bracelet craft for kids? These DIY yarn bracelets are simple to make using yarn, a piece of cardboard, and a pair of scissors! This is a fun craft for kids of all ages and a great way to keep little hands busy during summer, school breaks, or a rainy afternoon.
The best part? You don’t need a fancy bracelet-making loom. You can make your own cardboard bracelet maker from something you probably already have at home.
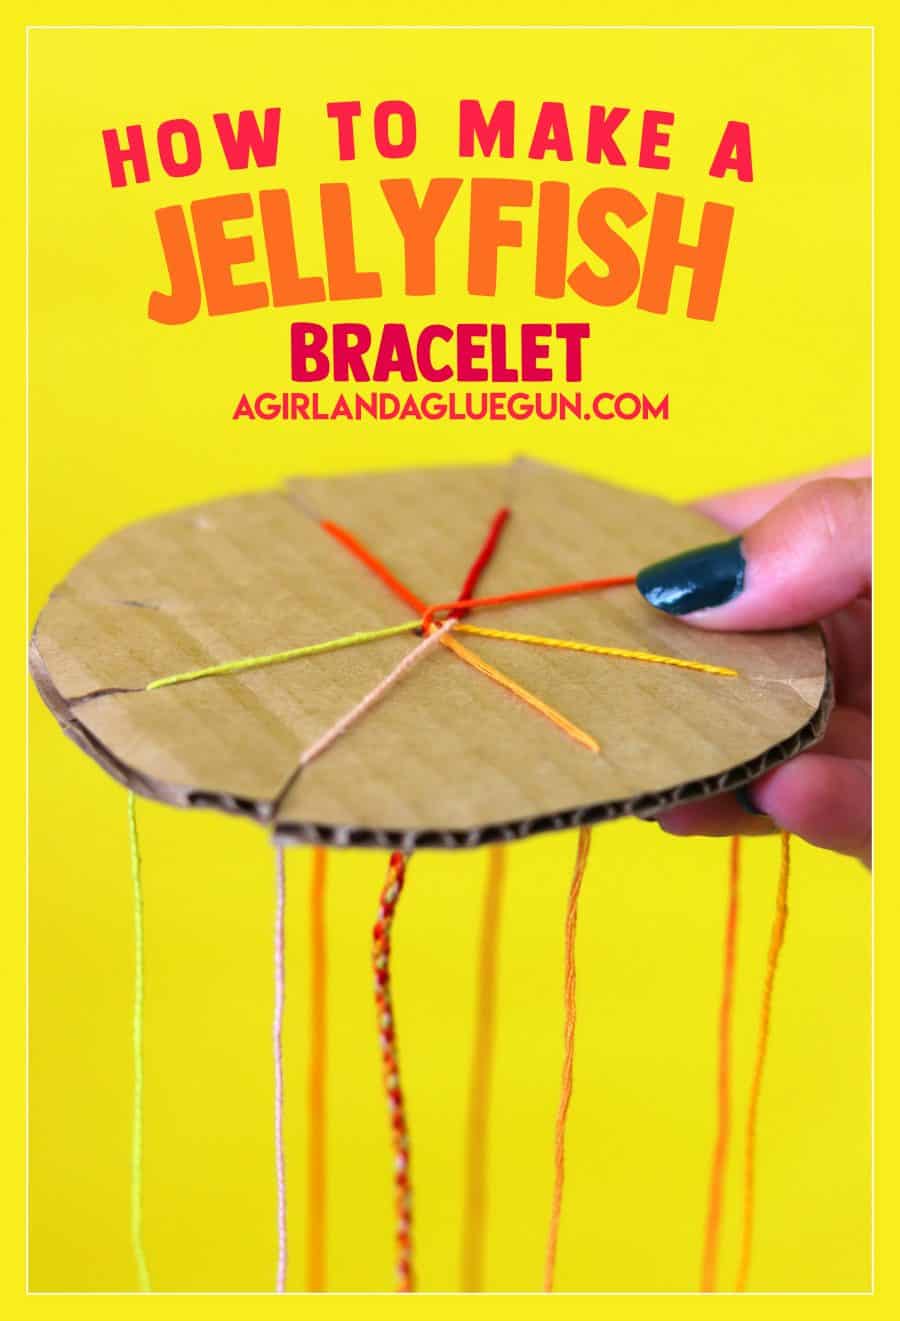
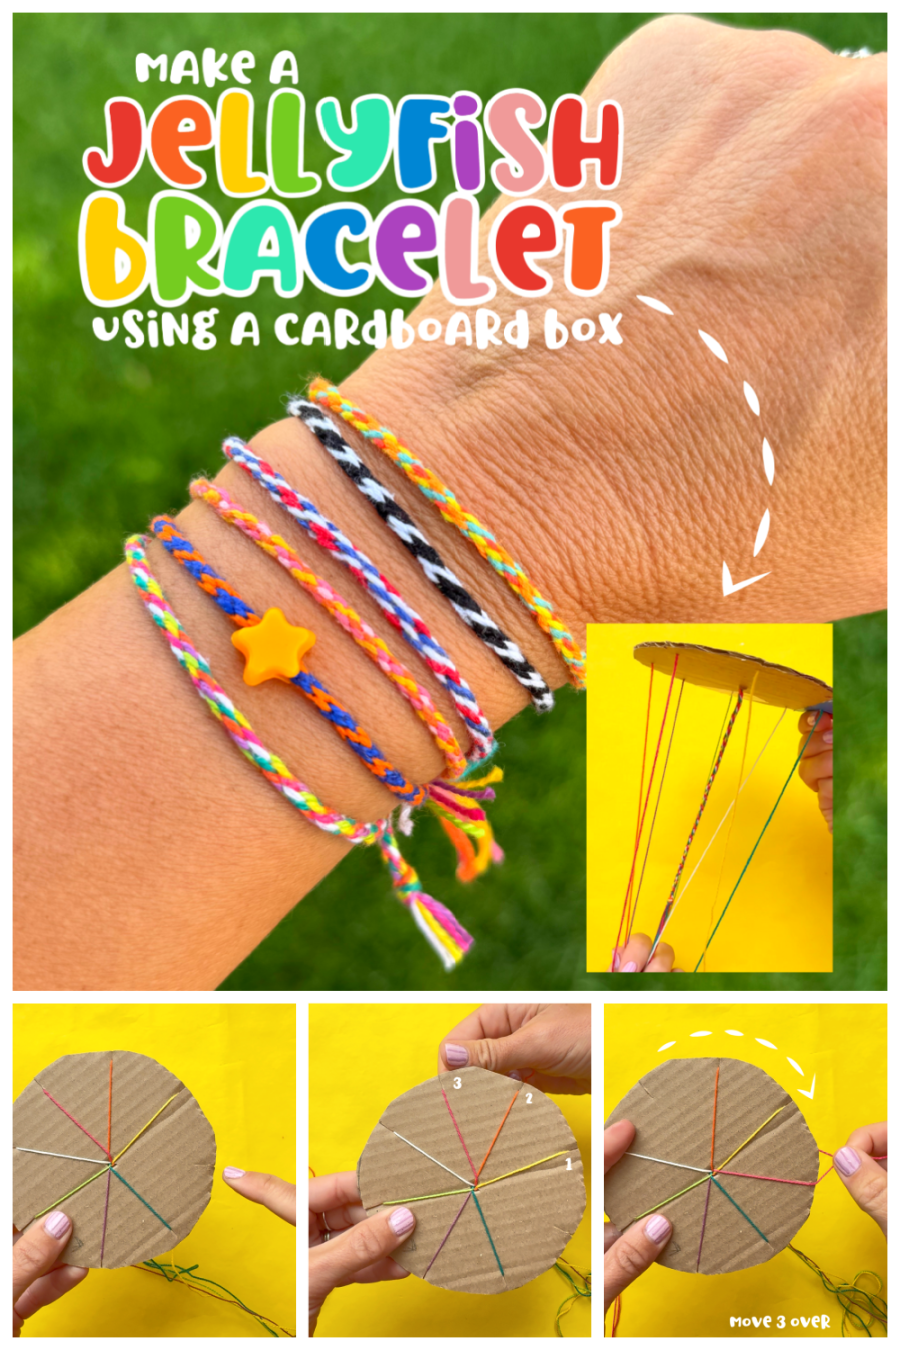
These bracelets are sometimes called jellyfish bracelets because of the way the yarn hangs down while you’re making them. The finished bracelet has a fun, round shape that makes it a little different from traditional flat friendship bracelets.
We are officially in SUMMER MODE (Yikes!) I always panic…. how am I supposed to keep these kids entertained??? (and I don’t mean Xbox, iPod, or video games entertained)
So, I’m going into summer survival mode!
All week long–fun games and crafts that will be inexpensive and easy to do to keep your kiddos busy (and out of your hair!) WITH a BIG giant finale at the end!!!!
First up: Jellyfish bracelets!
Why You’ll Love This Yarn Bracelet Craft
This is one of my favorite bracelet crafts for kids because it’s easy to set up and doesn’t require a lot of supplies.
It’s also a great craft for practicing counting, following directions, and fine motor skills.
Once kids learn the pattern, they can work on their bracelets independently. And unlike some bracelet crafts where you have to keep the entire project in your hands, this one can be set down and picked back up later.
It’s also an inexpensive craft, making it perfect for:
- DIY gifts for friends
- Summer crafts for kids
- Camp crafts
- Classroom crafts
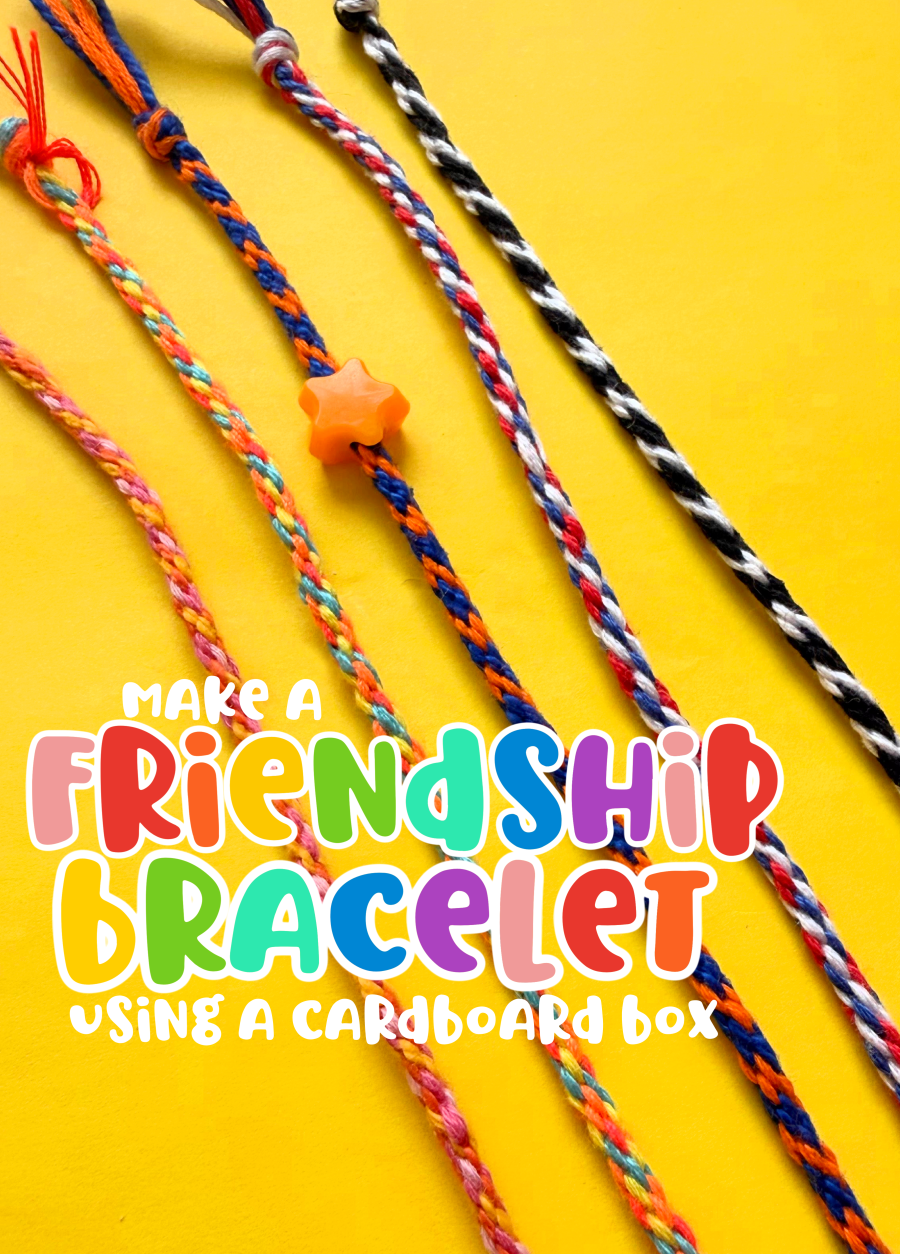
- Friendship bracelets
- Sleepover activities
- Rainy day crafts
- Kids’ craft parties
We also referred to these as Jellyfish Bracelets since they look like jellyfish while making them!
EDITED TO ADD: I posted these on TikTok and someone informed me this type of braiding is called kumihimo! Make sure to go search it out! It is an amazing technique. This is a very basic version! But still very cool and very easy!
The last time my sister came up we made these bracelets her son had made for a school fundraiser! They are super easy and we had a blast making them! This is one of the best and easiest ways to make bracelets, especially with little kids! It’s mostly counting and you can set it down and come back later to finish it. (Unlike when you have rubber bands on your fingers making a rubber band bracelet!)
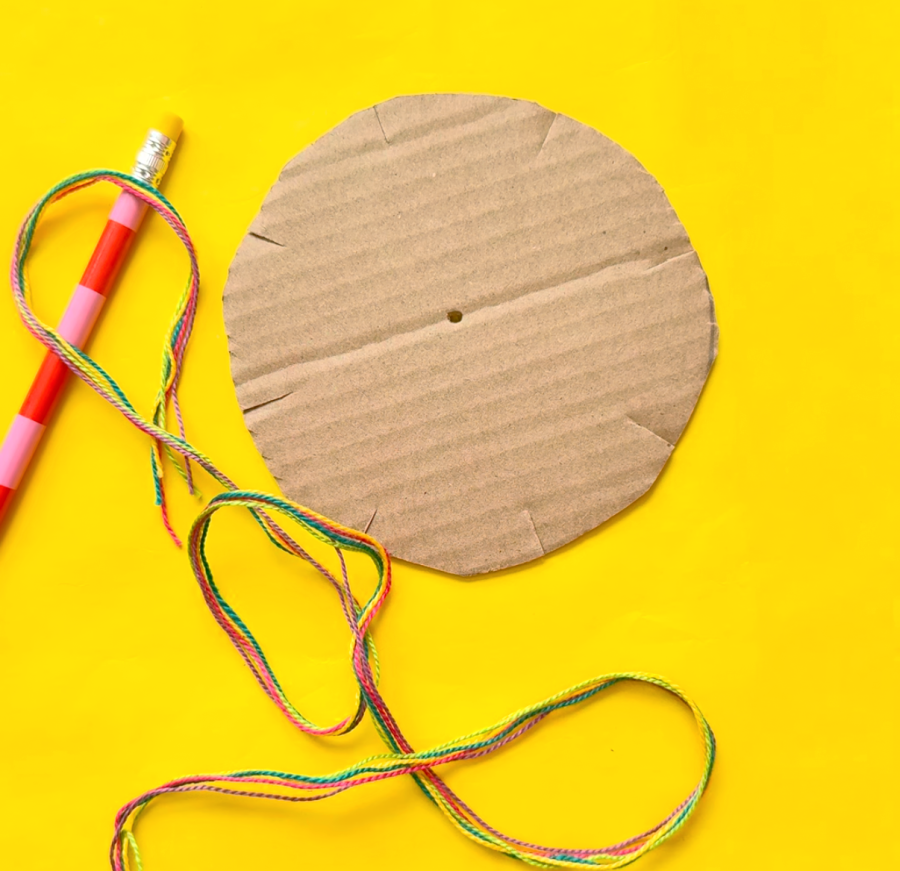
Supplies for Making a Yarn Bracelet
Here’s what you’ll need:
- A piece of cardboard – about 5–6 inches across
- 7 strands of yarn – about 18–24 inches long each
- Scissors
- Optional: embroidery floss for a thinner bracelet
I like using multicolored yarn because it creates a really pretty pattern as you braid the bracelet.
How to Make a Cardboard Bracelet Maker
Start by making your bracelet loom.
Cut a circle out of a piece of cardboard. You can trace around a bowl or another round object to make your circle.
Use your scissors to cut a small hole in the center of the cardboard.
Next, cut 8 evenly spaced notches around the outside edge of the cardboard. Each notch should be about an 1/2 to 1 inch deep.
The notches don’t have to be perfectly even. As long as you have 8 spots for your yarn, your cardboard loom will work.
How to Make a Yarn Bracelet
Step 1: Prepare Your Yarn
Cut 7 pieces of yarn, approximately 18–24 inches long.
Tie all seven pieces together in one large knot.
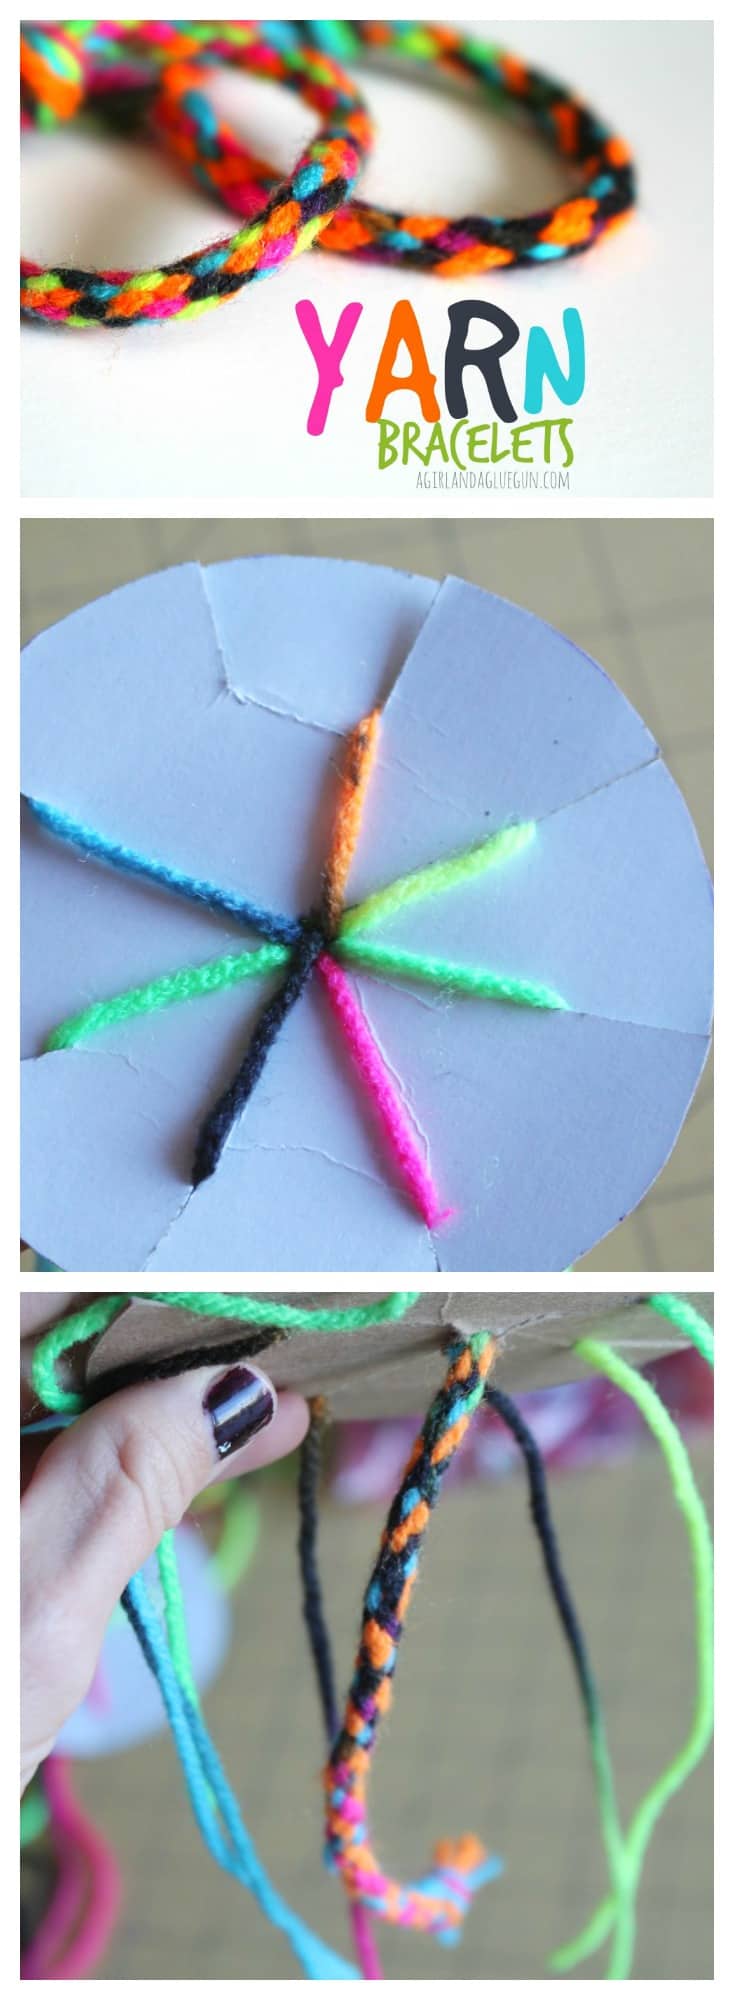
Push the knot through the hole in the center of your cardboard.
If the knot slips through the hole, simply make a larger knot by tying it a second or third time.
The knot should sit underneath the cardboard.
Step 2: Place the Yarn in the Notches
Turn the cardboard over so you’re looking at the top.
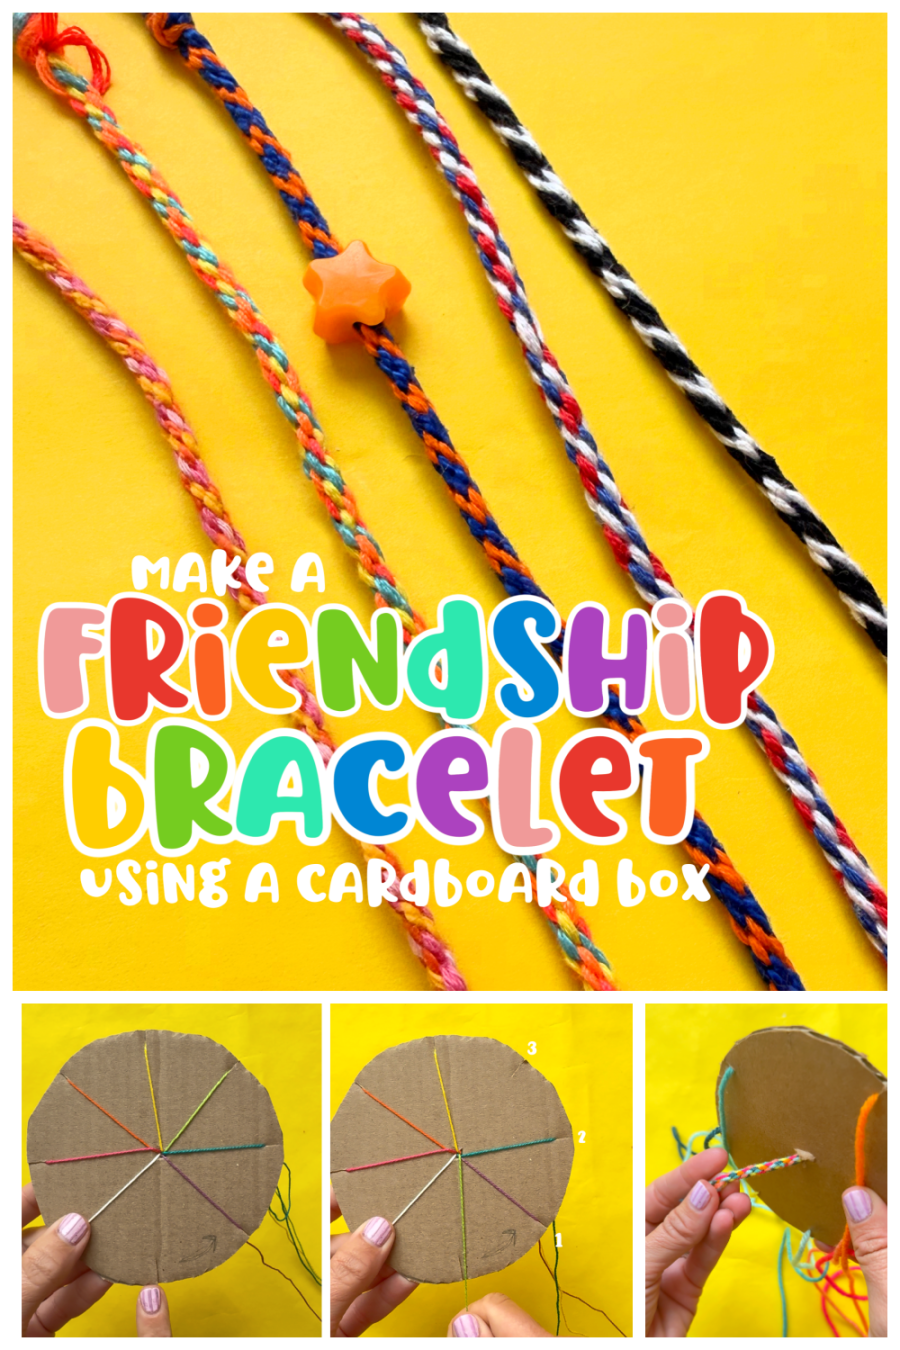
Take each strand of yarn and place one strand into each notch.
Because you have 7 strands of yarn and 8 notches, you’ll have one empty notch.
That’s exactly what you want!
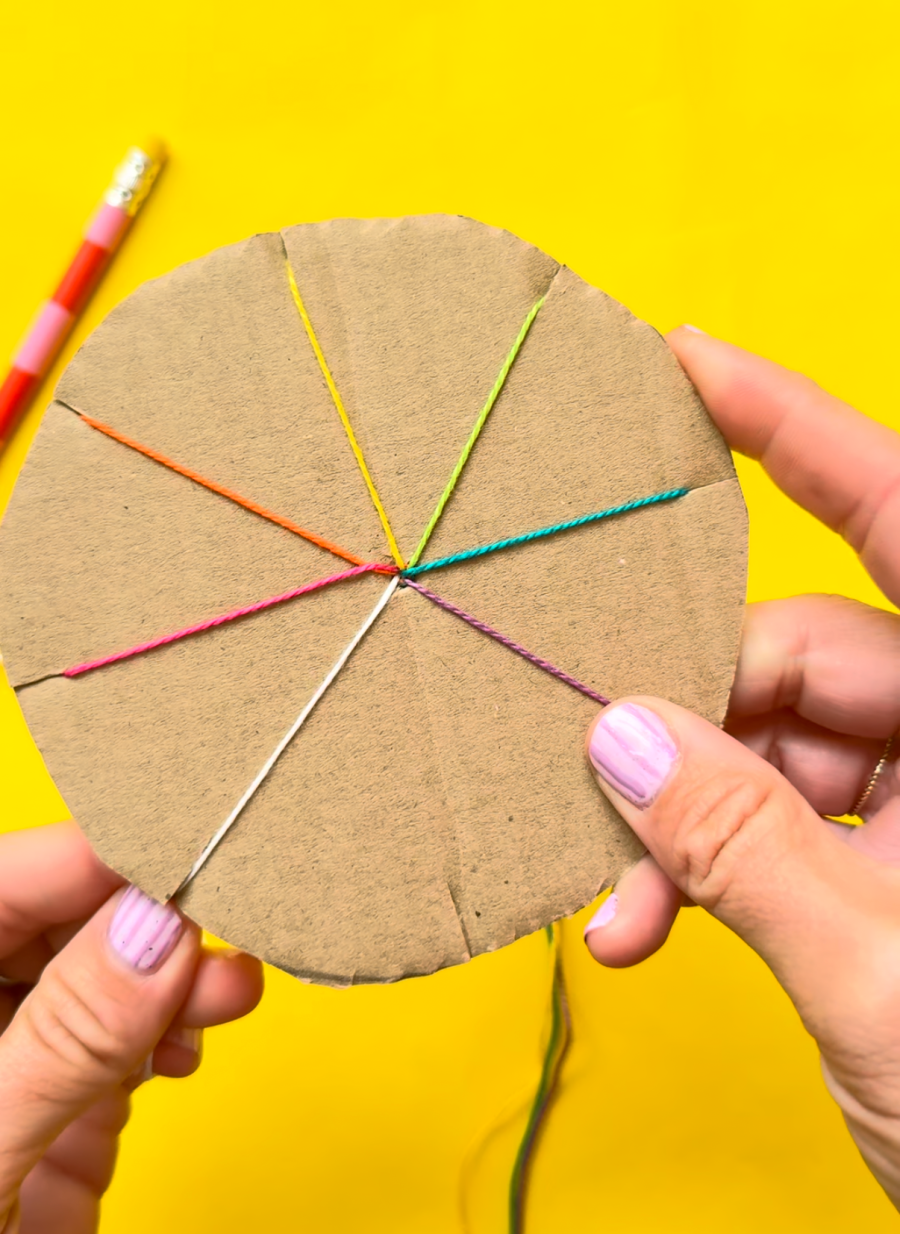
Step 3: Start Braiding the Yarn
Find the empty notch.
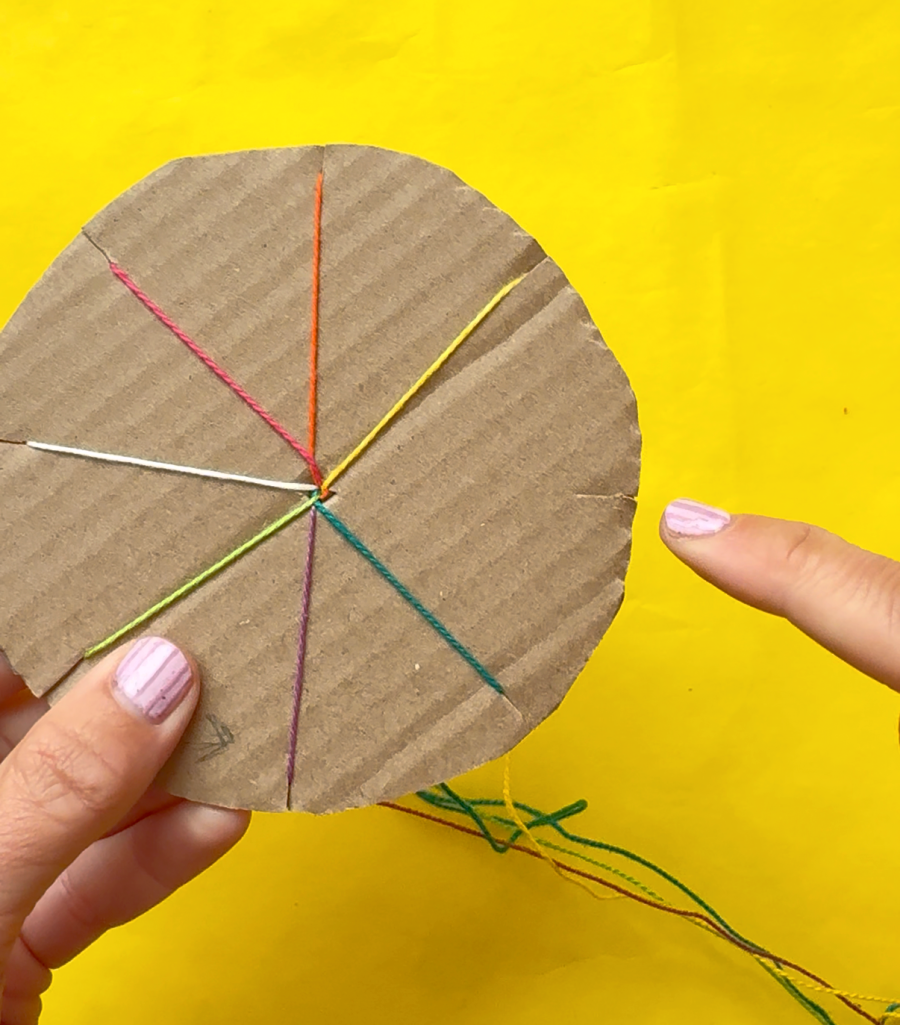
Starting at the empty space, count three strands over. You can work clockwise or counterclockwise—just choose one direction and stick with it.
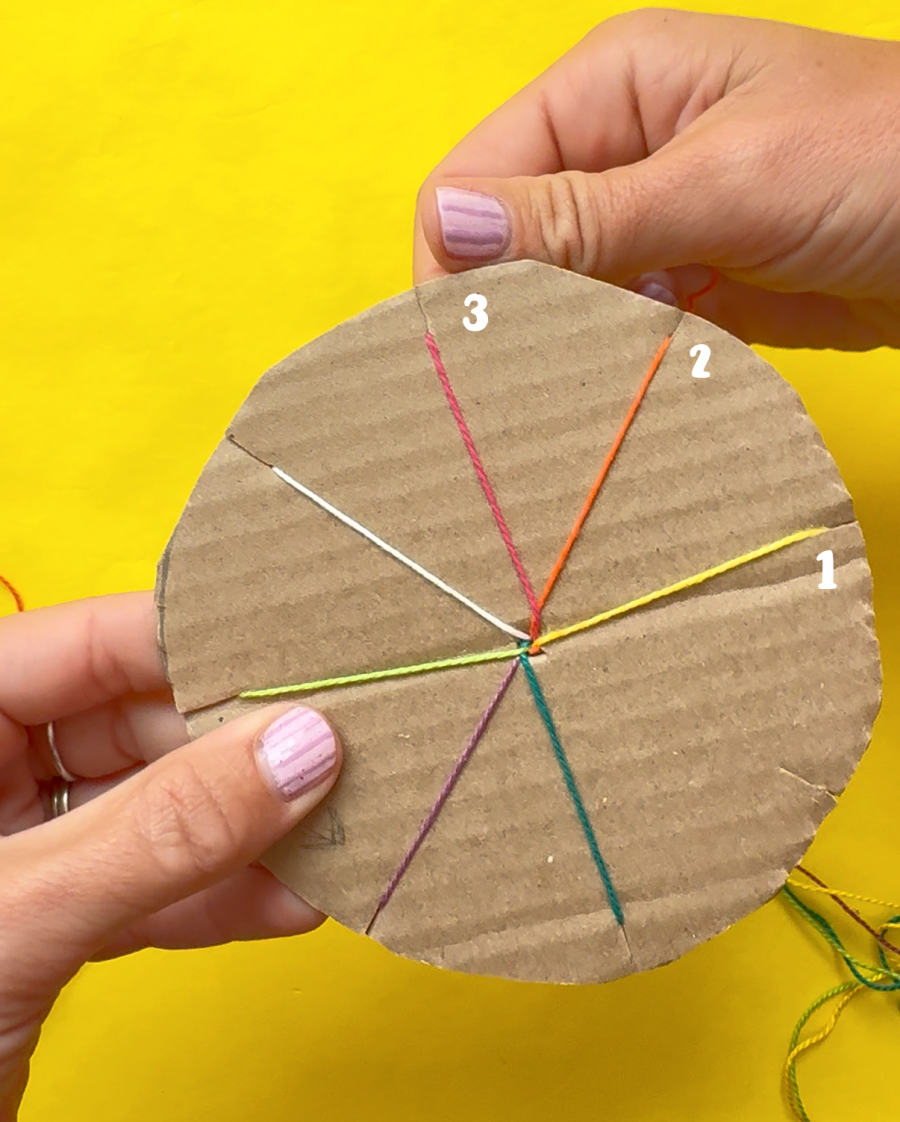
Take the third strand and move it into the empty notch.
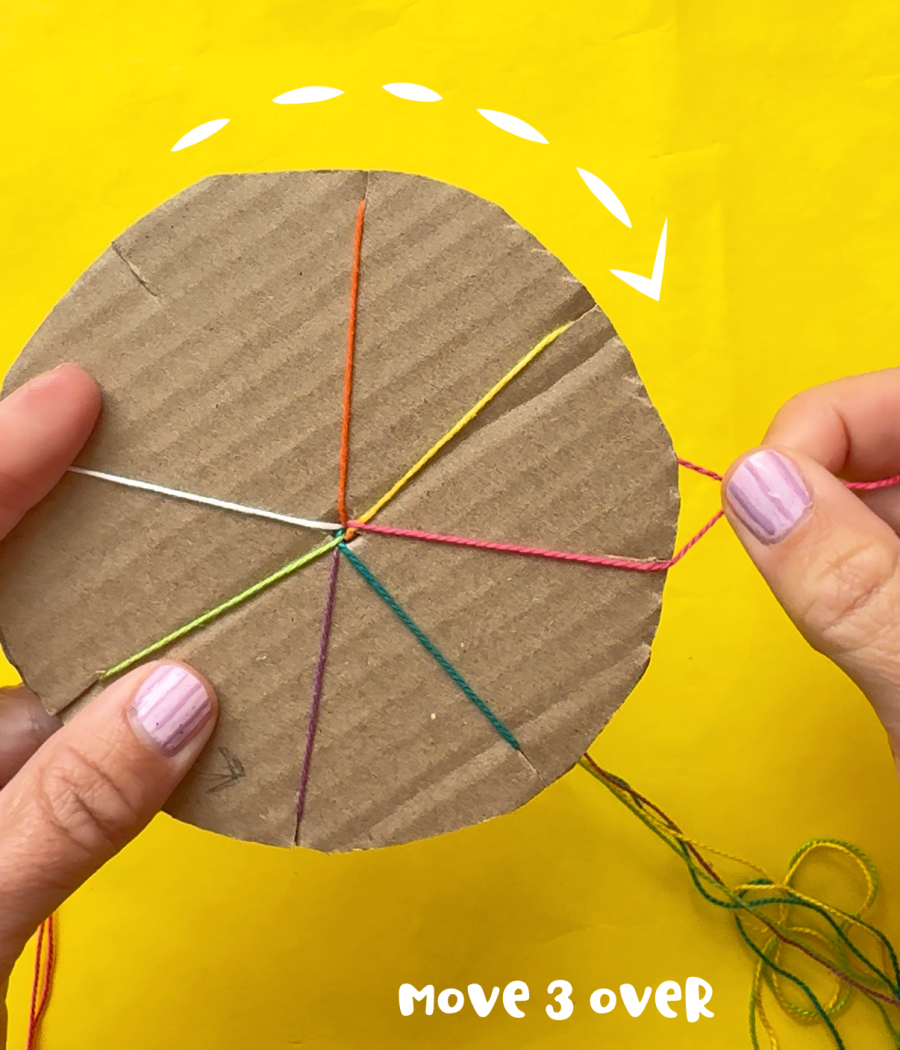
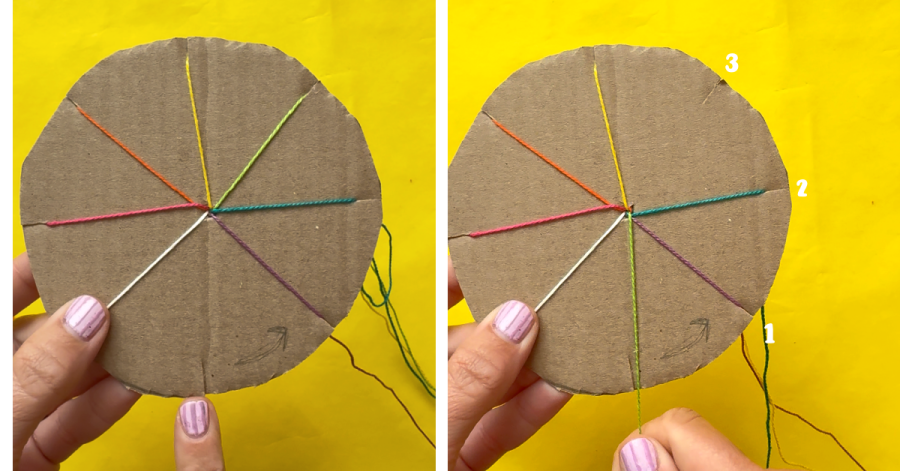
Now you have a new empty space.
Again, count three strands over from the empty space. Move that strand into the empty notch.
Continue repeating this same process:
Count three → move the yarn → find the new empty space → count three → move the yarn.
Step 4: Keep Going
As you continue moving the yarn around the cardboard, you’ll notice a braided cord beginning to form underneath the loom.
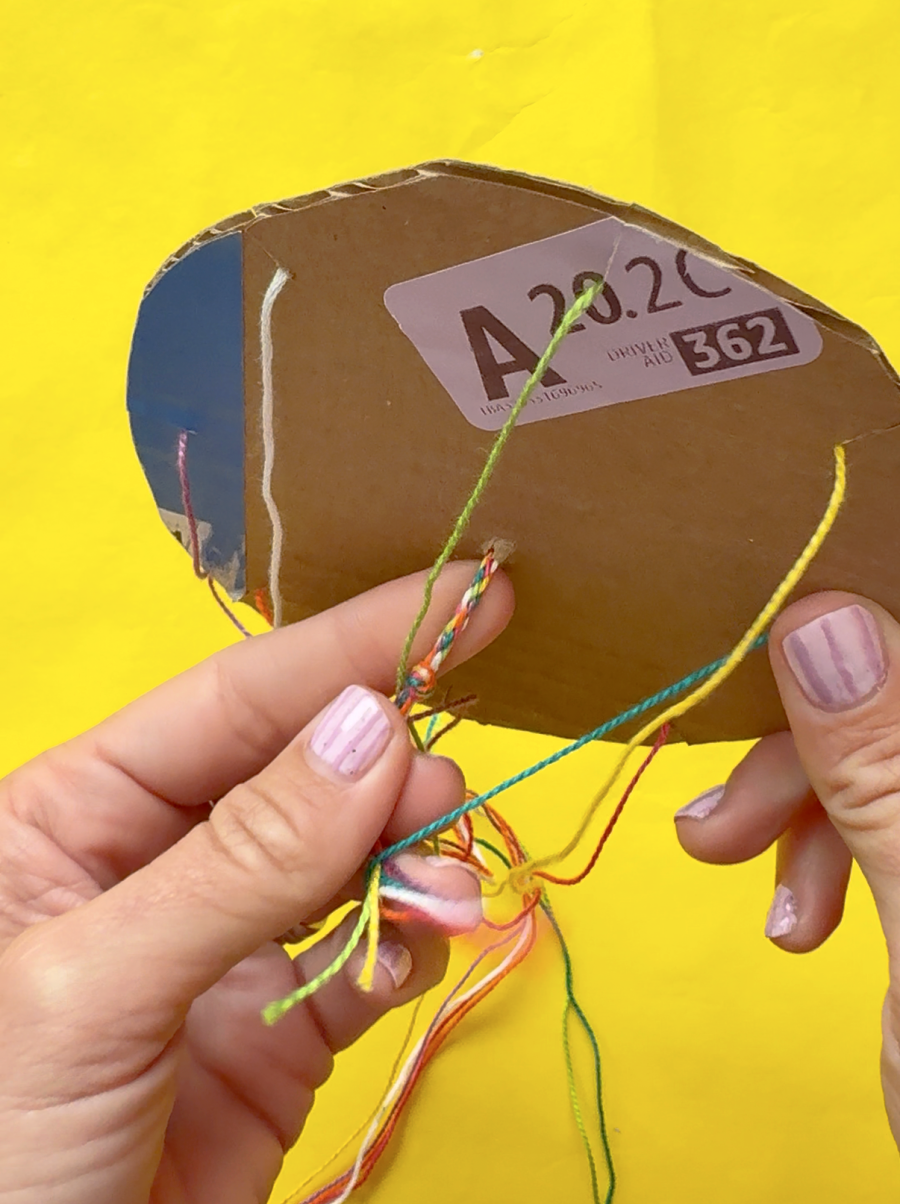
Every once in a while, gently pull the finished braid downward.
This helps keep the bracelet growing and makes it easier to see how long your bracelet is getting.
You also need to untangle the strings so they don’t get tangled up.
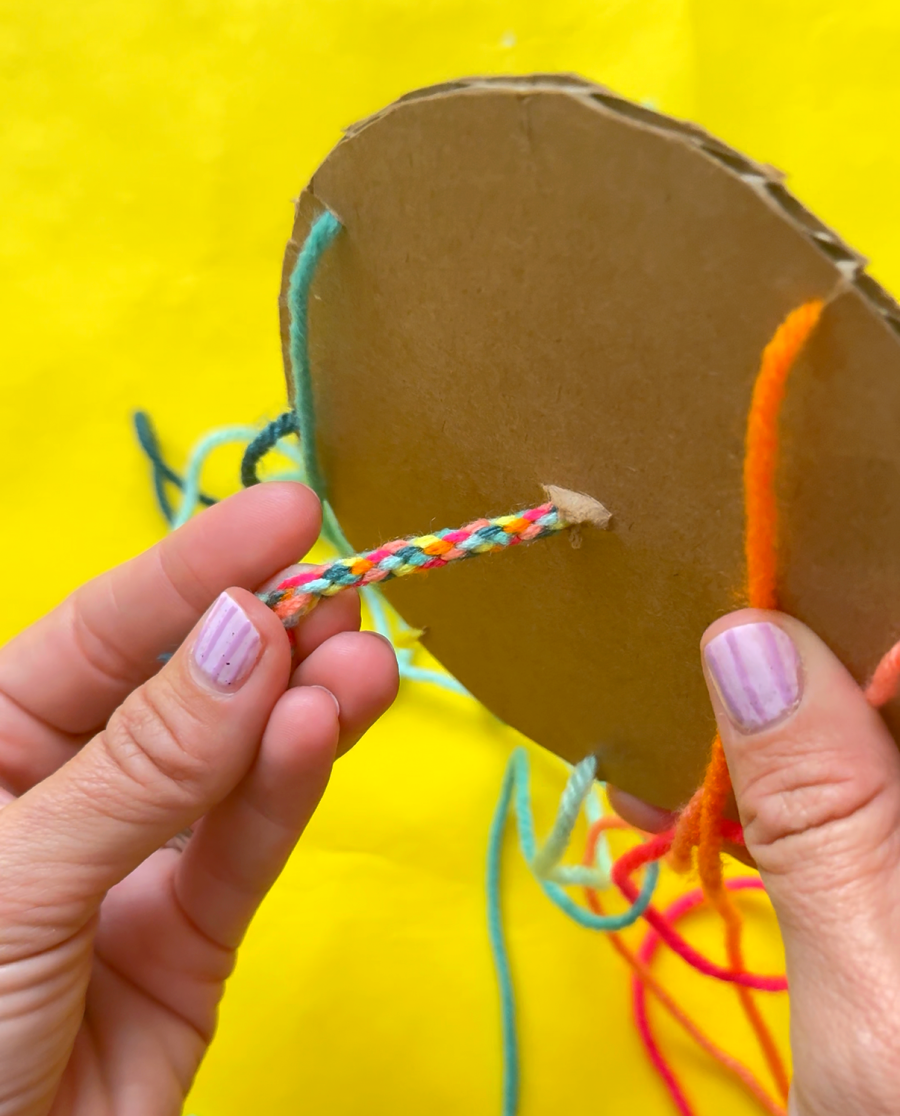
This repetitive pattern is what makes this such a fun easy bracelet craft for kids. Once they understand the pattern, they can keep going without needing to start over each time.
Step 5: Finish Your Bracelet
Continue braiding until the bracelet is long enough to fit around your wrist.
Remove the yarn strands from the cardboard.
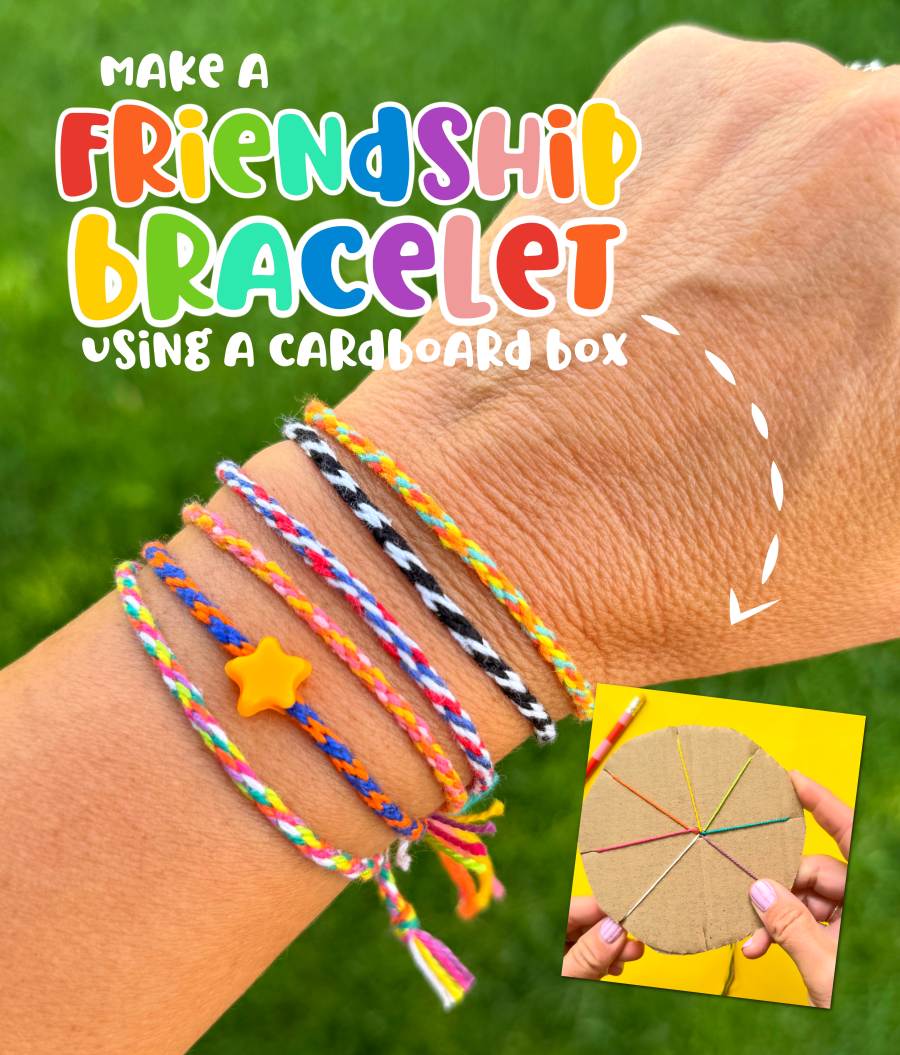
Tie the ends together around your wrist, and you have a homemade yarn friendship bracelet!
Why We Call These Jellyfish Bracelets
While you’re making the bracelet, all of the loose strands of yarn hang down from the cardboard.
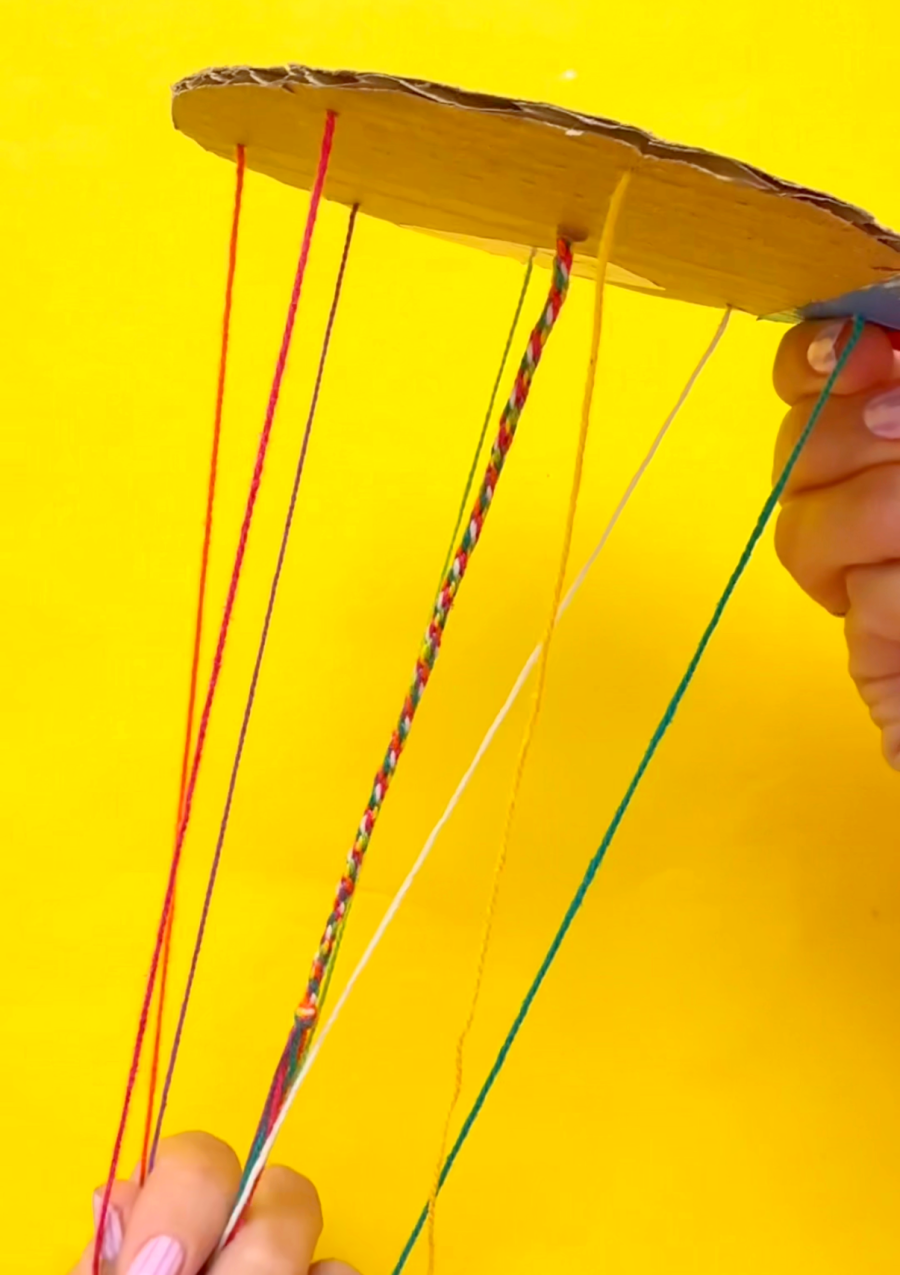
They look a little bit like a jellyfish!
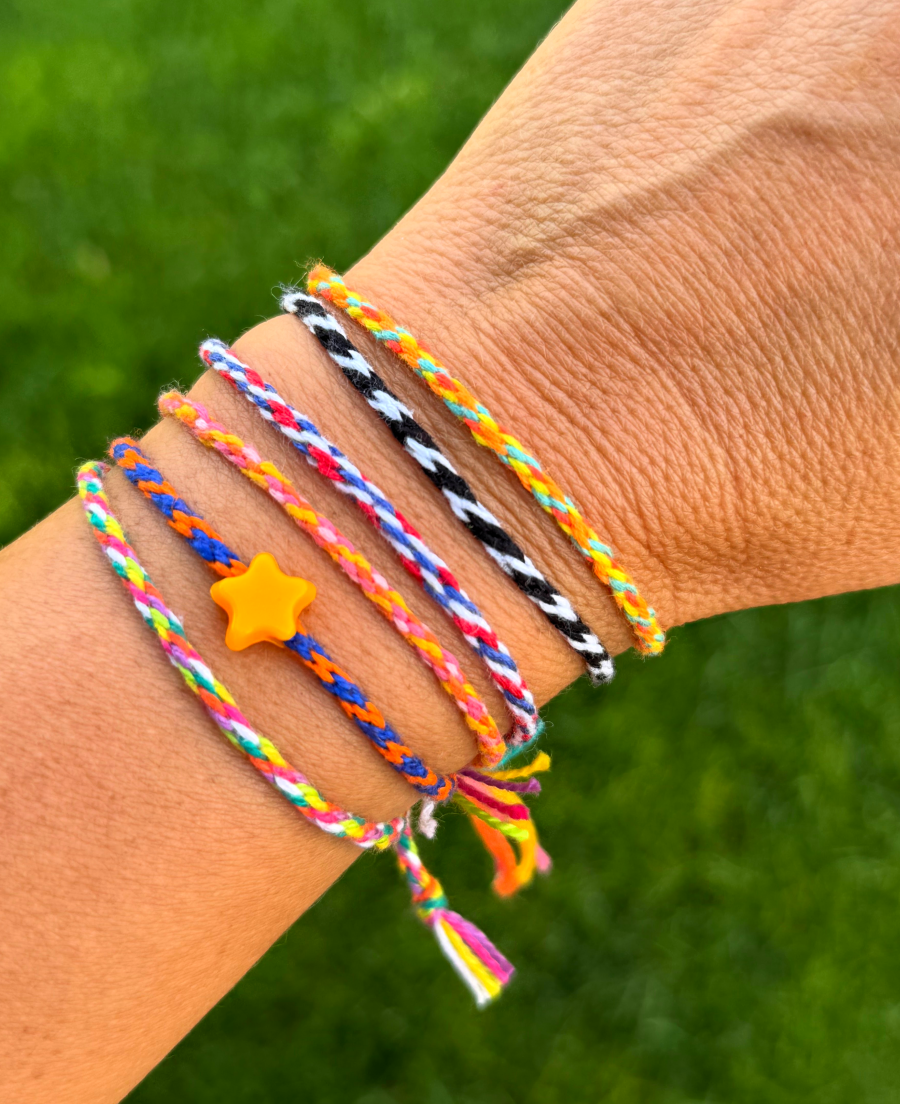
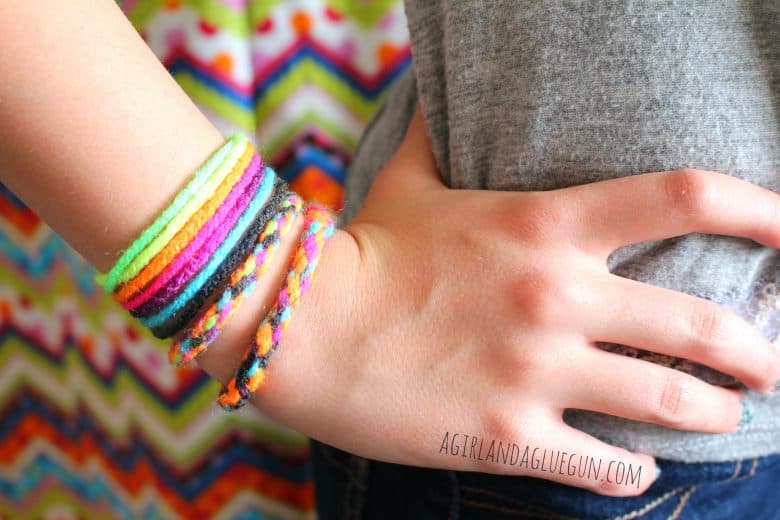
Once you’re finished, though, the result is a round braided yarn bracelet that’s comfortable to wear and different from a traditional flat friendship bracelet.
Make a Thinner Yarn Bracelet
Want to make a smaller or thinner bracelet?
Try using embroidery floss instead of yarn.
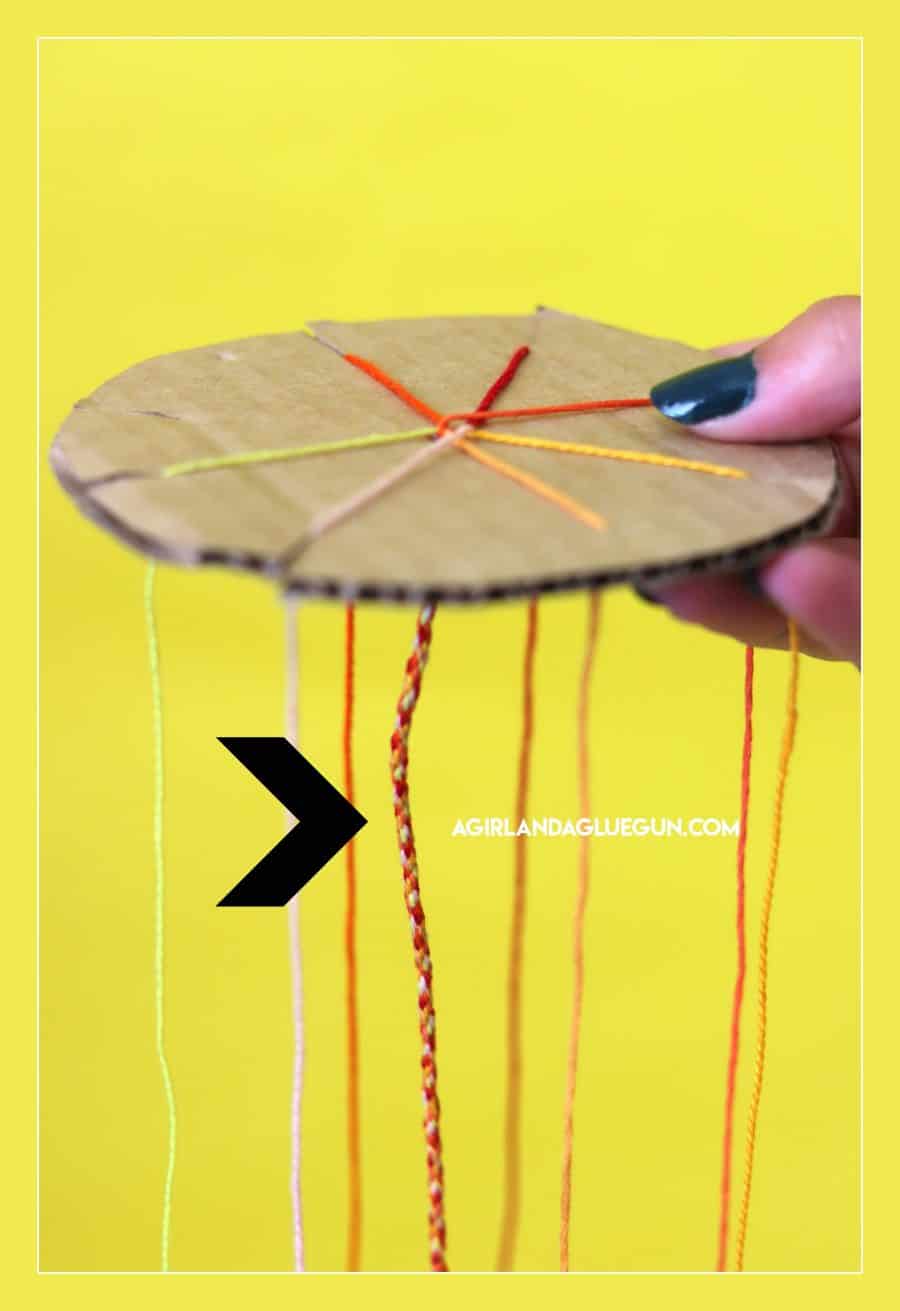
The same cardboard loom and basic technique work with embroidery floss. The finished bracelet will be thinner and a little more delicate.
This is also a great option if you’re making bracelets for younger kids or want to create several different color combinations.
Easy Yarn Bracelet Ideas
One of the best things about this craft is how easy it is to customize.
Try:
- Rainbow yarn
- School colors
- Favorite colors
- Pastel yarn
- Neon yarn
- Two-color combinations
- Multicolored yarn
- Embroidery floss
If you do 3 strands of one color and 4 strands of another color and then alternate them onto the cardboard circle, your bracelet will be striped.
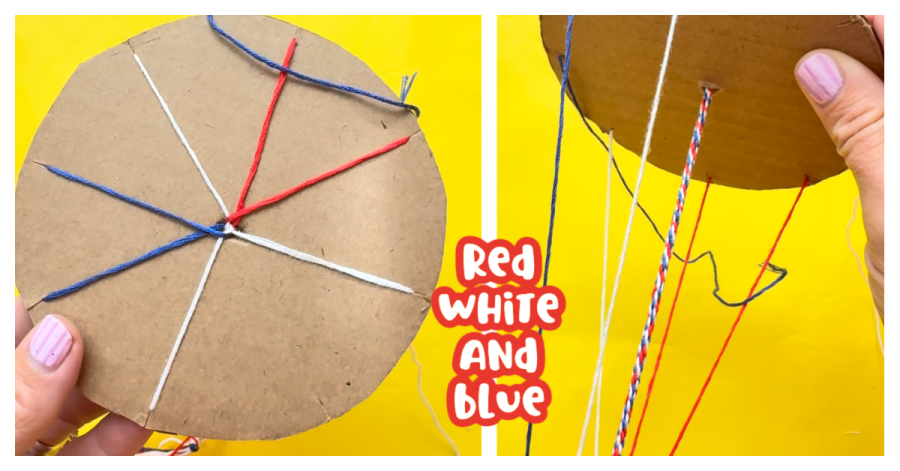
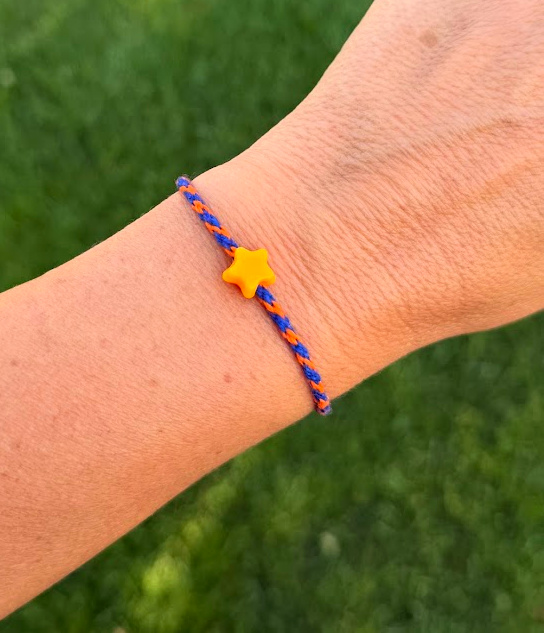
You can also add perler beads or pony beads to add onto your bracelet (or anklet)
Kids can make one for themselves or make DIY friendship bracelets to give to their friends.
A Great Summer Craft for Kids
If you’re looking for activities to keep kids busy during summer vacation, add this one to your list!
You can make a bunch of cardboard bracelet looms ahead of time and put out different colors of yarn. Kids can make bracelets while watching a movie, sitting outside, or hanging out with friends.
It’s inexpensive, portable, and easy to pick back up later.
And because the bracelet is made with a simple repeating pattern, it’s also a nice way for kids to practice counting and pattern recognition while they craft.
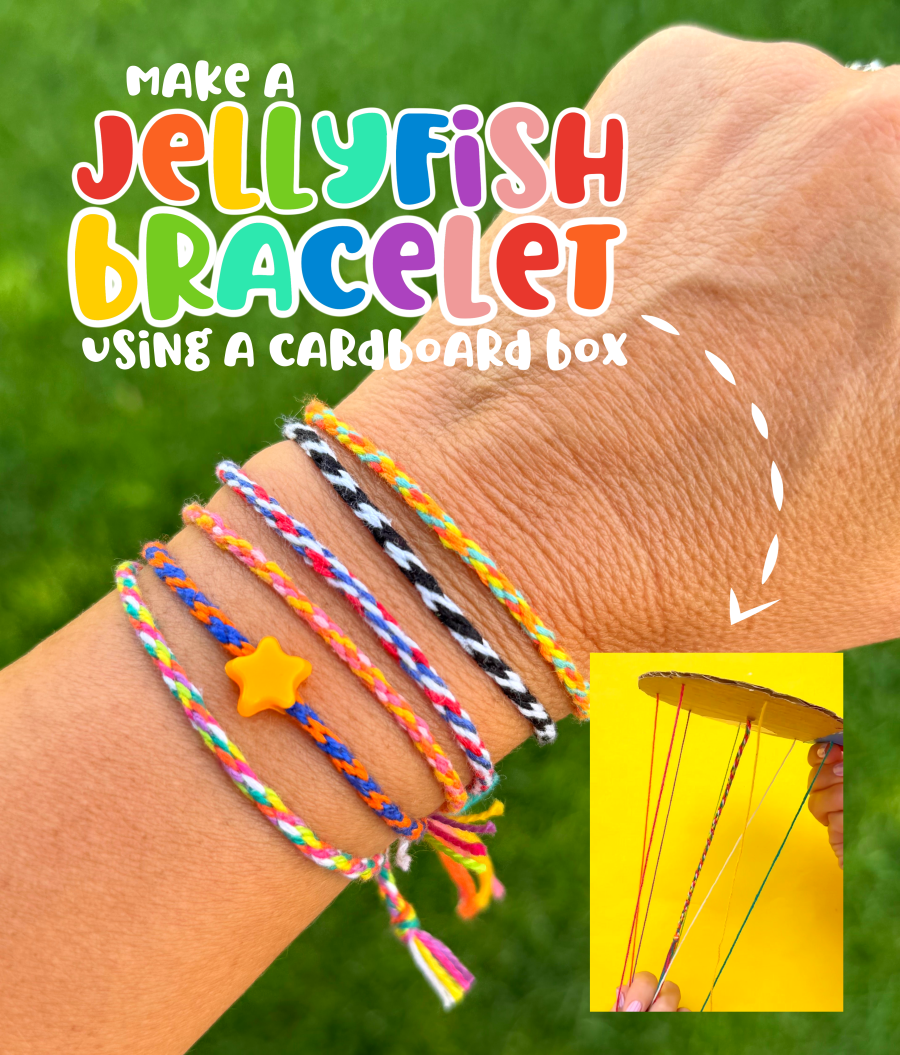
It’s a very cool-looking bracelet. More round than flat like other friendship bracelets!

Top is yarn- bottom is embroidery floss.
More bracelet tutorials:
- rubber band bracelet
- paracord braid
- friendship bracelets (4 different techniques)
- Beaded Daisy Bracelet
- Melted perler bead jewelry
Save for later
Too busy to get crafting today? No problem! Pin this post to remind yourself about this project later! Sharing my projects helps me reach more people, allowing me to continue sharing free content!
Final Thoughts
This easy yarn bracelet craft is proof that you don’t need expensive craft supplies to make something fun. Grab some leftover yarn, cut a bracelet loom from cardboard, and you’re ready to start!
Kids will love watching the colorful yarn turn into a braided bracelet—and they’ll have a handmade friendship bracelet they can wear or give to someone special when they’re finished.
Save this DIY yarn bracelet tutorial for your next kids’ craft day!

Kandice says
LOVE! I am SO excited to see what else you come up with. I’m in panic mode too! 😛
Hilary says
Thank you! My 5 and 7 year olds loved this! My 7 year old son has made about 10 so far since yesterday, and being the entrepreneur he is, plans are already in the works for selling them to the neighbor kids. LOL
Wilma Smith says
Love this‼️💖💗💓
Christine Ayala says
Multicolor yarn is called variegated the brighter the color the more beautiful the outcome for bracelets
Deb Reed says
Love it
Gabbie says
How do you tie off or connect the bracelet?
Kimbo says
We just tie it onto our wrists!
Lisa Snead says
Thank you for this excellent tutorial on making a bracelet, it looks amazing, fun and very easy to do!