
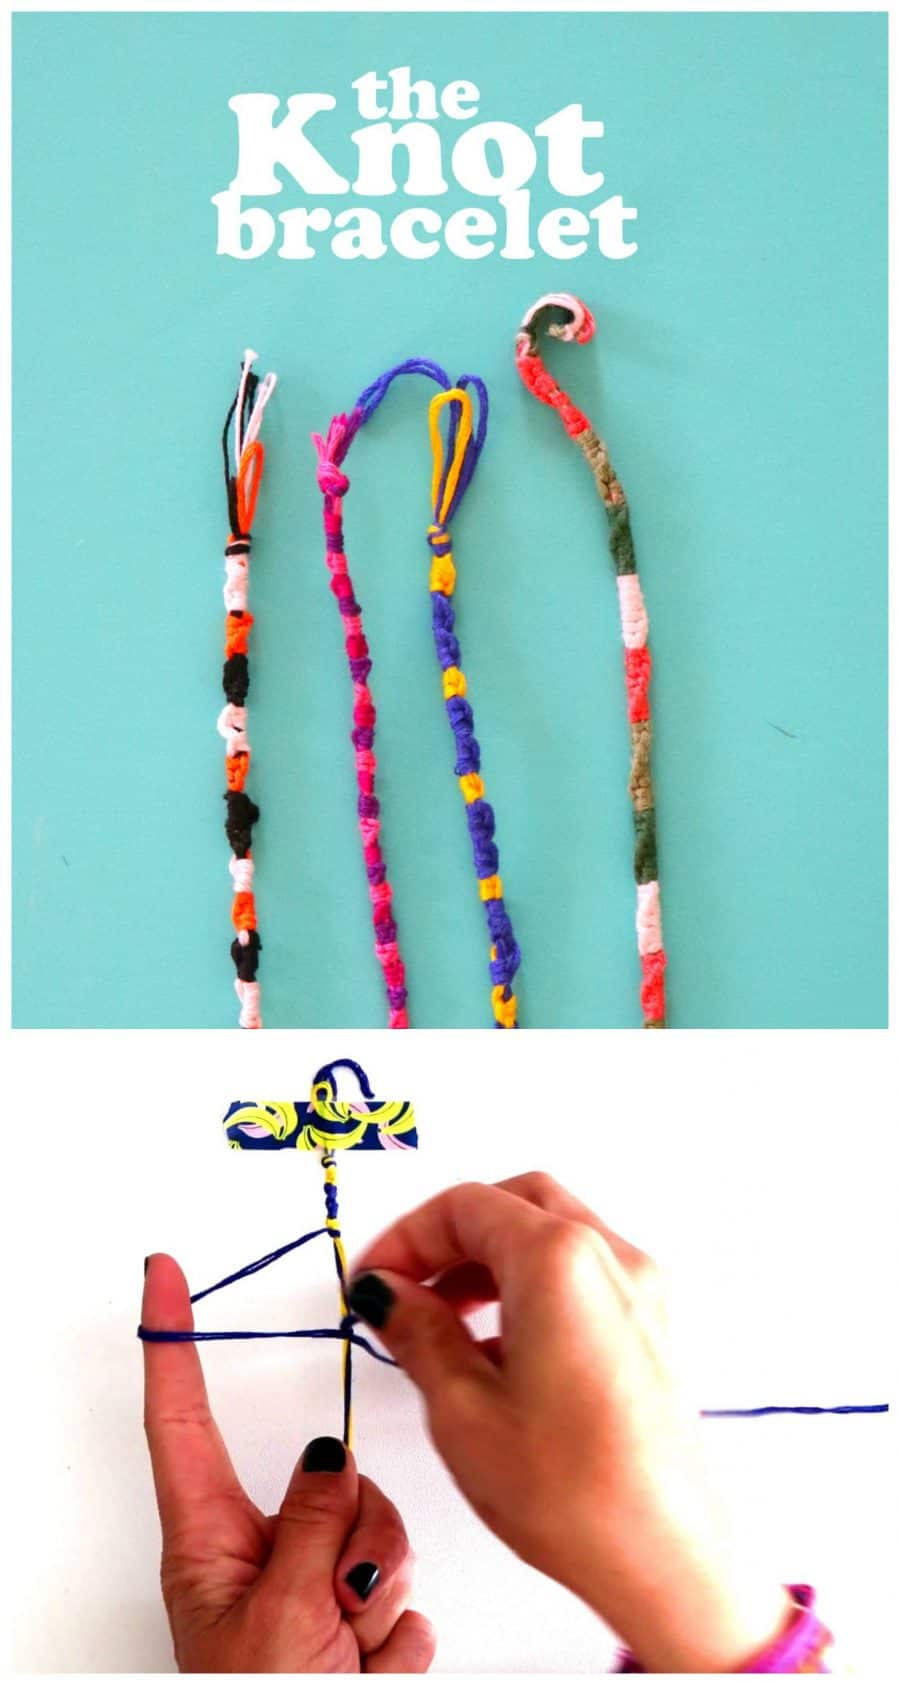
You can see in the video that I tape to my desk–you can also use a clipboard and clip the top up. Or pin it to your clothes if you are on the go!
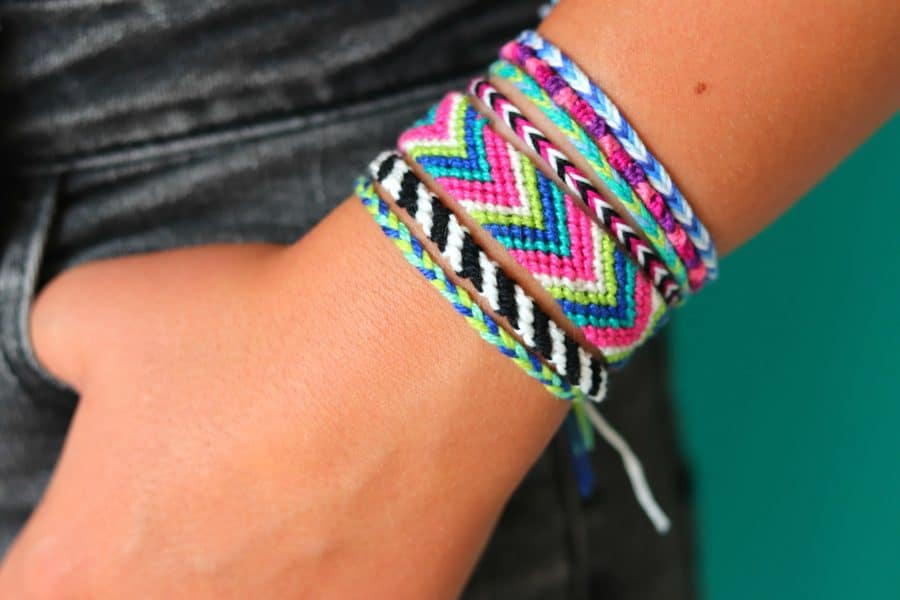
There are 4 different bracelet techniques–starting with pretty basic and then getting harder as you go!
The Braid Bracelet
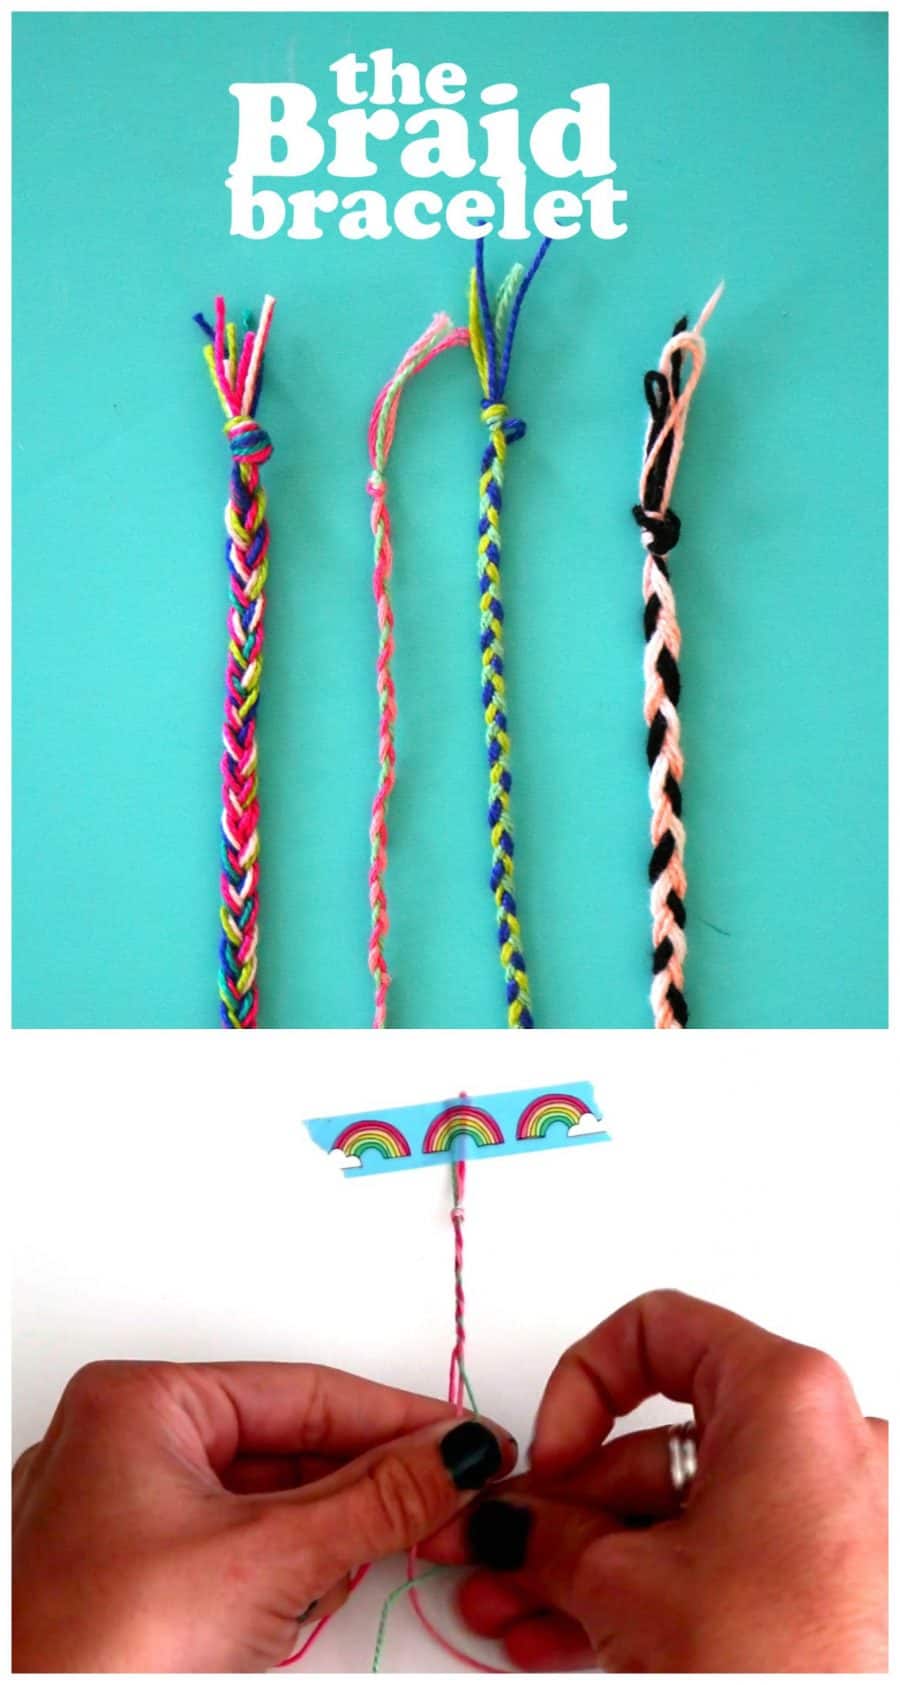
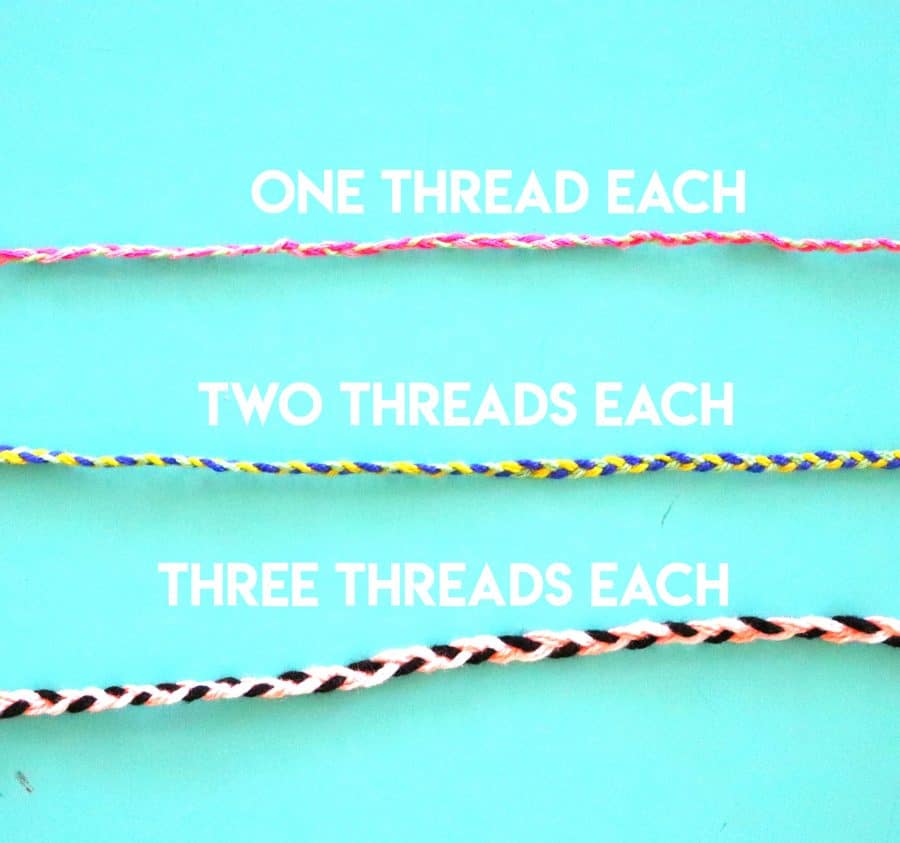
Great for cub scouts that have to learn to braid! This one looks so different depending on how many strands of thread you use!
You can see in the photo- the more threads-the thicker the bracelet.
The Fishtail Bracelet
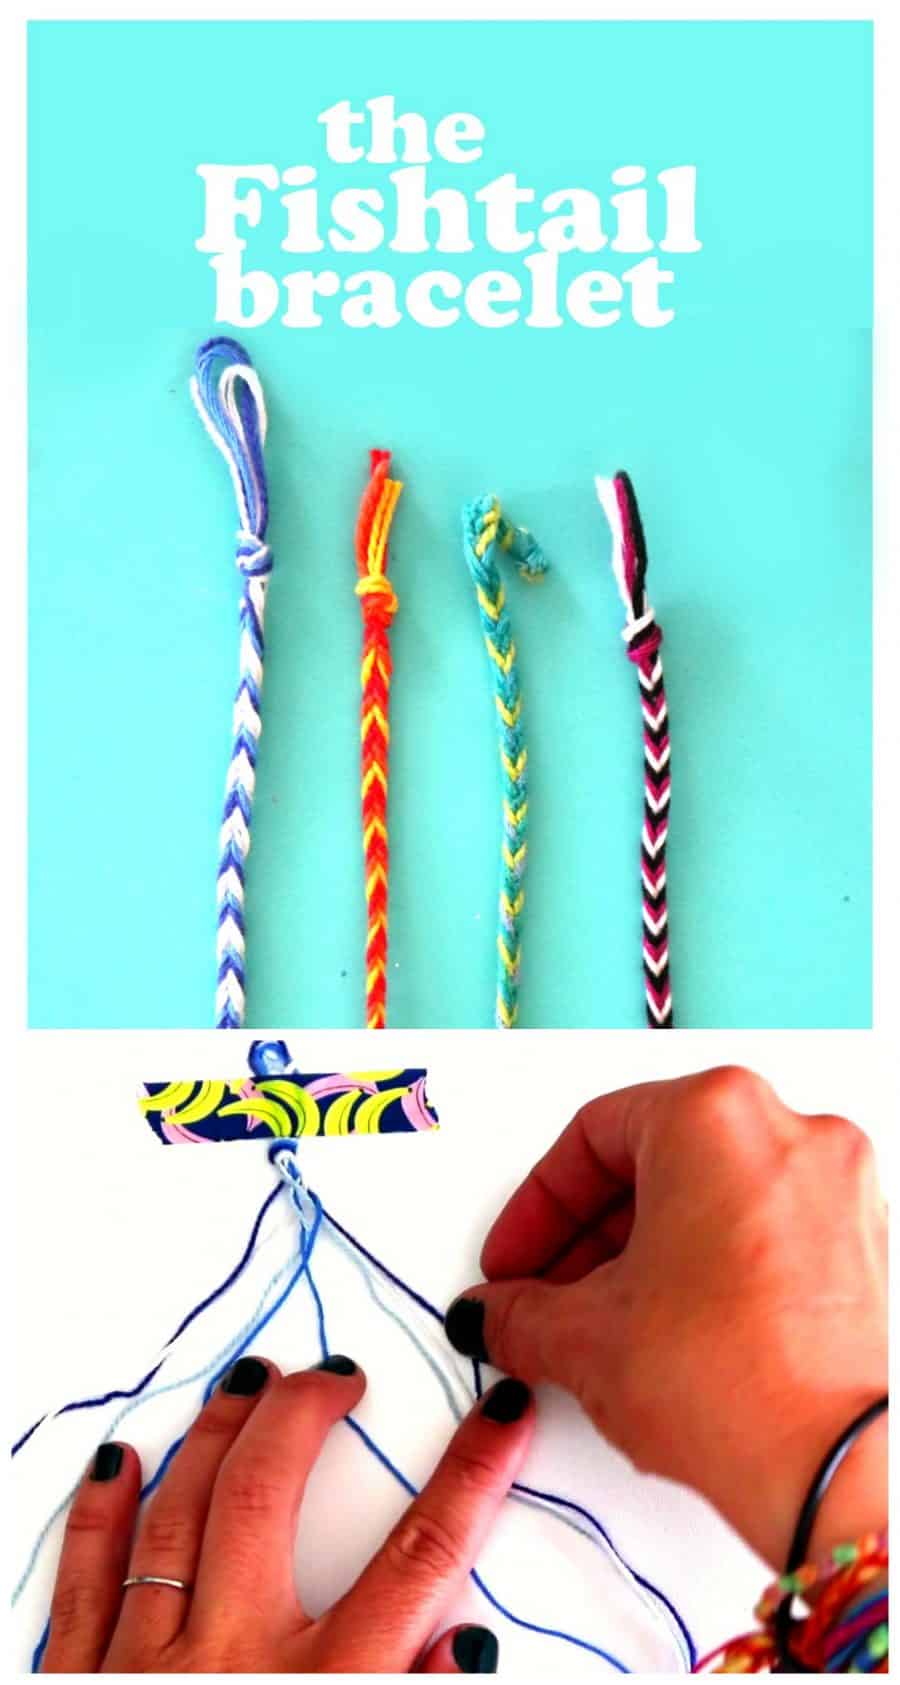
I love the look of the fishtail! It’s pretty and looks woven. (I grew up doing this pattern in my hair!) This one you can use as many colors as you want–you just need to have two of each to weave together!
Like I mention in my video–I teach this one before I teach the harder weave because the knot is the same one. You can use how many colors and strings–but you will want longer threads for this one!
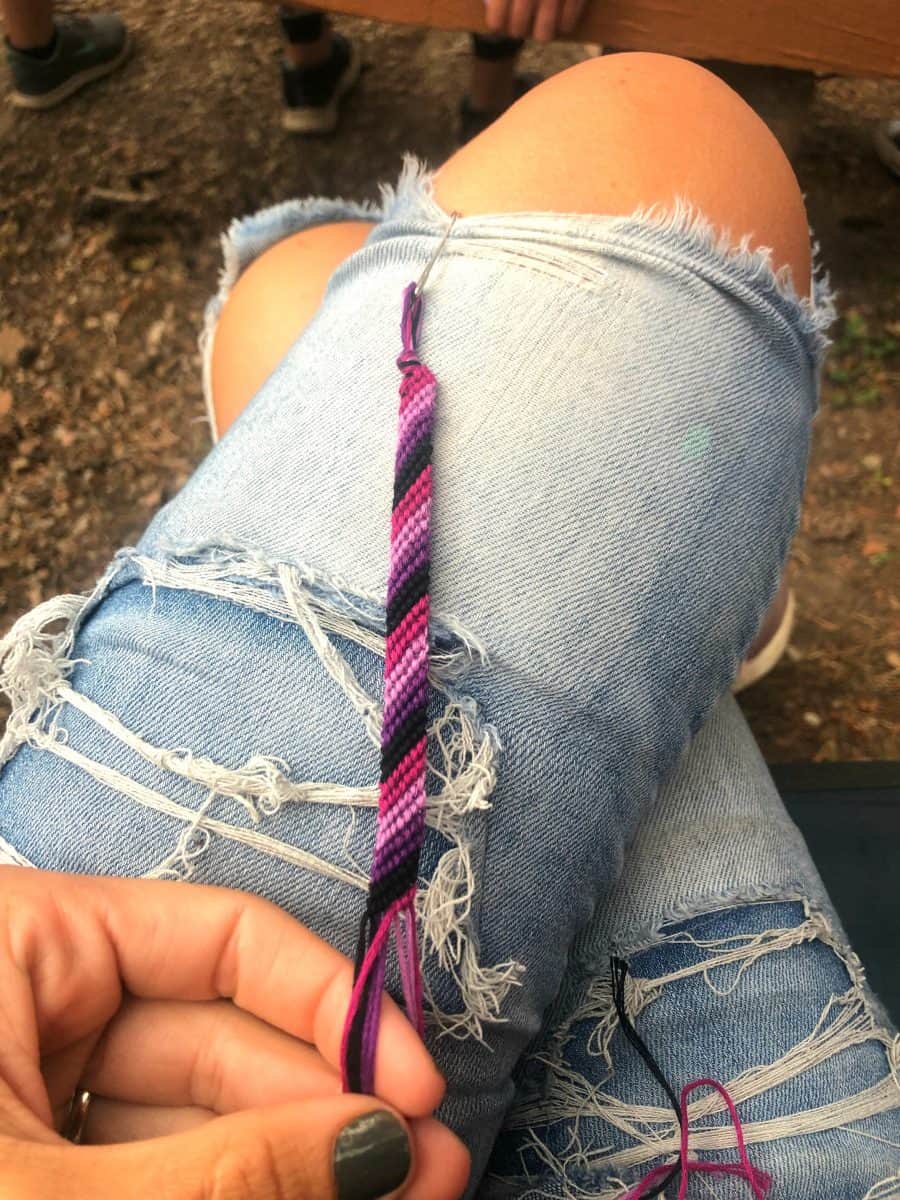
Chevron (weave) Bracelet

This one is just the best! It is the most time consuming–but worth all the effort! It’s so gorgeous! You want 2 strands of each color–and I usually do 4 feet because I don’t want to come up short!
After each bracelet is done–I usually just tie it on the wrist. BUT you can do the hoop at the top (I show you in the video) and then add a knot to loop it through!

Legend has it…you tie on your friendship bracelet and when it naturally falls it off–your wish will come true. I always tell the kids that make bracelets this–that way they don’t get sad if one day they notice it’s missing! It’s a good thing!
Grab some embroidery floss and create all the fun friendship bracelets! You can put them on zippers, jackets, backpacks, bookmarks or even hang them on your keychain! What one is your favorite?
Leave a Reply