
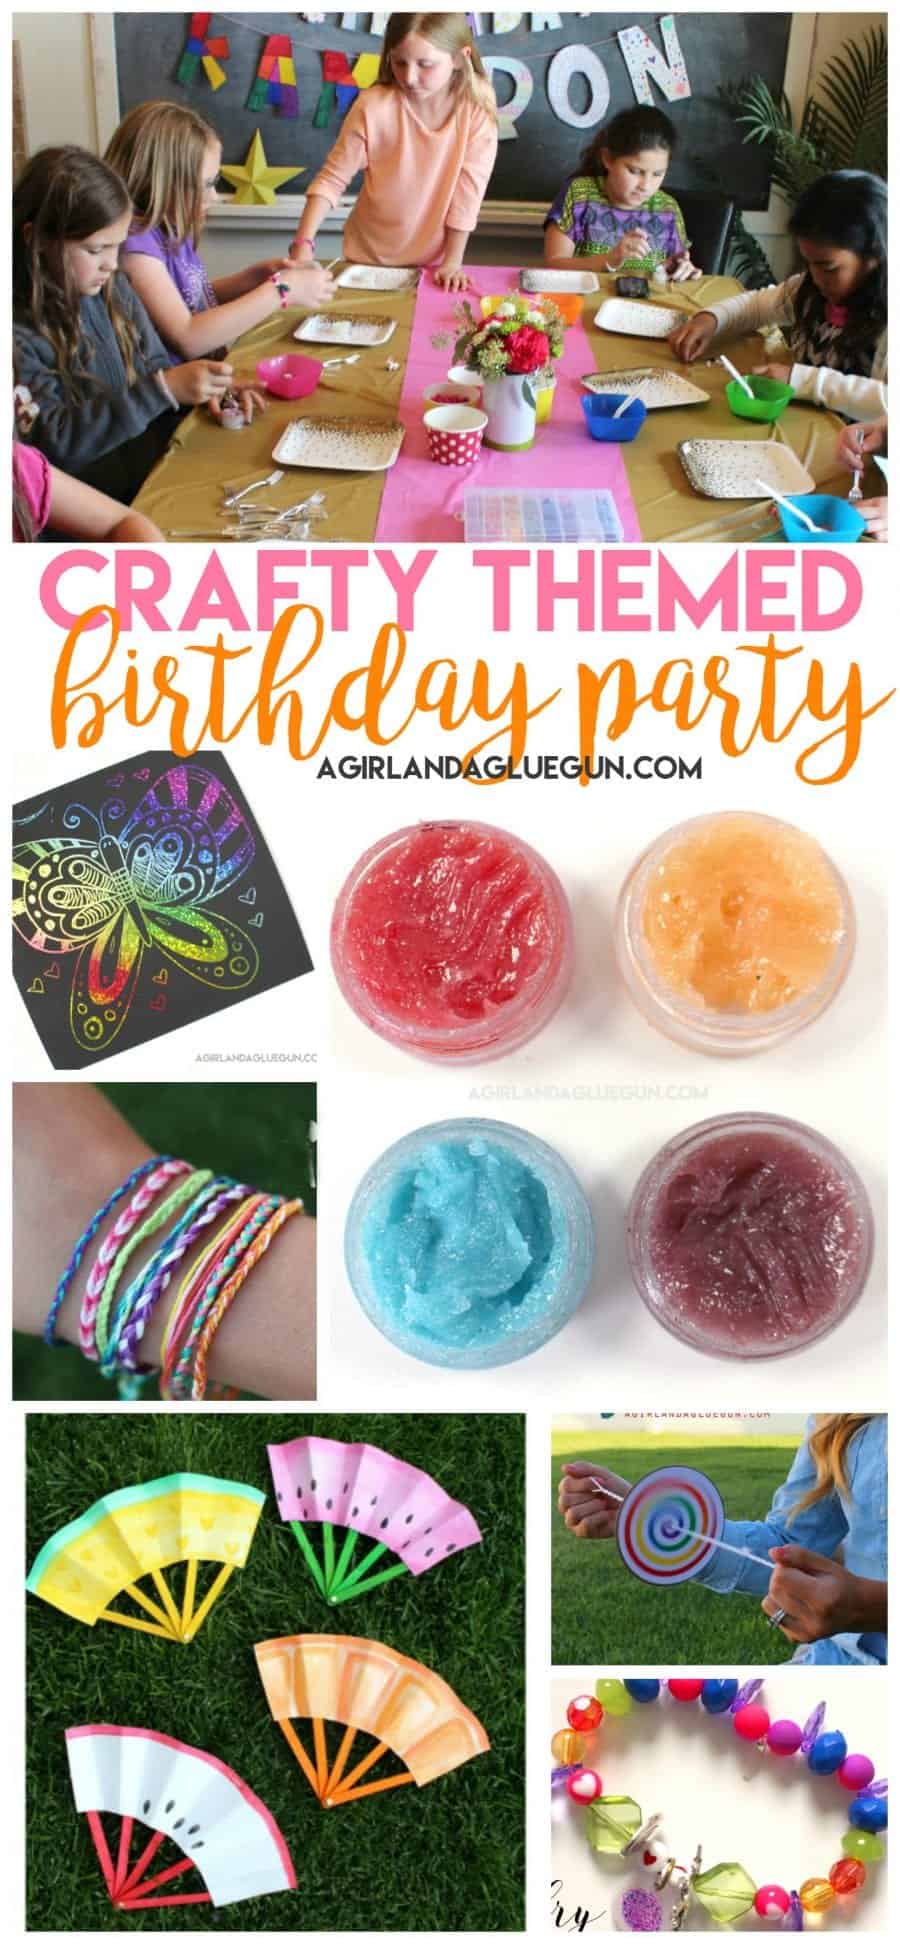
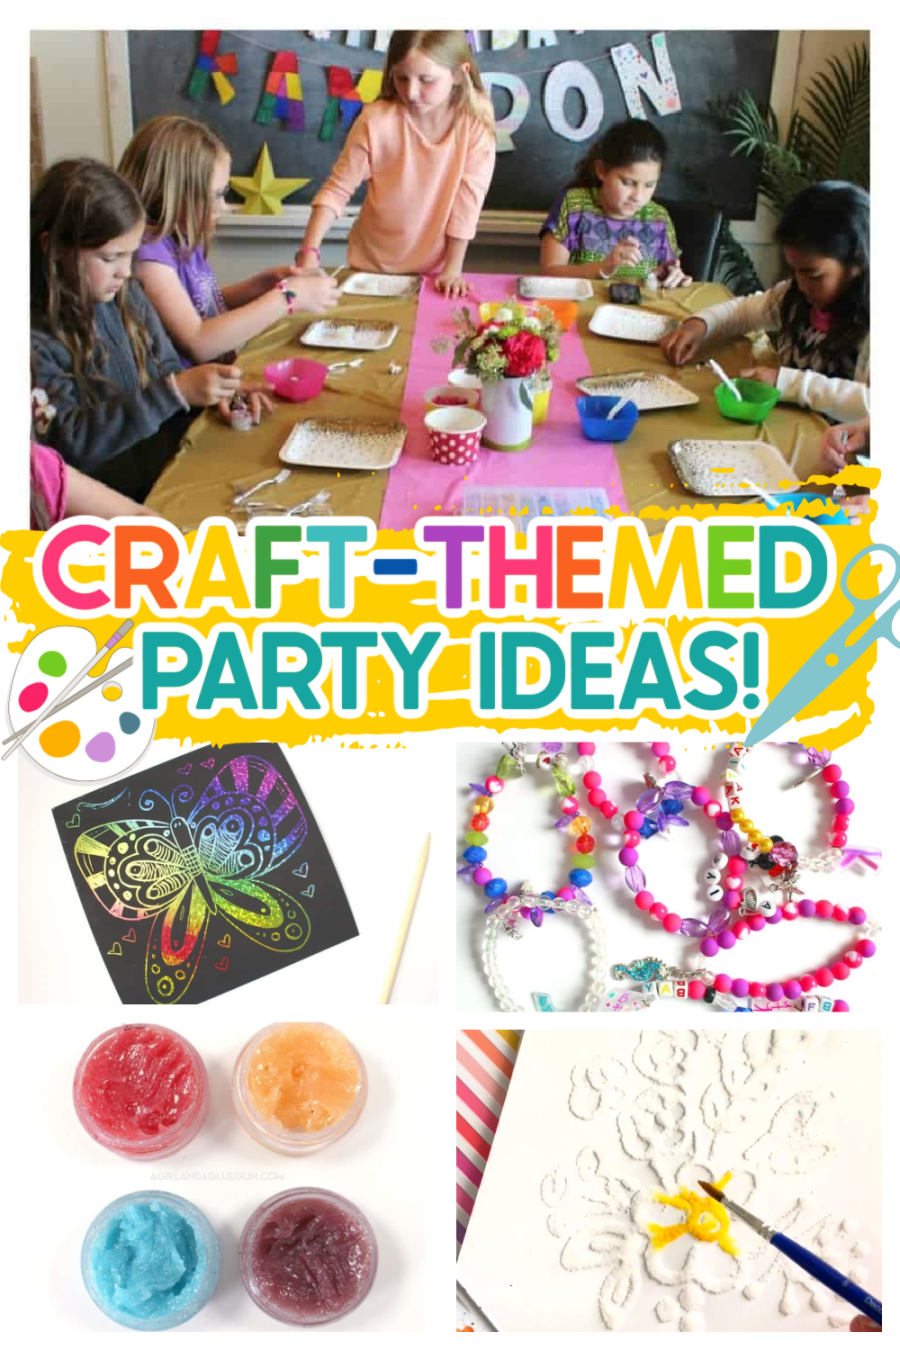
Looking for a fun, creative, and memorable way to celebrate your child’s big day? A crafty themed birthday party for kids is the perfect way to keep little hands busy while making something special to take home. Whether you’re planning for a small group or a full classroom of kids, this DIY party theme is colorful, engaging, and surprisingly easy to pull off!

In this guide, you’ll find everything you need—from decorations and activities to food ideas and party favors—to host the ultimate craft birthday party.
My baby turned 9 a couple weeks ago!
And this was her year for a birthday party– for sanity purposes we have birthday parties EVERY other year. The other year we do a fun family party and activity.
She couldn’t come up with a “theme” for her party and even many hours on Pinterest yielded nothing. I ended up taking her to Hobby Lobby to the party aisle to see if anything sparked her interest (why are 9-year-olds so hard!?) And we wandered around Hobby Lobby (not complaining about this part) until we found ourselves in the jewelry aisle. She asked if they could all make bracelets, and boom, the seed was planted! A craft themed party!
Why Choose a Craft-Themed Birthday Party?
A craft party is more than just fun—it’s interactive and meaningful. Instead of loud games and sugar overload, kids get to:
- Express their creativity
- Stay engaged with hands-on activities
- Take home something they made themselves
- Enjoy a calmer, more structured party environment
Plus, it doubles as both entertainment and a party favor—win-win!
Set up for the craft party
- Plan timing: Allow 20–30 minutes per craft activity
- Prep ahead: Pre-cut materials and set up stations before guests arrive
- Keep it simple: Choose age-appropriate crafts to avoid frustration
- Have extras: Always prepare a few extra supplies just in case
- Protect surfaces: Use table covers and have wipes or paper towels handy
Craft Activity Ideas for Kids
So let me show you what crafts we came up with.
You can choose one main craft or set up stations depending on your time and group size.
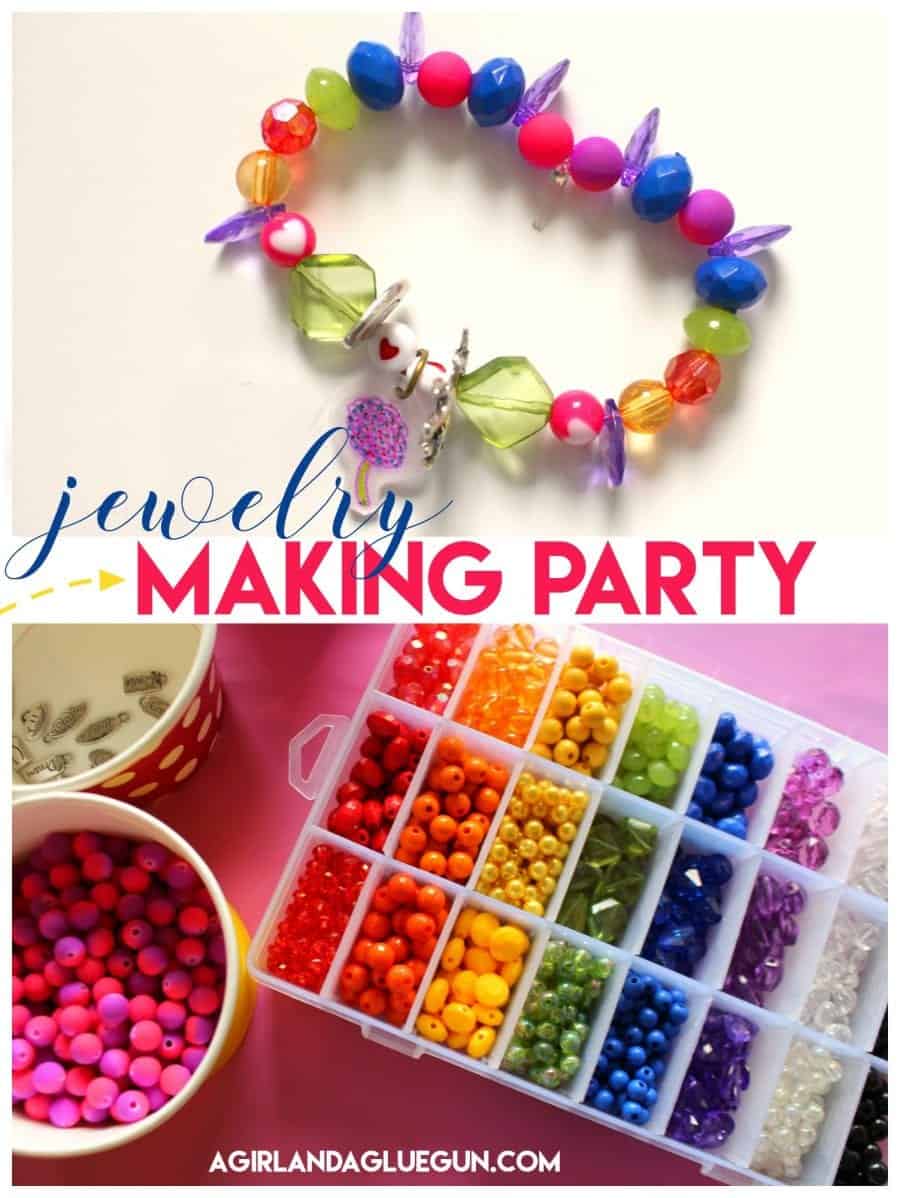
1. DIY Beaded Bracelets
Set out colorful beads and elastic string for a simple, mess-free activity.
Supplies needed
Amazon has lots of bead sets depending on what you want! Clay beads are pretty popular as well as ABC letter beads.
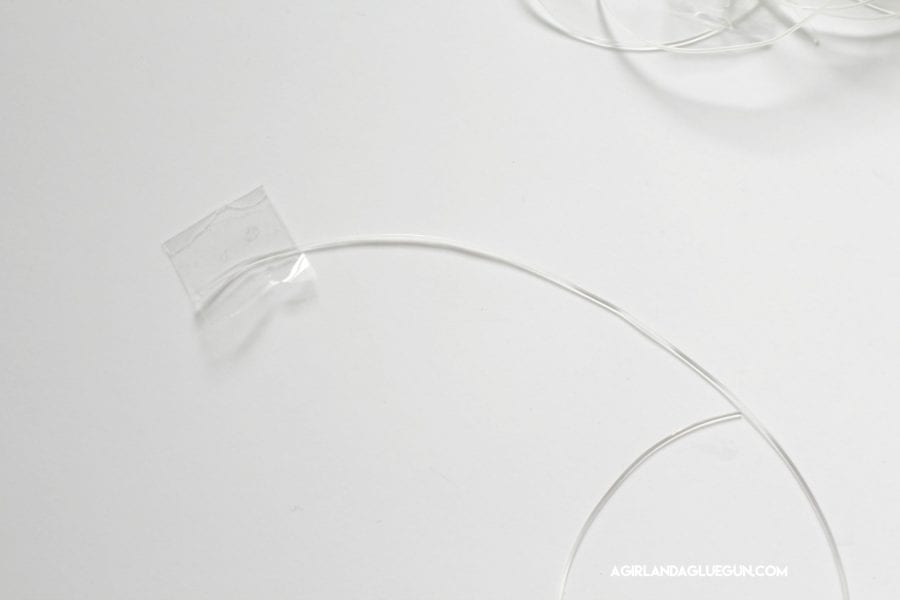
We bought letters and charms and then a kit with lots of fun colors and just laid it out on the table. I precut the strings and added some tape to one side so the beads wouldn’t fall off when the girls were stringing them.
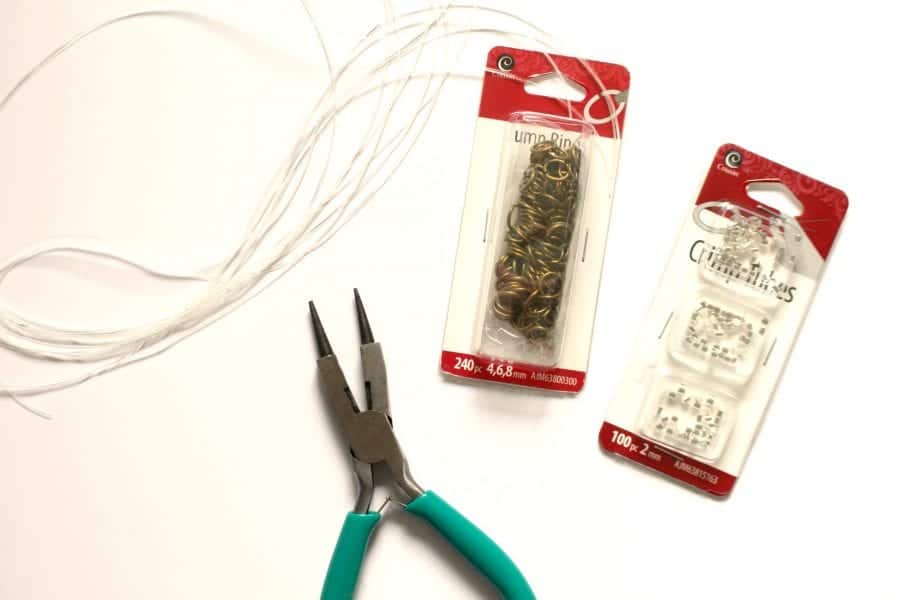
You can either tie a double knot and add some clear nail polish or resin to help hold the knot- or learn how to use crimp beads.
You can go HERE and check out how to crimp the beads to keep the bracelets together!
We also bought some shrinky dink material so the girls could create their own little charms just make sure to pop a hole in it before shrinking. The girls loved watching them shrink up! (I have a whole tutorial on how to make shrinky dink charms!)
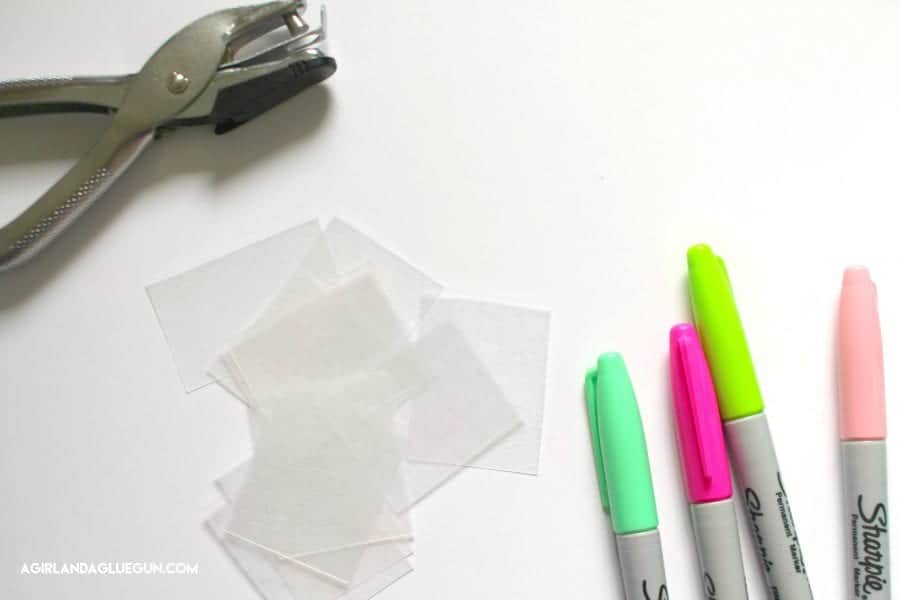
Here are how the bracelets turned out!
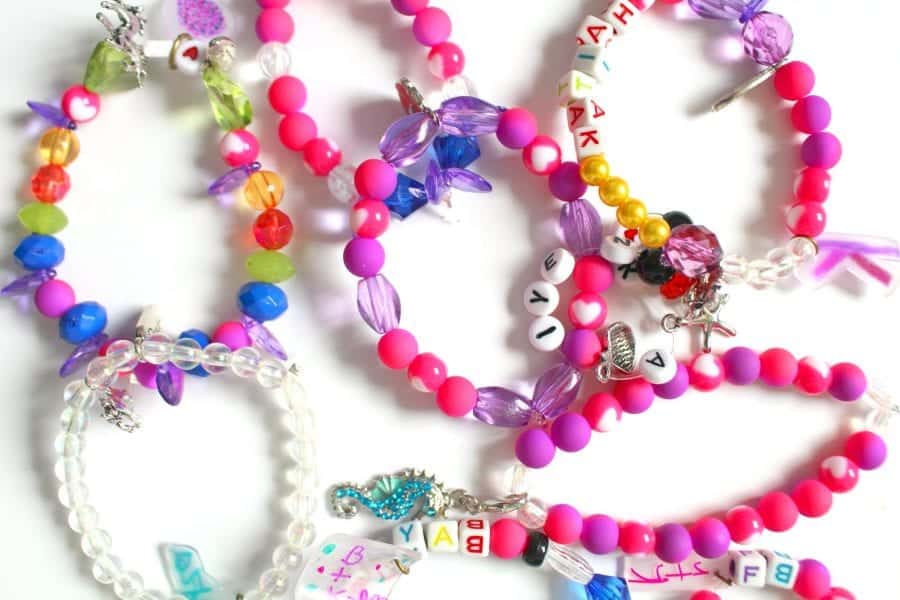
It was super fun to see what the girls come up with. Some just go willy nilly and some keep a strict pattern!
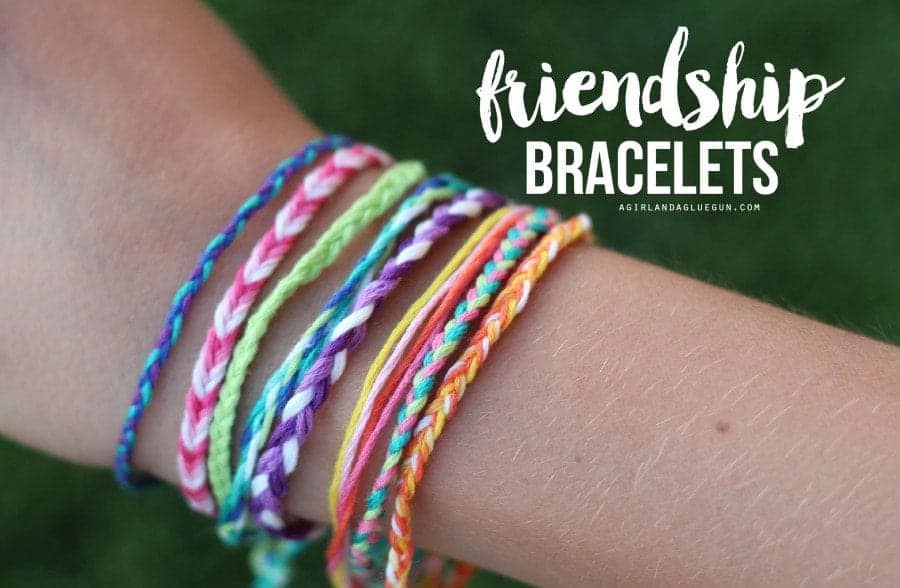
You can also put down some embroidery floss and braid some friendship bracelets! This would definitely be more budget friendly.
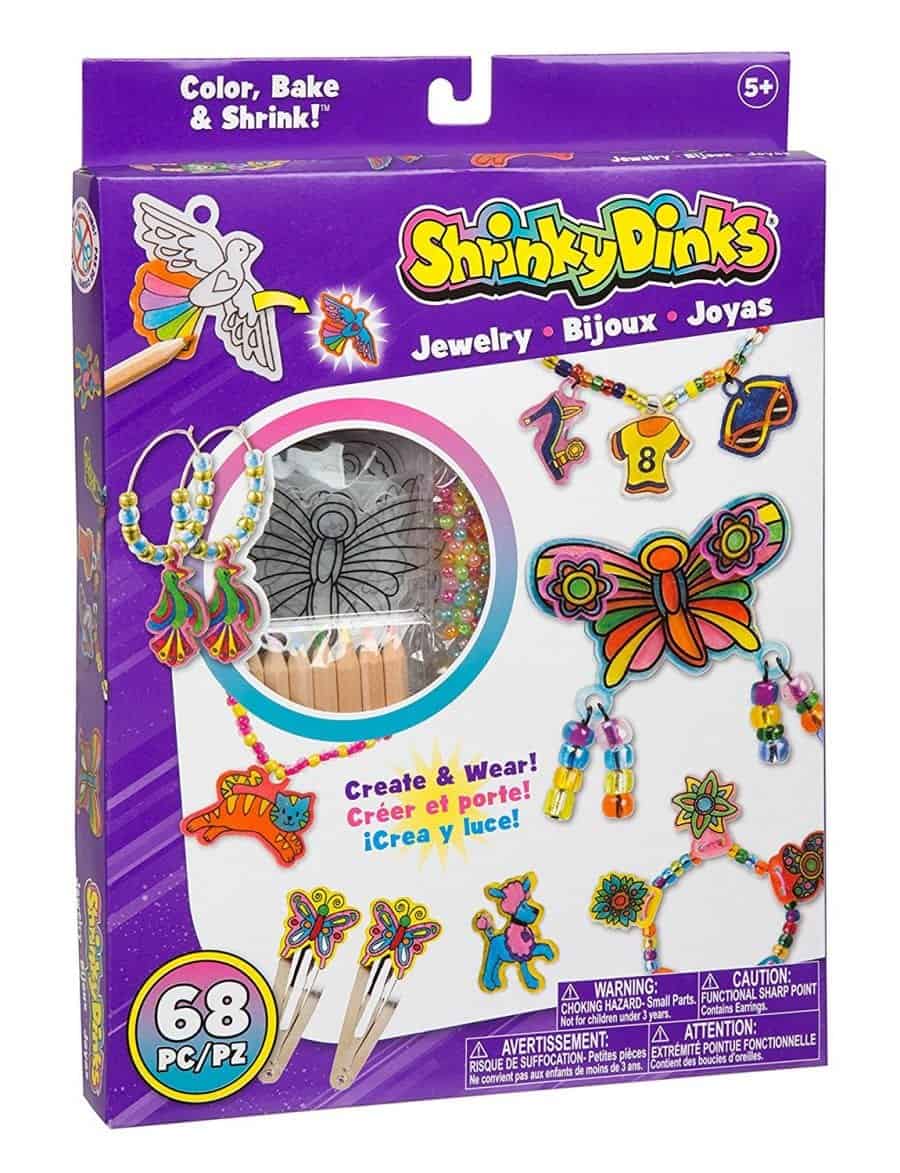
2. Shrinky dink
I know I just mentioned it, but seriously- the girls could have made project after project and watched them shrink down! They were enthralled!
Supplies:
Let kids create keychains, earrings, pins etc! I have a whole post on some fun and unique shrinky dink projects!

This shrinky dink set is awesome!
3. Homemade lipgloss
Let kids create their own flavor of lipgloss!
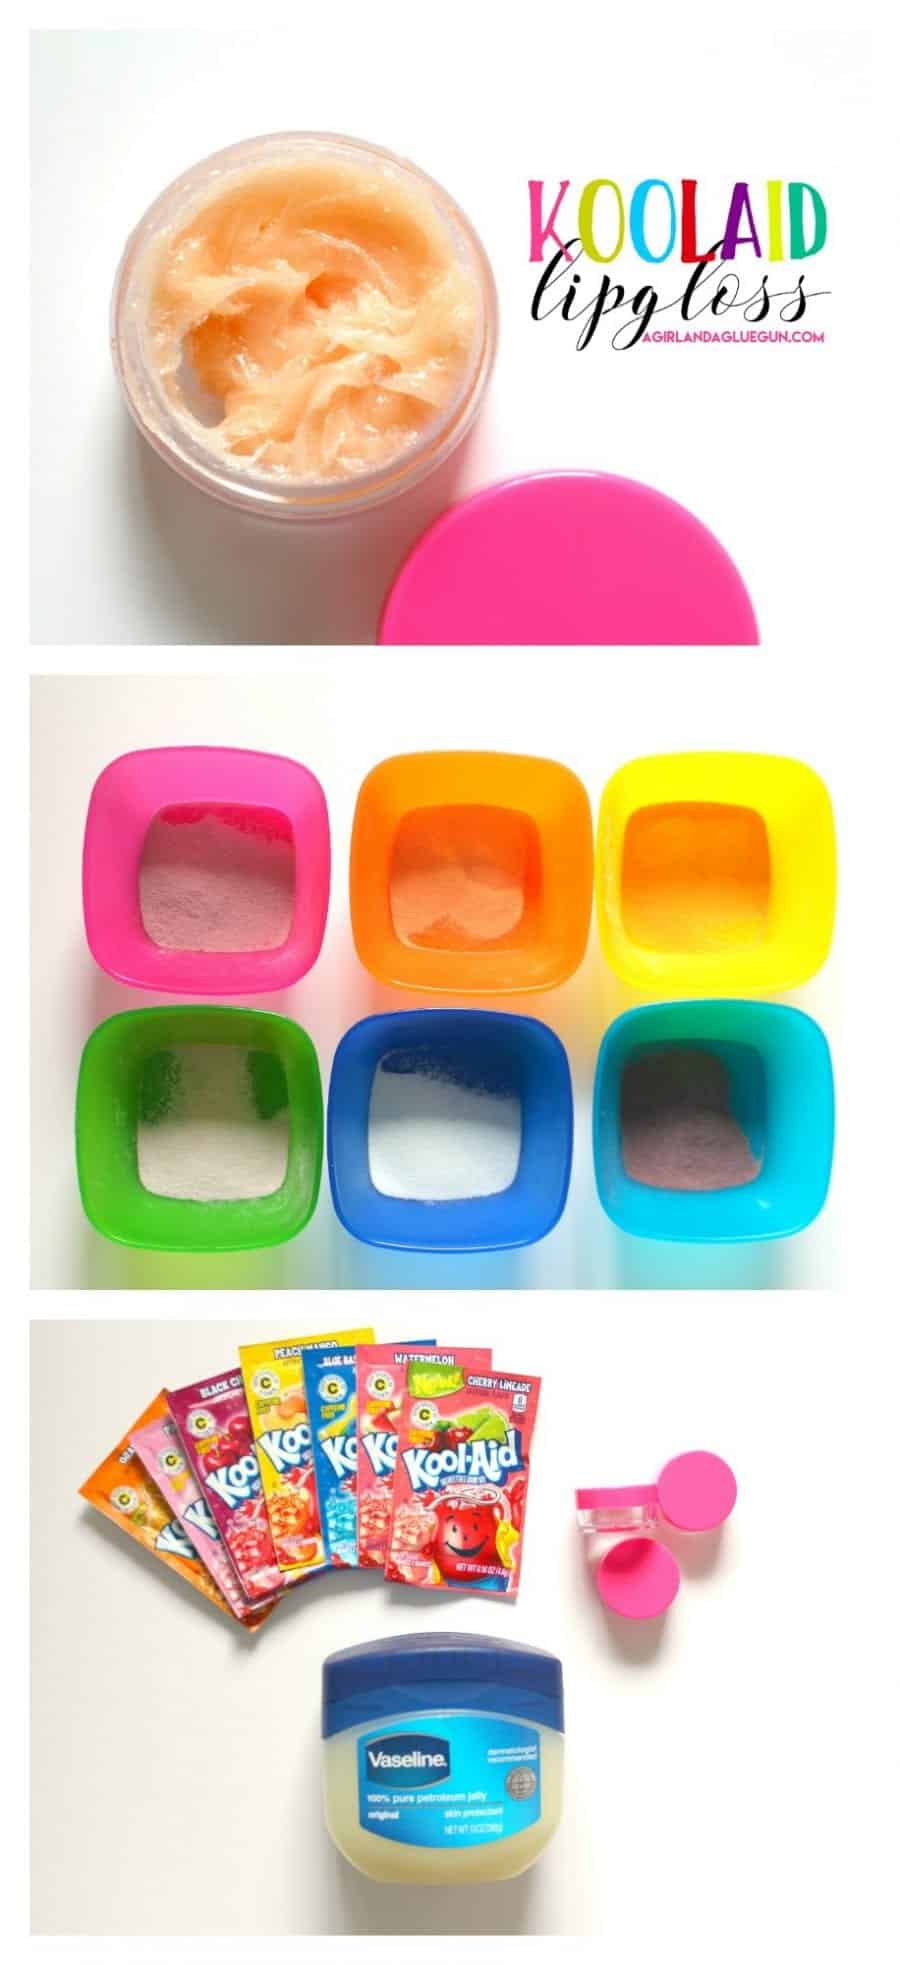
Supplies needed:
- Koolaid in all different flavors
- little containers (found at Dollar Tree and Hobby Lobby)
- Vaseline or coconut oil
- Spoons to stir
I opened up the Koolaid packets and poured them into bowls. We passed them around and each person went to smell them so they could decide what flavor they wanted.
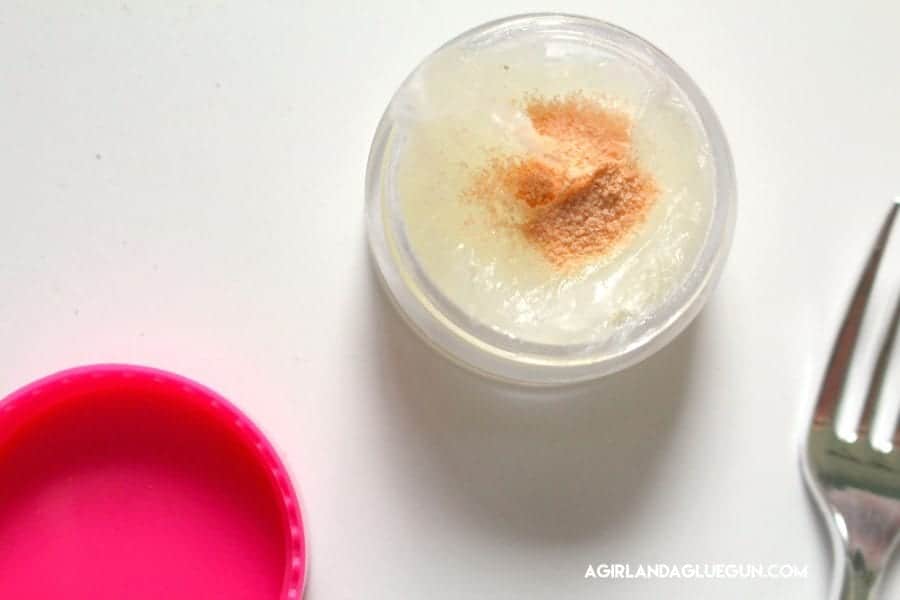
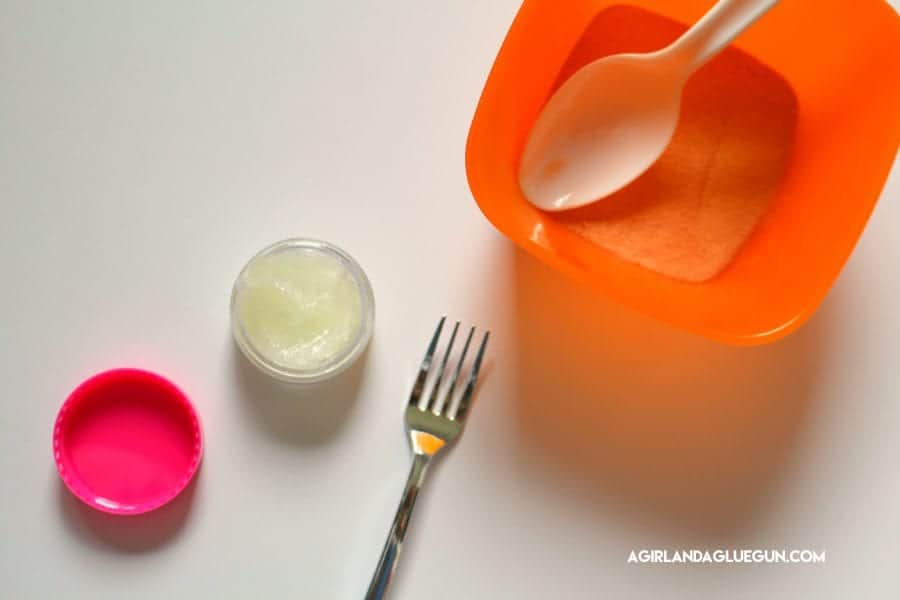
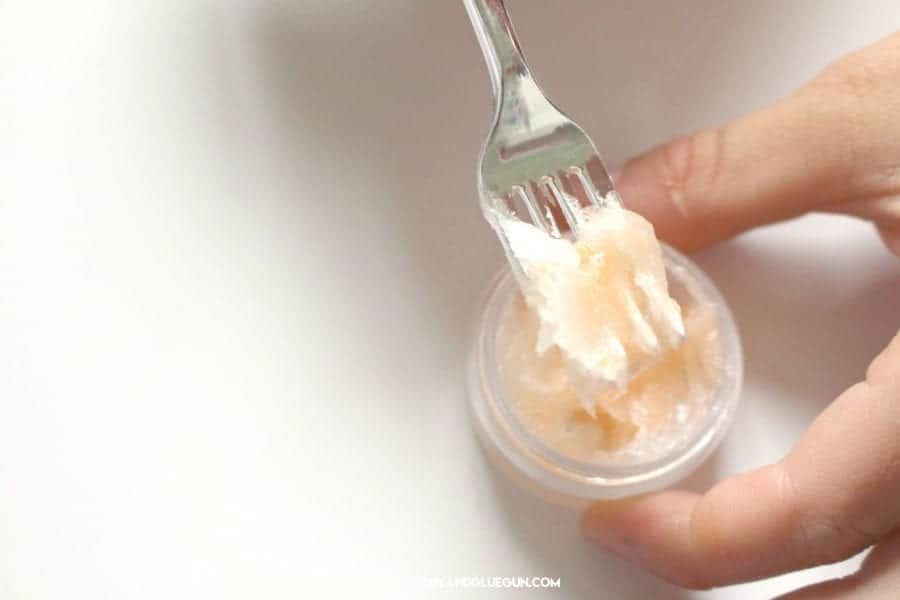
We added a little petroleum jelly into the cute container and then the girls let me know what kind of Koolaid they wanted. Jut added a little spoonful and the girls got to mix it up.
You could also put out some stickers so the kids could decorate their lids and remember whose is whose!
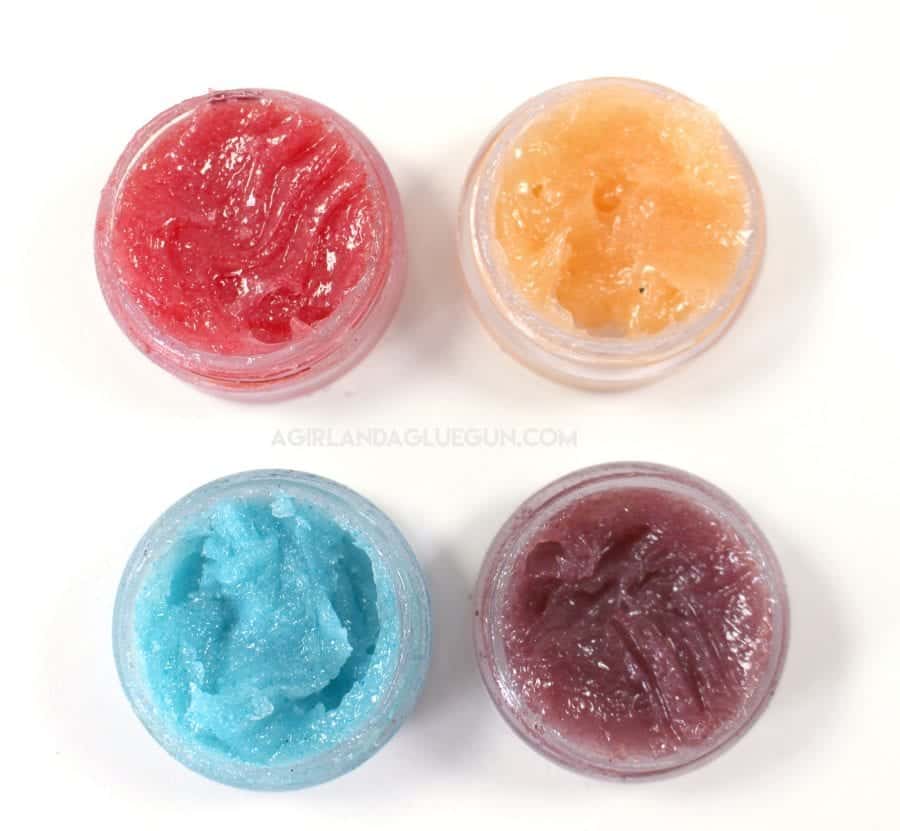
The colors aren’t as bold and bright as the koolaid but still pretty!
4. Black Scratch Art
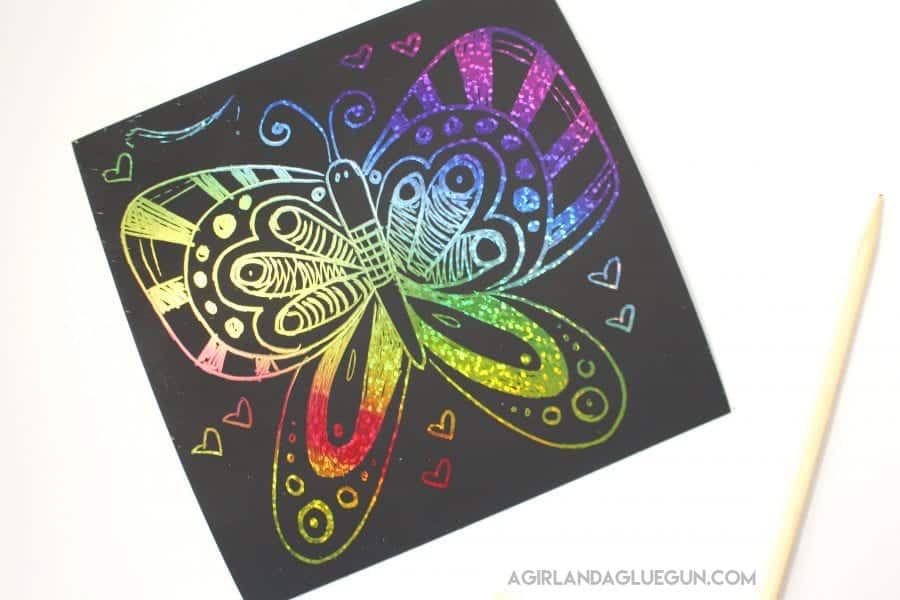
This activity is perfect to have on hand. It’s fairly inexpensive and if you run out of time, you can easily throw it in a goodie bag or send it with the kids for them to do later!
Supplies needed:
(or DIY some- down below!)
The kit I linked comes with wood sticks to scratch away the black part leaving a pretty cool design!
You can check out this DIY Black Scratch Art post to see how to make them entirely from start to finish! It definitely will take more time since you are coloring the back and then painting on the front. You will need to allow dry time for the paint!

5. Painted Rocks
Rocks are cheap (free!) but the paint can be messy! You will also need to allow for dry time! But the possibilities are endless. I have lots of examples on this blog post that you can show to get some creative juices flowing.
Supplies:
- Rocks (clean beforehand)
- paint

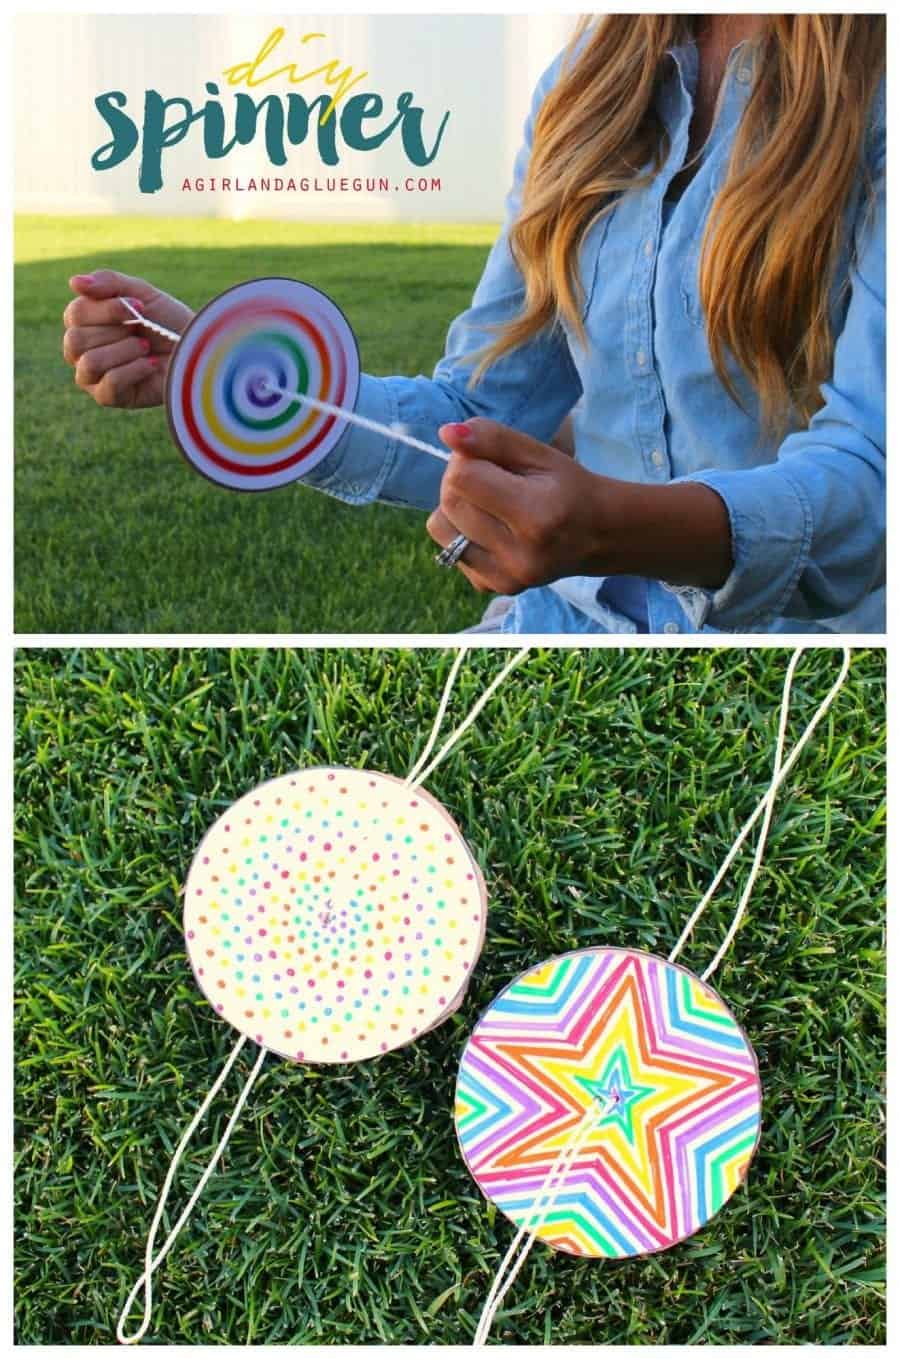
6. Paper spinners
These are so fun to decorate, and then to play with!
Supplies
- Cardboard
- String
- markers
- scissors
Pre cut the cardboard and string and then let the kids color the circles. You can assemble the spinners while they move onto another craft.
7. Paint a Canvas
Supplies:
- Pack of canvas frames (Hobby Lobby or michaels)
- Paintbrushes
- paint
- easels (you can DIY some out of cardboard)
You could set up a painting station and let each girls paint. Paint can be messy- so I would make sure that the kids are old enough and maybe warn the parents to send the kids in clothes that can get dirty!

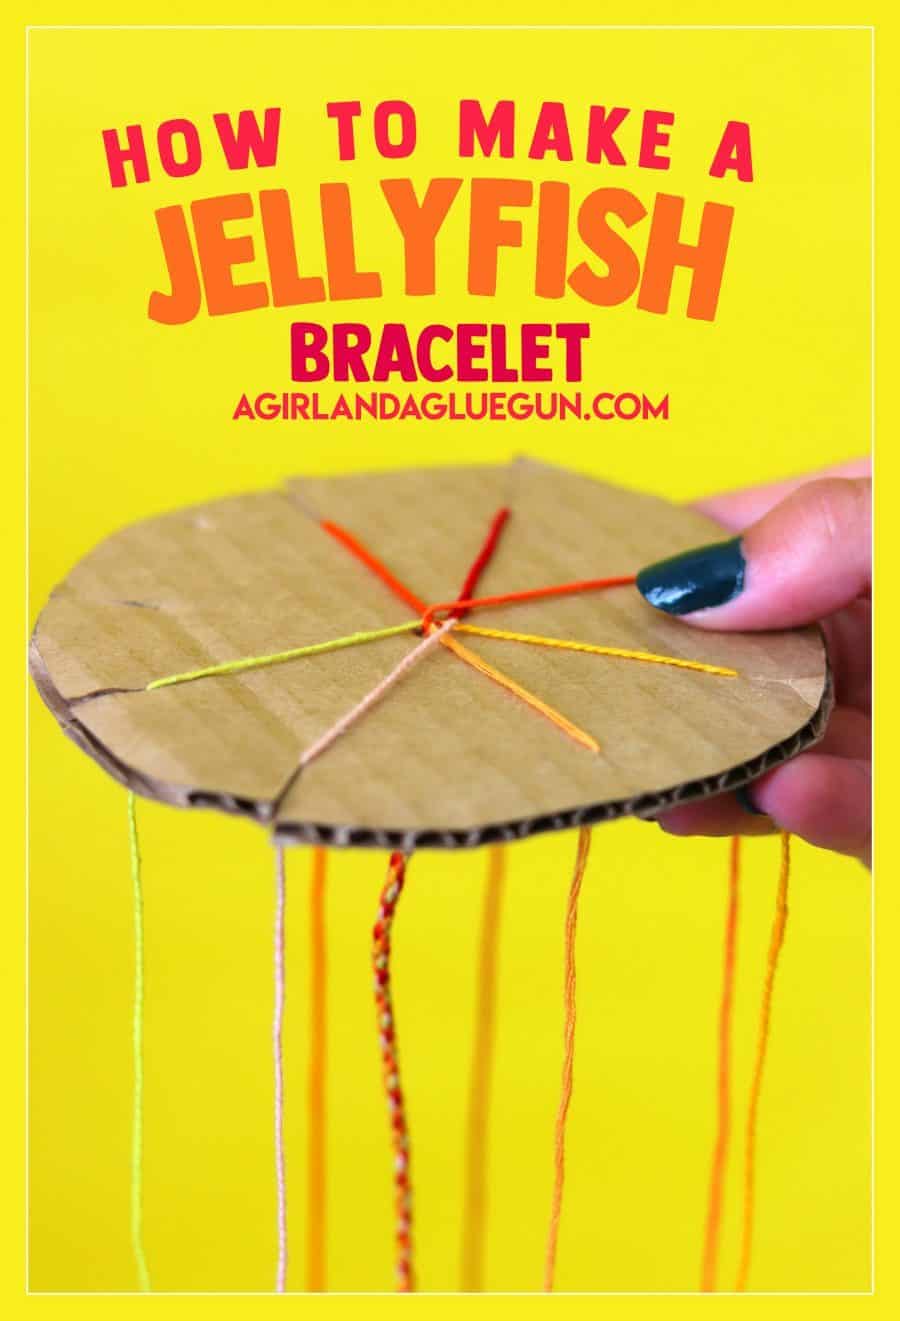
8. Jellyfish Bracelet
This is such a fun craft- And each kid can take home their circle so they can make more bracelets at home!
Supplies:
- round dics (cut out beforehand)
- yarn or embroidery floss
You can see the easy how to here!
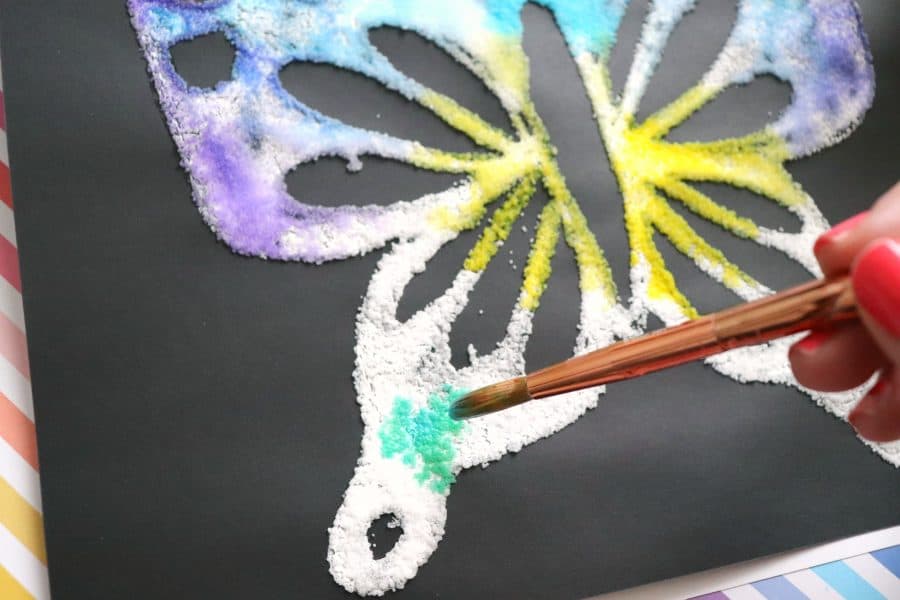
9. Salt painting
Supplies:
- Salt
- white glue
- cardstock
- watercolor
This one is great because you don’t have to wait for the glue or salt to dry before you can start painting! It’s pretty fun to watch the magic of the watercolor spread
10. Slime or Dough
My kids love playing with anything gooey! I have a few recipes that kids will love but this cloud dough is the easiest because it’s two ingredients.
Supplies
- corn starch
- conditioner
You can take it a step further and add in food coloring and/or essential oils. You can take it step EVEN further and try to push some into a balloon to make your own stress ball.
Make sure to have some plastic bags on hand to send the dough home in!

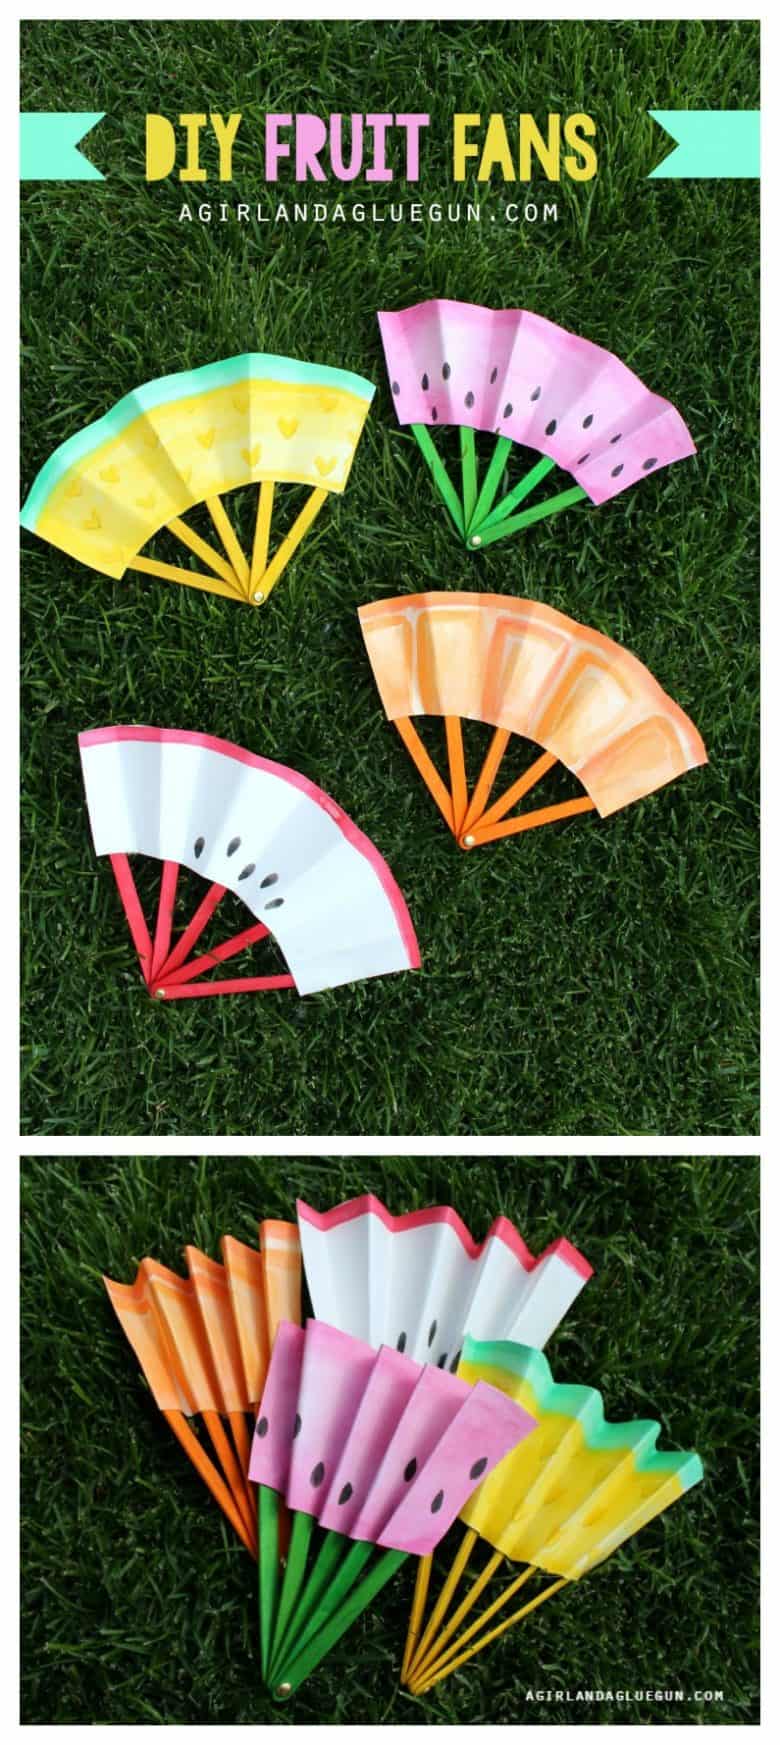
11. Homemade Paper fans
Create your own fans. A perfect craft, especially in the summer!
Supplies:
- Paper
- popsicle sticks
- markers or crayons
- Drill
- Brad
I would predrill the holes into the sticks to make the assembly process go by a little faster!
12. Air Dry Clay
Putting out some air-dry clay is sure to be a hit! My kids would spend hours just modeling it into animals and frames and letters for their name! We love it! Glue on a magnet to the back for a fun functional craft project!
Supplies:
- Air dry clay
- plastic utensils
- toothpicks

More Kids craft projects
I actually have a whole kids craft camp with loads of fun ideas that will keep those kids creative!
Save for later
Too busy to get crafting today? No problem! Pin this post to remind yourself about this project later! Sharing my projects helps me reach more people, allowing me to continue sharing free content!
Final Thoughts
A crafty themed birthday party for kids is the perfect mix of fun, creativity, and meaningful play. It’s a great way to celebrate while giving kids something they can be proud of—and it keeps them entertained the entire time.
With a little prep and a lot of color, you can create a birthday party that’s as unique and creative as your child!
Leave a Reply