
Today I have a fun Thanksgiving/Fall sign-(and a free cut file–down at the bottom!)
I wanted to break it up and do a post that I should have done before this post. So Today I’m going to show you how to use transfer tape with vinyl while we craft this fun sign…and talk about WHY you need transfer tape in your vinyl stash!

My first time using adhesive vinyl, I cut the decals out all the way through the backing and wood peel off the backing and apply each letter. ONE BY ONE. Like stickers. They never lined up perfectly and took WAY to much time! So this post is to teach you just how amazing Transfer Tape is!
![]()
What is transfer Tape?
Transfer tape is sticky–kind of like vinyl. It’s purpose is to move your vinyl decal onto your project in one swoop. It is used with ADHESIVE vinyl. It’s especially amazing when you an intricate design.
I made a quick video because it’s easier to see it in action! But I will still walk you through it step by step!
Here are the projects used in the video and down below!
- adhesive vinyl
- transfer tape
- application tool
- weeding tool
- cut file (down below!)
- Blue Stencil Vinyl (oramask)
AS with anything. You need to cut your project out. I love my Silhouette Cameo (but the process is the same if you have a cricut or a brother cut and scan!) If you need help with cutting out vinyl- check out my silhouette love series!
How to use Transfer Tape
There are some transfer tapes out there are horrible! They don’t adhere or they don’t release! I LOVE transfer tape from Expressions Vinyl. I actually have the paper, the opaque….and they JUST released this GRIDDED! They all work AMAZING! I literally can’t pick a favorite! Expressions sells sheets of it…so If you want to try them all out before splurging on a roll…I would suggest buying a sheet of each! BUT BUY THE ROLL! You will use it. I have had mine for 3 years and it’s still going strong! Grab the transfer tape HERE!
If you don’t’ get good transfer tape, you will have a hard time transferring over anything. And it will leave you frustrated and hating vinyl! Buy the good stuff!
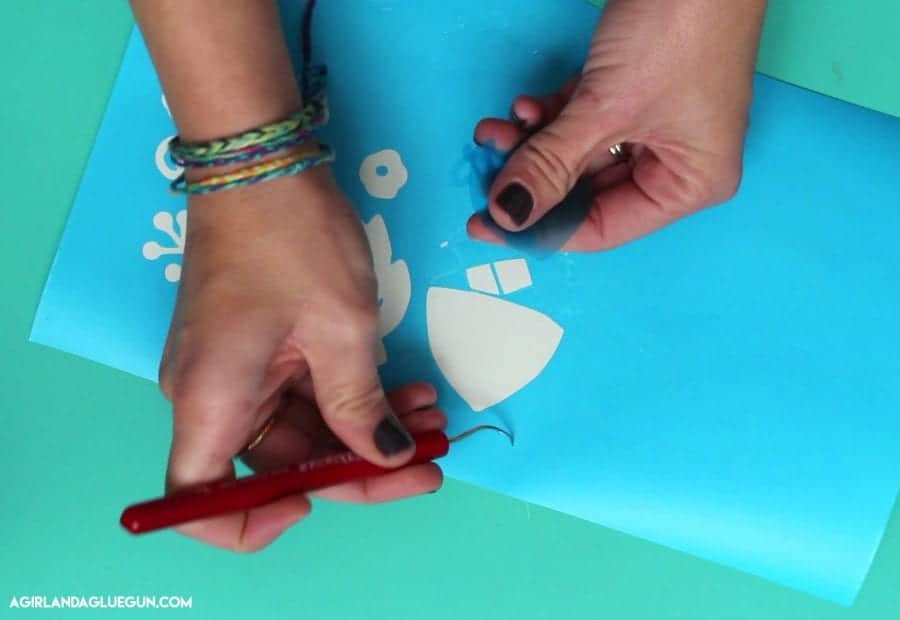
Step 1: Weed your vinyl
After your vinyl is cut, weed away any part that isn’t part of your design.

I love using this weeding tool. It’s super sharp and gets all the little pieces of vinyl awesome! 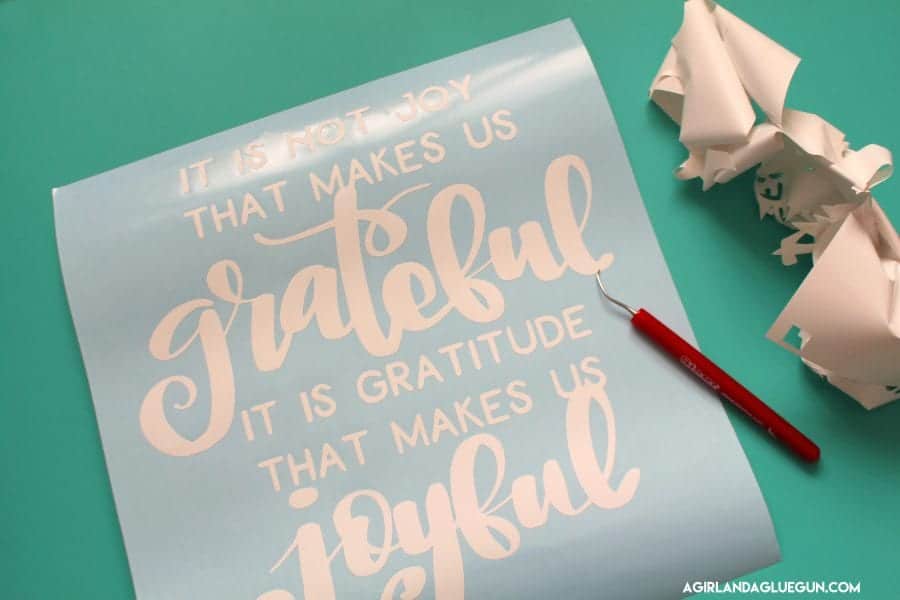
Step 2: Apply Transfer Tape
Get your transfer tape!
![]()
Pull out a piece and lay it over the top. If your project is small, you can just cut out a piece of transfer tape to match. Since my project is big, I just pressed it to the top and rolled the transfer tape down as I smoothed out the top.
![]()
Trim off the excess.
![]()
Step 3: Rub your transfer tape
Take your application tool and rub the top of the transfer tape. This adheres the vinyl to the transfer tape and helps release it from the backing.
You will have the transfer tape on top. the vinyl in the middle and the backing on the back. The transfer tape should lift up all your vinyl.
![]()
Step 4: trim transfer tape
Depending on your project, I like to trim it out so it fits on my project perfectly. You can see I bent the side down so I knew were to trim. ![]()
Trimming off the excess just helps you when lining things up. When you are using adhesive vinyl, it’s very easy to put it on crooked since you have one shot!
![]()
You can see it fits on my board easily. So once I peel off the backing I can line it up with the sides to make sure it’s even.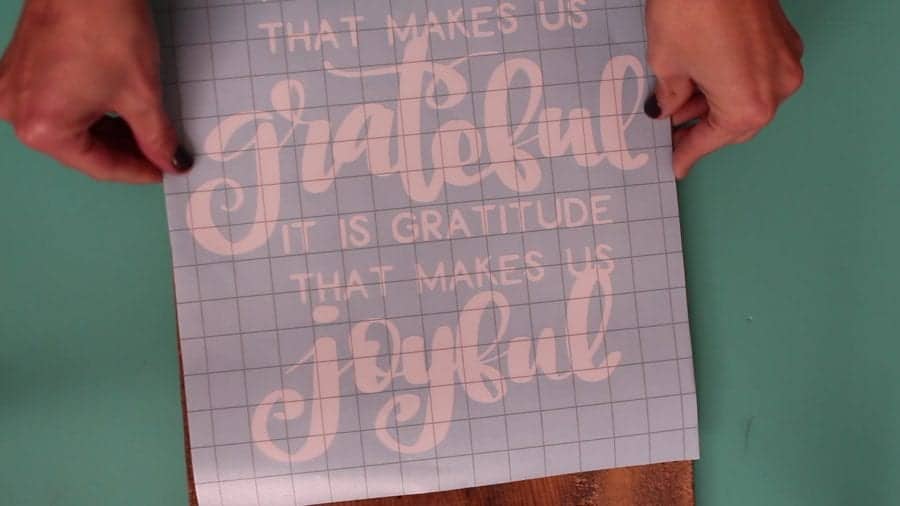
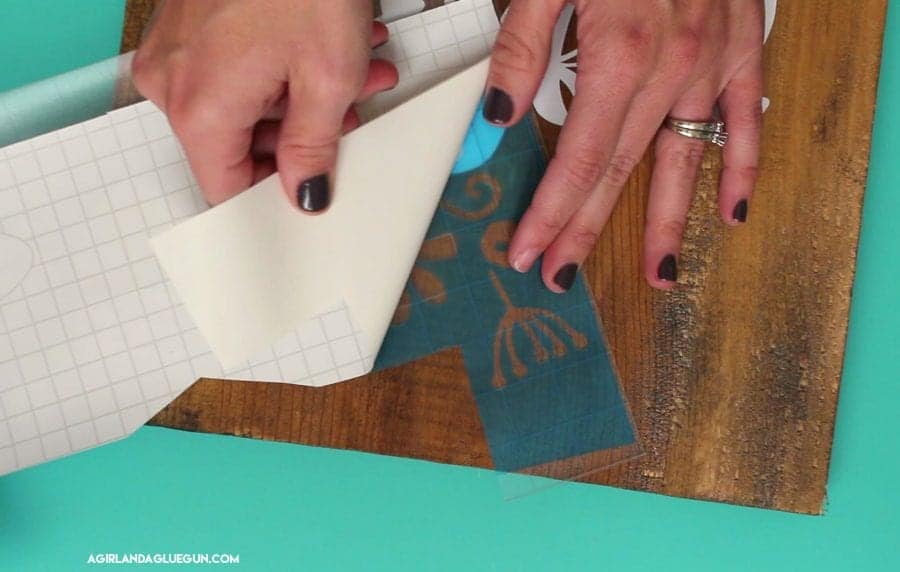
Step 5: Add the vinyl to your project
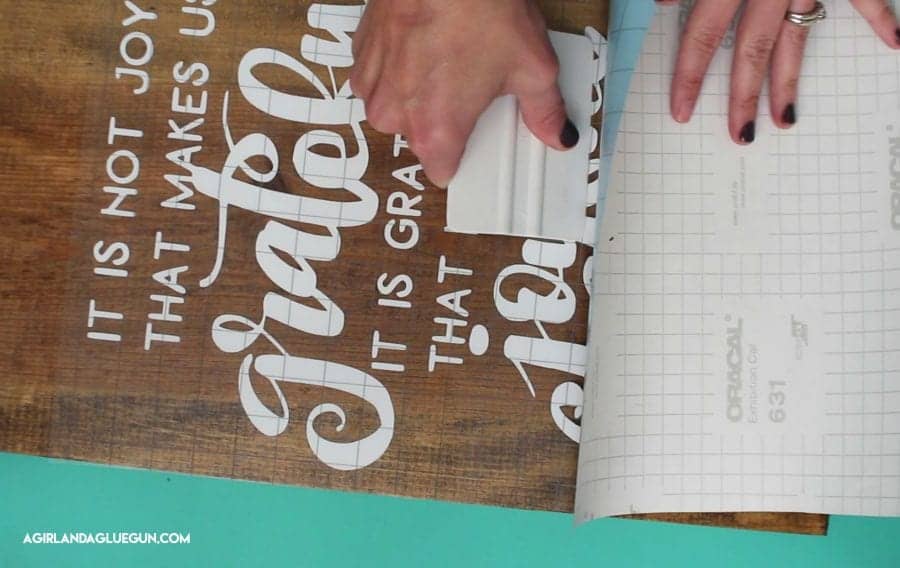
Since this vinyl decal is pretty big…I have a trick! I peel off the top a few inches down and trim off the backing. 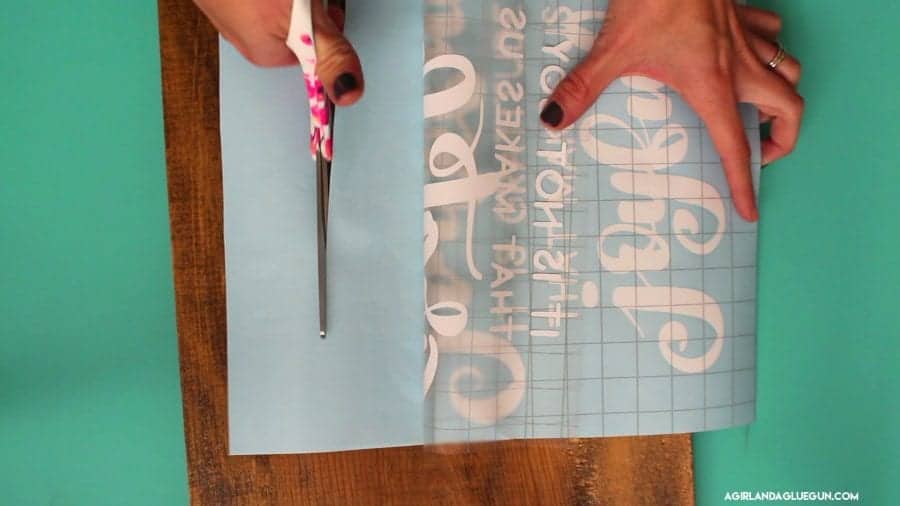
Then I line up the sides and press down the top where the backing is gone. This helps me line everything up without accidently getting the whole decal stuck.
![]()
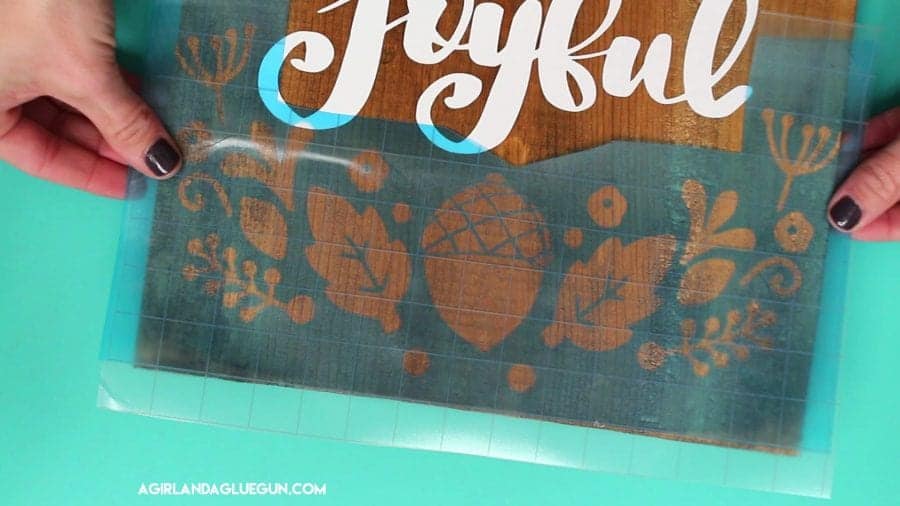
Then I reach under and peel up the backing as I smooth out the vinyl on the wood. (this is also called the HINGE method !) ![]()
![]()
Nice and slow! Once the backing is all the way off I take my application tool and rub it really good to get the vinyl nice and stuck!
Step 6: Take off Transfer Tape
Ttake a corner and holding the vinyl all they back at a 90 degree angle, start pulling it back. I go nice and slow and if any letter comes up, I just push it back down. IF lots of letters are coming up-flip the transfer tape back over and rub it with the application tool a little more aggressively!
![]()
FYI! I have tried to put adhesive vinyl on my front door and it WOULD NOT STICK! I couldn’t get it off the transfer tape! Not the transfer tape’s fault…it’s the finish on my door. SO if the transfer tape is not releasing, it might be the project you are putting it on. Also. Stain is greasy. If You are applying this on a freshly stained piece of wood, the vinyl will have a hard time sticking! You can add a clear coat of mod podge or clear spray paint to get a good stick! Chalkboards sometimes have a hard time putting vinyl on to since it has a little chalk dust permanently on it!
Once you get all the vinyl off you transfer tape, admire your amazing new project!

How to use transfer tape with smaller vinyl decals
Okay…I wanted to show you how I do smaller decals–This one is a stencil so I weeded out the main pieces (cut out using ORAMASK from Expressions Vinyl
 I trim and make sure it fits on my project.
 ![]() Peel off backing.
Peel off backing.![]()
I call this the “Hover”
I place the vinyl above my project…just hovering over it until I like the placement and then I just set it down on it. This doesn’t work if the project is too huge because you only have two hands and one side can drop and touch and stick and then you are crap out of luck.
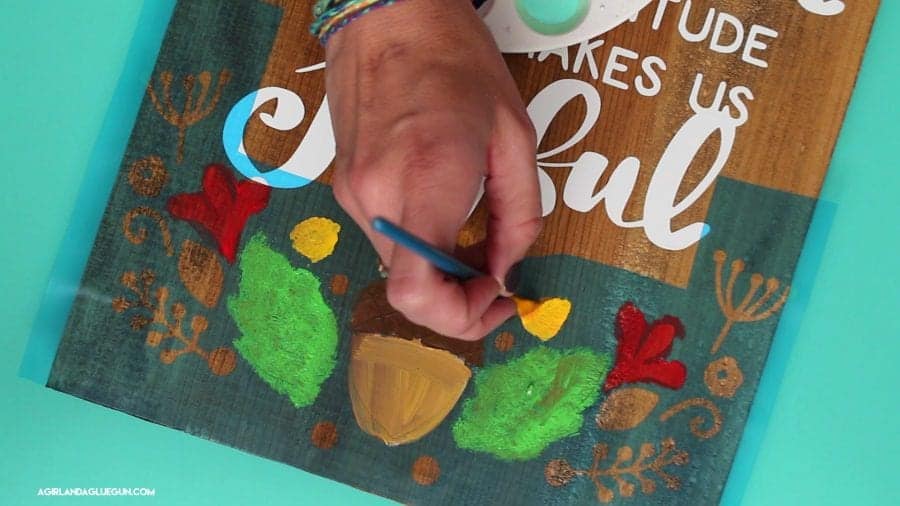
Rub with app tool and peel off transfer tape! ![]() Then I just added paint.
Then I just added paint.
You can go HERE to read about using this vinyl as a stencil![]()
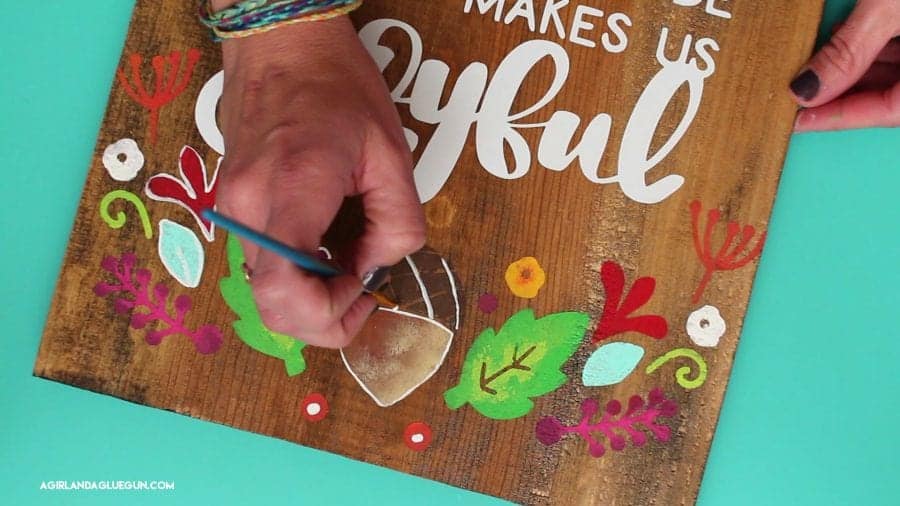
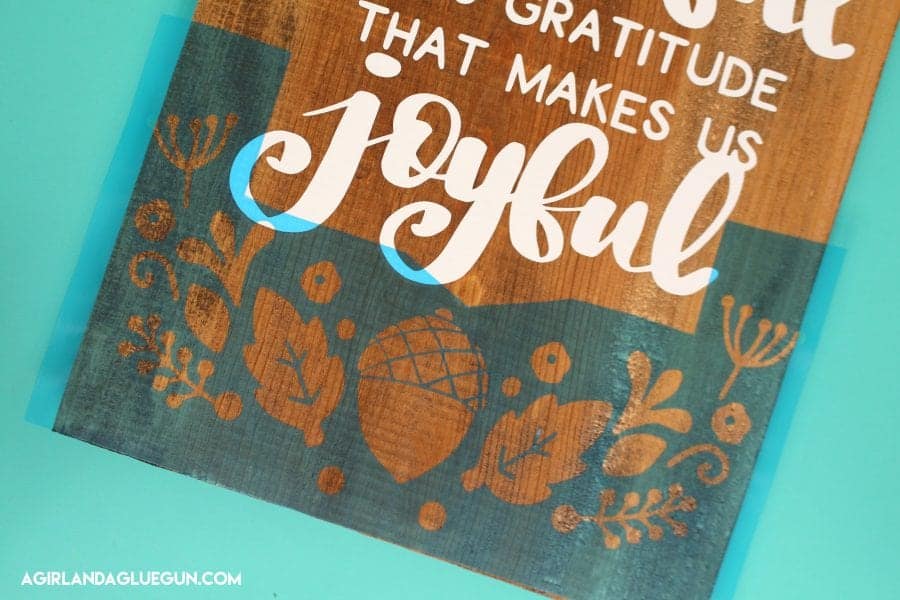
Here is the finished project! 
The cut file you can use with our without all the fall embellishments (or you can even ungroup them in your silhouette cameo and rearrange them how you want them!)
You can grab the free cut file HERE:

If you are ready to move onto your next vinyl project:
If you are looking to sale products made with this cut file please purchase a commercial license HERE! (This will let you use ANY of the free cut files I offer on my blog! If you are having a crafting day and want to use this to whip up a cute sign or tote bag…than totally free! Every cut file is hand lettered by me on my ipad pro with an ipad pencil.
Leave a Reply