
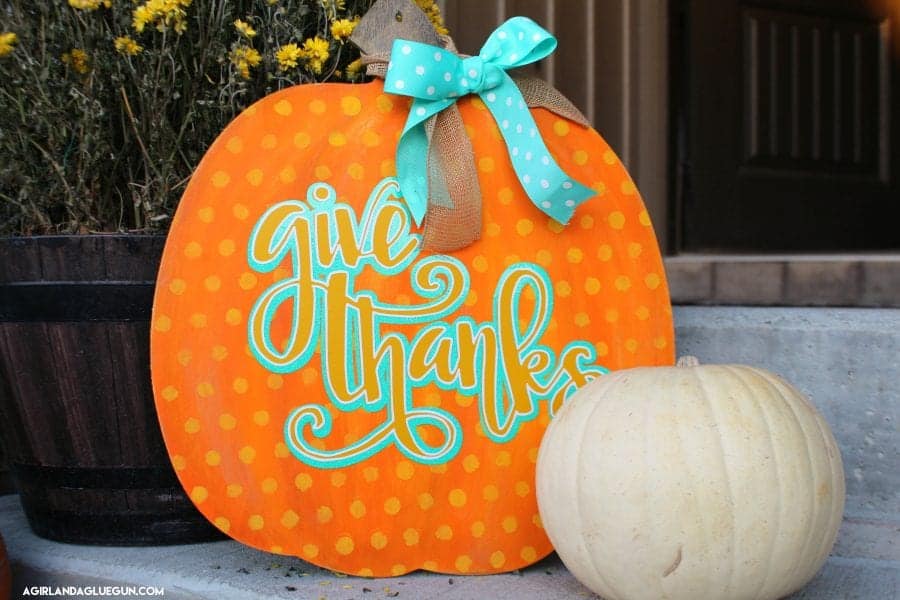
You guys got to see my fun double sided pumpkins HERE…(plus free cut files) But I wanted to put together a tutorial on how to layer vinyl. This cut file has 3 layers and needed to line up perfectly. Sometimes I just wing it and eyeball and call it “good enough” but for this…I didn’t trust my eye balls. So let me show you how to layer vinyl so it lines up! 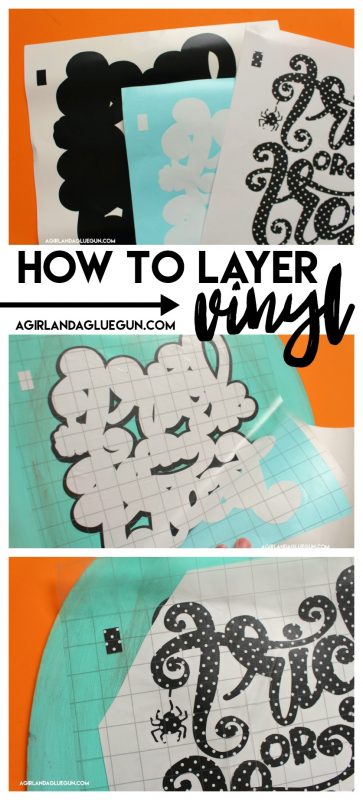
I have a video….because it’s easier to explain –but I do have a picture tutorial down below as well!
(I am using a silhouette cameo)
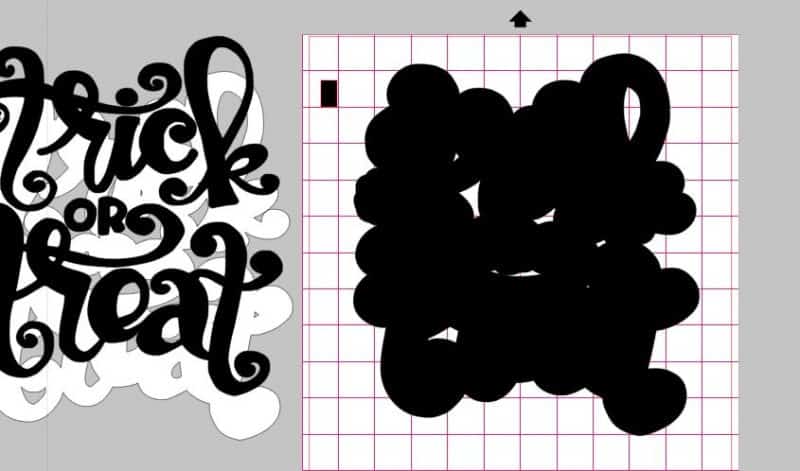
Okay. The layering actually starts before you cut. You need to get your design lined up PERFECTLY. Draw a little rectangle or triangle on one of the corners.

Then you pull off one layer at a time and cut. (I color coordinate them so I don’t get confused!)
After that layer is cut…I use the undo button to make sure that they go right back to where they need to be.
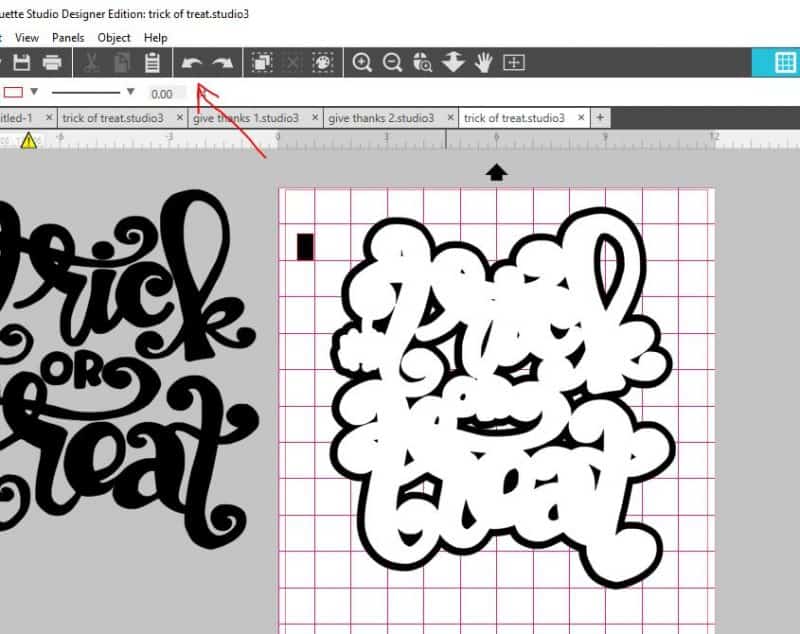
Then I pull of everything except the next layer and cut that out. Repeat for each layer! (watch the video! It will be more helpful! )
So here are my 3 pieces of vinyl I have cut. (AMAZING vinyl from Expressions Vinyl)
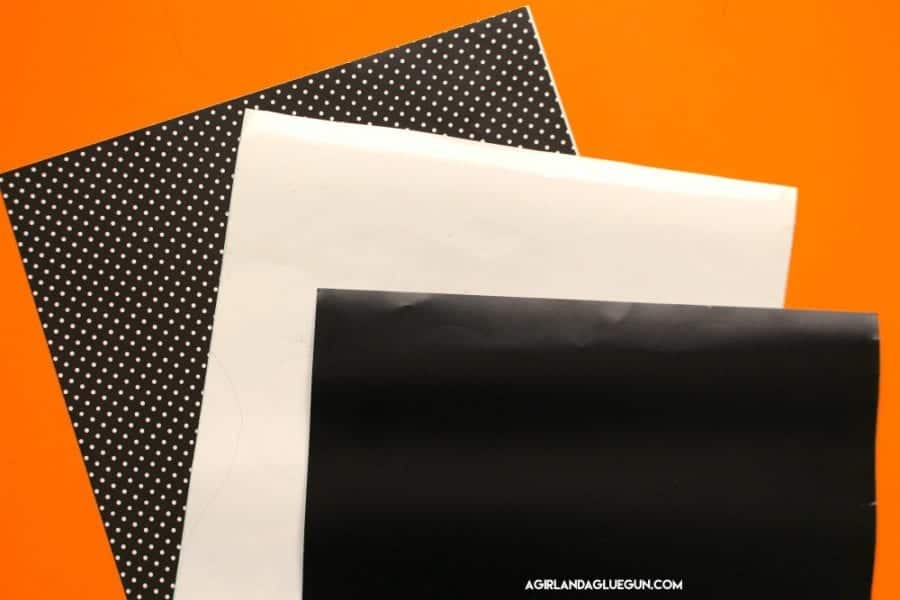
Start by weeding out the vinyl that is not part of the design.
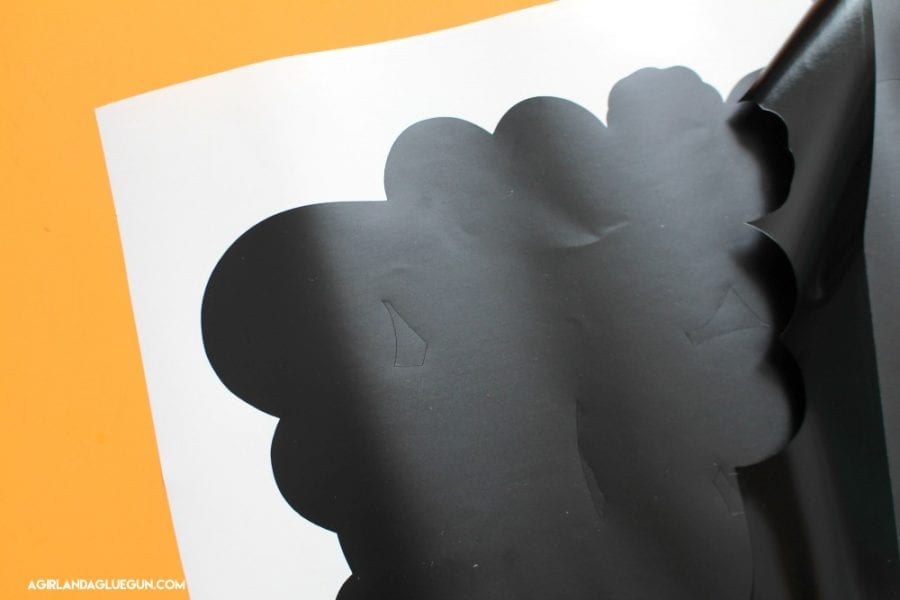
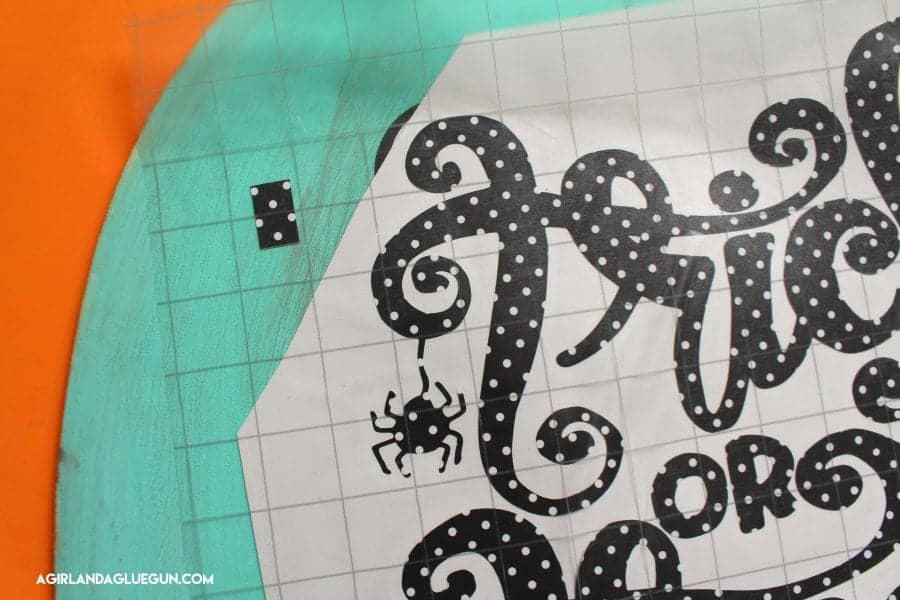
Notice that they all have the rectangle up in the corner.

The very bottom layer goes first-add transfer tape (new gridded transfer tape from Expressions Vinyl! )
![]()
Peel off the backing
![]()
And apply to your project. I get it to stick really good with my application tool.
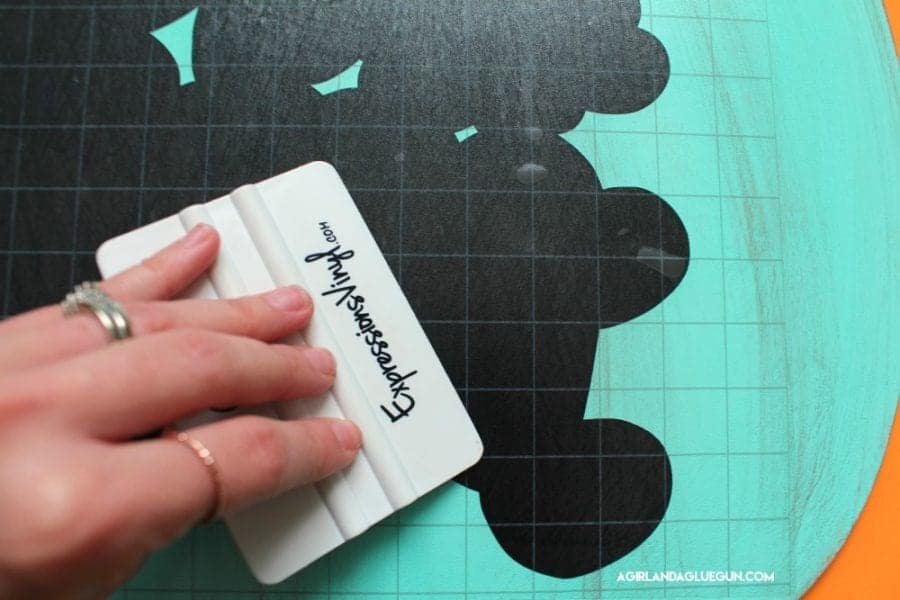
Peel off transfer tape.
![]()
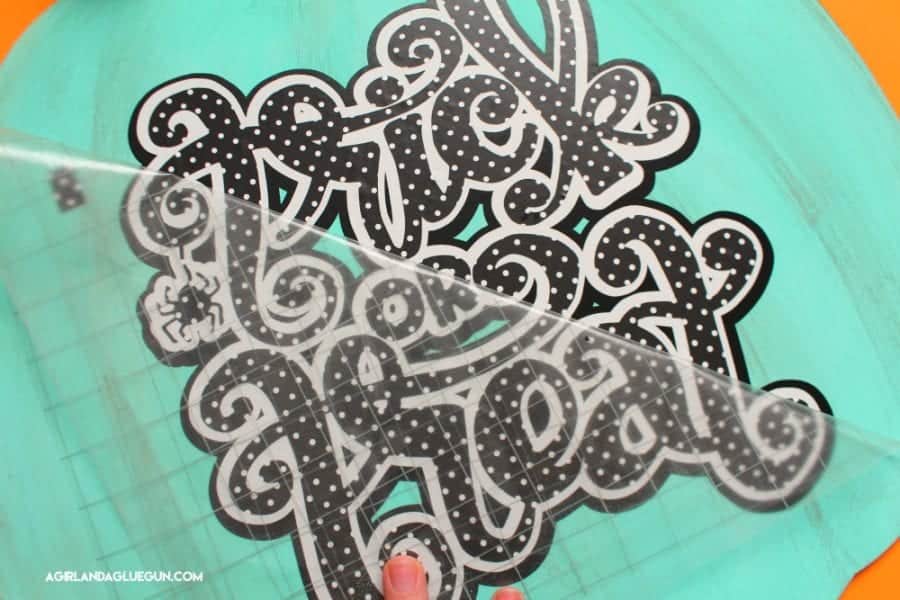
and repeat. Apply transfer tape over the next layer. (I actually used the same piece of transfer tape!) Peel off a corner of the backing and snip off where the rectangle is) 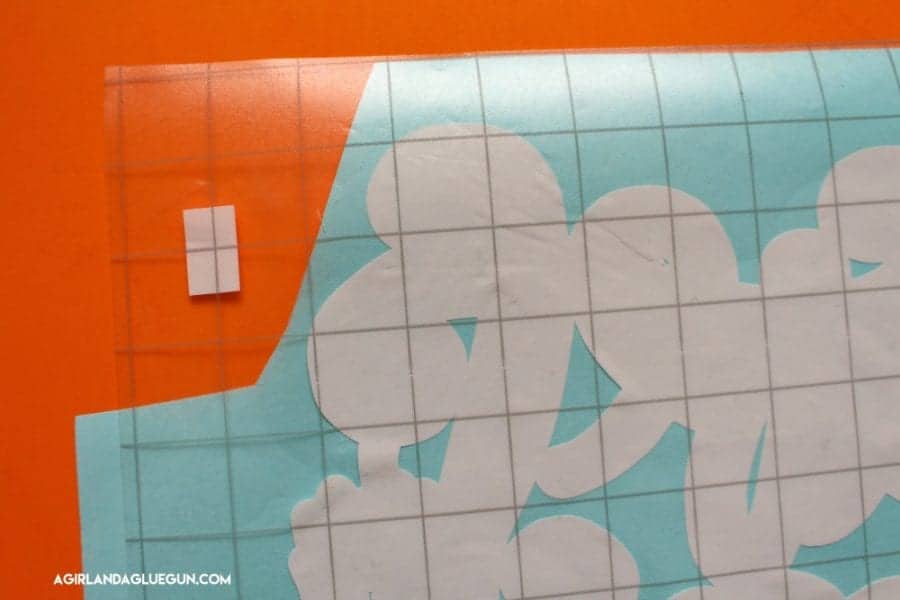 Line up the rectangles perfectly and then just peel away the transfer tape as you smooth out the vinyl on top of the next layer. When you line up the rectangles…it makes it so the vinyl is perfectly lined up as well!
 ![]()
![]()
Then peel of transfer tape and repeat with next layer.
![]()
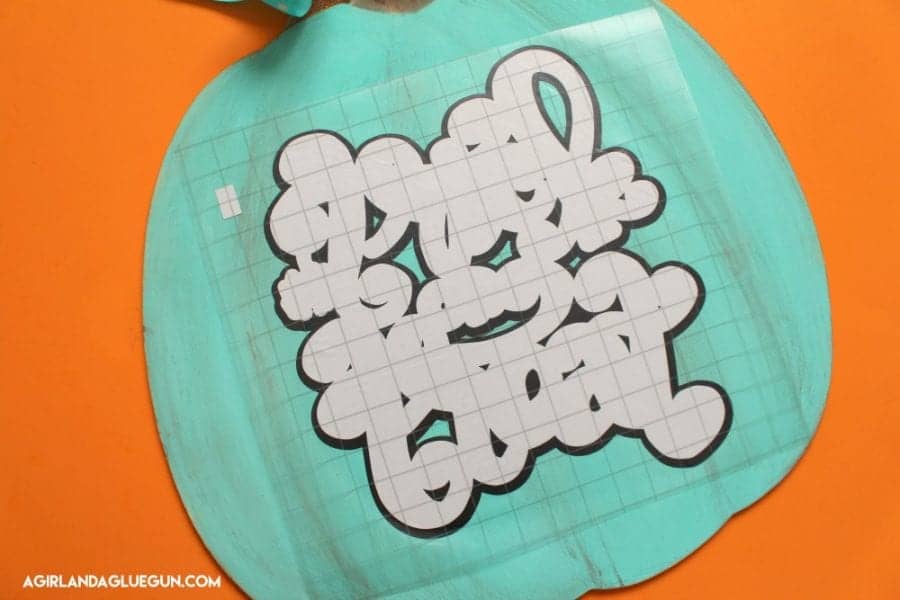
Line up rectangle…and peel off backing!
 That little rectangle ensures a perfect design each time! You can do this for as many layers that you have!
 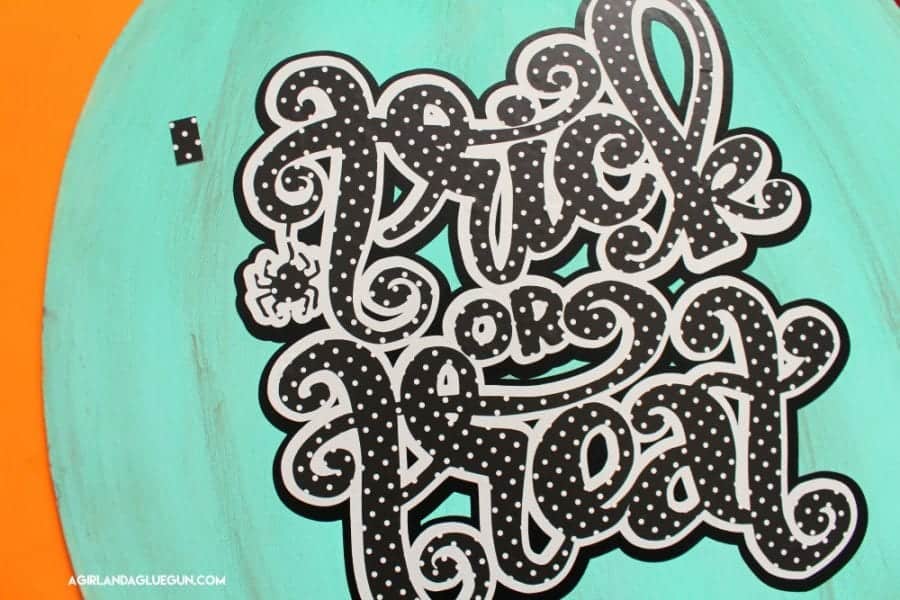 and you can just peel it off when done!
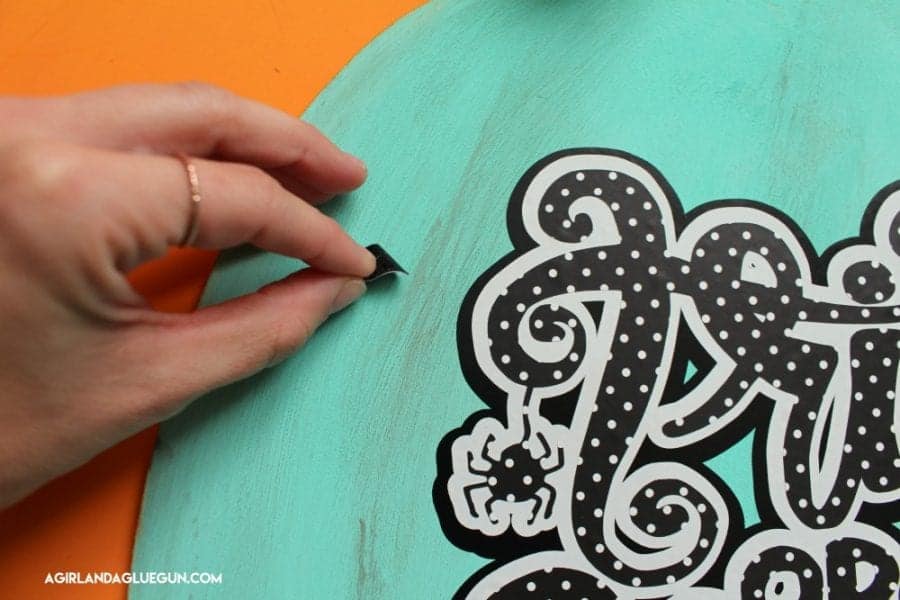
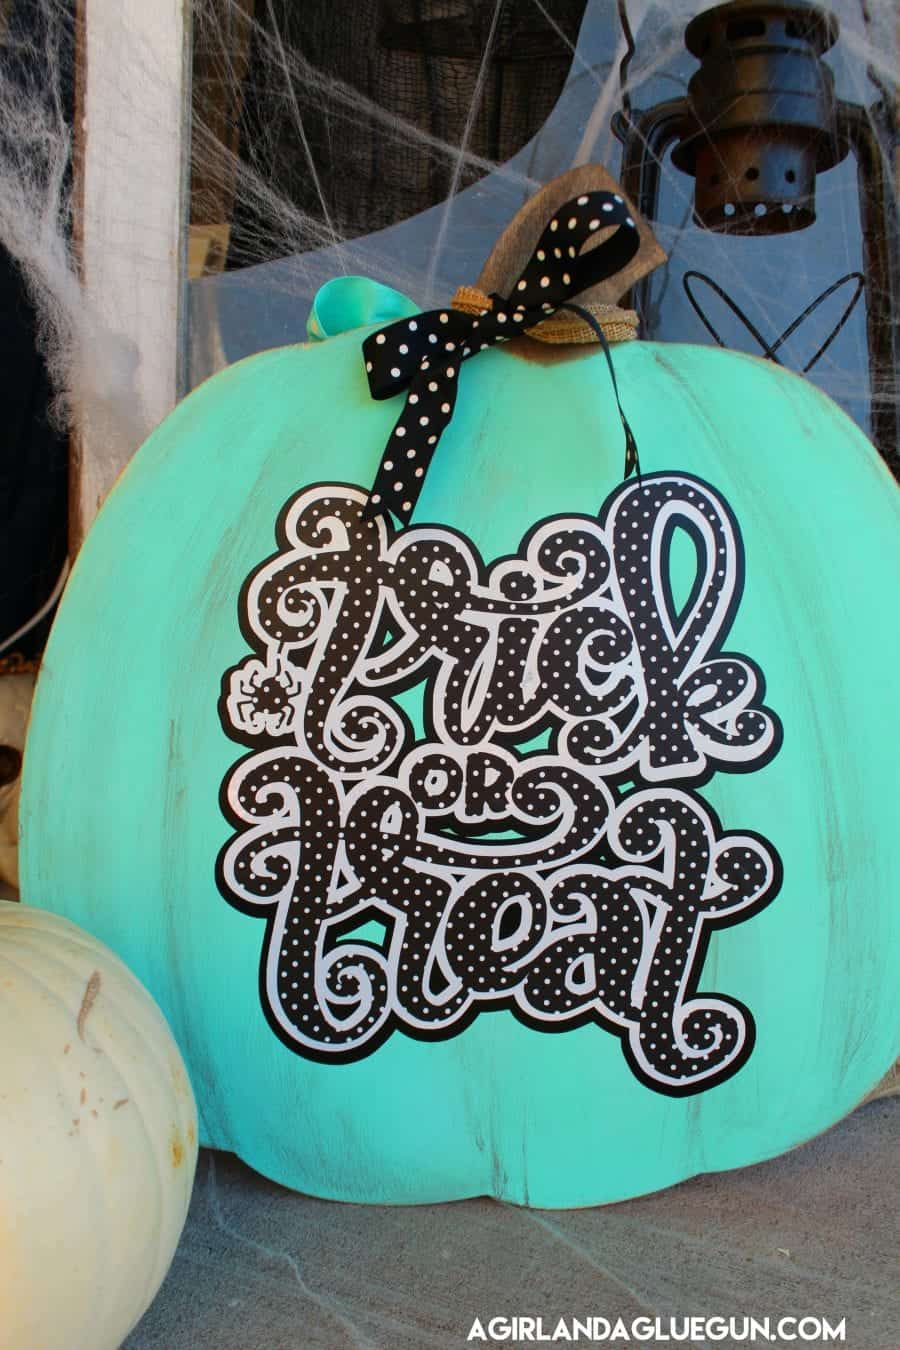
the opposite side:
Thanks for reading! If you have any vinyl questions let me know! I need to know what kind of tutorials to make for you!
Leave a Reply