
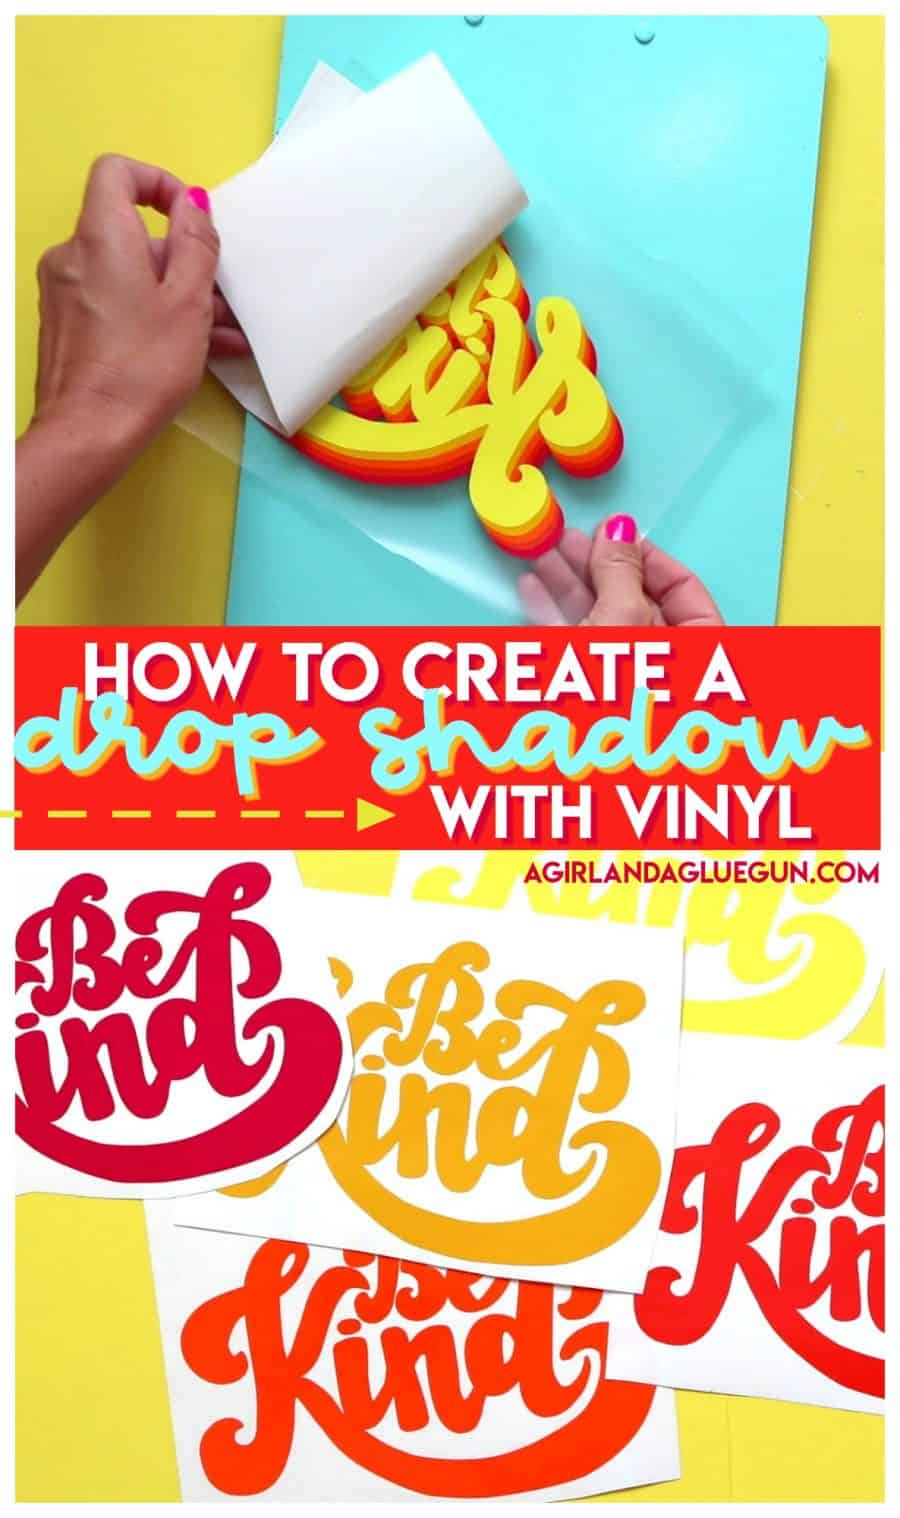
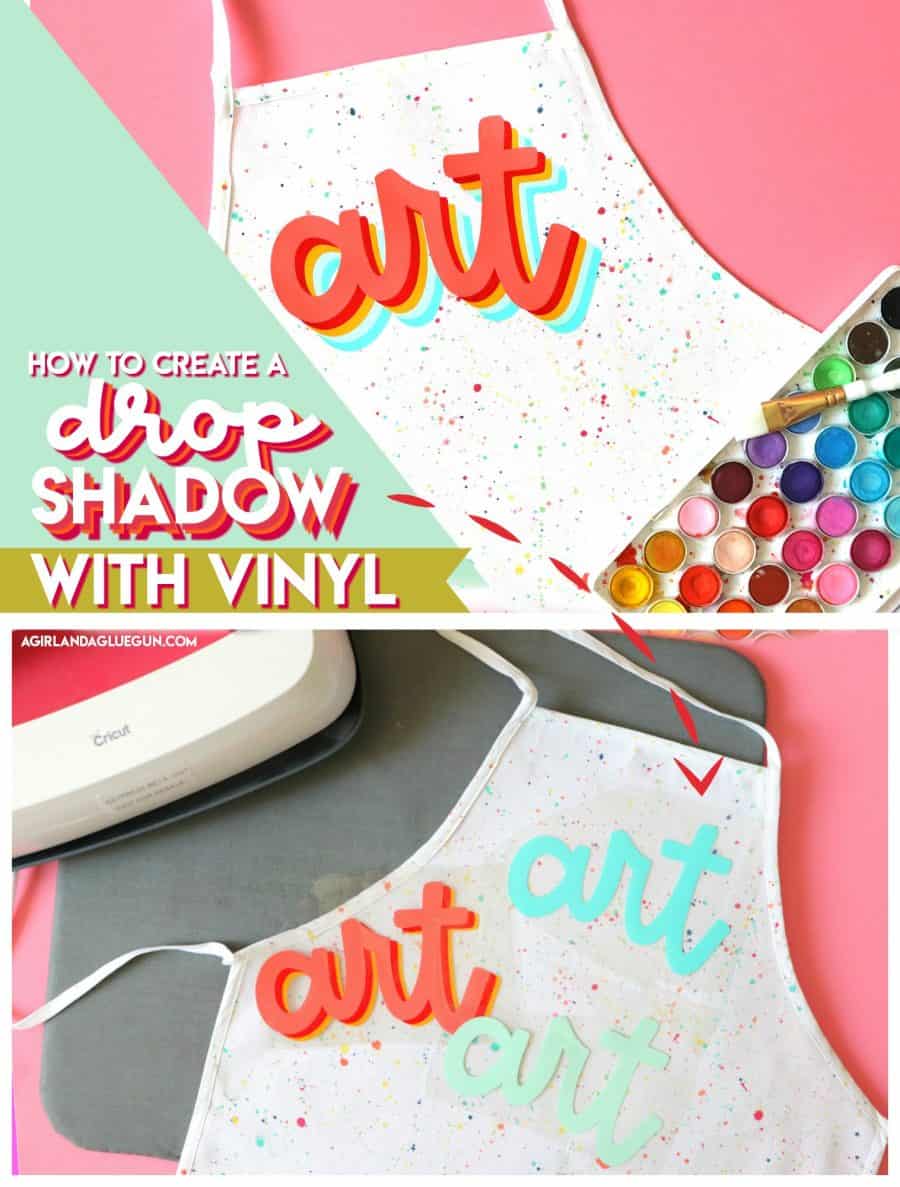
Learn how to create drop shadow effect with vinyl. It totally adds a pop to any project! This technique is pretty easy- and can be done with your silhouette cameo or cricut! If you can cut vinyl- you can do it! I will show you adhesive AND heat transfer vinyl as well as a few vinyl hacks that will make your life easier!
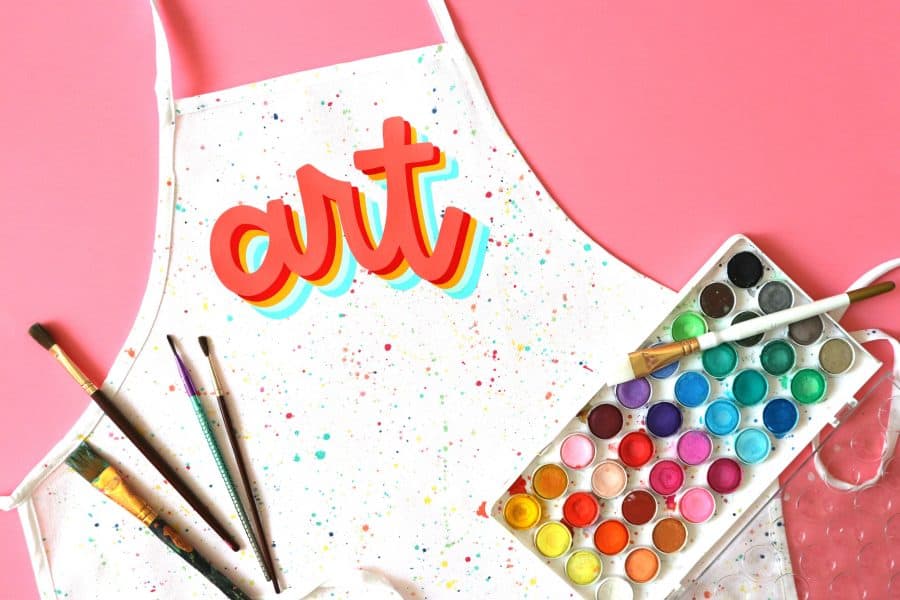
Two months ago, I showed off my art apron! It’s paint splattered- it’s got a totally fun drop shadow effect in rainbow. And I had so many questions on how to create the drop shadow. IT’S SO DARN EASY! So I hopped on a video and showed you how to make it! Adding more than one color of vinyl totally adds a pop and extra little something something! AND depending on what colors you use, how many layers, how big the shadow is, you can make it look so different and put your own spin on it!
Here is what you need to create the drop shadow
- sample kits
- adhesive vinyl from Expressions Vinyl
- Heat transfer vinyl from Expressions Vinyl
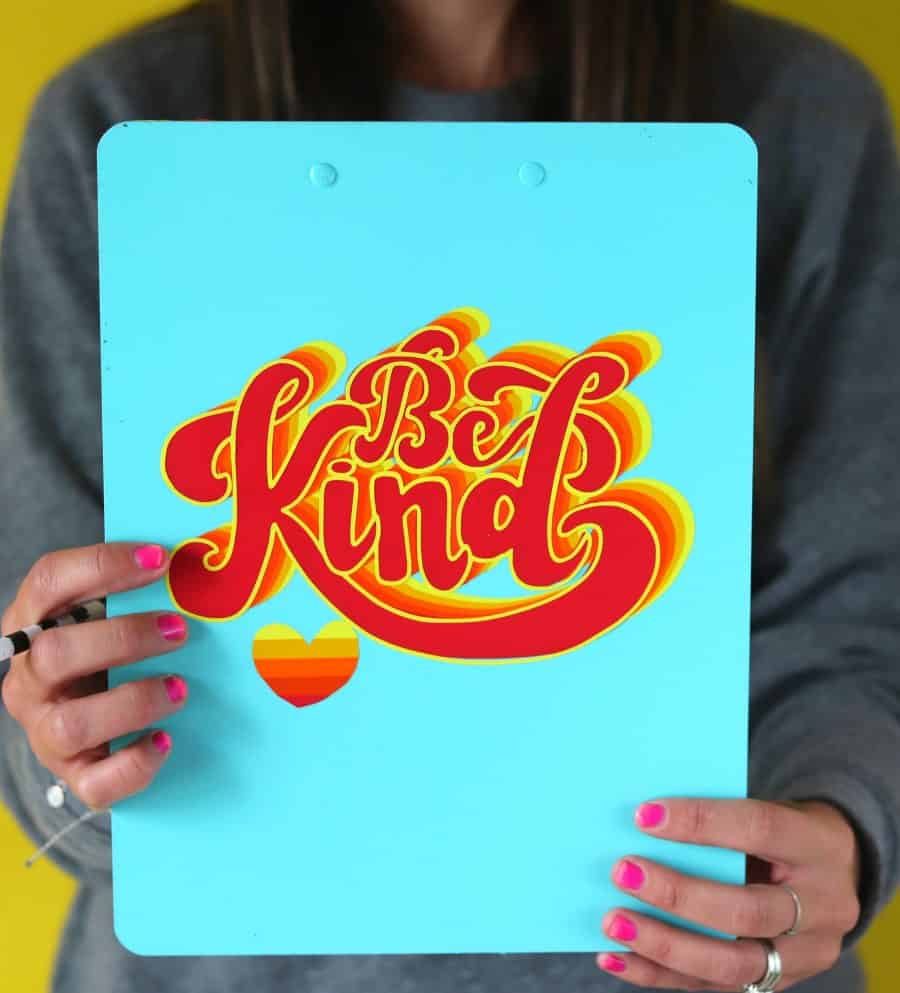
- clipboard from Walmart
- Weeding tool
- Transfer tape (used the clear but I like the blue gridded as well!!!)
- Silhouette Cameo
- Parchment paper
- peach shirt from Jiffy shirt
- Cricut easypress
- Cricut easypress mat
- free Peachy Keen cut file
- Be kind cut file
- art cut file on apron
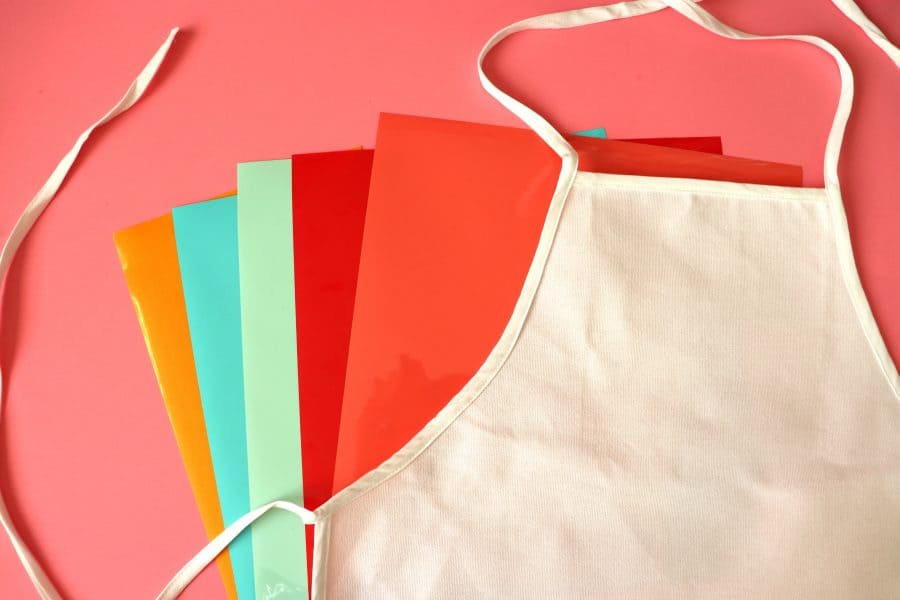
You need to pick out your colors before you start so you know how many cuts you have to make! I talk about sample kits in the video- They are so great to lay out fun color schemes! I usually go with a rainbow type theme or ombre typed theme!
Cutting out the vinyl
Once you have it all picked out- measure your vinyl project! See how much space you have to work with! The shadow effect adds to width to your project so you want to make sure to take that into account when sizing out your project!
You can do this drop effect with cut files- or just regular fonts! Some will look better than others, so just play around! I like to make a mini mock up. Add in colors and make sure I like it on the screen
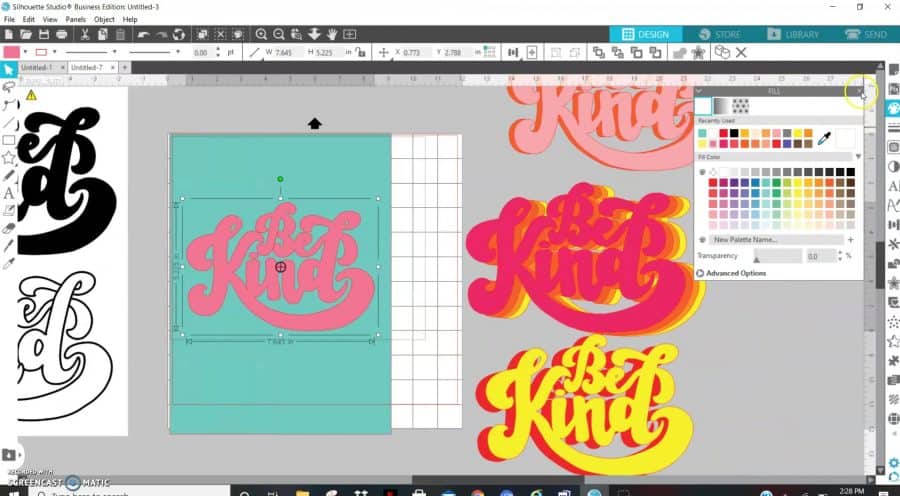
Once you pick your design, sized it appropriately- you are going to cut it out in each color of vinyl. Same size. Don’t adjust it at all!
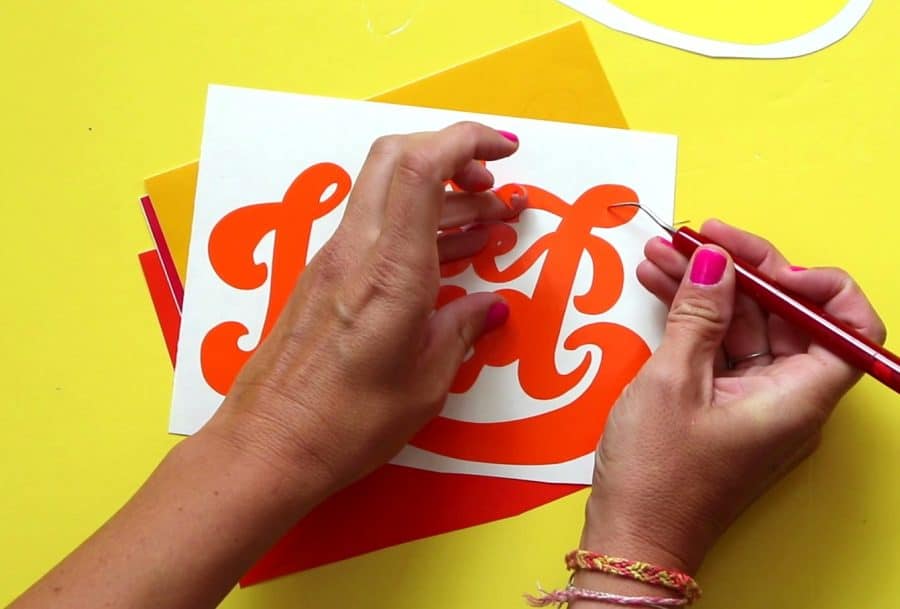
Weeding Vinyl
Weed away the excess vinyl on all the layers.
Once you have all the layers weeded- it’s time to assemble!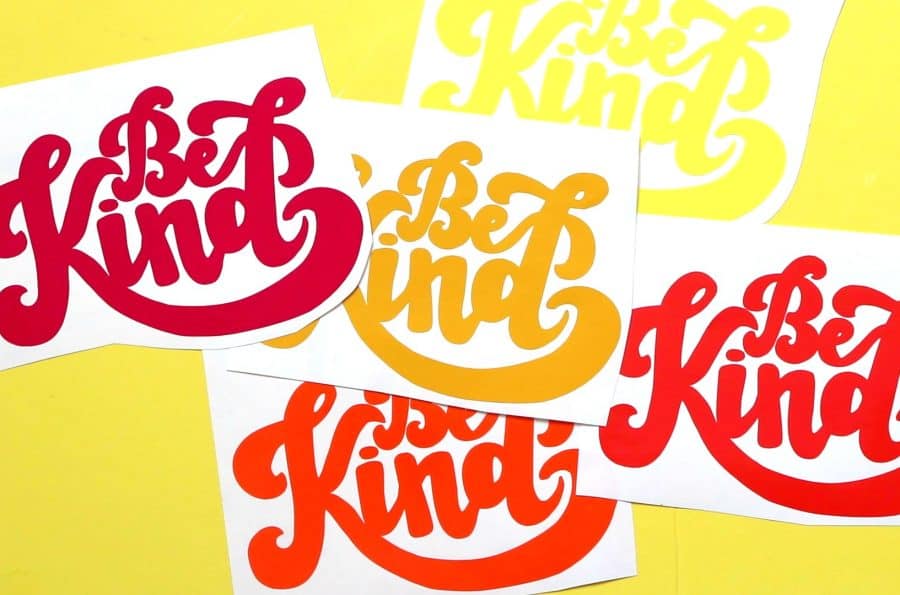
There are two different ways to assemble- depending on if you are using adhesive vinyl OR heat transfer vinyl. So I will walk you through both!
Assemble the drop shadow with adhesive Vinyl
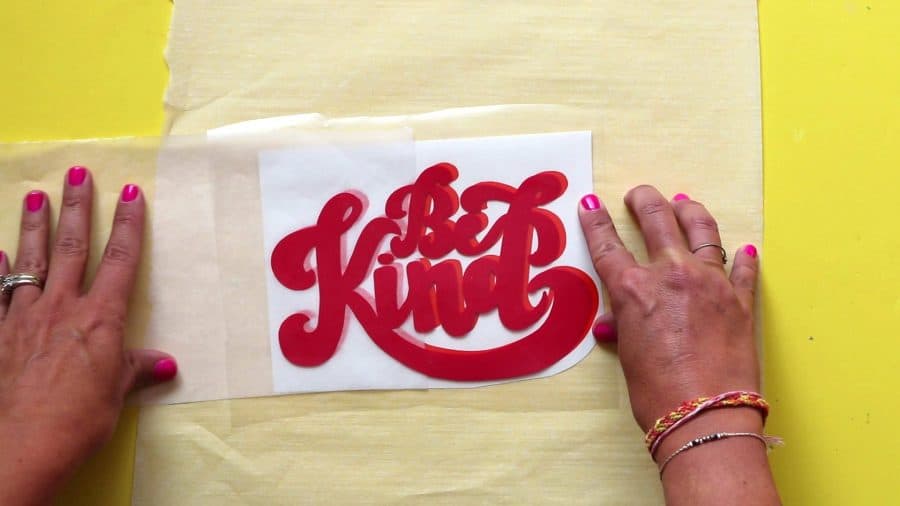
To assemble with adhesive- you are going to work top to bottom. The deep red it my top layer- So I grab that one and the deep orange (the next layer down.) and move the rest off my work space.
- Lay down the second layer (not the top layer) I placed a piece of parchment paper over the design so I can protect the top layer from sticking before I have it laid down exactly where I want it. (vinyl doesn’t stick to parchment paper!)
2. leave a tiny piece exposed on the right side.
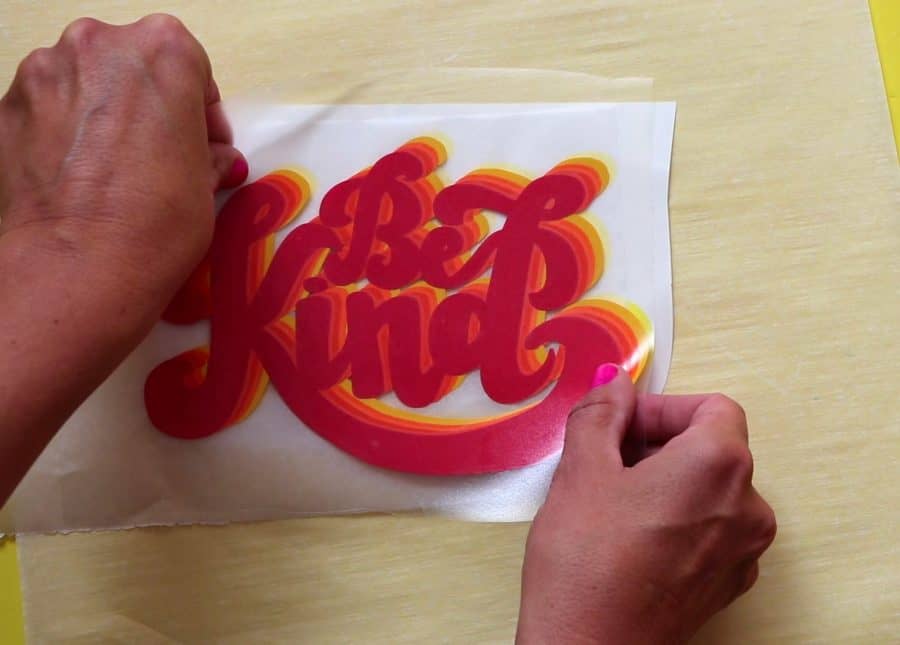
3. Add the top layer and line up on top of the parchment paper.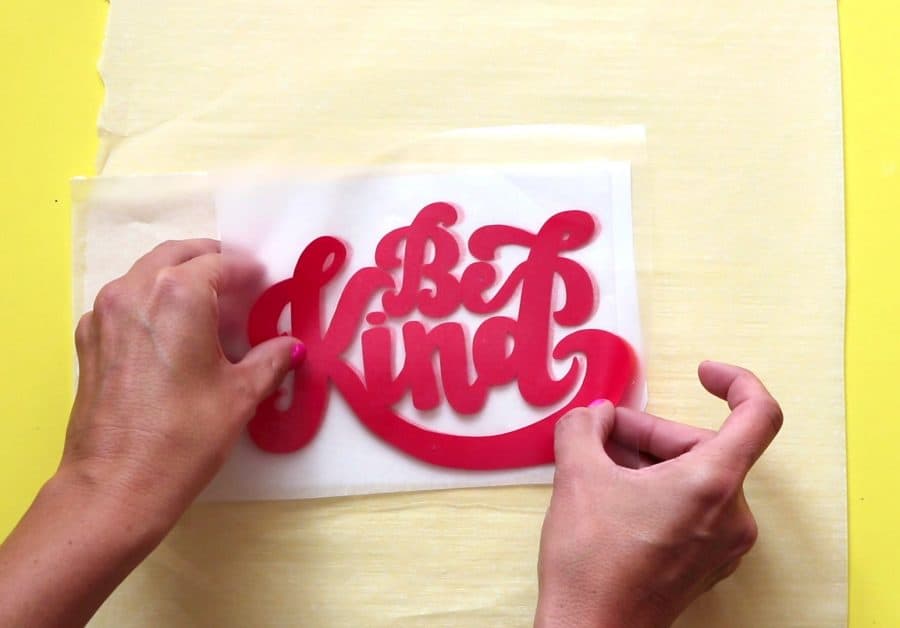
4. Once placed, press down on the right edge where there is no parchment paper and rub until it’s nice and stuck.
5. Pull out parchment paper slowly then press the two layers together!
6. Repeat for each layer.
To do a full layering tutorial- with marks to match up for perfect placement- Watch my minion eye youtube video!
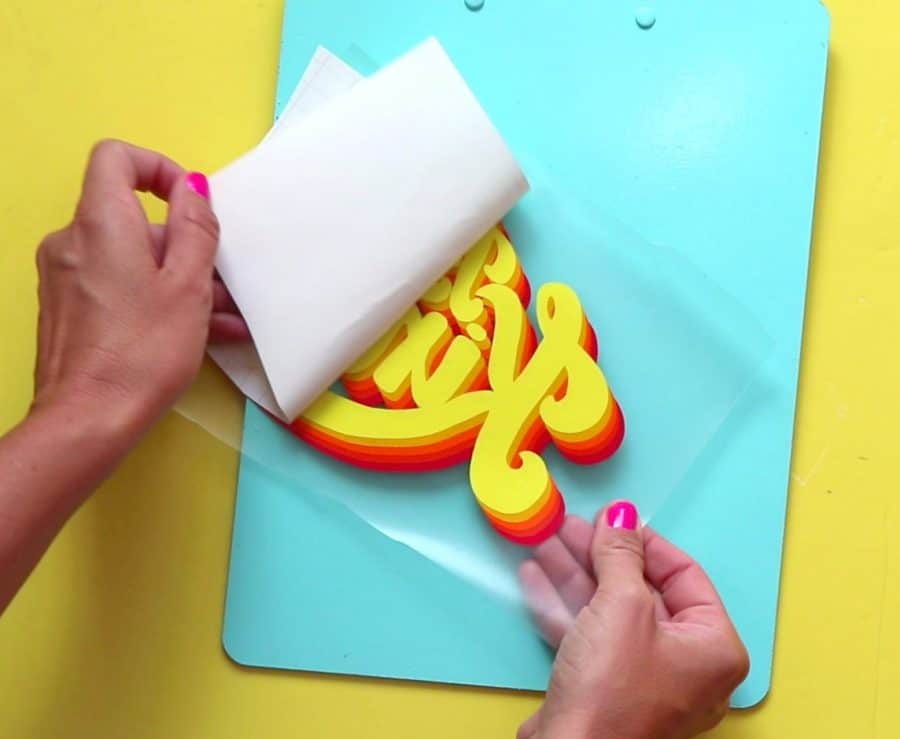
Apply layers to project
Technically you can apply the bottom layer to your project first and work your way up. (bottom yellow layer on the clipboard first and work your way up.) BUT it’s hard to get it centered on your project since your bottom layer is usually off to the side. So Working top to bottom and then applying the drop shadow to the project it’s easier to center it!
Admire you amazing new project that looks so cool!
Assemble the drop shadow with Heat transfer vinyl

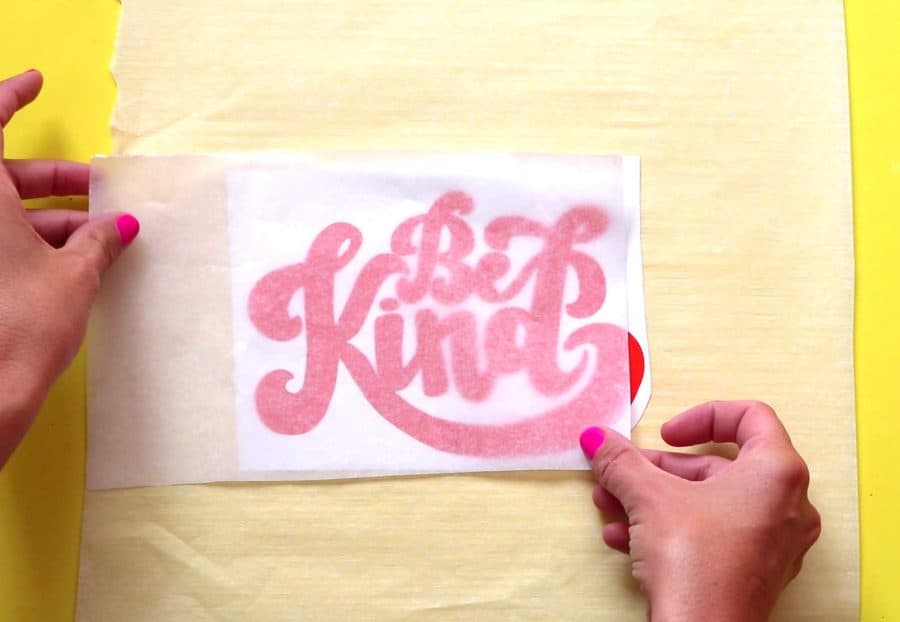
For heat transfer- It’s a little different! You are going to weed all your vinyl and assemble it with all the carrier sheets.
- Assemble all the layers on top of each with carrier sheet.
![]()
2. Once you have all the layers spaced apart- You can place it on your shirt/tote bag etc. It’s easy when it’s all assembled to center it perfectly.
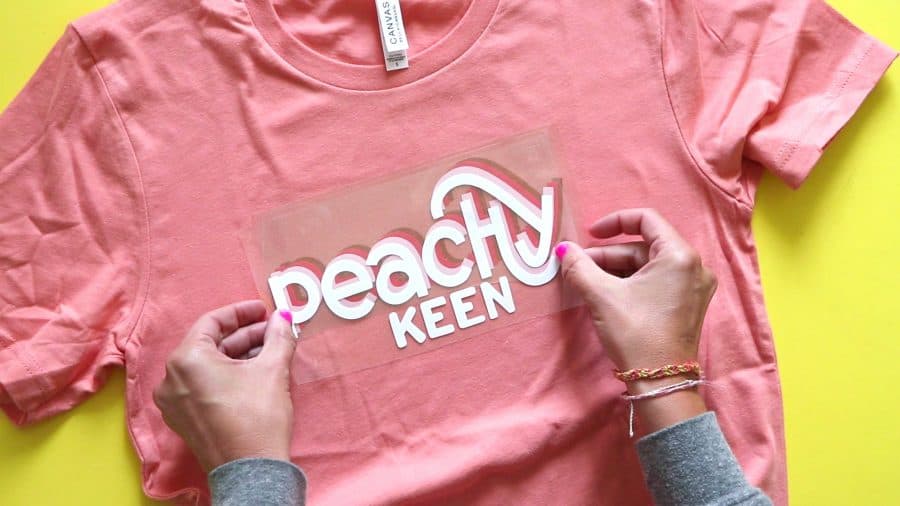
3. Keeping it in place, peel off all the layers except the last one. (When it’s all by itself it might look off centered! That’s why you want to assemble them and place them first so it’s perfect!
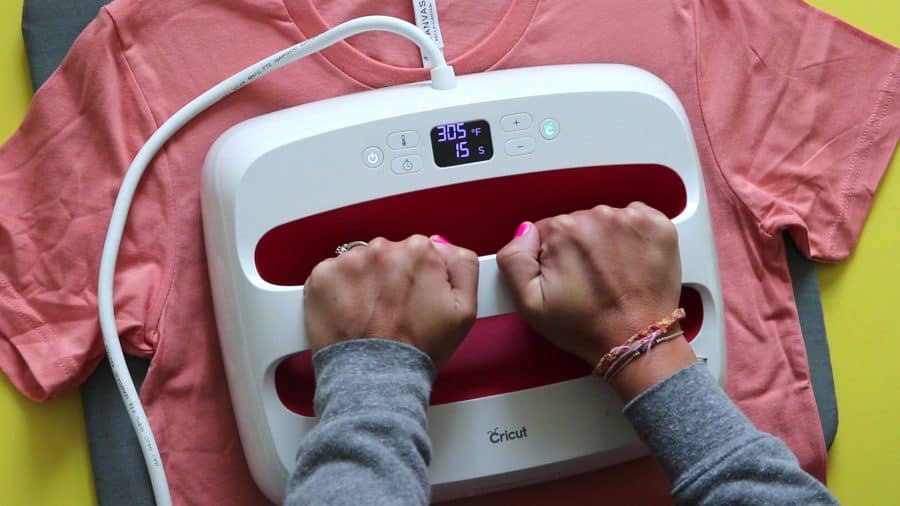
4. Press 3-5 seconds just to adhere it enough to get the carrier sheet.
5. Peel off the carrier sheet
6. Place the next layer of vinyl
7. Press and Repeat. Repeat Repeat!

8. LAST LAYER: You will want to make sure all the vinyl is covered- You can place a multi purpose sheet over the whole thing to protect it. And then press for a full 10-15 seconds!
9. Enjoy your new project!

That is the two techniques broken down! I’m a visual person so seeing it in the video makes so much sense!
Let me know if have any questions!
Remember- Read to make sure each kind of vinyl you use can be layered on each other! I know Glitter and some specialty vinyls can’t be! Expressions Vinyl lists it on their website on each product page! (Another great reason to love them!
If you need help with your silhouette cameo- I have a whole silhouette love series on youtube!
Tiffany S says
This tutorial helped me a lot! I used it to do my first layering project on a shirt and used the shadow method for a friend’s shirt. She loves it! I will definitely use this technique more often. Oh, and loved the tip about the T-shirt! That helped so much!
Ron Buskirk says
What a great idea, ty for that tip. Oh ya, what is the name of that font, been looking for one like that.
Kimbo says
Thank you! and It’s hand lettered!