
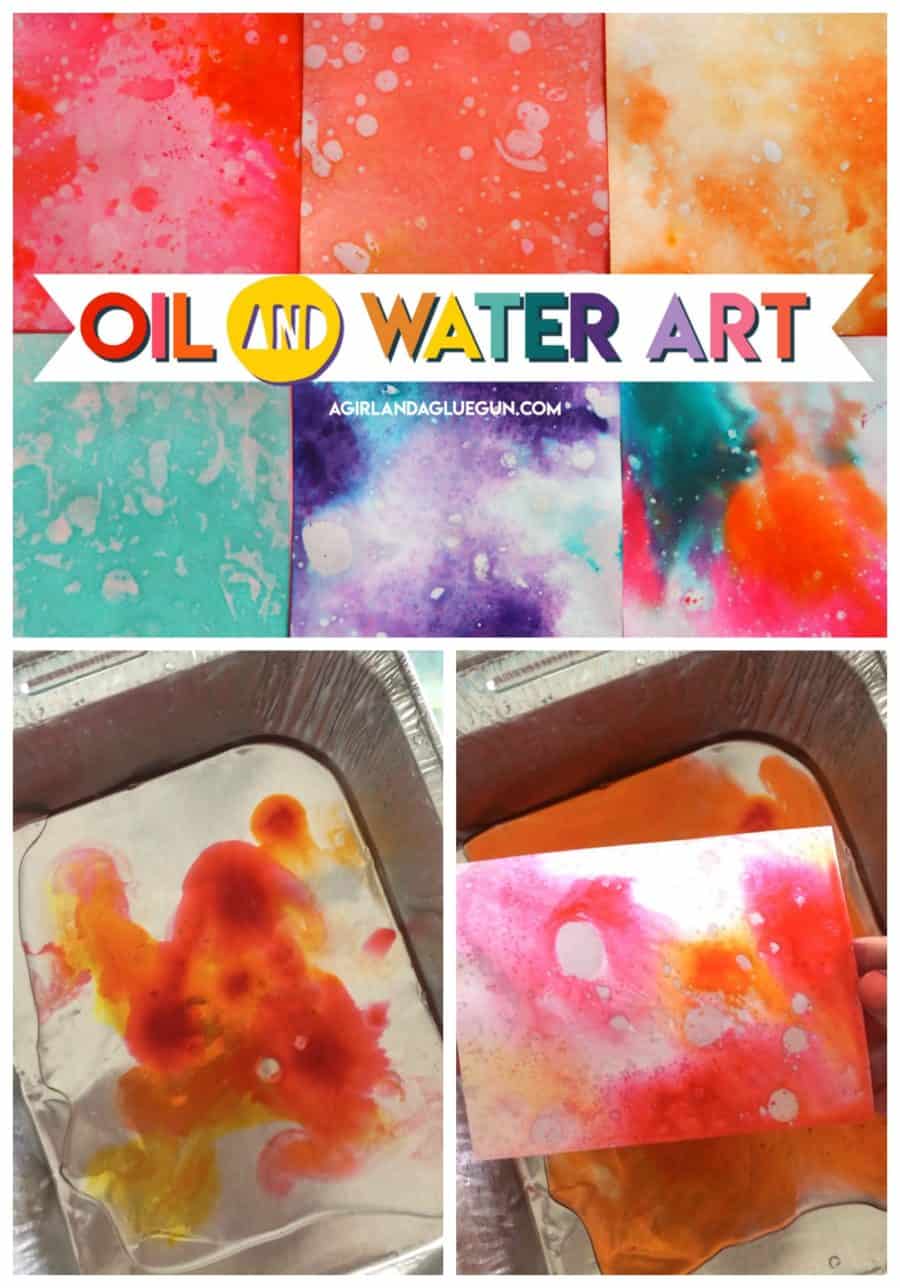
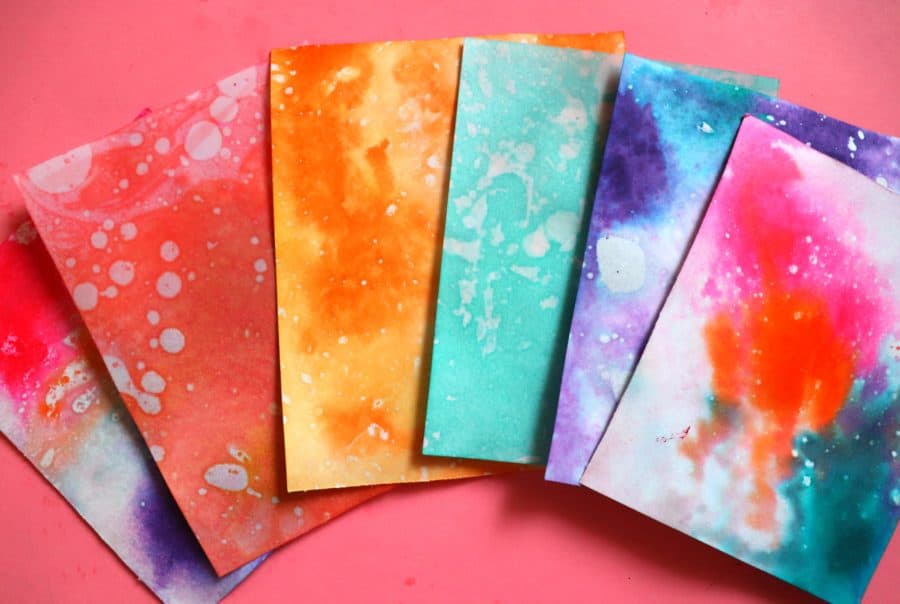
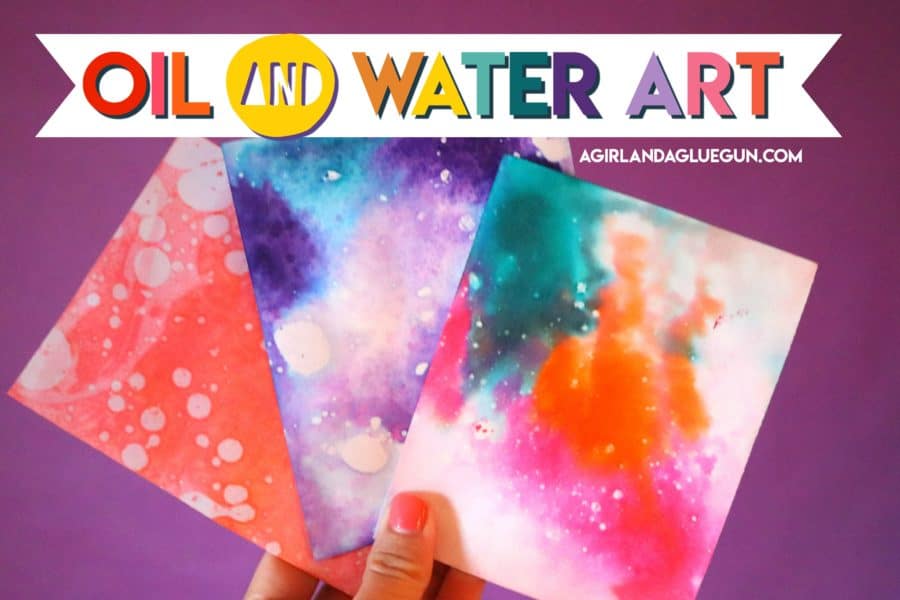
What happens when you mix oil, food coloring, and water? ART! That’s what happens! Grab the supplies from your kitchen cupboards and create this cool oil and water art project that you and your kids will LOVE!
I don’t even know what to do with all these fun pictures- but I keep creating them! They are just so cool when they dry and I want to just make make make! And you will too! Grab these supplies and let’s make some!
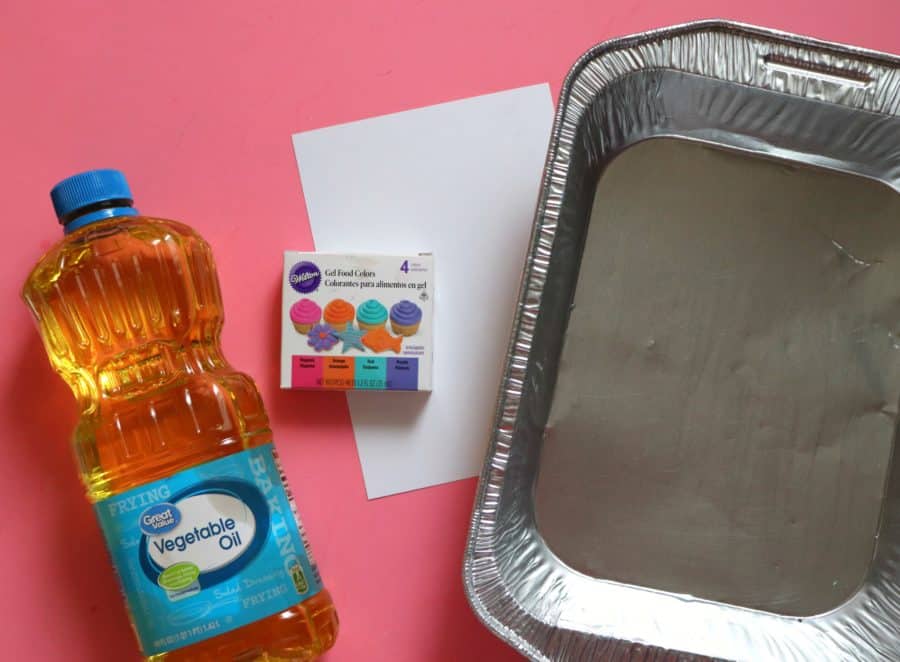
Supplies you need to create oil and water art
- vegetable oil or pam spray
- food coloring (we found the gel created the most vibrant colors- we mixed a little of both)
- cardstock
- Water
- Gloves (optional–your fingers will get a little stained from the food coloring)
- glass pyrex pan or tin foil container to dip in!
How to mix the oil, water and color
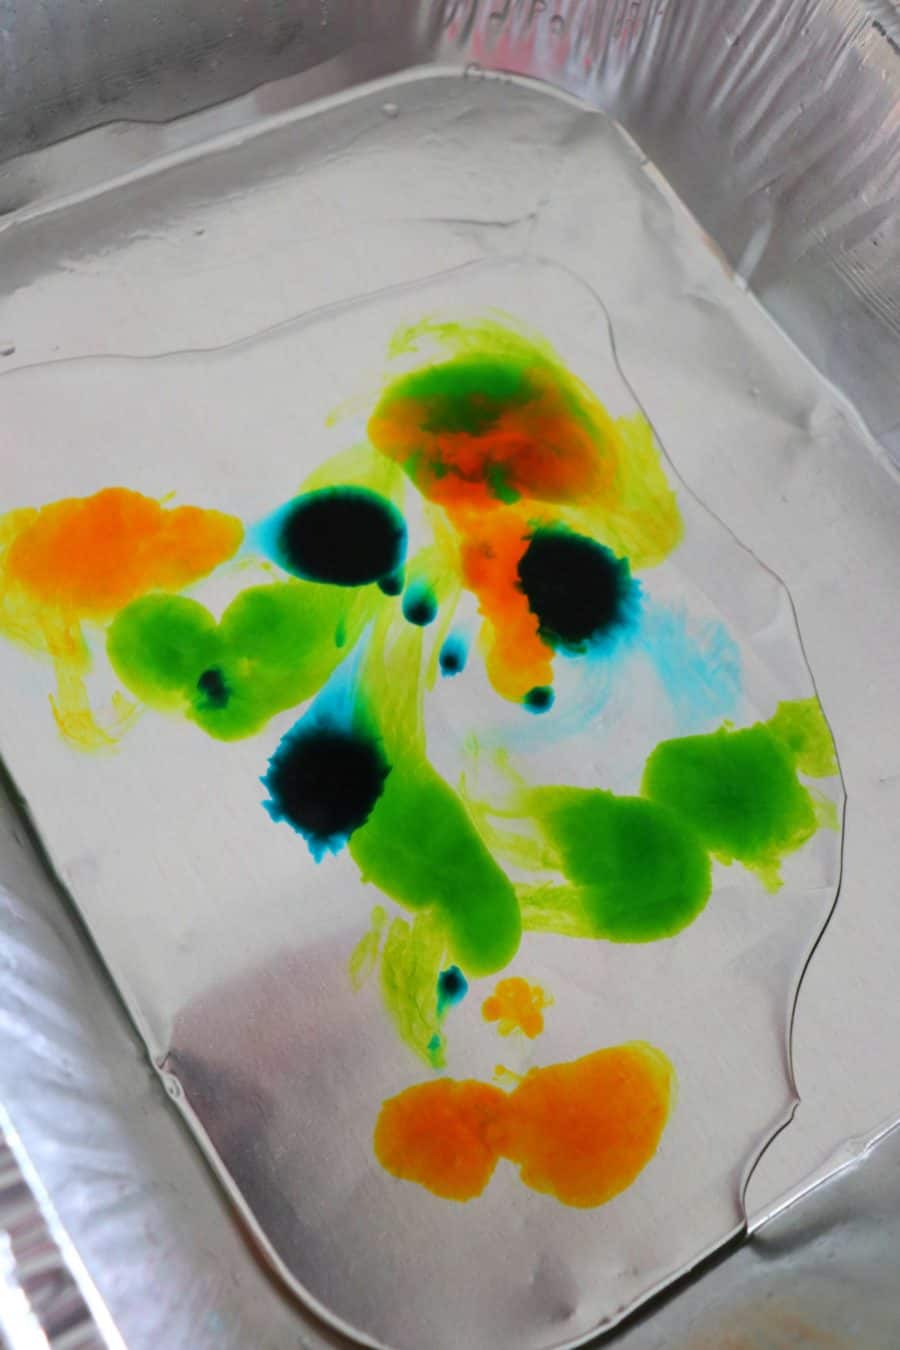
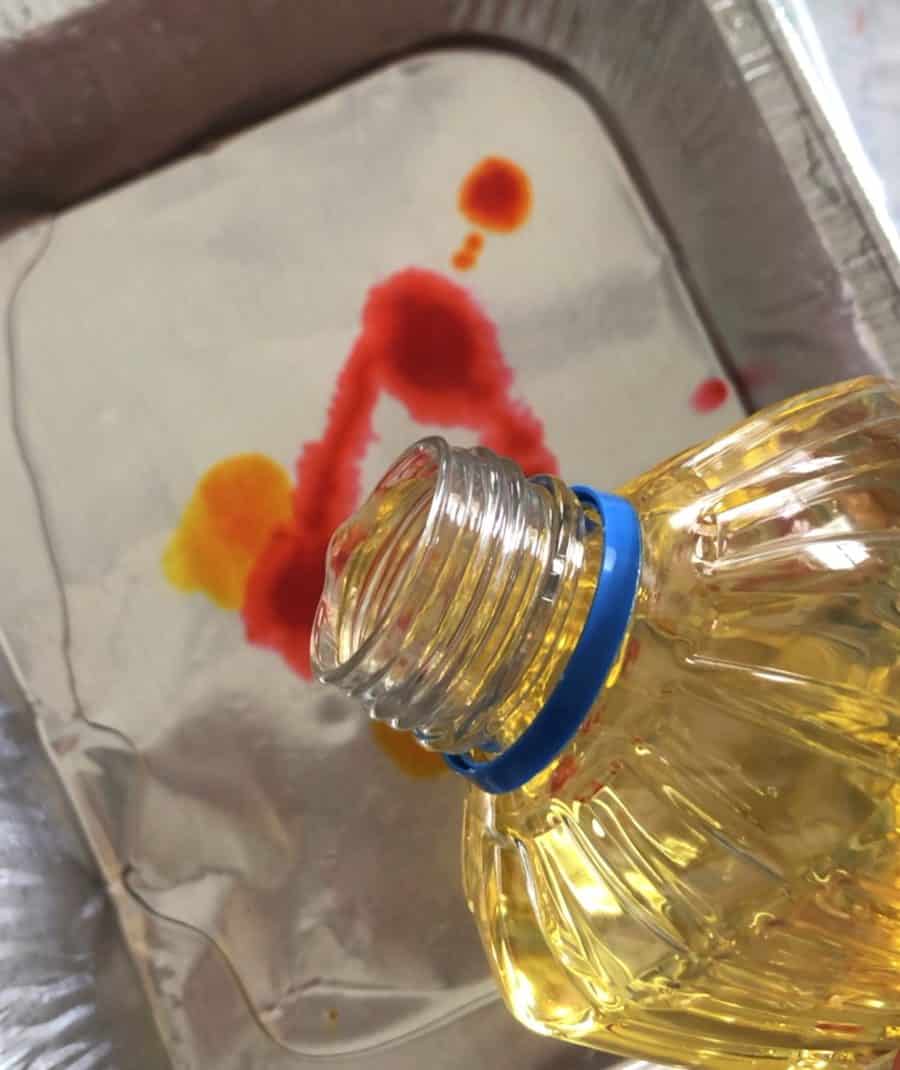
You are literally just dipping the paper into the pan, so I put just enough water to cover the bottom. That way I didn’t have to add too much food coloring to get nice bright colors. Tap water is great. I added a few drops of food coloring.
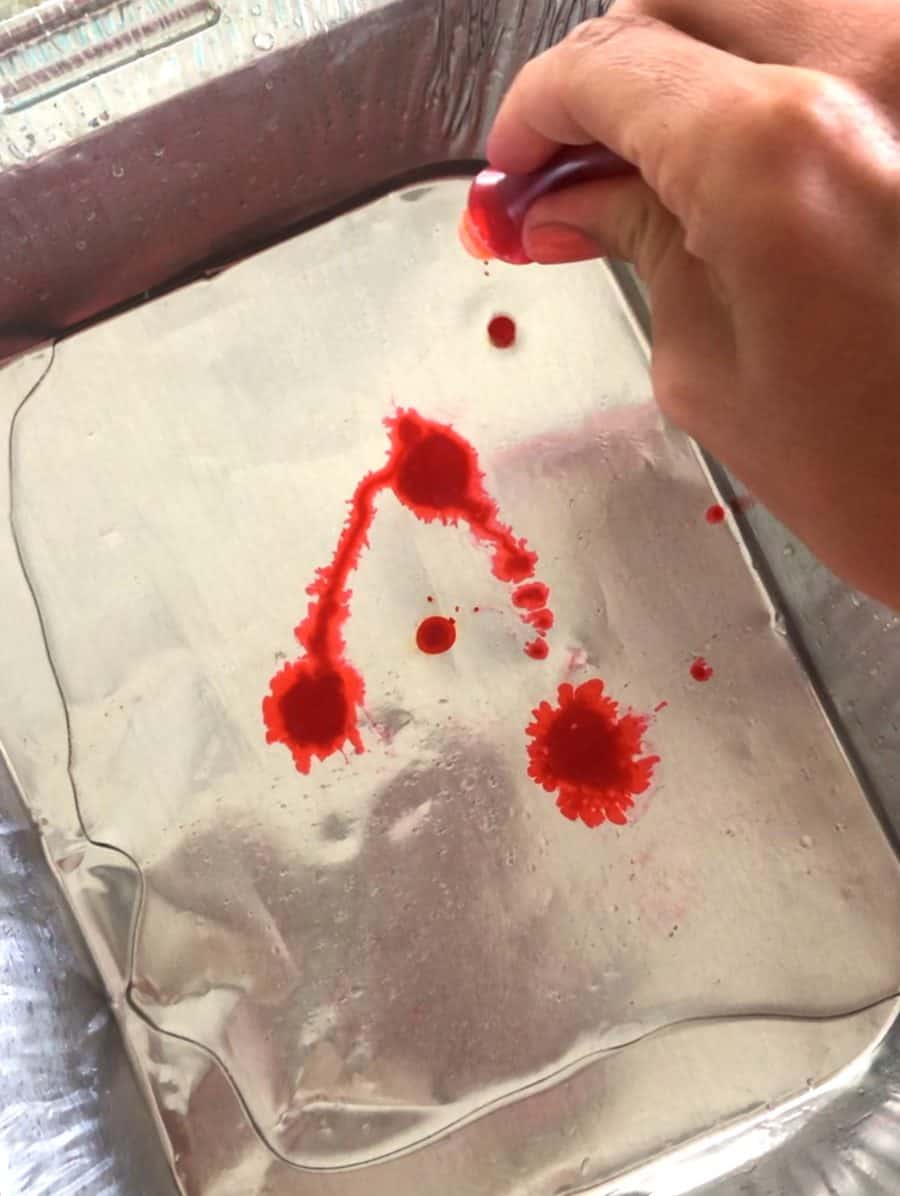
Keep in mind that the colors bleed and mix very easily- so try to stay away from color combos that will just turn brown. We did pink orange yellow mixes. blue purple mixes, blue green mixes, and yellow green mixes. Basically if they are by each other on the color wheel, they will look good together.

You can either add in a little vegetable oil or spray some pam cooking spray.
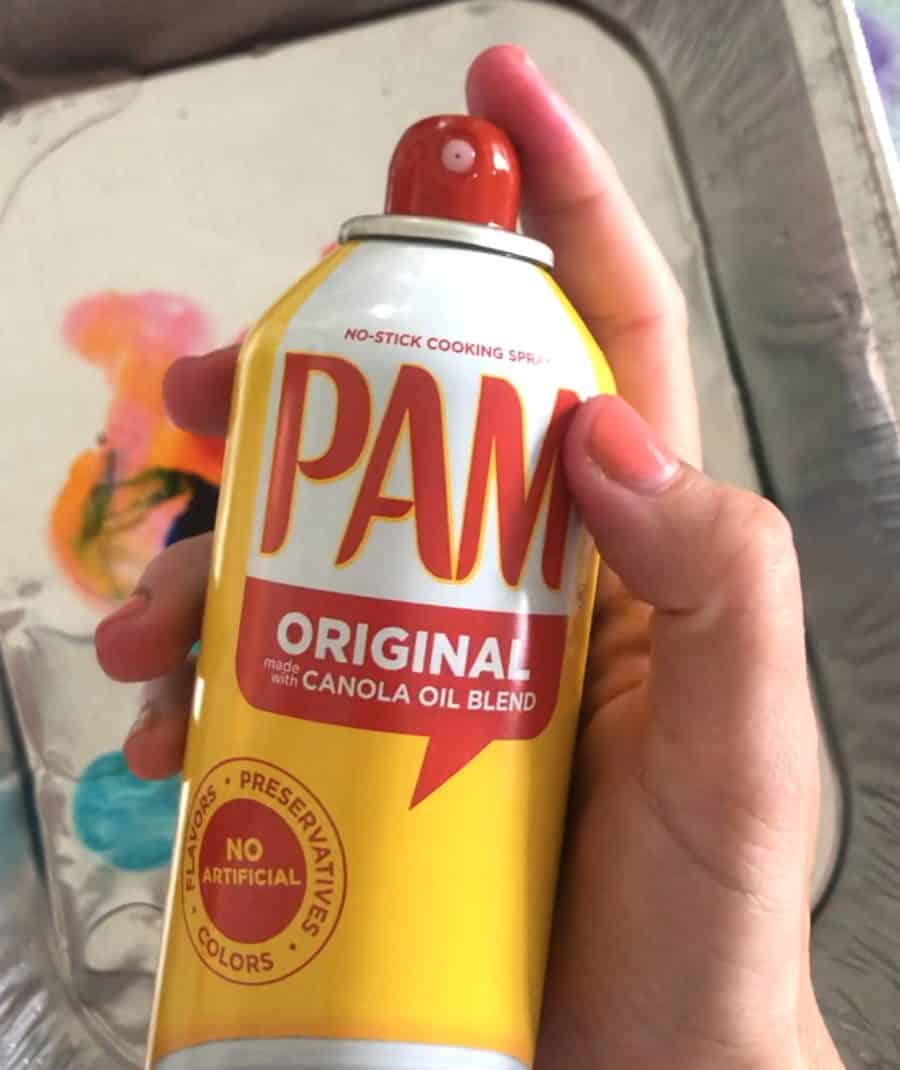 ( I’ll show you the difference down below) I literally just add a splash. Taking a toothpick or skewers, swirl it get the colors to mix and break up the oil drop. (It naturally wants to stay together)
Don’t overmix- Try to keep the colors so you can still see the differences in shades.
How to dip the paper
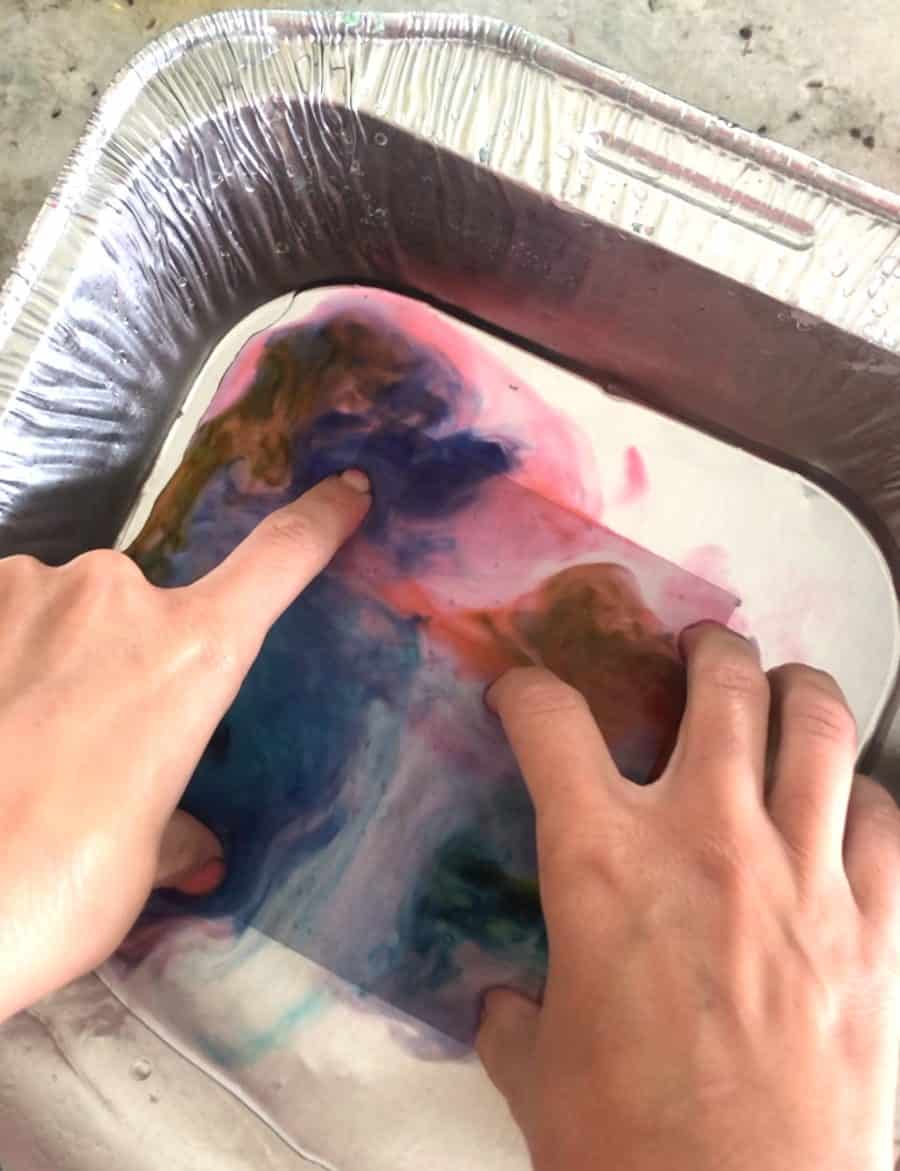
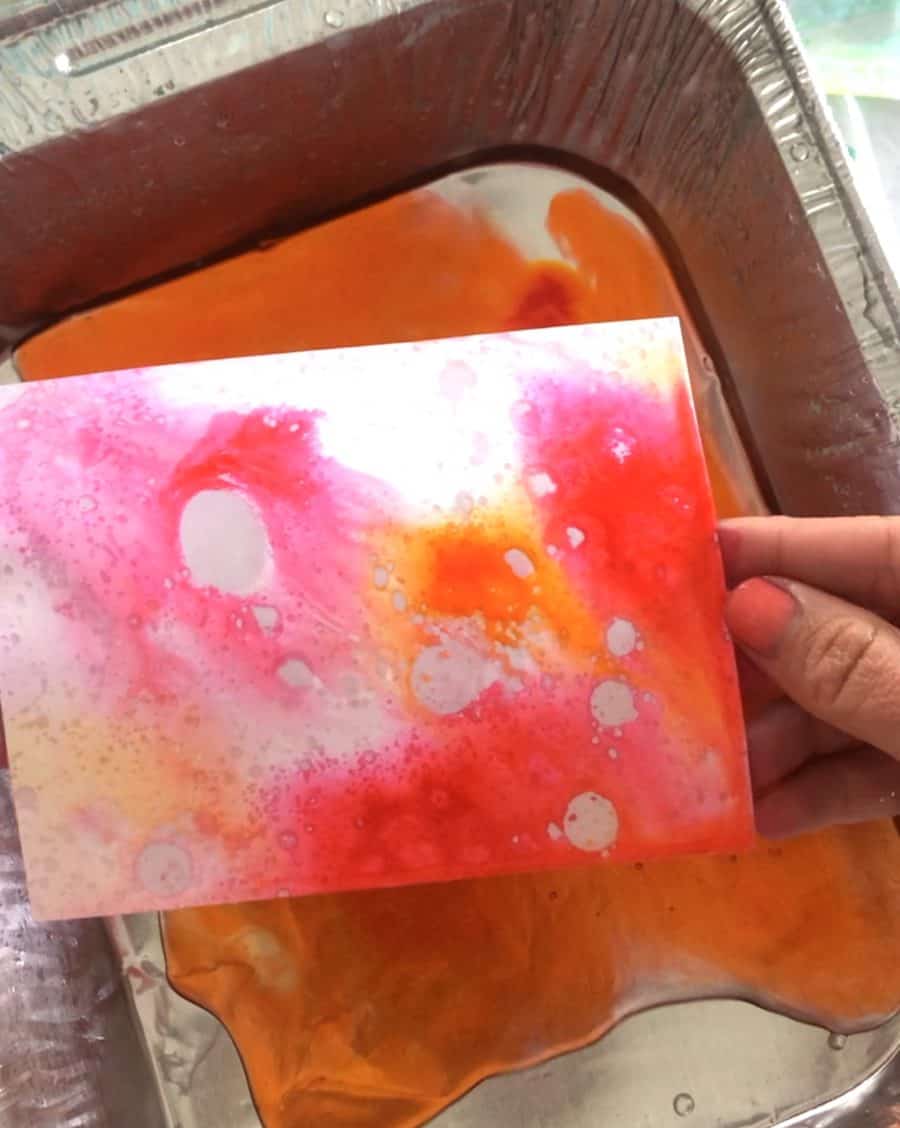
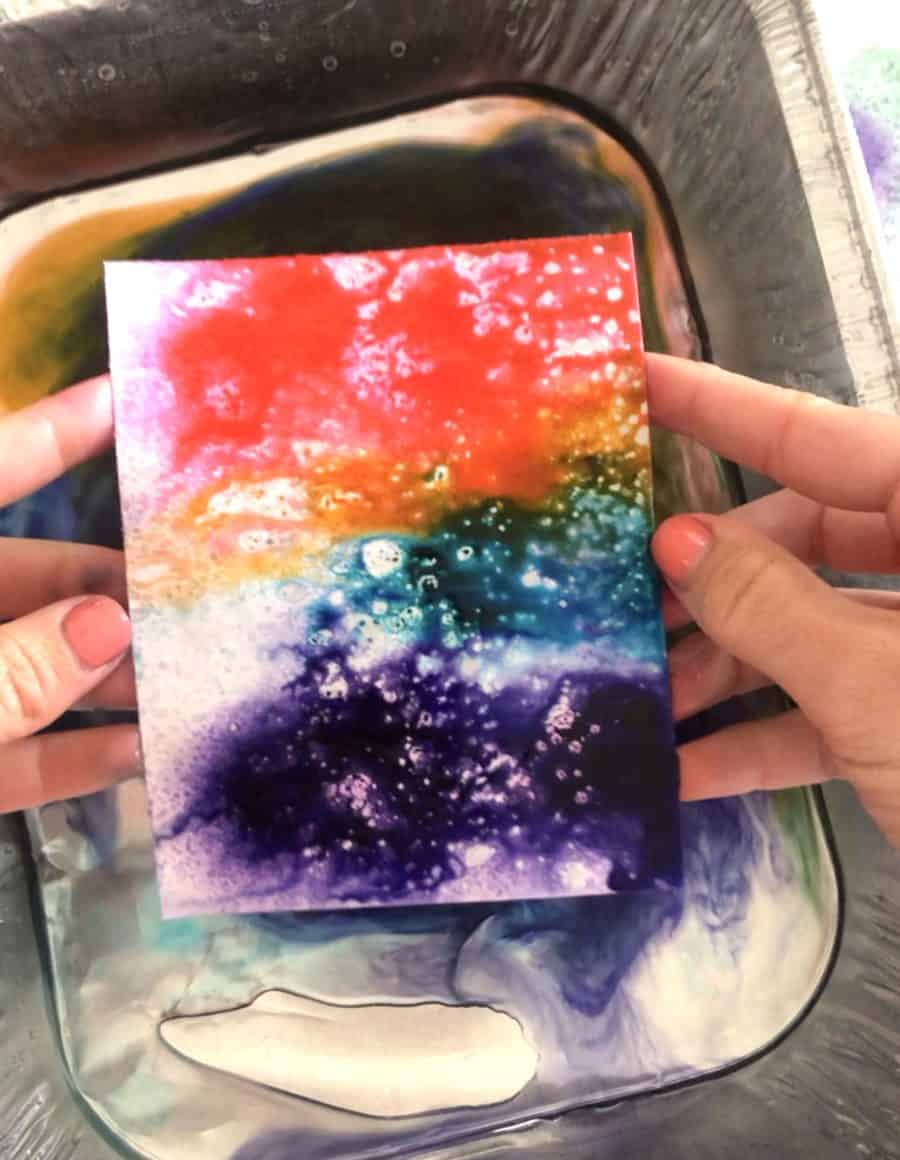
Putting the paper in the water and press it down to the bottom. The gel food coloring settles on the bottom and so I like to push the paper down to make sure to get the blobs of color on the photo. This will also coat the back which is fine.
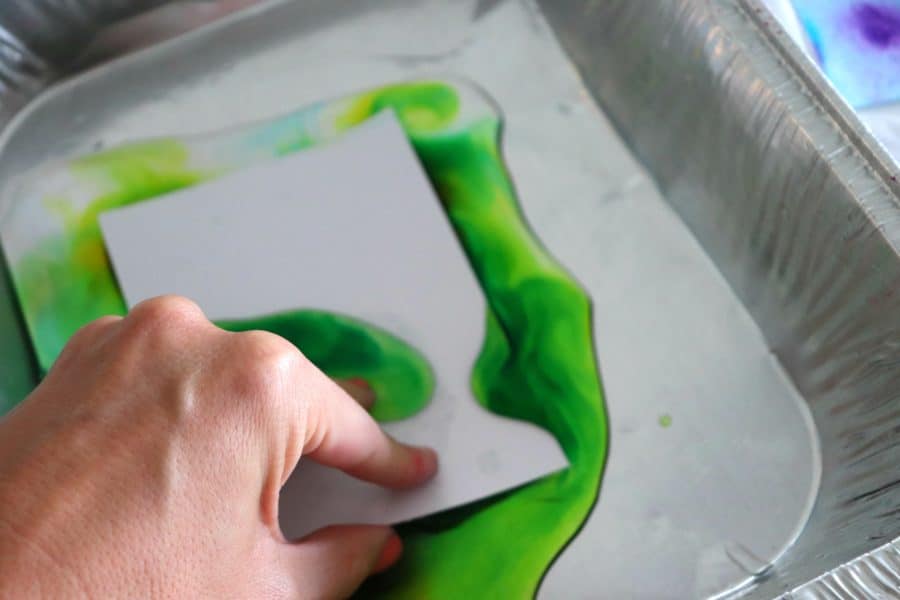
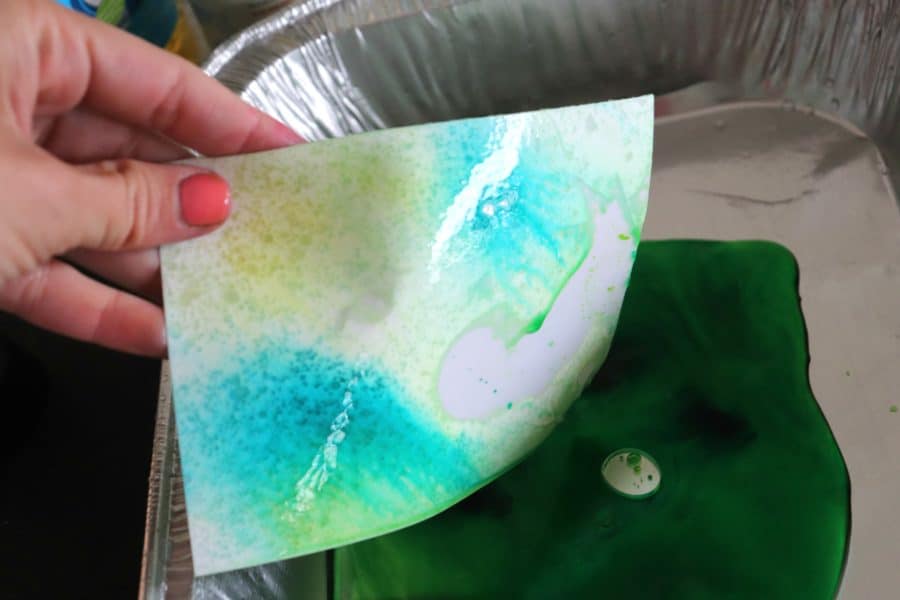
and then peel up with corner and reveal your oily mess!
You can see in the above picture, when you press the paper in, and lift it up, it really mixes the colors. You can really only get two water dips per mixture. You can add more drops of food coloring- but since the water is just a small amount I take it over to the sink, rinse it out and start fresh!
I just layout on a big garbage bag to let dry!
Oil and Water Art Questions and Answers
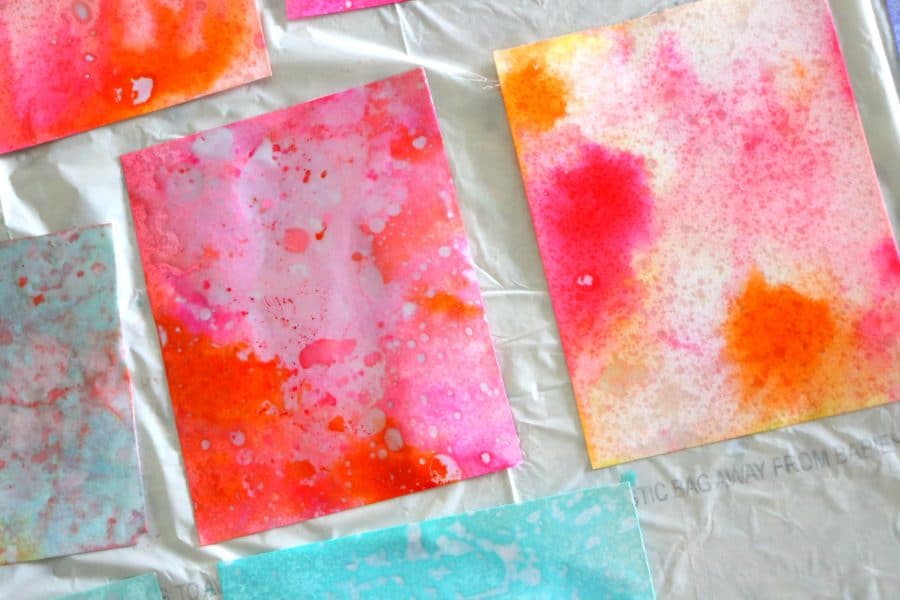
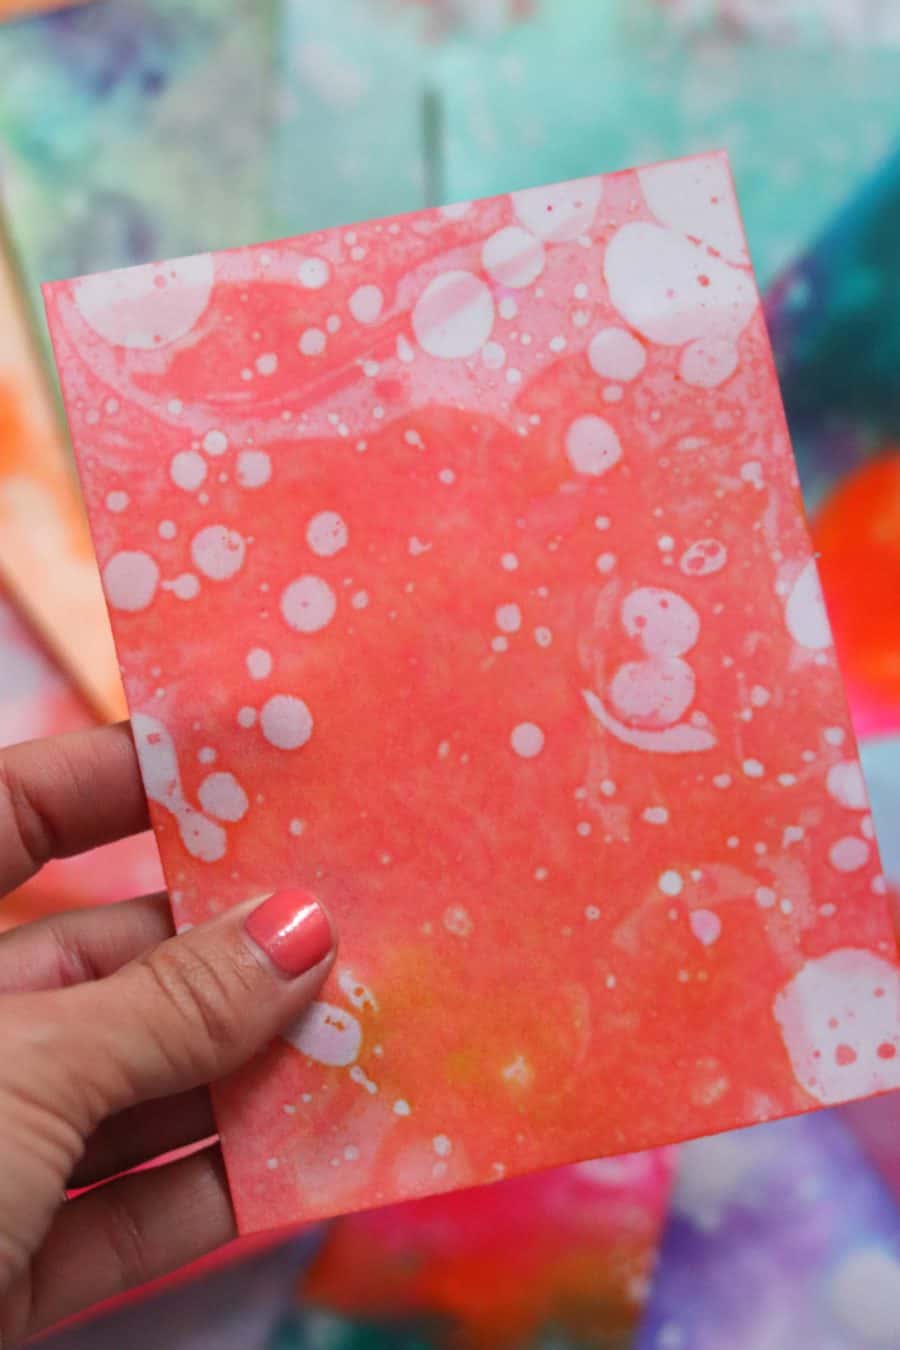
When I say oil mess-it’s because when I first pulled them up, I was kind of underwhelmed. They were cool and all- but nothing as fabulous as the shaving cream marbled art or the watercolor knock off. But the colors REALLY come to whether when it dries!
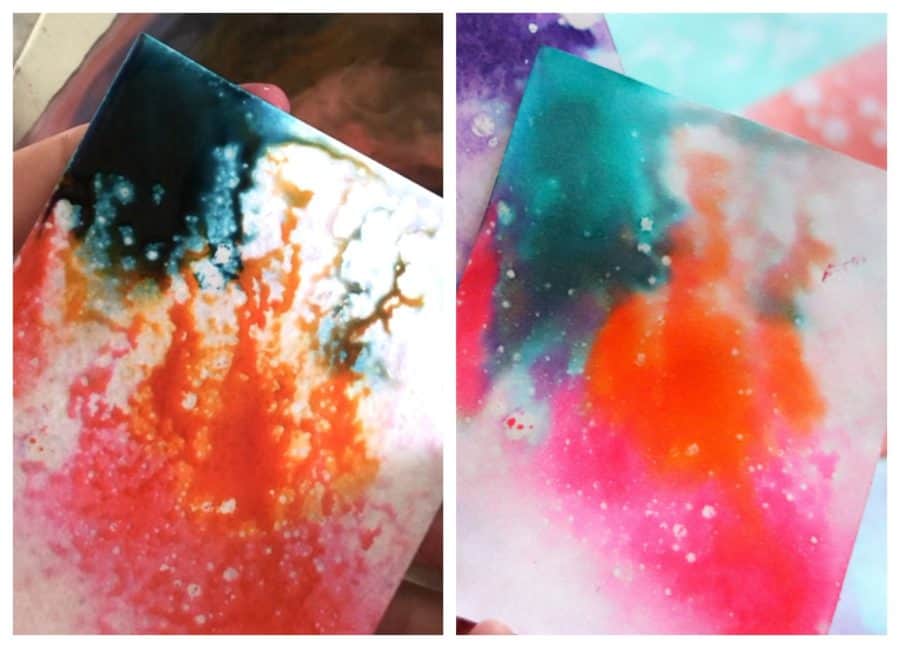
This side by side is the same piece.
They just dry so cool. Now that they are all done–I just keep looking at them! Super neat!
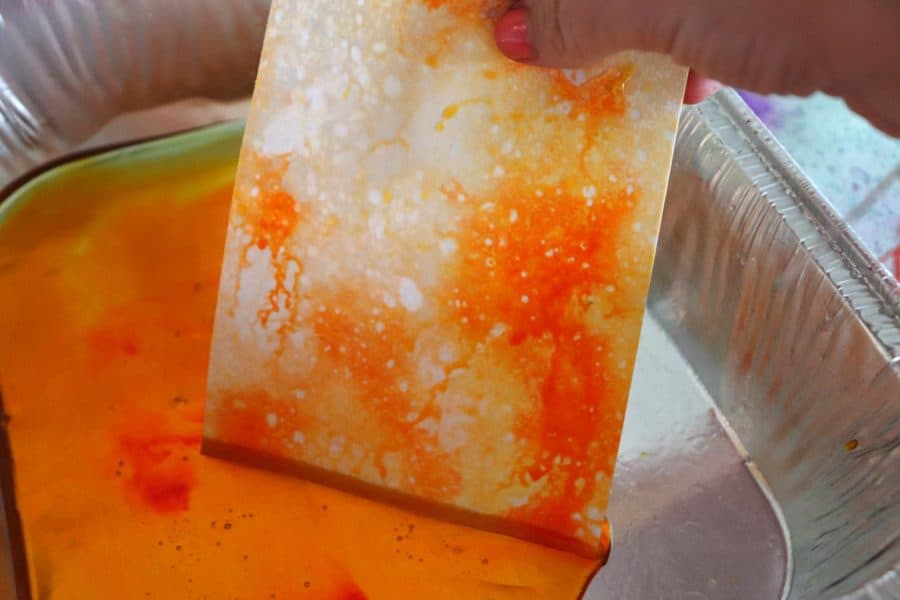
Now let me show you the differences between oil and pam cooking spray!
This is vegetable oil that we had broken up into lots of little blobs-
This the pam cookie spray. Both really cool! Both totally different!

The one in the middle reminds me of a galaxy! 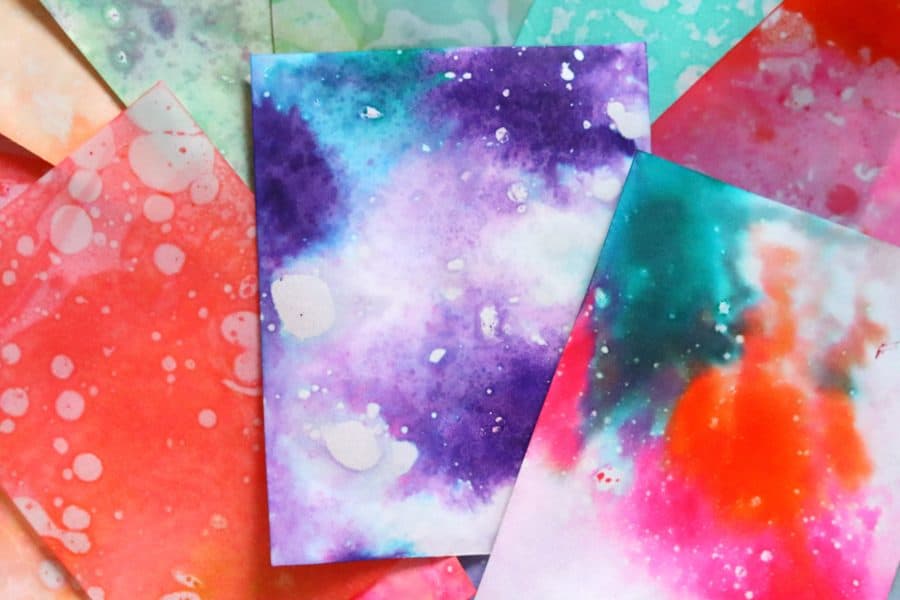
A question I got asked was how oily are these when they dry! That really depends on how much oil you are using. I have one that is dry–but still has that oily sheen (it was my first one and I was very heavy-handed with the oil) Most of them dry all the way and don’t feel oily on them at all!
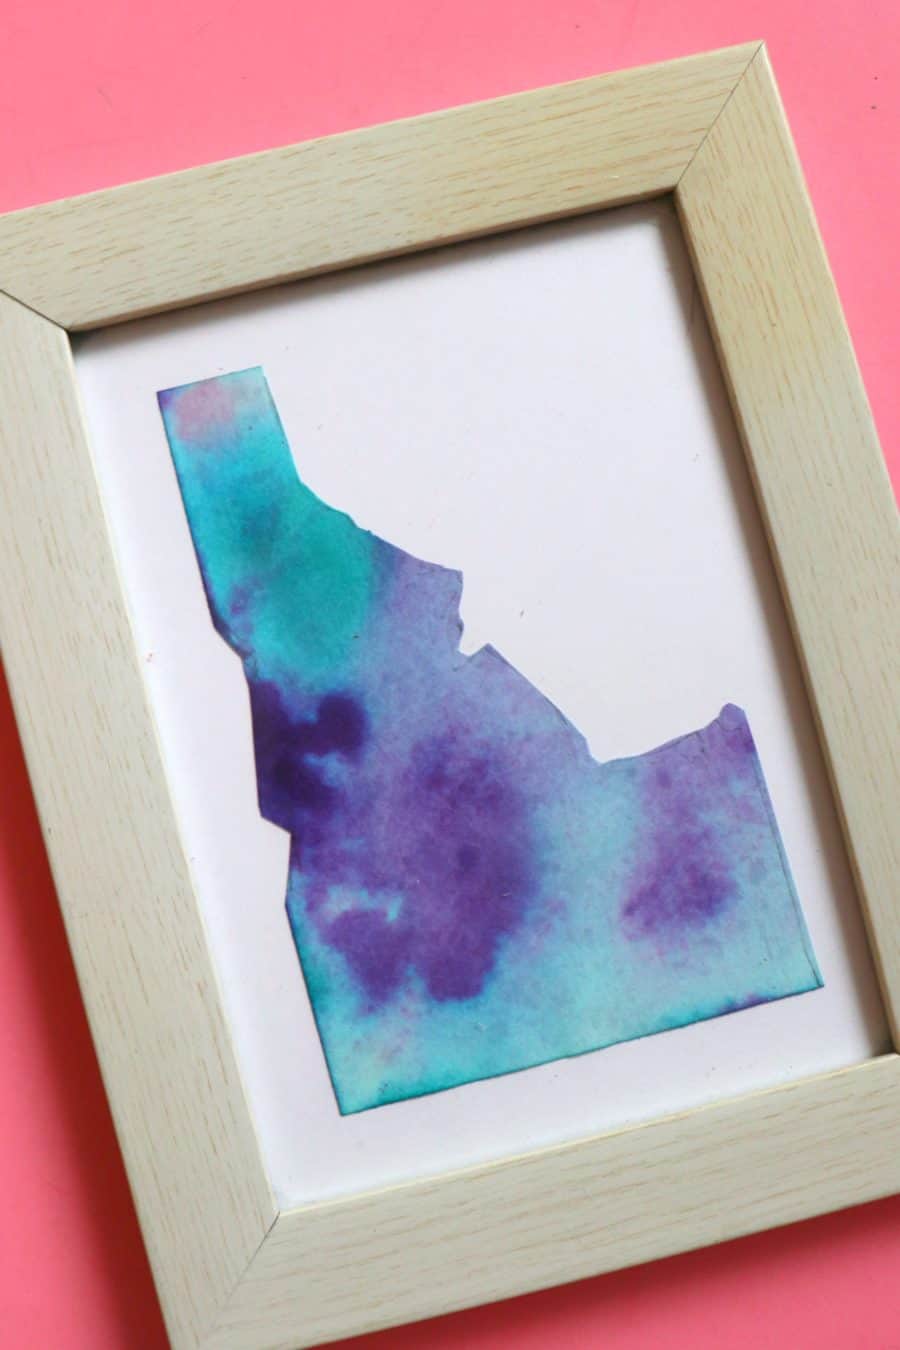
Another question I got is–what should I do with these after we make them! I’m going to letter on a few of these! They are just too pretty to not do something with them! I also cut one up and made a cute picture with my state of Idaho!
Just an FYI. I cut my cardstock down to 4 by 5- You can do full sheets if your pan is big enough! I just wanted to create all the colors and try all the different methods so I opted for a smaller size!
If you like this project- you will love all the cool art ideas I have on my kids craft camp!
Leave a Reply