
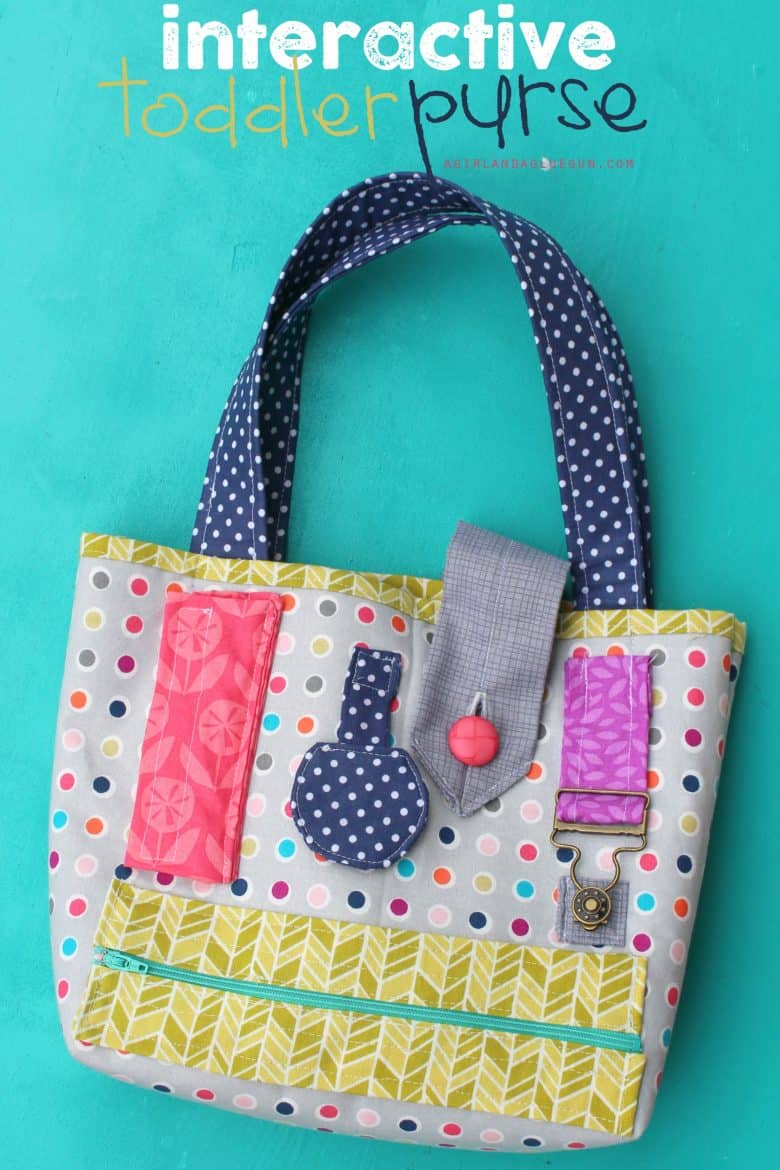
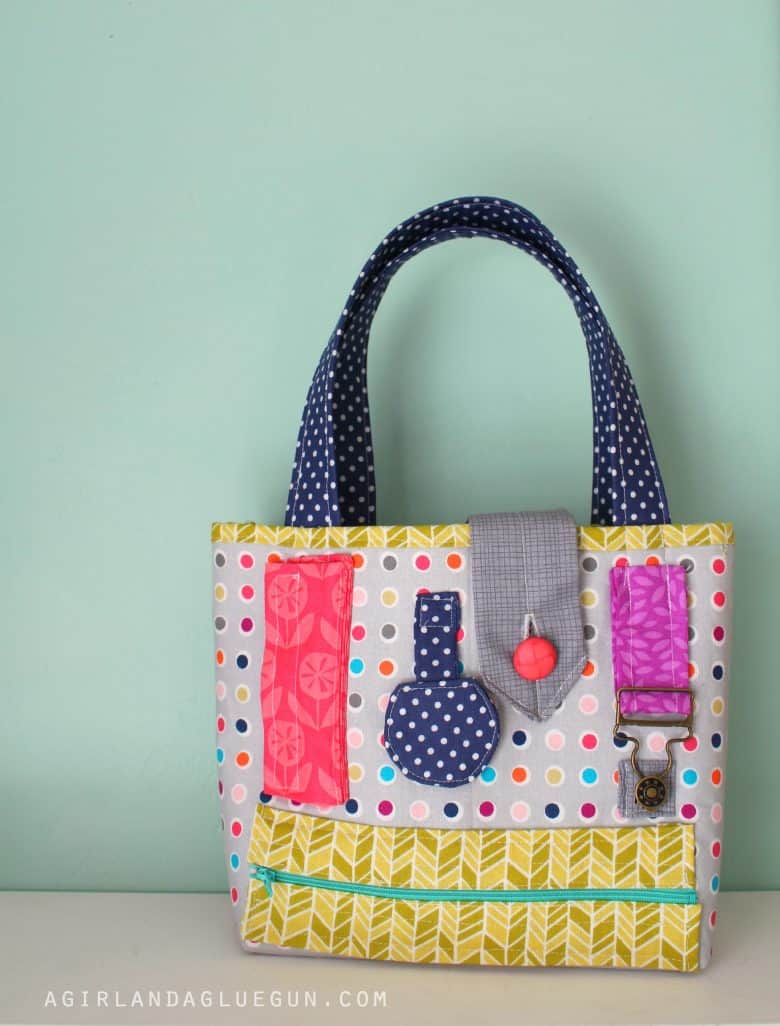
Looking for a fun DIY toddler purse that is more than just a cute bag? This interactive purse is designed with little hands in mind, giving toddlers lots of things to open, close, zip, snap, and explore!
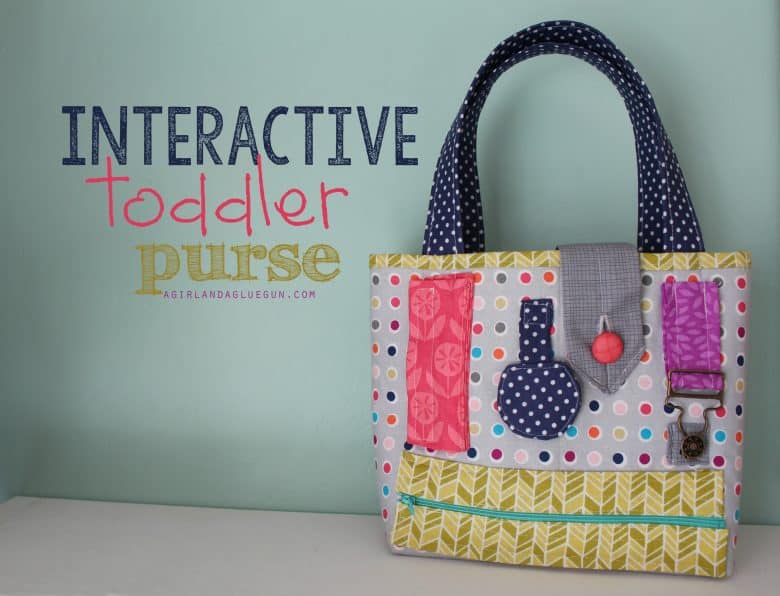
I originally came up with the idea for this purse during one of those late-night creative moments when your brain decides it absolutely needs to make something. I woke up the next morning and headed to Joann to get the fabric to make the idea happen.
The result was this colorful interactive purse for toddlers that doubles as a fun activity and a handmade gift.
And yes—it’s basically a purse full of things to fiddle with.
Which, for a toddler, is pretty much perfect.
What Is an Interactive Toddler Purse?
This isn’t your typical little kid’s purse.
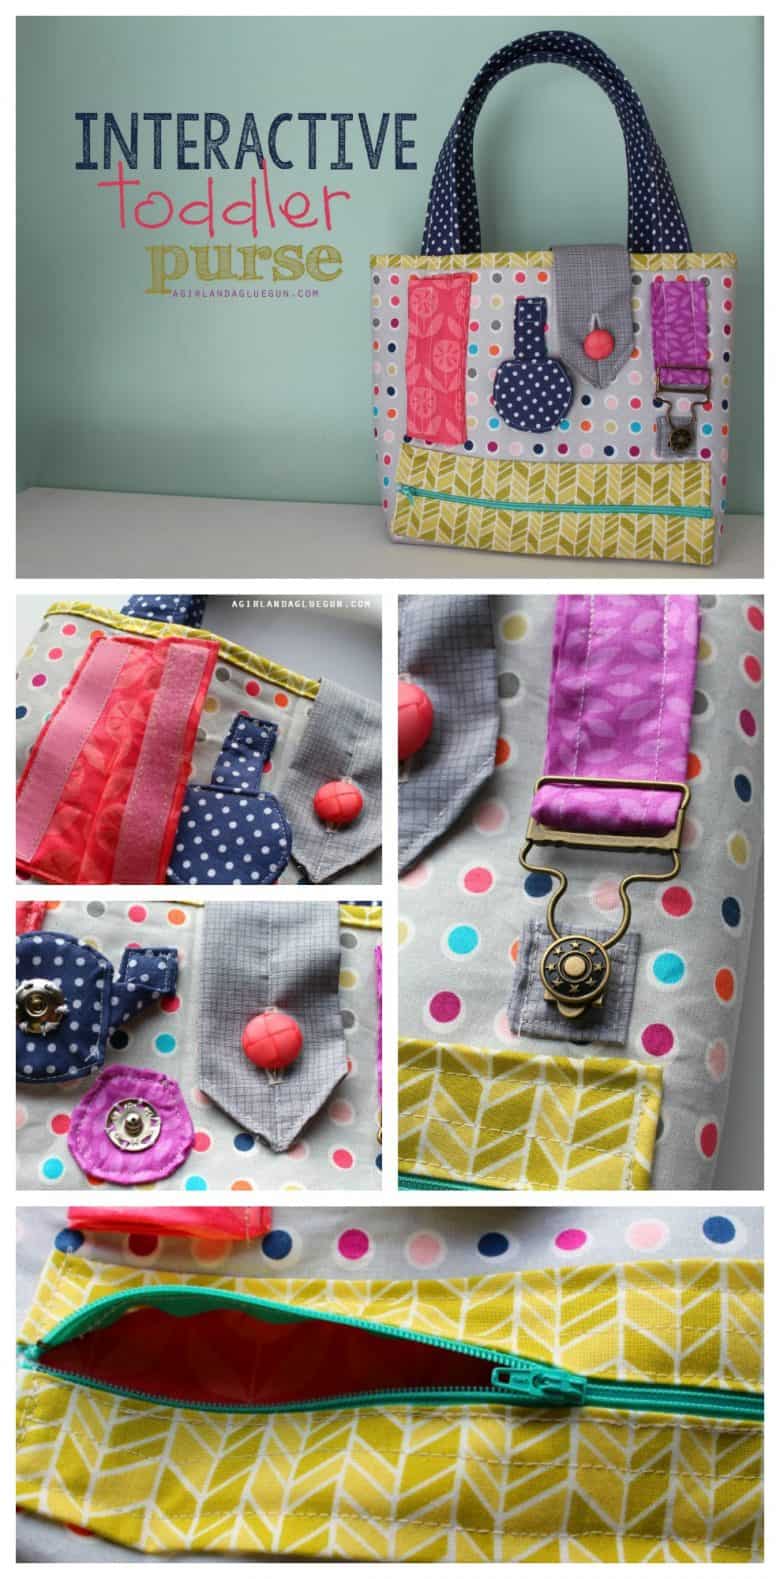
Instead, I added different types of closures and fasteners to the outside so a child can practice using them. The original purse included options like zippers, buttons, snaps, Velcro, and hooks.
The idea is simple: give little hands something interesting to explore.
You could add different fasteners depending on your child’s age and what you have available.
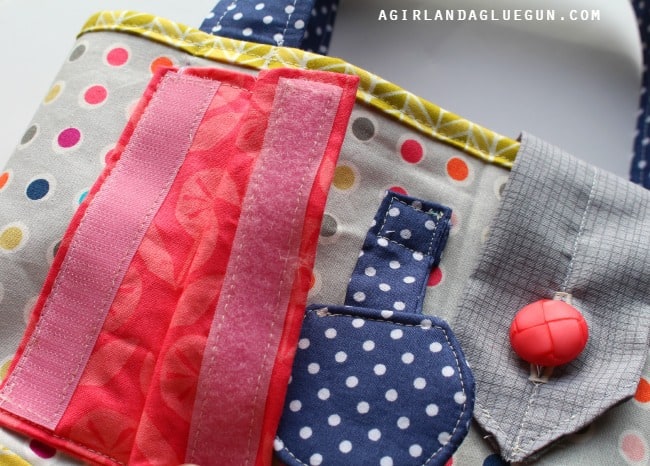
Supplies for a DIY Toddler Purse
Here’s what you’ll need to make your own interactive purse:
- Fabric
- Coordinating or contrasting fabric scraps
- Purse stabilizer
- Sewing machine
- Thread
- Bias tape
- Purse handles
- Zipper
- Sew-on snaps
- Velcro
- Hooks or other closures
- Scissors
- Pins
- Optional: buttons and other fun notions
One of the great things about this project is that it’s perfect for using up fabric scraps. I originally bought fabric for the project, but the little pieces used for the interactive elements would be a great way to use some of your stash.
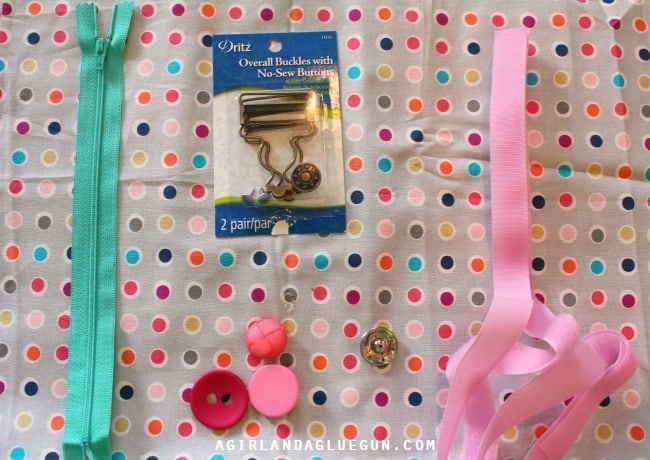
How to Make an Interactive Purse for Toddlers
Step 1: Choose Your Fabric
Start by choosing the fabrics for your purse.
This is a great project for playing around with color and pattern. I went with lots of fun colors because, well, I like color!
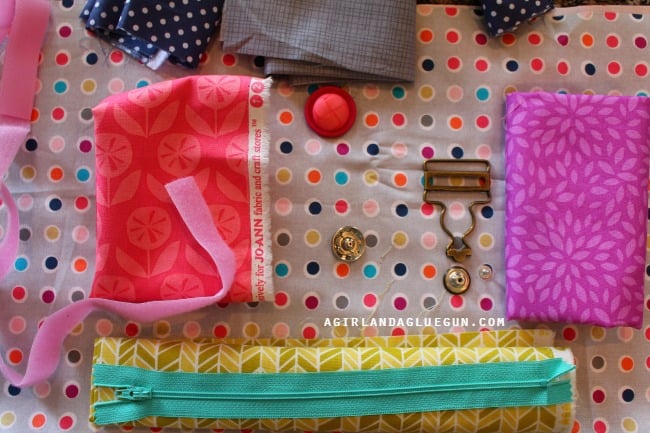
Lay out your fabrics and the different closures you’re planning to use so you can see how everything will look together before you start sewing.
This is also where you can decide which parts of the purse will be interactive.
Step 2: Gather Your Closures
Now choose the things you want your toddler to be able to open and close.
You can use:
- Zippers
- Snaps
- Velcro
- Hooks
- Buttons
- Other child-appropriate fasteners
You don’t have to use every type. Pick the ones that work best for your project.
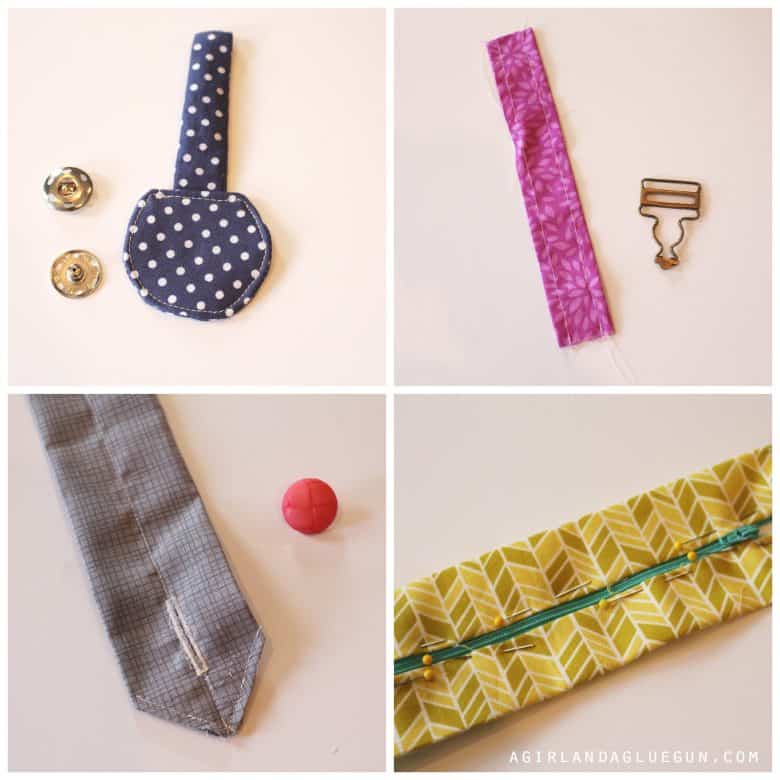
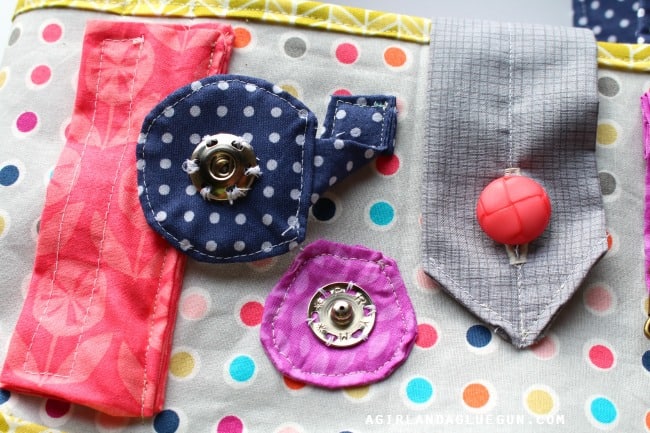
I used sew-on snaps and hooks that I sewed into place without requiring any special tools.
Step 3: Cut Your Purse Pieces
For my purse, the pieces were approximately 12 inches by 24 inches, although the final size can be adjusted depending on how you lay out your interactive elements. It is a larger bag- but I wanted to make room for all the fun details! To create the bag, I fold the fabric in half, making it 12 by 12 (minus seam allowance and corners) The bottom of the bag is the fold in the fabric. I drew a picture to better explain it!
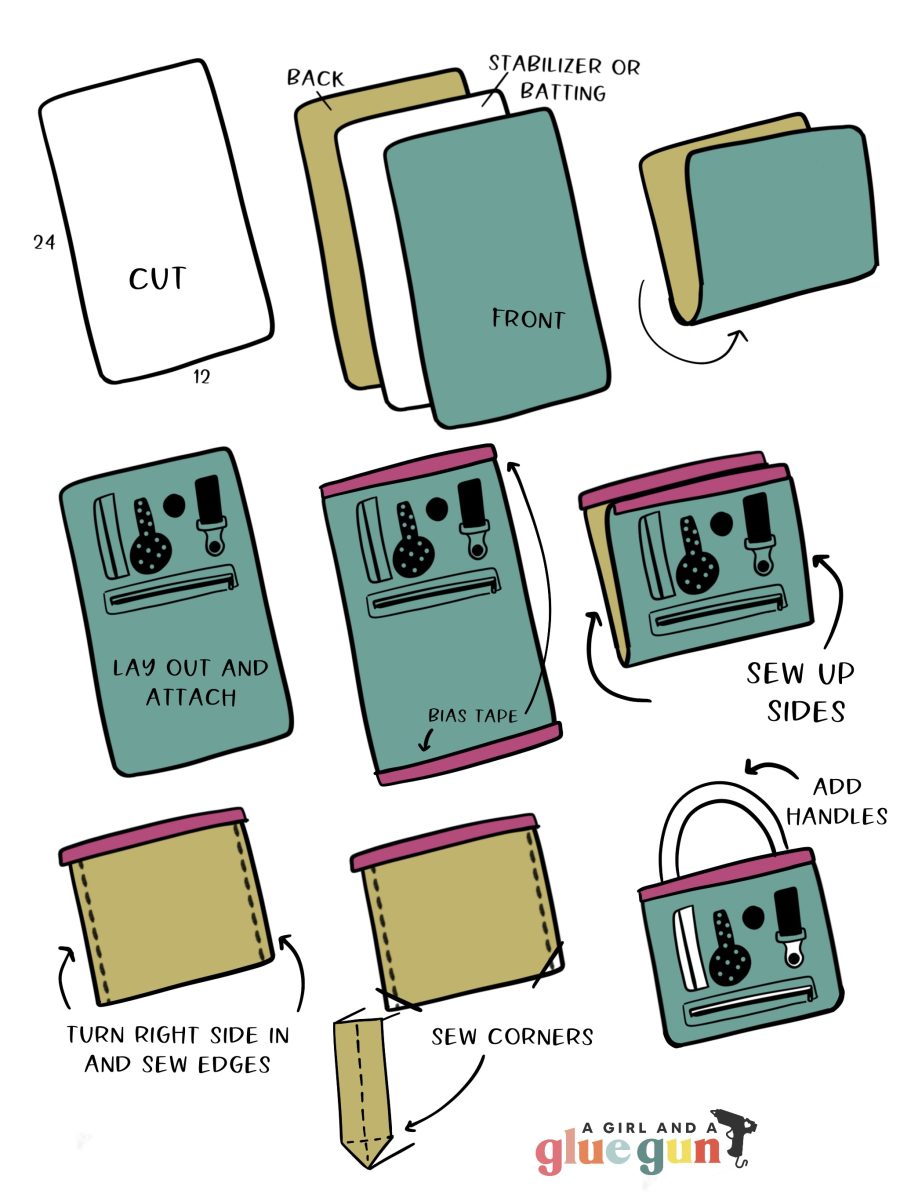
You’ll need:
- An outside fabric piece
- An inside fabric piece
- A stabilizer piece
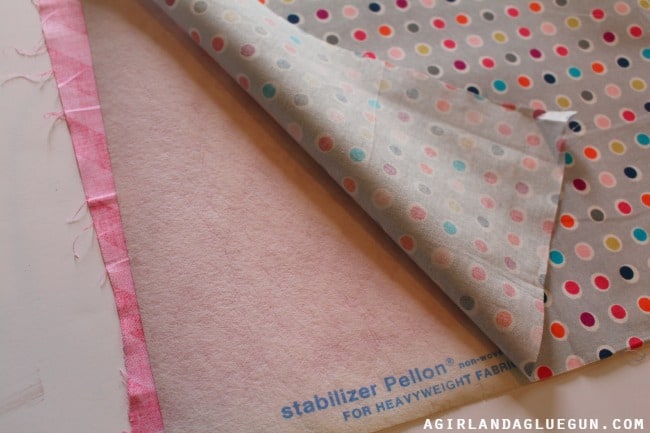
Before cutting, Fold the fabric in half and lay out your embellishments and closures so you can make sure everything will fit.
Step 4: Add the Interactive Pieces
This is the fun part!
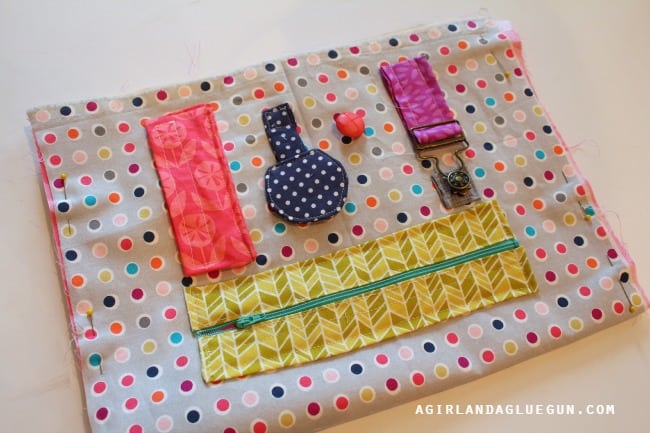
Arrange your zippers, snaps, hooks, buttons, and Velcro pieces on the front of the purse.
Once you have everything where you want it, sew the pieces onto the front.
Be careful not to place everything too close to the edges. I left about 3 inches around the edges and about an inch at the top for the handles and bias tape.
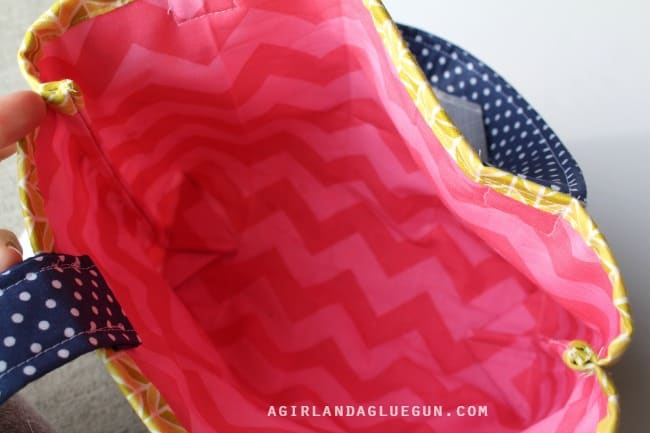
The inside lining is added later, which helps hide all of those stitches.
Step 5: Add the Bias Tape
Add bias tape across the top of the purse.
You can purchase premade bias tape or make your own. I made mine really small for this project.
This gives the top of the purse a finished edge and helps everything look nice and tidy.
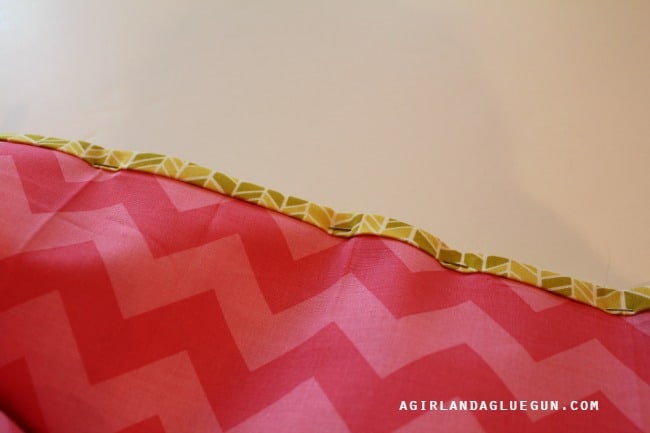
Step 6: Sew the Purse Together
Now it’s time to sew the purse together.
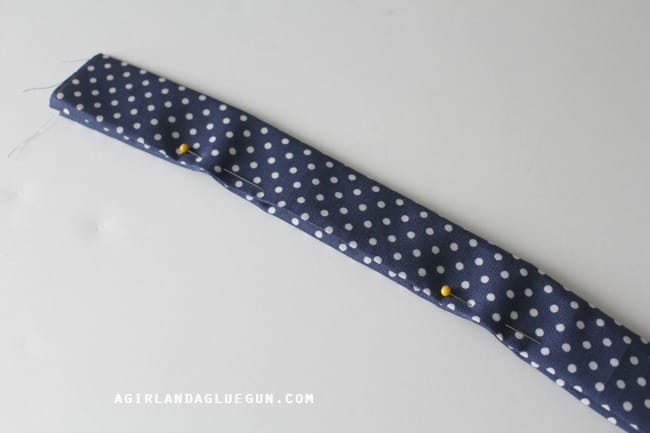
Pin the sides and sew them together with the right sides facing out. Stay close to edge and trim off any excess fabric.

Then turn the purse so the right sides are facing in and sew the sides again. Make sure the stitching covers that first stitch!
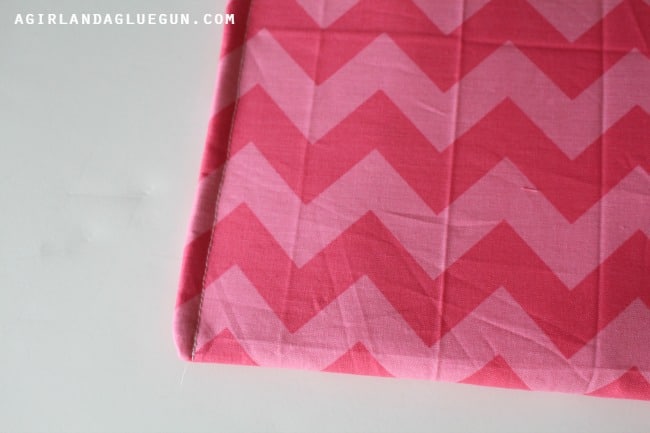
This creates a finished seam rather than leaving raw edges exposed. This technique is called a French seam.
Step 7: Create the Corners
For the corners, flatten each corner and sew across it to create a little triangle.
This gives the bottom of the purse some shape and creates extra room inside for all those important toddler treasures.
Because we all know toddlers need somewhere to put their treasures.
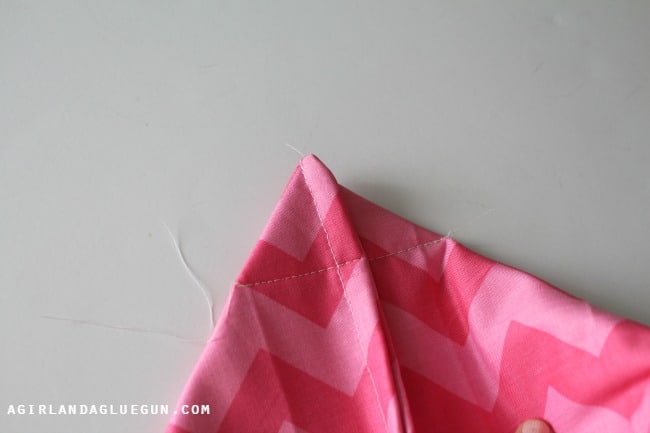
Pin up sides and sew. (this is right sides out) Sew really close to the edge. Then flip it so right sides are in…and sew the sides up again. Make sure the seam is big enough to overlap the first seam. This will give you nice finished edges.Take each corner and smoosh out….and add a stitch to make a triangle.
When you turn it back to right sides out….This stitch will give it a nice corner and room to fill your purse with “treasures”
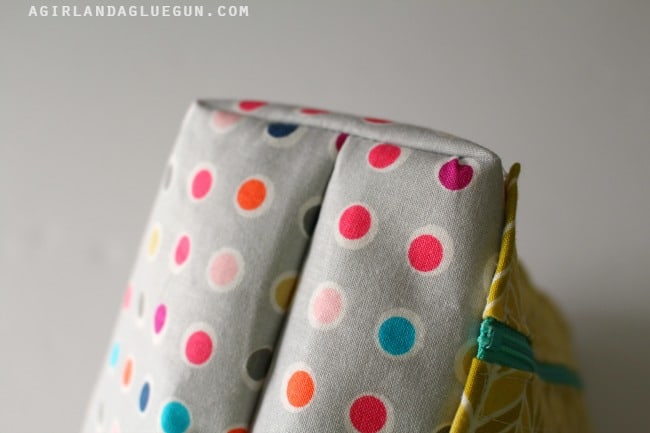
Step 8: Add the Handles
Once the body of the purse is finished, add your handles.
Make sure they’re securely sewn on since this purse is going to get plenty of toddler use!
Fill the Purse With Toddler Treasures
Now comes my favorite part.
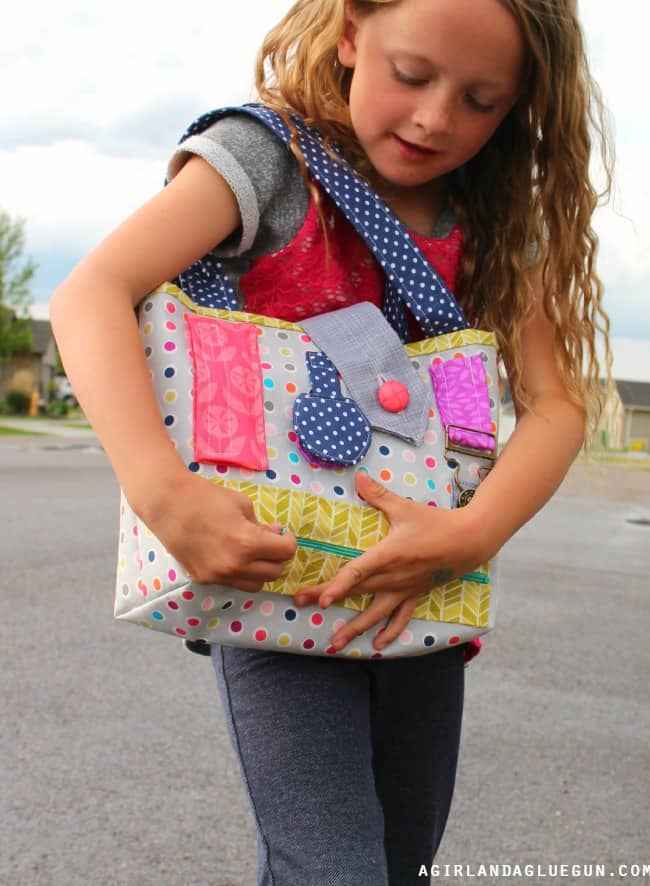
I gave this handmade purse to my 2-year-old niece for her birthday and filled it with fun little pretend purse accessories, including:
- A hairbrush
- Chapstick
- A little mirror
- A play cell phone
It turned the purse into more than just a sewing project—it became a little pretend-play kit.
You could customize the contents based on the child you’re making it for.
Add Different Closures for More Interactive Fun
One of the things that makes this purse different is all of the closures.
You can experiment with different options, including:
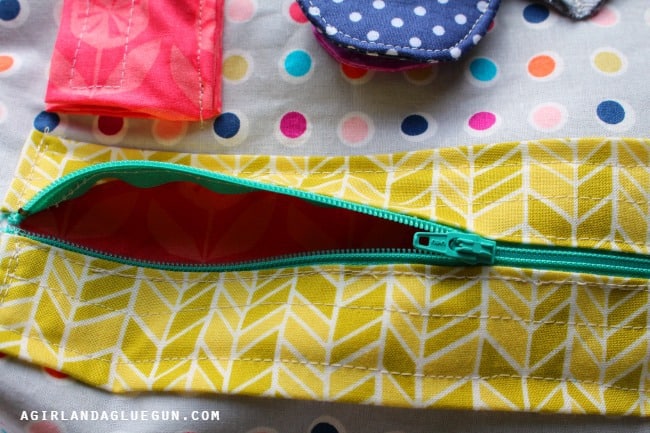
Zipper
A zipper gives little hands a chance to practice the motion of opening and closing.
Snaps
Sew-on snaps are another simple interactive element.
Velcro
Velcro is especially satisfying for little kids because they can easily pull it apart and put it back together.
Hooks
Hooks add another type of fine-motor challenge.
A Handmade Gift for Toddlers
I think this would make such a fun handmade birthday gift for a toddler.
Instead of giving a little one another toy that they’ll play with for five minutes and abandon, you can make something personalized that encourages pretend play and lets them explore different closures.
You can even coordinate the colors and fabrics with the child’s personality.
And because the purse is handmade, you can make it as colorful and silly as you want!
Can You Add Pockets?
Absolutely!
I originally wanted to make each of the interactive tabs into pockets where little things could be stored. The challenge was figuring out how to do that without making the purse enormous.
If you have a good solution, you could take this idea even further and add small pockets throughout the purse.
Make Your Own Toddler Busy Bag
If you’re looking for a DIY toddler busy bag, this interactive purse is such a fun idea.
It’s part purse and part activity—giving toddlers something they can carry around while also practicing opening, closing, pulling, snapping, and fastening.
And let’s be honest: anything that keeps little hands busy for a few extra minutes is a win in my book.
So grab your fabric scraps, pull out your sewing machine, and start creating your own interactive toddler purse!
Save for later
Too busy to get crafting today? No problem! Pin this post to remind yourself about this project later! Sharing my projects helps me reach more people, allowing me to continue sharing free content!
Virginia Fynes says
This is suuuuuper awesome!! I have to make one now… and I recognize those fabric choices!
sharlyn says
Super darling!
Donna says
This is adorable! I stopped I’m my tracks (paused in my browsing lol) when I came across the purse you made. You can bet my little granddaughter will be getting one of these!
Would love you to post over at our party #OMHGWW
http://twochicksandamom.blogspot.com/2015/07/oh-my-heartsie-girl-wordless-wednesday_86.html
T'onna @ USS Crafty says
This is such a cool idea, and a cute bag. I love all the different fabrics you put together. I wish I had thought of this for my daughter!
Navy Wifey Peters @ The Submarine Sunday Link Party
Lori says
Love this!!! Are you selling it? Didn’t see it on your etsy page. I can’t sew ? and would love it for my nieces. Let me know. Thanks!!
Lori says
Love this!!! Are you selling it? Didn’t see it on your etsy site. Would love this for my nieces. I can’t sew! ??. Thanks, let me know.
Kimbo says
I don’t sell them! sorry!
Debbie says
That is adorable. I may have to copy for my youngest granddaughter
Samantha says
Thank you for the wonderful idea! I have been trying to find one more item to make my toddler for Christmas, because it’s only November and I just can’t possibly be done already. This is going to be perfect and I won’t even have to leave my house to make it!
Julie S Betzel says
Absolutely LOOOOOOVE this!! I just finished a busy book for my youngest niece–this would be perfect for her older sister