
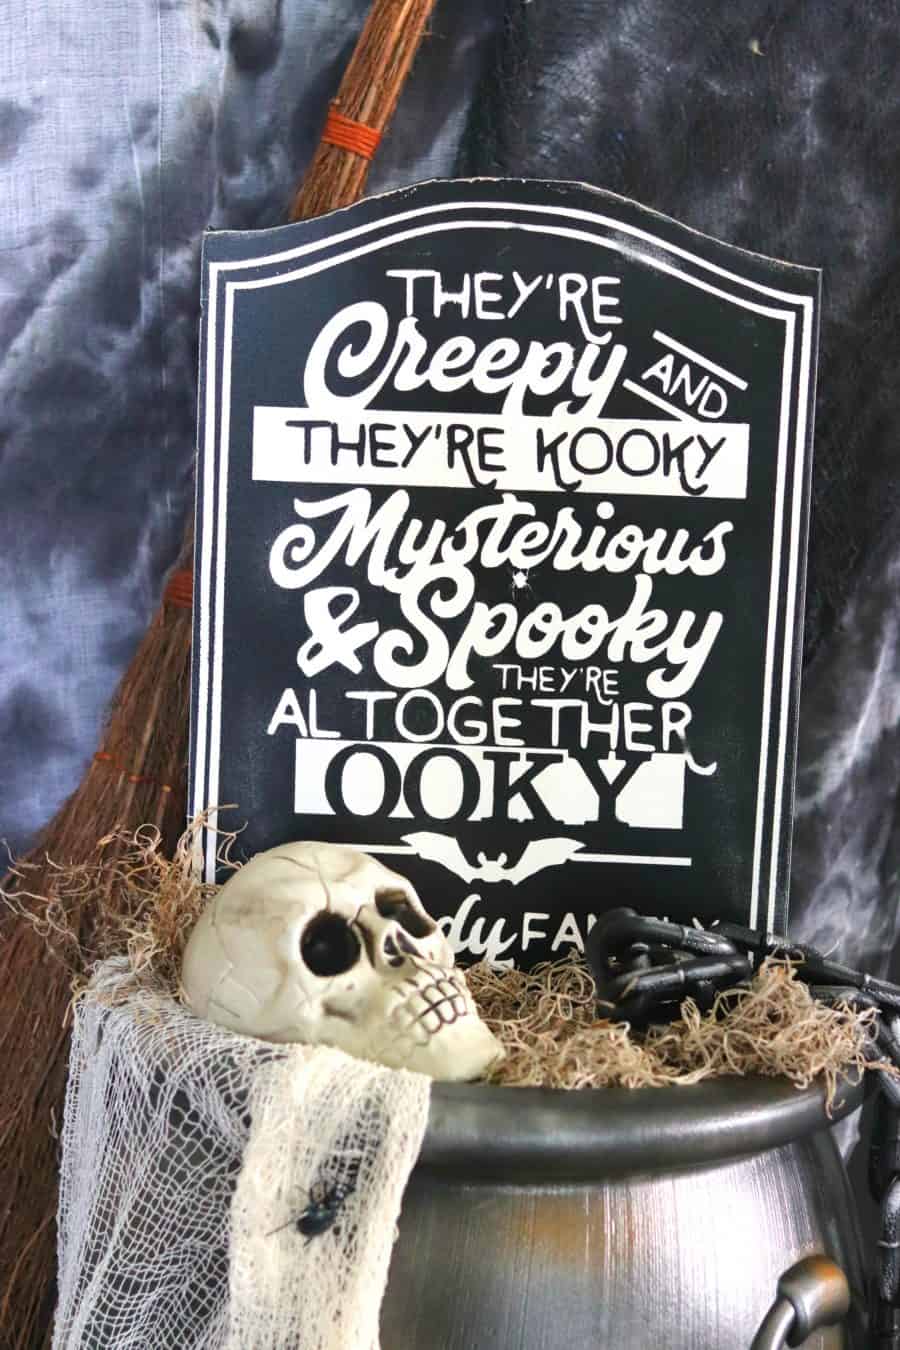
If you love The Addams Family, black and white Halloween decor, and a little spooky-but-stylish Halloween decorating, you are going to love this DIY Addams Family Halloween porch sign!
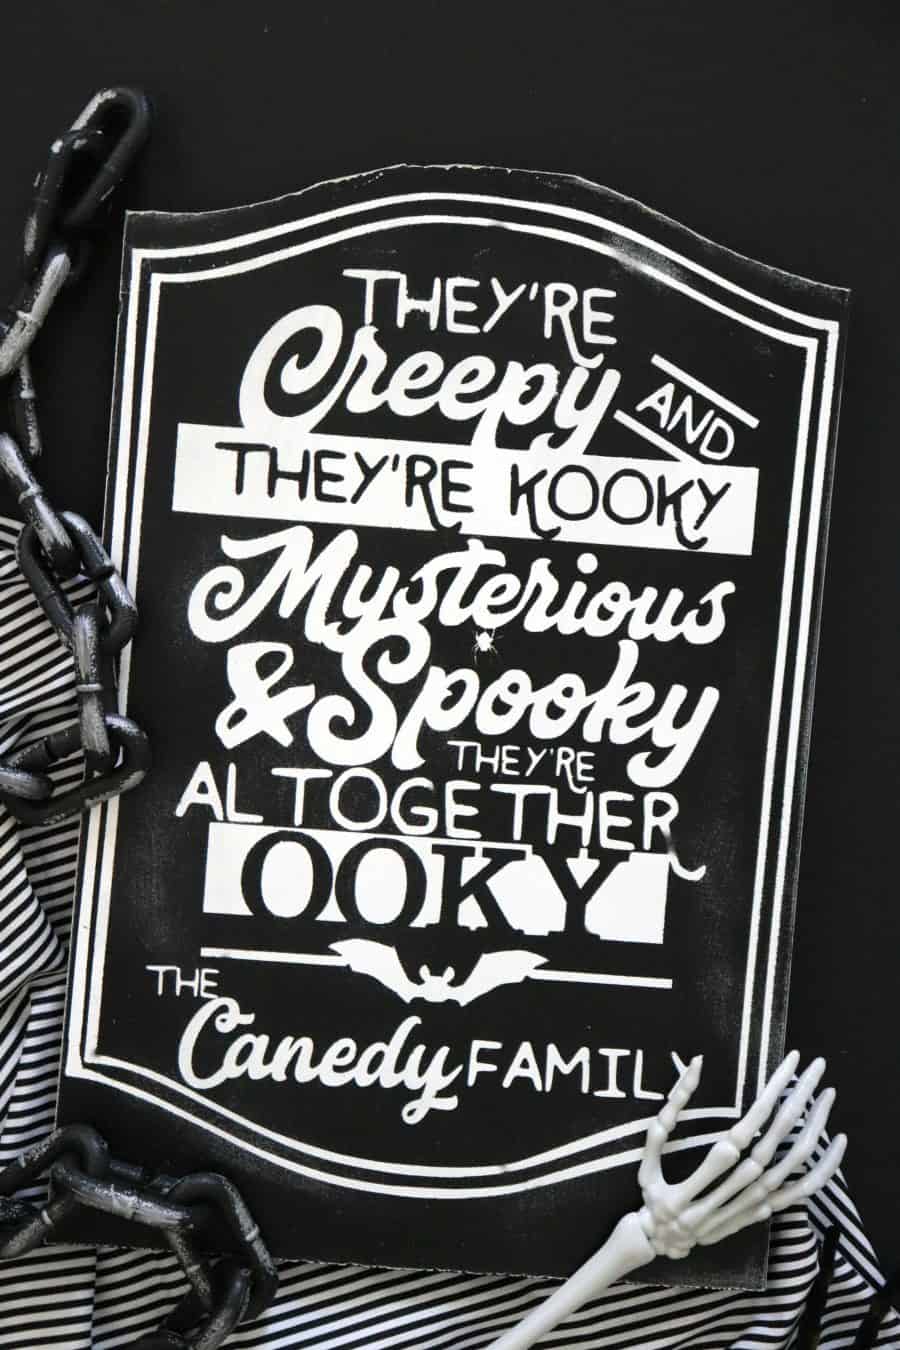
This customizable Halloween sign is such a fun way to add some creepy curb appeal to your front porch. And the best part? You don’t need a vinyl cutting machine to make it!
I’ve included both a free printable version and a free cut file so you can make this Halloween porch sign with whatever supplies you have on hand.
I also left a space at the bottom of the design so you can add your family name and make the sign completely your own.
Let’s make a spooky sign!
Get comfortable! This is a big post! First– I created a Cute Addams Family Halloween Porch sign–customizable! I have a free cut file so you can create your own sign–BUT if you don’t have a vinyl cutter–I have a printable for you too! AND I will show you how to create each one. AND I have a roundup of other adorable black and white Halloween projects to really get your creative juices flowing! Let’s Jump IN!
DIY Addams Family Halloween Porch Sign
This black and white Halloween sign has that classic Addams Family feel without requiring a ton of supplies or complicated techniques.
You can make the sign from a wooden board using a vinyl cutting machine, or use the printable version to create a lightweight sign from foam board.
What You’ll Need
For the DIY wood porch sign:
- Wooden board
- Black spray paint
- White paint
- Stencil vinyl, such as Oramask
- Transfer tape
- Vinyl cutting machine such as a Cricut or Silhouette
- Sandpaper
- Addams Family Halloween cut file (down below)
For the printable version:
- Free printable Halloween sign
- Printer or local print shop
- Foam board (I got mine from Dollar Tree)
- Spray adhesive
- Sharp craft knife
- Cutting mat
How to Make an Addams Family Halloween Sign With a Vinyl Cutting Machine
The free cut file is available near the bottom of this post.
I designed the sign with an empty space at the bottom so you can add your own last name or family name.
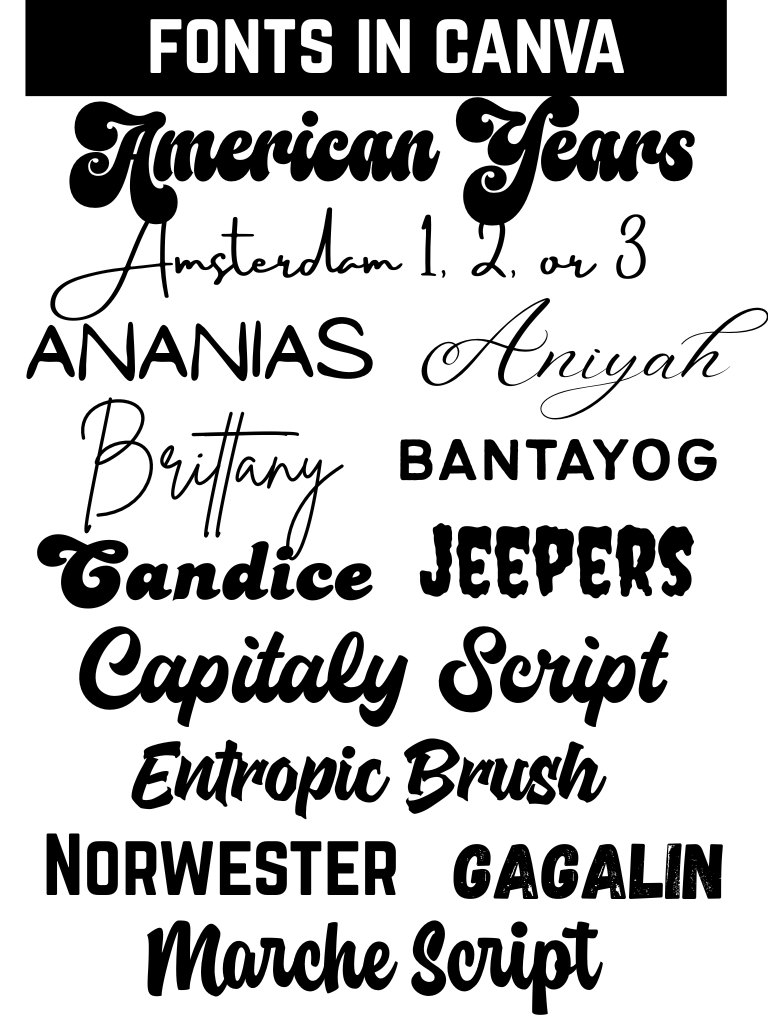
You can also use Canva, which is a great free option for adding your family name to the design. I’ve got a video tutorial on how to add personalisation to a sign. And here are some fonts that pair nicely with this design!
Step 1: Cut the Halloween Stencil
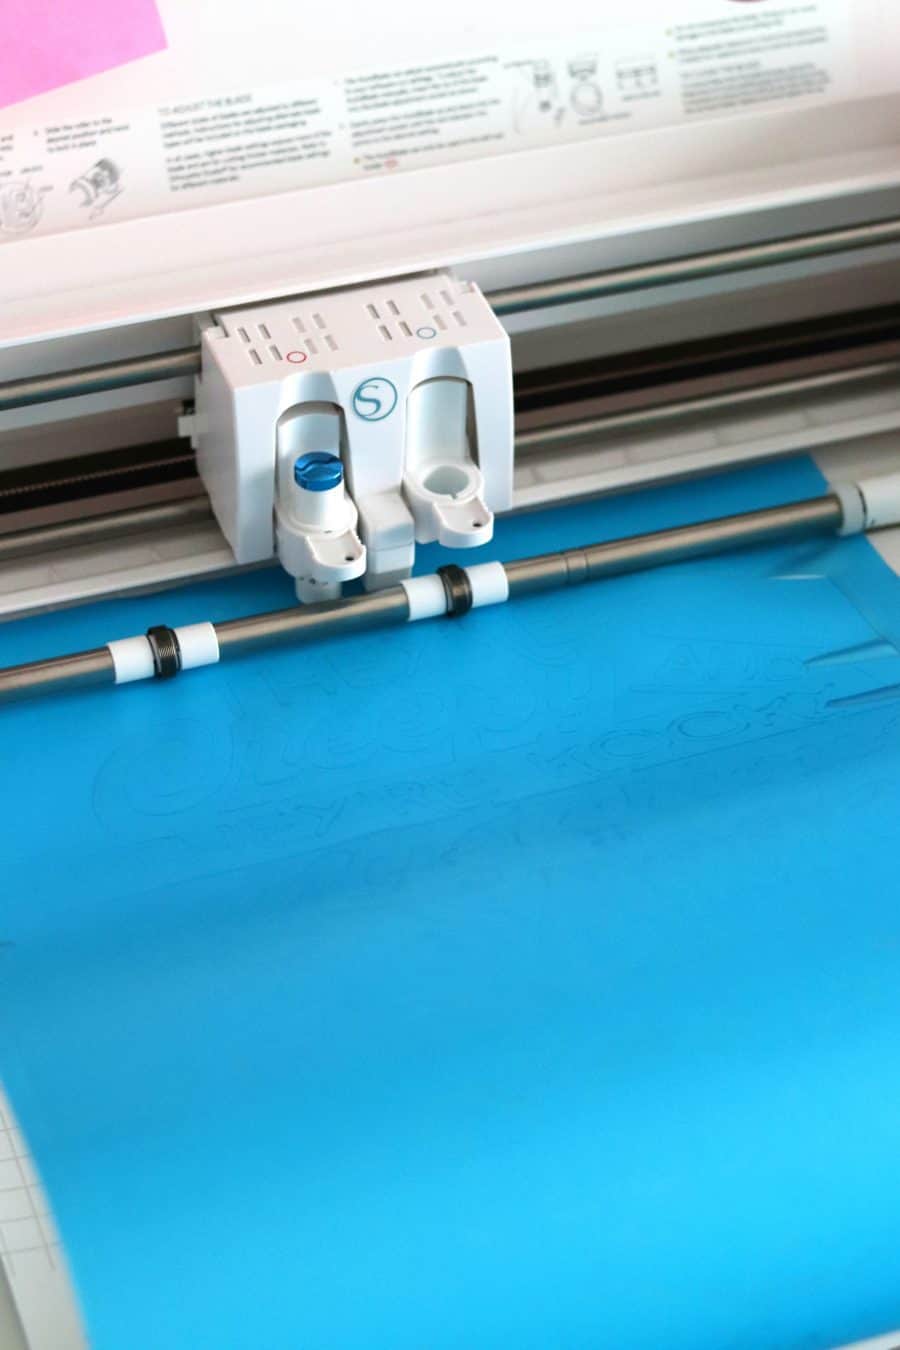
I used Oramask stencil vinyl to create my stencil.
Upload the free cut file to your cutting machine and cut the design from your stencil vinyl.
If you’re new to using a Cricut or Silhouette, don’t worry! It can take a little practice to get comfortable with cutting and weeding vinyl, but once you get the hang of it, making your own signs becomes so much easier.
Step 2: Weed the Vinyl
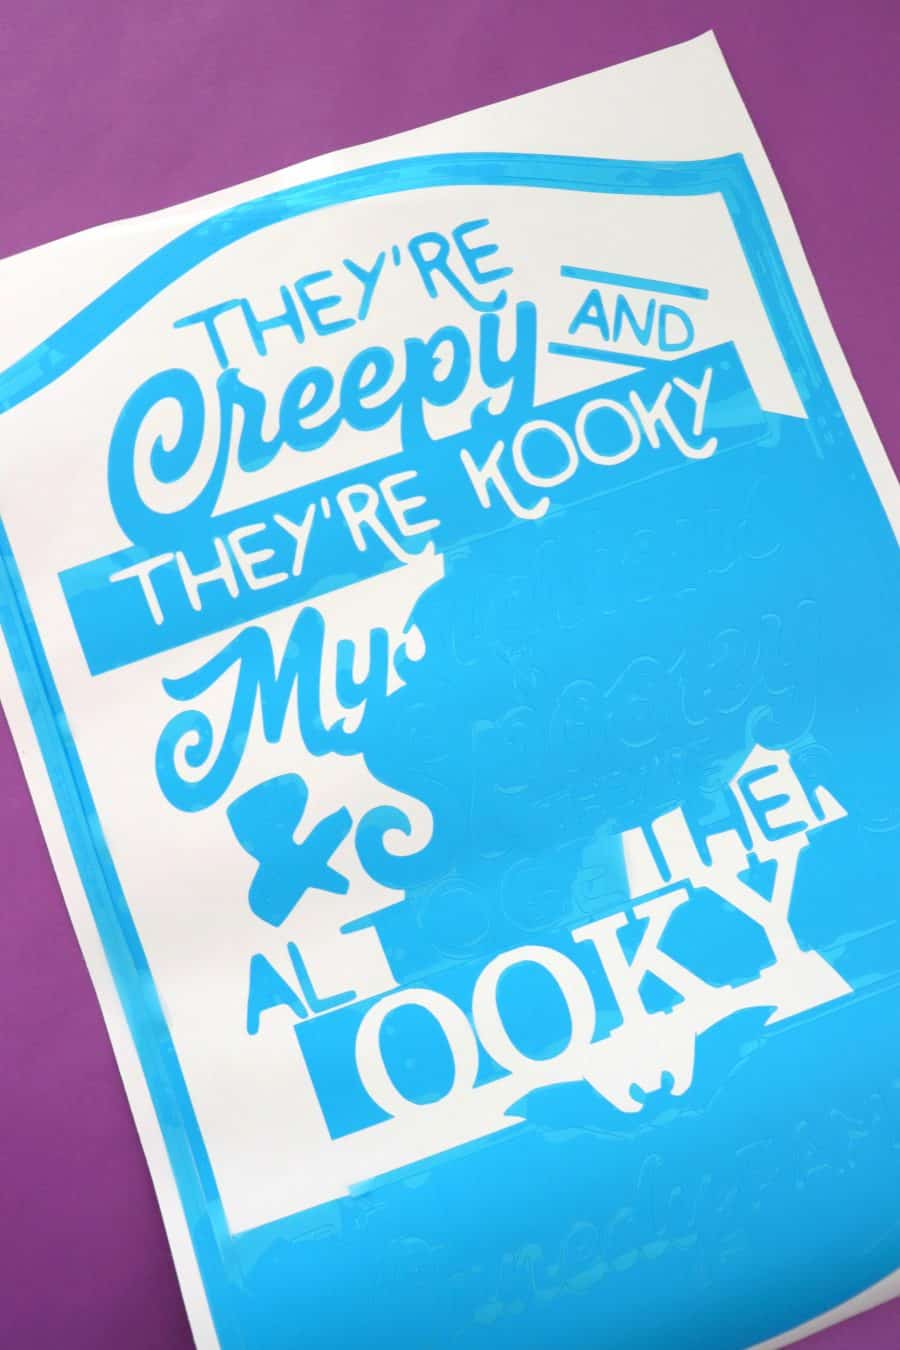
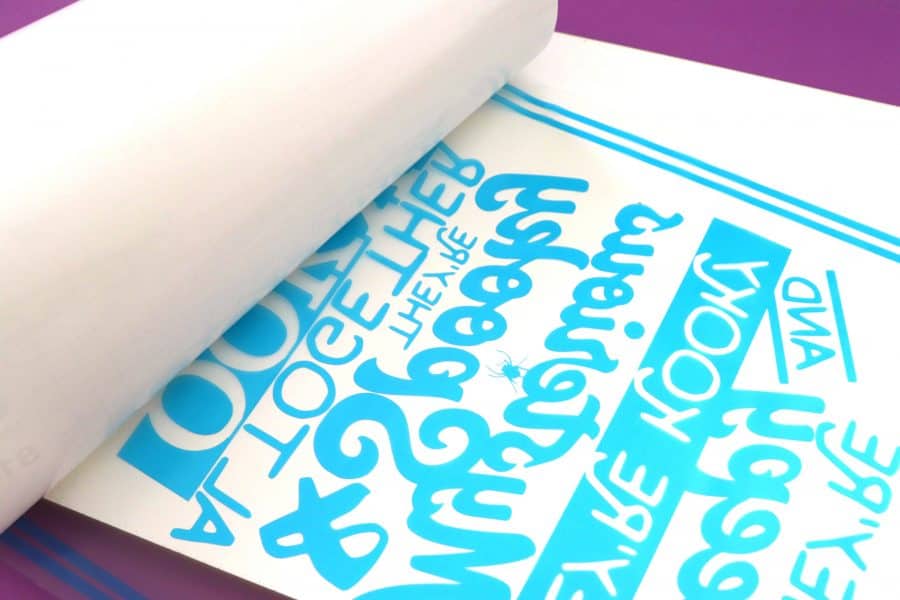
Once your design is cut, carefully weed away the excess vinyl.
You want to leave your lettering and design in place so it can act as a stencil.
Step 3: Add Transfer Tape
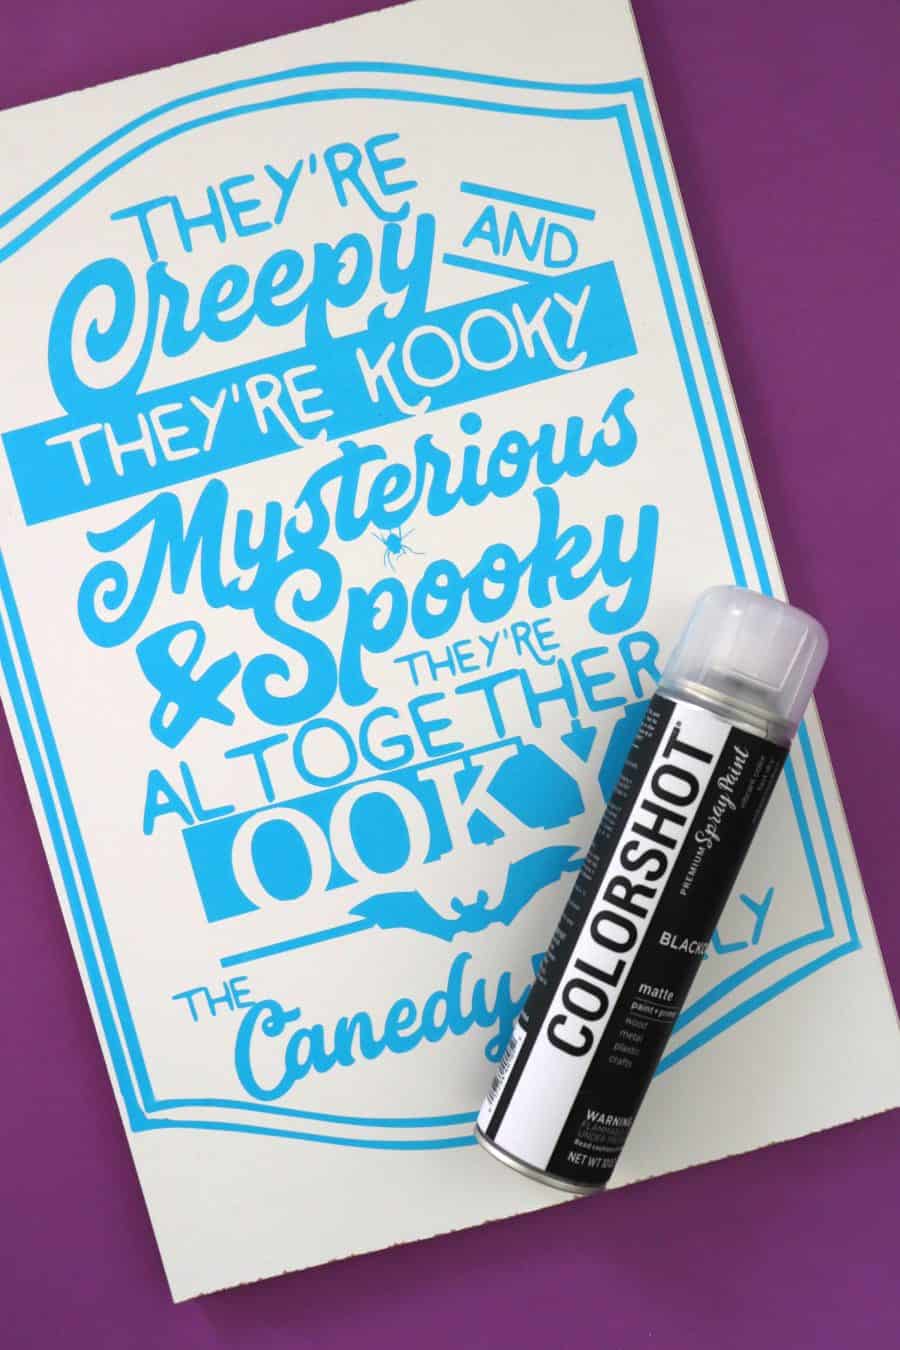
Place transfer tape over the stencil and carefully transfer the design onto your wooden board.
Smooth everything down really well, especially around the edges of the letters and design. This will help keep your paint from bleeding underneath the stencil.
I left the bottom on each empty–so you can add in your family name–I use picmonkey and font is Mattoa (affiliate link) Picmonkey used to be free–but it’s not anymore (totally worth the investment! I love it so much!) But Canva is free and you can add in your name there!)
I used oramask from Expressions Vinyl–it’s a stencil vinyl (you can go here to read all about it in more detail!) Cut it out with my silhouette cameo– (If you are new to this vinyl cutting–I have a whole how to youtube series! Check it out here!)
Step 4: Paint the Board
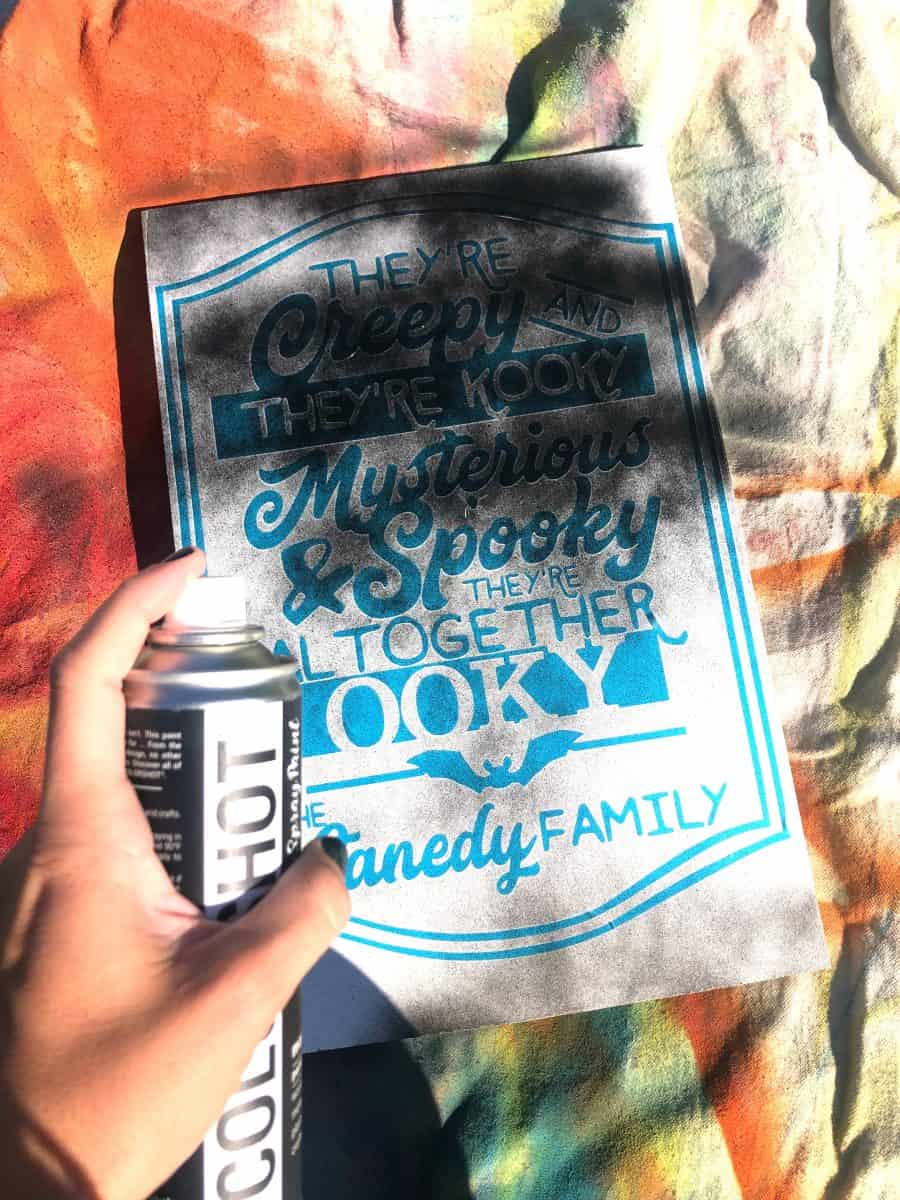
For my sign, I wanted the lettering to be white against a black background.
I covered the wooden board with black matte spray paint and let it dry.
I used ColorShot in Blackout, and I especially loved the matte finish for this project.
Step 5: Remove the Stencil
This is my favorite part!
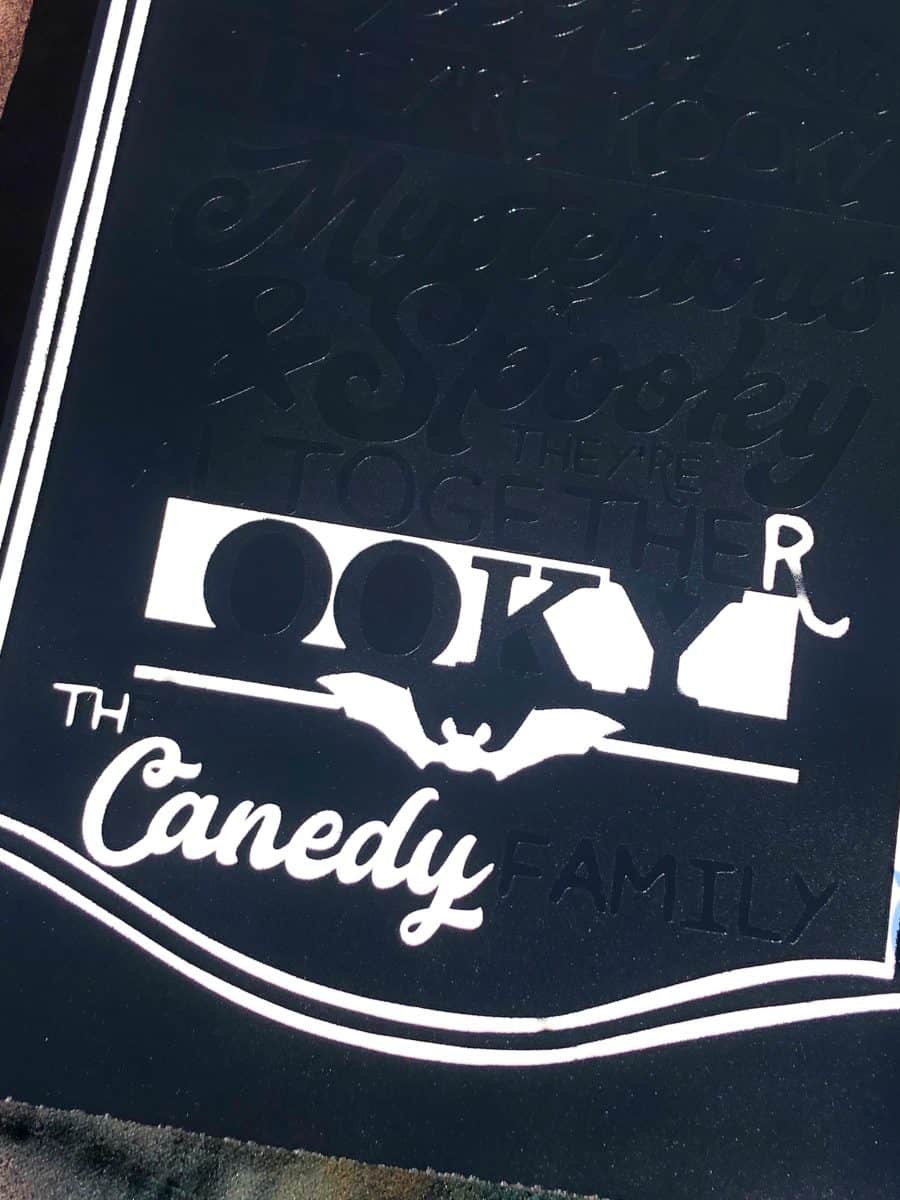
Once the paint has dried enough, carefully peel away the vinyl stencil to reveal the design underneath.
Go slowly when removing the stencil so you don’t accidentally pull up any paint.
And seriously…isn’t it satisfying?!
Step 6: Distress the Sign
I wanted my Halloween porch sign to have a slightly aged, vintage look, so I lightly sanded the finished sign.
You can leave yours perfectly crisp or distress it as much as you want.
A little sanding around the edges gives it that fun, spooky farmhouse-Halloween look.

No Cricut or Silhouette? Make the Printable Version!
Don’t have a vinyl cutting machine?
No problem!
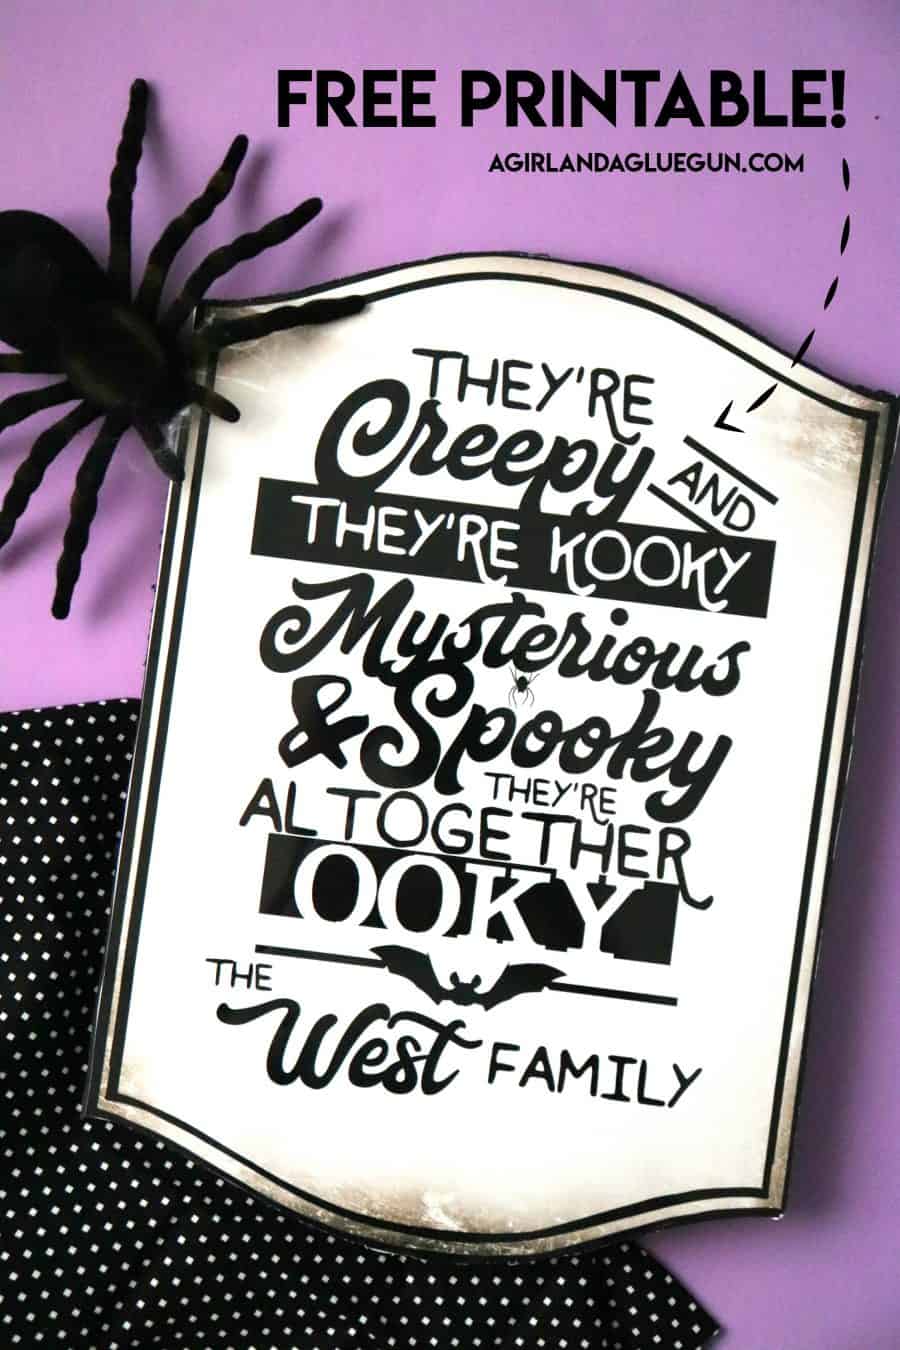
You can still make this cute Addams Family Halloween porch sign using the free printable.
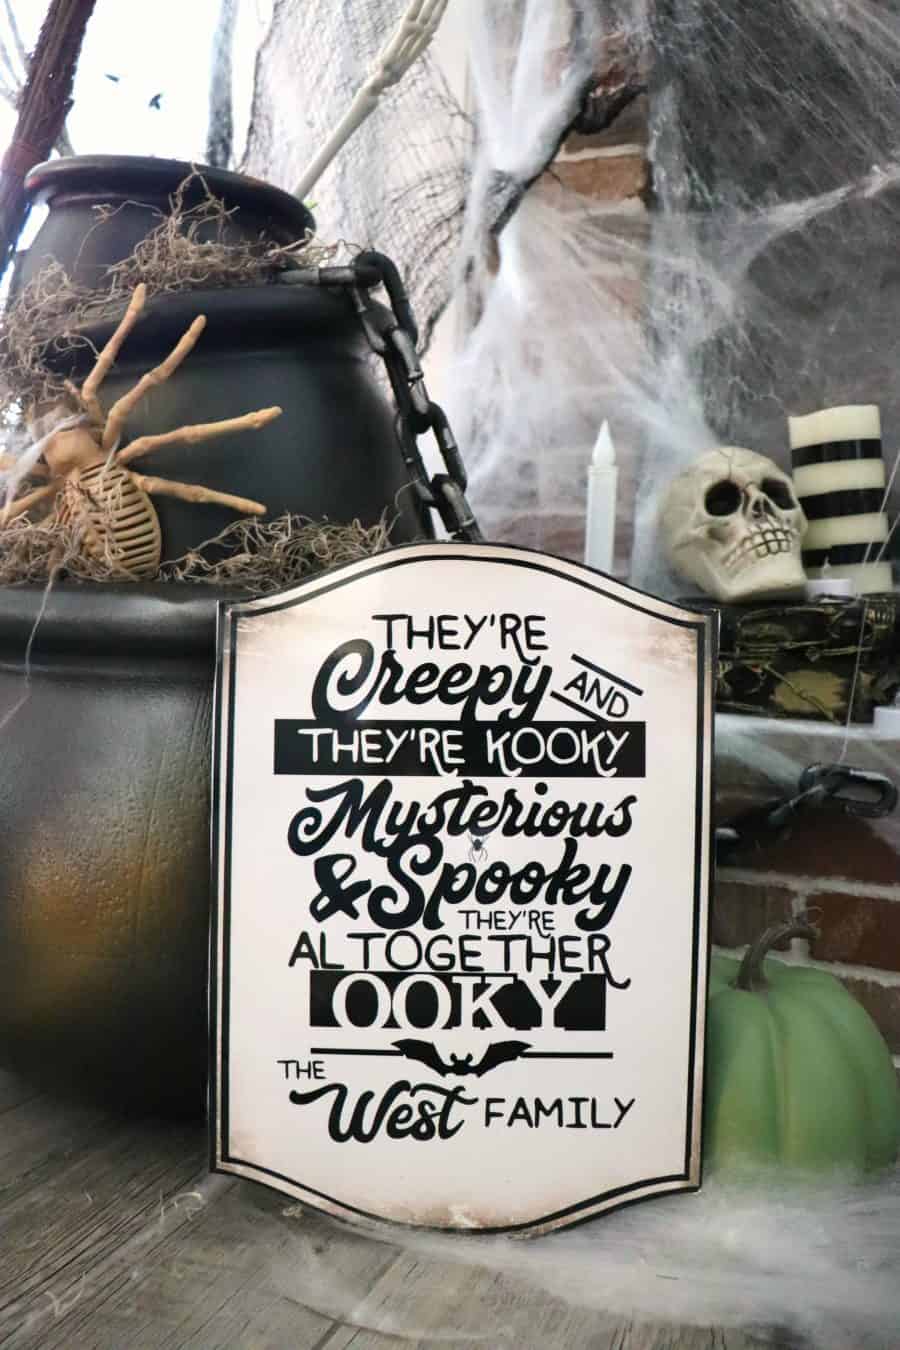
I had my design printed at Walgreens, but you can use your favorite local print shop or have it printed at home if you have a printer large enough for the size you want.
There are several sizes and design options available, including distressed versions and a simple black-and-white option.
Now–If you don’t have a cutter- You can still make a cute sign!
How to Make the Printable Halloween Sign
Once your design is printed, making the sign is incredibly simple.
- Choose the printable design you want to use.
- Print it at the size you need.
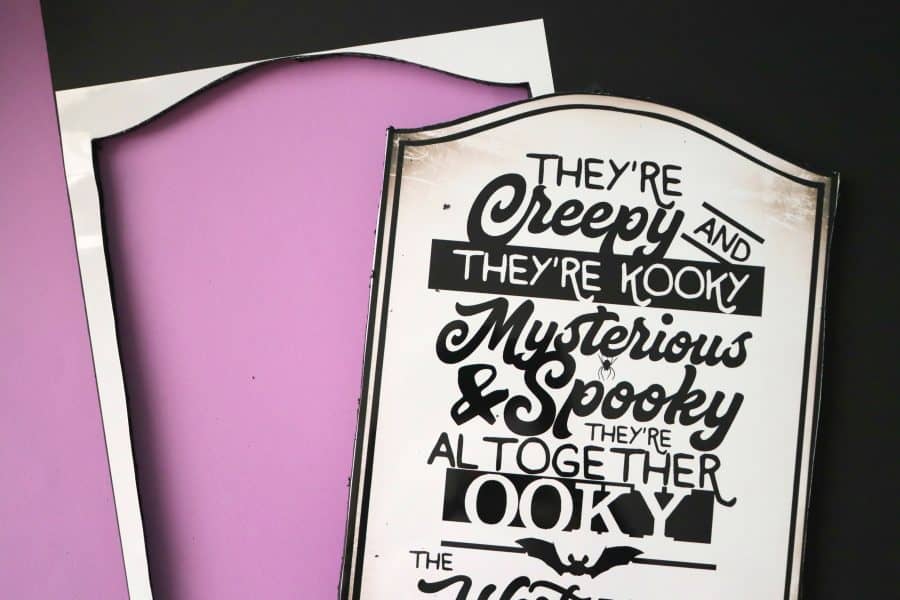
- Spray a piece of foam board with spray adhesive.
- Carefully attach the printed design to the foam board.
- Use a sharp craft knife to cut around the outside of the design.
- Add your finished sign to your Halloween porch!
The foam board makes this version super lightweight, which is especially handy if you want to add the sign to a wreath or another piece of Halloween decor.
Free Addams Family Halloween Printables
Ready to make your own?
I’ve included several versions of the free Addams Family Halloween printable, including distressed designs and a classic black-and-white option.
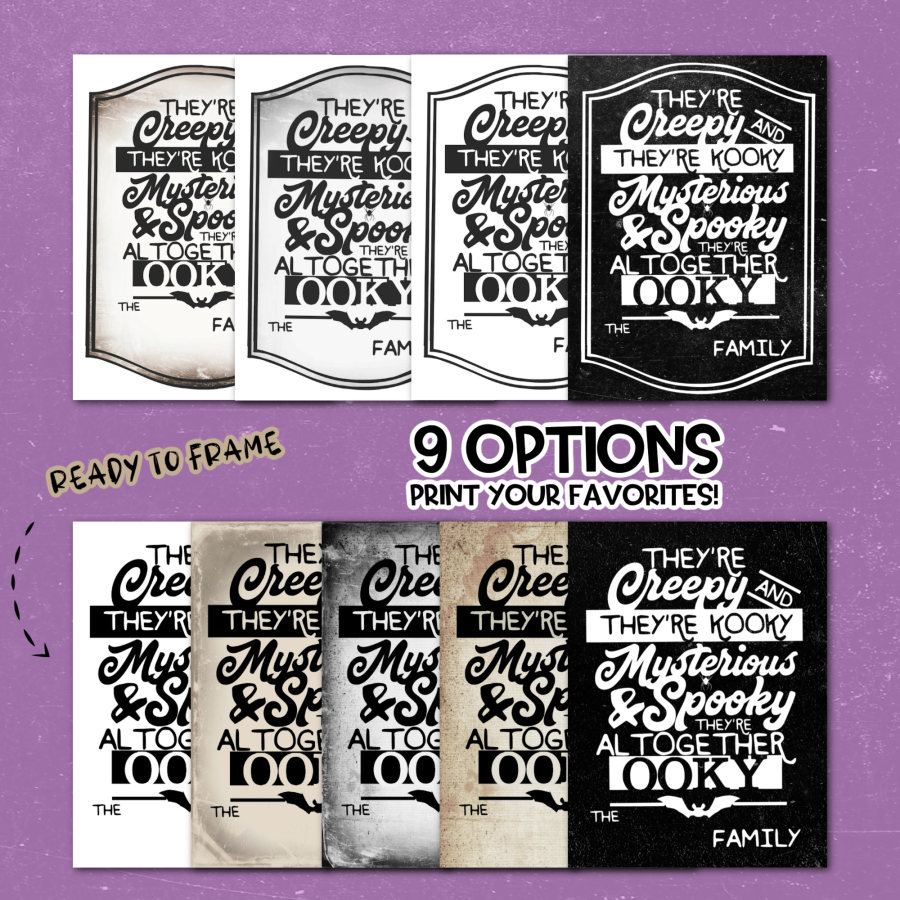
Choose your favorite, print it, and turn it into Halloween porch decor.

Free Addams Family Halloween Cut File
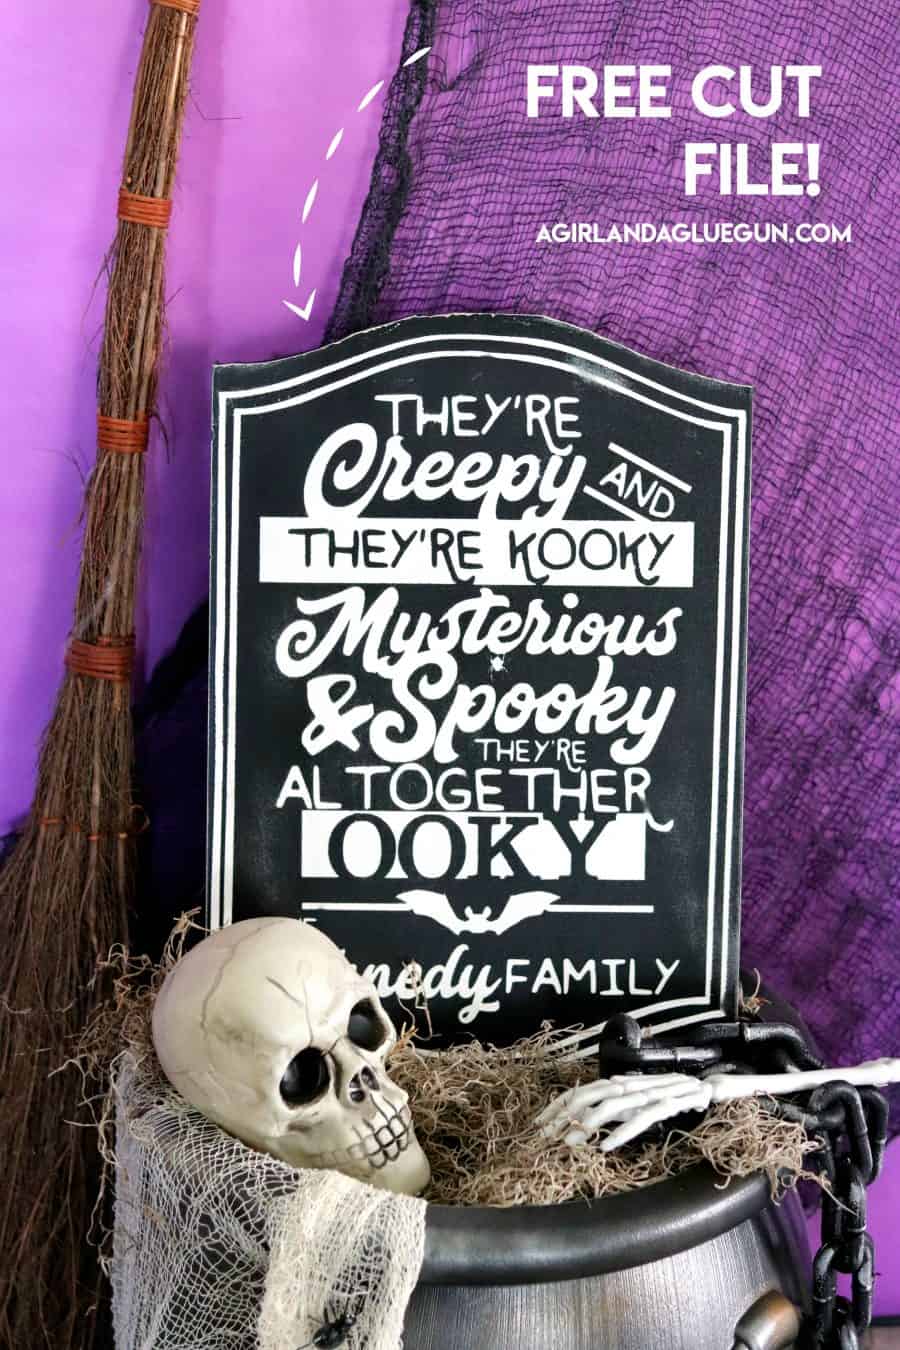
If you have a Cricut or Silhouette, you can use the free cut file to make your own stencil or vinyl Halloween sign.
The design is customizable, so don’t forget to add your family name to the bottom!

Make Your Own Spooky Halloween Porch Sign
Whether you use a Cricut or Silhouette to make the stencil or print the design and turn it into a lightweight foam board sign, this Addams Family-inspired Halloween porch sign is an easy way to make your front porch feel ready for Halloween.
I love that you can customize the bottom with your own family name, and you can make the sign look polished or distress it for a more vintage Halloween feel.
And because the design is black and white, it works with just about any Halloween porch decor.
Grab the free printable or free cut file and make your own Addams Family Halloween sign!
Happy Halloween crafting!
OTHER totally cute Halloween projects
- ghost and candy corn garland
- Halloween cut files
- Creepy Doormat
- Pool noodle candles
- Halloween sensory game
- Yard monsters
- Halloween play doh printables
- Trivia game (free printable)
- DIY spell Book
- Halloween golf
- Classroom party games
- Spooky dinner ideas with free printables
- mummy door for your front door board
- DIY witch’s broom
- Table decorations for Halloween
Leave a Reply