
Alright guys. I have been using vinyl for YEARS.
(You can see all my vinyl projects)
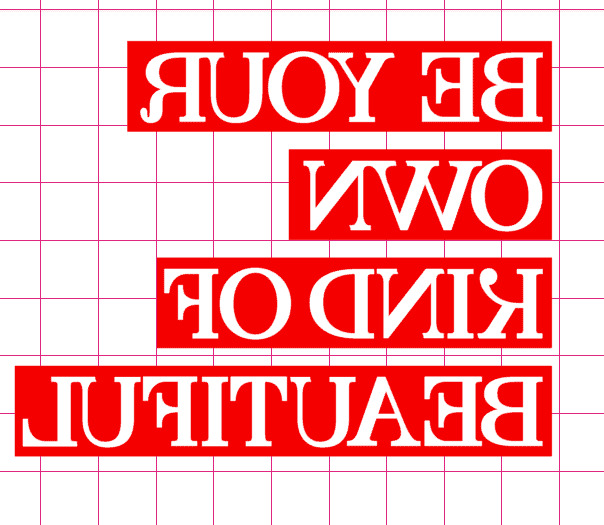
So to me it’s second hand nature. But every time I post a project I always get a few questions. So I thought I would break it down to the BASICS! Major hand holding so everyone can get the most out of their vinyl! Today is ALL about heat transfer vinyl!
![]()
Heat transfer vinyl is a vinyl that can be applied to lots of different kinds of fabric using heat and pressure! Think bags, shirts, dresses, pillows, banners! (sometimes referred to as HTV)
First up: Let’s talk cutters. You can actually do some simple shapes and projects using scissors or paper punches. But to really do some intricate and amazing projects you need an electronic cutter! There are a couple different brands–Brother scan and cut, Cricut, and Silhouette are the top three that I’m aware of. They all have pros and cons. My personal favorite is the silhouette cameo (I have 2 AND 3 and love them both! The 3 has a few more bells and whistles)
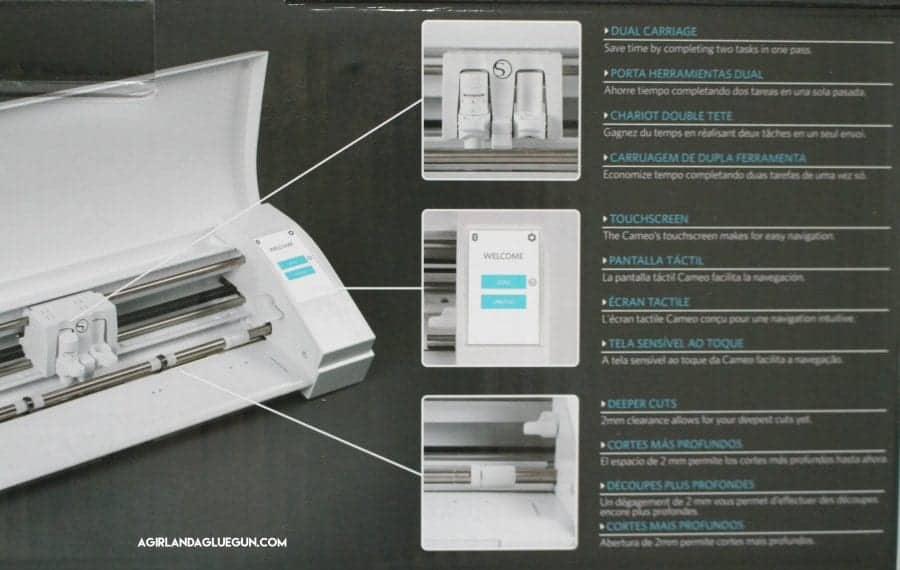
I’ve downloaded the cricut software and played around with it…and for me the silhouette studio is WAY more user friendly–plus the design options are endless! PLUS you have to have wifi to design in cricut….I love that I can totally take my laptop out camping and design design design (and cut if I haul out my cameo too) If you are on the fence–You can download both the silhouette studio and the cricut software and play around with it and see if one fits you best! (I’m writing up a whole post about it!)
Next up after you have your cutter–what kind of vinyl to buy! Let me tell you this. The stuff you can buy at the local craft store is not your friend. Using it will probably make you hate vinyl because it will frustrate the crap out of you! Seriously- just say no. (and that is coming from a place of love!) I had to use it recently because someone bought it for a church project and I was quickly reminded that you get what you pay for!
For Heat transfer vinyl…I trust anything that has the Siser brand stamped on it! They are by far the best brand I’ve ever used! And they stand behind their products! I usually buy all my siser heat transfer from Expressions Vinyl. They HAVE TONS. TONS. Fluorescent, metalized, glitter, transparent, glow in the dark, stretch, holographic, flocked and soo many more!!!
![]()
And each of these heat transfer works the same way (a little backwards from regular adhesive vinyl)
I did a whole video about it!
You actually load it upside down! So the front pretty part is face down.
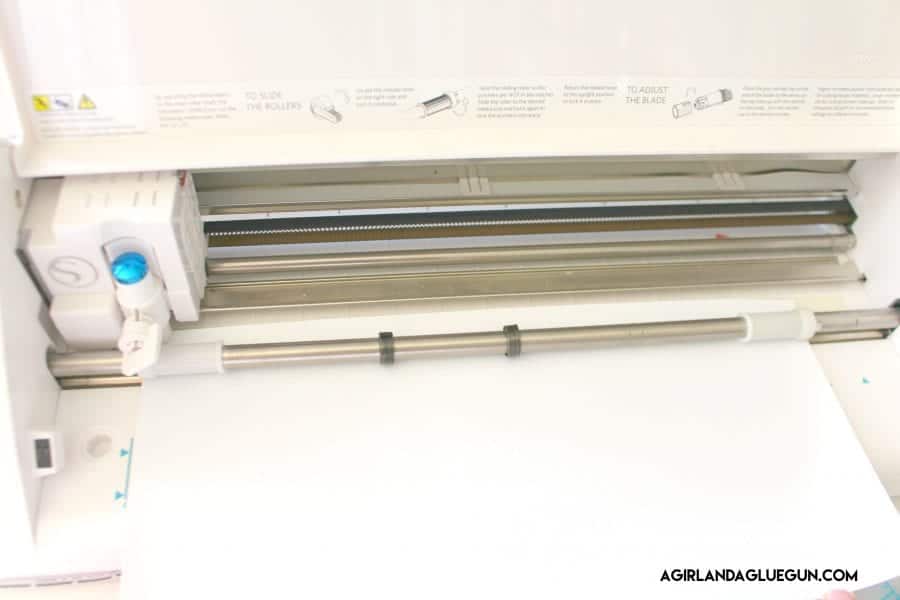
Some colored vinyl has plain white backgrounds–which makes it easier. But Some don’t (you can see in this video how the coral vinyl has a white background)
But basically the front looks glossy…and the back is flat. This heat transfer vinyl is glitter–So you can see the sparkles!
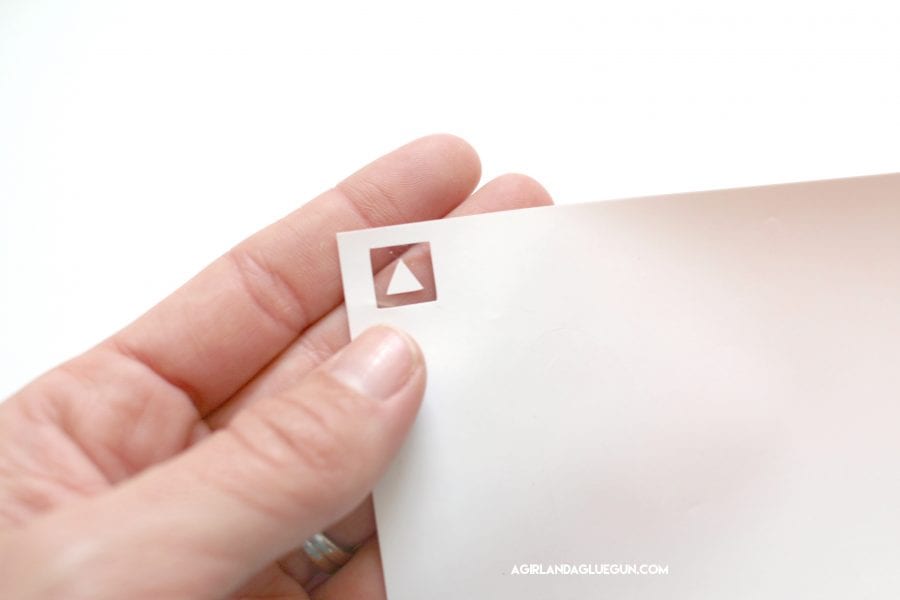
![]() AND if you are cutting on the back: you need to FLIP THE DESIGN. In my silhouette software you just right click and flip horizontal.
AND if you are cutting on the back: you need to FLIP THE DESIGN. In my silhouette software you just right click and flip horizontal.
The REASON YOU CUT ON THE BACK: The front of the heat transfer vinyl has a clear protective sheet called the carrier sheet. This protects your project from your iron (and acts like a transfer tape!) So you need to cut on the backside and only through the vinyl. You do not want to cut the carrier sheet. If you are cutting the carrier sheet–your blade is too deep. I always do a TEST CUT to make sure my cut settings are correct.
Expressions Vinyl has this super handy cut settings for your silhouette AND cricut! Print it up and put it right by your cutter! I am cutting glitter for this post–and it is super thick. So my blade depth was a lot deeper than normal. 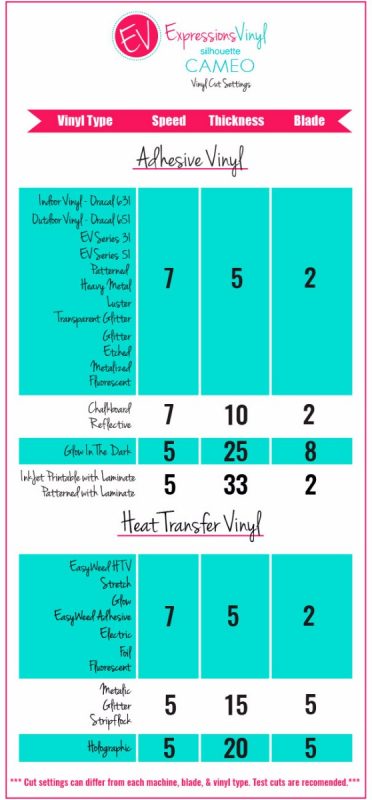
After you cut –You can BARELY see the cuts. You have to place yourself just right in front of a window to see the cuts (or use this amazing lamp) (adhesive vinyl is lot easier to see) 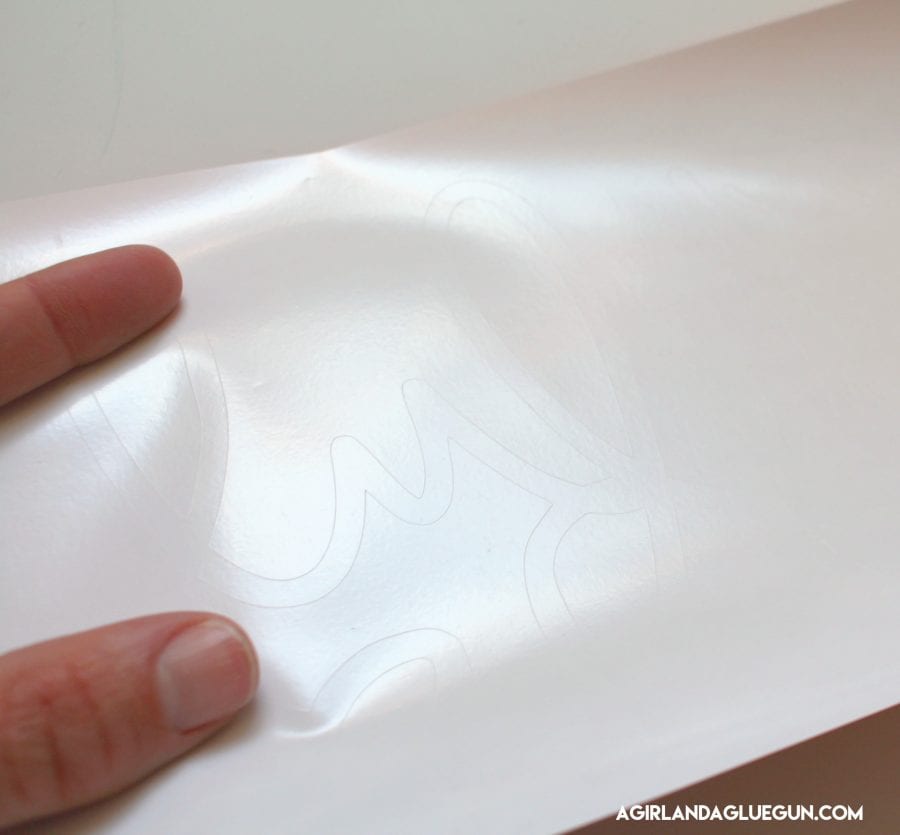
Peeling away the vinyl that is not part of your design is called WEEDING I start at the corner and just peel away the excess.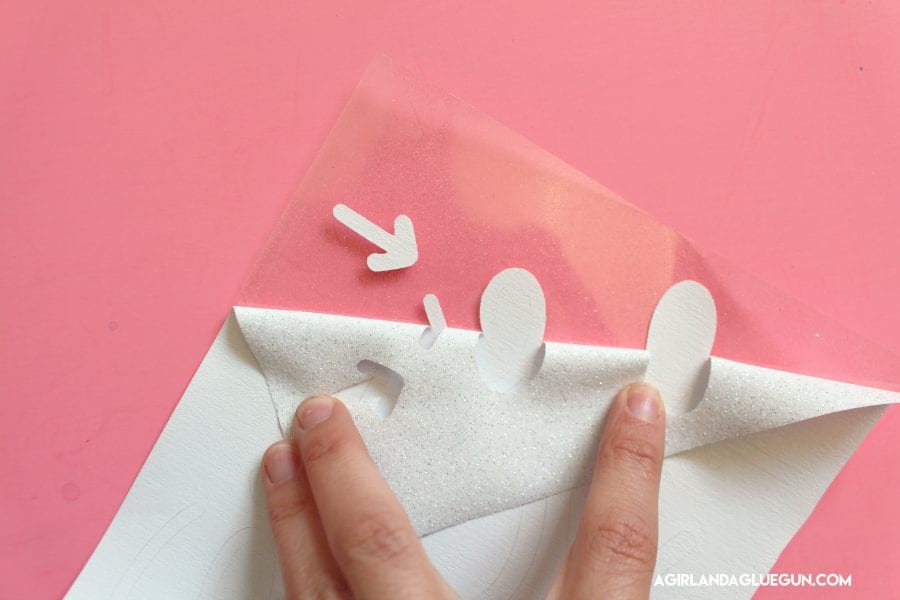
I weed away the outside…and then I go back in and feed away the in betweens (o,e, d, etc.!)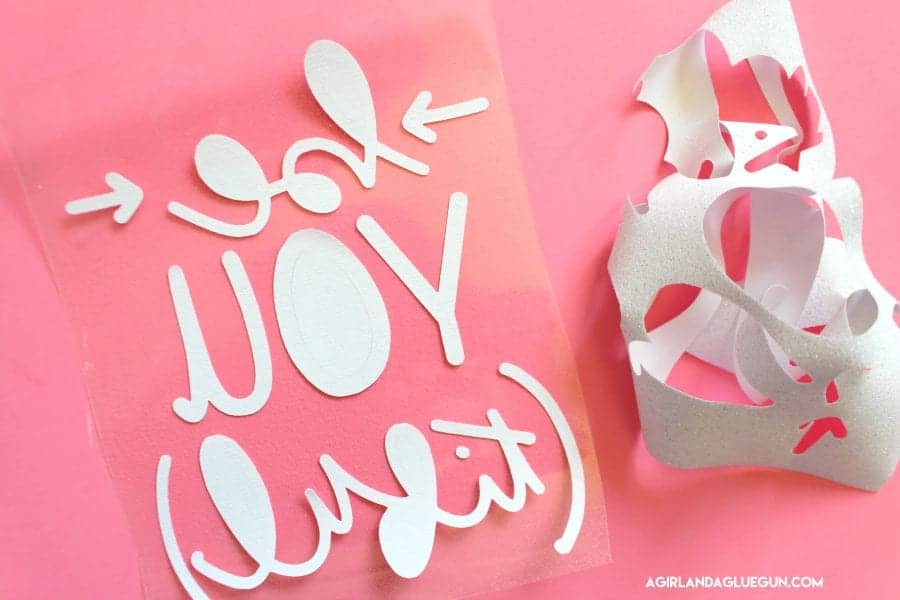
I LOVE using this siser weeding tool It’s thick and feels like a pen and is pretty sharp! 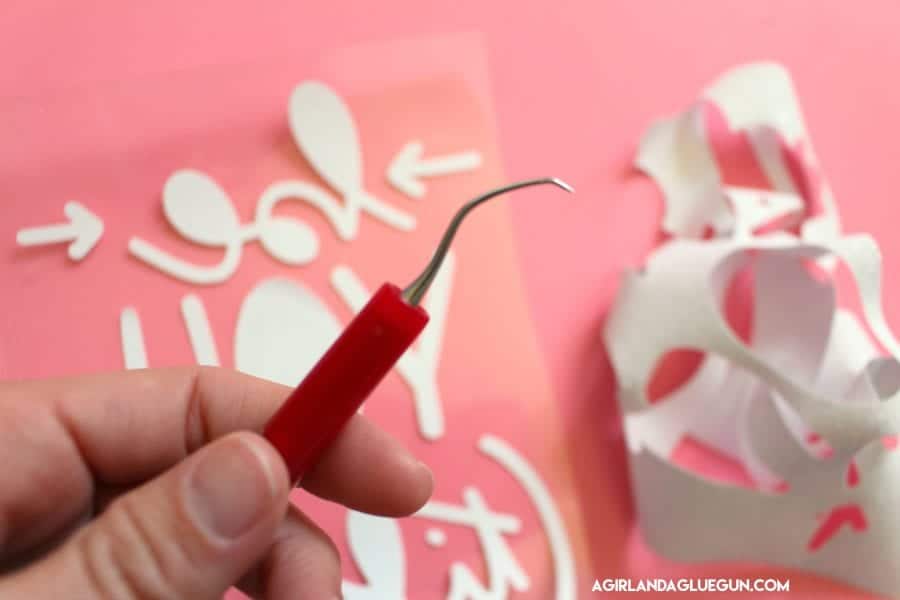
but some people LOVE using exacto knifes, utility knives, tweezers, and even a straight pin!
I actually have a post talking about all the different ways to weed vinyl (go here) 
and here is a sped up version of how I weed!
but basically you just need something sharp to pull the vinyl off! Notice we are still looking at the back of the vinyl-and you can see the clear carrier sheet. It’s a bit tacky–not sticky like adhesive vinyl. and the vinyl isn’t sticky at all. I actually love weeding heat transfer vinyl because it’s not sticky and doesn’t get everywhere!
![]()
Now it’s time to iron it on!!! and guess what! You DON’T NEED A HEAT PRESS
![]() First up–Expressions has heat settings chart! Since my iron doesn’t have temperatures like a heat press I have to guess…but I do pay attention to the hot and cold peel. That means you can peel off the carrier sheet right away–OR like holographic..you have to wait for it to cool completely.
First up–Expressions has heat settings chart! Since my iron doesn’t have temperatures like a heat press I have to guess…but I do pay attention to the hot and cold peel. That means you can peel off the carrier sheet right away–OR like holographic..you have to wait for it to cool completely.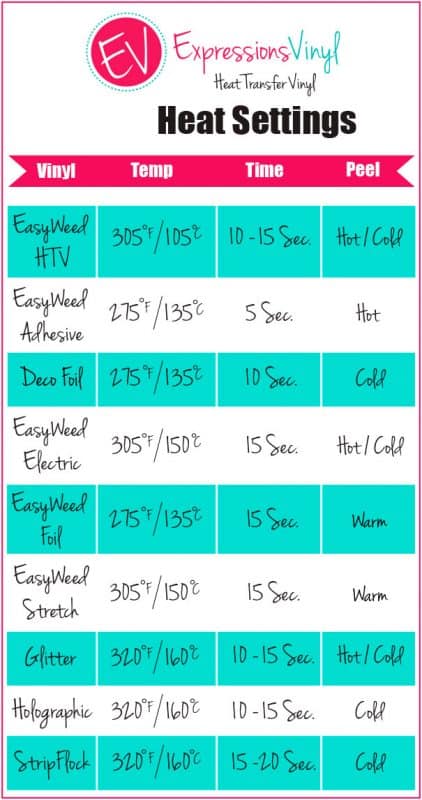
Before you iron on your vinyl–I iron my project. Gets out moisture and wrinkles! 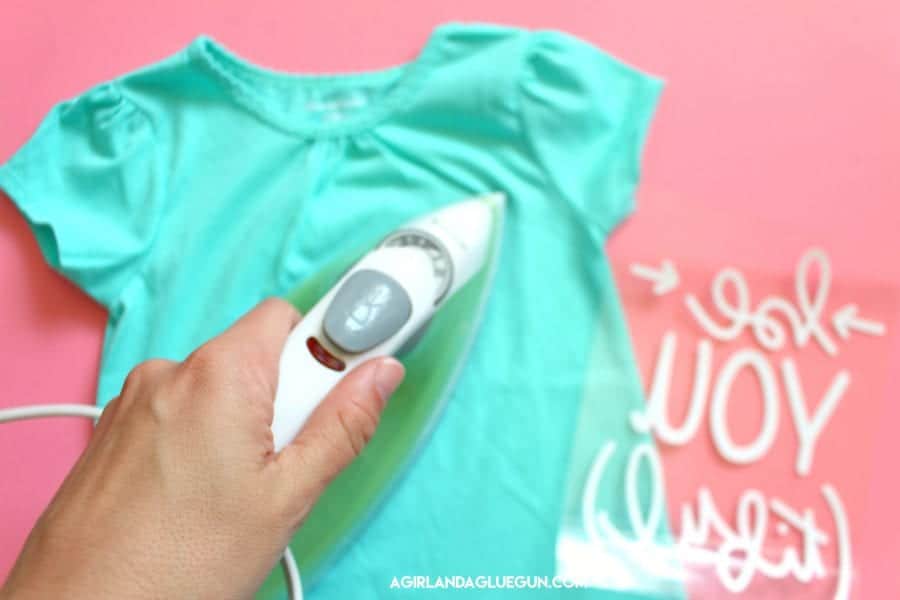
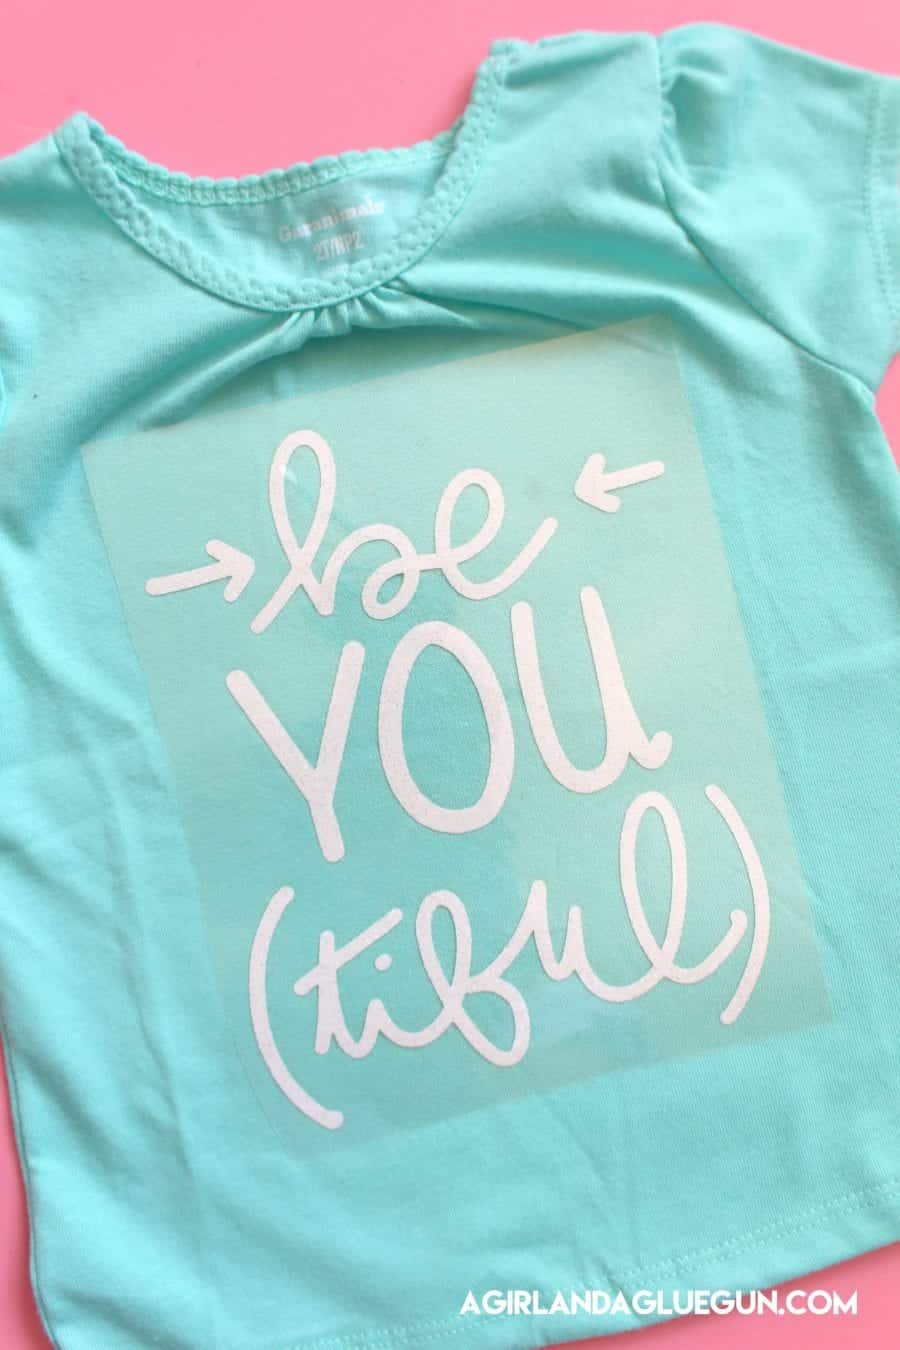
Then I lay down my freshly weeded vinyl project. You can move it around and get the placement just right (so unlike adhesive vinyl~)
I have my iron on the medium. Right between the 3 and 4. I PRESS it for 15 seconds–Think of a heat press. It is clamped down on project. So give it some pressure and PRESS. 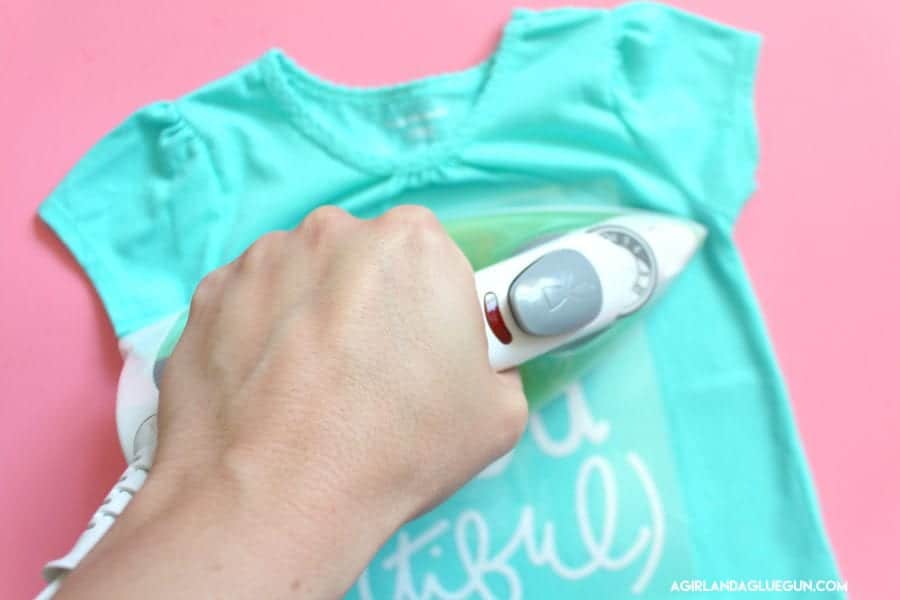
Then move down and press the next spot (I overlap a little bit to make sure I don’t miss anything) (15 seconds EACH SPOT) 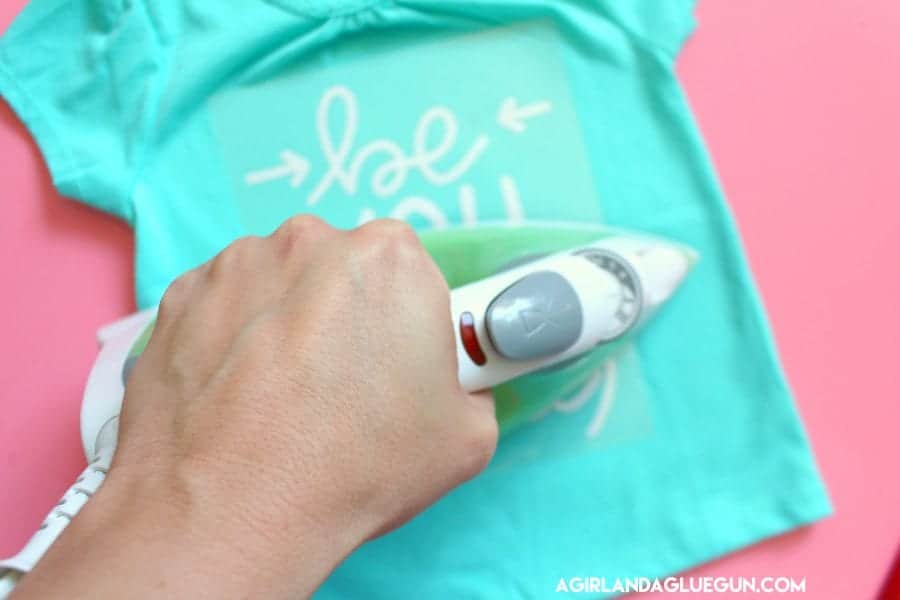
Since the glitter heat transfer vinyl is a hot peel…I just take the corner of the carrier sheet and peel it off. I go slow–that way if I missed a spot, I can lay the carrier sheet back down and press it again.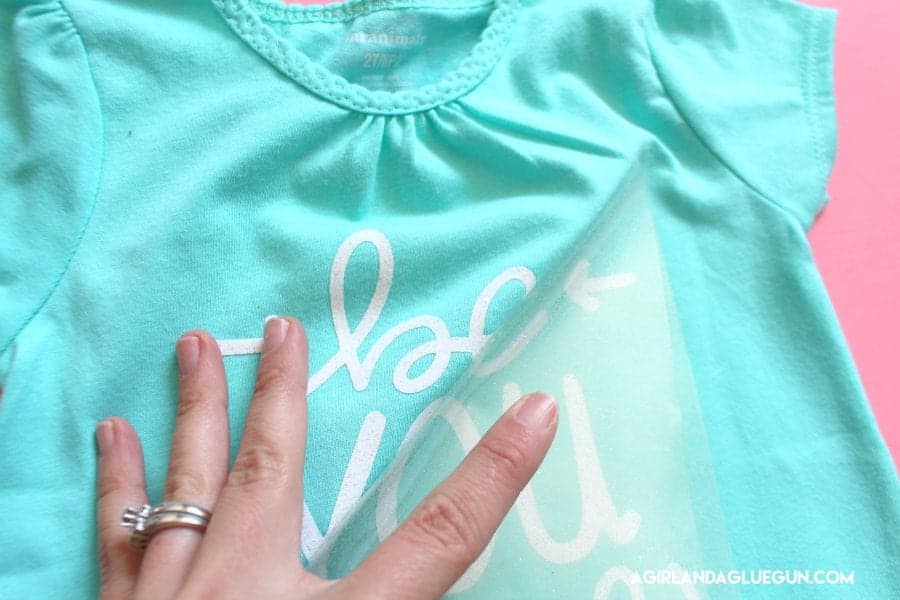
A common thought is….if 15 seconds are good–I’ll go for a whole minute and get it really stuck! BUT too much heat can ruin the adhesive of the vinyl! So stick with the 15 seconds. If you are looking to sell your htv projects–I would recommend grabbing scrap fabric and scrap vinyl and experiment with your iron and then wash a few times to make sure it holds up! You are technically supposed to wash inside out and hang dry or dry low (but I NEVER do…because I basically just throw all my laundry in and don’t catch the vinyl pieces! They hold up well! As long as you have the right pressure and heat they should be good to go!
Also…let’s say you put in a big order to Expressions Vinyl with adhesive AND heat transfer vinyl and you can’t tell the difference! Glitter and flocked are much thicker. Heat transfer smooth has a totally different feel to it. You can roll it up tiny and the top is pretty silky smooth. And if you still can’t figure out…try to peel up a little corner…if you peel up a clear carrier sheet-heat transfer vinyl. If you peel off the backing and it’s sticky–adhesive!
and guess what…you can put heat transfer vinyl on loads of different things…not just fabric!
If you want to check out my heat transfer vinyl posts…click HERE!
![]()
Leave a Reply