
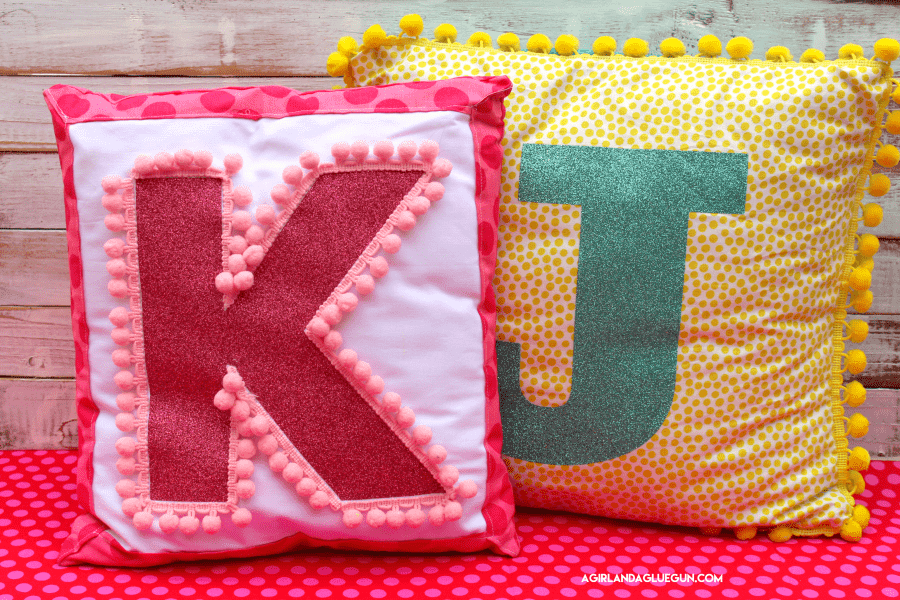
I saw this fun initial pillow in a magazine and I had to create them. But me, being me, I had to jazz them up a little bit with glitter heat transfer vinyl, fun patterned fabric, and POM POMS! ALL my favorite things!
I’ve been slowly redoing my daughter’s room and making it colorful and fun! I though the perfect addition would be a custom pillow with their initial on it!
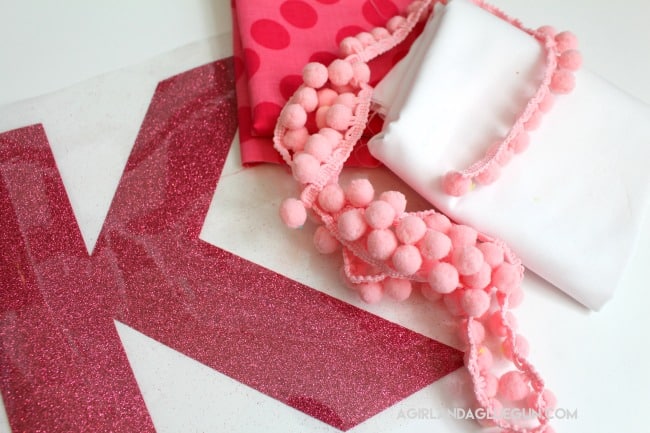
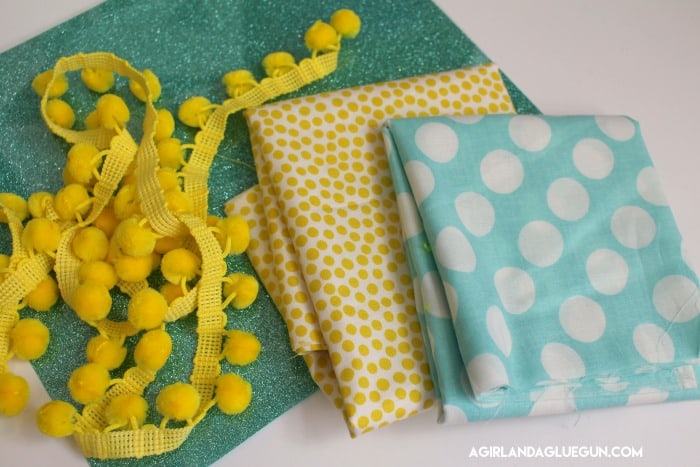
Supplies to make an initial pillow
- glitter heat transfer vinyl from Expressions Vinyl
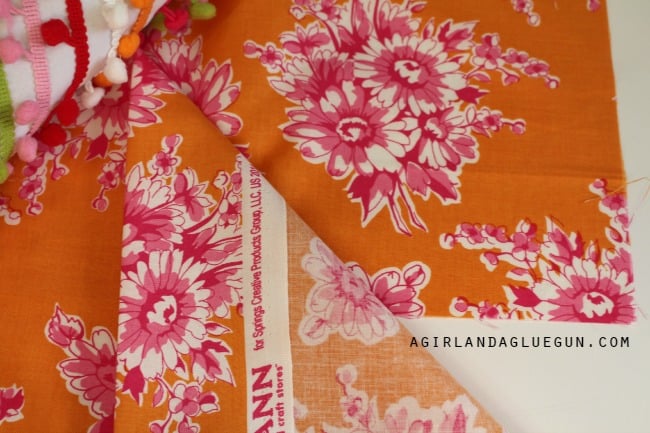
- fabric for pillow 1/2 yard to 1 yard depending on size of pillow
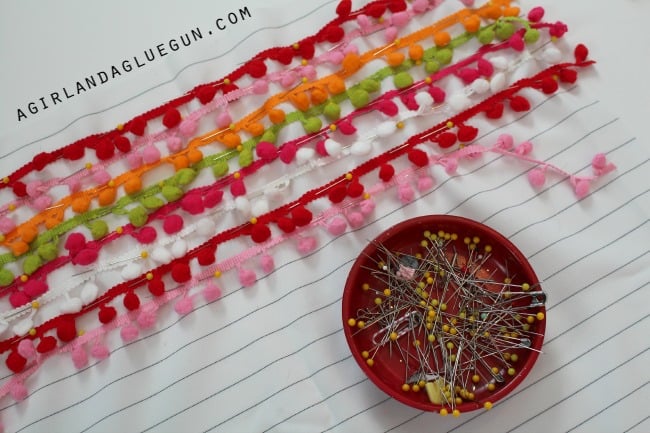
- pom pom trim
How to make the glitter letter pillow
Heat transfer vinyl initial:
Pick a font that you like. I did a nice big bold one. You could also do a pretty cursive or even a cool whimsical one. Here are some of my favorite fonts!
Next, size the image to fit on your pillow.
Heat transfer vinyl needs to be loaded upside and you are going to reverse the image to cut it out. Double-check your cut settings! Here is a great hand holding tutorial on heat transfer vinyl.
Weed away the vinyl that is not part of the design! There will be a clear carrier sheet. This is what you iron on top of!

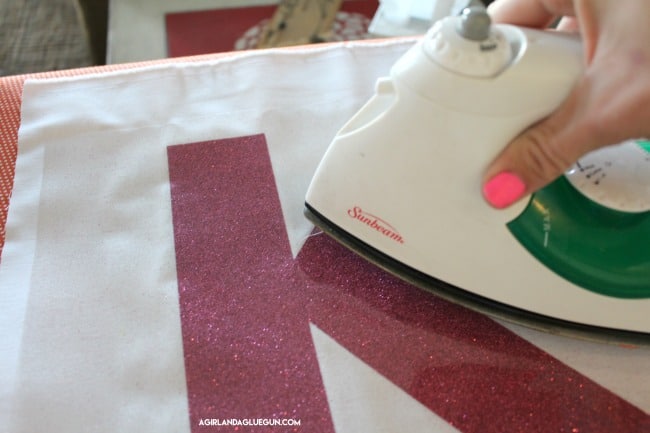
I cut out a big square of fabric to iron the letter right in the middle of it! I pressed each section since the design is too big for my little iron
Apply heat transfer vinyl with an iron!
How to make the pillow
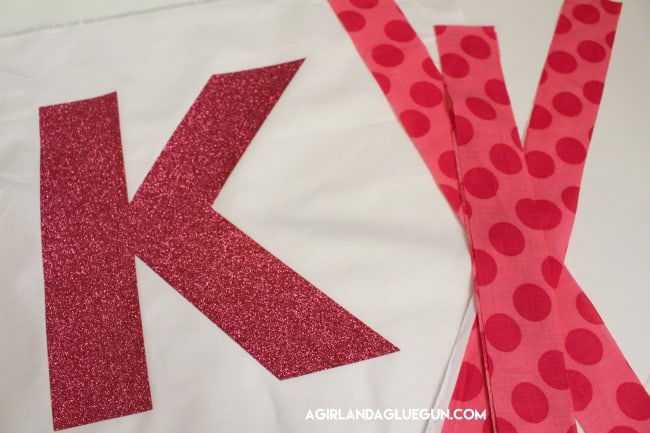
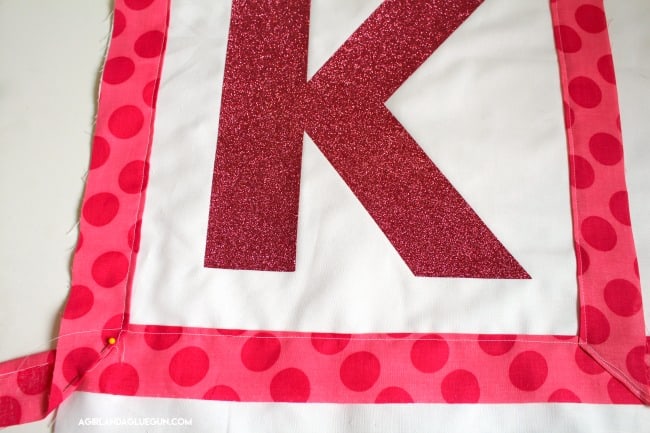
I cut 4 strips out of my coordinating fabric to sew around the edges of the front panel.
I sewed the pom poms around the letter. If you have a really fancy font, you might just want to add pom poms around the edge like my other pillow!
Then I attached the back. I like to make an envelope enclosure so I can remove it easily!
Here is a great tutorial on how to make an envelope pillow
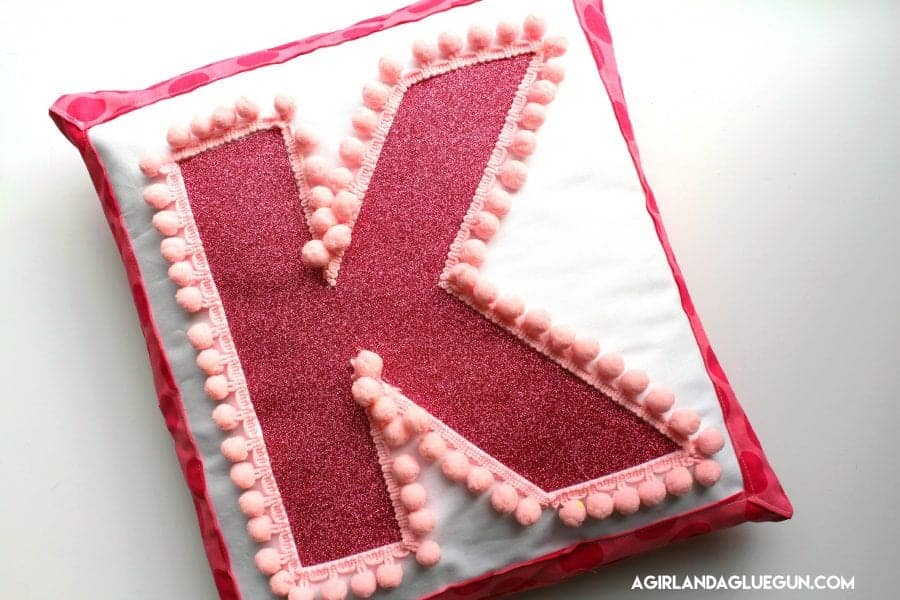
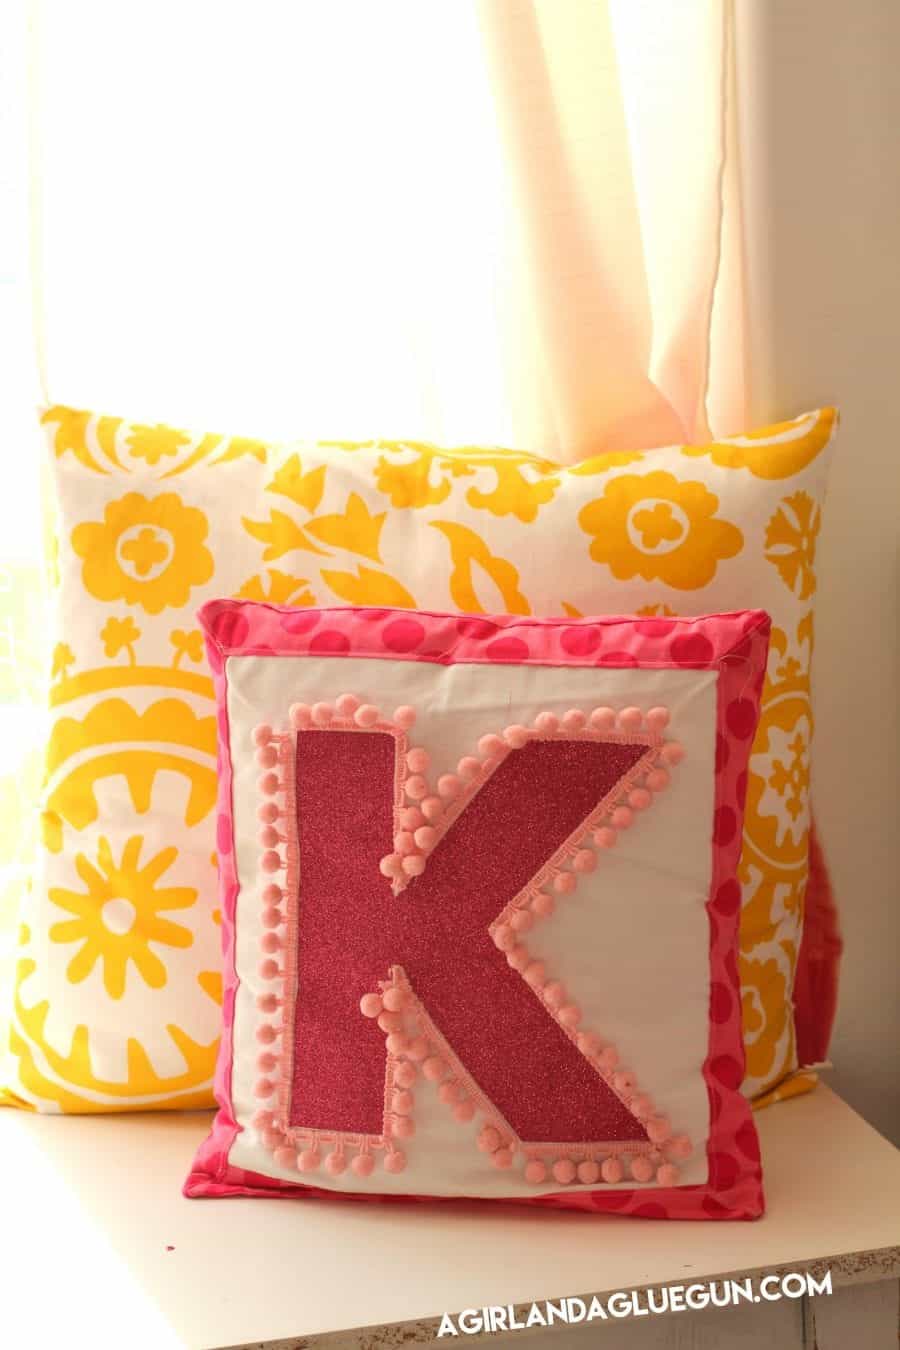
Look how cute it is all put together!
I love it so much! Pink, glitter, pom poms! All my favorite things!
Initial Pillow variations
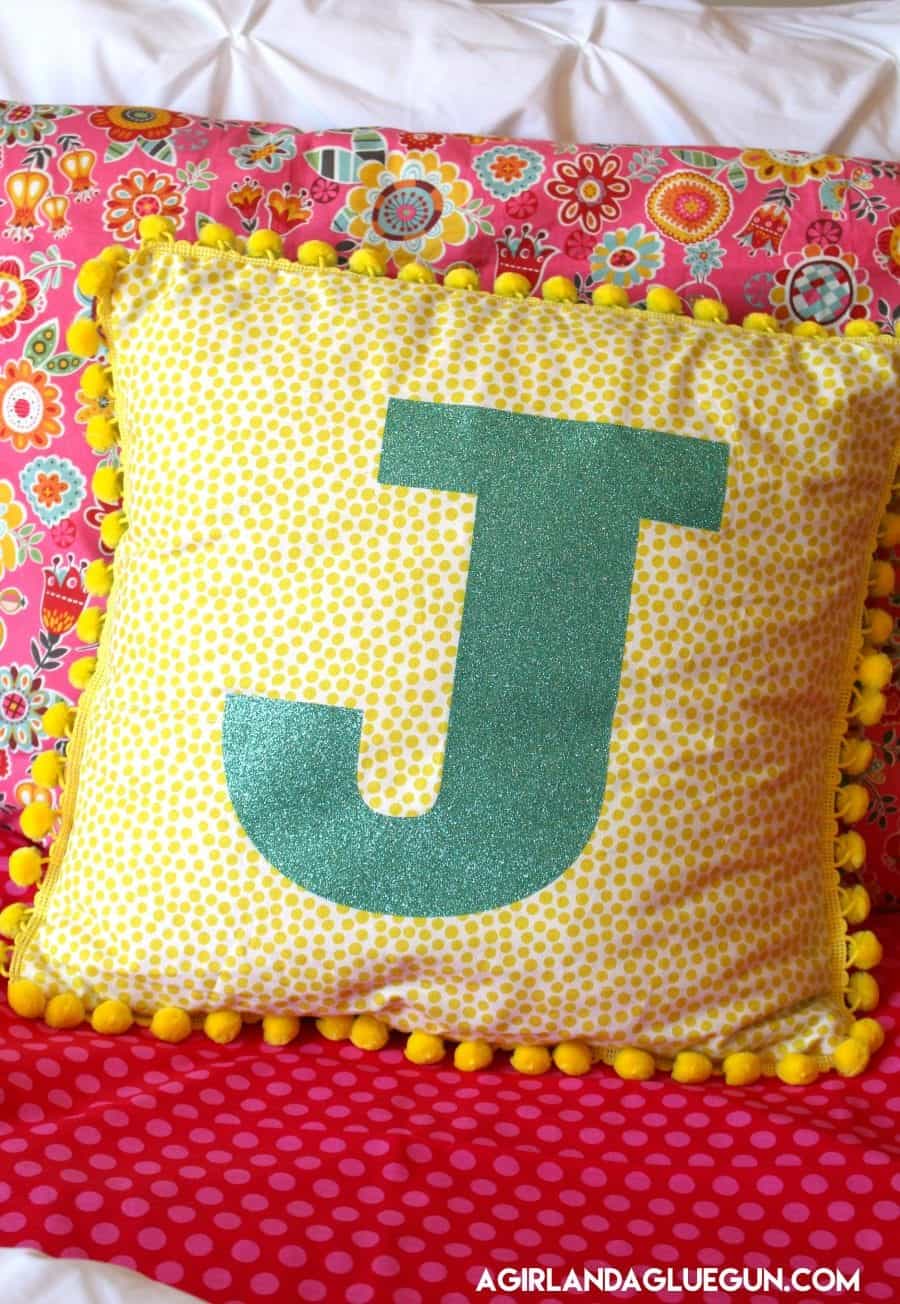
My other daughter’s pillow is another fun color scheme!
I added the pom poms around the edge this time!!
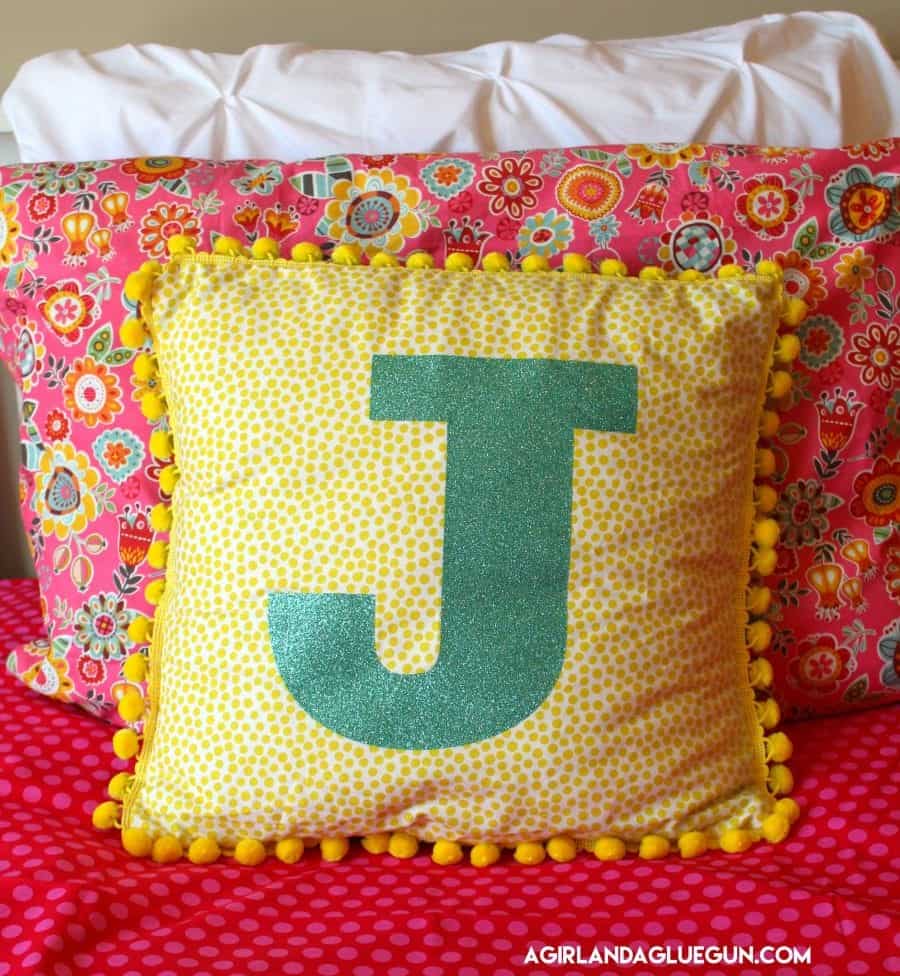
I don’t even know what one I like the most! They are both so cute!
The fun part about this–is that you don’t have to have a silhouette cameo or a cricut to create. The initials are so big that you can cut them out by hand. OR print it out on paper and use that as a stencil! The electronic cutters make it really nice! I personally love the silhouette cameo!

Did you catch the sneak peek of the pillow on my daughter’s room reveal?
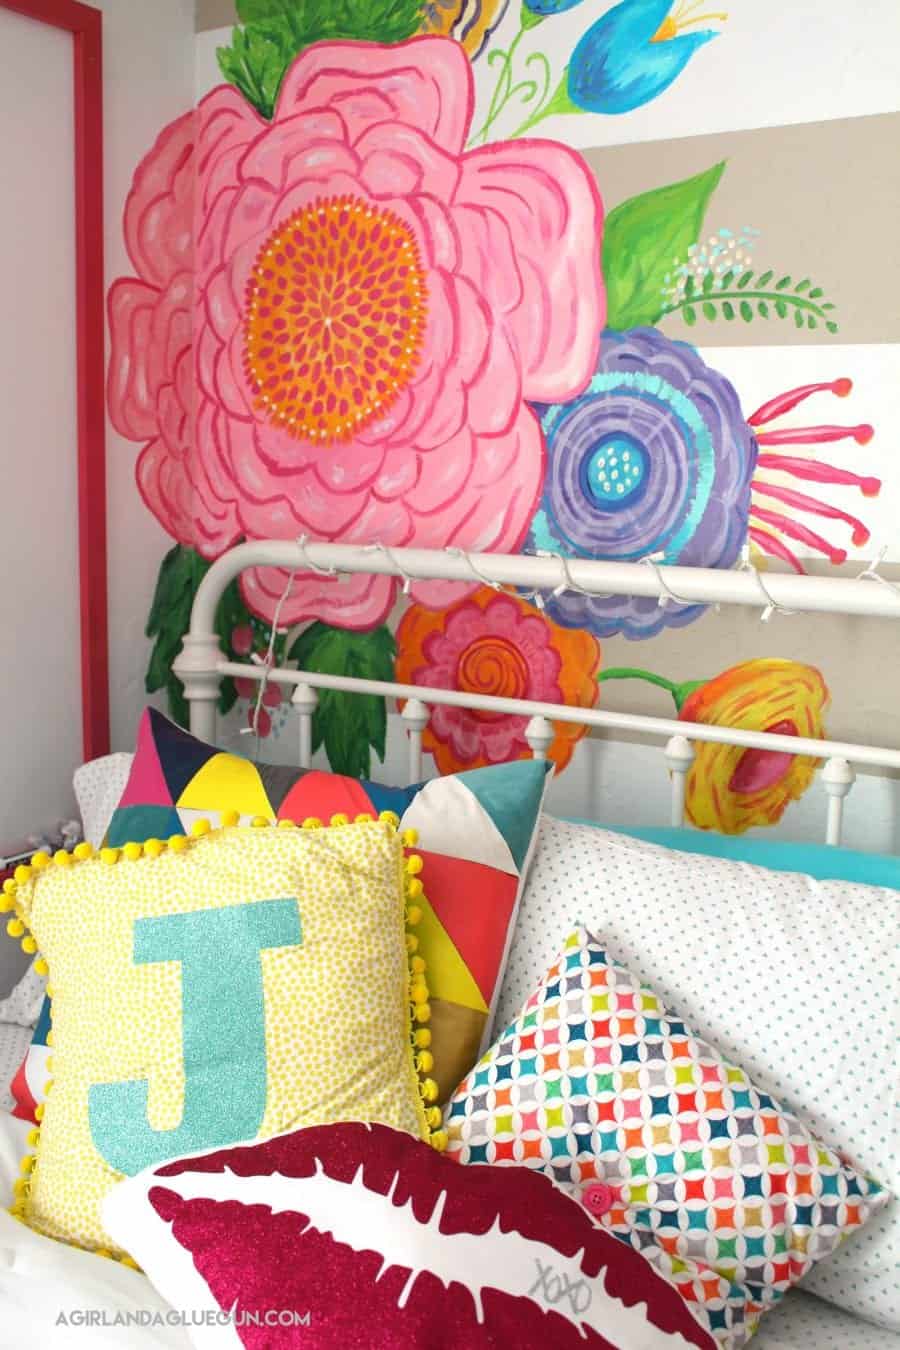
The lip pillow tutorial is here!
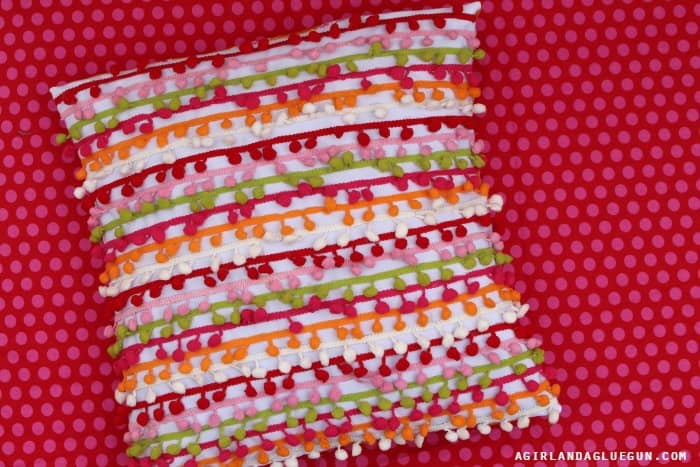
I also created a pom-pom pillow that coordinates with the initial pillow!
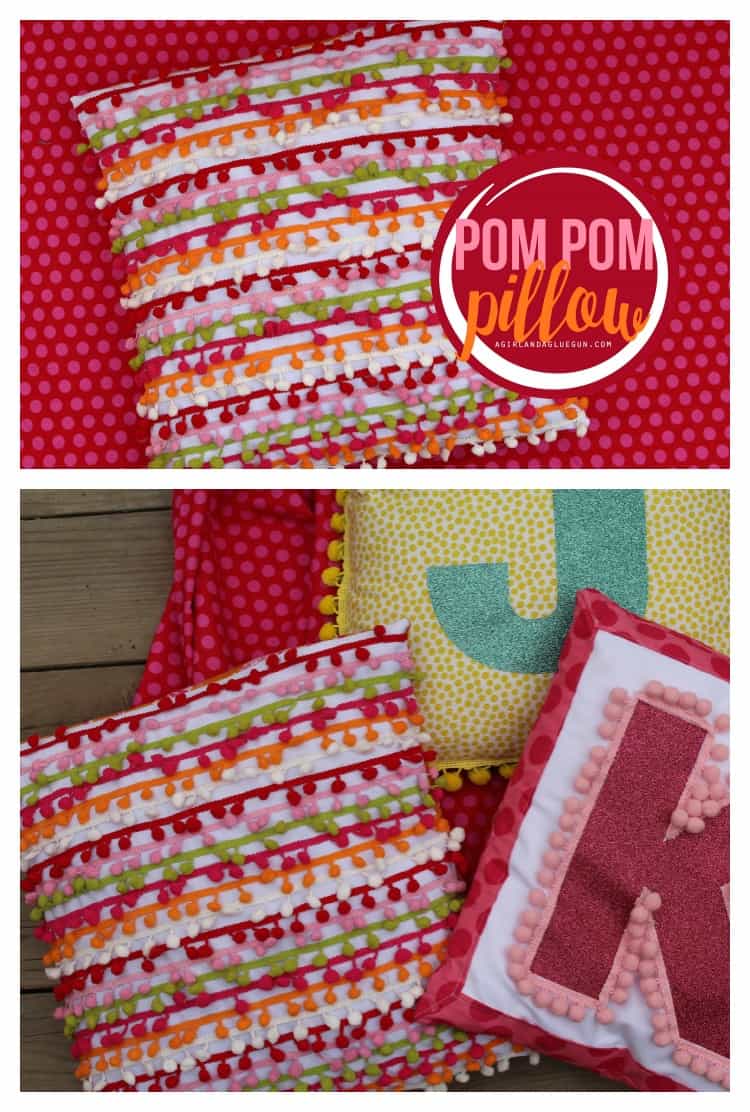
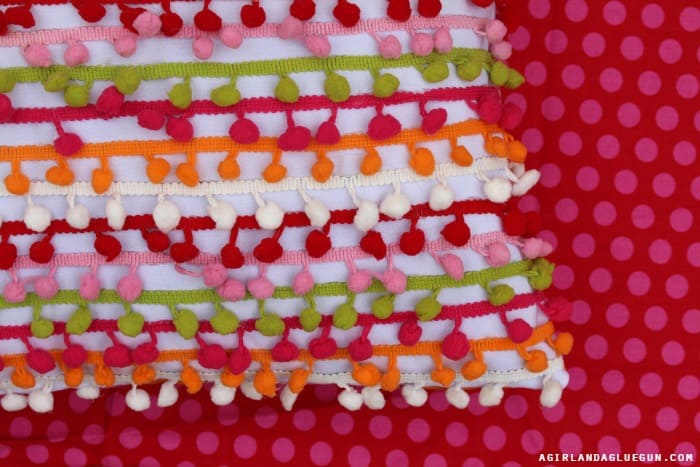
I grabbed some lined fabric and literally just followed the lines as a guide.
2 yards of each pom pom trim was perfect for a regular 16×16 pillow, it was perfect! I had about 3 inches left over!
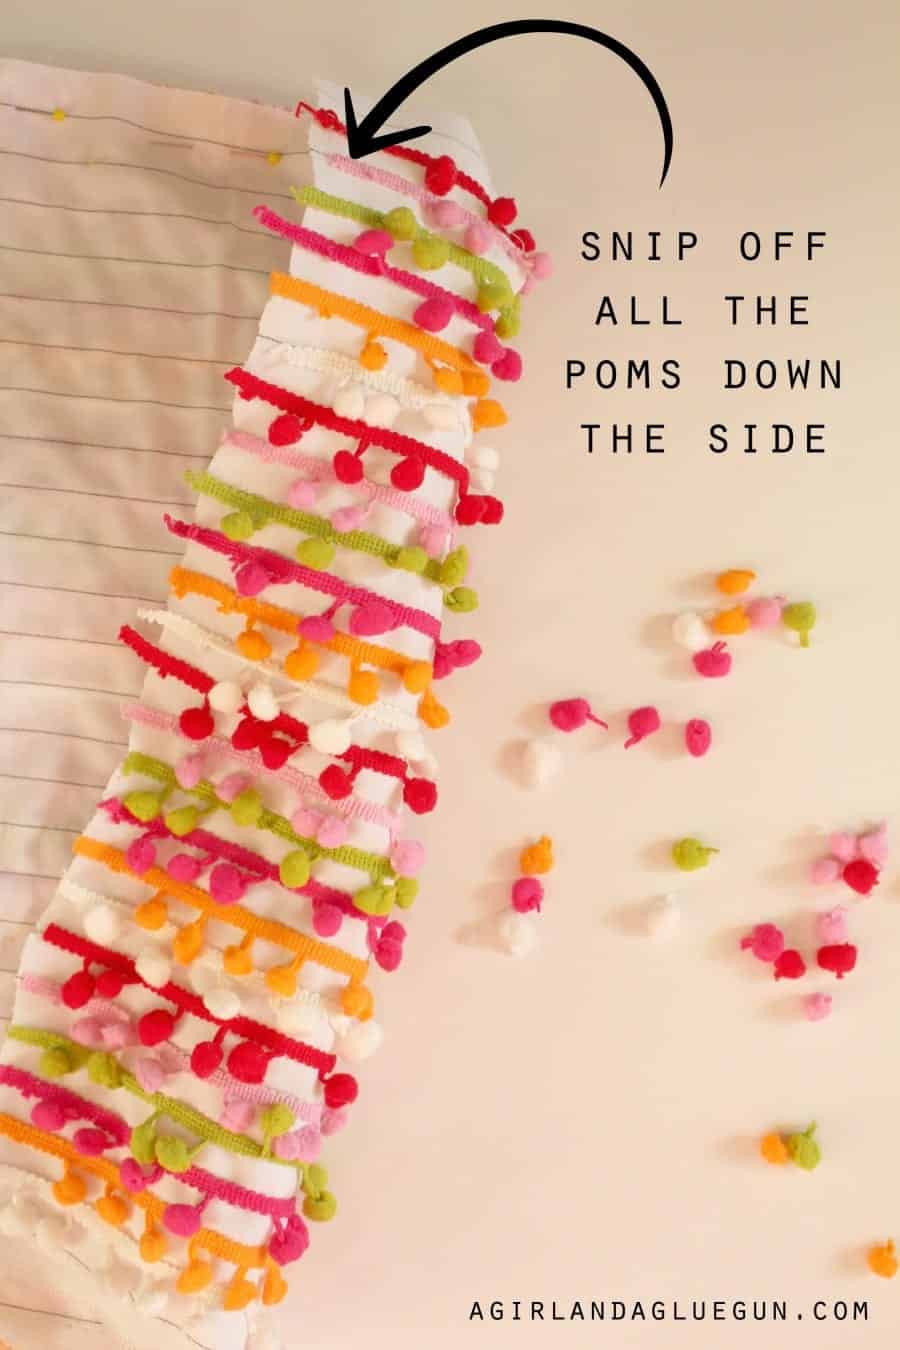
I actually sewed some and then hot-glued some. If you look at the picture you can’t really tell the difference! So if sewing isn’t your thing…hot glue is an option!!!
After you get it all on..you are going to snip off all the little poms along the edges of both sides so you can sew it without them in your way.
It’s so cute! I freaking love it! I can’t wait for her room to come all together!
Noreen Akhter says
I love these monogrammed pillows! My 3 girls will love them too. Thanks for the idea ?