
This post may contain affiliate links!
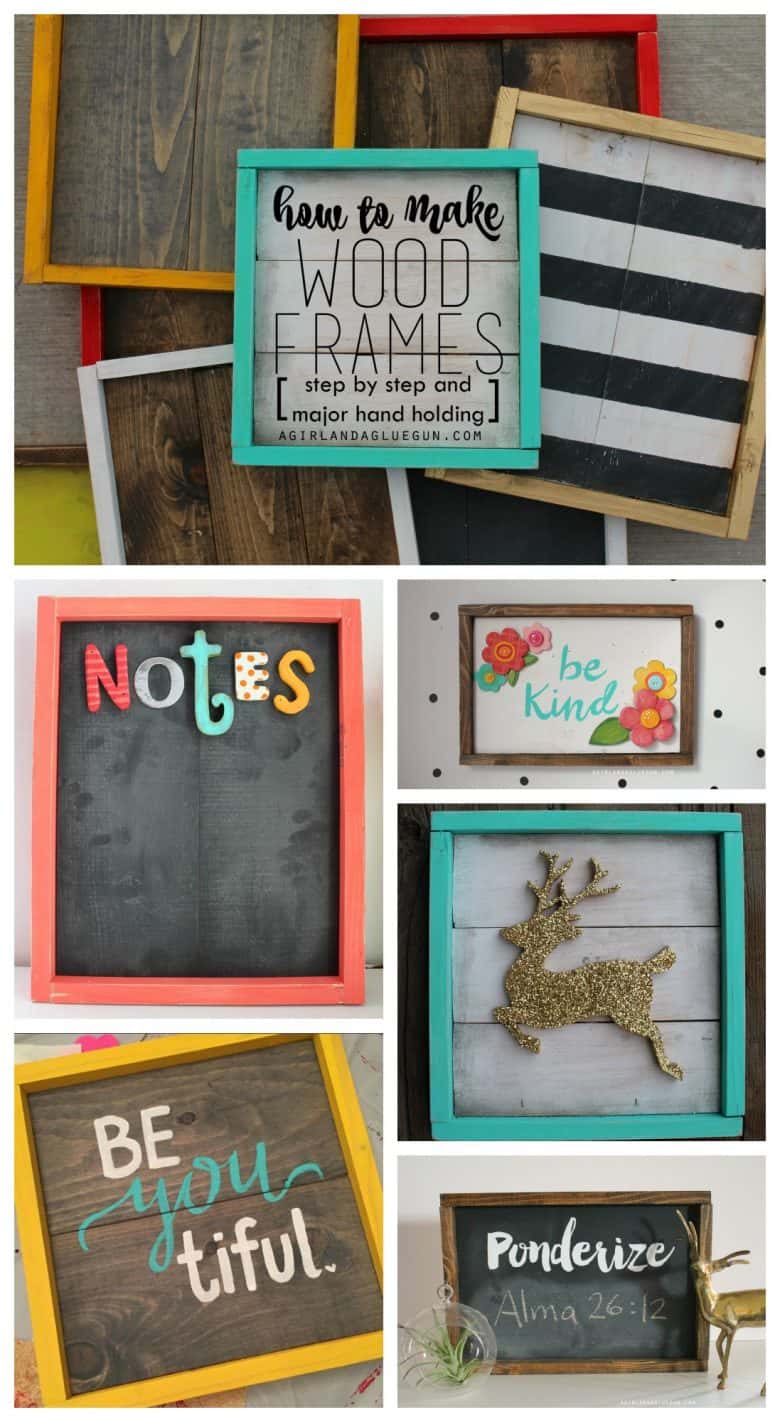
I have posted random projects using these frames for the past few months…and every time I do I get asked…HOW to make them! And they are so easy (I literally made 100 a few weeks ago!) So let’s hold hands and I will teach you how to make these super cute frames! Did I mention they cost about $2 to make?? That makes them the greatest present ever! (edited to add….I create a wood frame round 2–the chunky frame! See it here!)
I even hopped on facebook live to show you step by step!
Okay, let’s head to Home Depot!
for the edges/frames: On an end cap is a pile of this wood. $1.07 each! Really cheap…and you can get about 2 whole frames (8 pieces) from each one!–sometimes more depending on size!
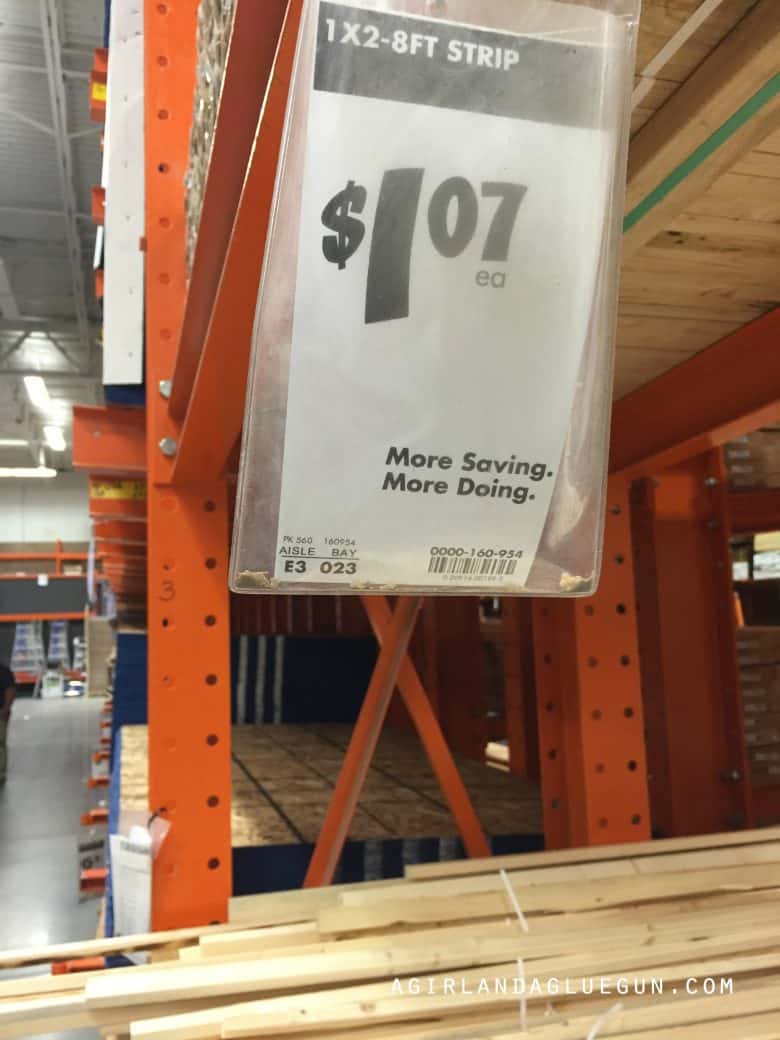
You will want to try the flattest piece of wood that looks smooth. Some of those small boards can be totally splintery and curvy!
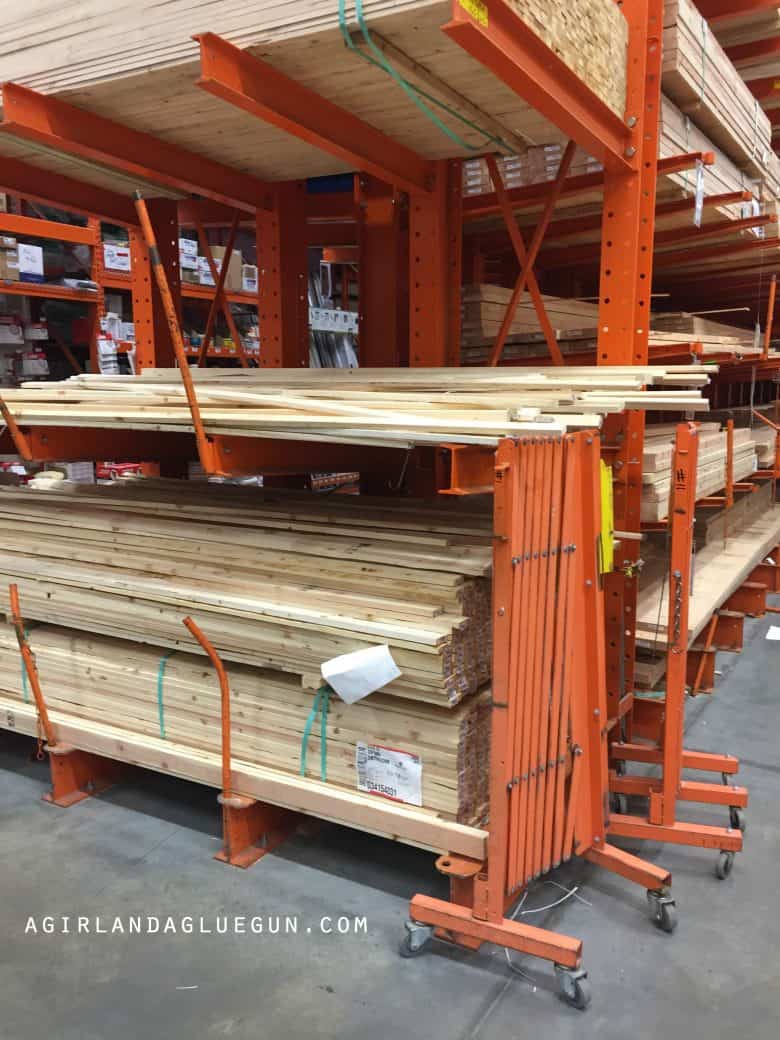
For the main part of the frame:
I buy common board…WAYYY cheaper than the fancy wood! (and I’m cheap!) There is whole side of different sizes.

see the 1×4-6ft??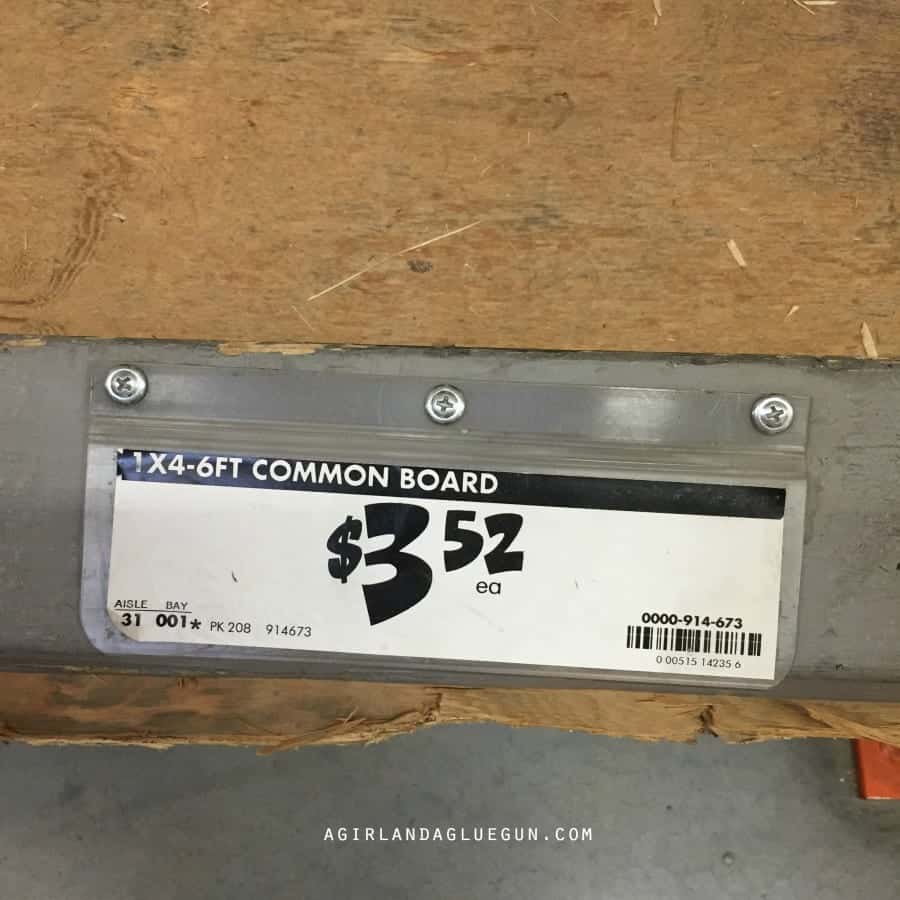
That means its 1 inch thick, 4 inches wide and 6 feet long.
and when I say 1 inch thick…it’s actually 3/4 and when i say 4..it’s really like 3 1/2. (something about when it’s sanded down or something!)
So I like 3 of the 4 inch boards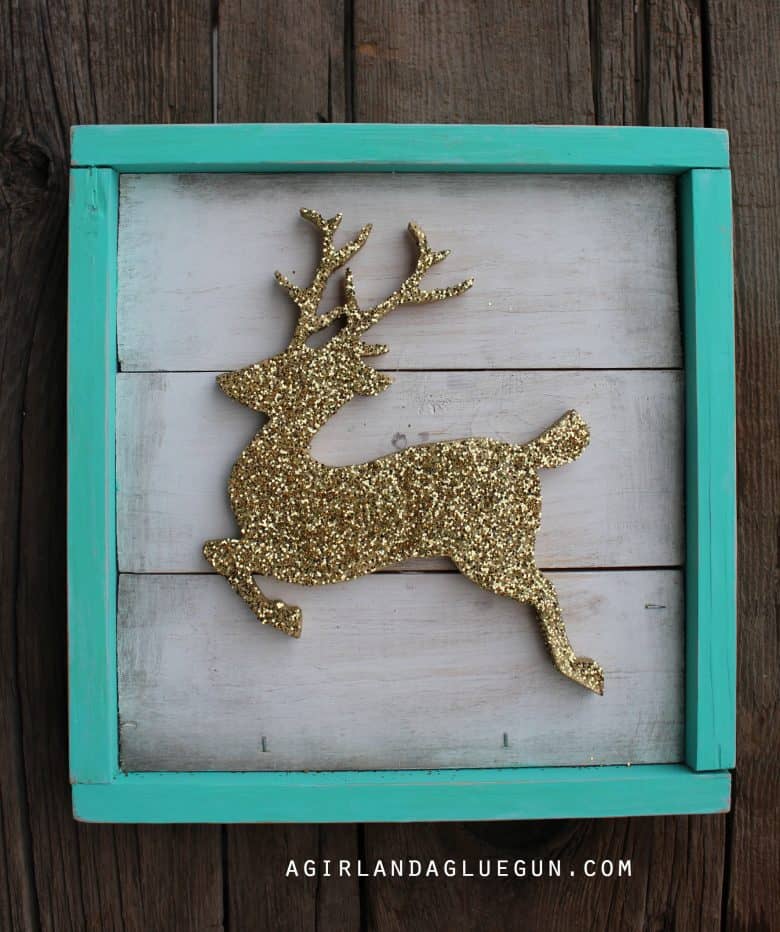
or 2 of the 6 inch boards
or 1 of the 12 inch boards.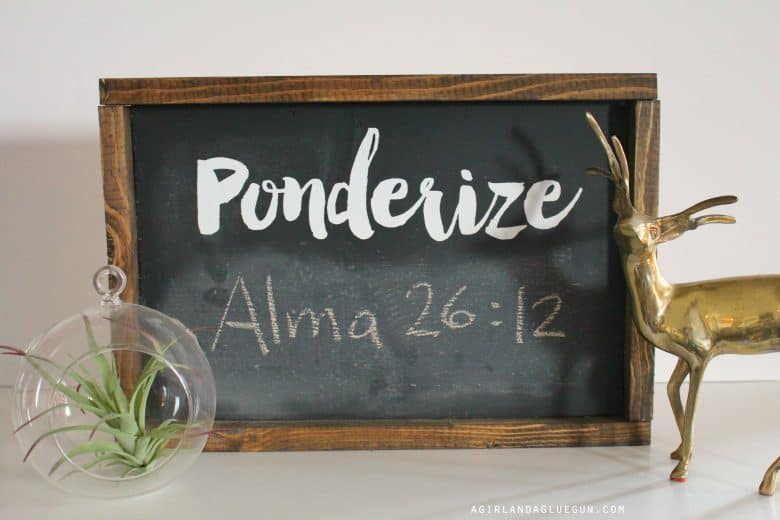
(the wider– the more expensive and when you are trying to nail the three boards together it can be tricky!)
and you can make it as big or small as you want! This one is about 18 inches by 26 inches! 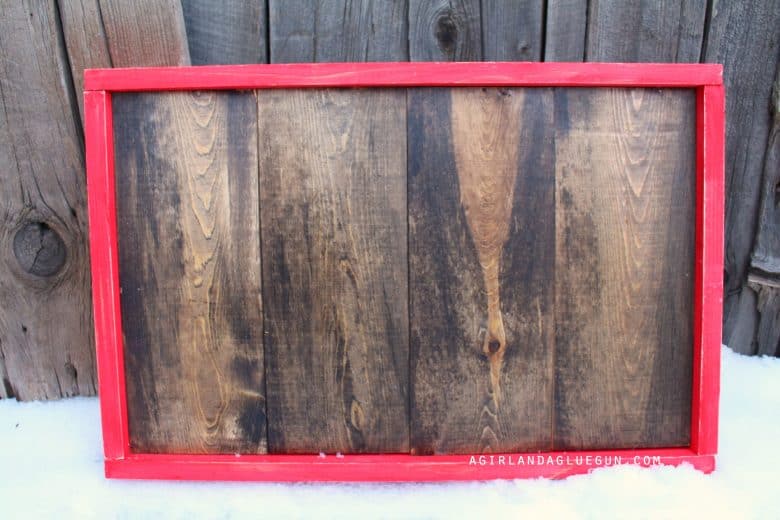
For a craft night I did 2 of the six inch boards–a square…11×11.
and I averaged each frame about $1.75! Pretty cheap for a cute craft!
I buy 6 feet long…because I can fit it in the back of my 4 runner. But they have 10 feet long boards!
If you buy one of the skinny boards for the frame and one 6 inch wide board…you are going to get a least two frames (unless you go BIG!)
AND…did you know that Home Depot cuts wood for you? So if the cutting part scares you than take a measuring tape and pencil there and have them get ur done.
We have a chop saw–makes it nice and clean and fast…
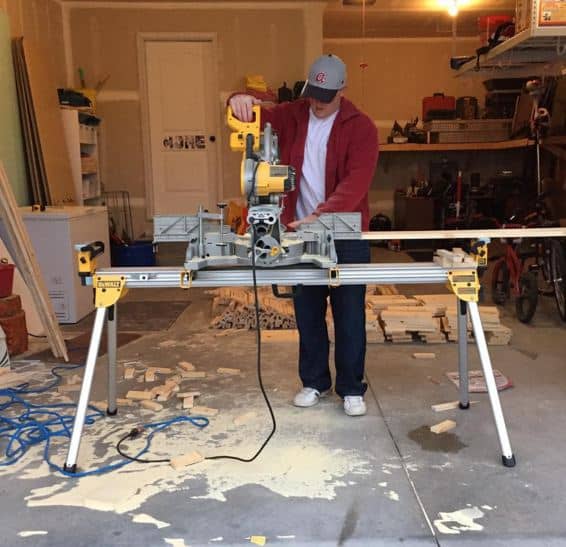 But since I’m scared of the chop saw…I use my makita jigsaw–It’s handheld and I use it cut everything! Just measure out and cut! (and wear safety glasses–no matter how unstylish they are!)
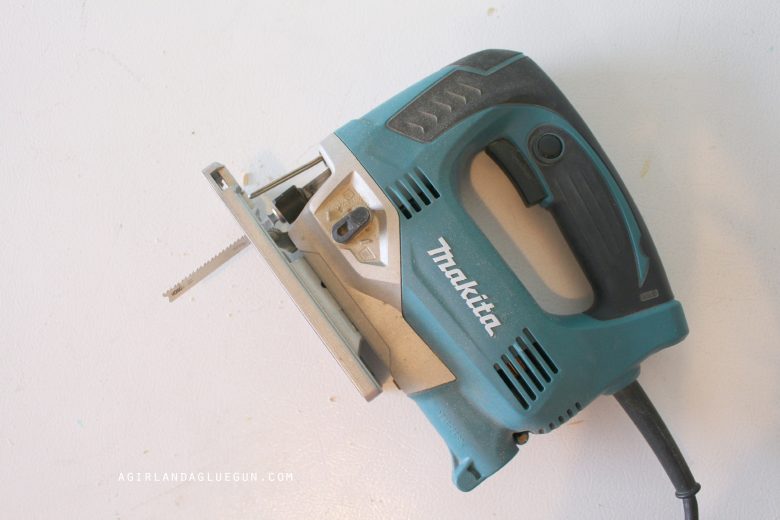 Cut your middle main boards however long you want. Then you are going to want to cut two of the skinny wood so it matches the height of the frame.
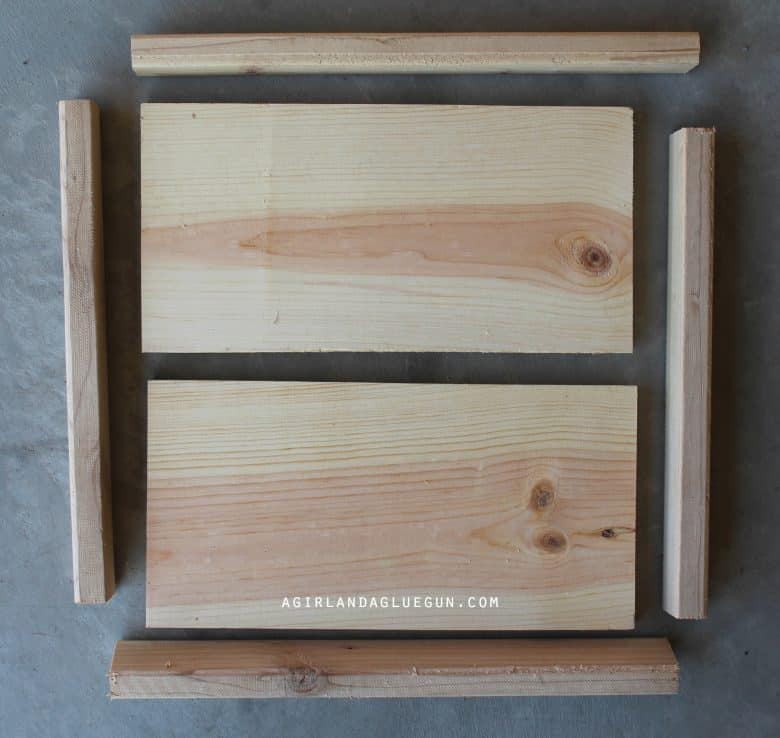
 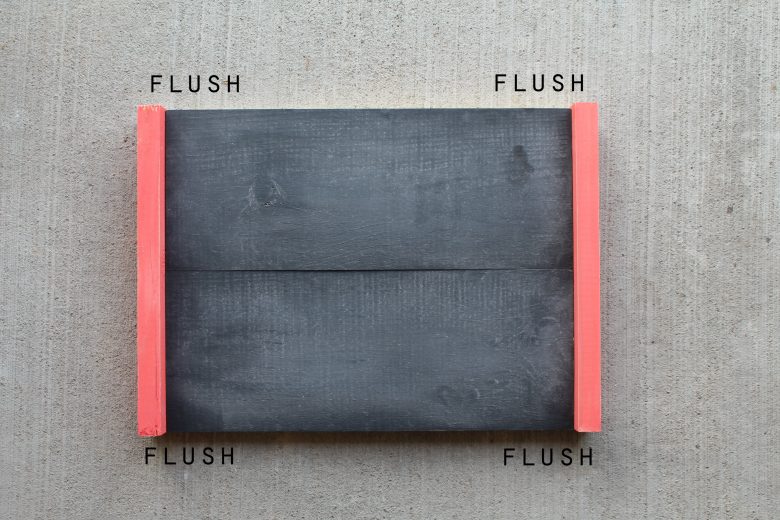 Keeping it all together you measure across the two pieces of wood you have cut and the inside piece to find the length and cut two more pieces for the top and bottom.
Keep in mind that these frames are meant to be “rustic” Which is why it’s not all fancy mitered corners. Some of the wood might not be super straight… It might not match up perfect…And THAT’s OKAY! Life is too short for that crap! After it’s all cut..I lay out to find the best sides and………..
 paint or stain! (You can actually assemble before hand…but it’s so much easier to paint in pieces!)
Let’s talk STAIN! I love the look of stain. I thought I would share some of my favorite colors!
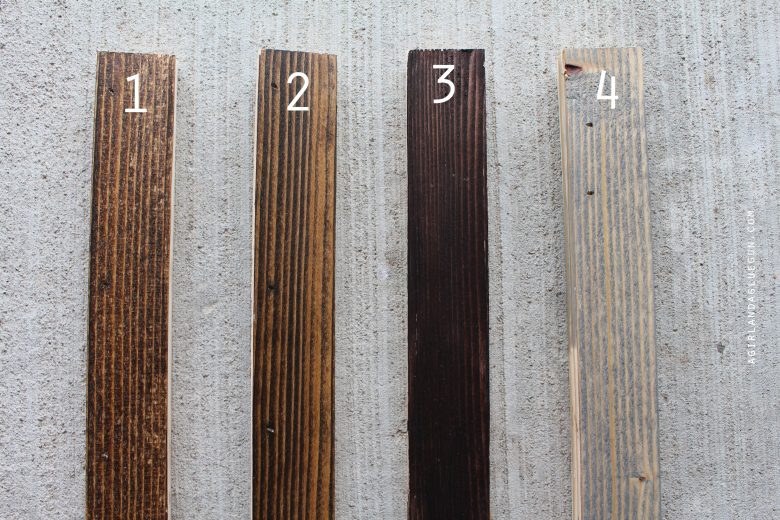 1. is Jacobean from Minwax.
2 is Espresso from Minwax (my favorite–Jacobean is a little darker and Espresso is a bit warmer)
3. Espresso from general finishes. (I just wanted to show you how much darker it was even though it’s the same name as the minwax one!)
here is the gray…It’s very pretty! 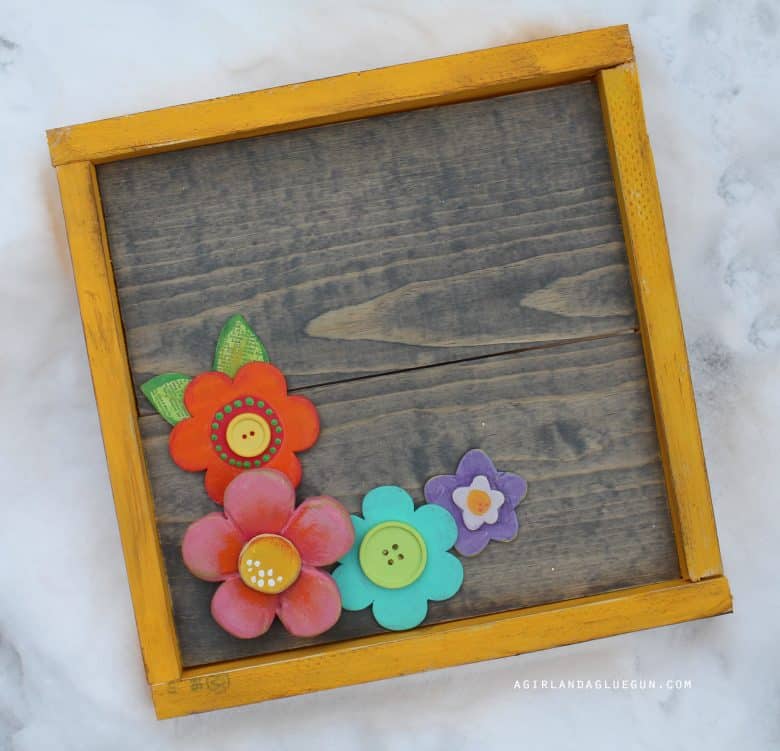 and remember that each wood takes stain totally different!!!
And paint is always fun! Lots of colors…or patterns! So many options!
 after it’s all painted…
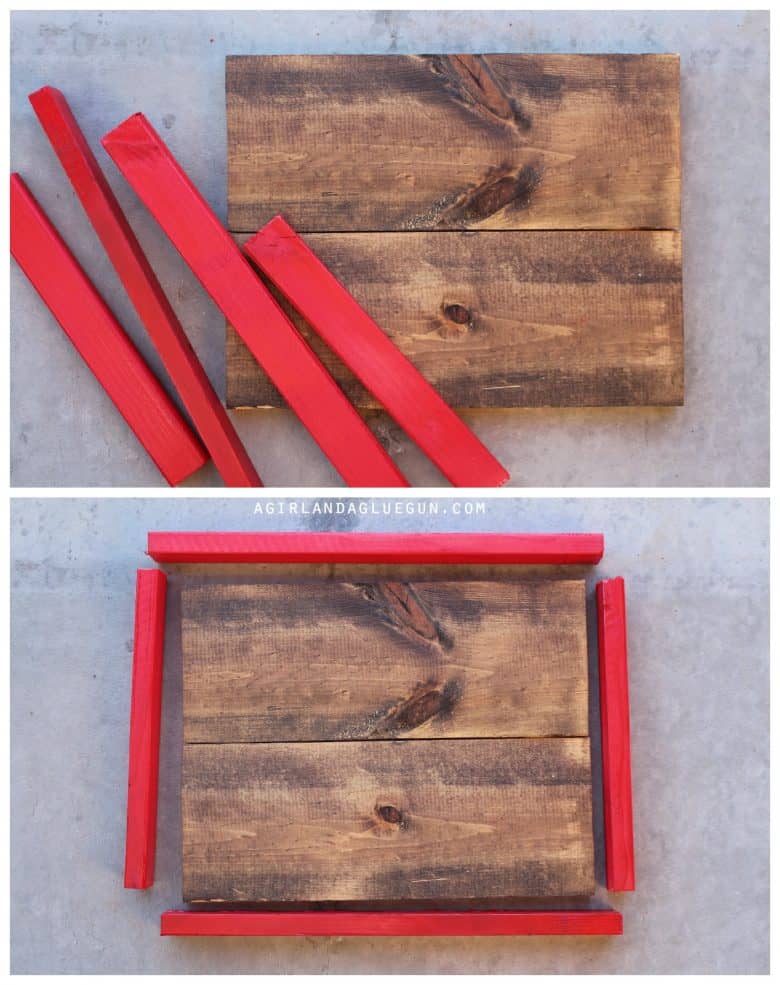
Time to nail this baby together!
I used this…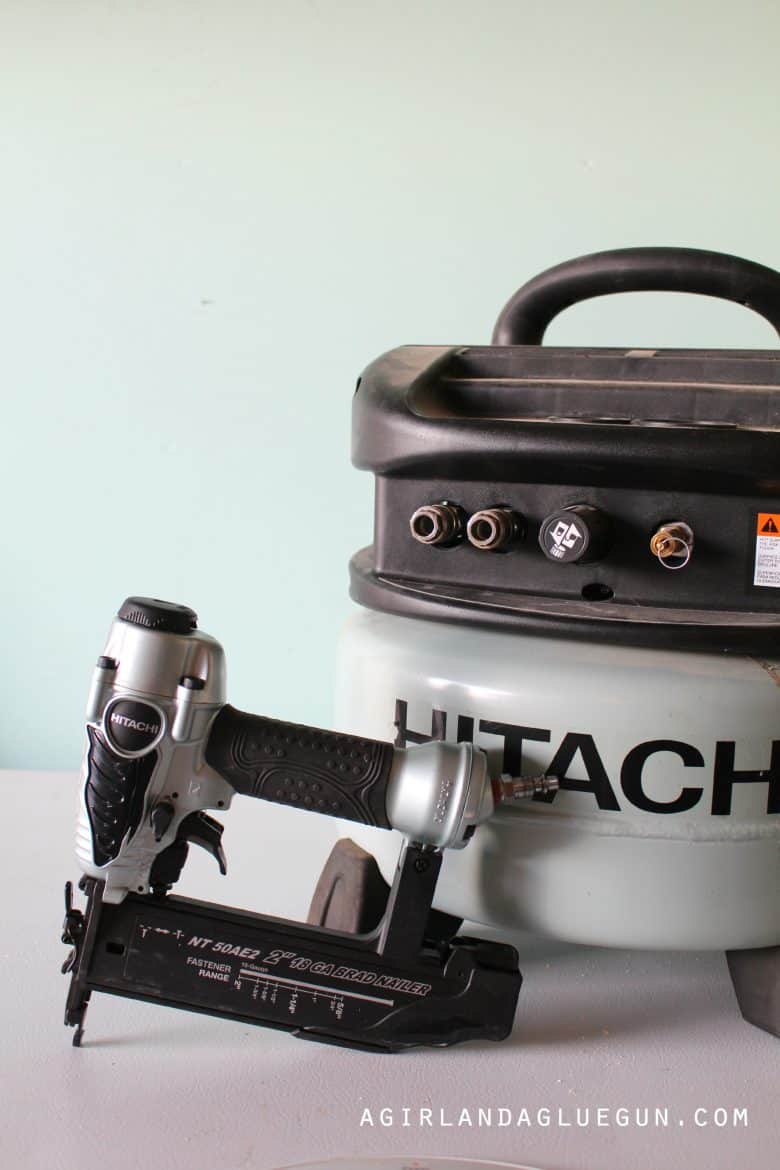
It’s AMAZING! and loud. But it works so quickly! You can easily hammer in nails if you don’t have a brad nailer…but if you have a TON to do …this makes it go fast! (this is what happens when I ask husband to take a picture of me!)
I has to be pressed into the wood to shoot…which is awesome because I’m sure I would have shot myself in the foot or leg 12 times by now if it didn’t have this safety feature!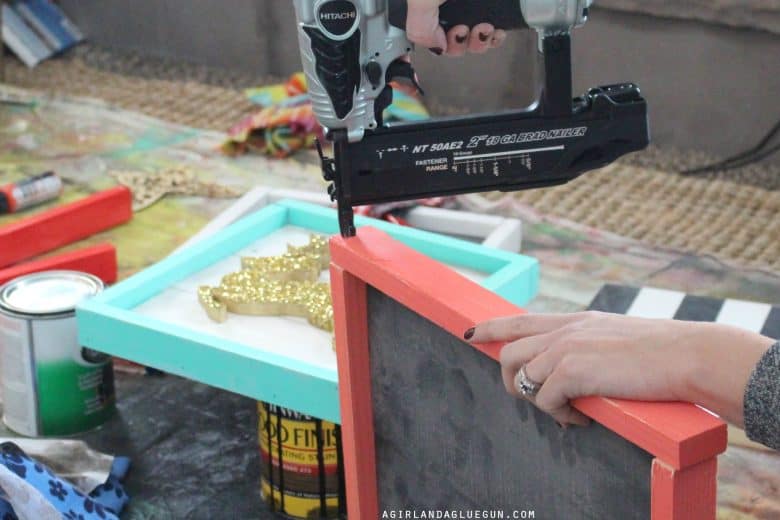
okay–The more boards in the frame…it’s a little more tricky and hard to hold in place. I start with the pieces of the frames that are flush–that way you can match up the larger piece exactly. For each piece of wood, it needs two nails.
If you do one nail the board can move while you are nailing in the other pieces and make it wonky! 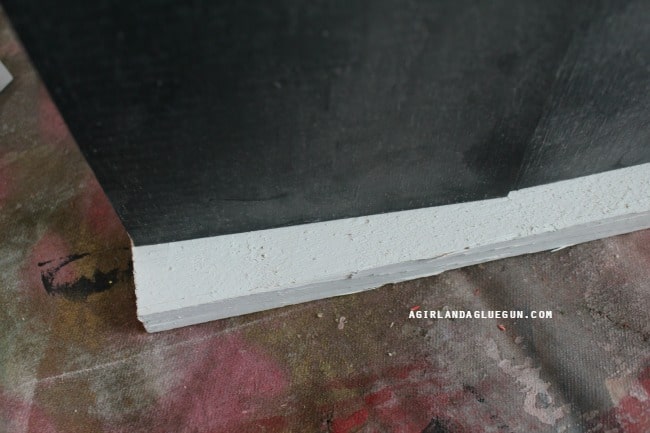
If you find this tricky you can hot glue it to hold it in place while you are nailing!
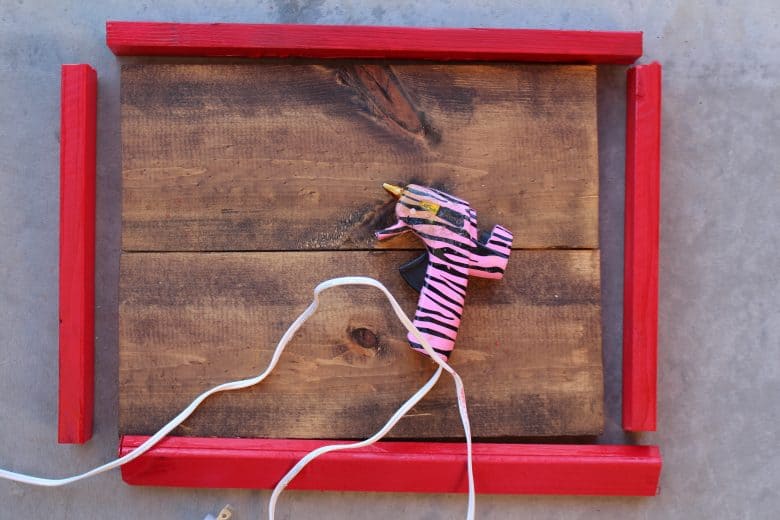 you need to add a nail in each arrow. I do one side (the side of the frame that doesn’t overhang) flip. other side. Then top and bottom making sure it’s even!
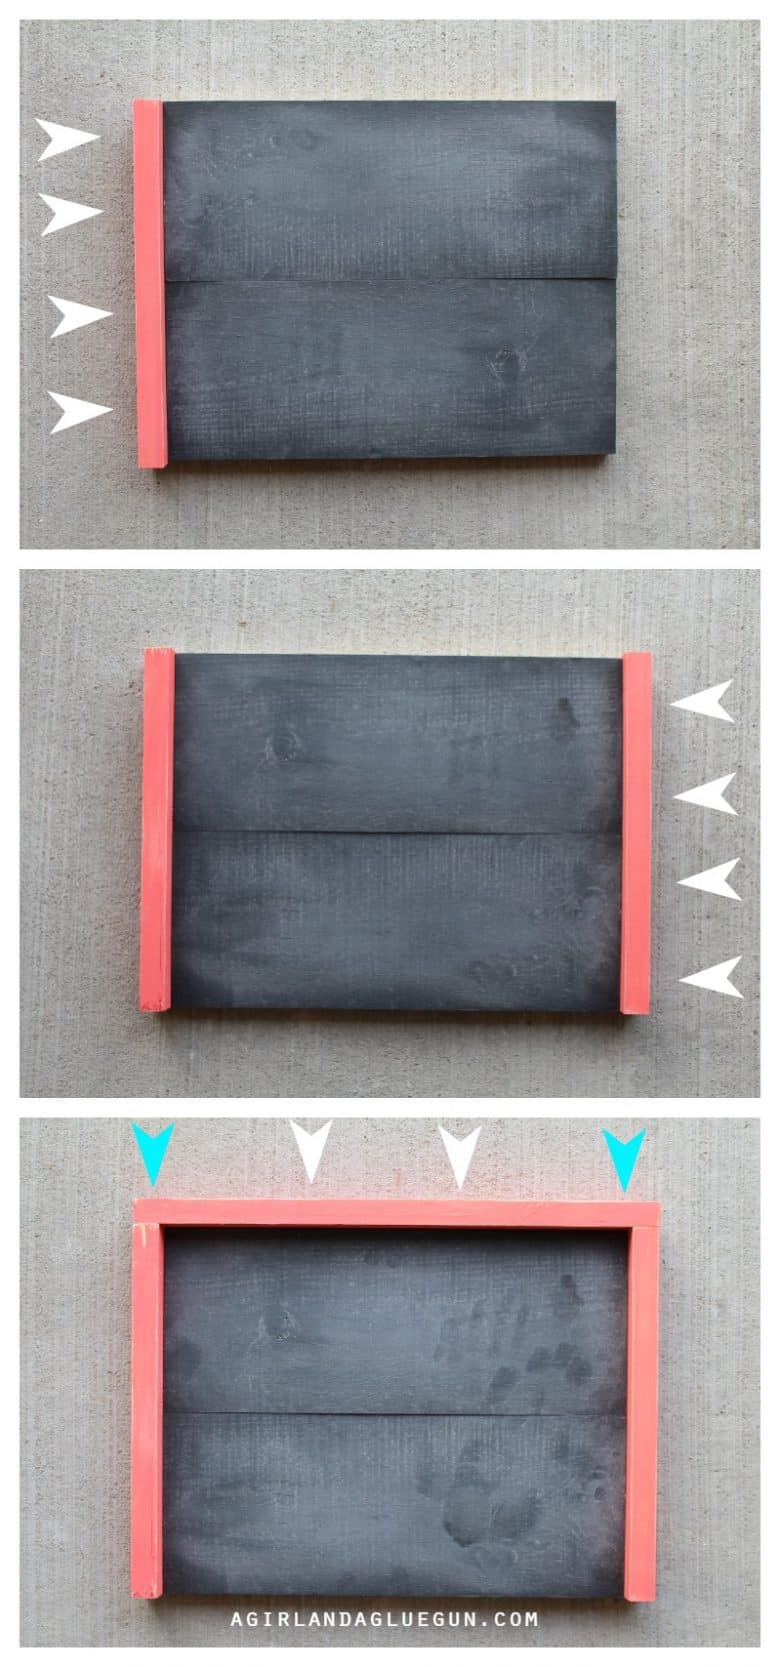
See the blue arrows…? That is where you will need to add nails. It connects the frames together!
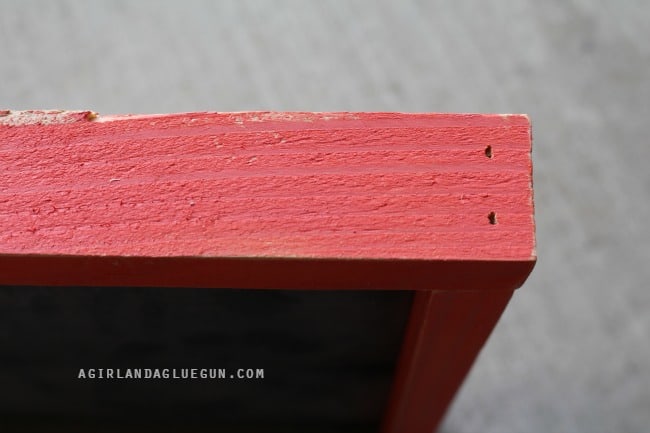
The nice thing about these frames is that it’s a rustic look. (aka…not perfect!) So you can just leave those nail holes! No need to putty!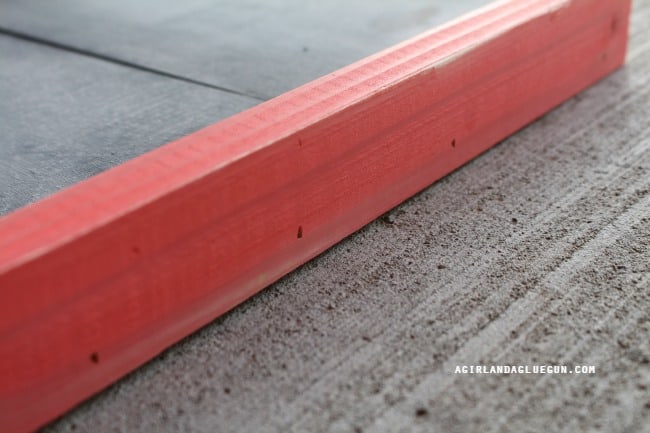
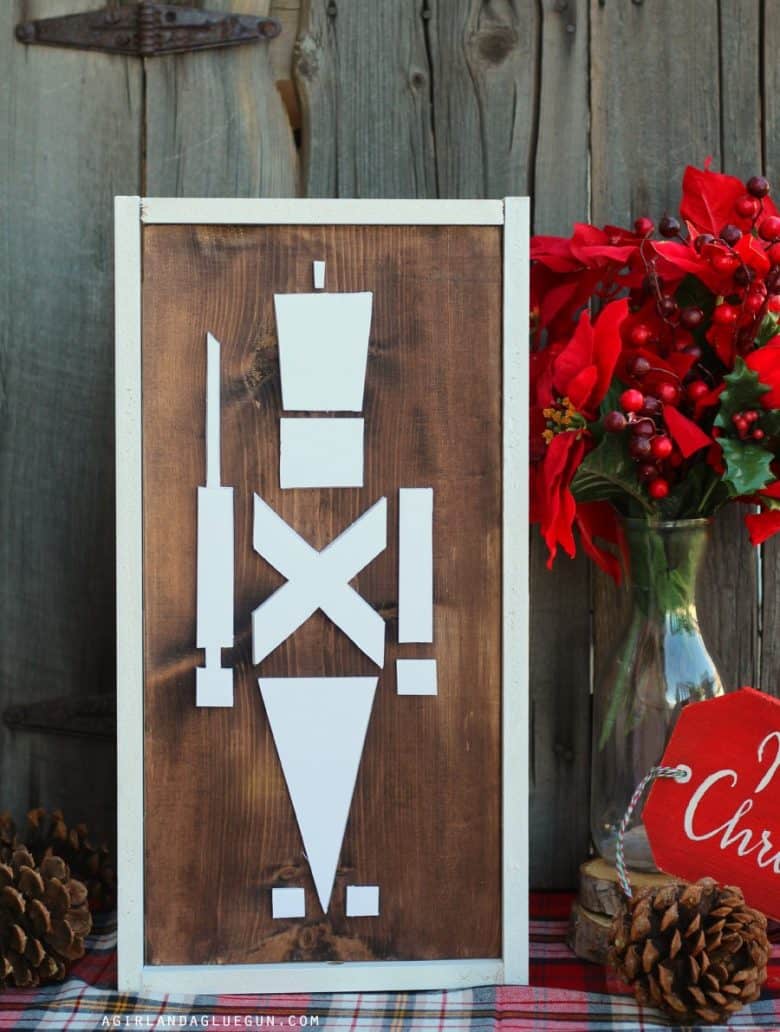
When you are done the back should be totally flush….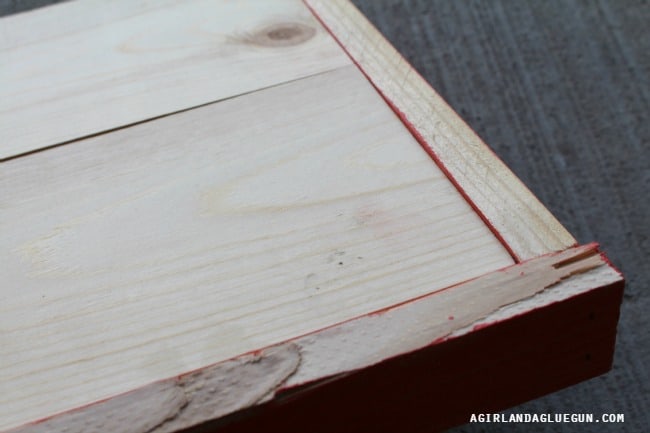 So TECHNICALLY you could do something on both sides! (I couldn’t decide what background to do on my nutcracker so I made it two sides to see what photographed better (the things bloggers do!)
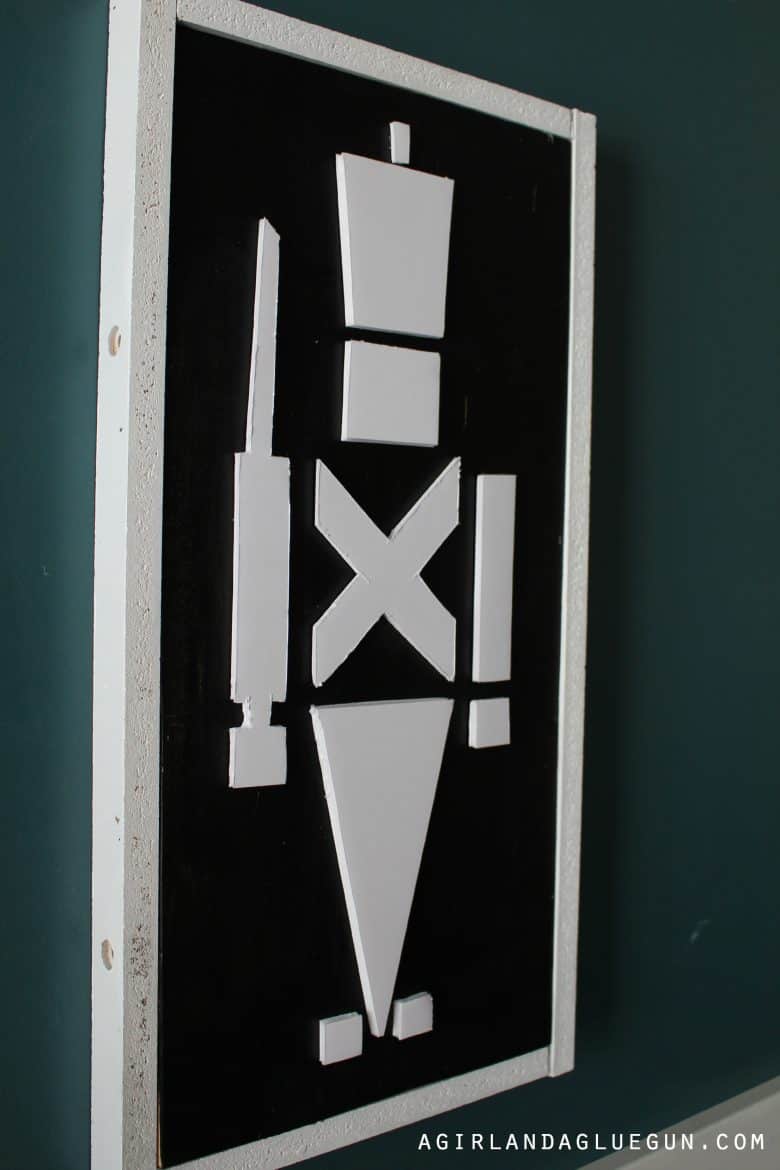
If you want to hang…I totally recommend these sawtooth picture hangers! Just hammer them in! (they are super cheap!)
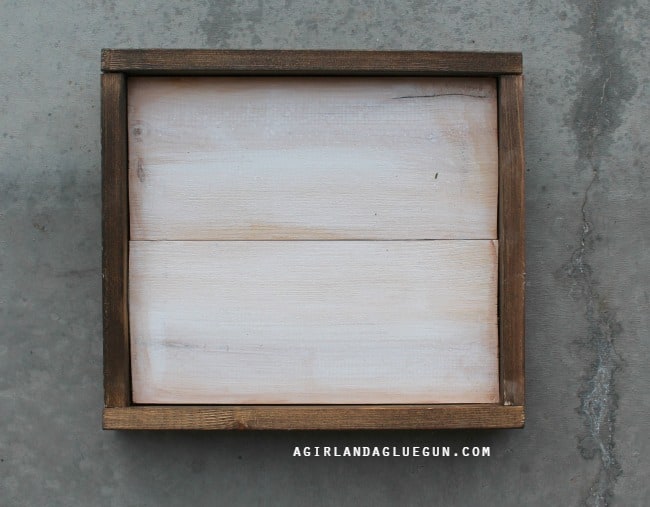
After it’s all assembled is when I Distress it. Sand the edges of the frame. 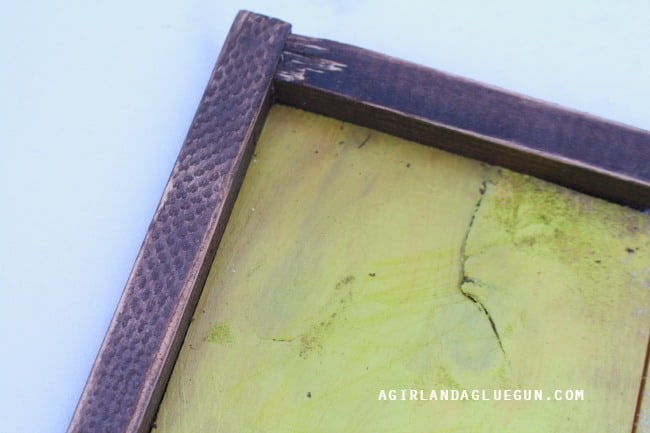 Sometimes I add some brown to the light colors…
and Sometimes I don’t.
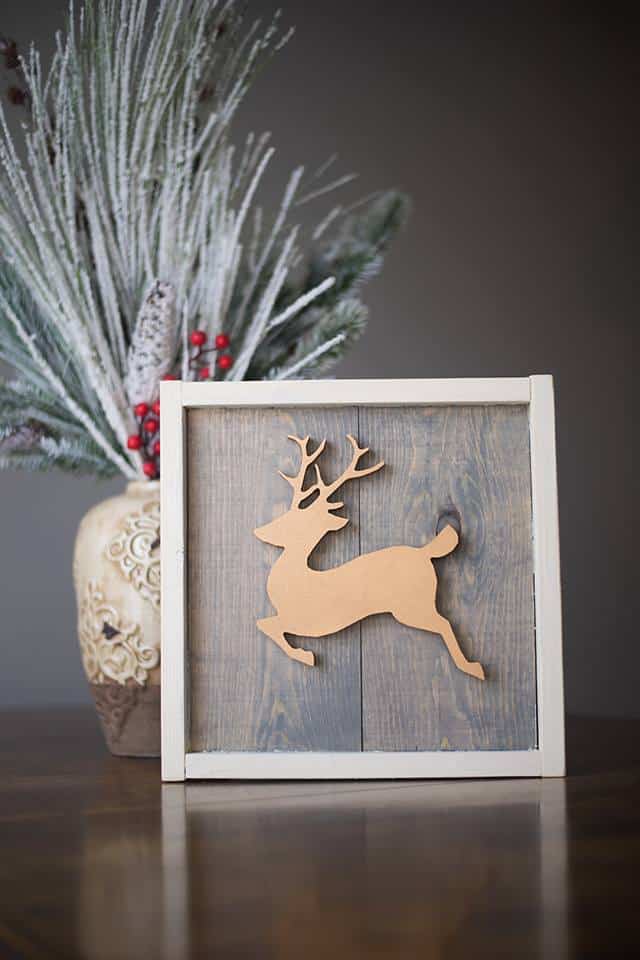
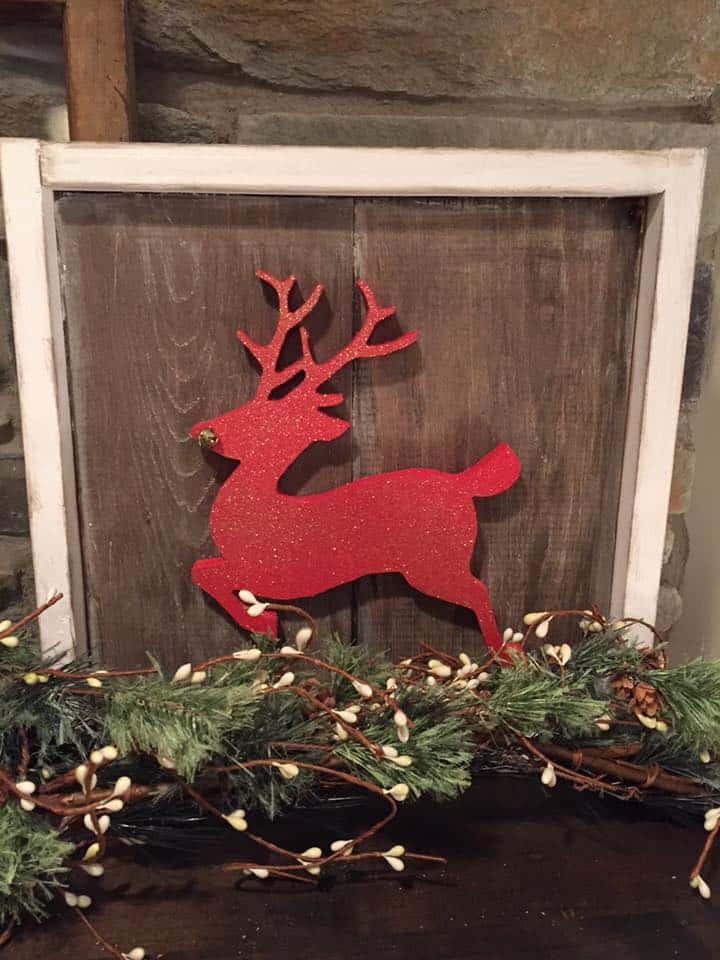
Now…my favorite part! DECORATION! so many options!!!
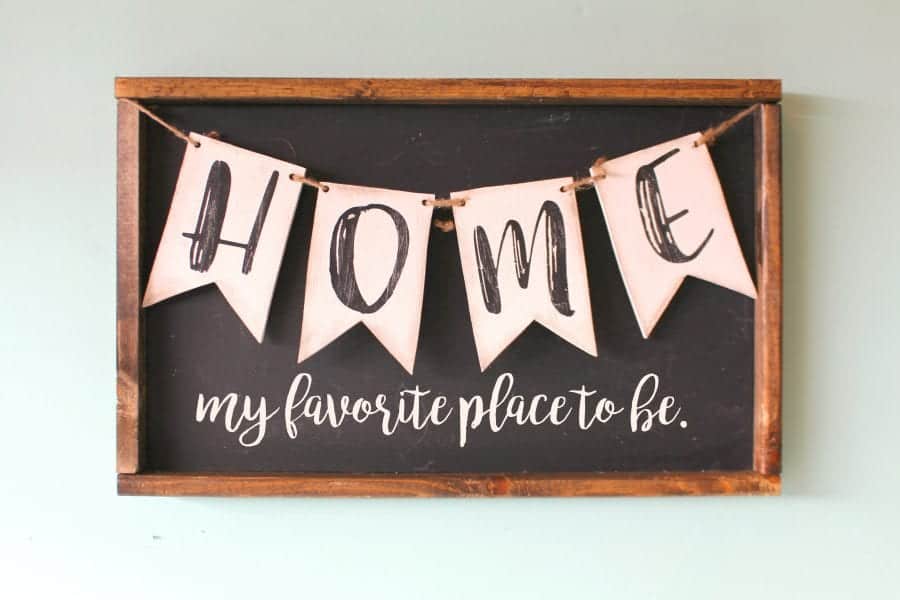
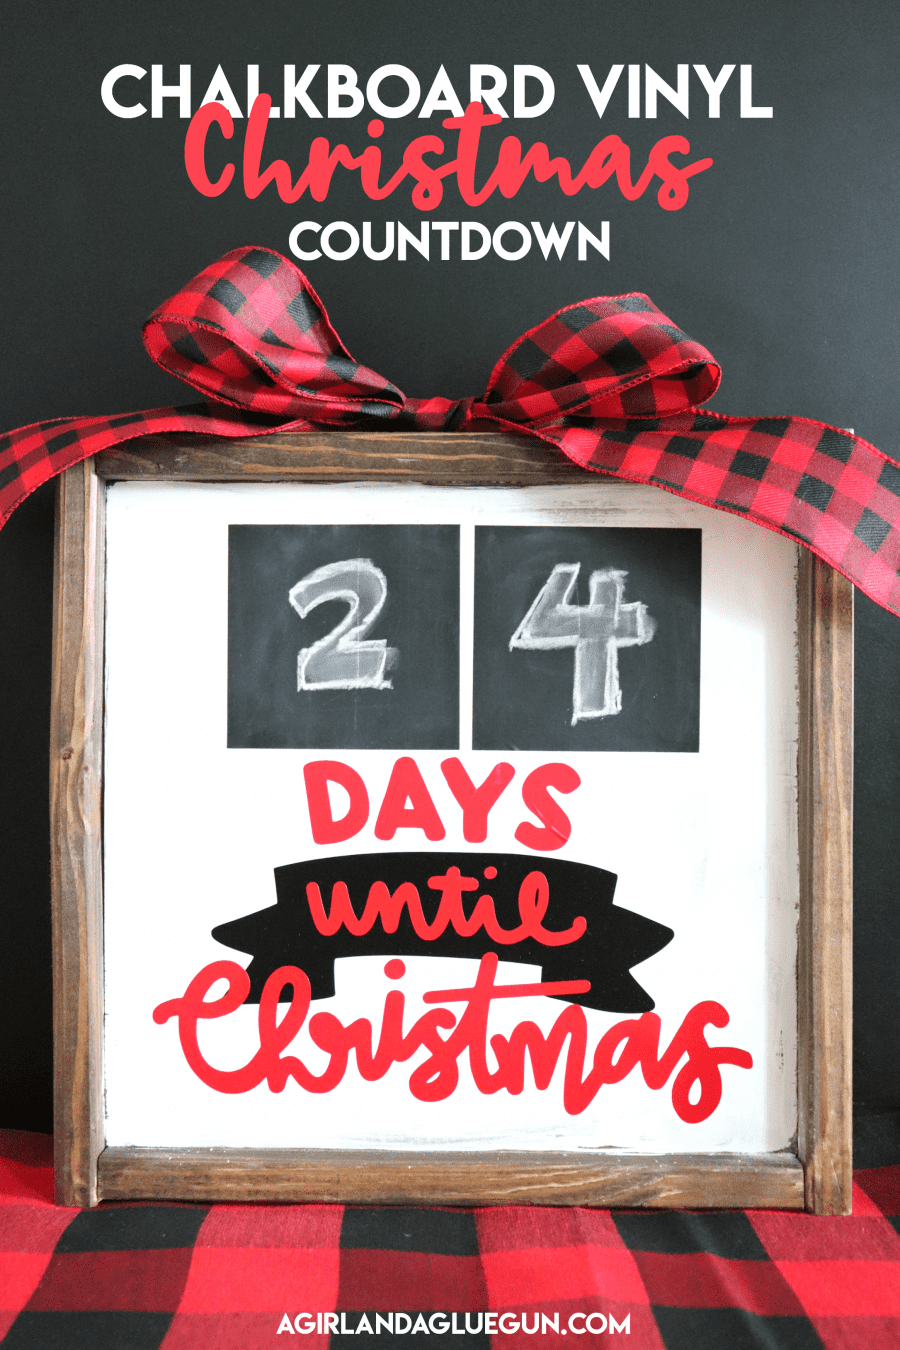
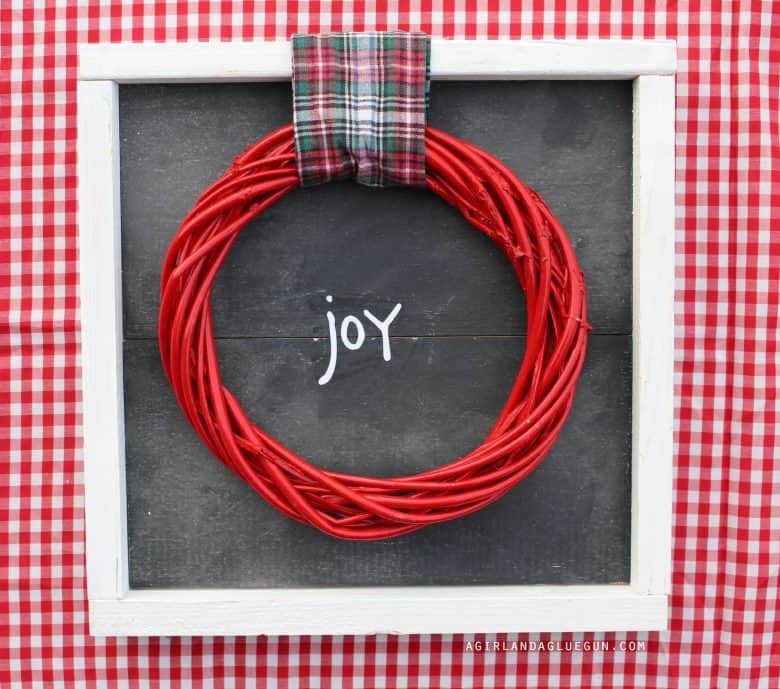
How about chalkboard??
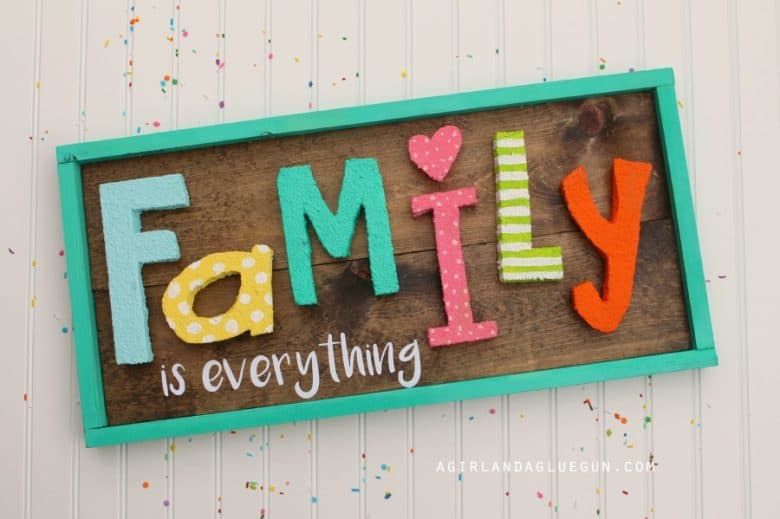
Hot glue on some fun letters…
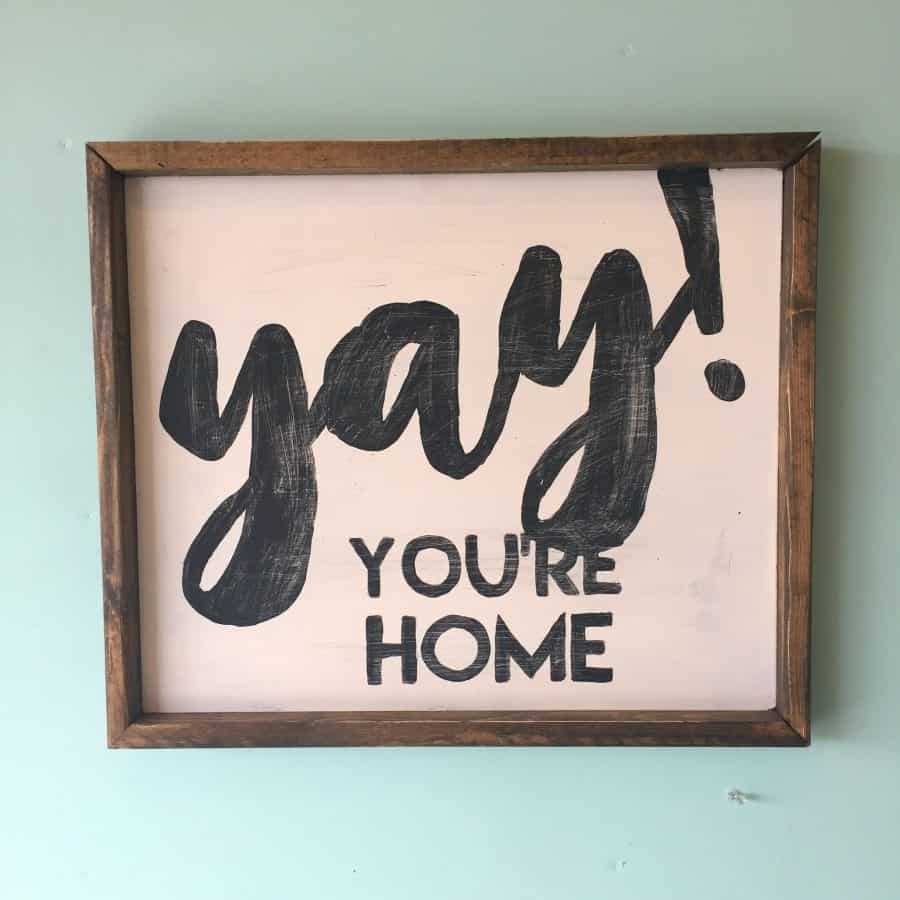
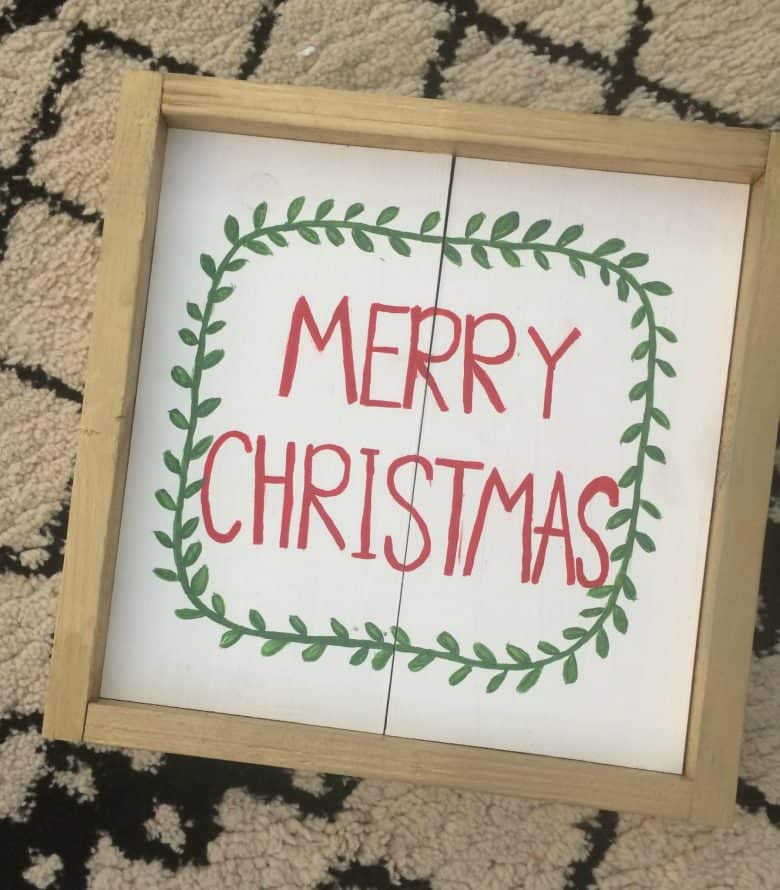
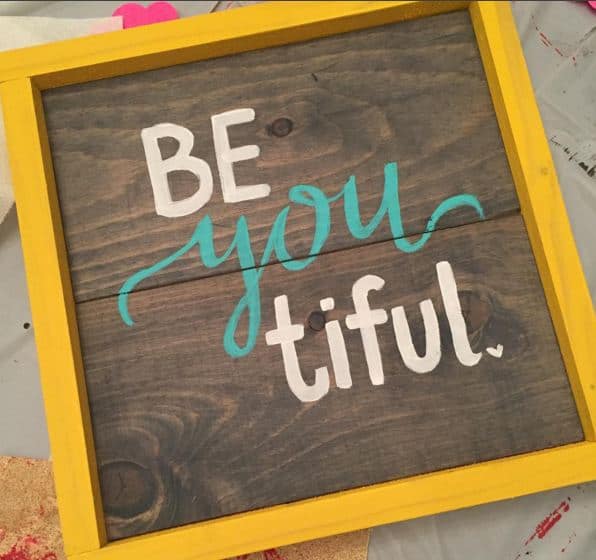
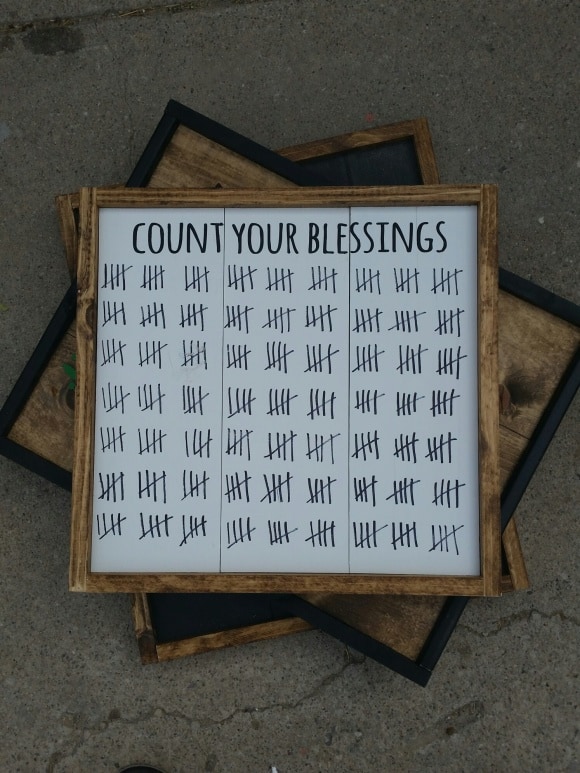
 Vinyl is so easy to add a fun saying! (go HERE)
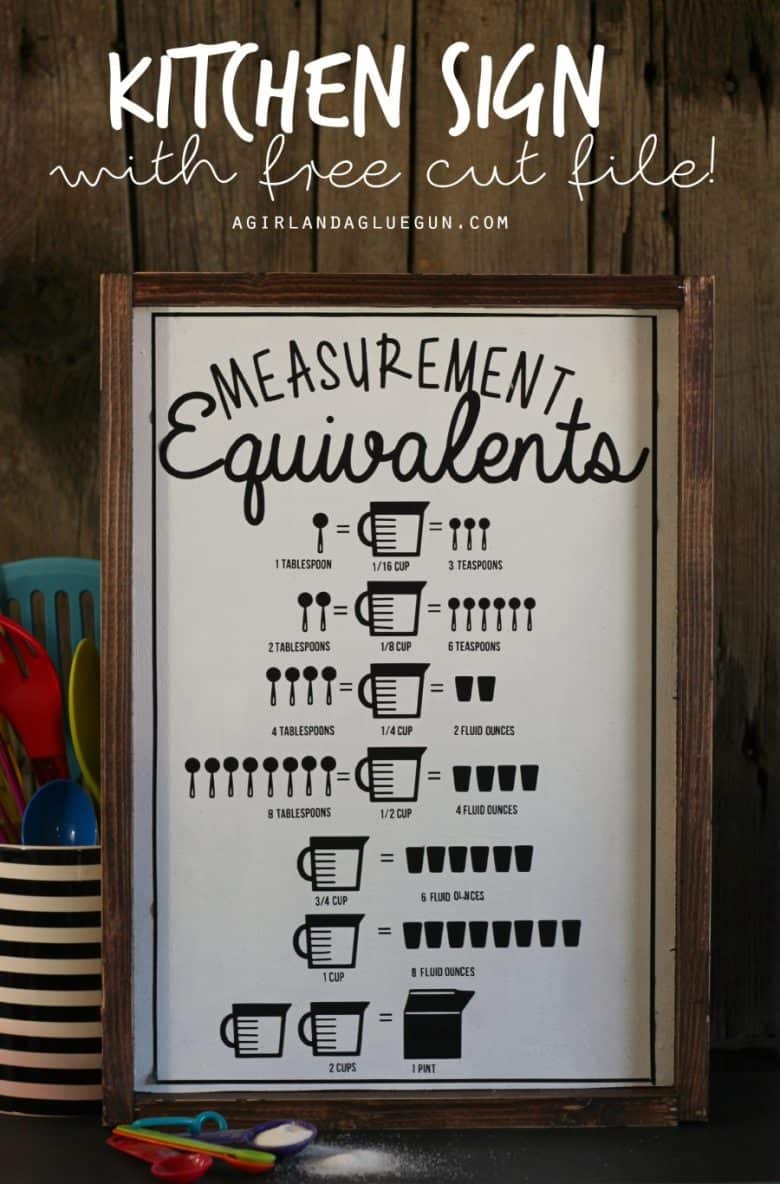
and HERE

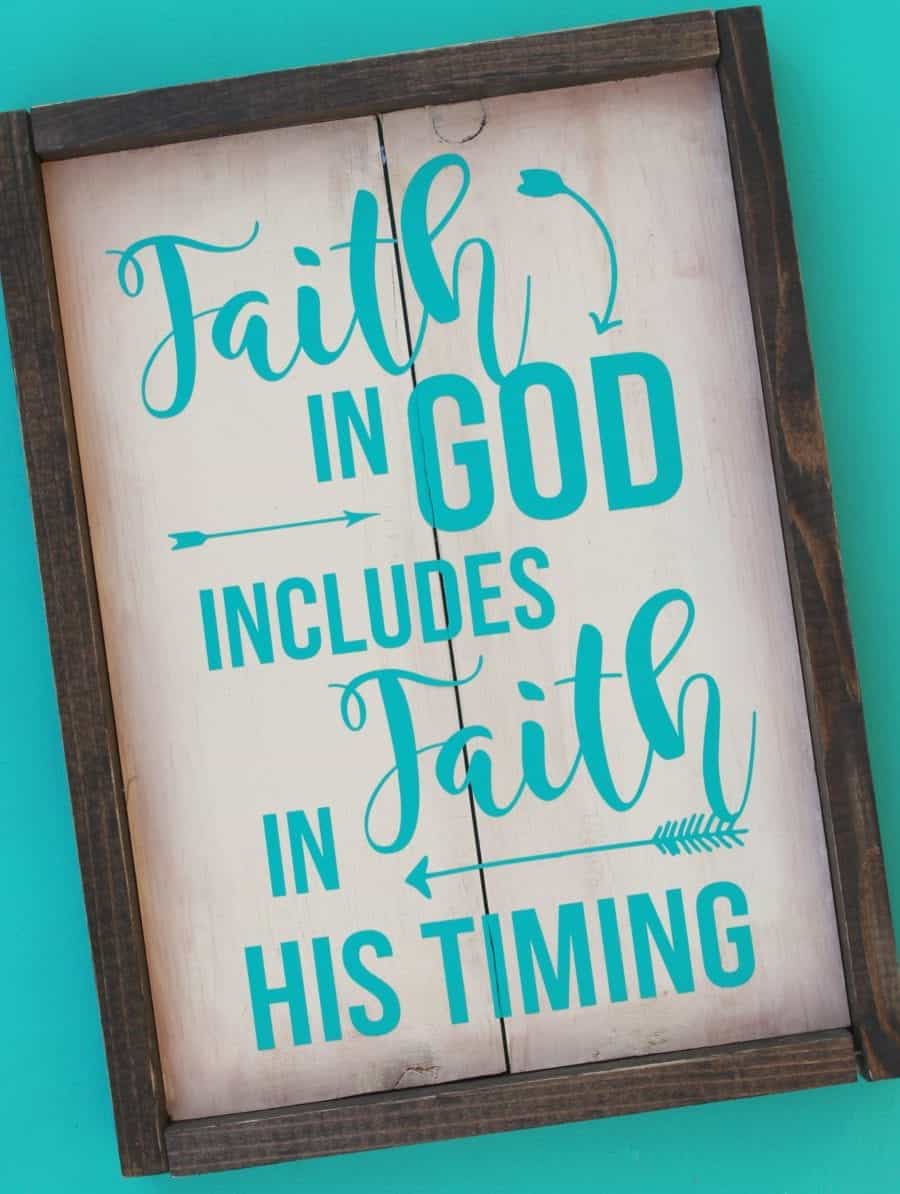
Grab the cut file for this one here
This one is is floracraft foam and vinyl! (go HERE)
This one is made out of foam core board! (go HERE)
What about a wreath?
 This pumpkin was from a store! Just hot glued it on!
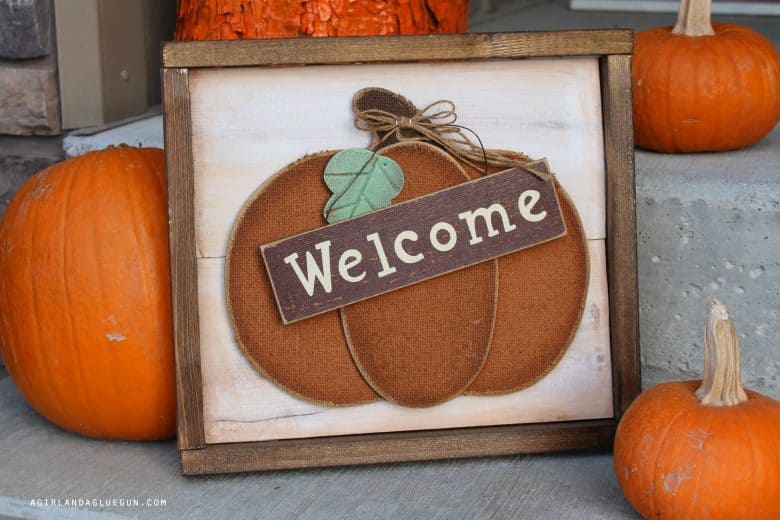
glue on some paper flowers with a fun printable (Printable from HERE)
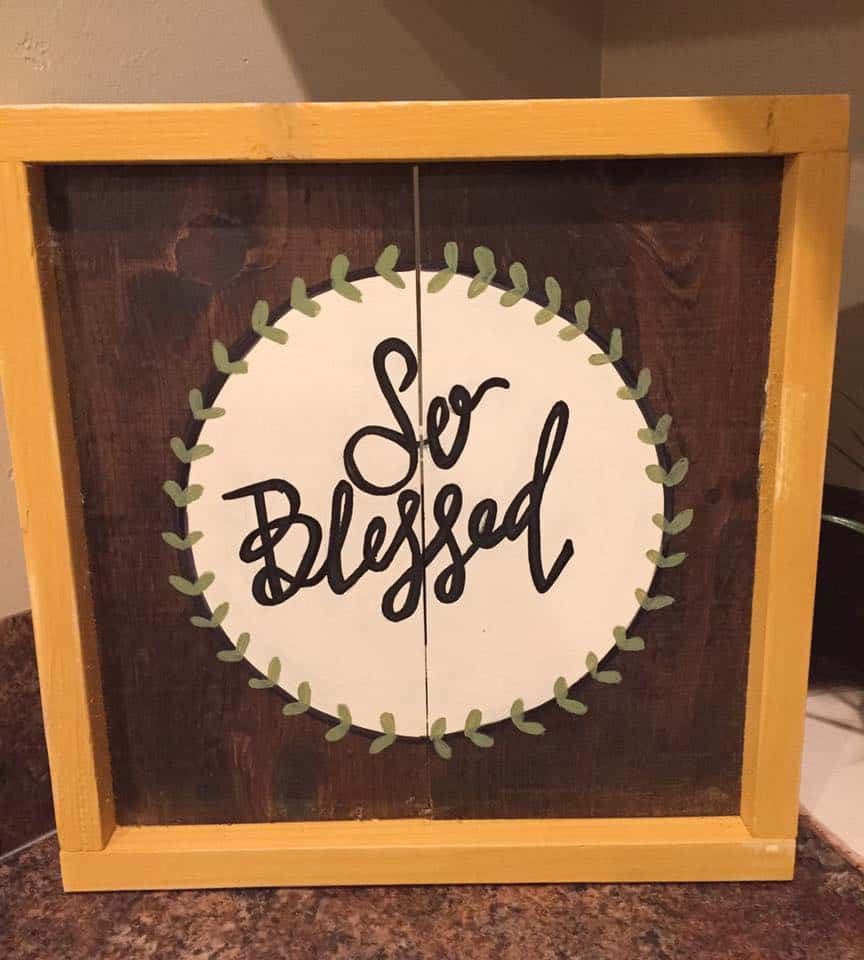
 or glue on wood flowers and hand paint some fun messages!
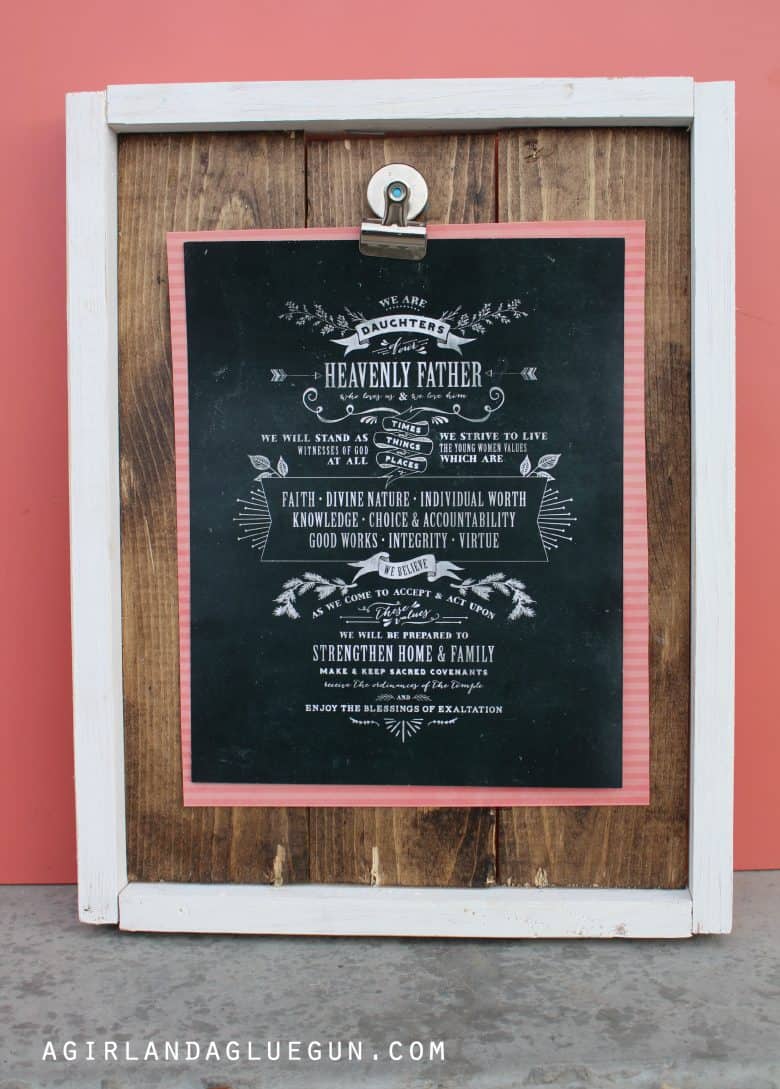
 You can add a clip and make it so they can swap out pictures
If you want to learn how to use vinyl as stencil to get fun distressed signs go here
I even watercolored onto one!
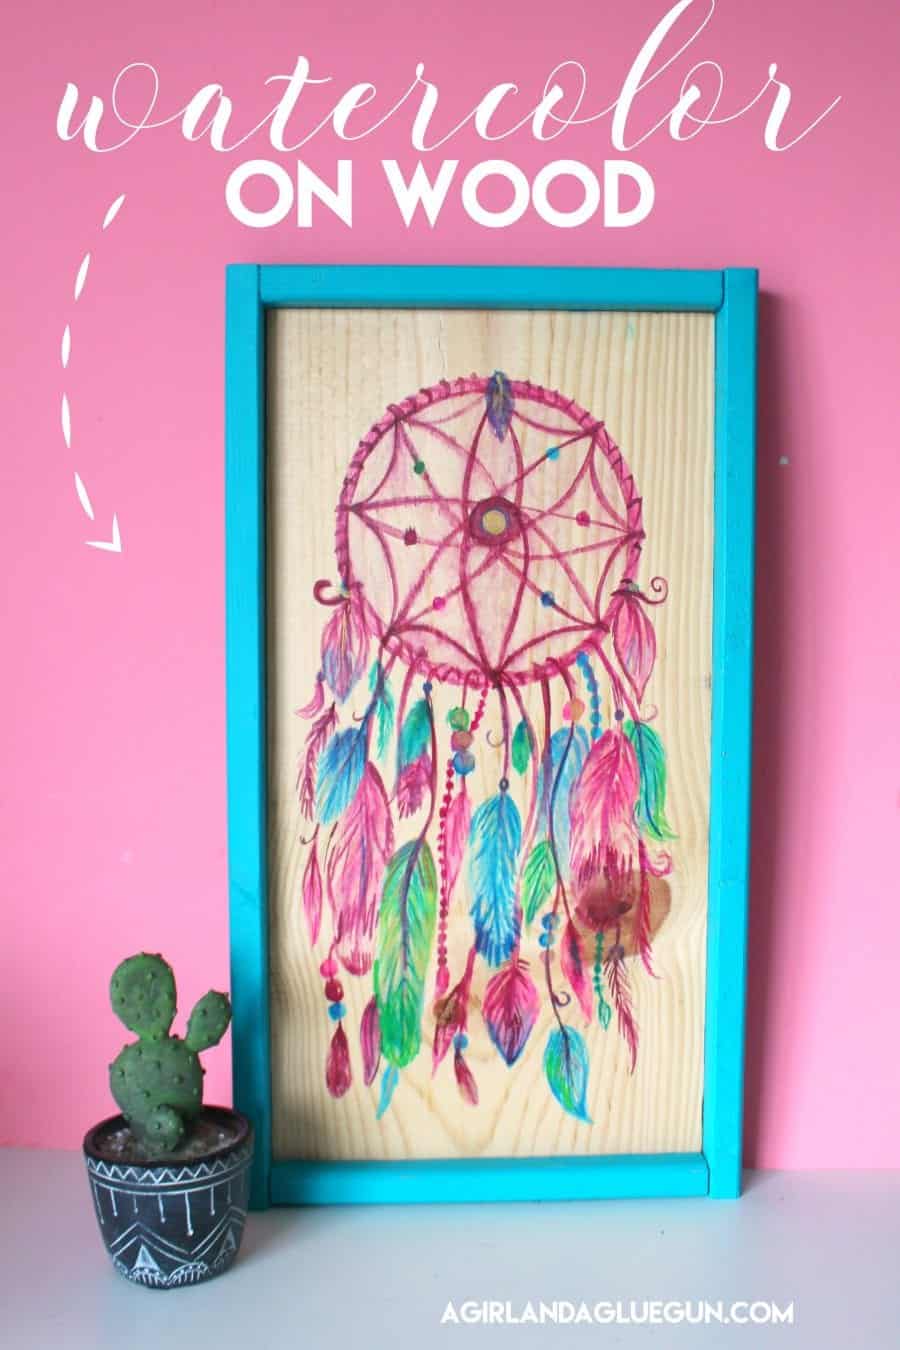
and to grab this free cut file go HERE!

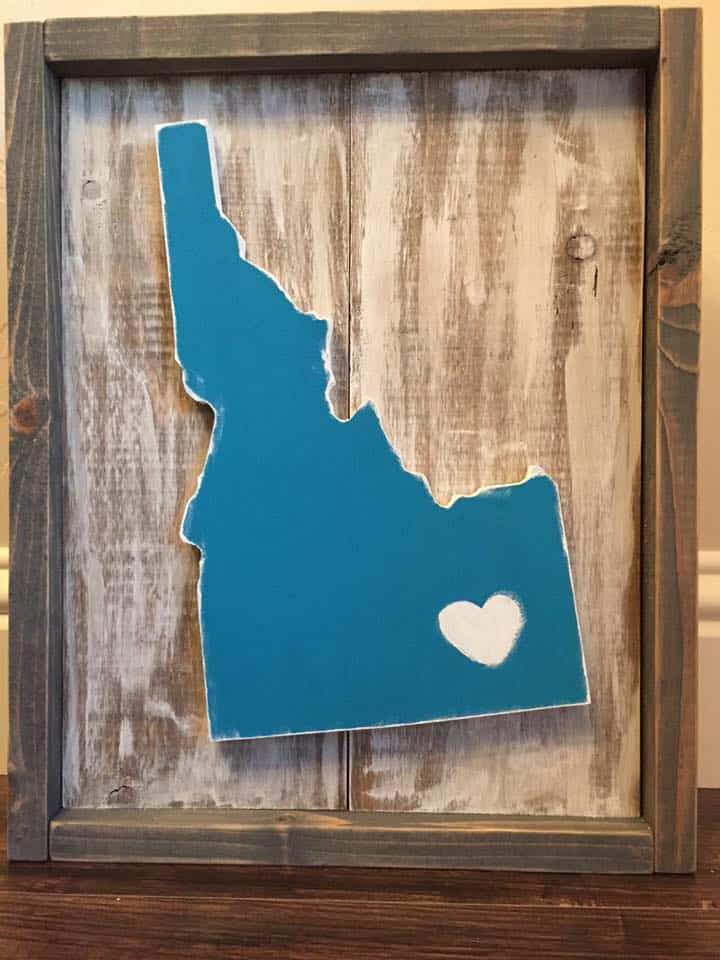
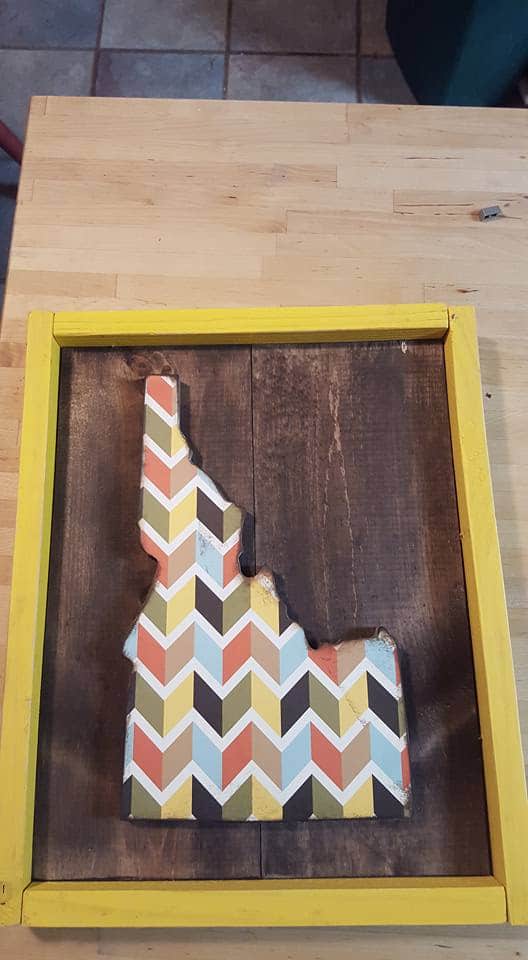
We had a craft night–and partnered up with Any way you cut it (my neighbor!!!)–she came up with 4 options and people bought what they wanted…(um..88 frames! wowza!)
Check out how colorful and unique each one is! 

 I also wanted to share Virginia from Fynes Designs....
She is QUEEN of these frames!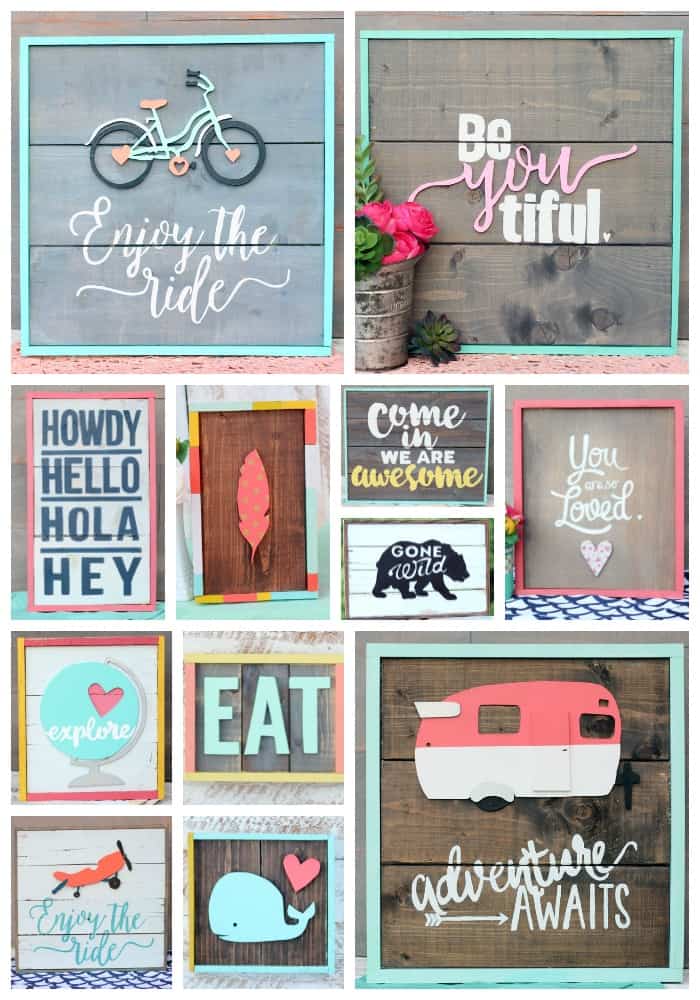
and if you are just wanting to buy some frames and not make your own…check out Salty Bison! They are alllll so cute! 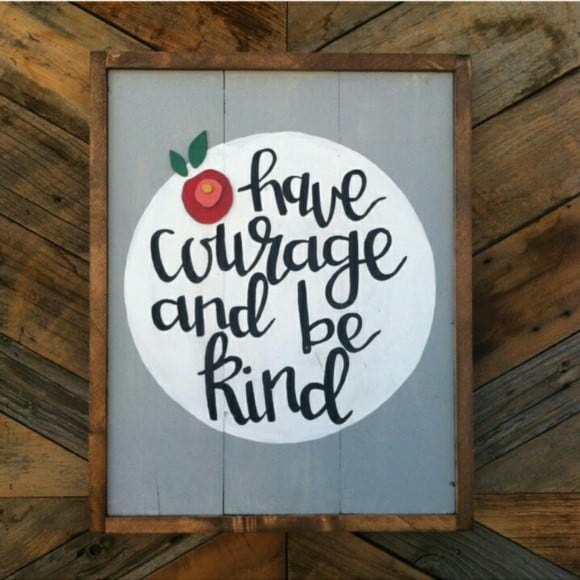
Suzanne says
I usually lurk here but today I wanted to come out of hiding and thank you for such an exhaustive and thorough tutorial. You have me convinced i can do this! Happy Friday!!
Kimbo says
Awesome! I’m so glad!
Amy says
What size/length of brad nails do you use?
Kimbo says
one inch!
Bonnie says
You are brilliant! The. End. ?
Kristie says
These are too cute!!! Another reason I want a brad nailer for Christmas!!!!
Stacie says
Thank you for the wonderful tutorial!! I think this might be the perfect project to ease into the power tools arena. 🙂 The frames are all adorable! Where did you get the cute glue on letters you used on the notes board?
Kimbo says
They are all just random ones I had laying around! The o is a chipboard! Hobby lobby has a huge selection of random sizes of letters!
Brittany says
Thanks for the tutorial! How’d you attach the wood cut outs? …Special kind of glue? Nailed it?
Kimbo says
I hot glued them!
Lissy says
This tutorial is awesome! Thanks for putting it together. Your signs are beautiful! I do have one question. When using multiple boards for the background (inside of the frames) how do you attach those together before nailing the frame around it? I’m so excited to try making some of these!!
Kimbo says
I attach the boards using the frame board. I just hold them into place and nail them in!
Sara says
I loved this tutorial! Can I ask how you add the brown to the white board to give it a distressed look? Is it a stain or certain paint?
Thanks
Kimbo says
I actually dip an old paint brush in stain and blot off most of it then just brush it along the edges (you can take a paper towel and help smooth it out!
Sampath says
Beautiful creations by u ma’am , I will try these thank u
Amy Wilson says
Where do you find the cute wood cutouts for the signs with deer, bicycle, etc?
Kimbo says
those are from Fynes Design–she hand cut them out with her scroll saw! But you can try to find some at your local craft store.
Taylor says
These are exactly what I’m looking for! I’m just wanting to hang some cute pictures (paper) in a nursery though and hoping to just use command strips so do you have any recommendations for a lighter backing I could use?
Taryn Molitor says
What kind of paint did you use on the frames?
Kimbo says
Any kind of paint. This is mostly craft paint…but you can use stain or house paint! Whatever you have!