
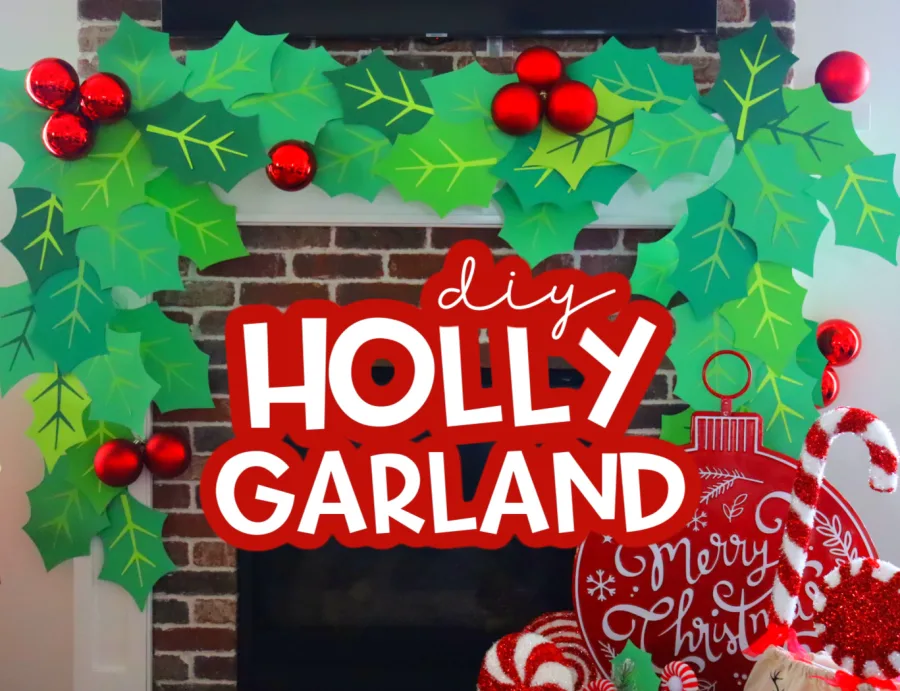
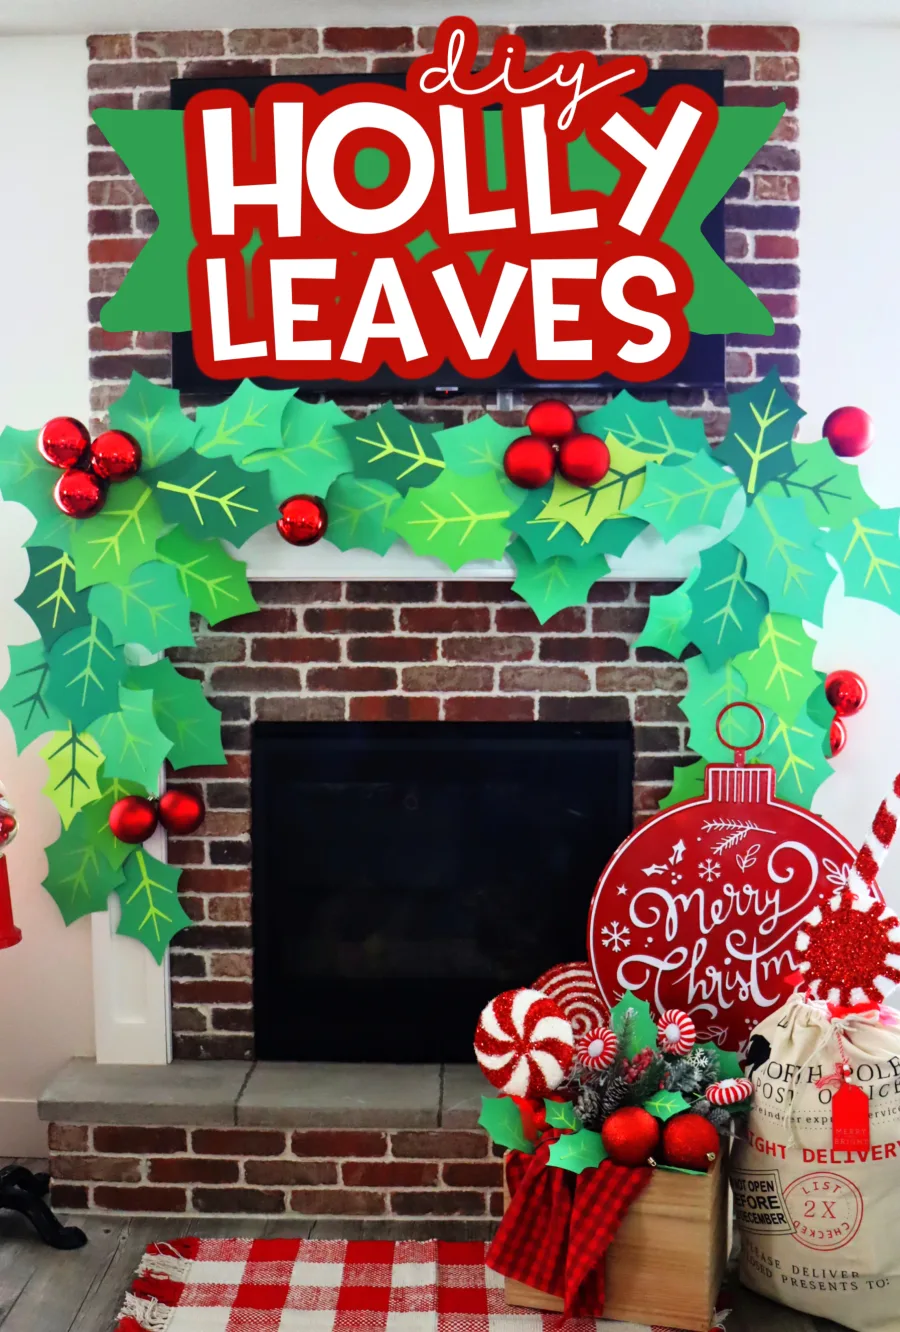
Learn how to create this DIY Giant Paper Holly garland for the cutest Christmas decoration! Free holly leaves pattern included!
This is a sponsored post written by me on behalf of Hobby Lobby. All opinions are 100% mine.
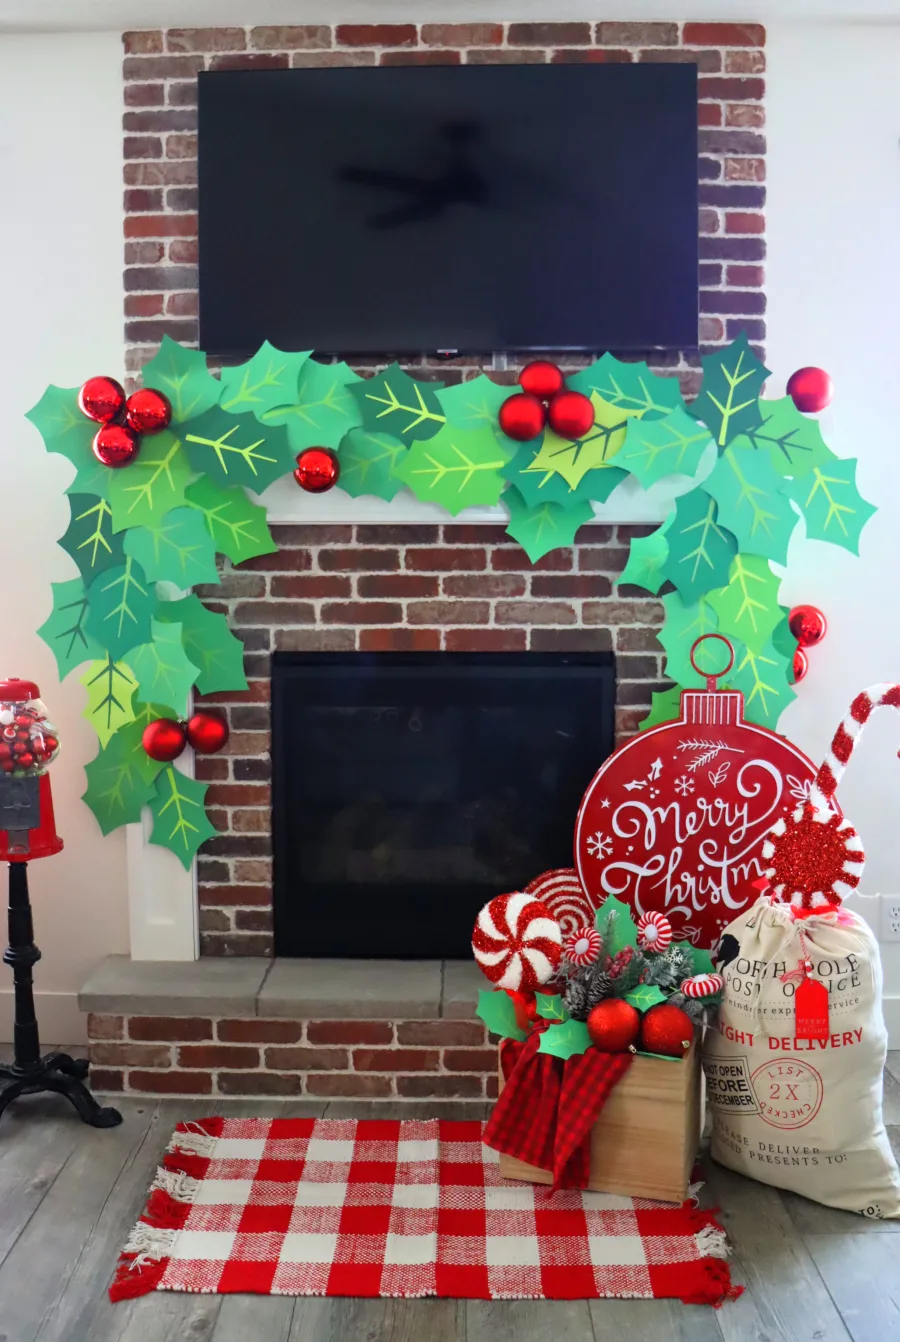
Getting creative with holiday decorations doesn’t have to be complicated or expensive. With a few simple materials from Hobby Lobby, you can make a stunning DIY Giant Paper Holly Garland that will bring holiday cheer to your home in no time. Transform any room into a winter wonderland with this easy-to-make paper garland – it’ll add the perfect festive touch to your celebrations. In this article, you’ll learn the basics for creating this beautiful garland, including the materials you need, step-by-step instructions for making it, and a few tips for making it extra special. With just a few hours of work, you can create a show-stopping display that will leave your friends and family in awe. Let’s get started!
Supplies to make your own Paper Garland
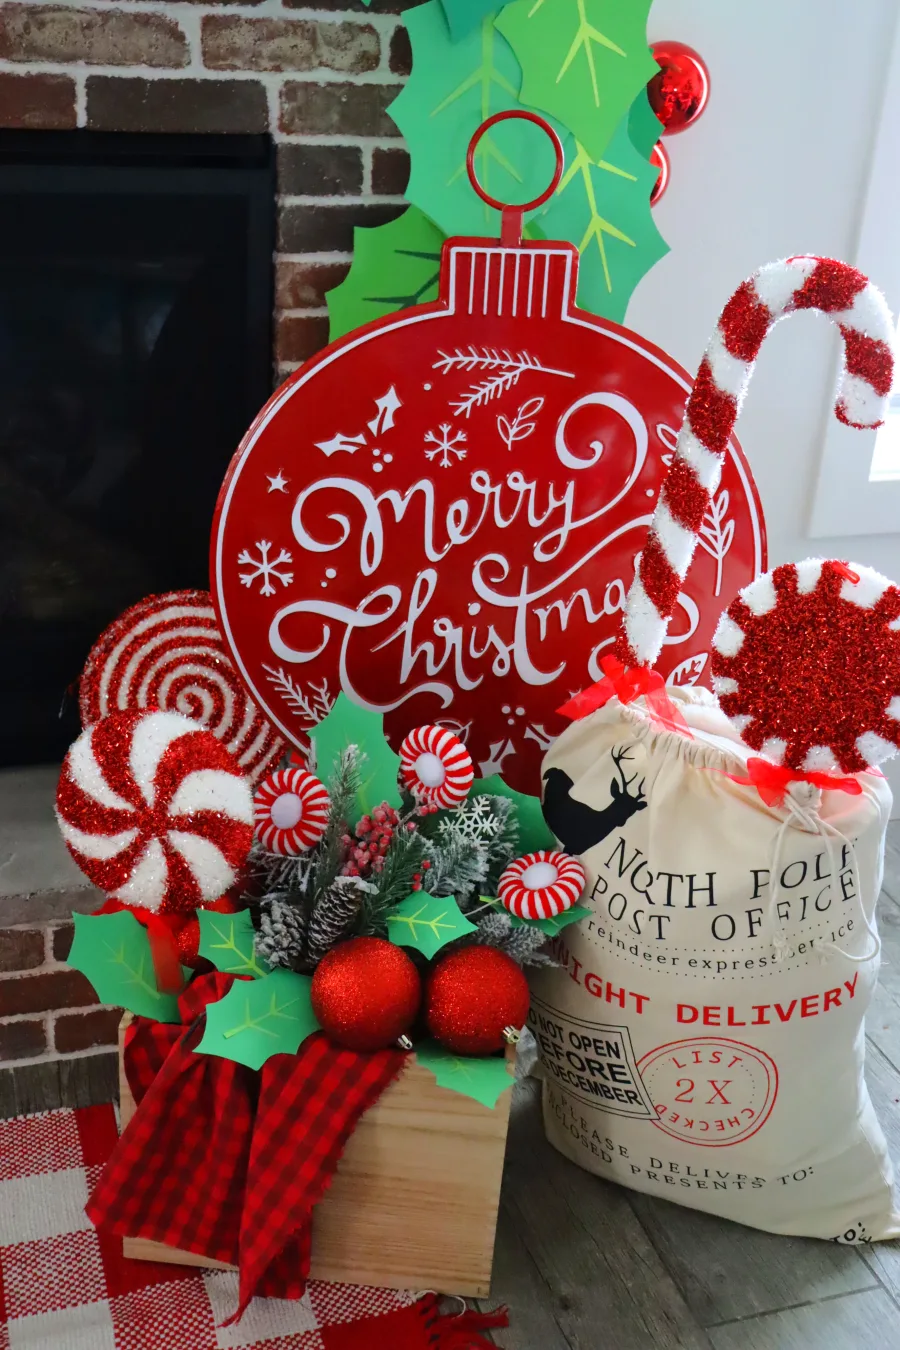
I grabbed all my supplies from Hobby Lobby! Their Christmas section has so much- from supplies to finished items that are ready to be put on display! And to top it off- it’s 40-50% off! You will notice all the fun things I used as decoration around the fireplace and door are all from Hobby Lobby too!
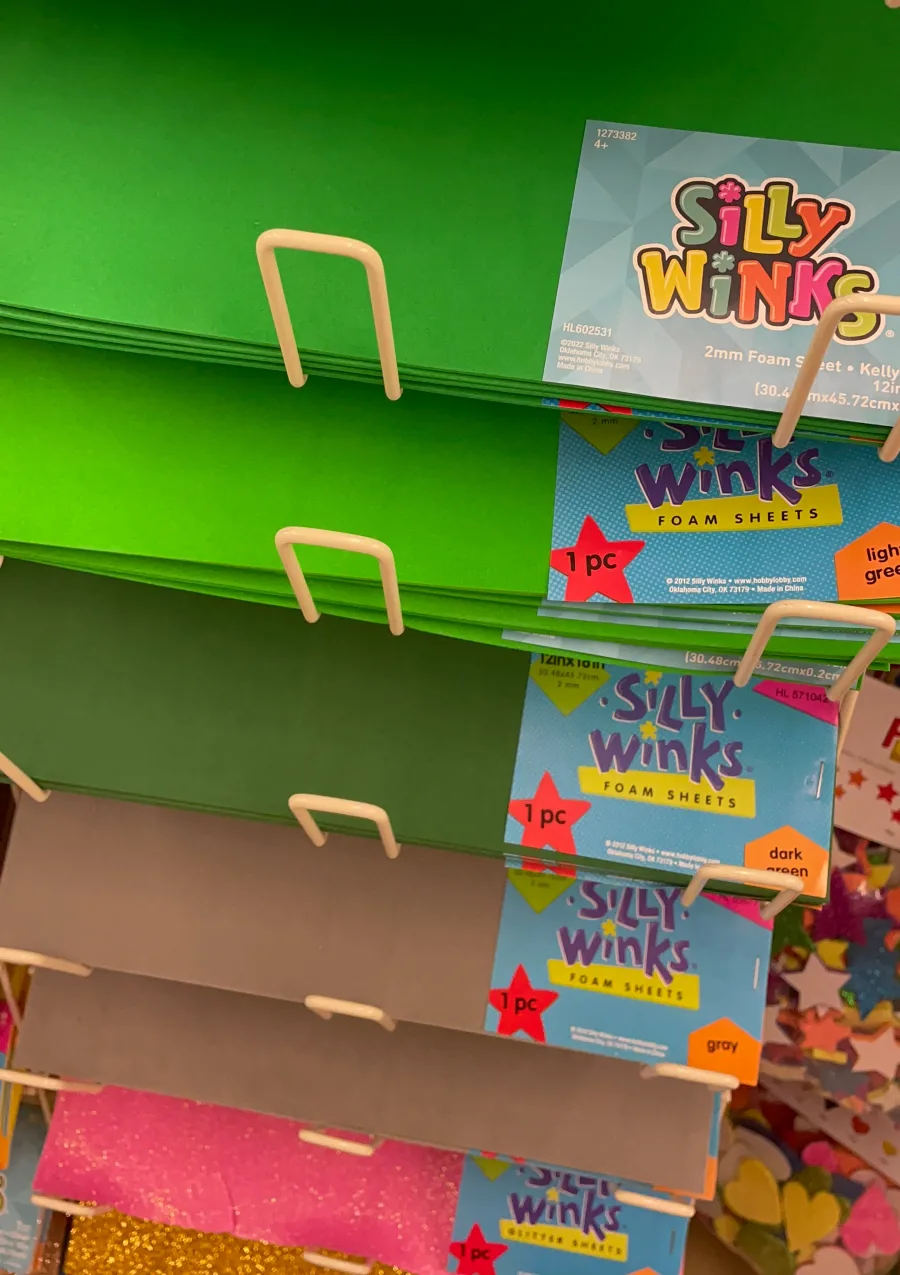
- Green paper in a variety of colors
- Hot glue
- wire
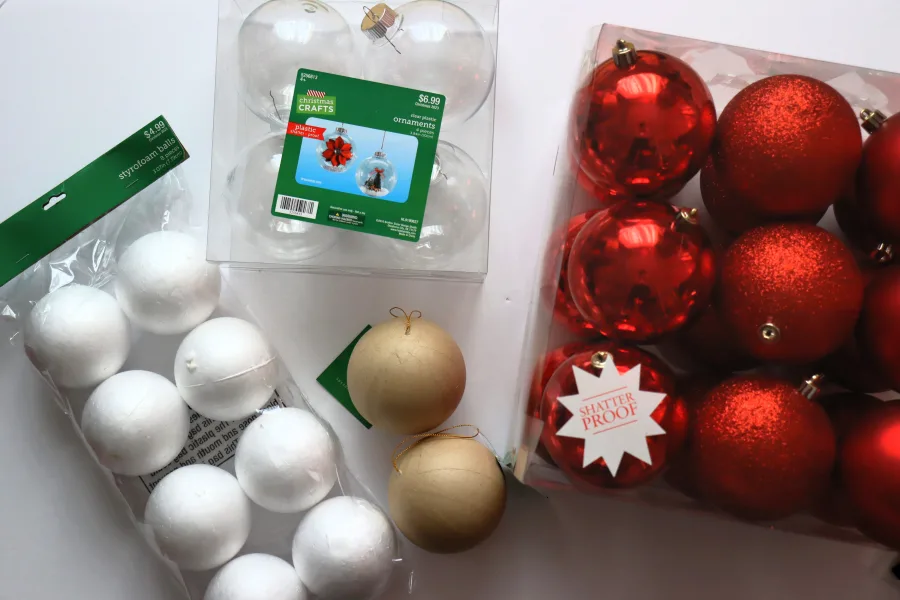
- red ornaments
- pattern (down below)
There are quite a few things you can use instead of red ornaments! I found styrofoam balls and brown kraft balls in the Christmas section that would work for the Holly berries! You can also use clear ornaments and paint the insides like I did on this advent calendar project! I like working with ornaments though because the tops make it easier to hang them up!
Check out my easy paper trees! Another inexpensive decoration idea!
DIY Giant Paper Holly garland
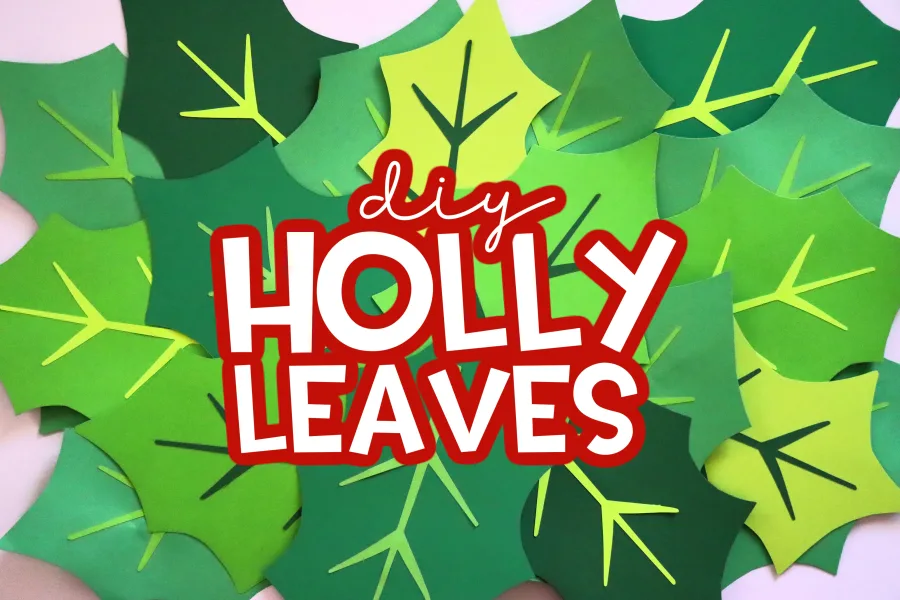
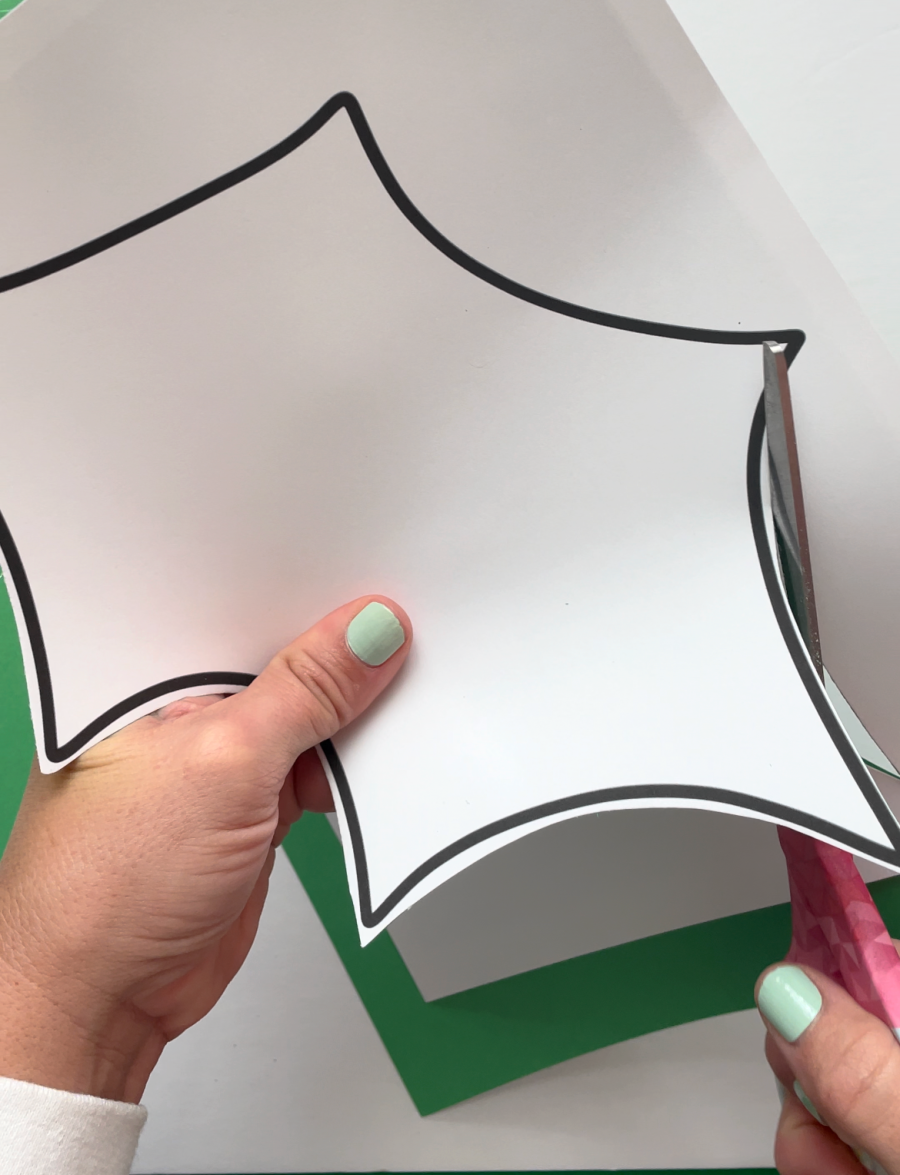
Start by printing out the holly patterns if you need a guide! You can load your green paper and print directly on the paper- but I found it easier to print one pattern in white and use it as a guide! I stacked about 4 pieces of paper and cut out all 4 together! It saves a lot of time!
I wanted to add some dimension to my leaves so I have the veins as a pattern as well! I cut them out in lighter paper to have them pop off the other green! You can cut them out with scissors but I actually uploaded these into my electronic cutter and cut them out since they are a little more intricate!!
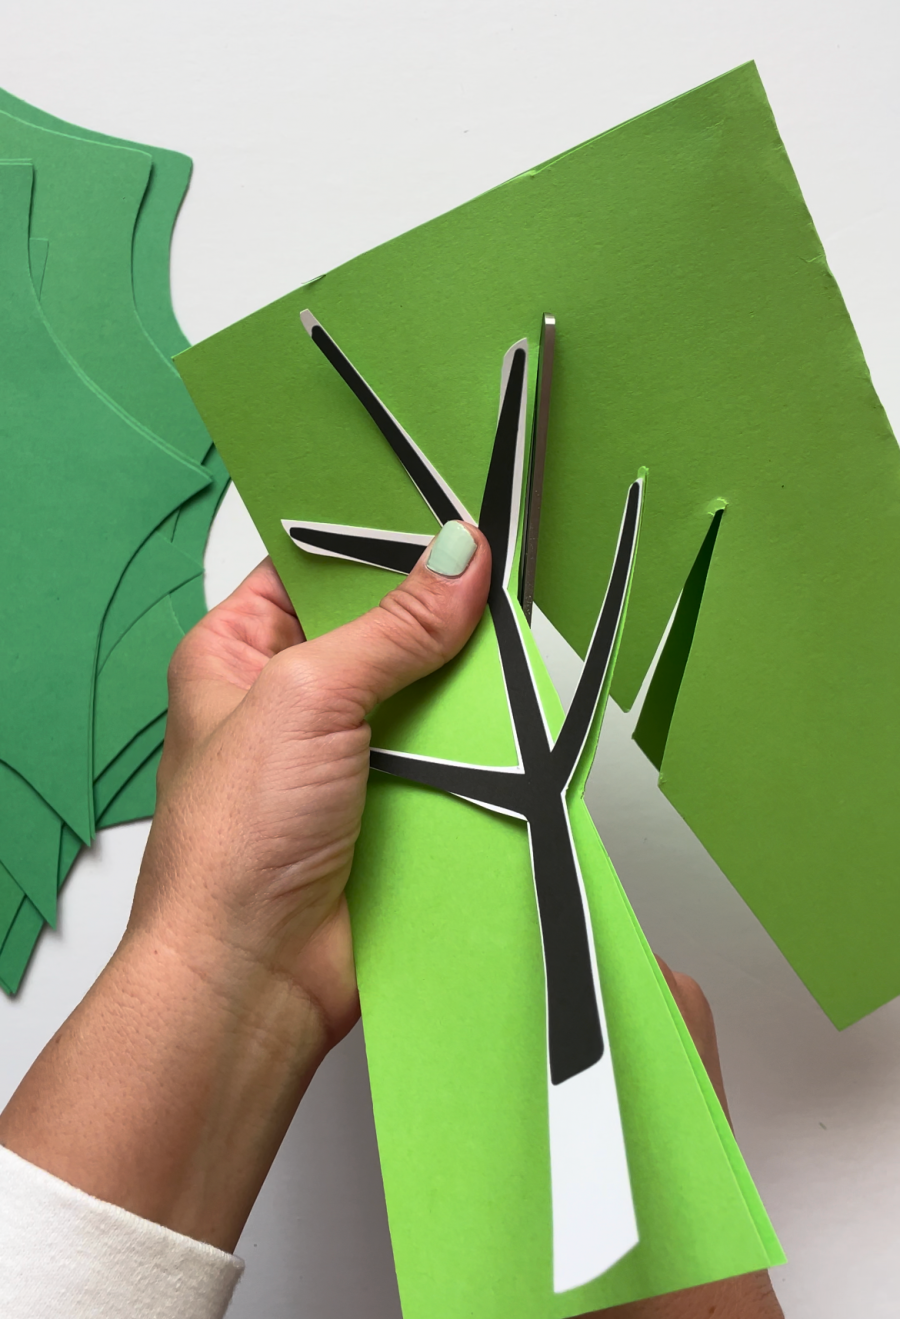
Attach the veins to the leaves with some glue.
To add even more dimension to these paper holly leaves, I decided to add some wire to the backs. I wanted to be able to bend them and give them some life instead of just flat pieces of paper! Cut out some wire to the size of your holly and leave a little stem so you can attach these all together!
You can tape to the back but I like using my hot glue! I covered it with some green scrap paper to make the back looking nice in case you can see the back when it’s hung up!
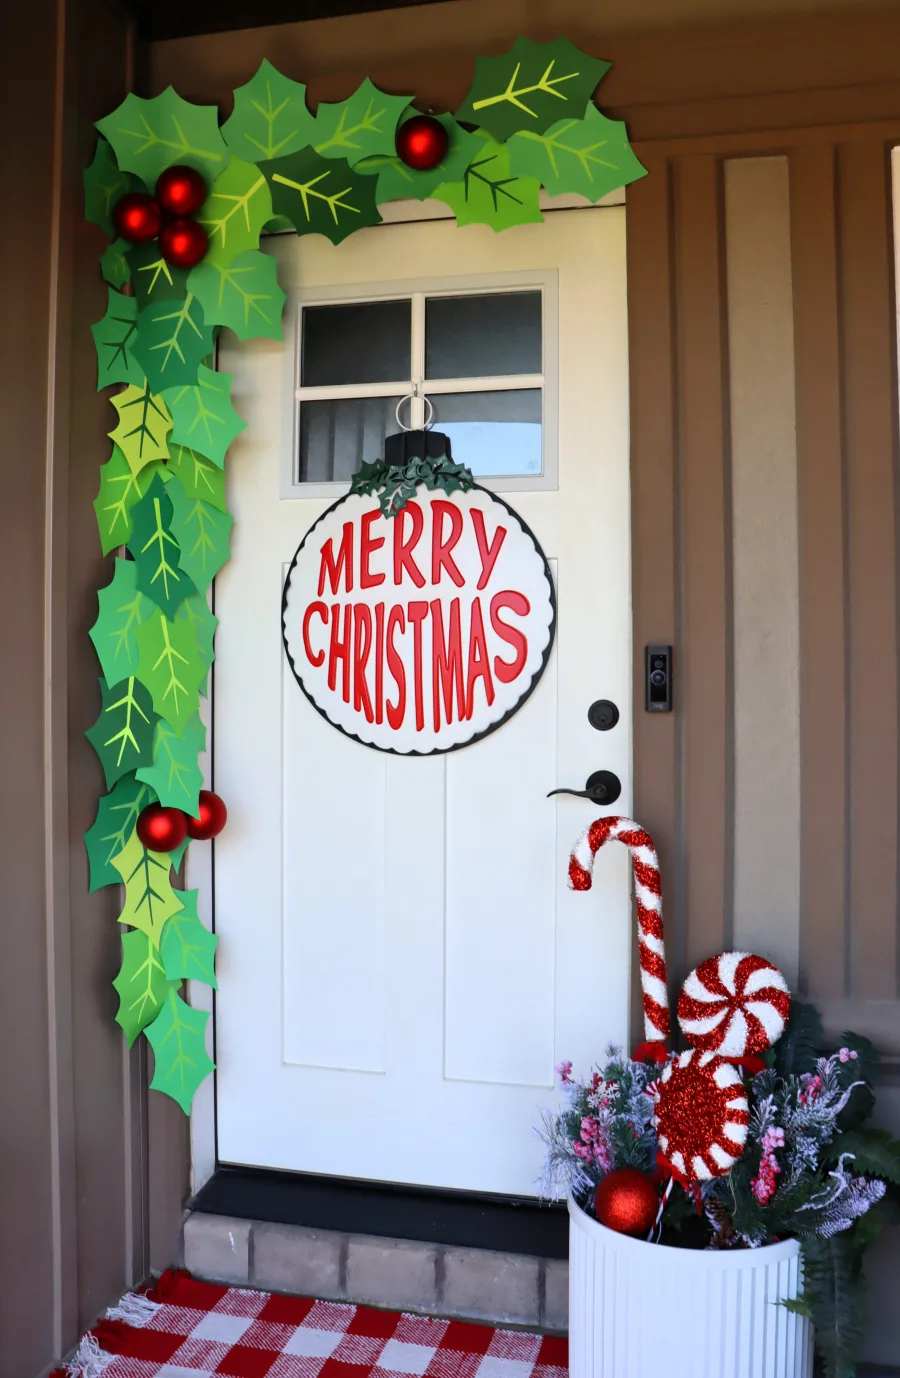
It’s time to create your garland! I added little curves and bends in the wire so the holly had a little movement and then just started assembling the garland! I taped the wire to the back of the next piece of holly. Since I wasn’t sure if I wanted it on my front door, my fireplace, or above my giant chalkboard, I created sections of garlands instead of one long garland so I could easily piece it together wherever I want it to go!
I attached them using command hooks. Since the wire is all around, it’s easy to just hook up every few feet. If you want to add these to a staircase banner, You can run wire through the garland and twist it around.
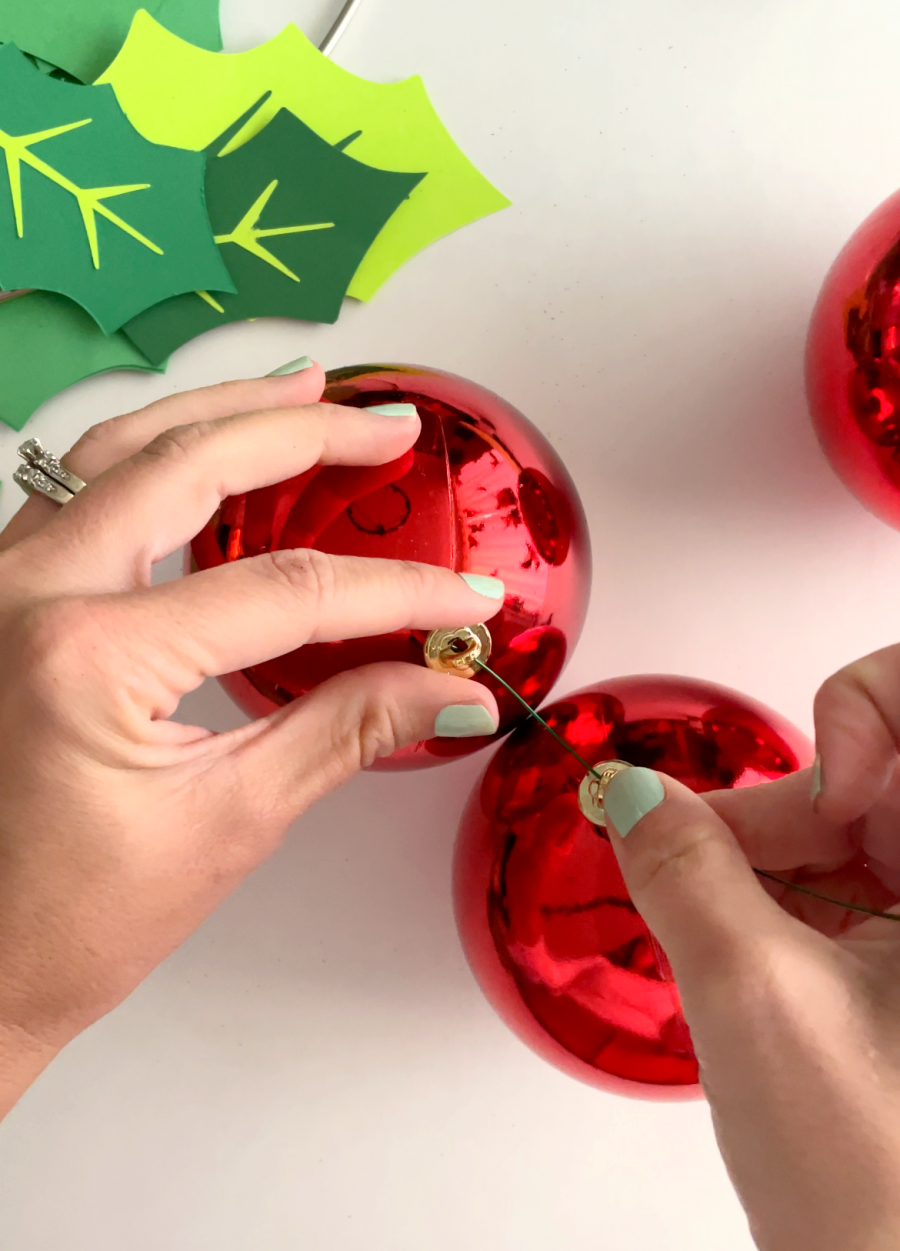
Add the Holly Berries
I gathered the berries in clumps of 3 and ran a wire through the tops of the ornaments.
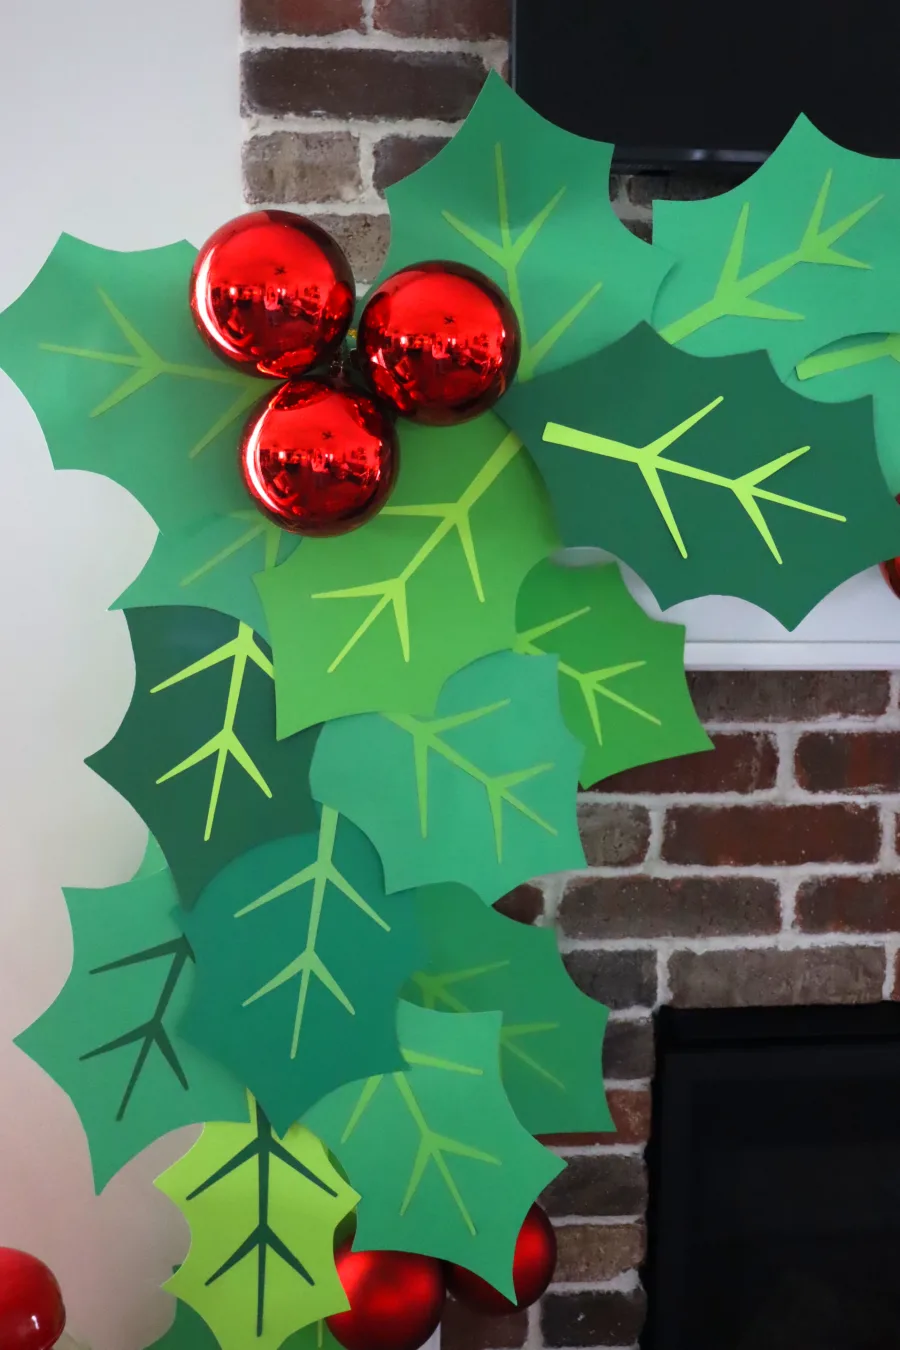
Then you get to admire your darling giant paper holly garland!
Play around, you can assemble it in so many ways!
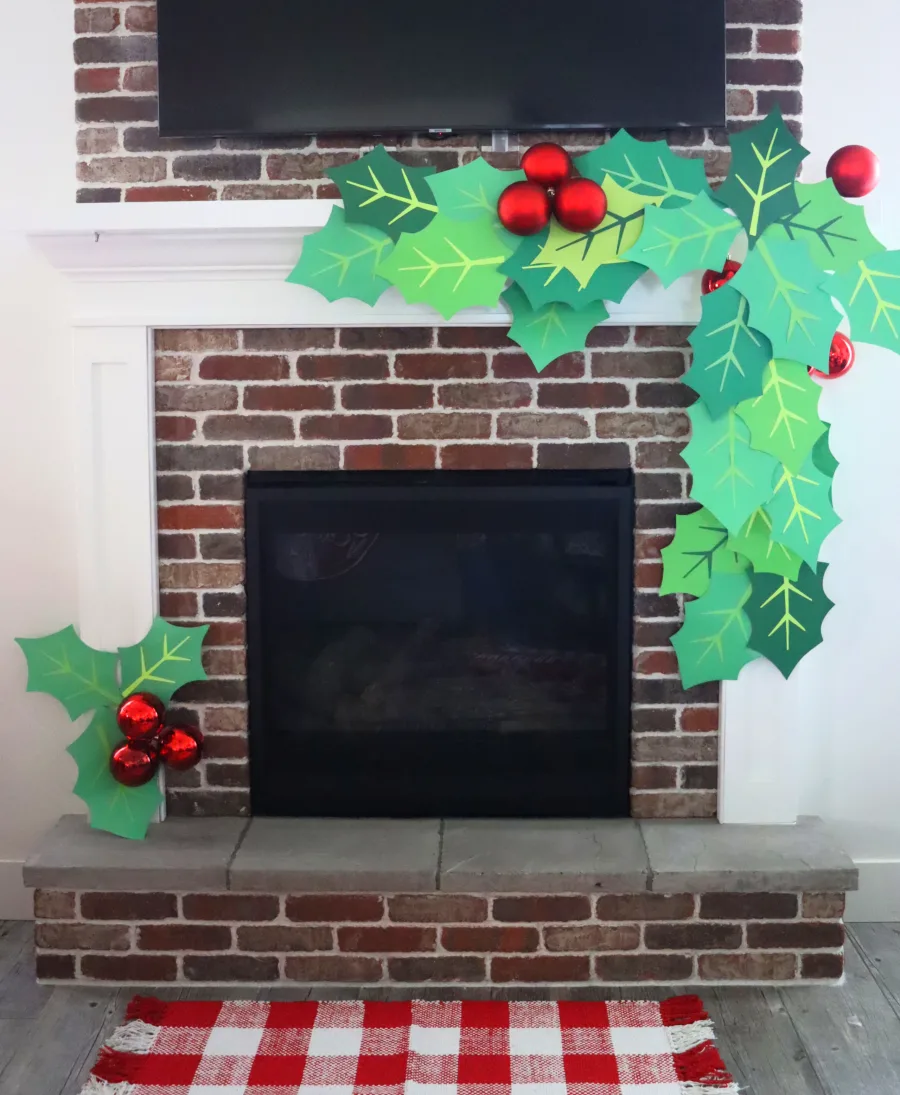
The hardest part about this is figuring out where to put it! I want it on my staircase banner, above my chalkboard, and I even tried it on my front door!
Different versions of the Paper Holly
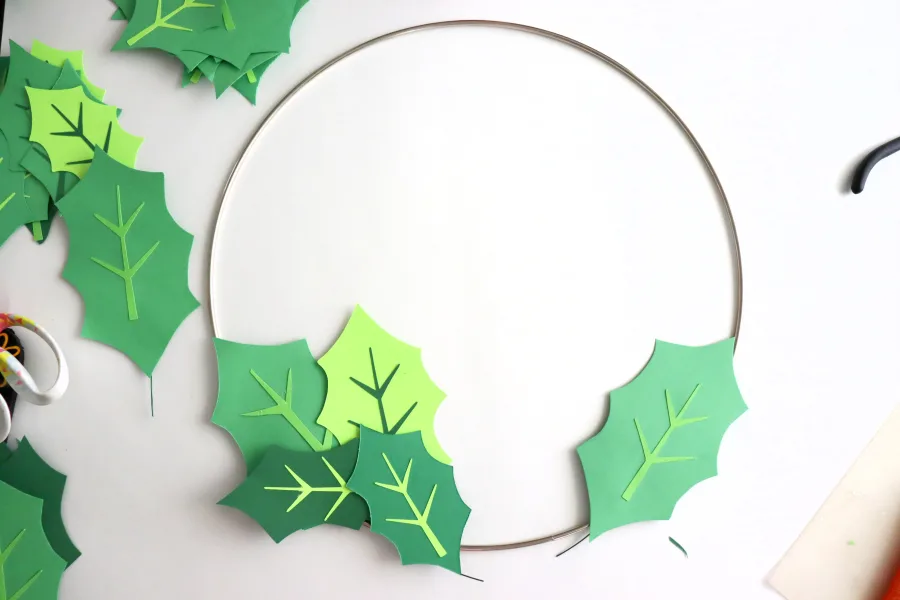
What is so fun about this project is that although it’s an easy DIY, there are many different ways to make it your own! The pattern has 3 different Holly leaves as well as 3 different sizes! A small, medium and large! I used the scraps leftover from my large Holly Leaves to cut out smaller leaves and I added it to a metal ring that I found in the macrame section at Hobby Lobby using hot glue!

You can also cut out these leaves in foam if you want them to hold up over the years! That also means they would be okay in rain or snow!
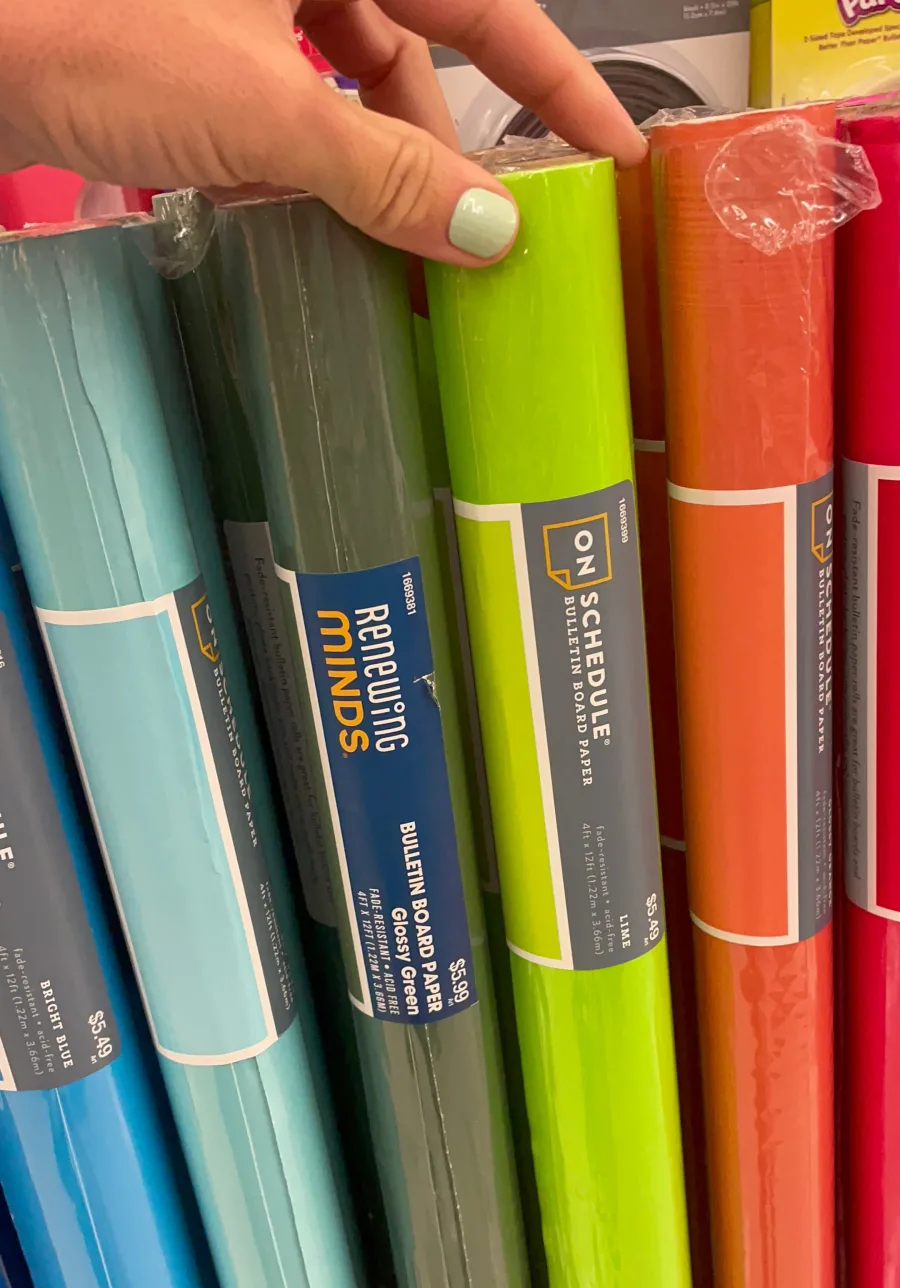
And if you wanted to create REALLY large Holly leaves- even bigger than a 12 x 12 paper, you can grab the bulletin board paper roll at Hobby Lobby and then you can do HUGE leaves!
IF YOU DON’T HAVE A PRINTER: You can also upload the files to staples or office max and have them print them! Sometimes the local library has a printer for public use!
Download the free printable below:
Click on the image below and the printables will automatically open in a new window.

I love making printables! You can find my whole collection of Free Printables here!
Other projects you are sure to love:
- Ornament Advent Calendar
- Interchangeable wreath for all seasons
- Christmas mantel
- Paper tree DIY
- Lighted Christmas Signs
Too busy to get crafting today? No problem! Pin this post to remind yourself about this project later! Sharing my projects helps me reach more people, allowing me to continue sharing free content!
Jenni says
So cute!
Am I missing the link to the pattern?
I ‘ve read the post multiple times and can’t seem to locate it
Kimbo says
It got broken! Thanks for bringing this to my attention! Just fixed it! Should be a yellow banner near the end that says printable!
Carol says
Did the link break again? Thanks
Kimbo says
Not broken! It’s a big yellow image that says grab the printable here!