
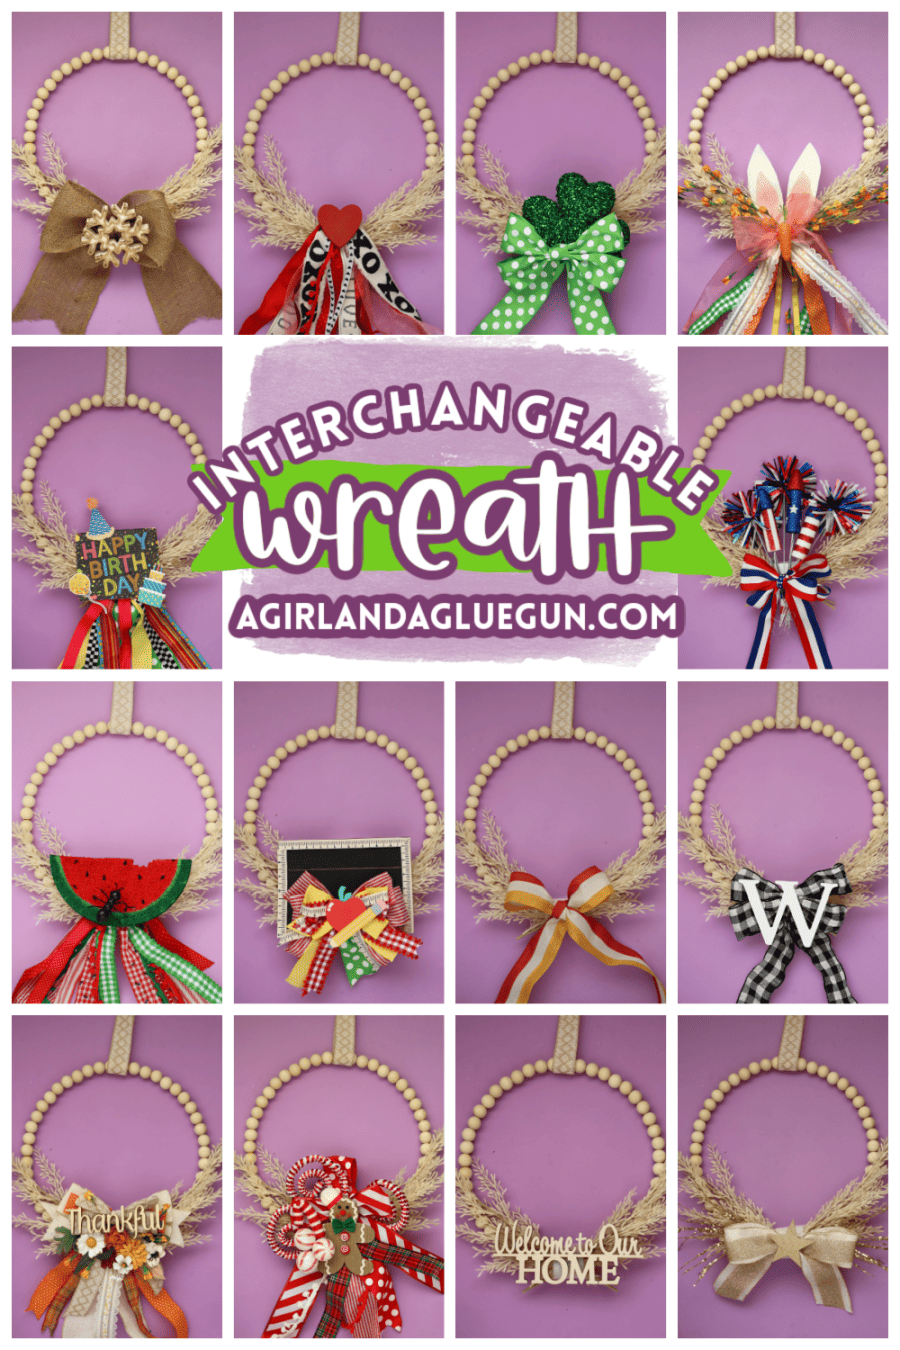
Come create this DIY interchangeable wreath for an easy and inexpensive way to change up your front door decor for each season and holiday!
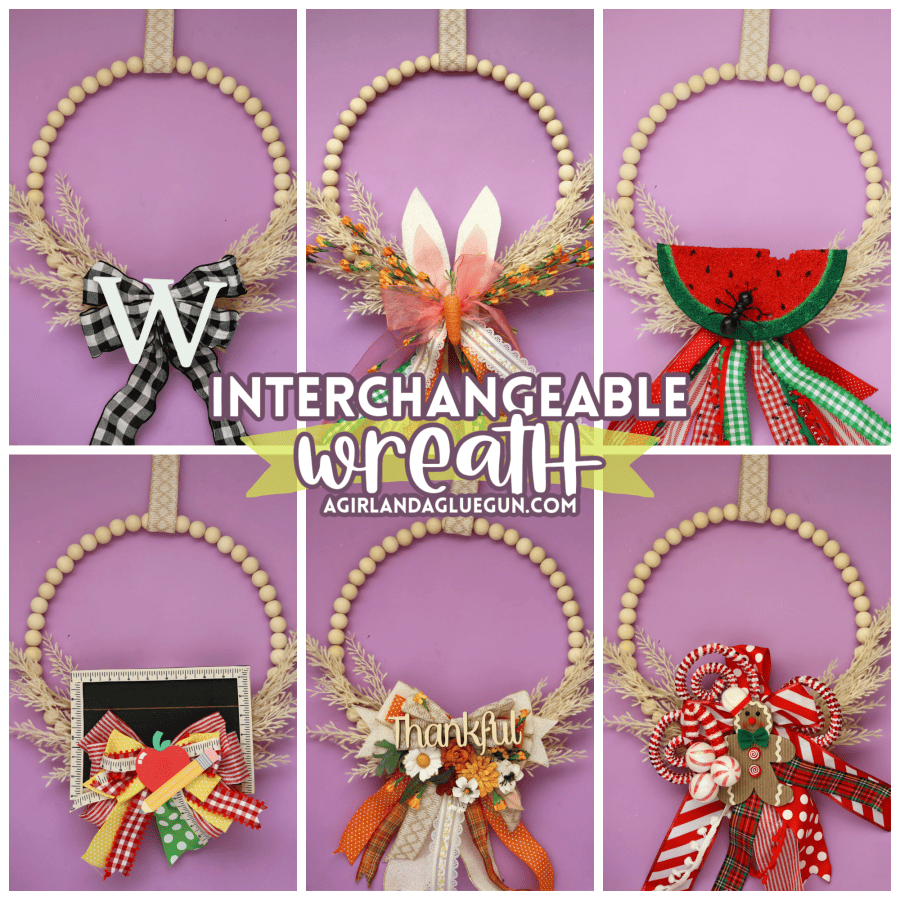
I love having pretty seasonal DIY wreaths on my front door- but I am running out of room to store all these wreaths! I decide there has to be a better way! An INTERCHANGEABLE wreath! The same wreath that you can swap out the decor on each month!
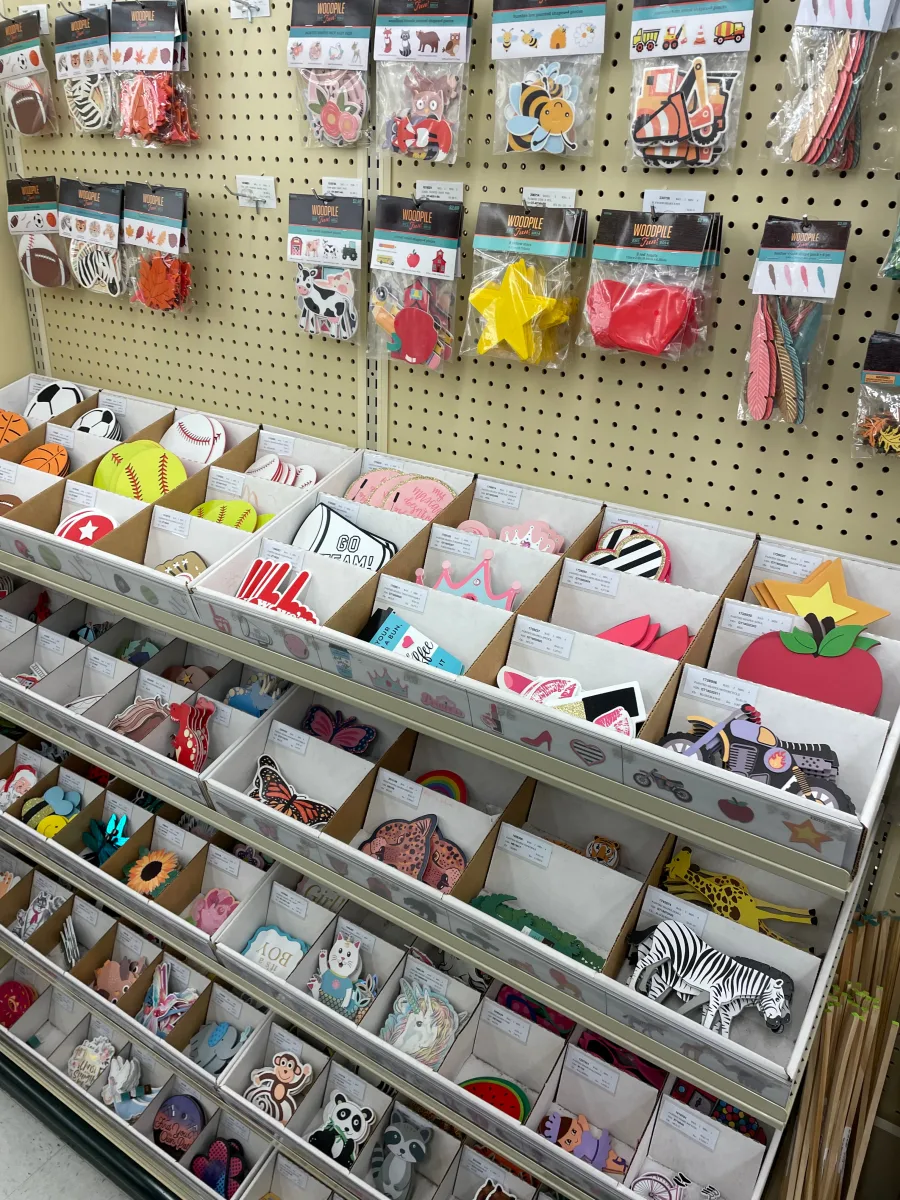
Head to Hobby Lobby and grab all the supplies to make all these door decoration wreath ideas!
With a DIY interchangeable wreath, you can keep your entryway looking festive throughout the season without breaking the bank. This post will show you how to create an attractive and versatile wreath that can be changed for every season and holiday! With just a few materials and a little creativity, you’ll have a beautiful decoration that will be the envy of your neighbors!
Reasons you need to make this DIY interchangeable wreath:
- Saves so much space! One wreath and all the embellishments fit in one box!
- Money! Spend money by buying ONE beautiful wreath and then create each embellishment at a fraction of the price of buying a new seasonal wreath!
- Creativity! If you love to craft as I do, it’s so much fun to put together all the different holidays and seasons!
- Customization! If you love a certain basketball team, have a kid graduating? Celebrate Festivus? you can totally make a custom embellishment to go on your wreath!
The secret of this wreath is VELCRO! Every month you can pull off last month’s decor and add on the new holiday!
How to make the DIY interchangeable wreath
Supplies you need to make the wreath base
- Zip ties or floral wire
- floral stems (optional)
- Velcro
- Wreath form
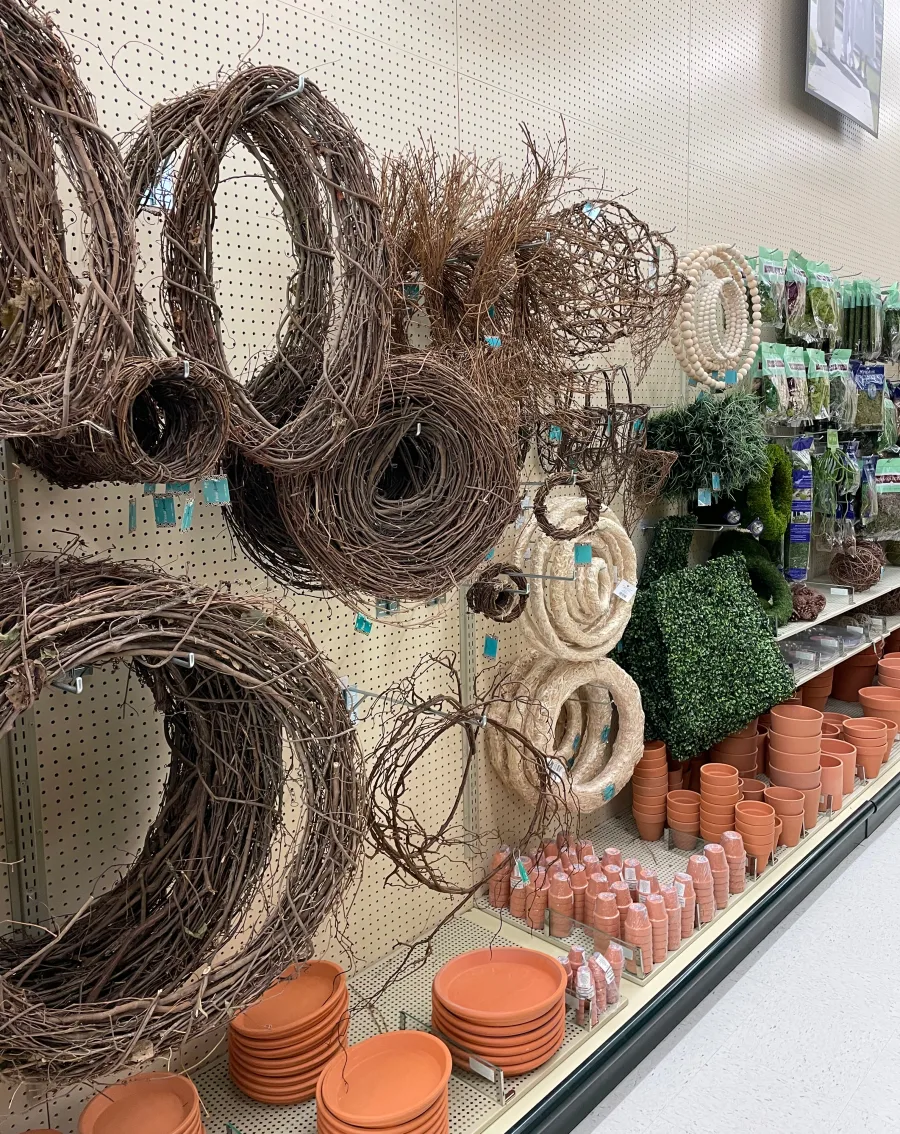
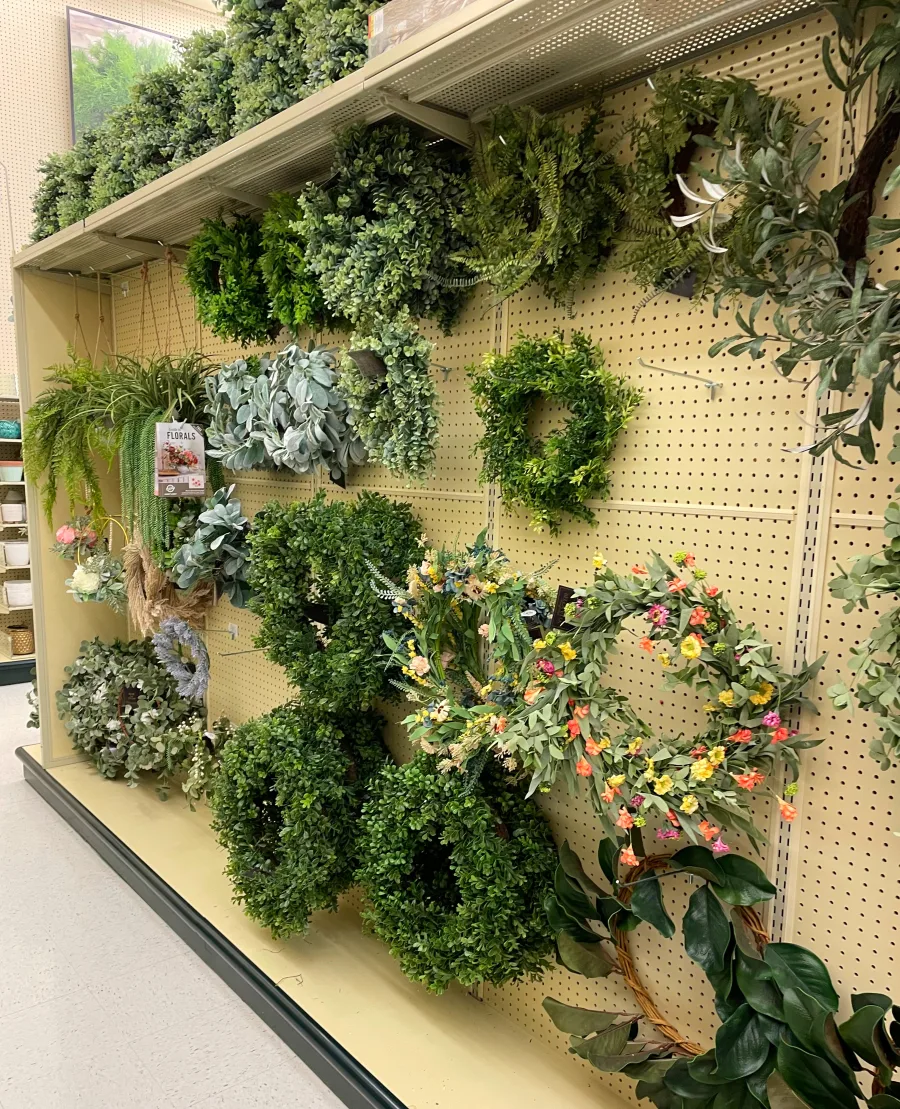
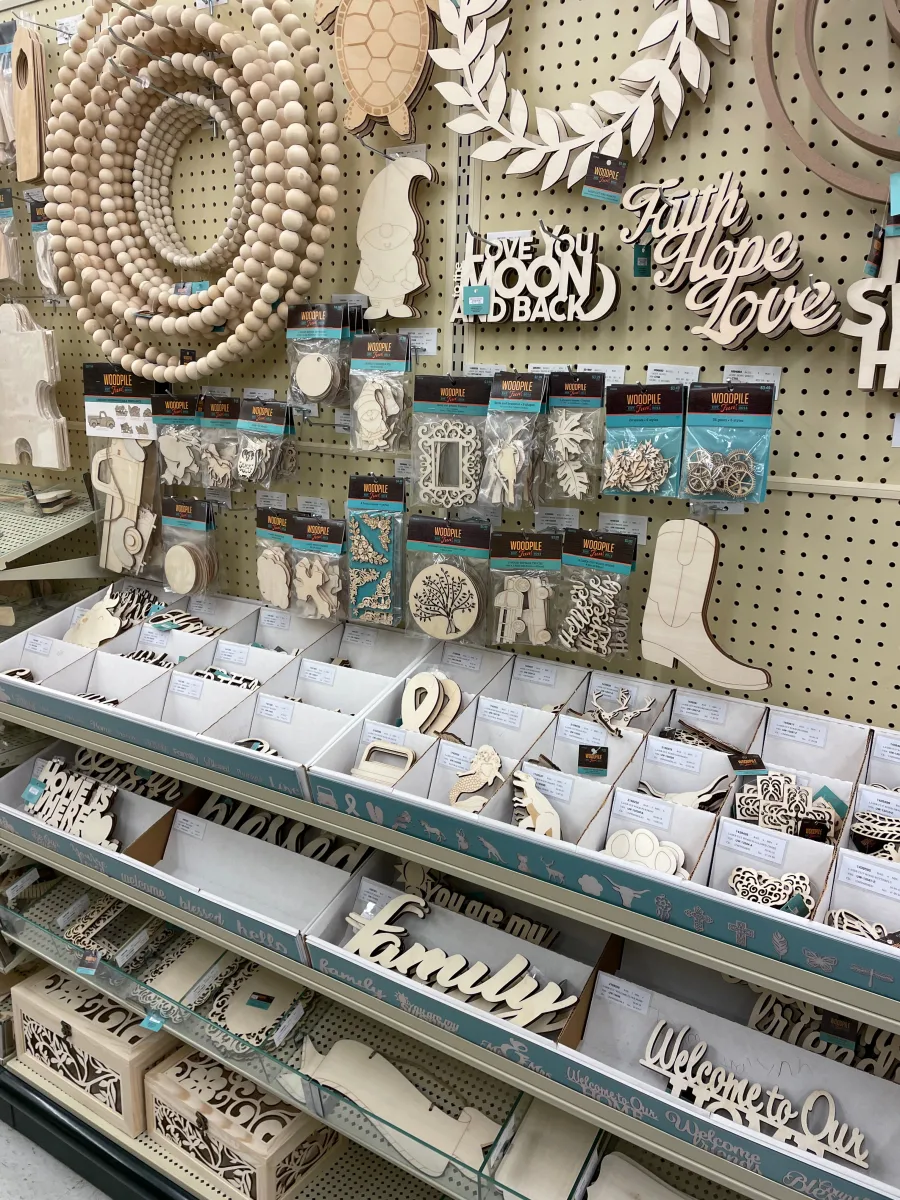
There are so many options when picking the wreath base! Hobby Lobby has a great selection and at all different price points! Choose a grapevine wreath, a beaded wreath, a moss wreath, or a faux greenery wreath or grab a wreath frame and make your own! That’s what’s great about a DIY interchangeable wreath- you can 100% make this your own!
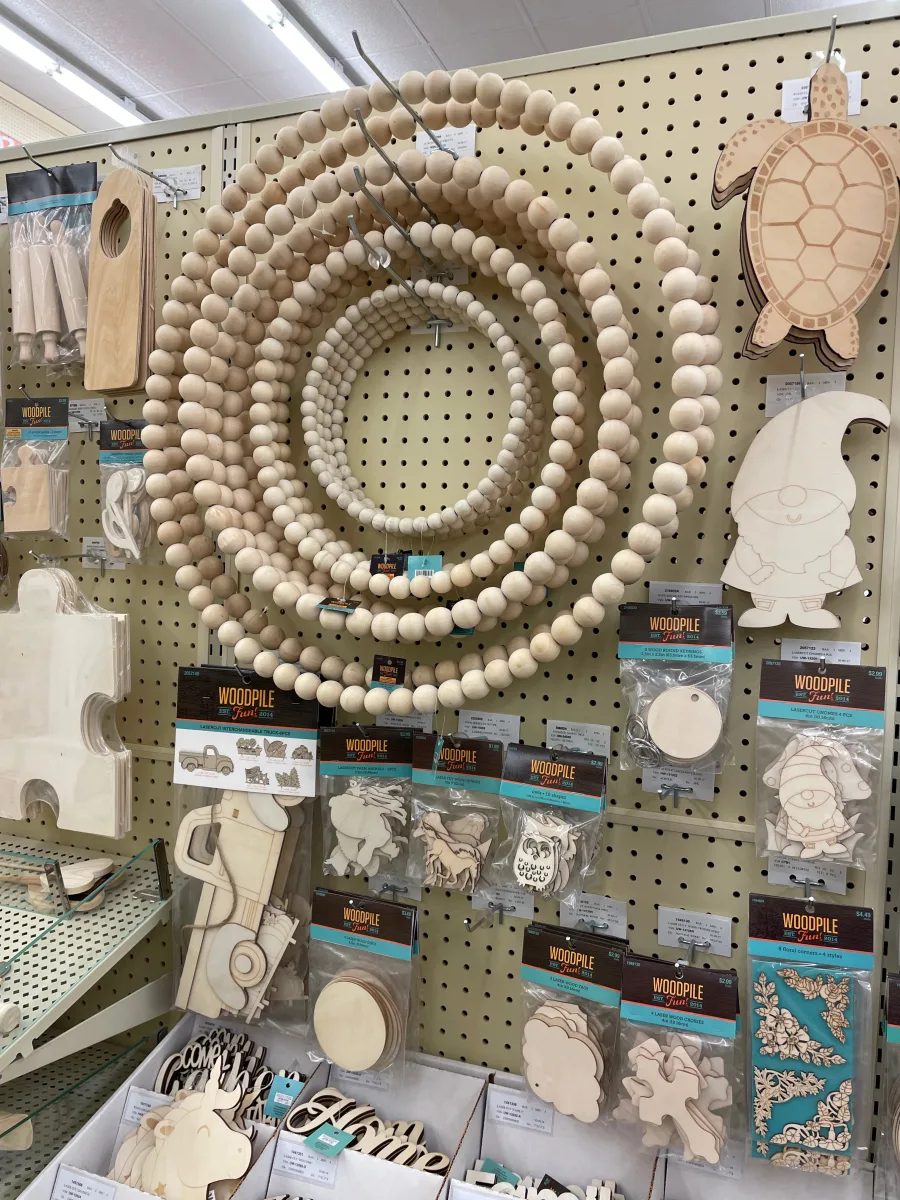
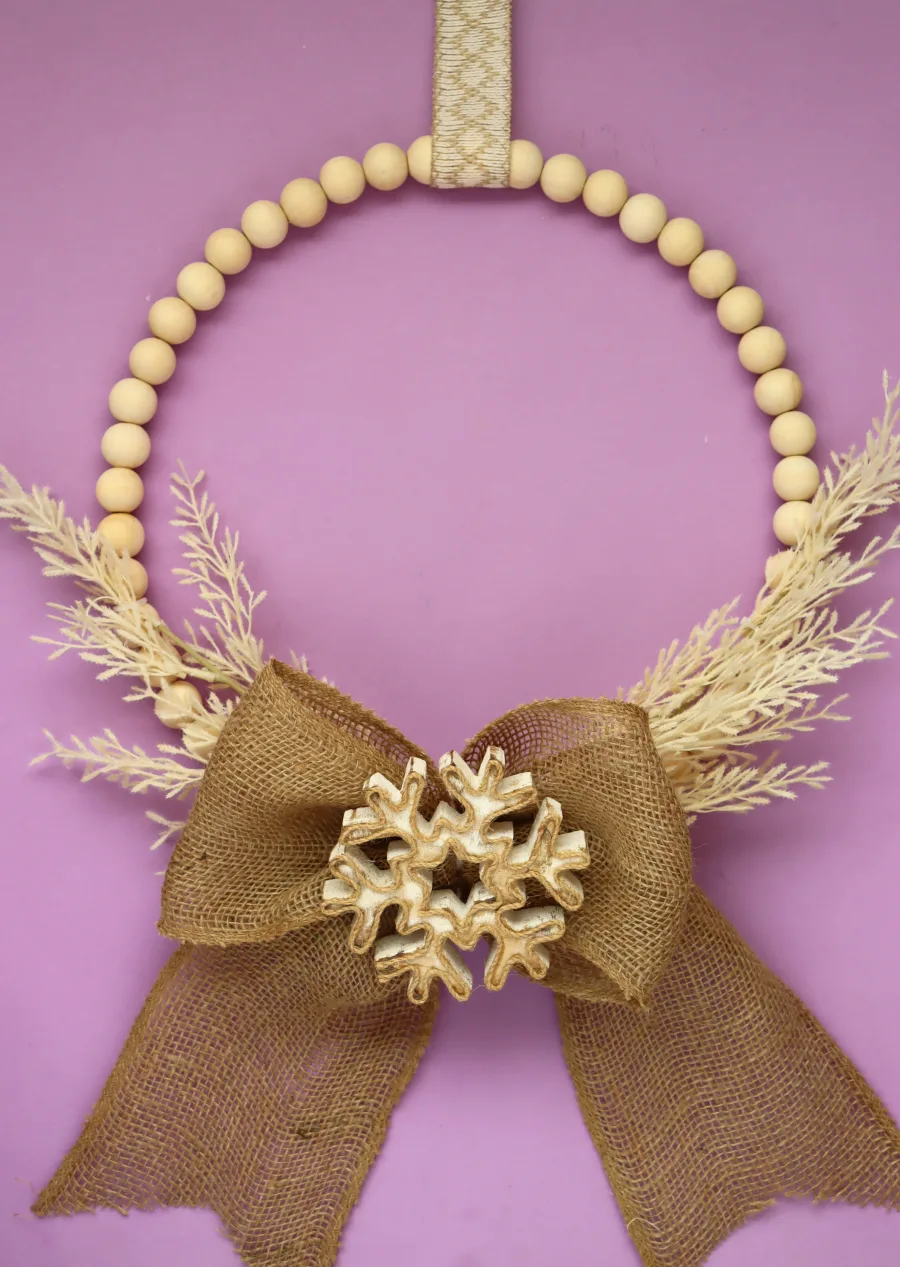
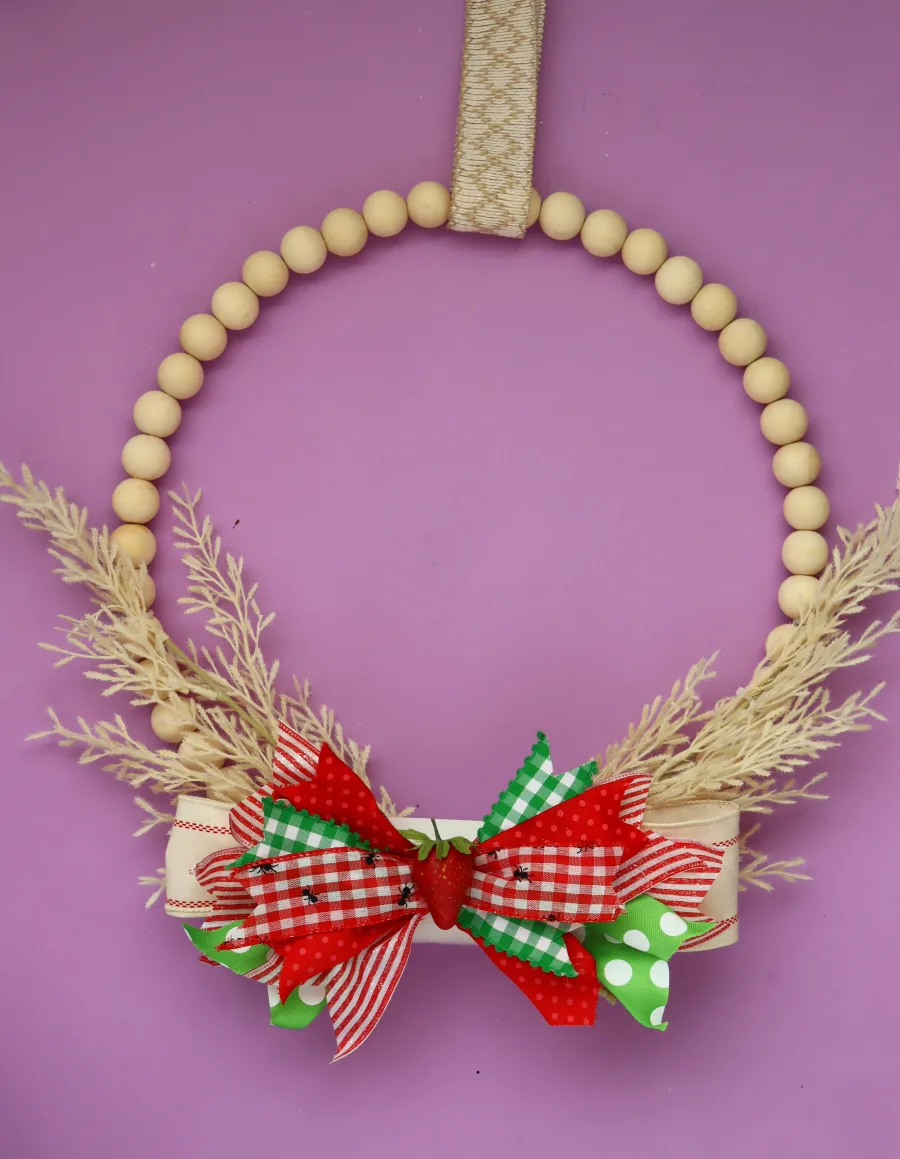
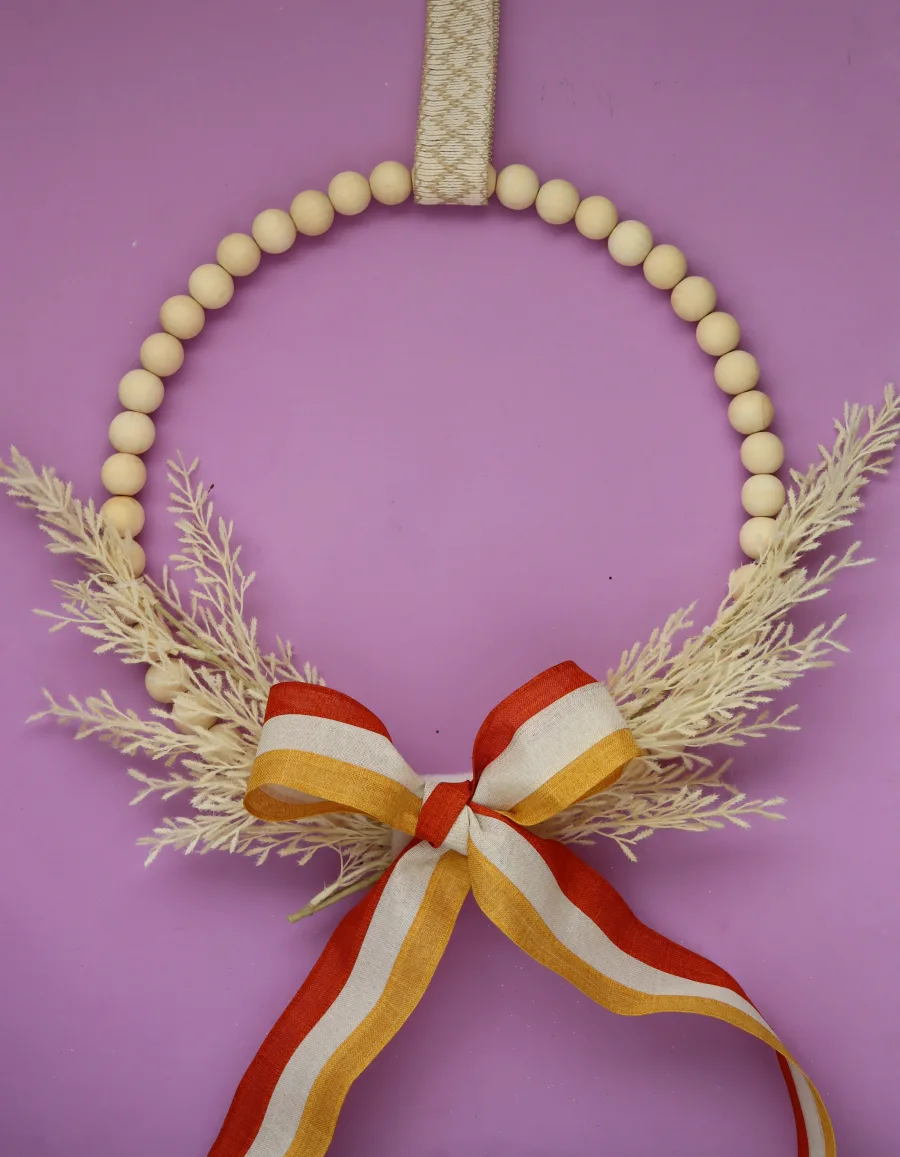
I decided on a wood bead one (but I will show you how the seasonal items look on a green wreath down at the bottom of the post!)
Assemble the Wreath
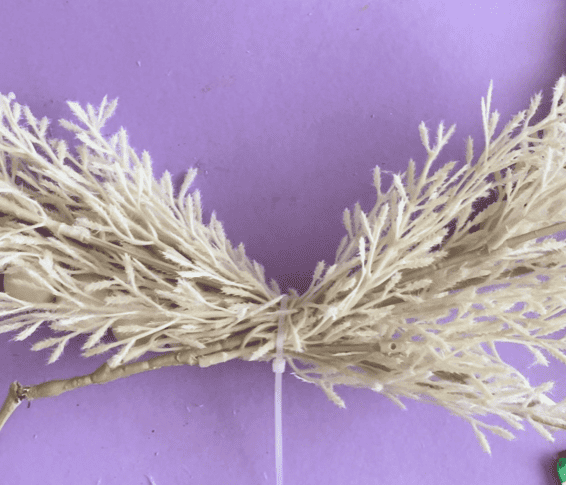
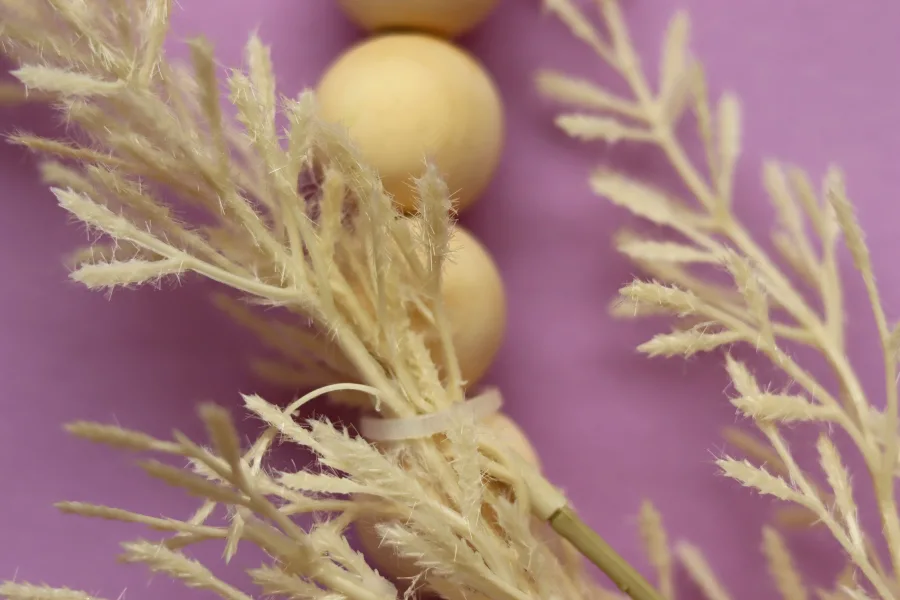
The floral section was on sale so I ended up grabbing two of these floral stems and attached them to the beaded wreath with zip ties to give it an extra pop!
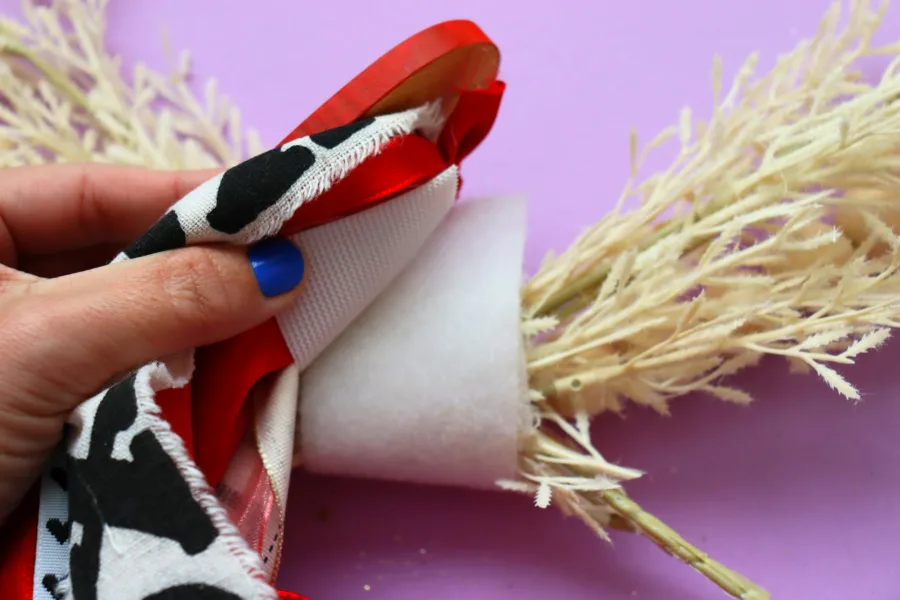
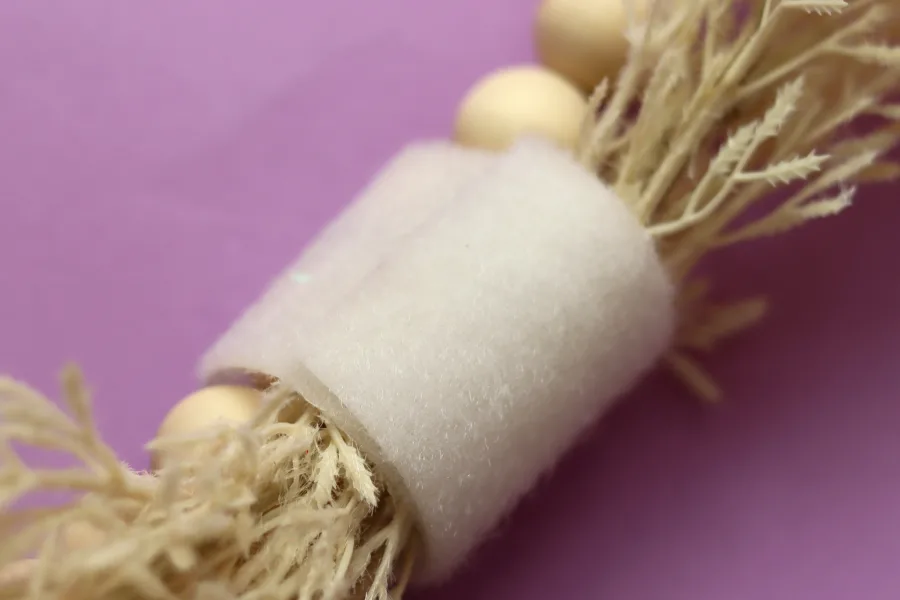
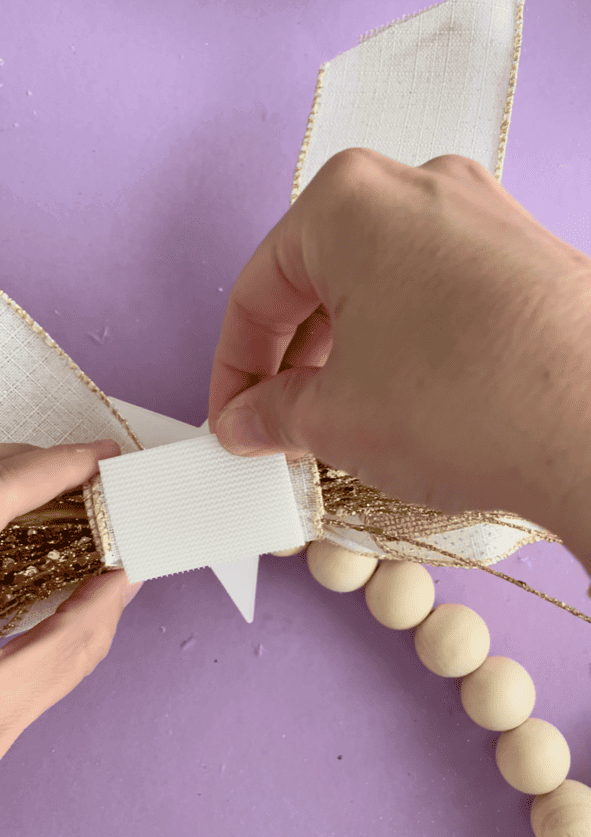
I grabbed the thick industrial velcro. It’s peel and stick so it was easy to apply. But Hobby Lobby has loads of colors so if you are doing a green DIY interchangeable wreath, you could grab green velcro and just wrap it around and hot glue it in place.

Just cut off a large piece and wrapped it around the base of the wreath. I overlapped it by a few inches to make sure it was tight and secure!
I originally put the soft part of the velcro around the wreath. But if I could redo it, I would put the scratchy part on the wreath and the soft part on the back of each month’s decorations.
When you stack the wreath parts in a box, the scratchy part sticks to some of the ribbons and supplies. It’s not a huge deal but it makes it easier to pull things out of the box without the velcro bringing up a part of another one.
Here is the wreath base all finished! I think it looks so pretty just like this!
How to make the DIY interchangeable wreath holiday items
If you have ever been to the Hobby Lobby craft section, you know the selections are endless! So many amazing craft supplies to choose from! If you want to just make a pretty holiday bow with seasonal ribbon- you can! But I wanted to show you a few options to get those creative juices flowing!
Tools you need to make
- wire cutters
- hot glue gun
- glue sticks
- zip ties or florist wire
- scissors
What to buy for the themed wreath attachments
- Finished wood decals
- Unfinished wood decals
- floral and succulents department
- Ribbon
- Seasonal aisle
Assemble the Interchangeable Decor
Now it’s time to create all the seasonal and holiday embellishments! A few tips before you get started.
- I left the wreath right next to me so I could keep checking to see how the ribbon placement would look as I was making it. I made the back-to-school wreath bow out of ribbon and when I put it on the wreath it looked way too small. That’s why I ended up adding the chalkboard
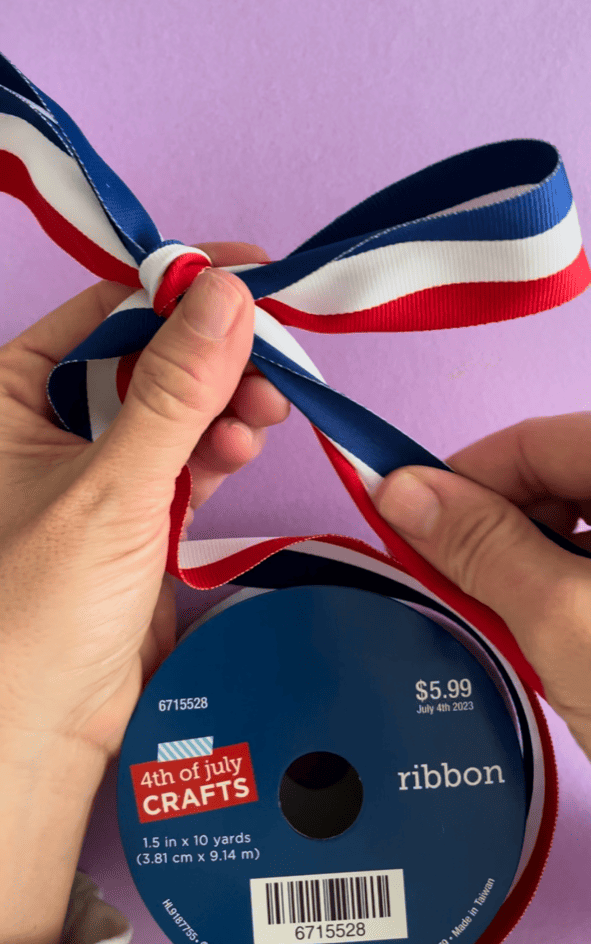
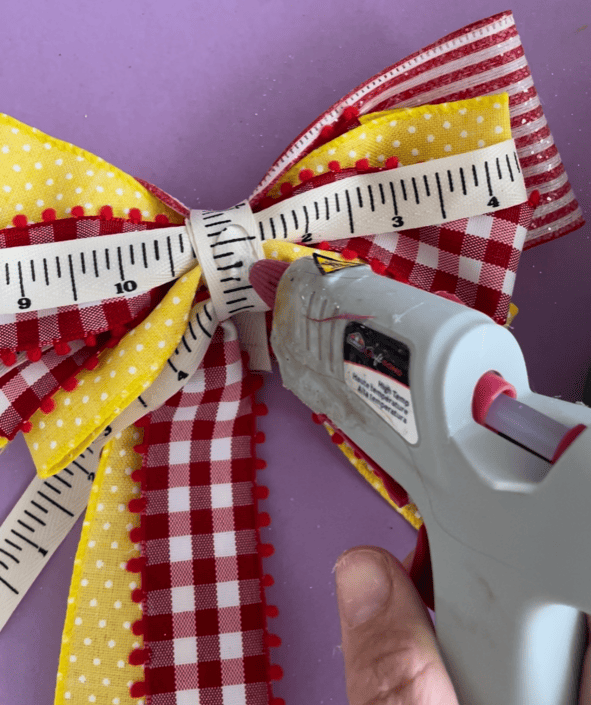
- Most ribbons are put together with zip ties. Then I used my hot glue gun to attach any wood decal.
- My last tip is that you have to be mindful of the weight. It’s industrial strength velcro-but it’s not going to be able to hold heavy items. My flower spring embellishment is a tad heavy. When I added it to the wreath it bends down from the weight! So keep it lightweight!
Let’s break it down month to month! Keep in mind that I’m buying all these supplies in MAY! Hobby Lobby has all the seasonal ribbons and wood decals out year-round, but the selection isn’t huge. I will probably go back when the Fall and the winter stuff is out in full force and add to my embellishments.
January: Snowflake wreath
This one is pretty easy- burlap ribbon roll with a wood snowflake ornament. I just snipped off the hanging part of the ornament! You also could do a snowman!
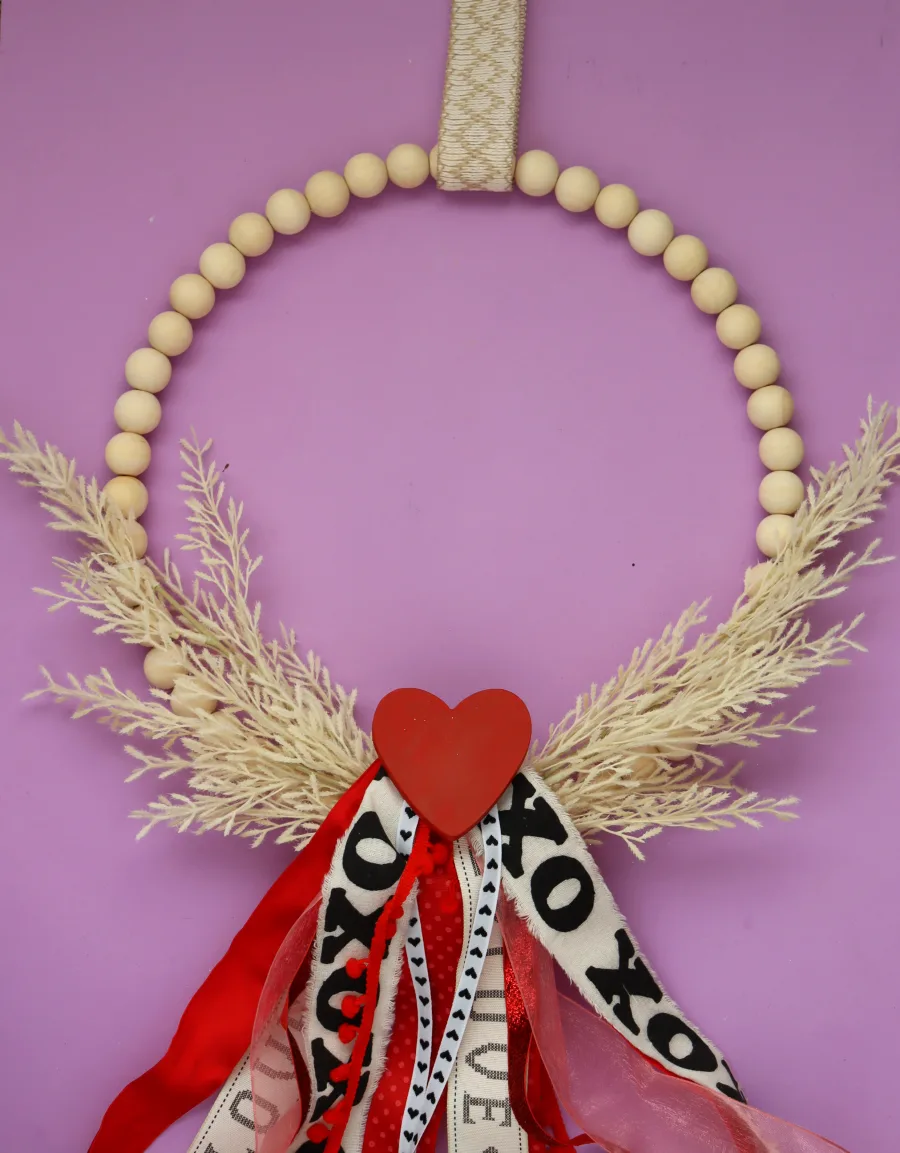
February: Valentines Wreath

This is a wood heart from the unfinished wood section. I made a ribbon swag -they had so many cute ribbons! and then just glued it to the heart. I might go in with my silhouette cameo and add BE MINE onto the heart with vinyl!
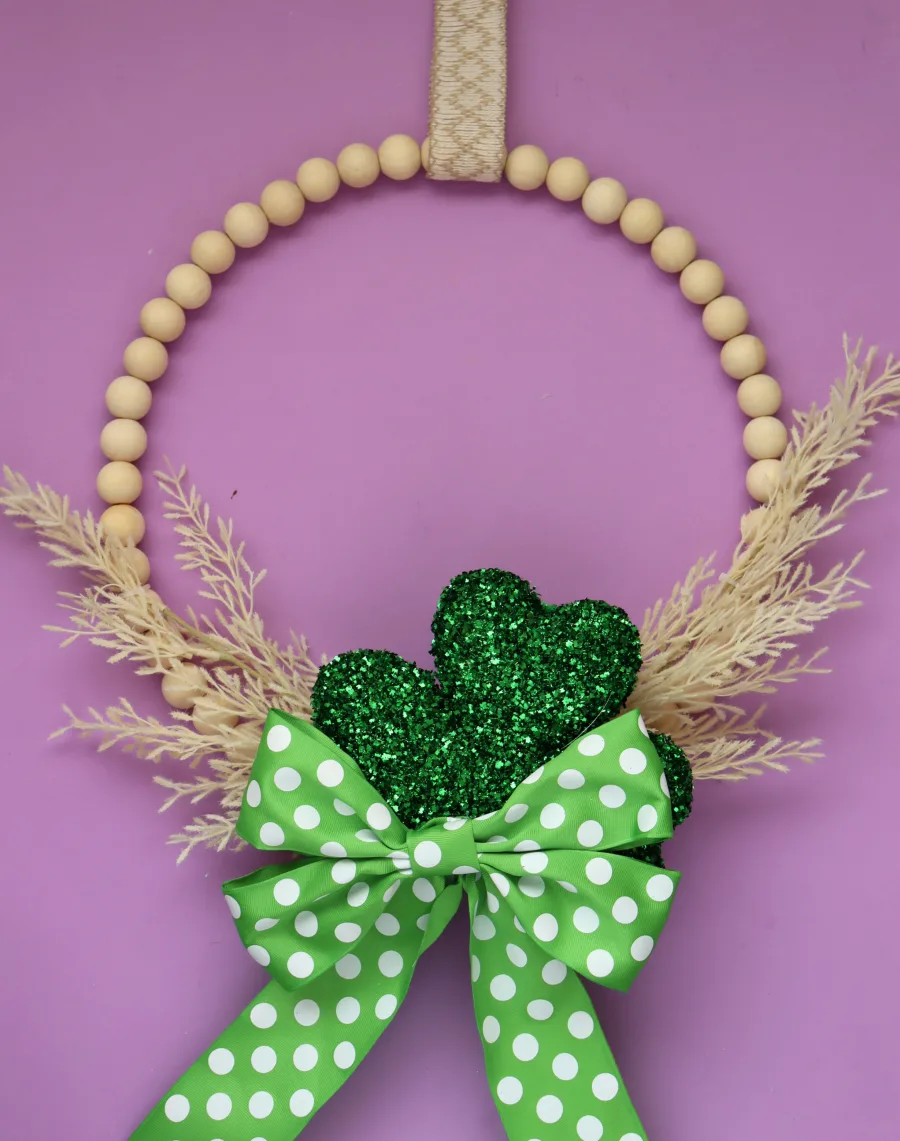
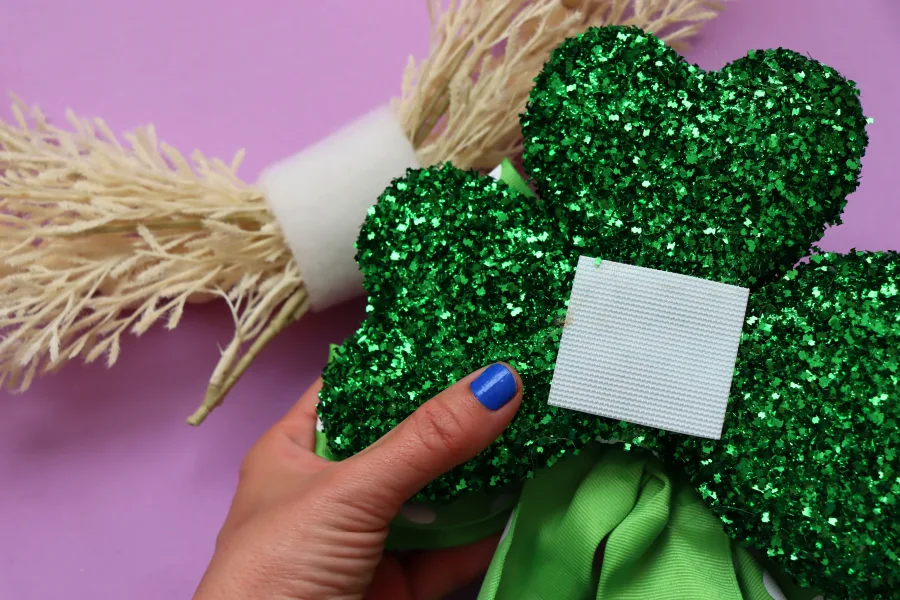
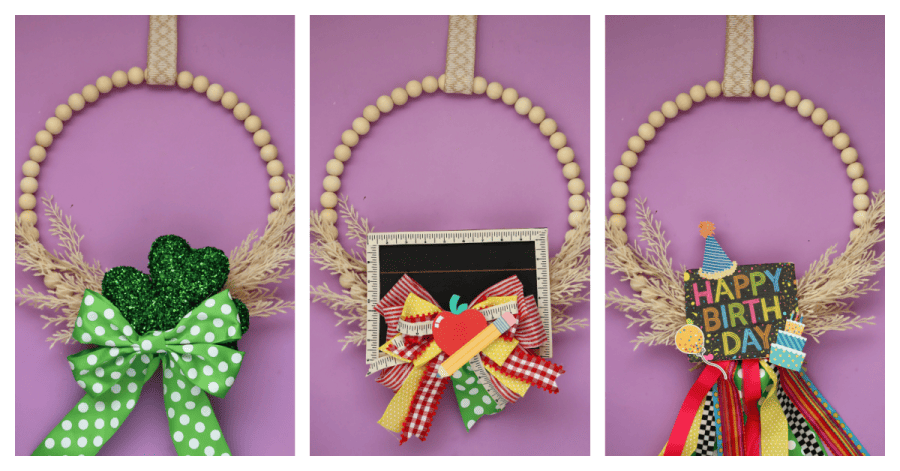
March: St. Patricks Day
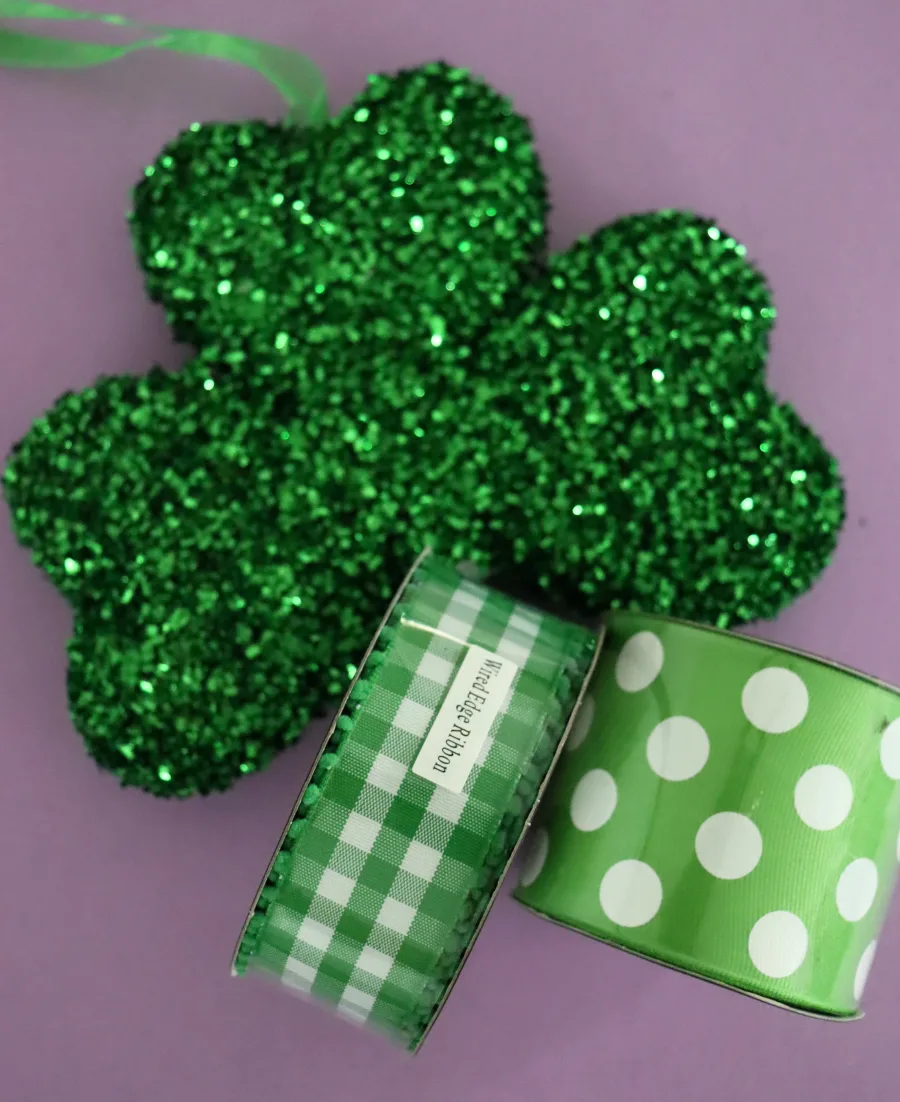
Since I was buying stuff in May, the St. Patrick’s Day selection was pretty non-existent! Luckily, I found this big clover in the clearance section. I added a big green bow. I might update this next year when I get to shop the full St. Patrick’s Day aisle at Hobby Lobby. But I still love how this looks!
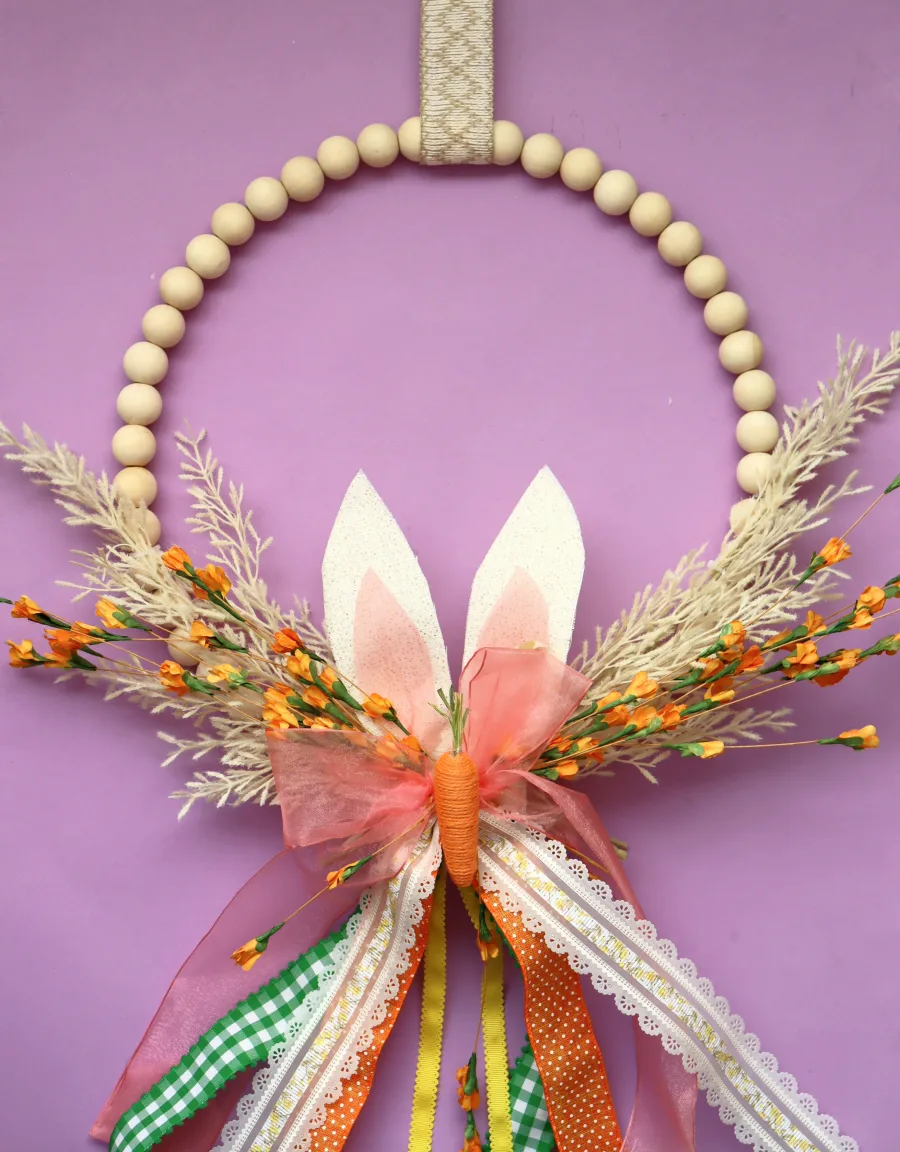
Easter Wreath
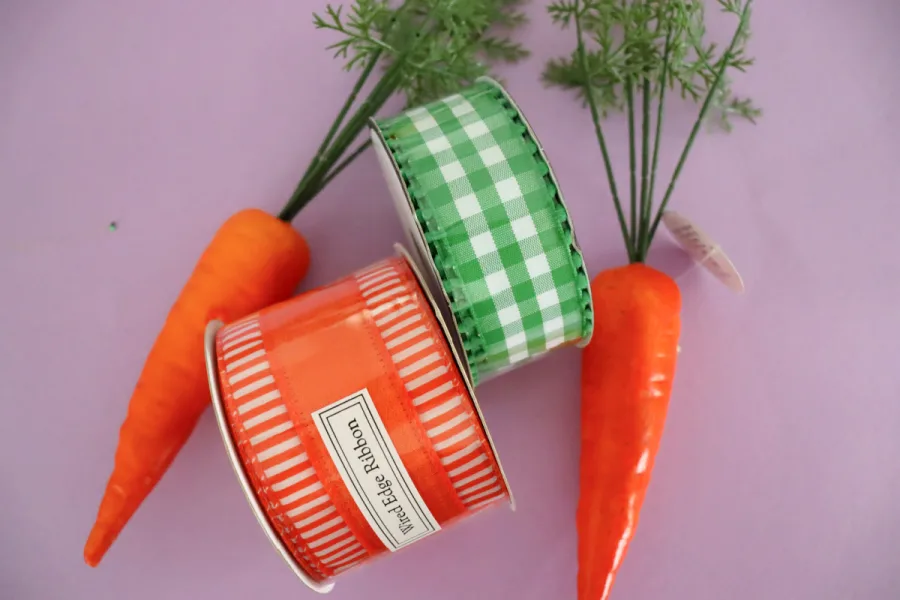
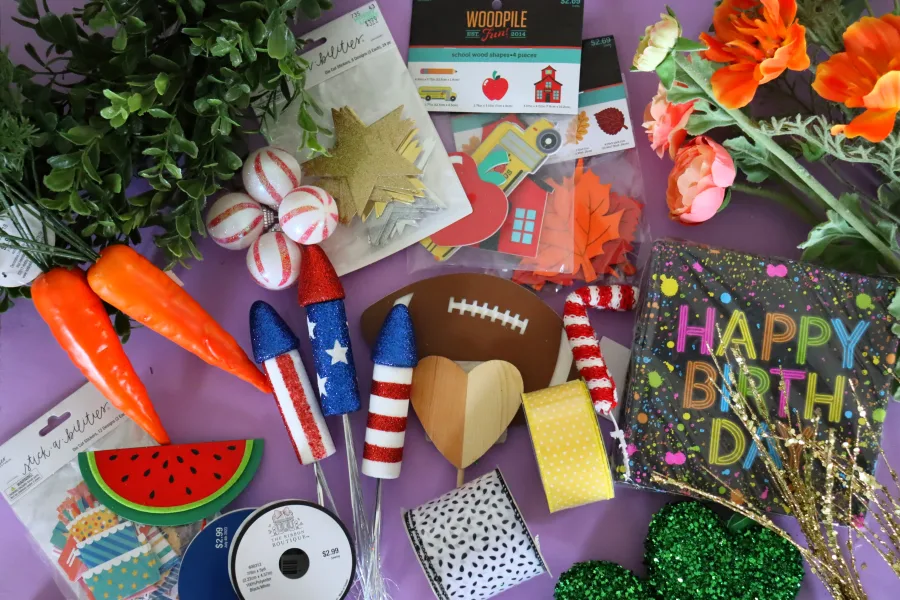
As you can see, I originally planned on doing big carrots on my Easter wreath (These carrots are in the floral department! They have lots of fruits and vegetables!) But, I just couldn’t get the carrots to work. I didn’t like my placement so I scratched it and went to plan B- bunnies!
I had lots of cute bunnies but I was worried about them being too heavy, so I opted to make Bunny ears out of ribbon, added faux flowers, and then glued on a carrot! Another option is to make an easter egg wreath!
Floral Wreath
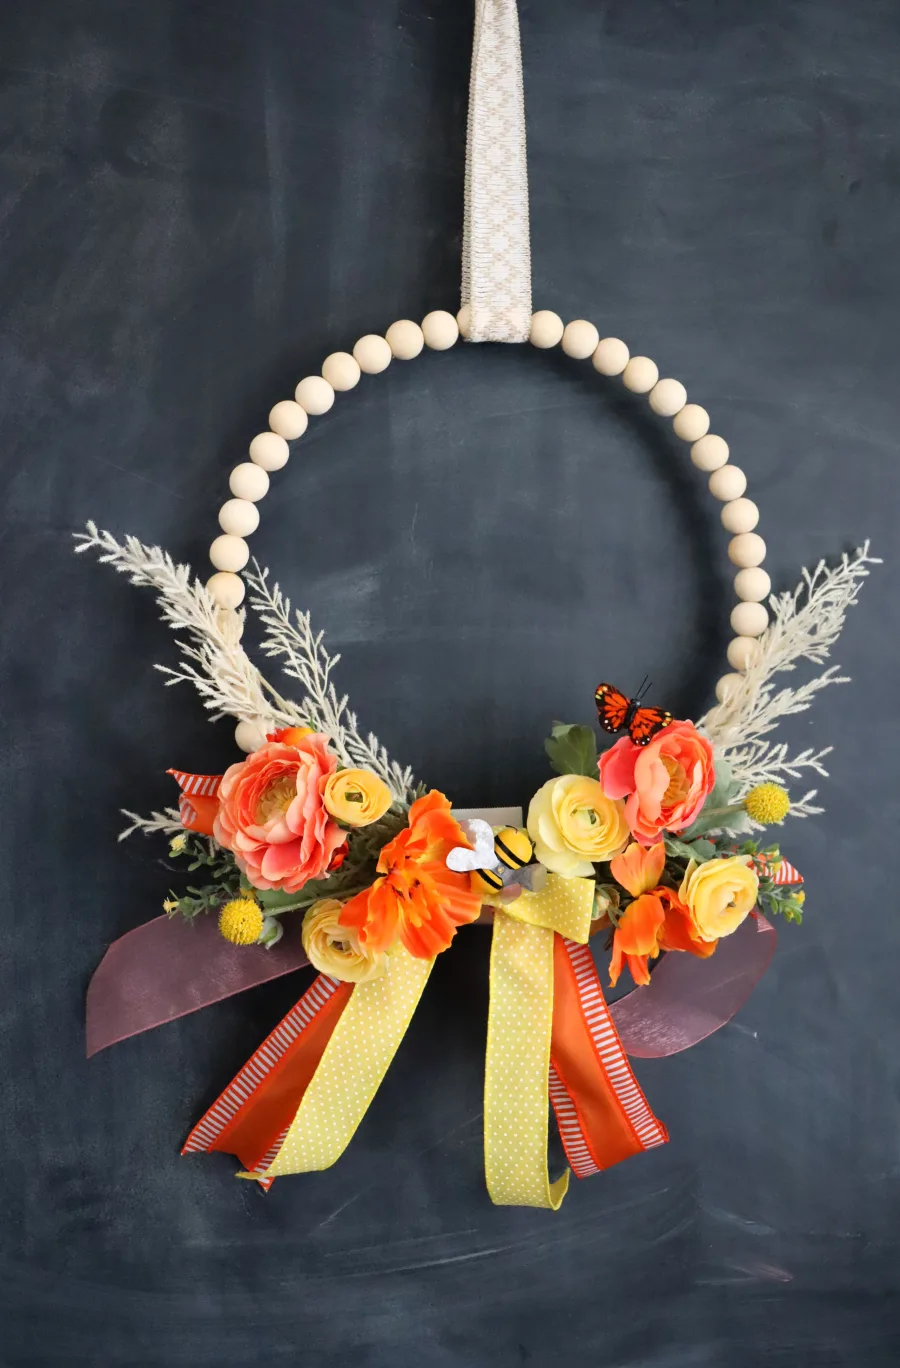
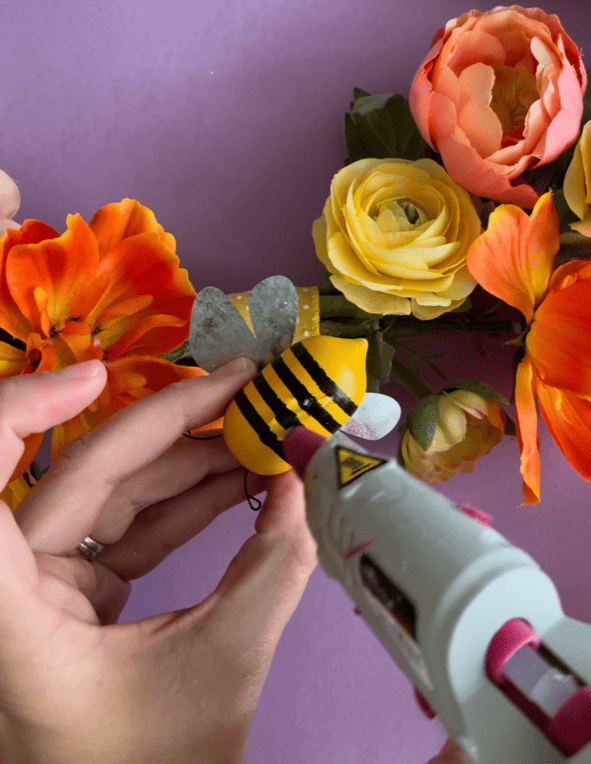
I wanted a nice pretty floral wreath. As I mentioned early, this one got pretty heavy! I still love it, so I need to take out a few pieces and get it to work! I’m worried that it will fall off as people come in and out the front door! But florals aren’t that heavy, so they do work! I just kept adding stuff- like these darling wood bees!
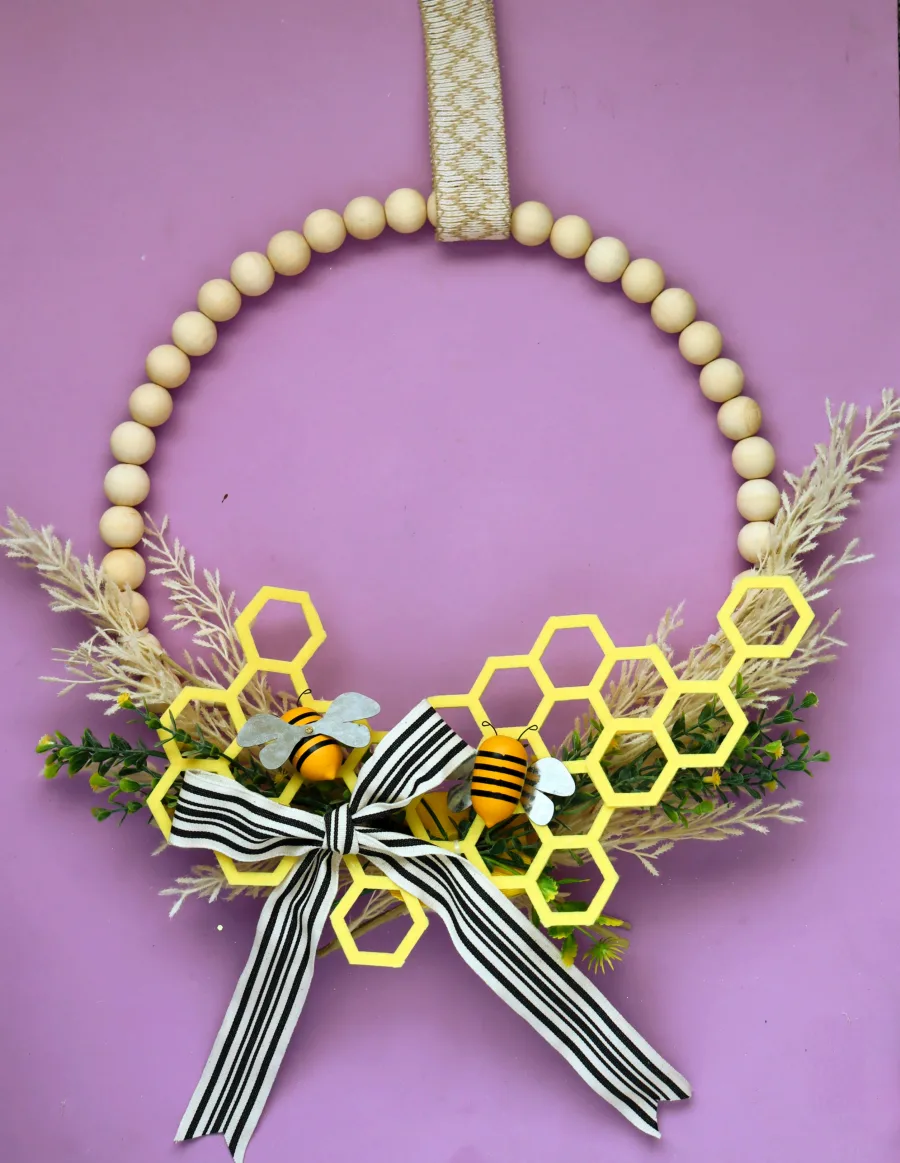
DIY Spring Wreath
Since I had all these bees, I wanted to make one that was all bees! They are so cute! I found the honeycomb felt runner in the party decor section and just cut out a section. Added a few yellow stems and leaves, a ribbon, and then hot glued on the bees!
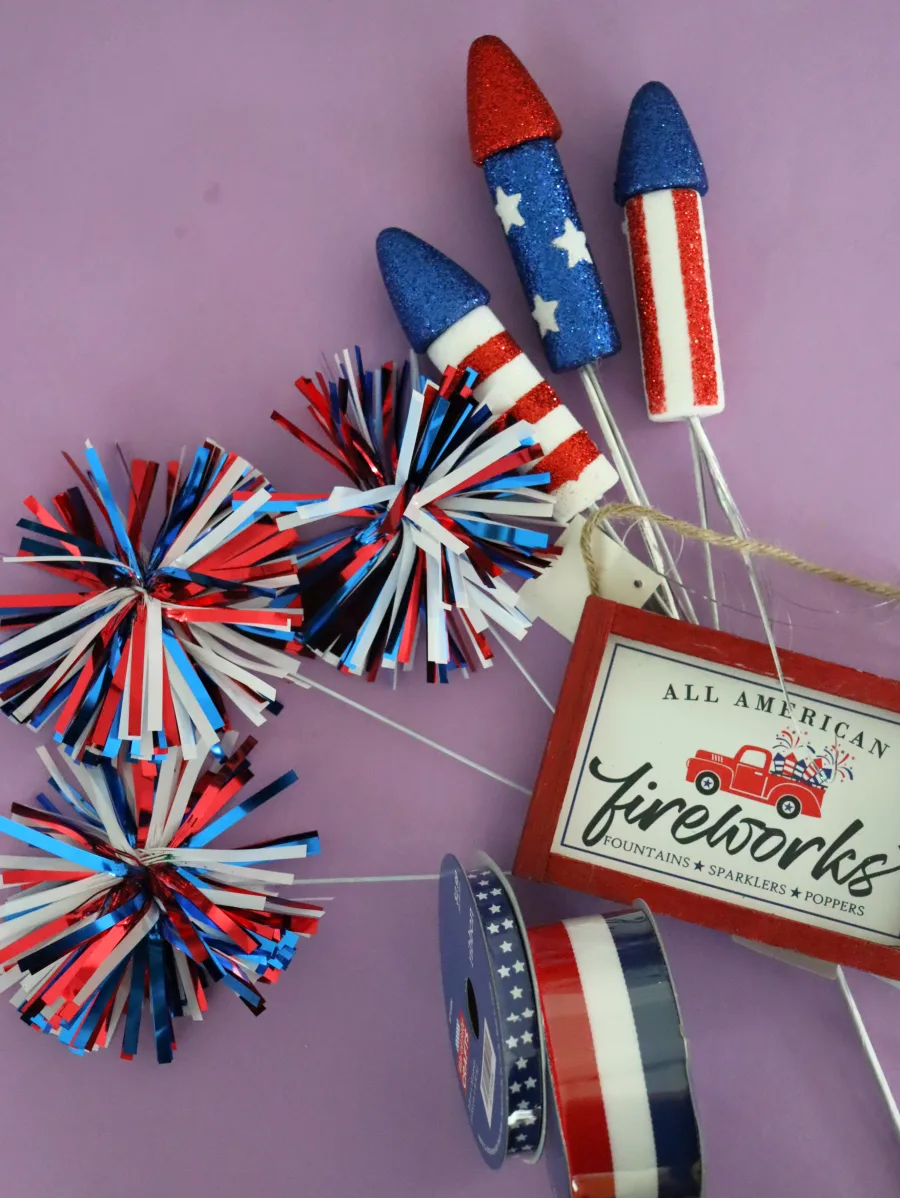
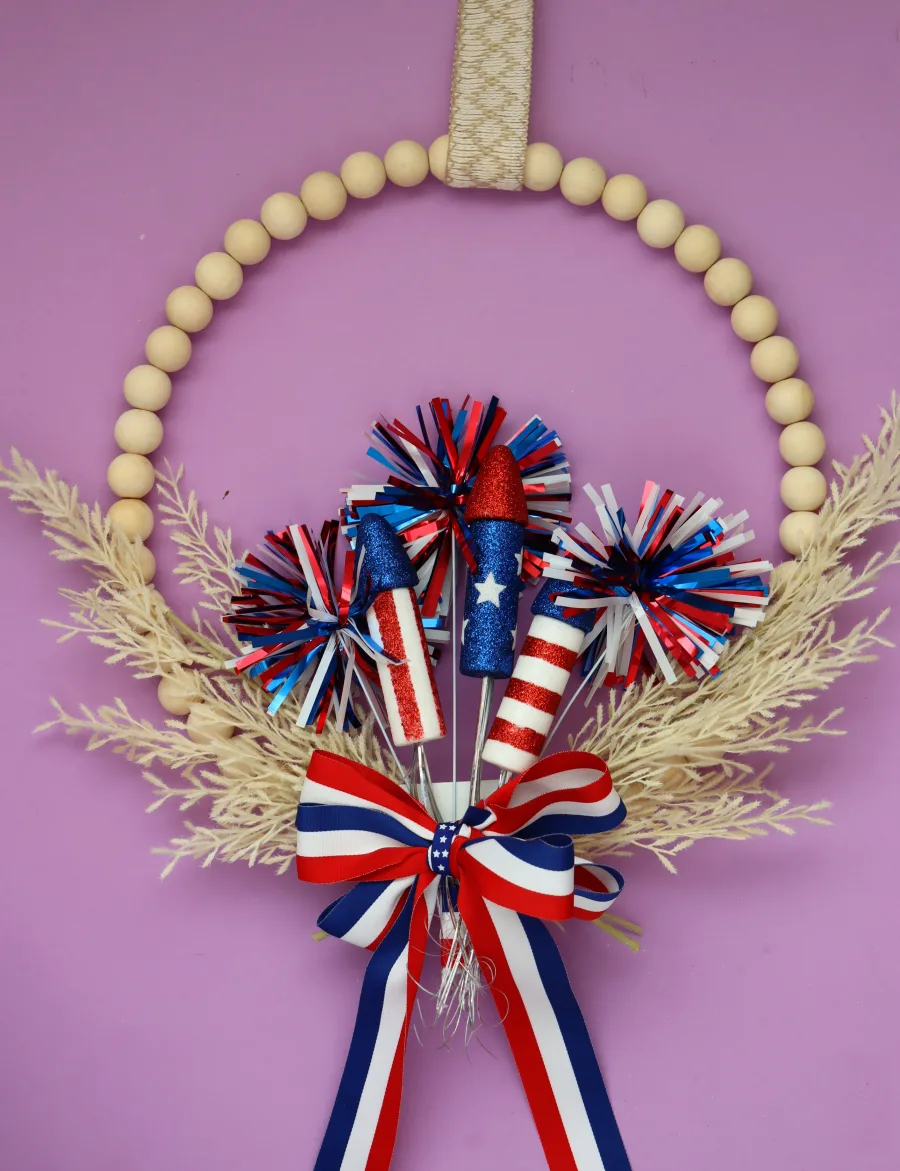
4th Of July Wreath
When I made this the 4th of July aisles were full of goodies! So many cute options! They had red white and blue wood popsicles that would have been a darling wreath! I grabbed some tinsel pom poms and some styrofoam fireworks. Both are so light! They also had little framed signs that would be so cute on just a simple ribbon bow!
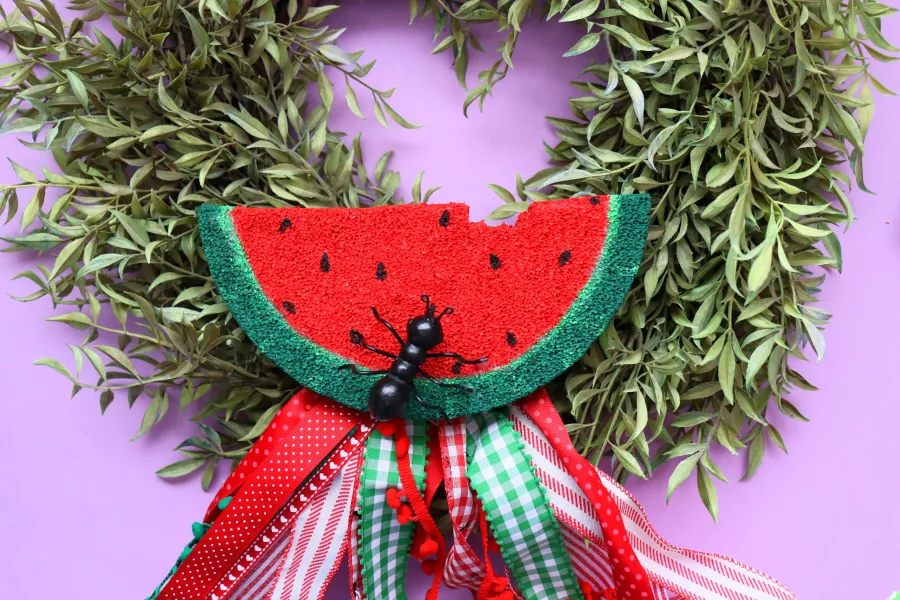
Summer Wreath
Summer! There were so many options! Hobby Lobby had beach and seashell crafts, Cute popsicle decor, Mermaid, Butterflies, flamingos, birdhouses, and gnomes! I could have made a wreath for every week in summer!
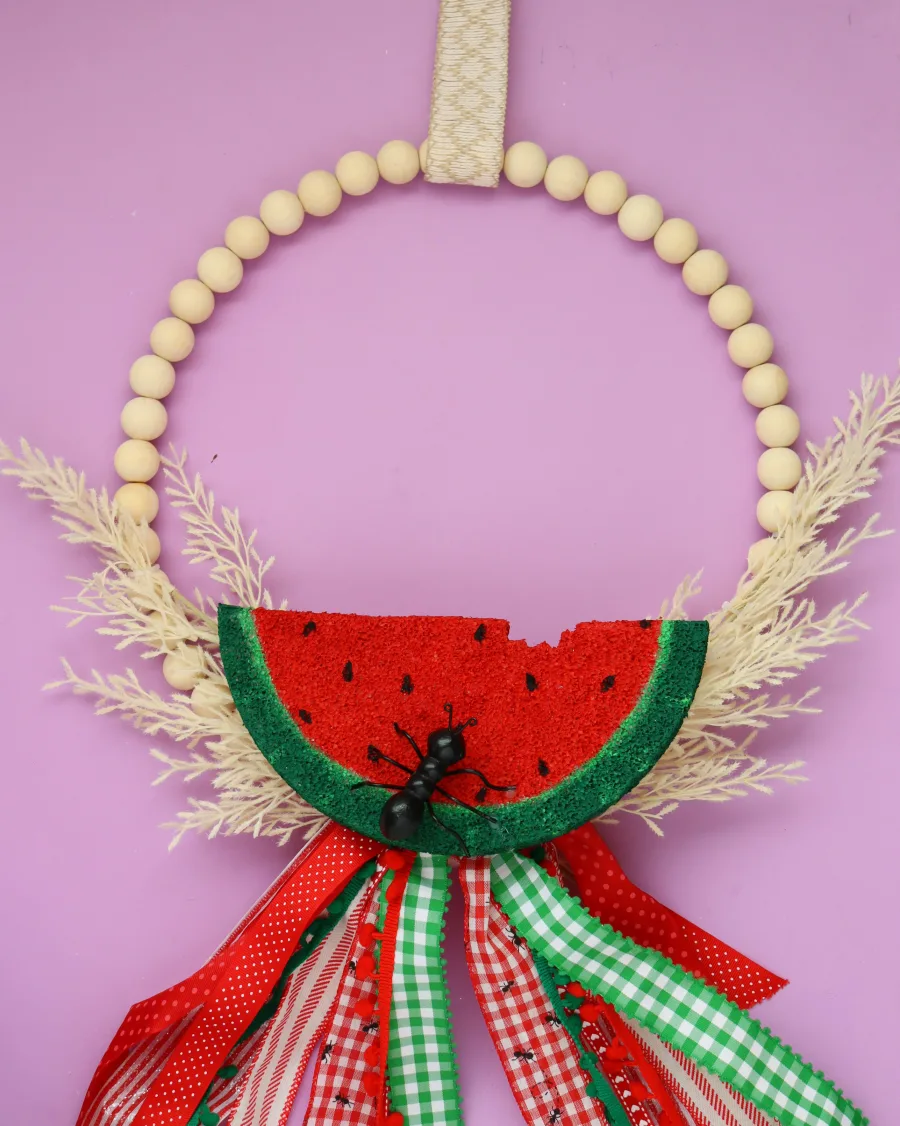
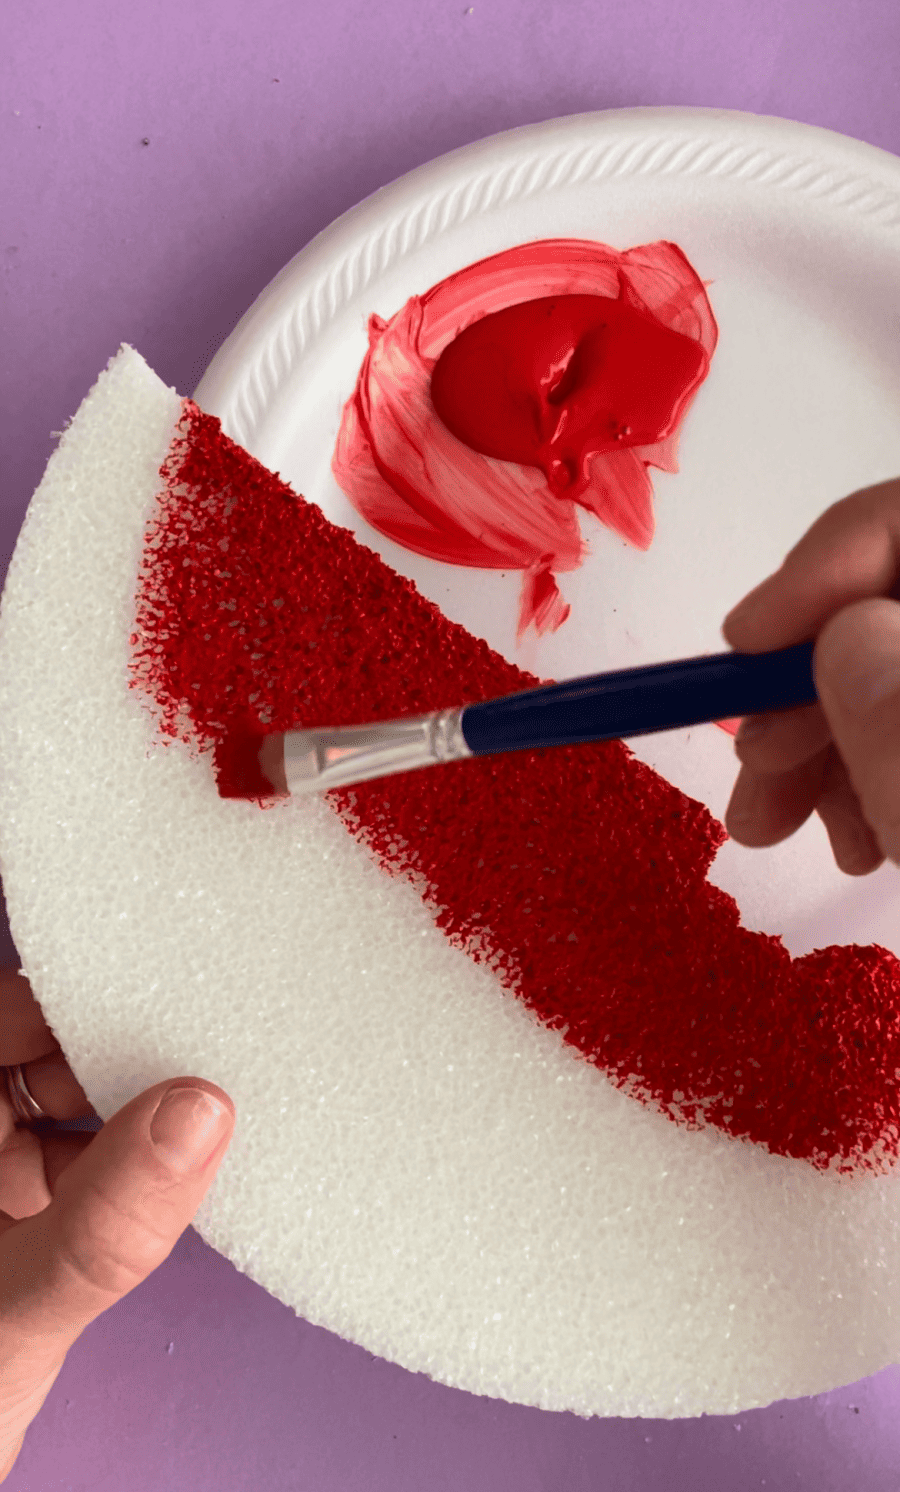
I decided to make a watermelon. Just cut it out of styrofoam (nice and light!) added paint and ribbon, and then found an ant from the spring garden decor! There was a watermelon already finished in the wood section you can use! It would be so cute and easy to just make a pretty bow and add that watermelon on top with glue!
I also maybe made a strawberry embellishment! I found the strawberries in the same place as the carrots so I HAD to grab them! They also had lemons there and I thought they would make a cute wreath as well!
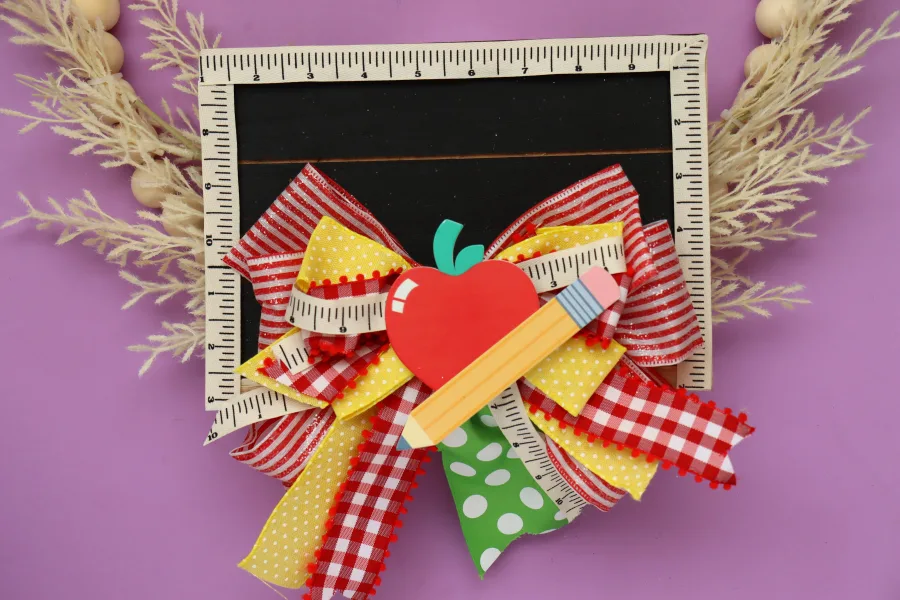
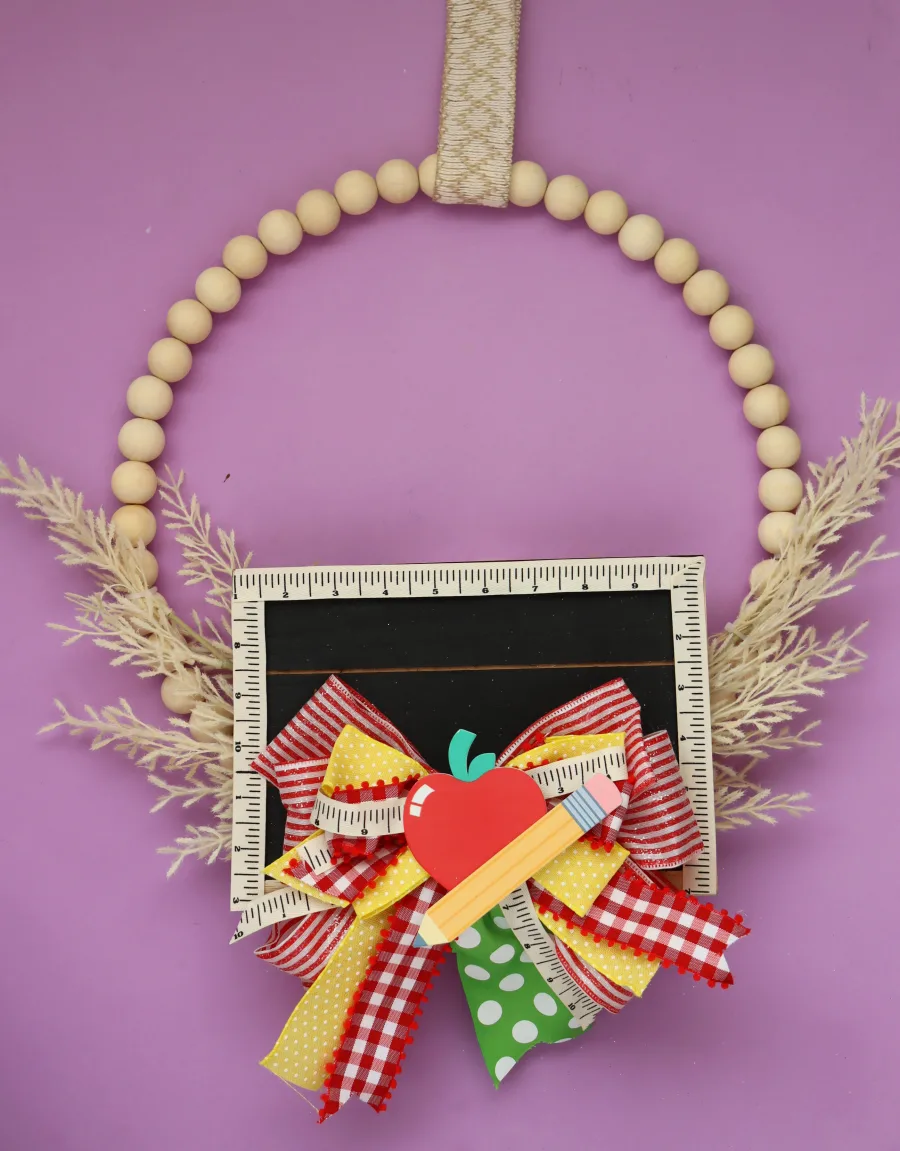
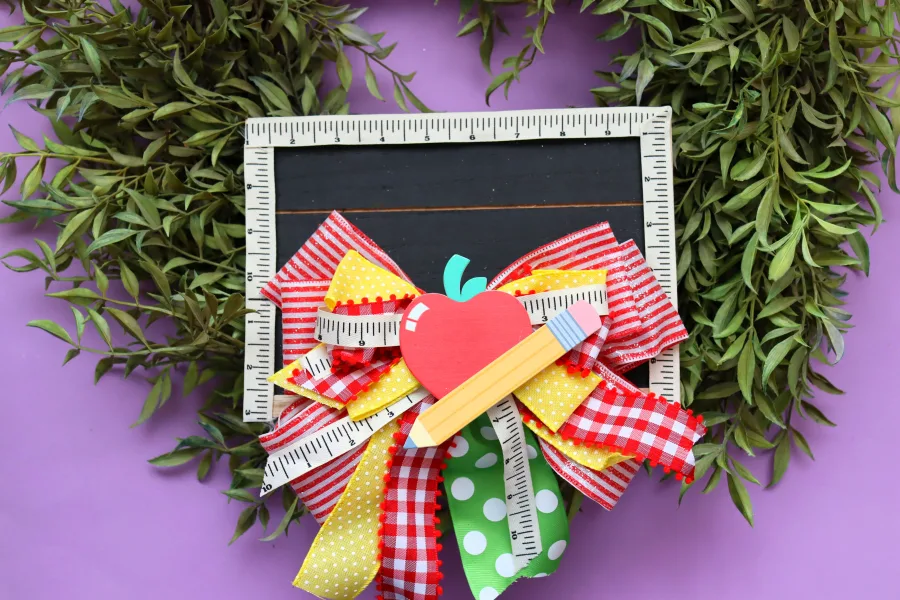
Back to school wreath
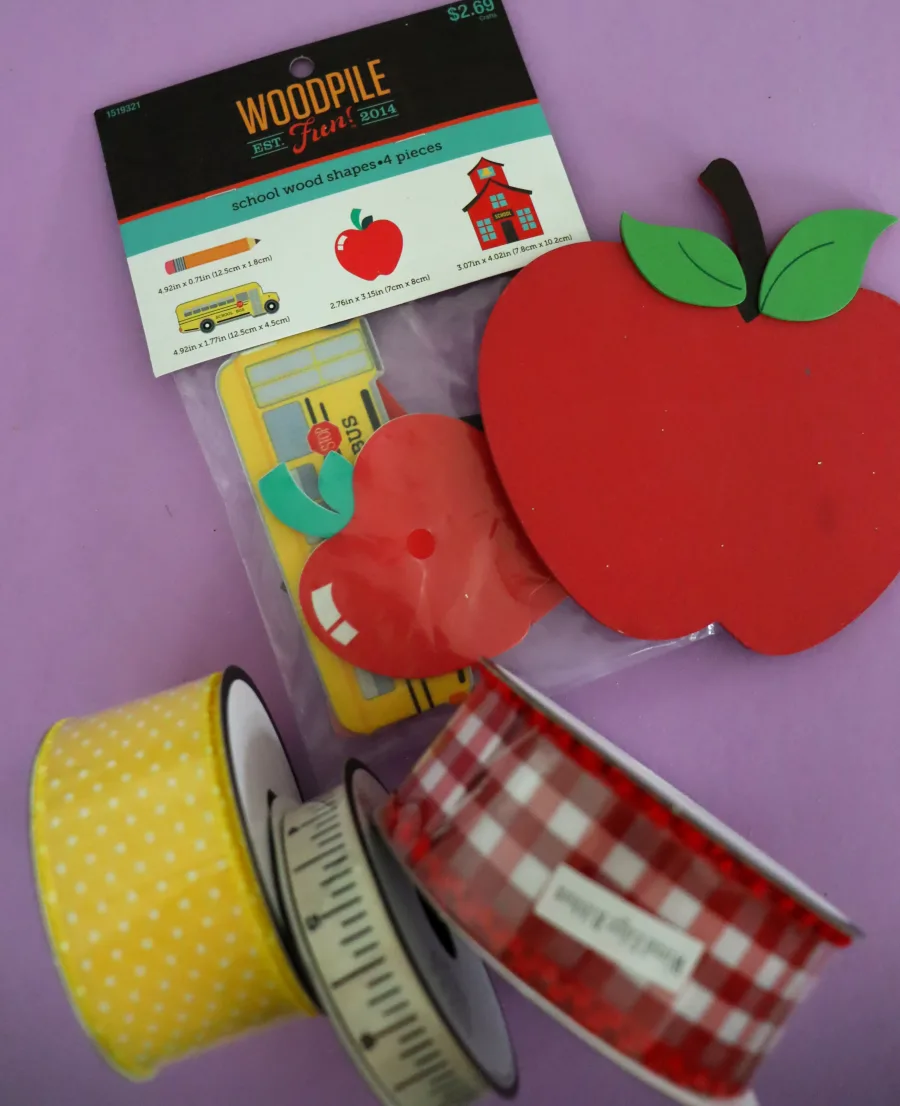
A fun wreath for August to kick off school! The measuring tape ribbon is so cute! I also love the 4 pack of the woodpile finished wood decals! The ribbon I made was a little small so I ended up adding a chalkboard behind!
Fall wreath:
I wanted to show one that was a super simple ribbon into a bow. It’s so easy and so cute! You don’t have to go crazy! A pretty ribbon and then add velcro!
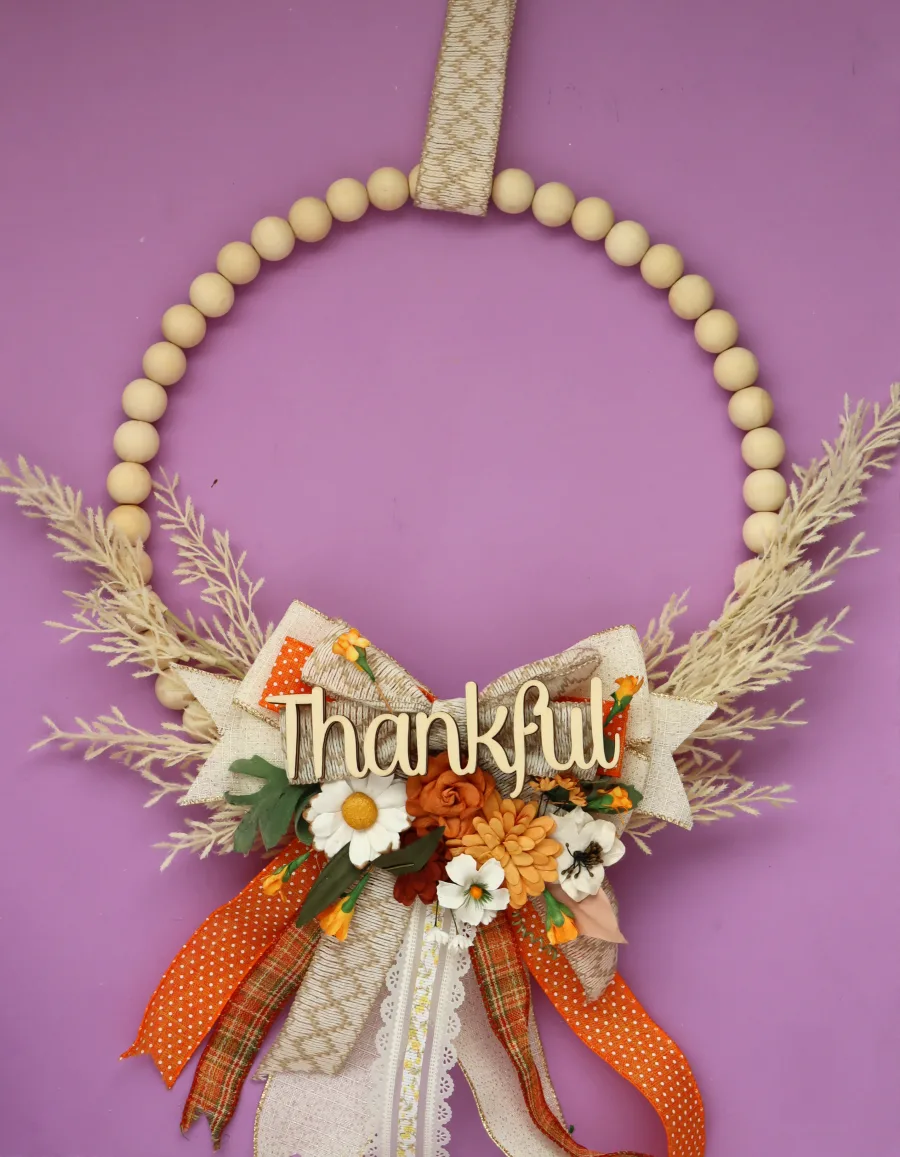
Thanksgiving wreath
This one is another unfinished wood saying, and these darling paper flowers that are found in the paper section. My porch is covered so I don’t have to worry about rain or snow getting to it! You could easily opt for the pretty fake flowers instead! Just hot glue it all together into an arrangement you like! Once the fall stuff gets put out on display, I’ll probably grab some pumpkin stems to add in! Acorns, wheat, or corn husks would make a perfect wreath for Thanksgiving!

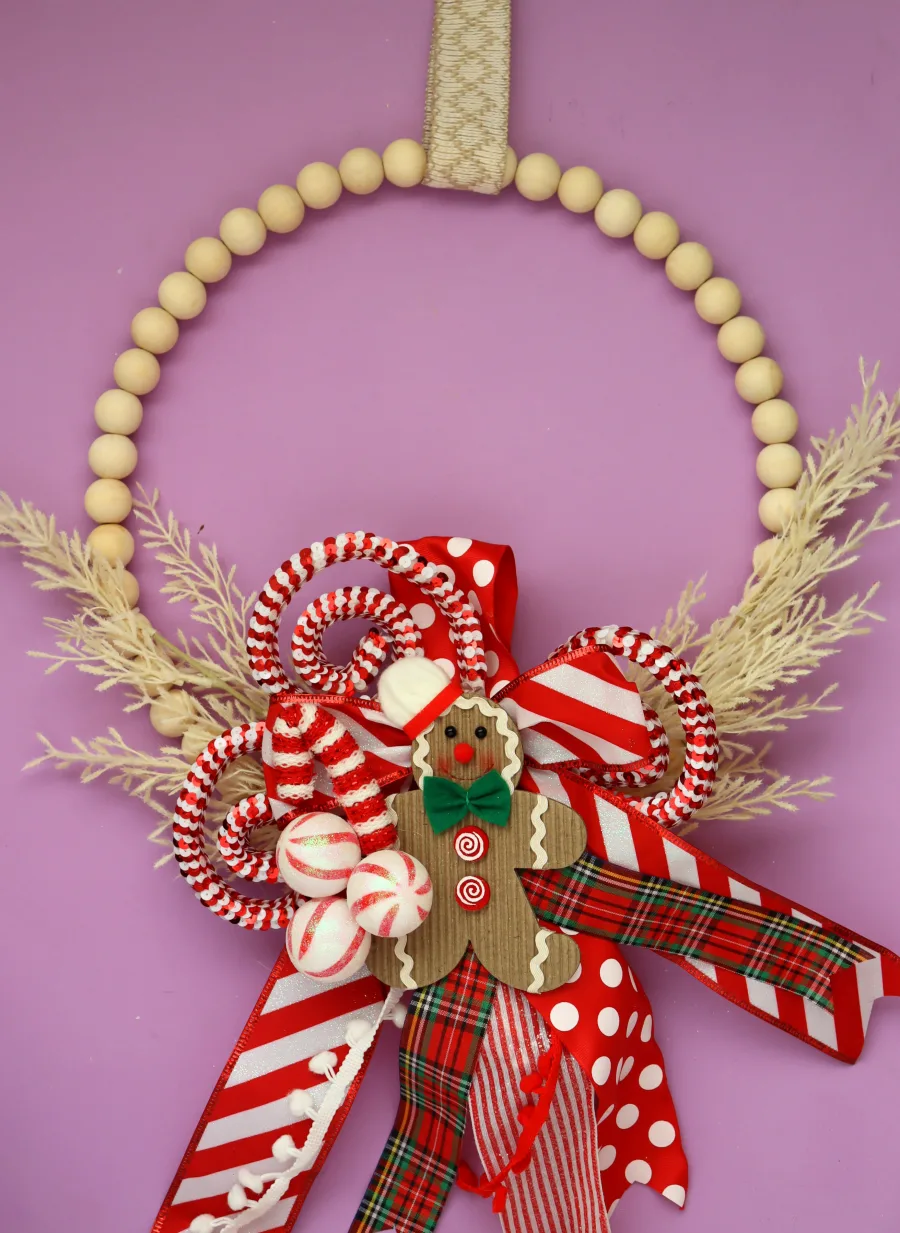
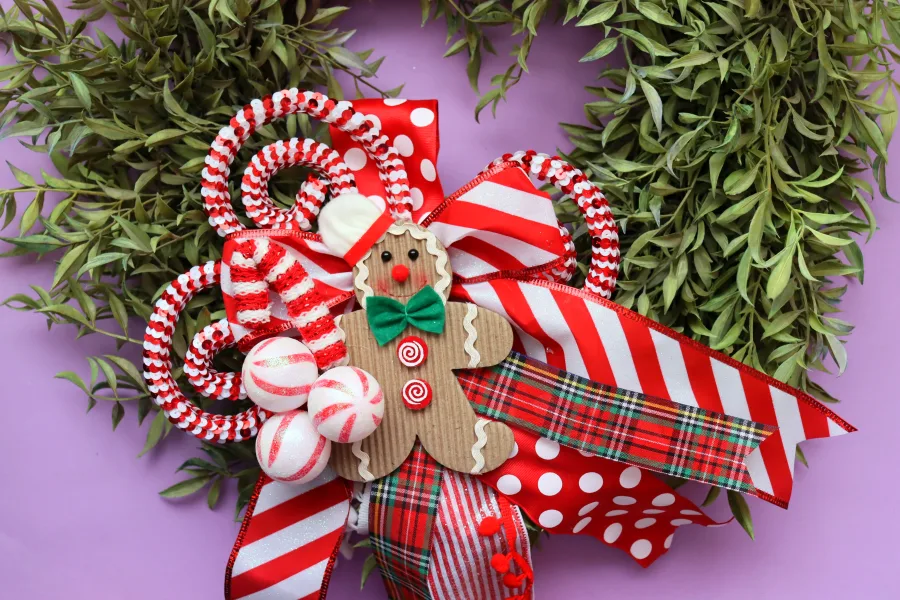
Christmas wreath
This is another one that I could have made multiple wreaths for each week in December! Gingerbread, Candy canes, Grinch, etc! So many options! I had all these in my Christmas decor from December so I just assembled them all together.
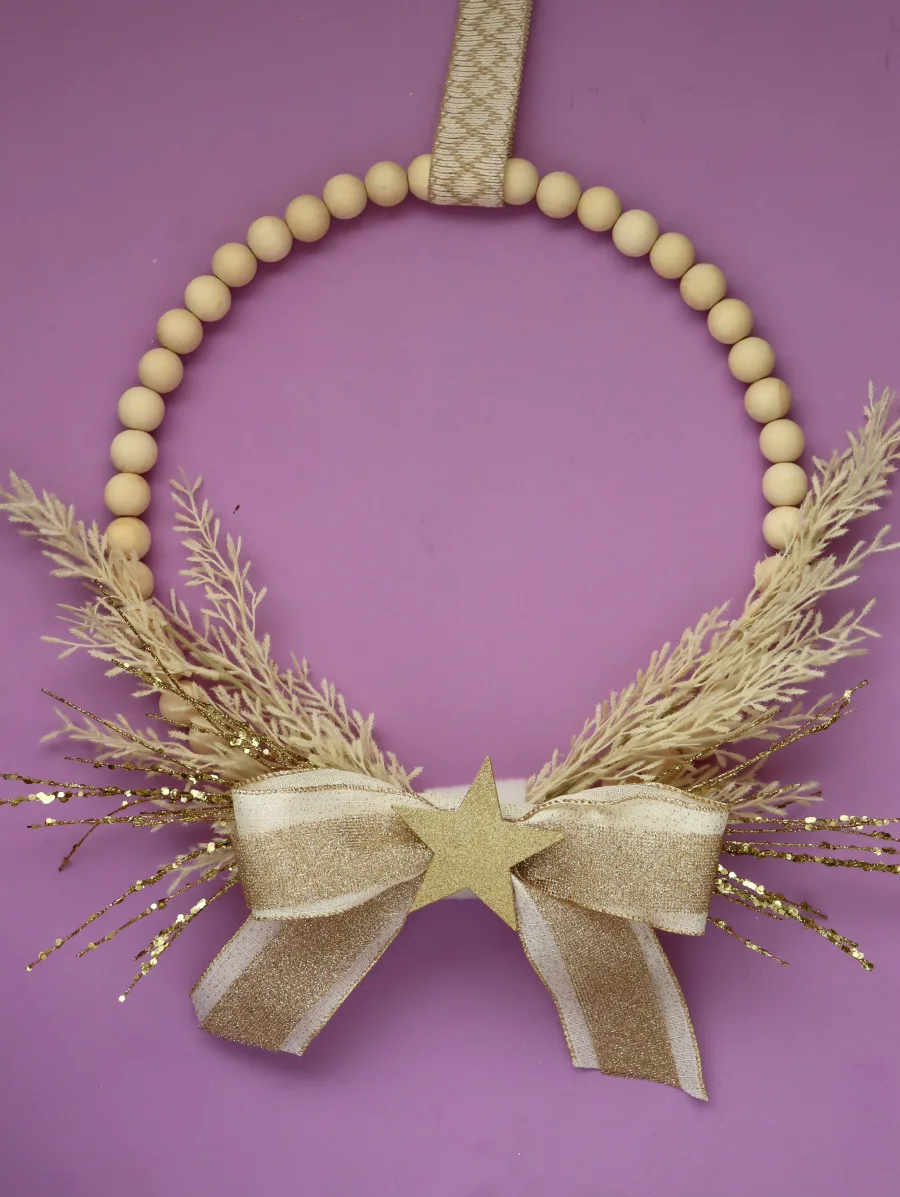
New Year’s Eve Wreath
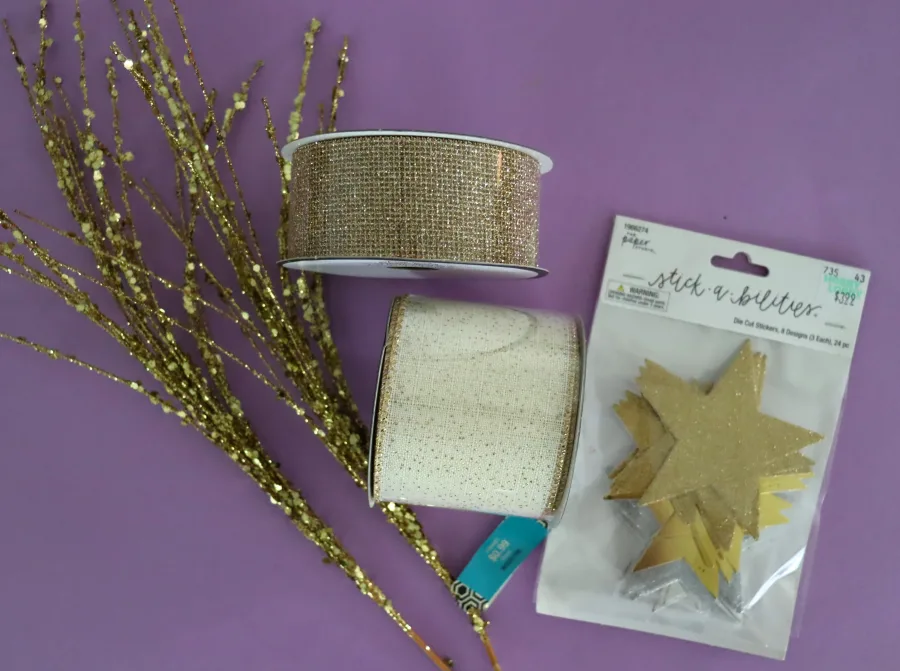
This one was pretty easy too! Gold sprays, Ribbon, and a star! You could also attach some stars to a wire and have them shoot off from the ribbon! I did find 2023 in the graduation section but I didn’t want to commit to changing out the year each time so I left it pretty simple!
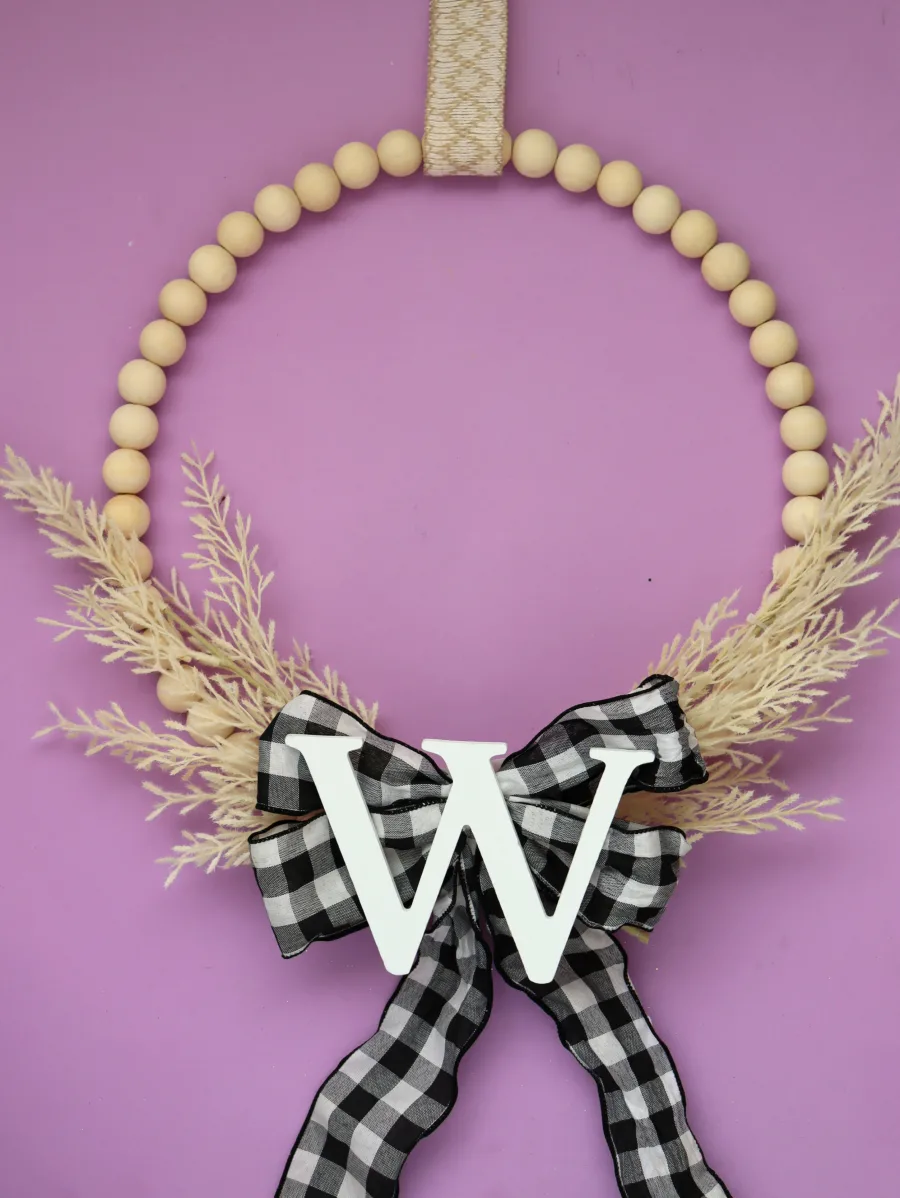
Anytime wreath embellishment
I wanted a nice generic one! You might not celebrate a certain holiday or don’t have kids that are going back to school, so I created a few options that you could leave up all year round!
This is just my last name initial with a buffalo check bow.
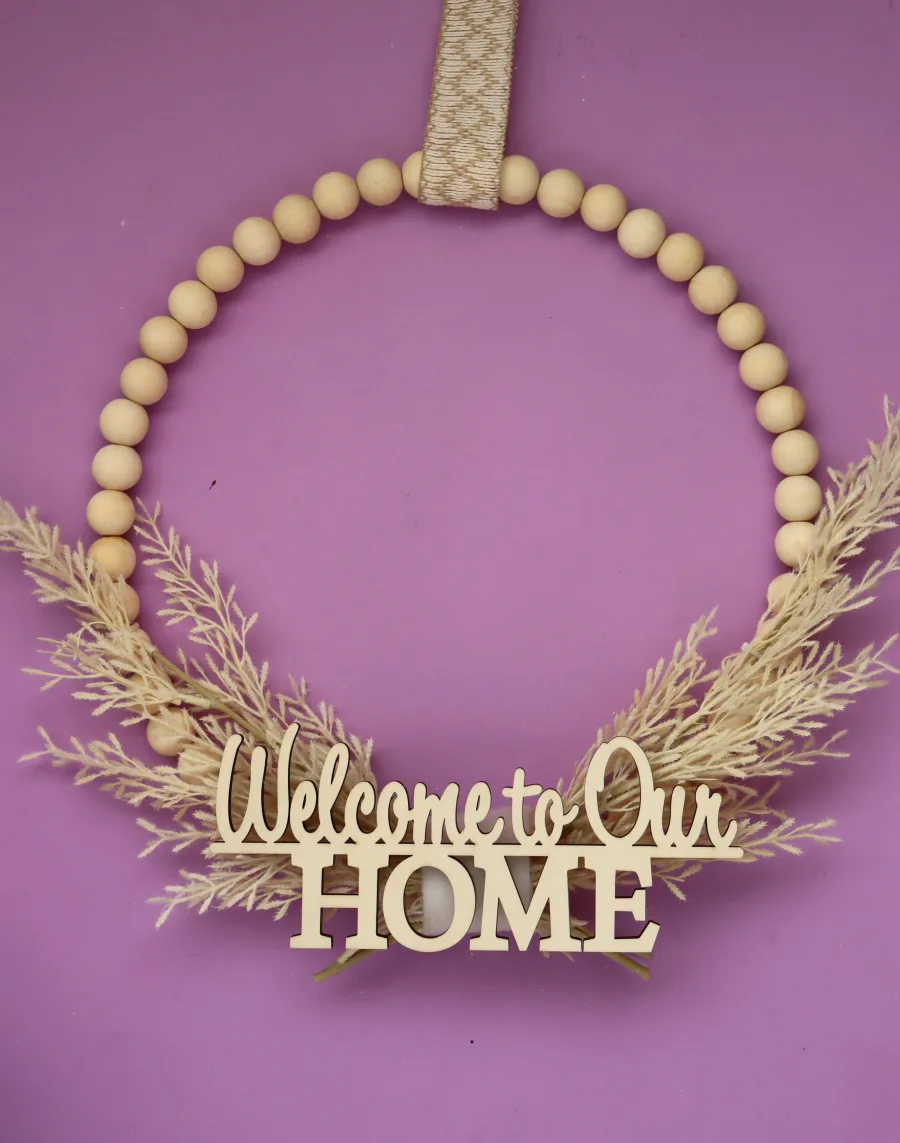
This is an unfinished phrase from the wood department. You could paint it, but I liked the natural look of it with the wreath! I literally clipped off the tag, added velcro and this was done! SO EASY.
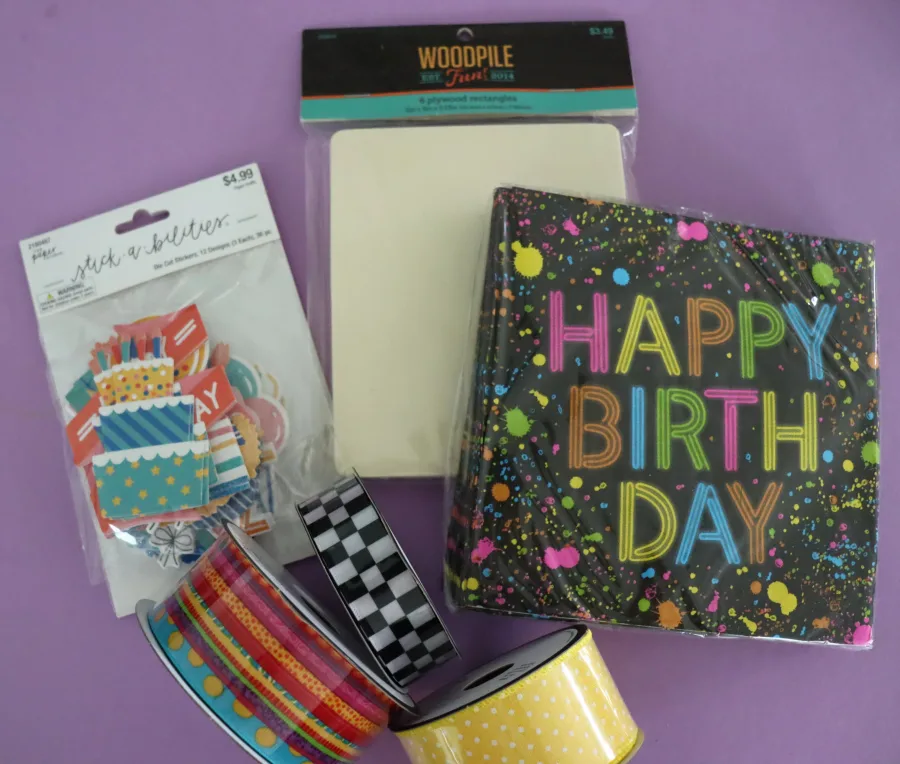
Happy Birthday Wreath
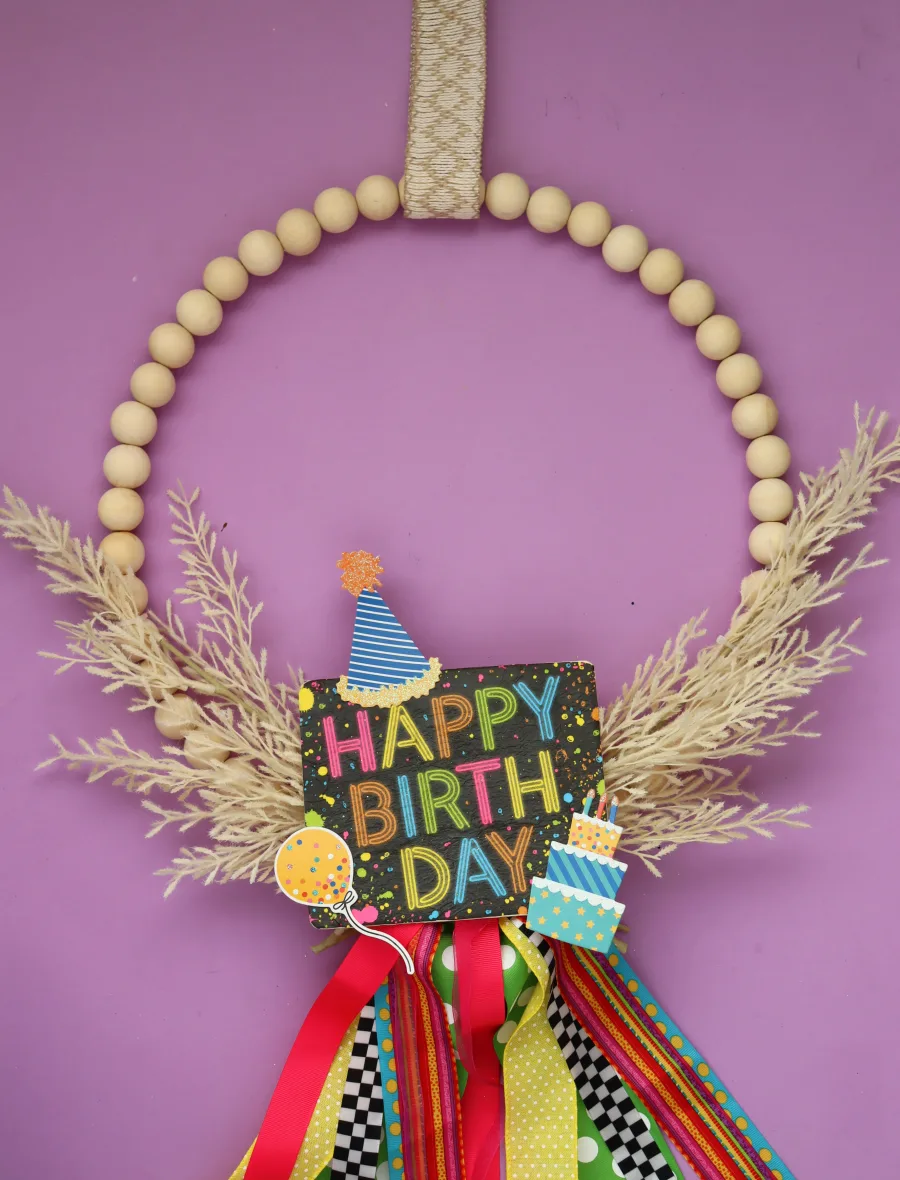
I thought it would be fun to have a birthday wreath that you could put on the door for the person’s special day! Since I couldn’t find any happy birthday sign, I ended up making my own by mod-podging this cute napkin onto wood and adding some birthday clipart from the scrapbook/paper department!
I love all the pops of color on this one! I got to use such colorful ribbons!
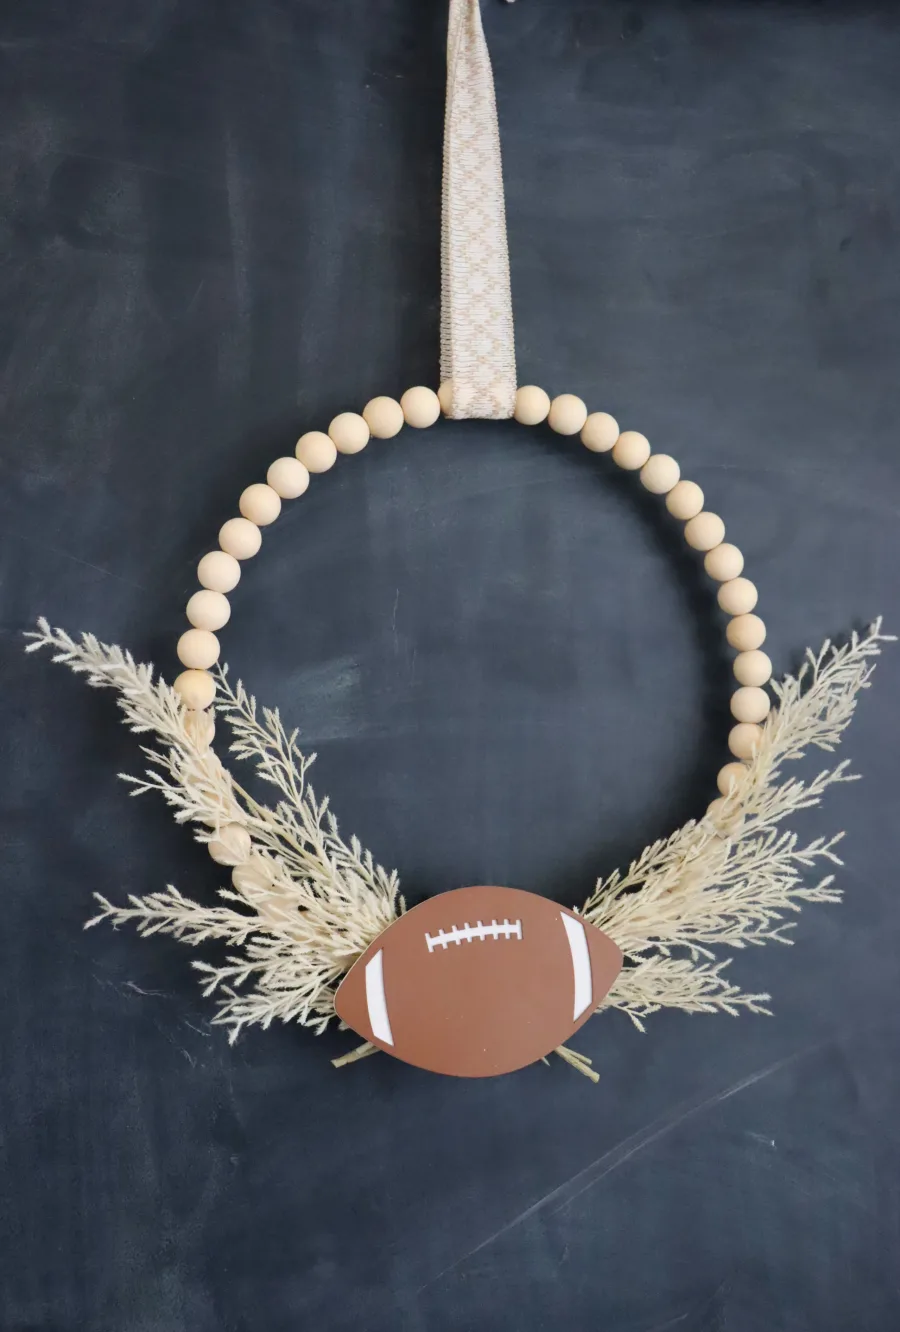
Sports Wreath

We are a football-loving family, so I thought it would be fun to add a sports one! I did buy ribbon, but ended up just liking the look of the plain wood decal! It was the perfect size! They also had a basketball, soccer, baseball, and softball! If you have a vinyl machine you could add your team name on it!
Making them interchangeable
Once you have all the embellishments done, you need to add the velcro on the back of each one.
Make sure you place it on your wreath beforehand to see where the best spot to put the velcro is! I put the velcro on the back of the school one right where the ribbon was and it was way too high. I ended up moving it to the back of the chalkboard!
Keep the cost down tips!
The week I shopped, the ribbon was on sale 40% off. (Tip number one- shop the sales!) I went a little crazy because I love ribbons, but you can use the same ribbon for more than one holiday! You may notice that I used the same Red ribbon for Valentine’s, Watermelon, Back to School, and Christmas wreaths. The same Green polka dot ribbon in my St. Patricks Day, Easter, Summer, and Back to School wreath. The same orange I used for my Thanksgiving is also used in my Easter wreath! If you buy fun stripes, plaids, or polka dots, they can definitely be used for more than one month!
You can also just do a handful at a time. Do your summer months wreaths, and then when the next holiday season comes out, head back to Hobby Lobby and grab the supplies for the next set of months!
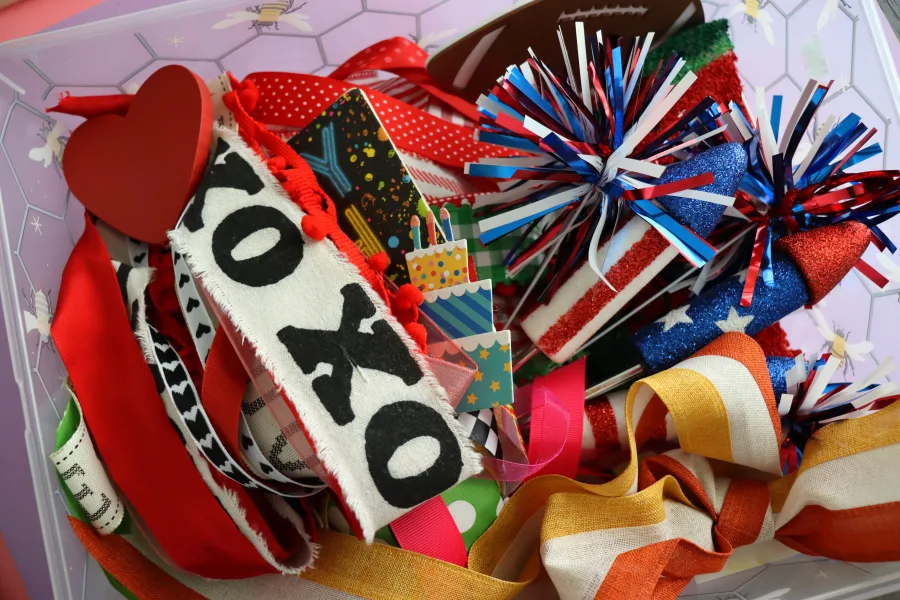
Storing all the ribbon attachments
As I mentioned, one of the main selling points is that this is a space saver!
I found a cute bee plastic bin at Hobby Lobby that fits all the holidays inside. It has a lid and I can literally can slide under my bed! It sure beats 12 big front door wreaths hanging all over my garage wall!
Interchangeable Greenery Wreath
I did want to show you how cute all these embellishments are on a green wreath! They would all look so cute on your front porch!
This is actually a wreath I made out of garland and a wire wreath form from Hobby Lobby!


Okay. If I hope I have totally convinced you to make one of these DIY interchangeable wreaths! Head to Hobby Lobby, grab your supplies, and then make sure to send me pictures when you get it done! I would love to see it your take on this!
Here is an image to pin if you want to save this DIY interchangeable wreath post for later!
Leave a Reply