
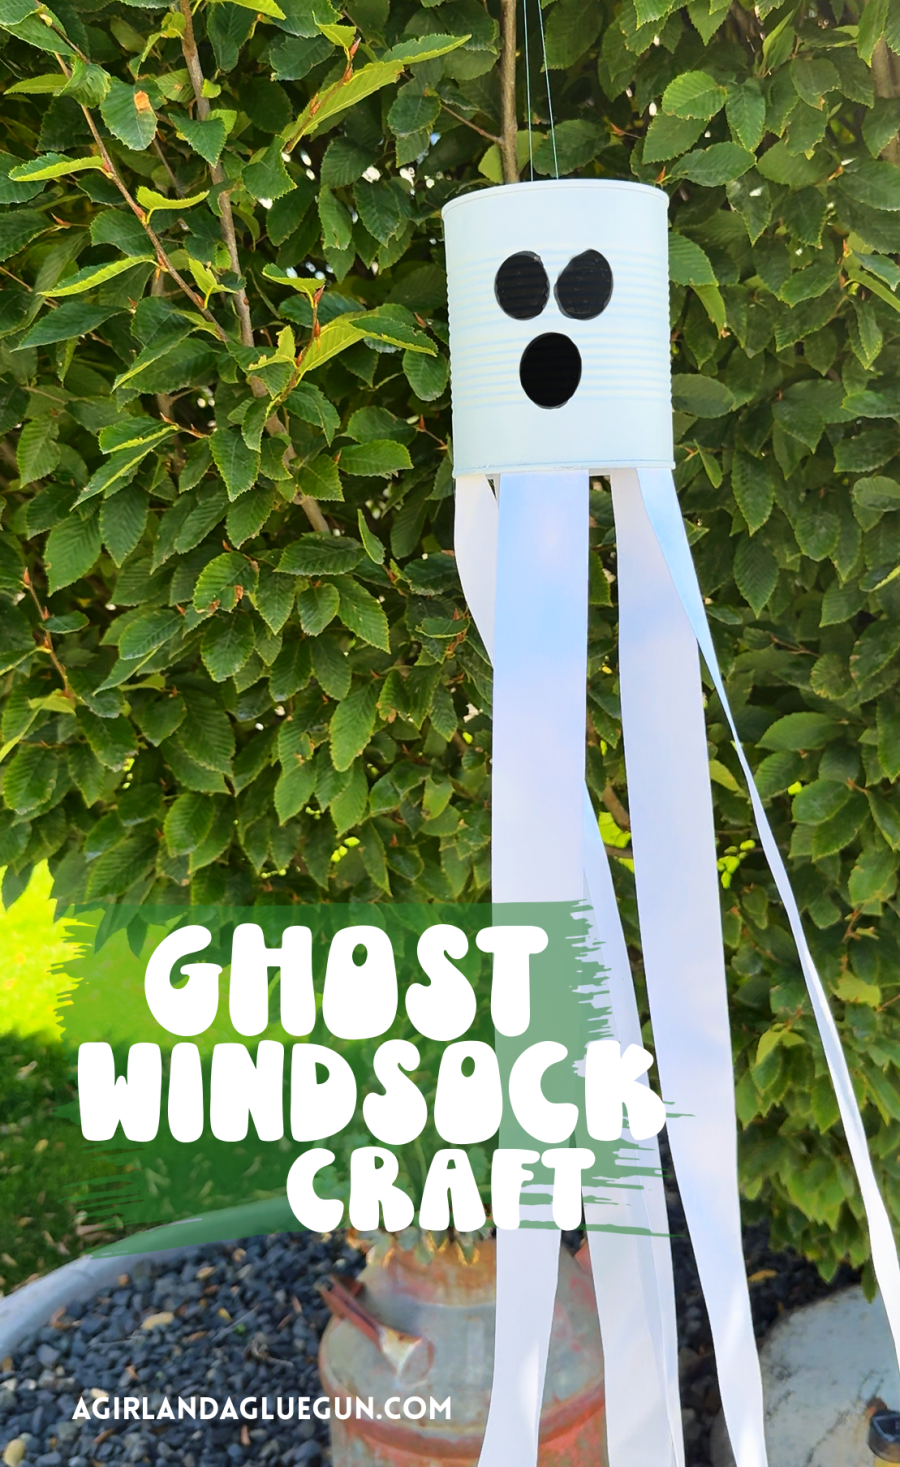
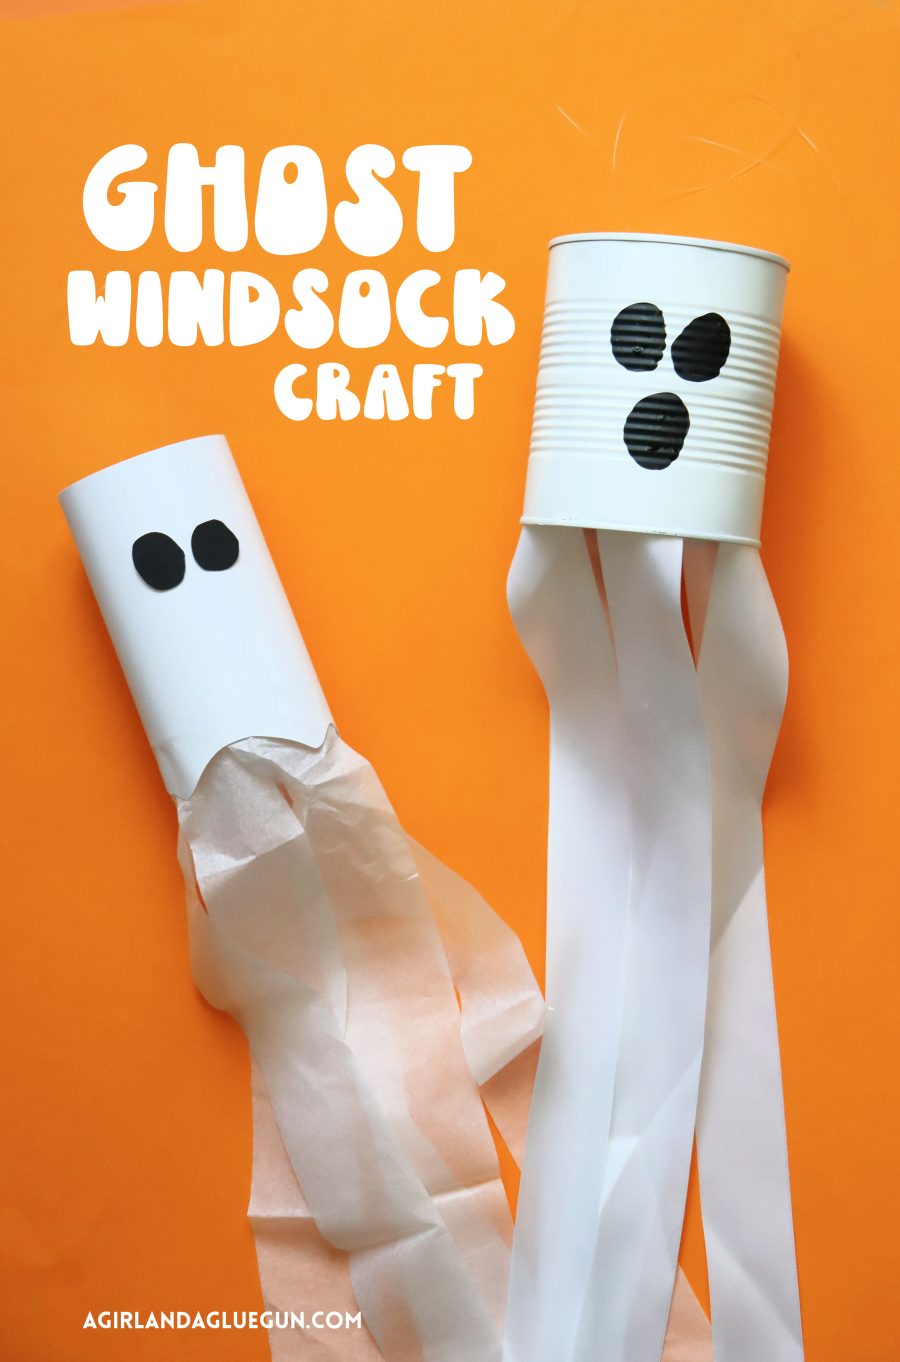
Halloween crafts are some of the most fun projects of the year—especially when you can make decorations from simple items you already have at home. One of my favorite spooky DIYs is a ghost windsock made from a recycled tin can. It’s budget-friendly, kid-approved, and looks adorable swaying in the autumn breeze.

This easy craft is perfect for hanging on porches, trees, or even indoors to bring some friendly frights to your Halloween décor.
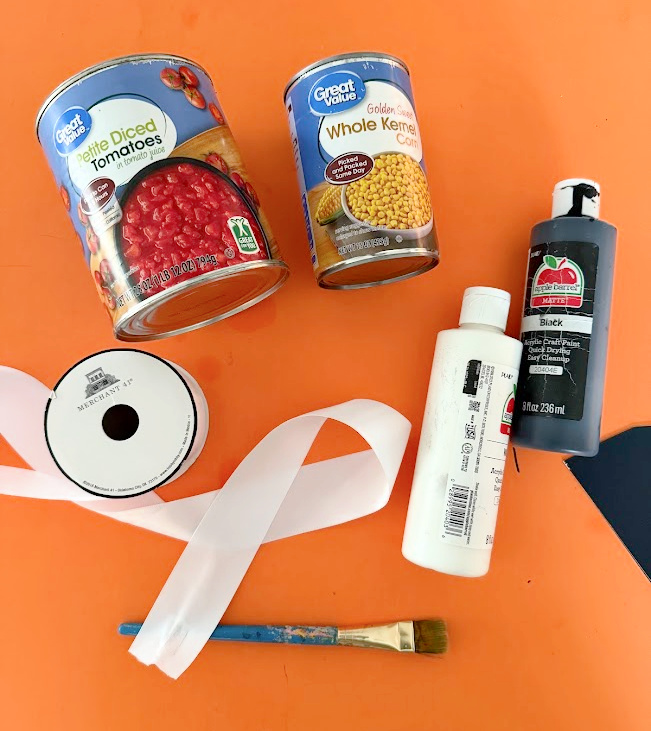
Supplies You’ll Need:
- A clean, empty tin can (label removed)
- White acrylic paint or spray paint
- Black paint or permanent marker
- White ribbon, crepe paper streamers, or fabric strips
- Hot glue gun (or strong craft glue)
- Hammer and nail (to make holes for hanging)
- String or twine for hanging
Step-by-Step Instructions:
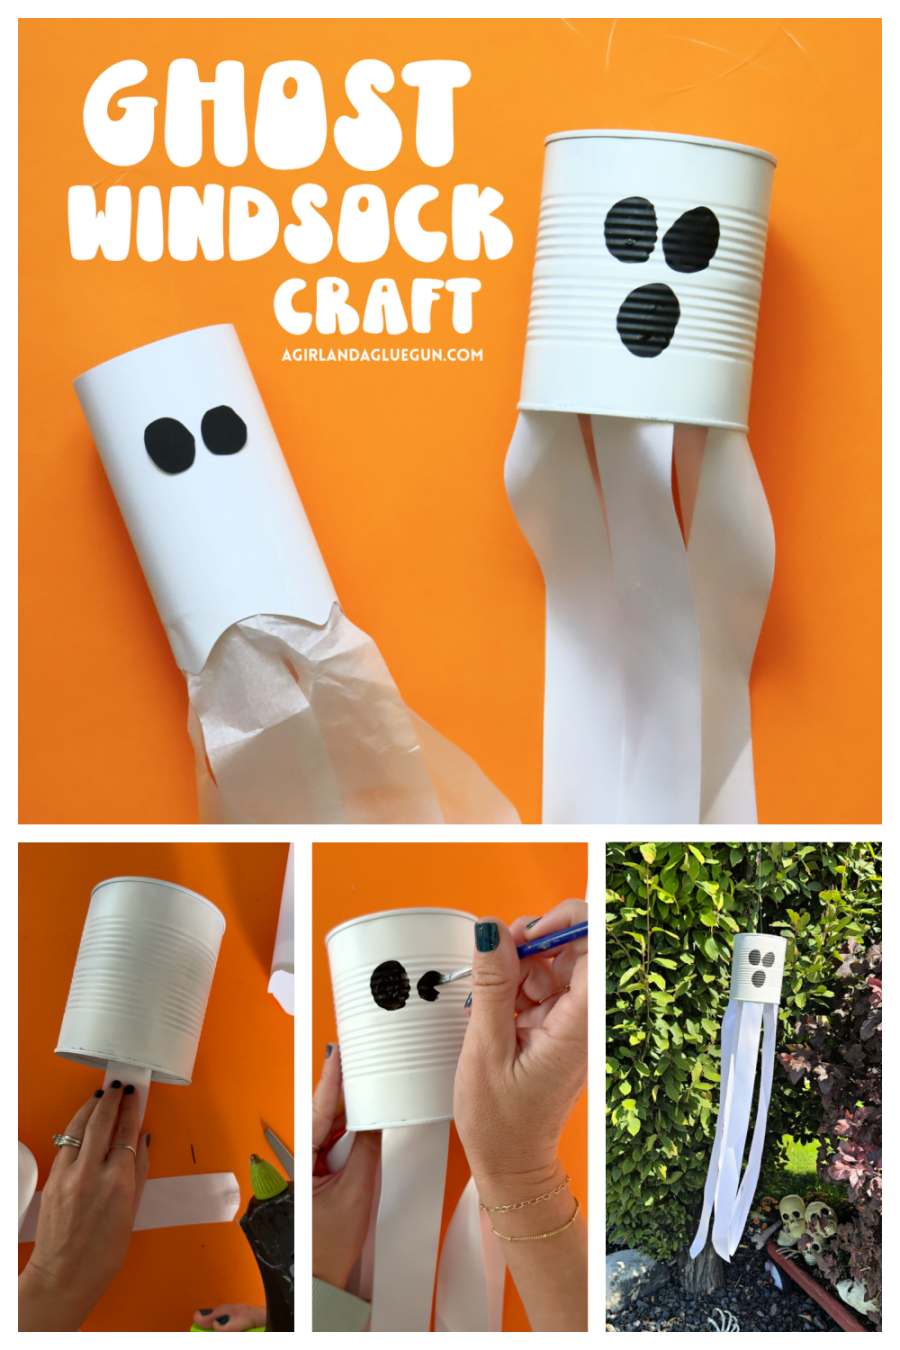
1. Prep the Can
Wash and dry your tin can thoroughly. If it has sharp edges, gently press them down with pliers or cover them with tape for safety.
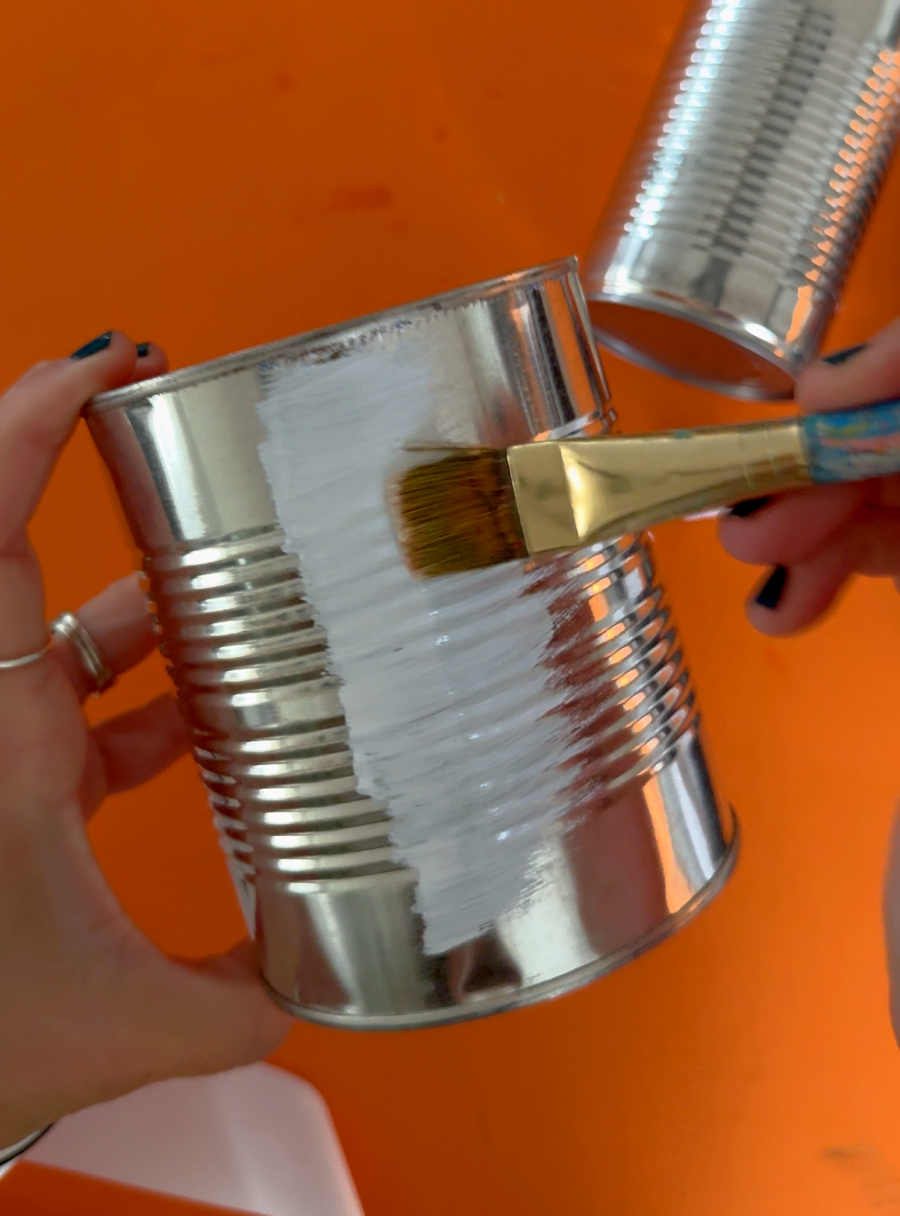
2. Paint It Ghostly White
Coat the entire can with white paint. Spray paint works well for quick coverage, but acrylic craft paint is perfect for kids to brush on. Allow the can to dry completely.
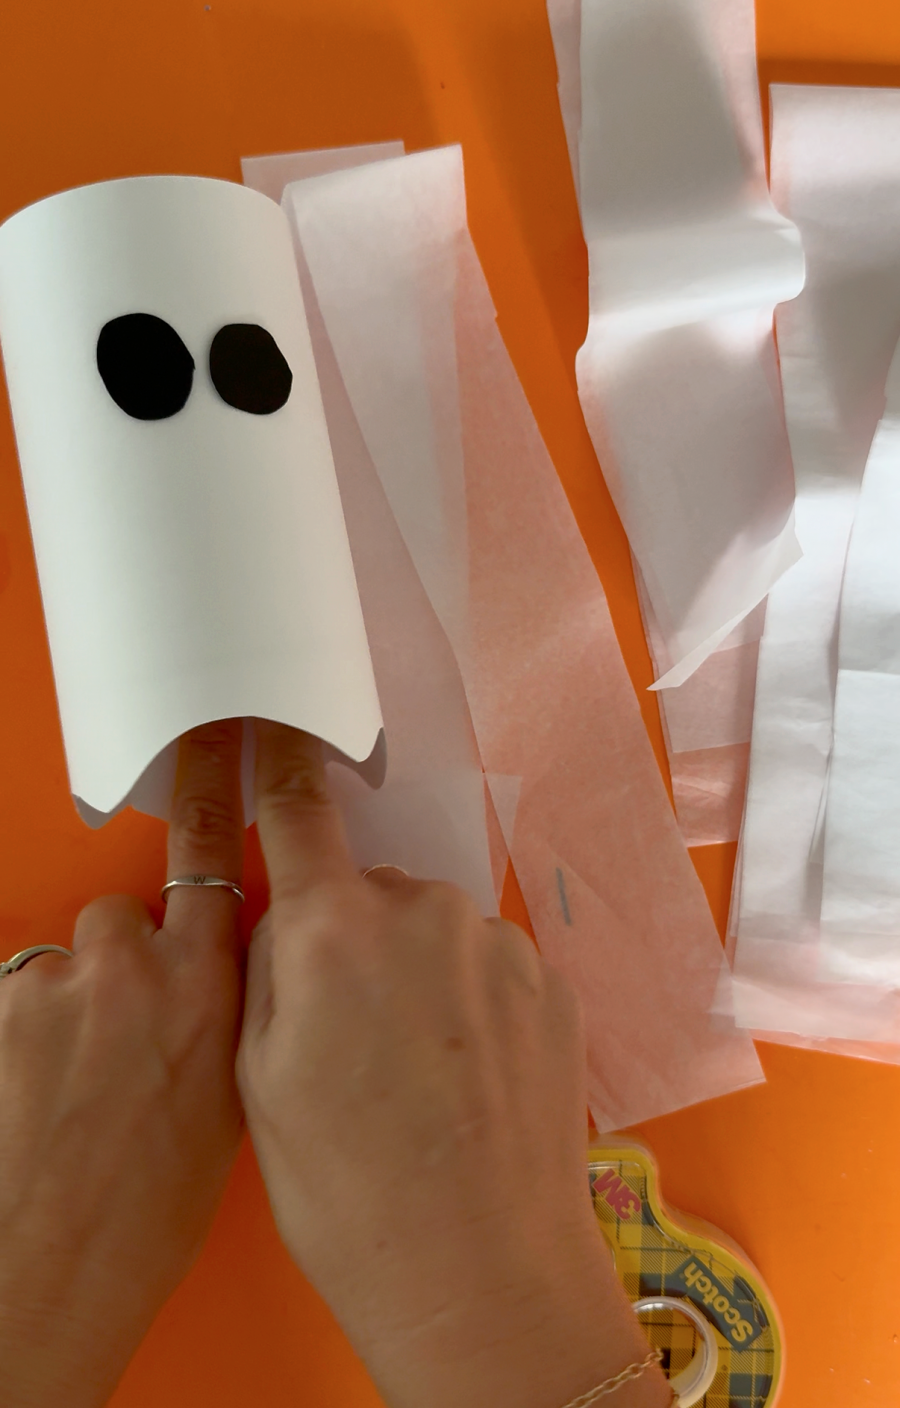
3. Add the Face
Using black paint or a permanent marker, draw big round ghost eyes and an “O” shaped mouth. Go classic spooky, or make your ghost look silly with different expressions.
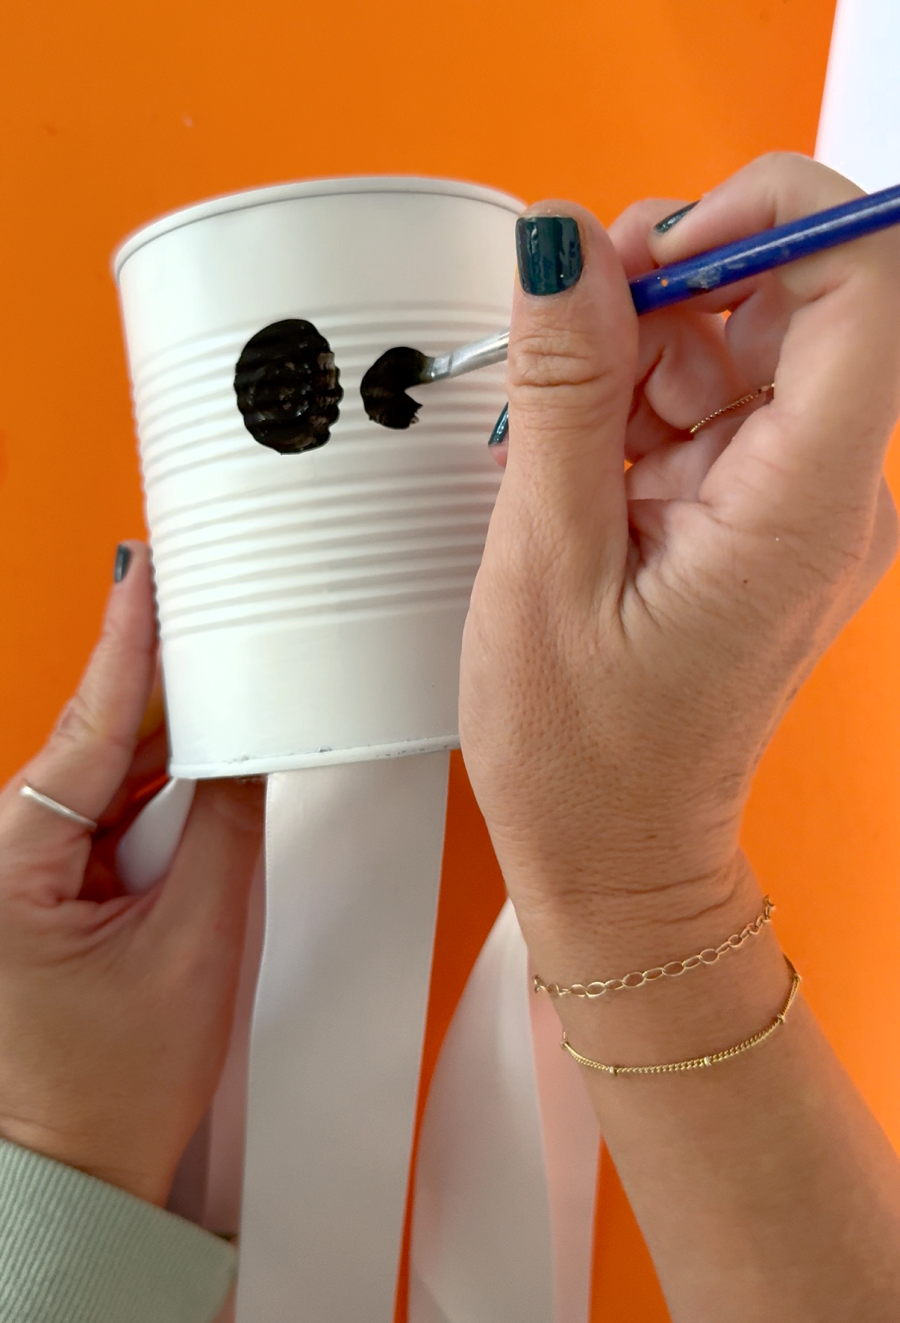
I acutally went back and added a face on both sides of the can so as it turns in the wind, it will look like a ghost!
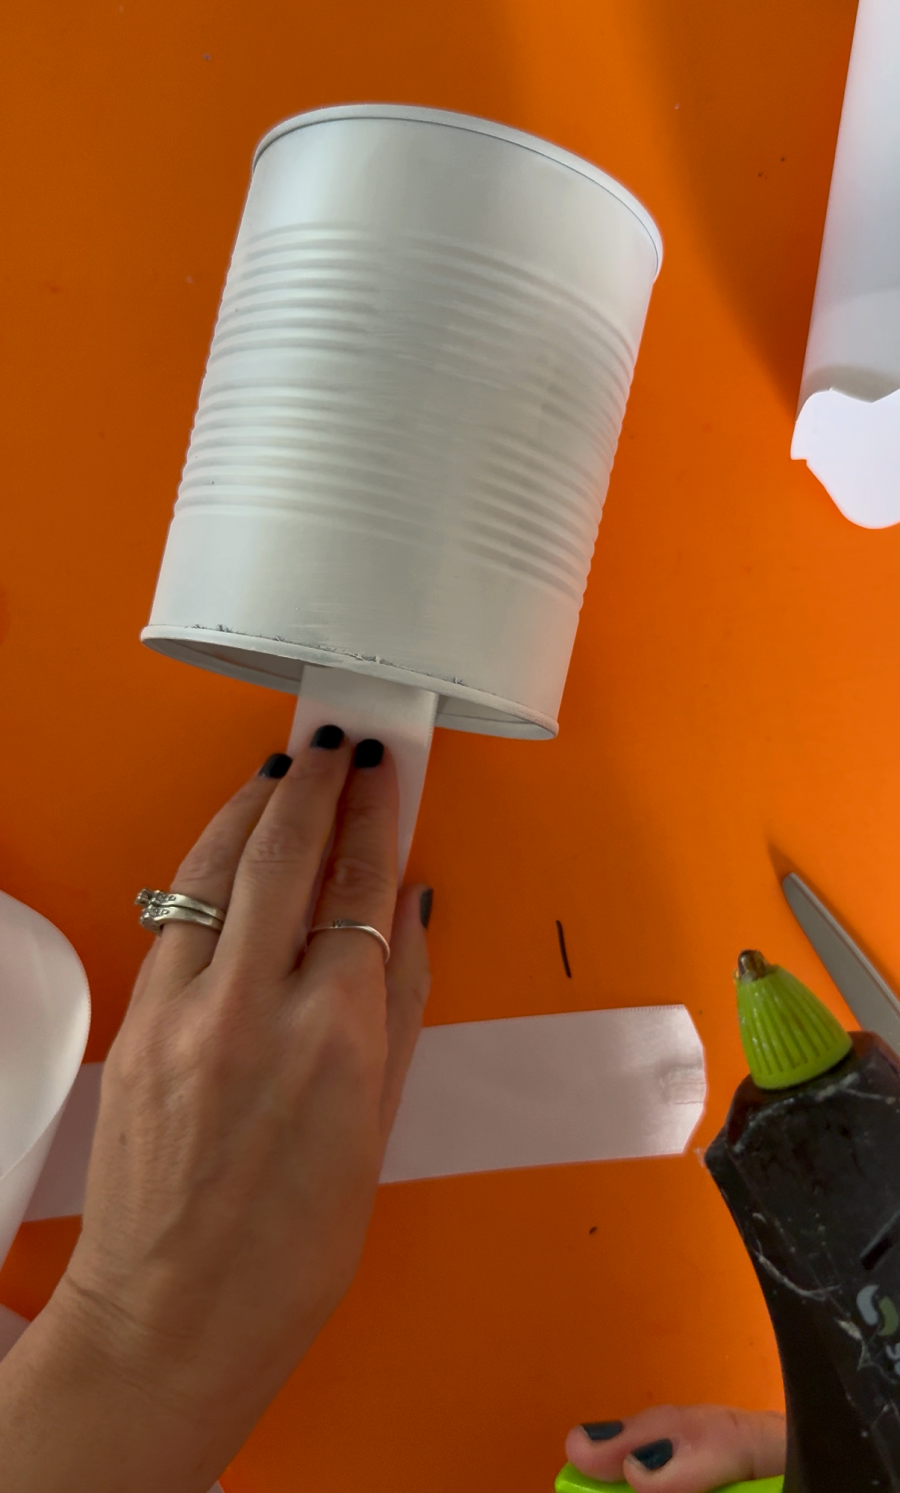
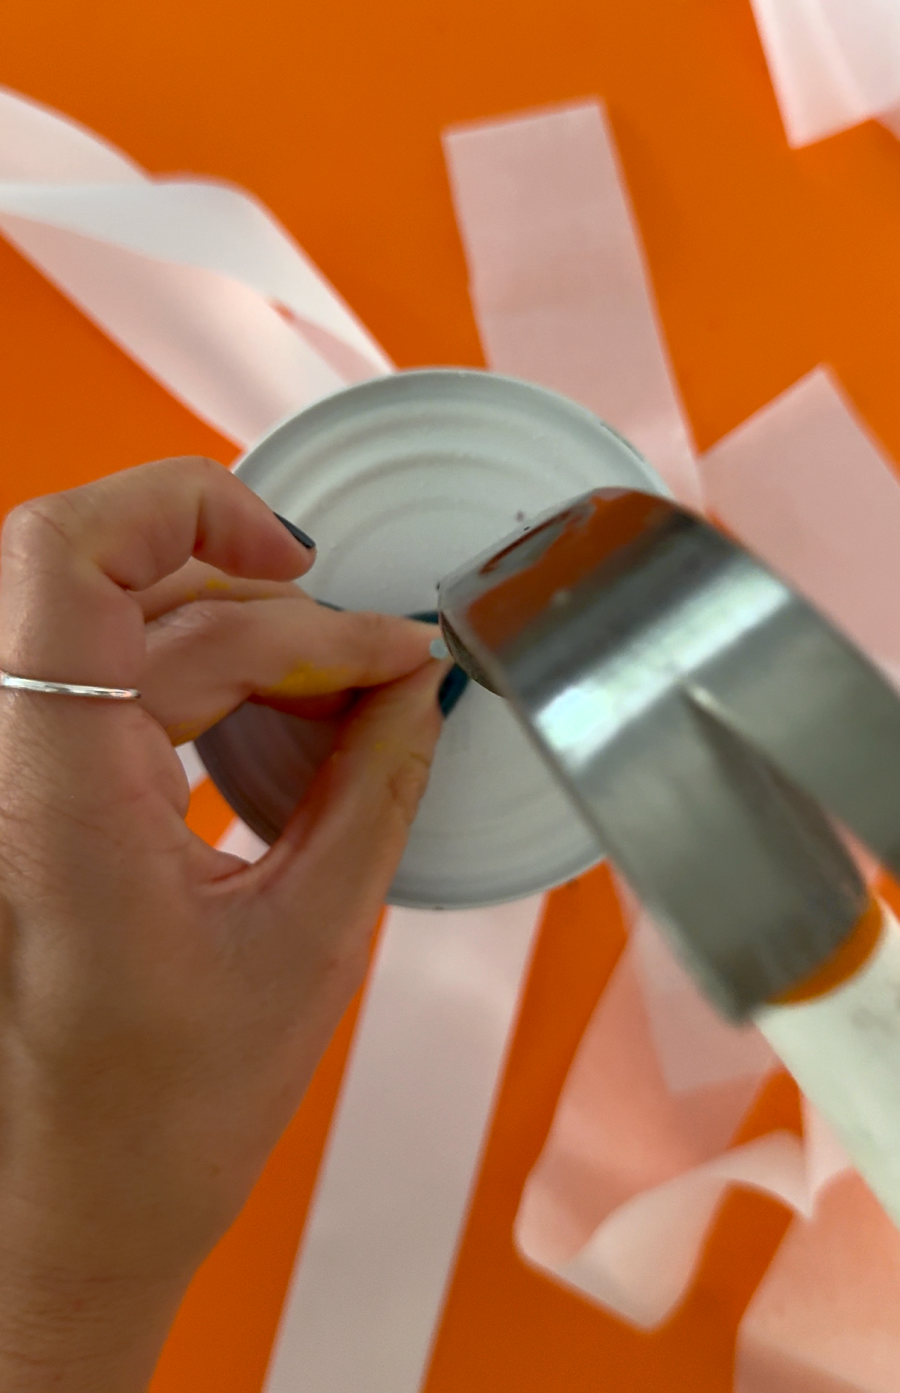
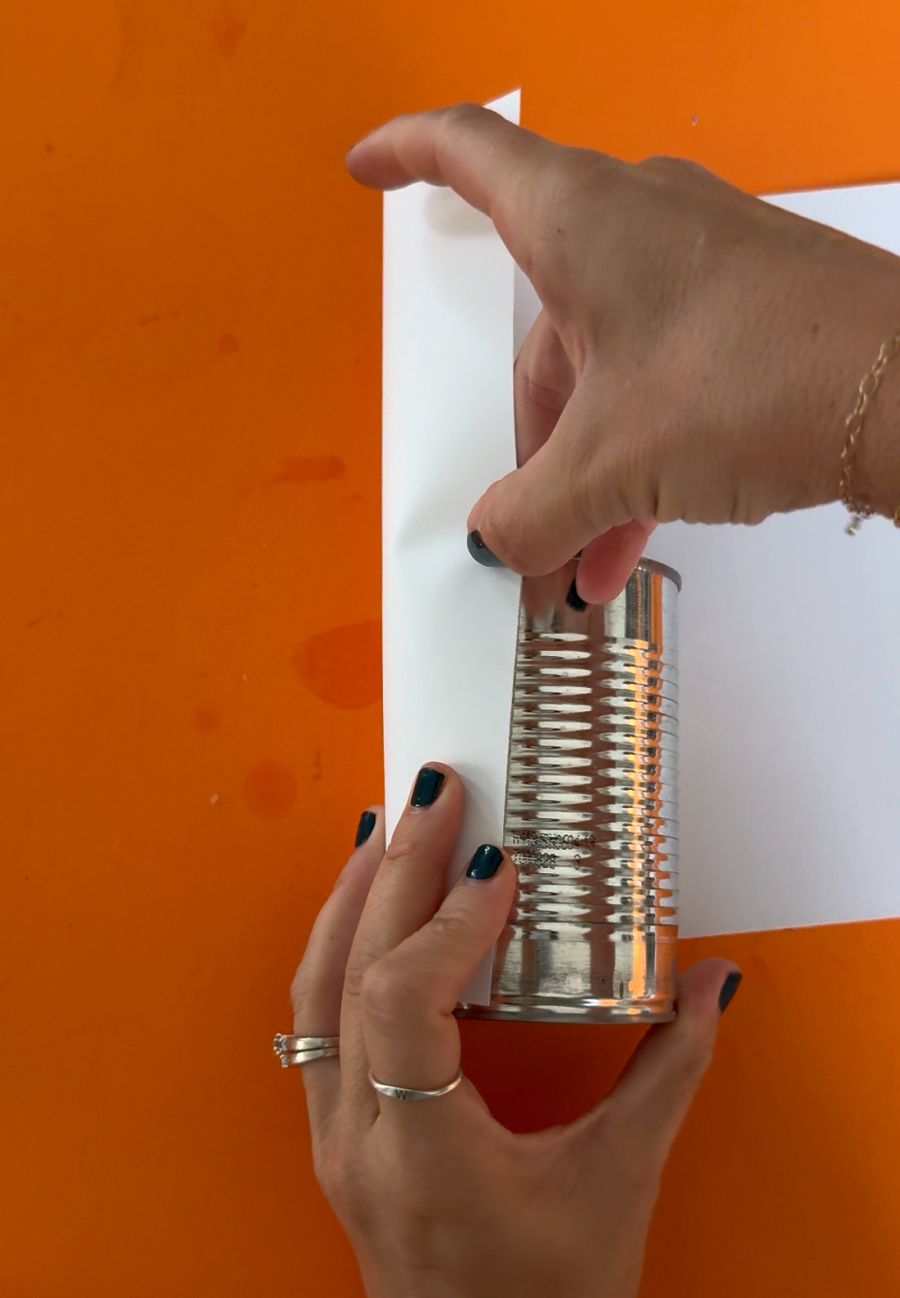
4. Create the Flowing Ghost “Tail”
Cut long strips of white ribbon, fabric, or crepe paper streamers.
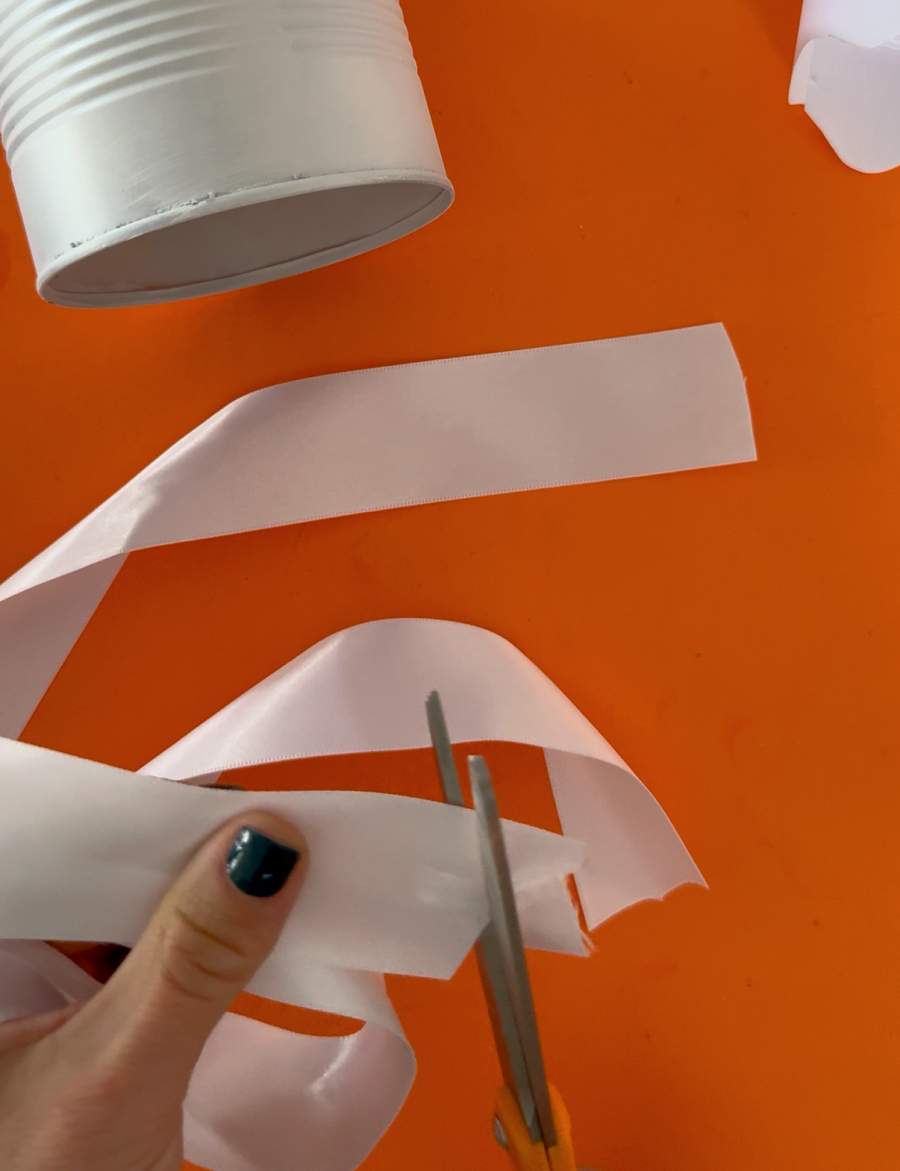
Glue them to the inside rim at the bottom of the can so they hang down. These strips will flutter like a ghostly trail when the wind blows.
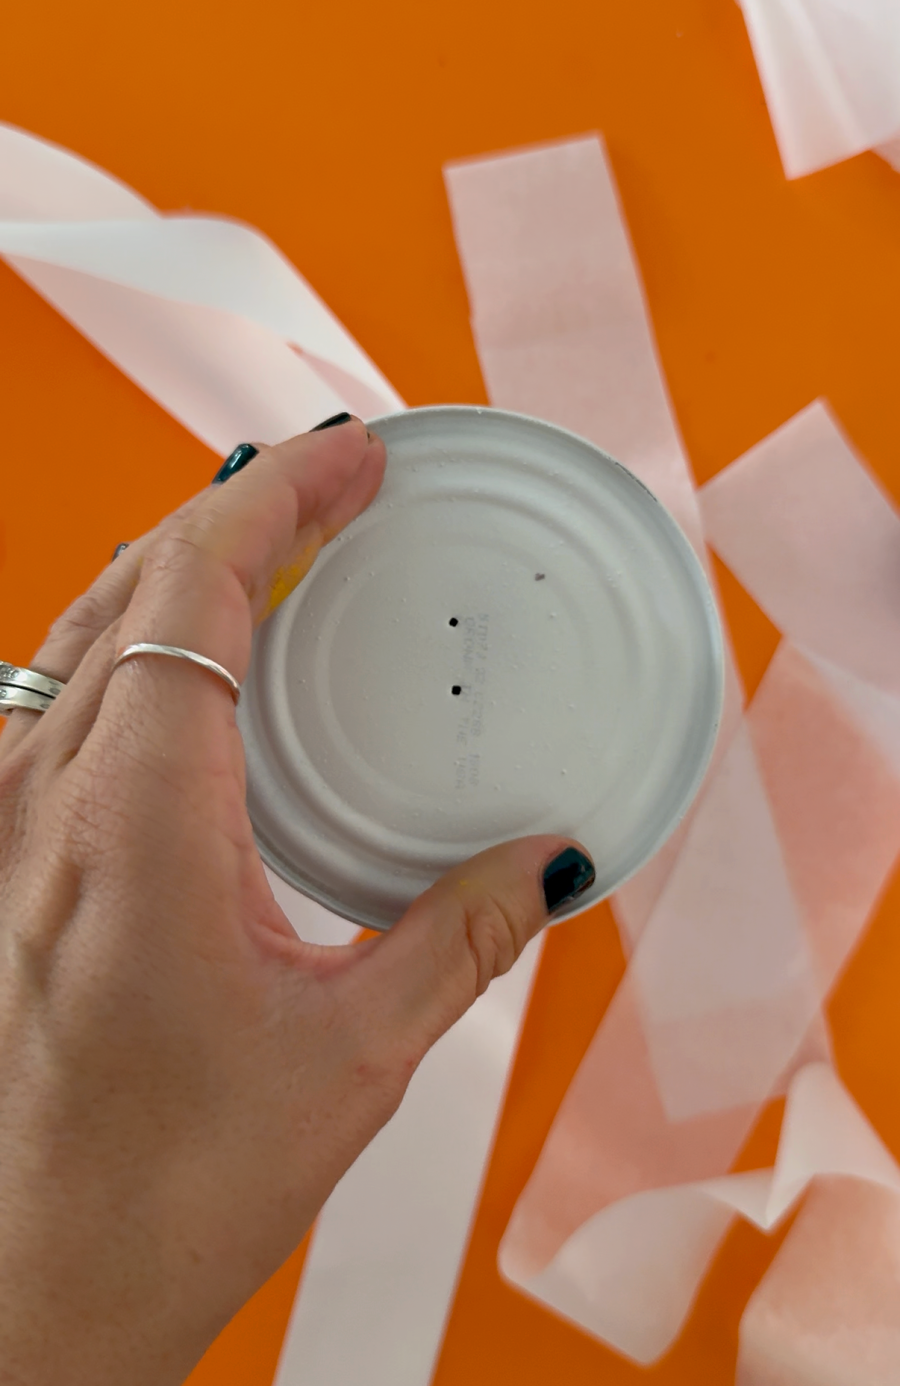
5. Make a Hanger
Using a hammer and nail, punch two small holes opposite each other in the top of the can. Thread a piece of string or twine through the holes and tie it securely to create a loop for hanging.
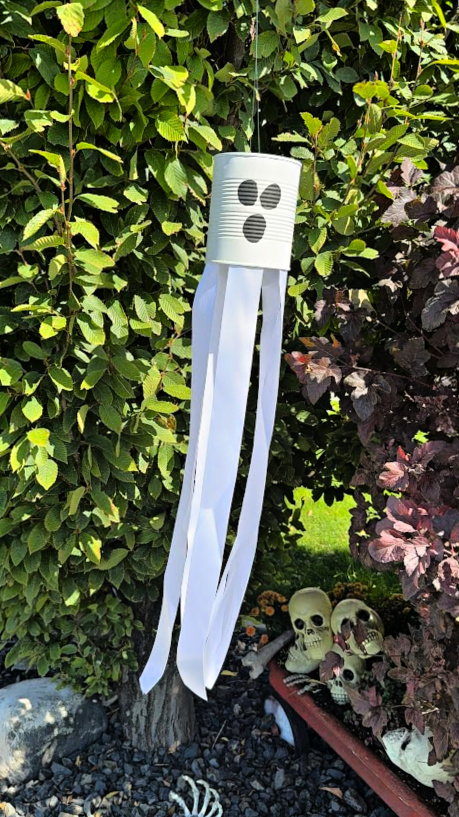
6. Hang and Enjoy!
Take your finished ghost windsock outside and hang it from a tree branch, porch hook, or shepherd’s pole. Watch your ghost dance in the wind!
Craft Tips & Variations:

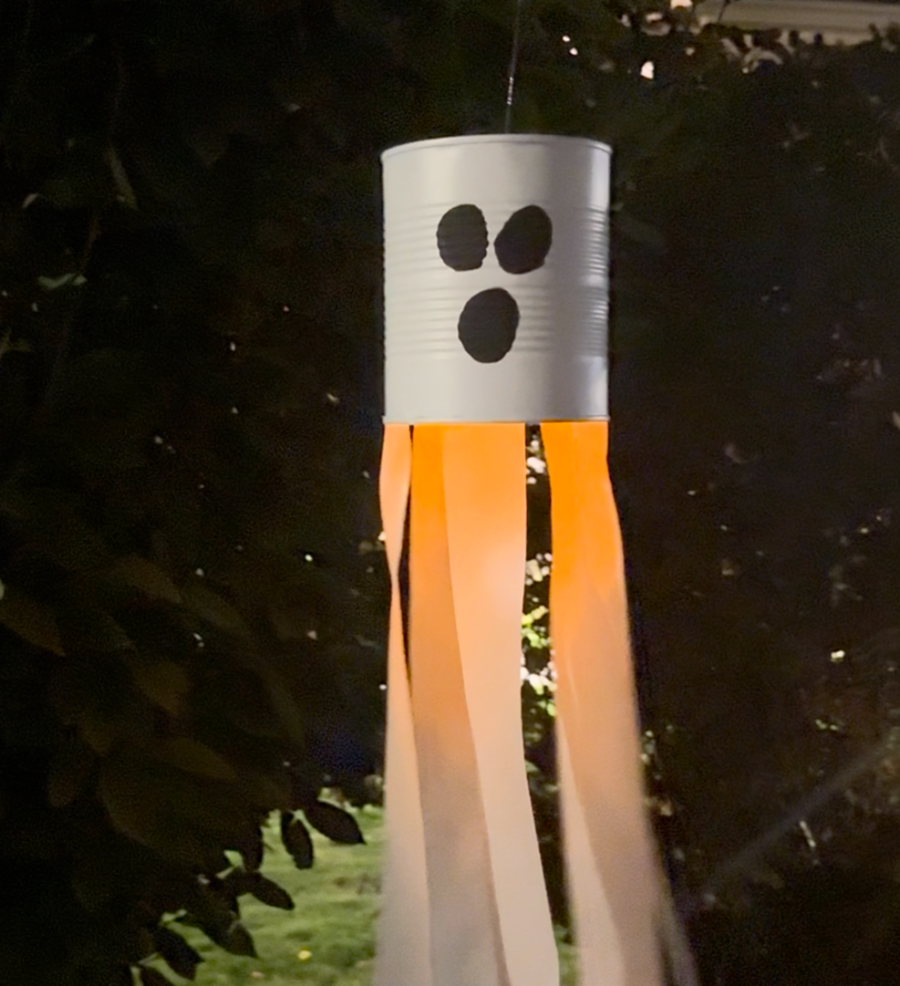
- Add Glow: Place a battery-operated tea light inside for a spooky nighttime effect.
- Different Characters: Use the same method to make a jack-o’-lantern windsock (orange paint and black face) or a Frankenstein windsock (green paint with stitches).
- Weatherproofing: If you want your ghost to last outdoors, seal it with a clear spray sealant.
I also made one that is more for smaller kids. I wrapped paper around the tin can and used crepe paper. It won’t hold up outside, but it will be great to hang inside or on a covered porch! The crepe paper sways really well!
Save for Later
Too busy to get crafting today? No problem! Pin this post to remind yourself about this project later! Sharing my projects helps me reach more people, allowing me to continue sharing free content!
This ghost windsock is a fun way to recycle, get creative, and add some spooky charm to your home this Halloween season. Kids will love helping with the painting and decorating, and you’ll love the festive touch it brings!
OTHER totally cute Halloween projects
- ghost and candy corn garland
- Halloween cut files
- Creepy Doormat
- Pool noodle candles
- Halloween sensory game
- Yard monsters
- Halloween play doh printables
- Trivia game (free printable)
- DIY spell Book
- Halloween golf
- Classroom party games
- Spooky dinner ideas with free printables
- mummy door for your front door board
- DIY witch’s broom
- Table decorations for Halloween
Leave a Reply