
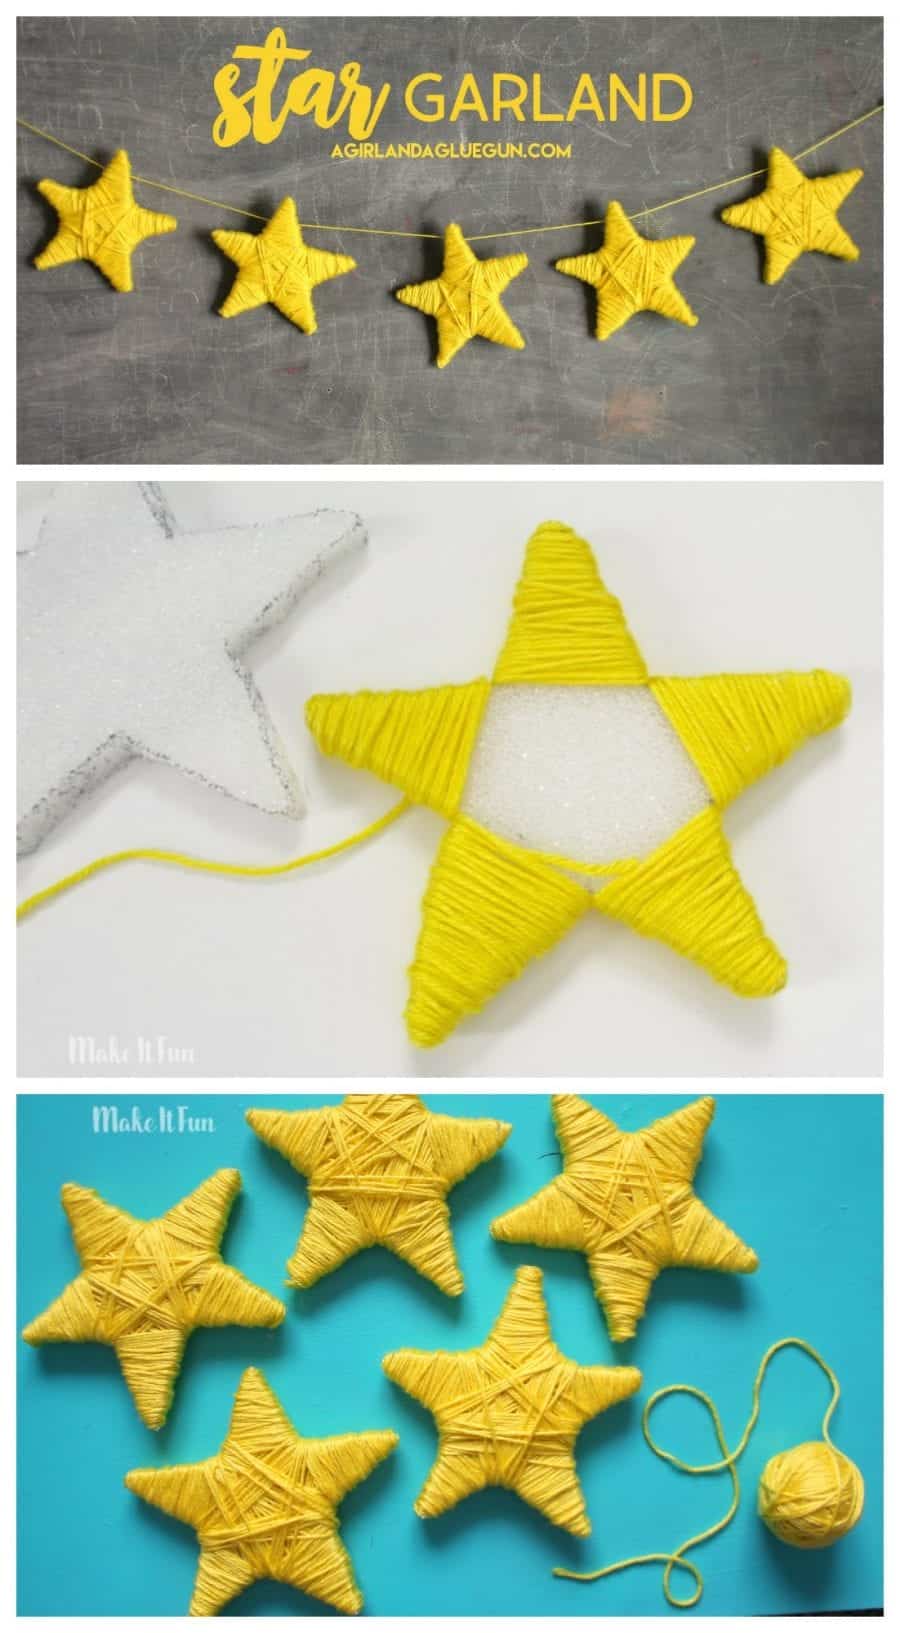
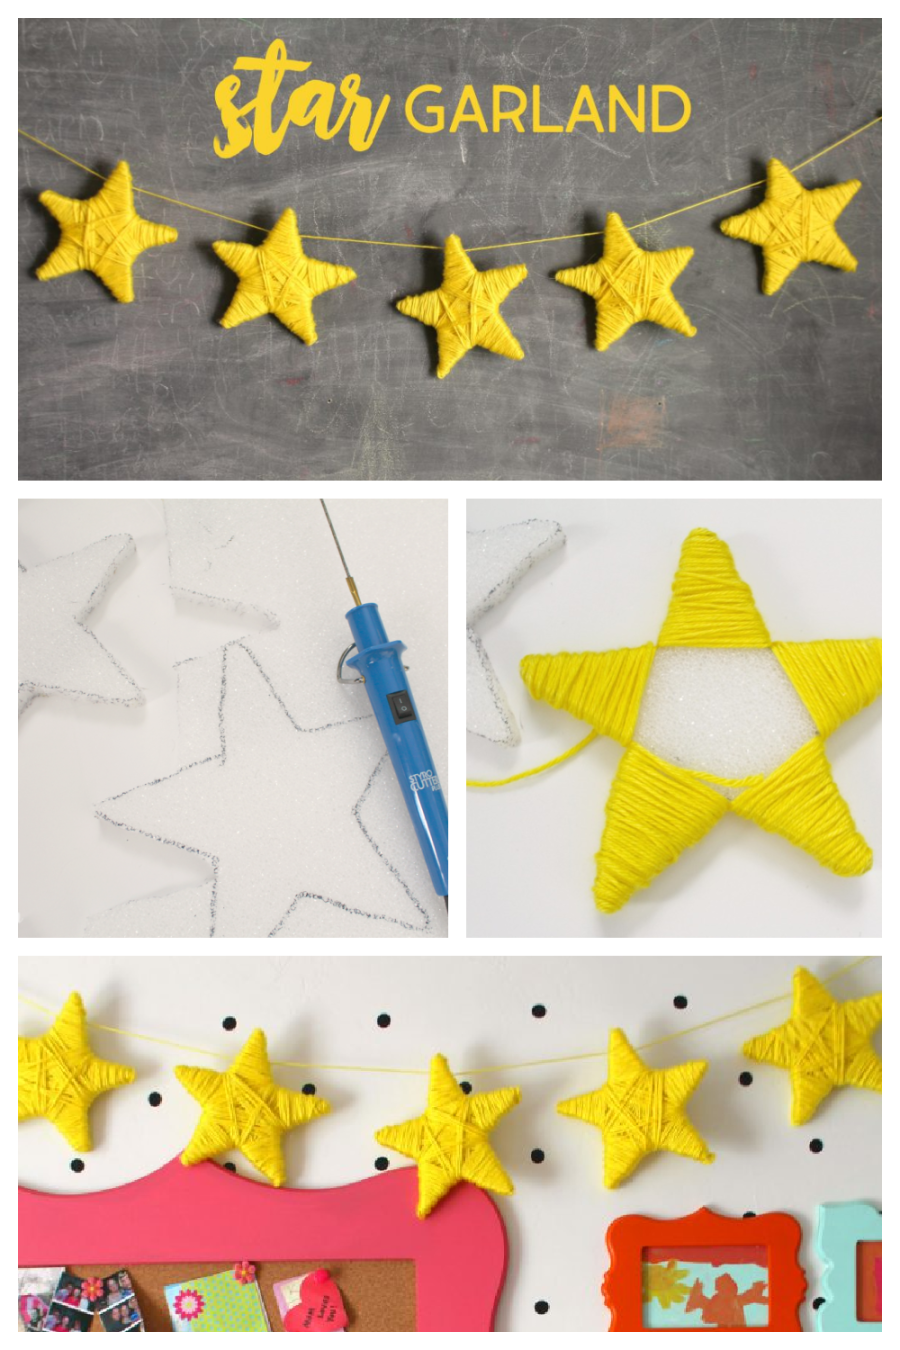
Looking for an easy and inexpensive DIY garland that adds a cozy handmade touch to your home? This yarn wrapped star garland is the perfect craft! Made with simple foam stars and colorful yarn, this budget-friendly decoration comes together in just a few minutes and looks beautiful hanging across a mantel, shelf, nursery, classroom, or party table.
Whether you’re decorating for Christmas, the Fourth of July, a birthday party, a baby shower, or simply adding a whimsical touch to your home, this DIY star garland is easy enough for beginners and older kids to make.

This post was originally created for the Make It Fun team!
Why You’ll Love This Yarn Star Garland
- Beginner-friendly craft
- Budget-friendly supplies
- Great for kids and adults
- Easy to customize with any color yarn
- Perfect for holiday and everyday decorating
- Makes adorable party décor
Supplies Needed
- FloraCraft® Make It: Fun® Foam: Sheet 1/2″ x 12″ x 36″
- FloraCraft® StyroCutter® Plus or FoamCutter®
- Template of what you want to create
- Sharpie Marker
- embroidery thread or yarn
- (this post may contain affiliate links)
How to Make a Yarn Wrapped Star
Step 1: Create the shape
We are creating a star, but you can do any shape. I cut out a pattern and traced around it on a foam sheet.

Step 2: Cut out shape
Then using a stryocutter…(LOVE THIS tool! It makes it so easy to cut out intricate designs because of the heat!) I cut out the stars!

Step 3: Start Wrapping
Tie the end of your yarn around one point of the foam star. If needed, secure it with a tiny dot of hot glue.
Begin wrapping the yarn around one star point several times until the foam is completely covered.
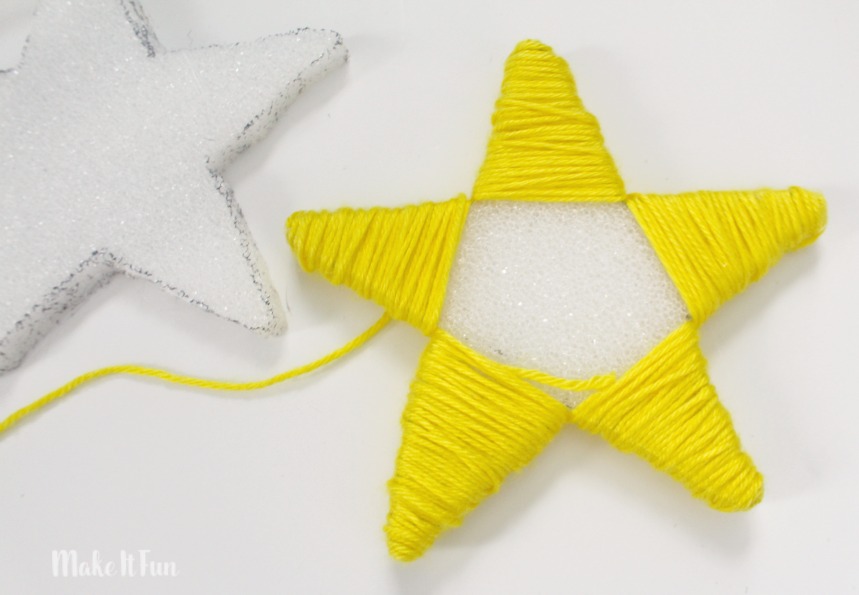
Tip: Keep the yarn snug, but don’t pull so tightly that it dents the foam.
Move to the next point and continue wrapping.
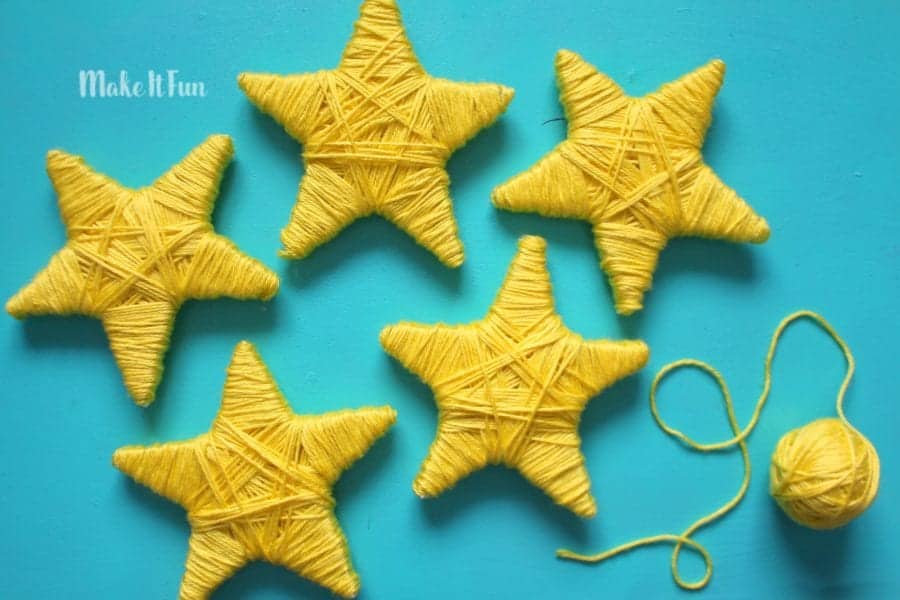
There isn’t one correct pattern—simply wrap around each point while gradually crossing over the center. The overlapping yarn creates beautiful texture and gives each star a unique handmade look.
Rotate the star as you wrap to cover any exposed foam.
Step 4: Finish the Yarn
When you’re happy with the coverage, cut the yarn and tuck the end underneath several wrapped strands.
For extra security, add a tiny dab of hot glue underneath the final end.
Turn the Stars Into a Garland
Once you’ve made several stars, it’s time to assemble your garland.
There are two easy options:
Option 1: Tie the Stars On
Wrap a piece of yarn around the back of each star and tie it onto a long piece of twine.
Option 2: Glue Them
Place the stars evenly across your twine and secure each one with a small amount of hot glue on the back.
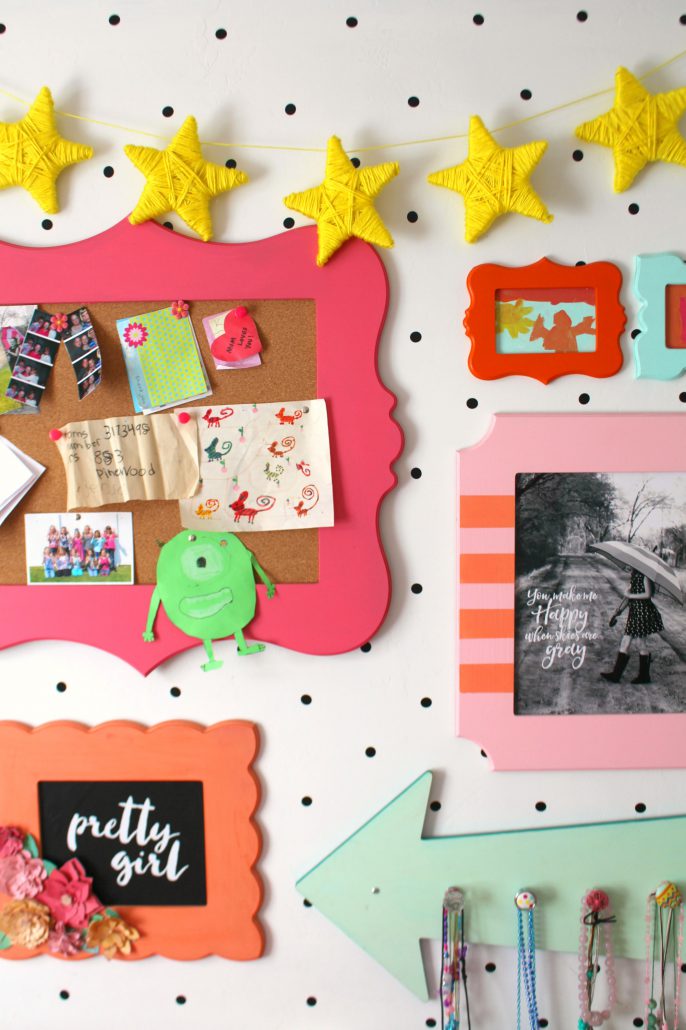
Hang your finished garland across:
- Fireplace mantel
- Window
- Bedroom wall
- Bookshelf
- Classroom bulletin board
- Party backdrop
- Nursery
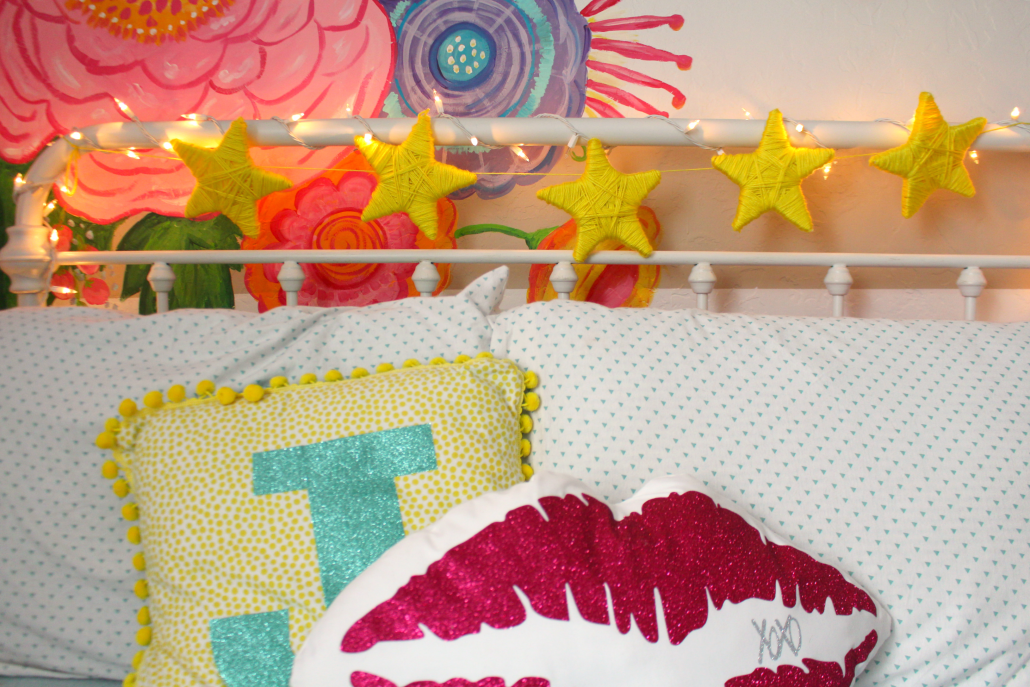
You can even hang it with some lights!
Or make a big version for some decorations for a shelf!
CreativeAlternative Ideas
One of the best things about this craft is how easy it is to customize.
Try using different colors:
- ⭐ Gold or mustard for farmhouse décor
- ⭐ White for winter decorating
- ⭐ Red, white, and blue for the Fourth of July
- ⭐ Pastel colors for baby showers
- ⭐ Rainbow colors for birthday parties
- ⭐ Black and orange for Halloween
- ⭐ Red and green for Christmas
Take this project even further by adding:
- Wooden beads between the stars
- Mini pom-poms
- Fairy lights woven through the garland
- Tassels on each end
- Glitter yarn for holiday sparkle
- Felt balls for extra color
Cut out different shapes for each holiday:
- Hearts for Valentine’s decoration!
- pumpkin shapes for Fall!
- Candy Corn for Halloween
- Egg shapes for Easter
Frequently Asked Questions
What kind of foam work best?
Any kind of material works since it will be covered with yarn. You could even cut out cardboard and layer a few pieces together!
Can kids make this craft?
Yes! Older children can easily wrap the yarn themselves. Younger kids may need help getting started and tying off the yarn.
How many stars do I need?
For a 5- to 6-foot garland, plan on making 5–8 stars, depending on how far apart you’d like them spaced.
Can I use other materials besides yarn?
Absolutely! Try baker’s twine, embroidery floss, chunky yarn, ribbon, raffia, or even strips of fabric for different textures.
Save for later
Too busy to get crafting today? No problem! Pin this post to remind yourself about this project later! Sharing my projects helps me reach more people, allowing me to continue sharing free content!
More Fun Craft Ideas
Final Thoughts
This DIY yarn wrapped star garland is one of those simple crafts that looks much more impressive than it is to make. With just a few inexpensive supplies, you can create a beautiful handmade decoration that’s perfect for every season. Change the yarn colors to match any holiday or party theme, or keep it neutral for year-round farmhouse décor.
Whether you’re crafting with kids, decorating for a celebration, or adding a cozy handmade touch to your home, this easy star garland is a fun project you’ll want to make again and again.
Leave a Reply