
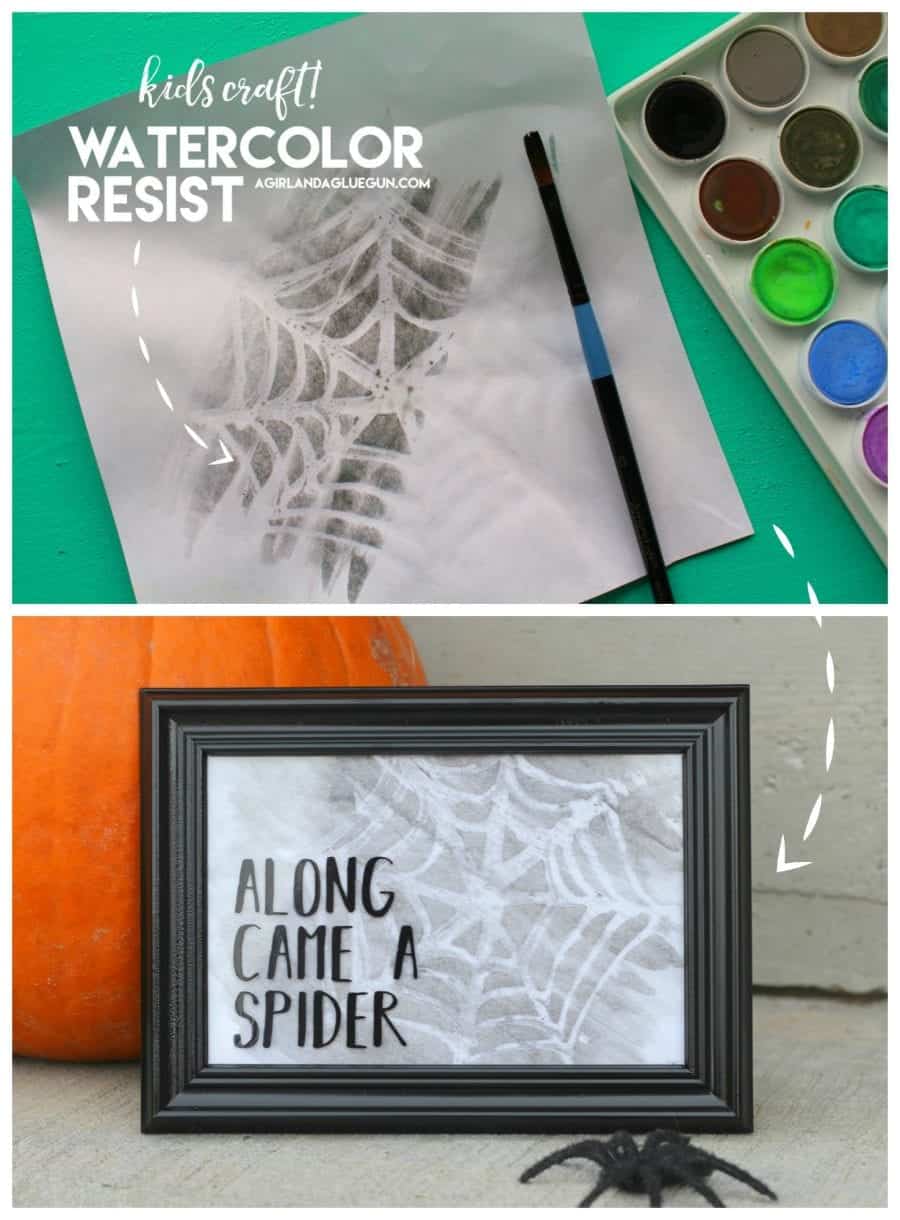
Looking for a Halloween craft that’s both magical and mess-free? Try making water-resist spider webs! This simple project combines art and a little science to create beautiful, web-like designs that seem to appear right before your eyes. Using just a few supplies, kids can explore how wax or glue resists watercolor paint — while making spooky decorations perfect for October!

I have a passion for kids crafts–My mom was always letting me paint and create growing up and I credit all my current craftiness to her! So I think we need to foster that creativity in our kids! Today I have a fun watercolor resist spiderweb art that is perfect for Halloween!
And you should have most supplies already in your house!
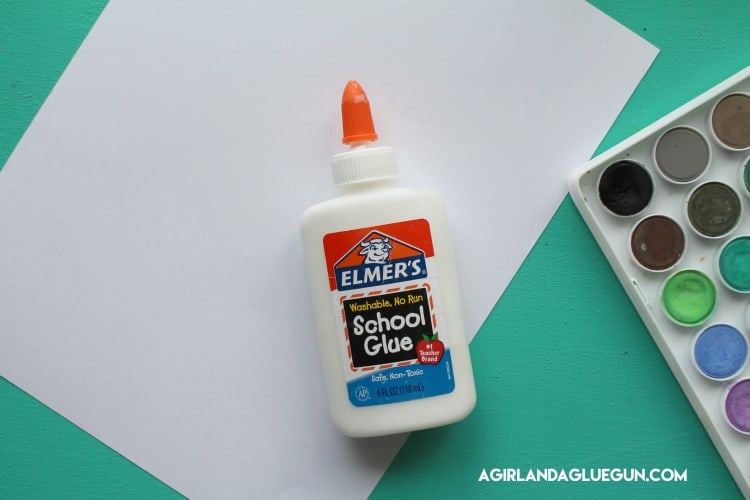
Supplies to make Water resist spider webs:
- White crayon or white school glue
- watercolor paint
- Watercolor paper or thick white paper
- Paintbrush
- Cup of water
- Paper towel
- Optional: plastic spider rings or stickers for decoration
Make sure to check out my water resist post where I test out glue, oil pastel, and crayons to determine which one works best!
How to Make It:
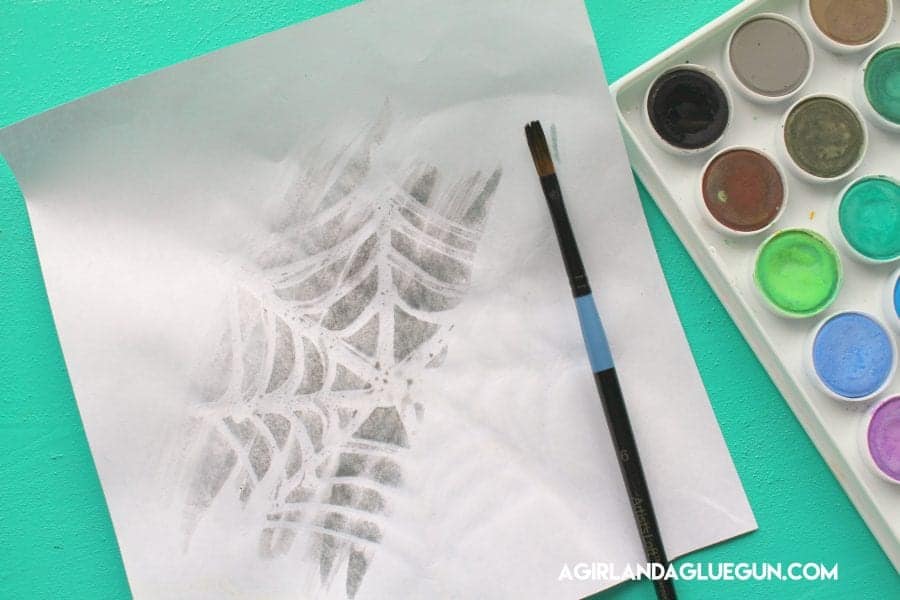
Draw Your Web
Use a white crayon or white glue to draw a spider web on your paper. Start by making an “X” shape with lines that cross in the center. Add smaller lines connecting each section to look like a real web!

If you used glue, make sure to let it dry completely.
The only hard part is waiting for the glue to dry–but you could break it up into two days of crafting. One day drawing with glue…the next day painting over it!
Add Some Magic (a.k.a. Watercolor!)
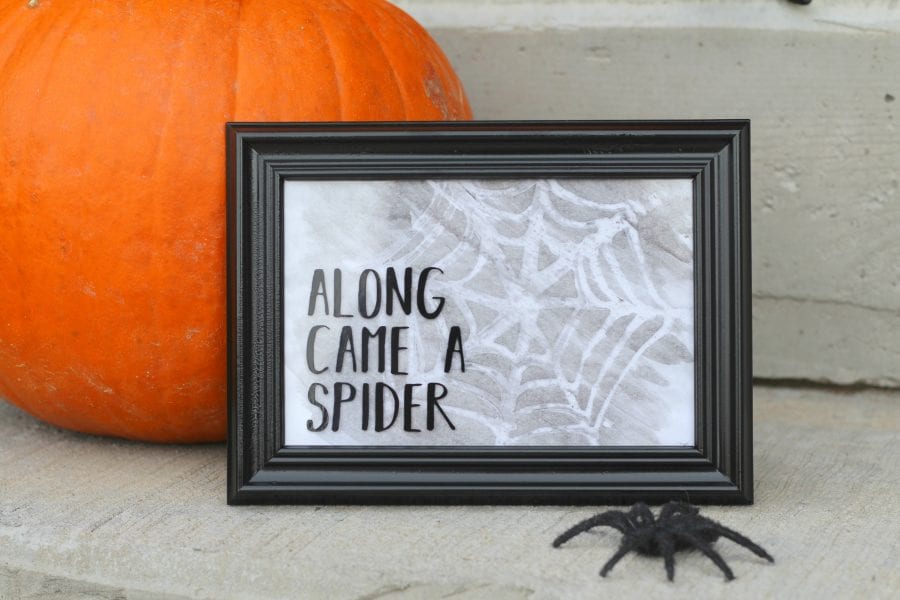
Once your web is ready, paint over the whole paper with black watercolor paint.
- The paint will cover the paper but resist the wax or glue, revealing your web!
- Watch as the web slowly appears — it’s like invisible ink!

The picture above is white crayone and the The picture below is glue.
The elmer’s glue dries and flattens out so it makes it easy to paint over.
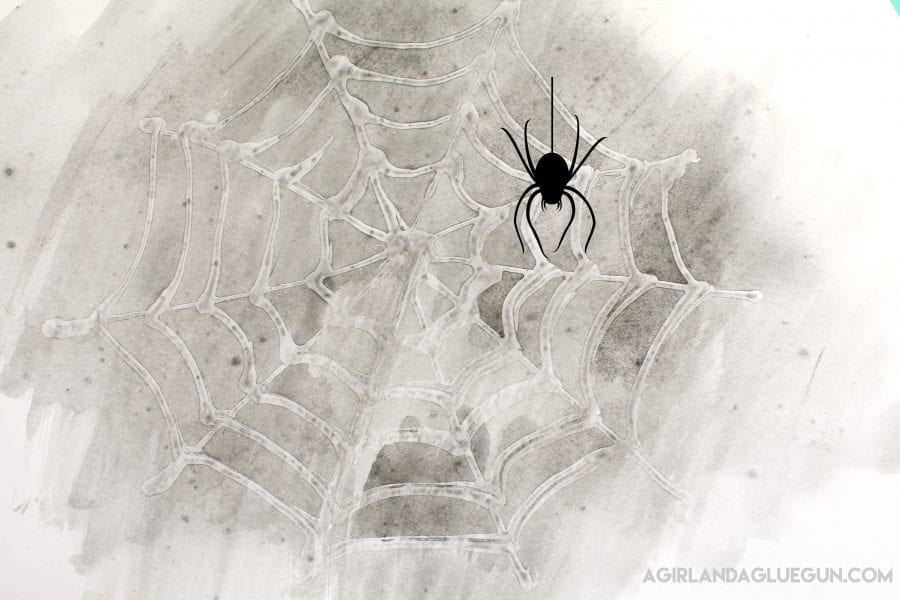
Finishing Touches
Let your masterpiece dry.
Then, if you like, glue on a plastic spider or draw one crawling across your web.
Hang it up for an eerie Halloween decoration!
I put together a fun video for you to see it in action:
Tips for Parents:
- Try using different colors of watercolor for a colorful twist.
- Have younger kids use glue instead of a crayon — it’s easier for little hands.
- Turn this craft into a mini art lesson by talking about contrast (light vs. dark).
- Write a hidden message for you kids to find
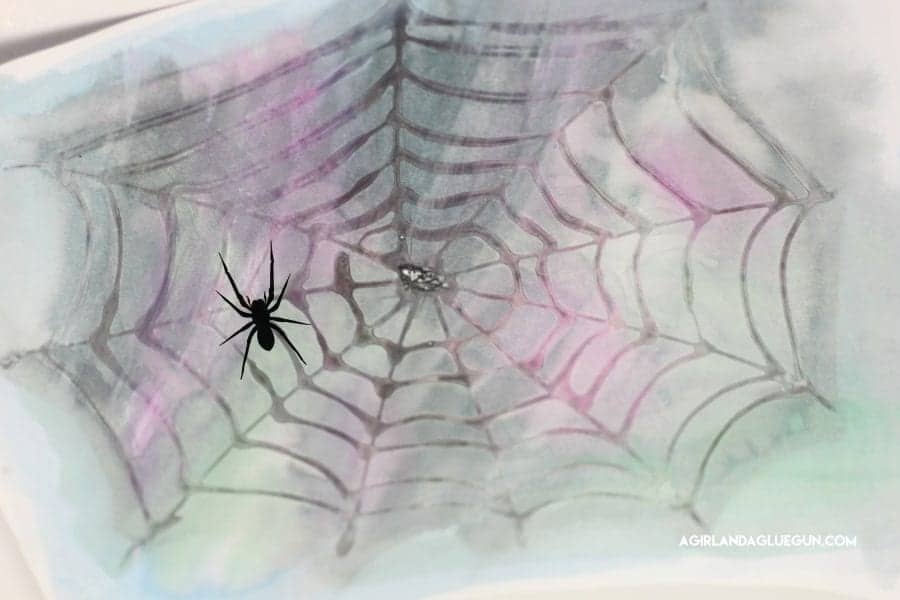
I turned my daughters spiderweb into framed art

This project is perfect for a rainy fall afternoon — simple, creative, and just spooky enough to get kids excited about Halloween!
Save for later
Too busy to get crafting today? No problem! Pin this post to remind yourself about this project later! Sharing my projects helps me reach more people, allowing me to continue sharing free content!

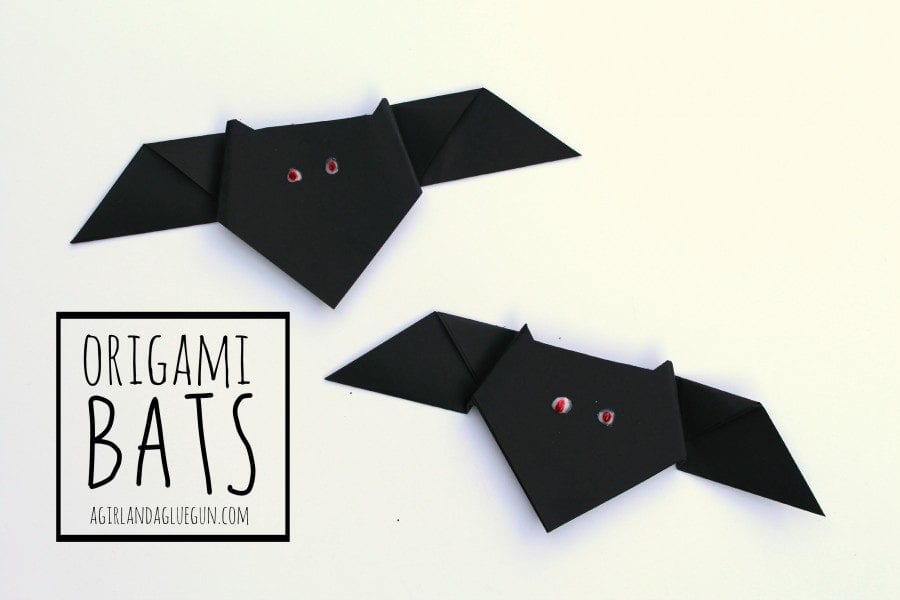
OTHER totally cute Halloween projects
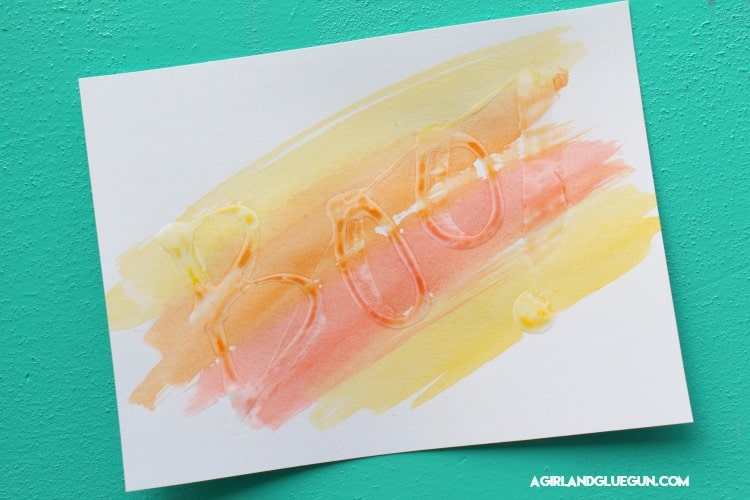
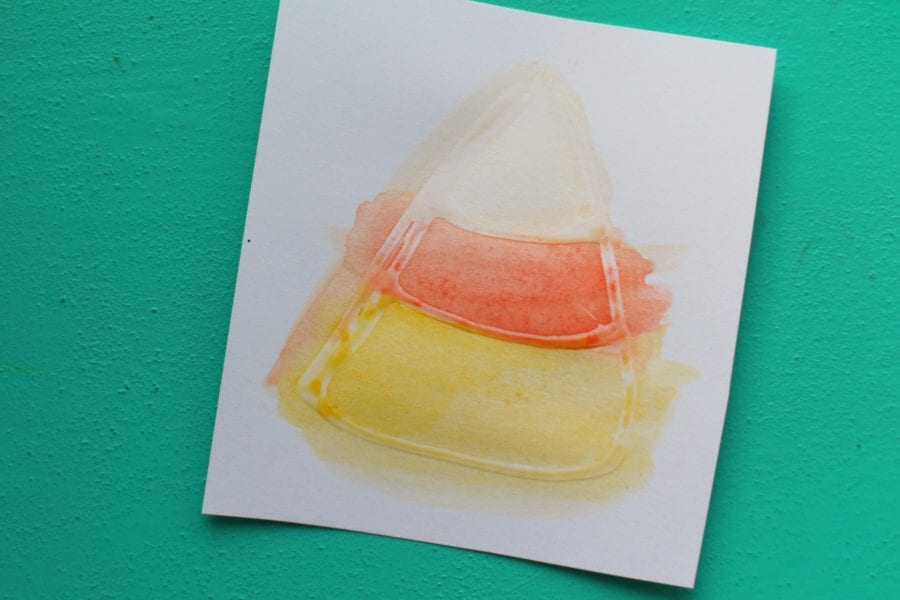
- ghost and candy corn garland
- Halloween cut files
- Creepy Doormat
- Pool noodle candles
- Halloween sensory game
- Yard monsters
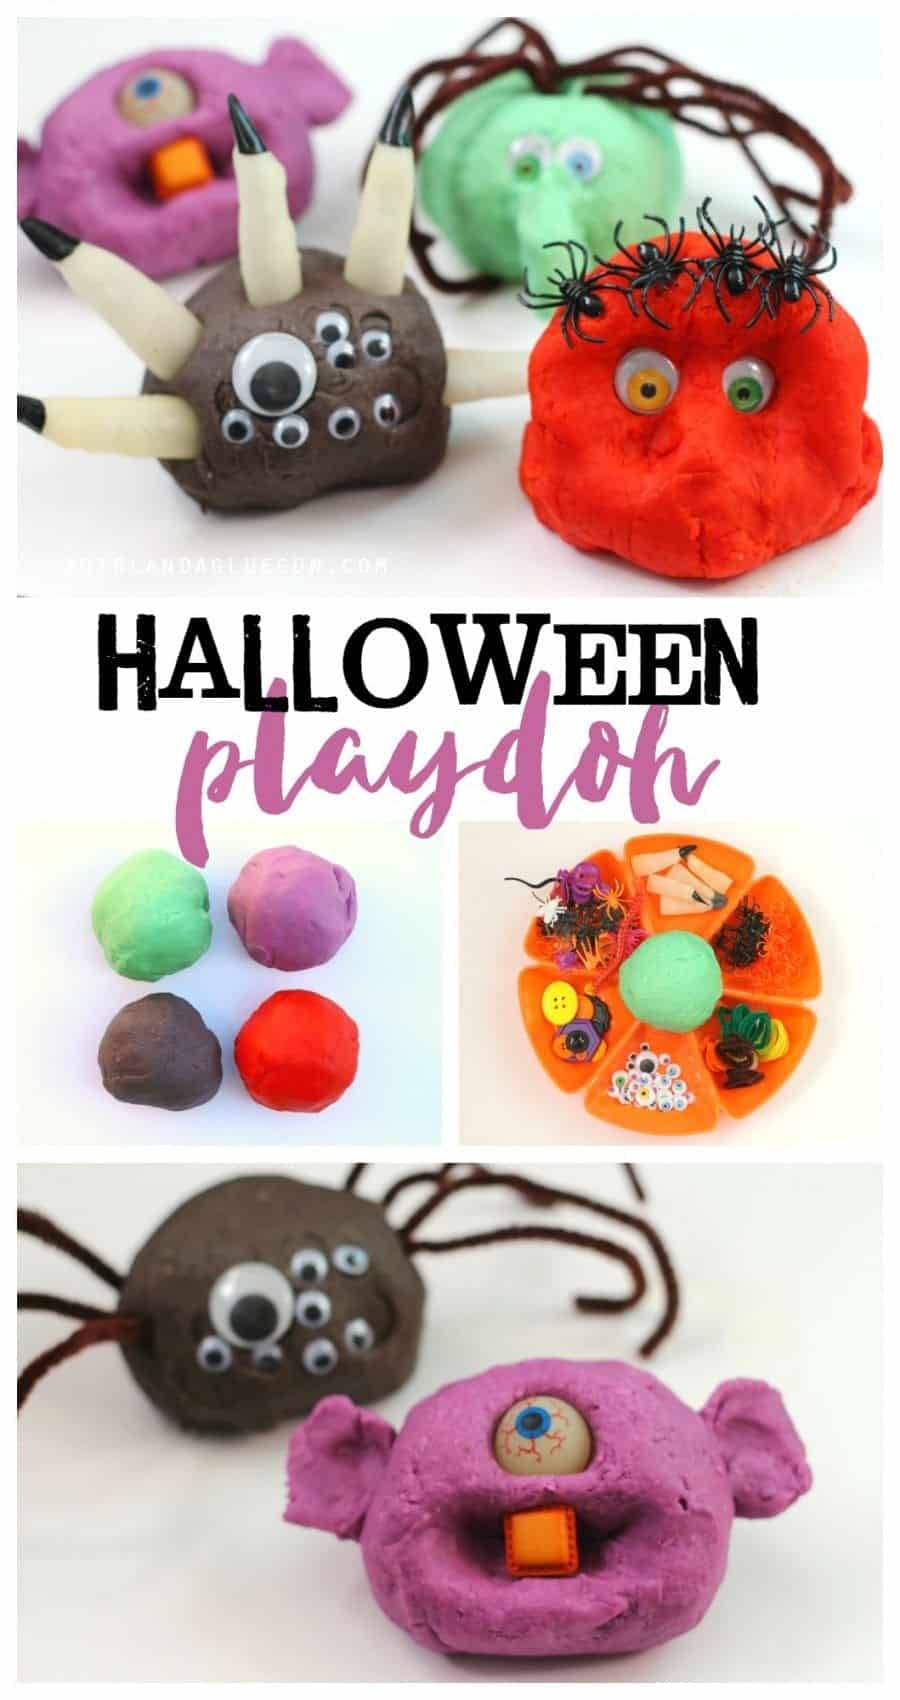
- Halloween play doh printables
- Trivia game (free printable)
- DIY spell Book
- Halloween golf
- Classroom party games
- Spooky dinner ideas with free printables
- mummy door for your front door board
- DIY witch’s broom
- Table decorations for Halloween
If you want more fun Kids crafts check out these:

and Monster playdoh
Happy Crafting!
Leave a Reply