
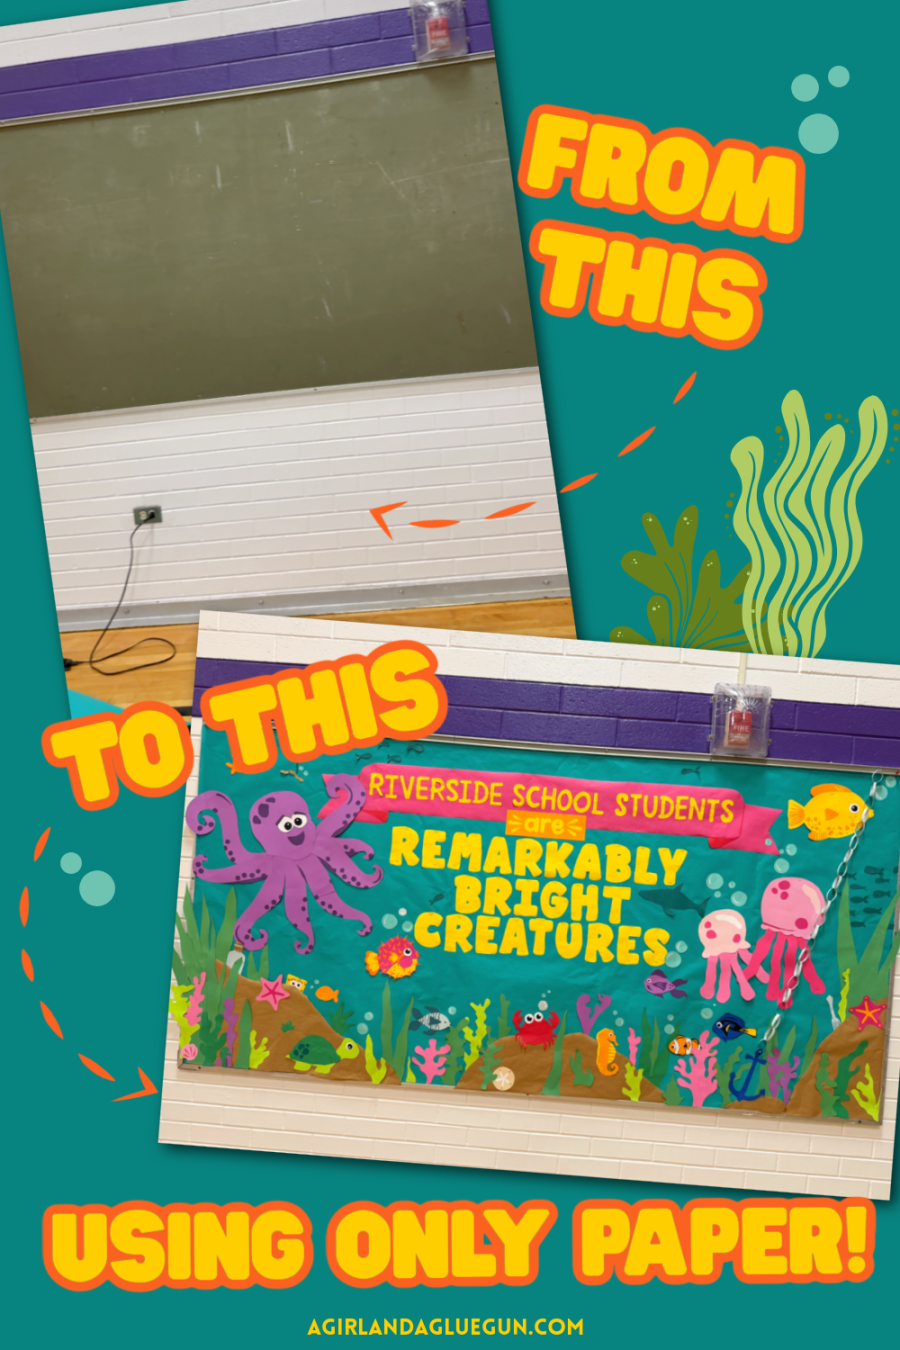
Create a colorful ocean-themed classroom bulletin board that’s sure to make a splash!
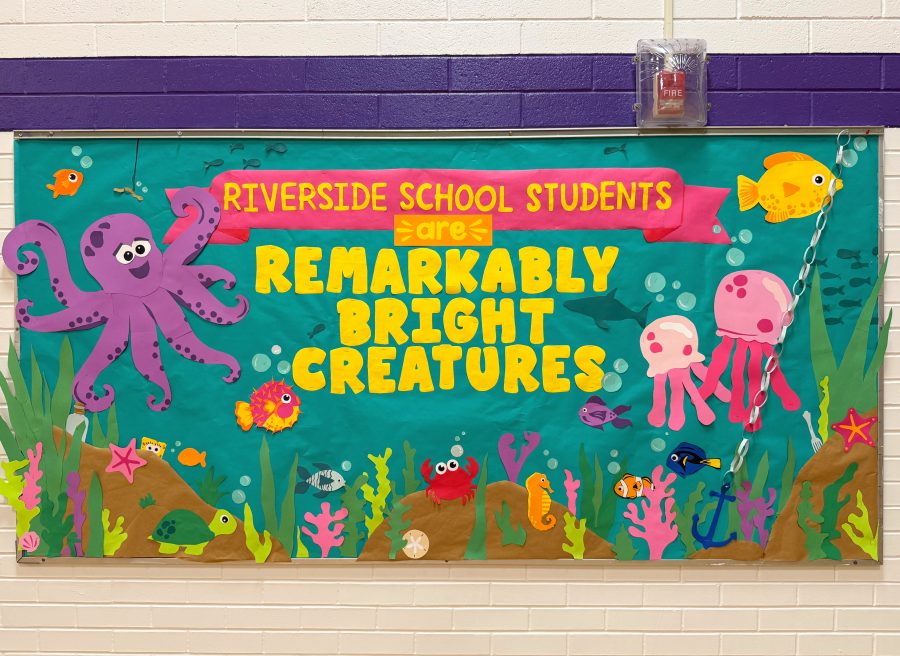
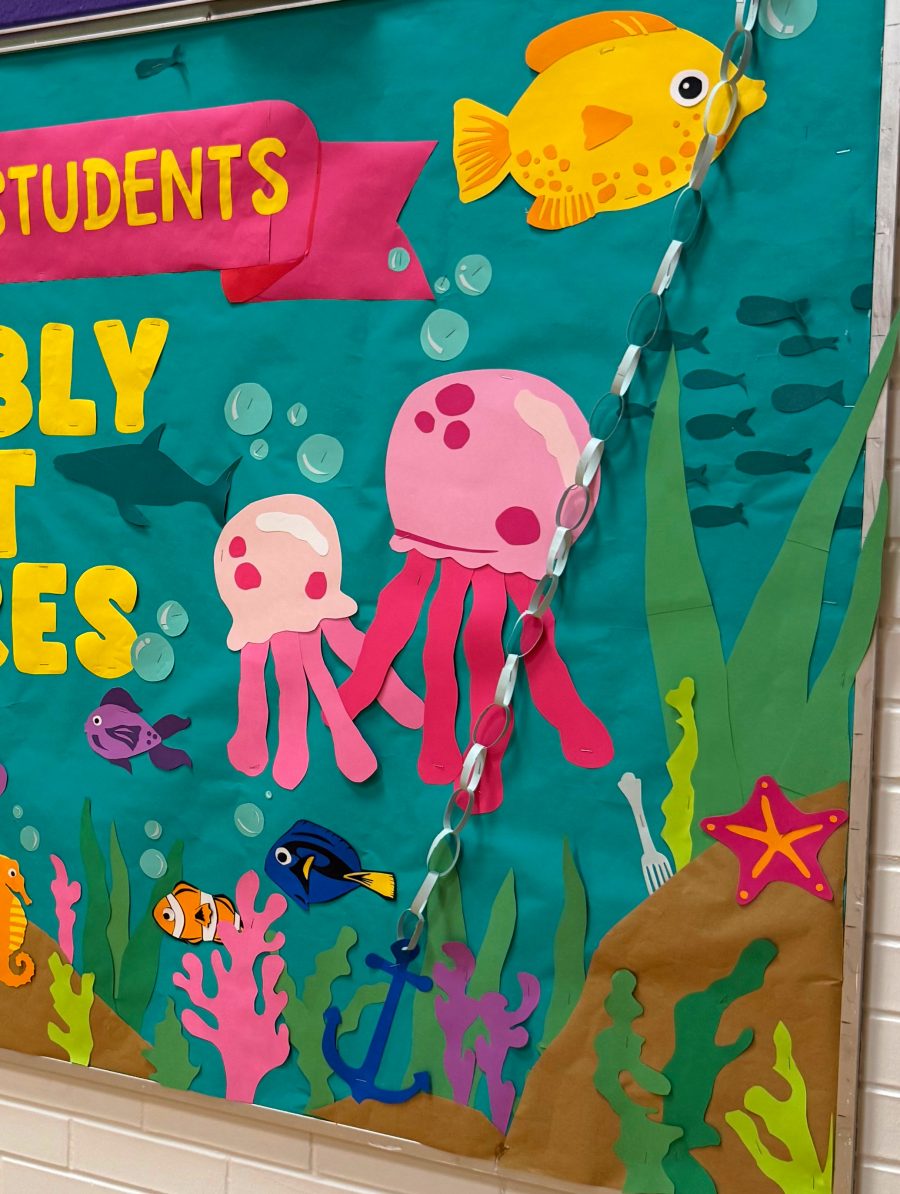
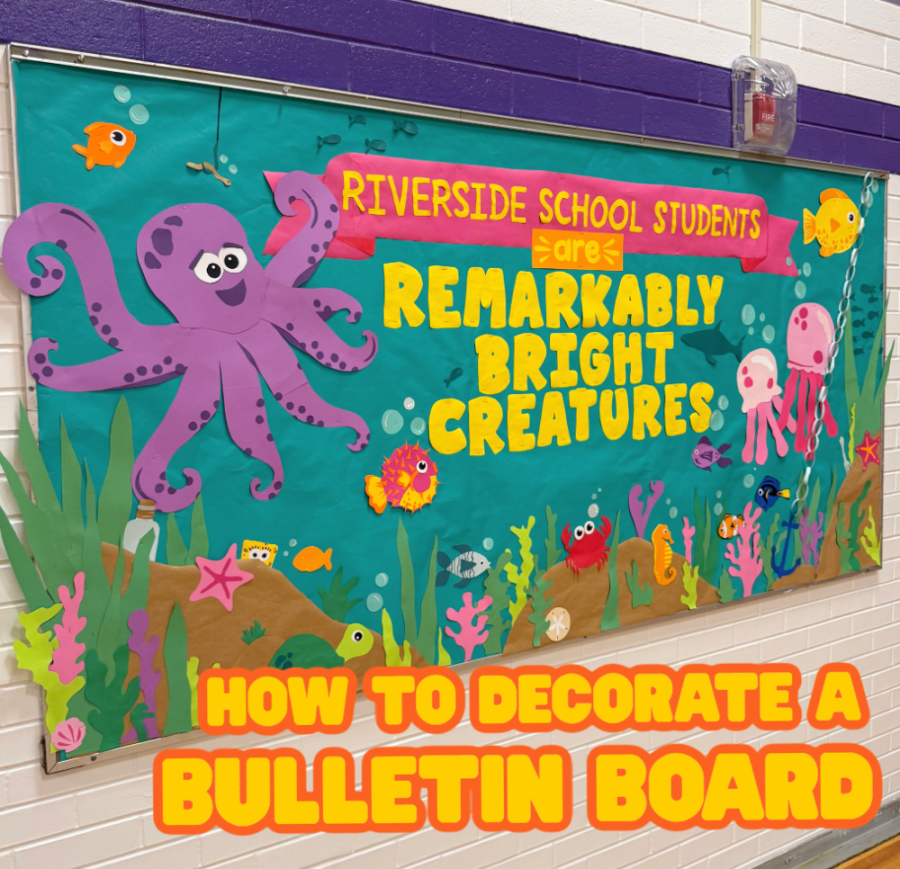
I have made some bulletin boards (like my friendship bracelet one and the giant crafts supplies one) and some of the comments I got were about the price to make it! So I wanted to create a whole bulletin board using only paper! So for under $10- ( and some time), I made this Giant ocean bulletin board!
We chose remarkably bright creatures based on the amazing book (and now movie). But I have lots of other fun phrases you can use down below!
If you’re looking for a fun and eye-catching bulletin board idea for school, this Under the Sea classroom display is perfect for welcoming students back to school. Featuring playful sea creatures, colorful coral reefs, and a cheerful message, this ocean-themed bulletin board is made almost entirely from colored paper, scissors, and glue—no Cricut or fancy cutting machines required!
Whether you’re decorating an elementary hallway, classroom, library, or homeschool space, this DIY bulletin board is an easy way to brighten your learning environment.
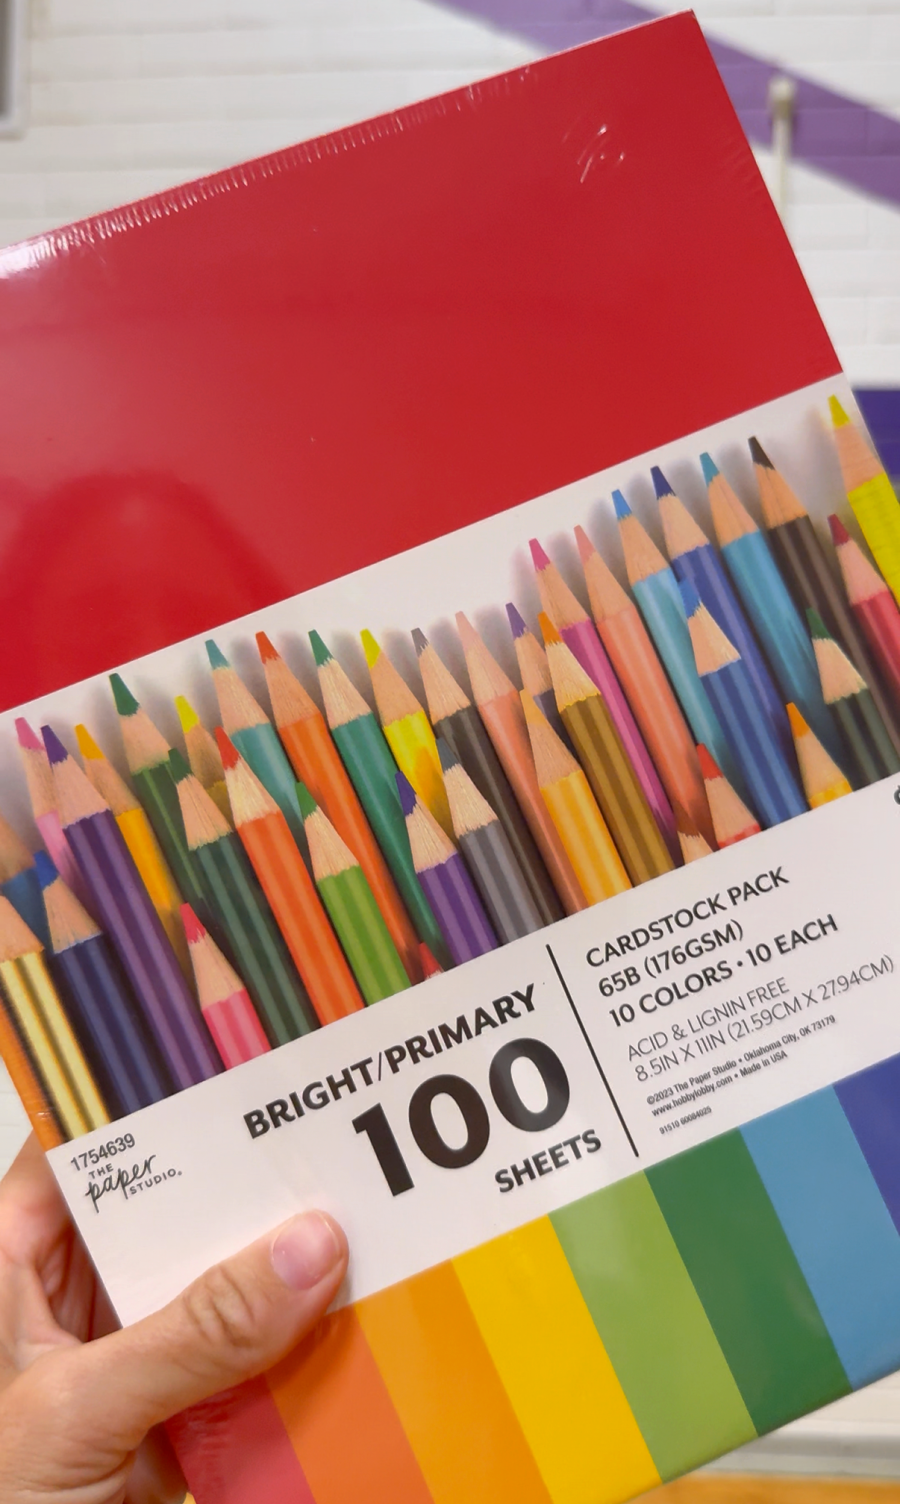
Supplies You’ll Need
- Colored bulletin board paper
- Construction paper or cardstock in assorted colors
- Pencil
- Scissors
- Glue stick or school glue
- Stapler
Step 1: Cover Your Bulletin Board
Begin by covering the bulletin board with a bright turquoise or teal bulletin board paper to resemble the ocean.
Step 2: Create the Ocean Floor
Cut large rolling hills from brown paper.
Don’t worry about making them perfect—the uneven shapes actually make the ocean floor look more natural.
Glue or staple the hills along the bottom of the bulletin board.
Step 3: Cut Seaweed
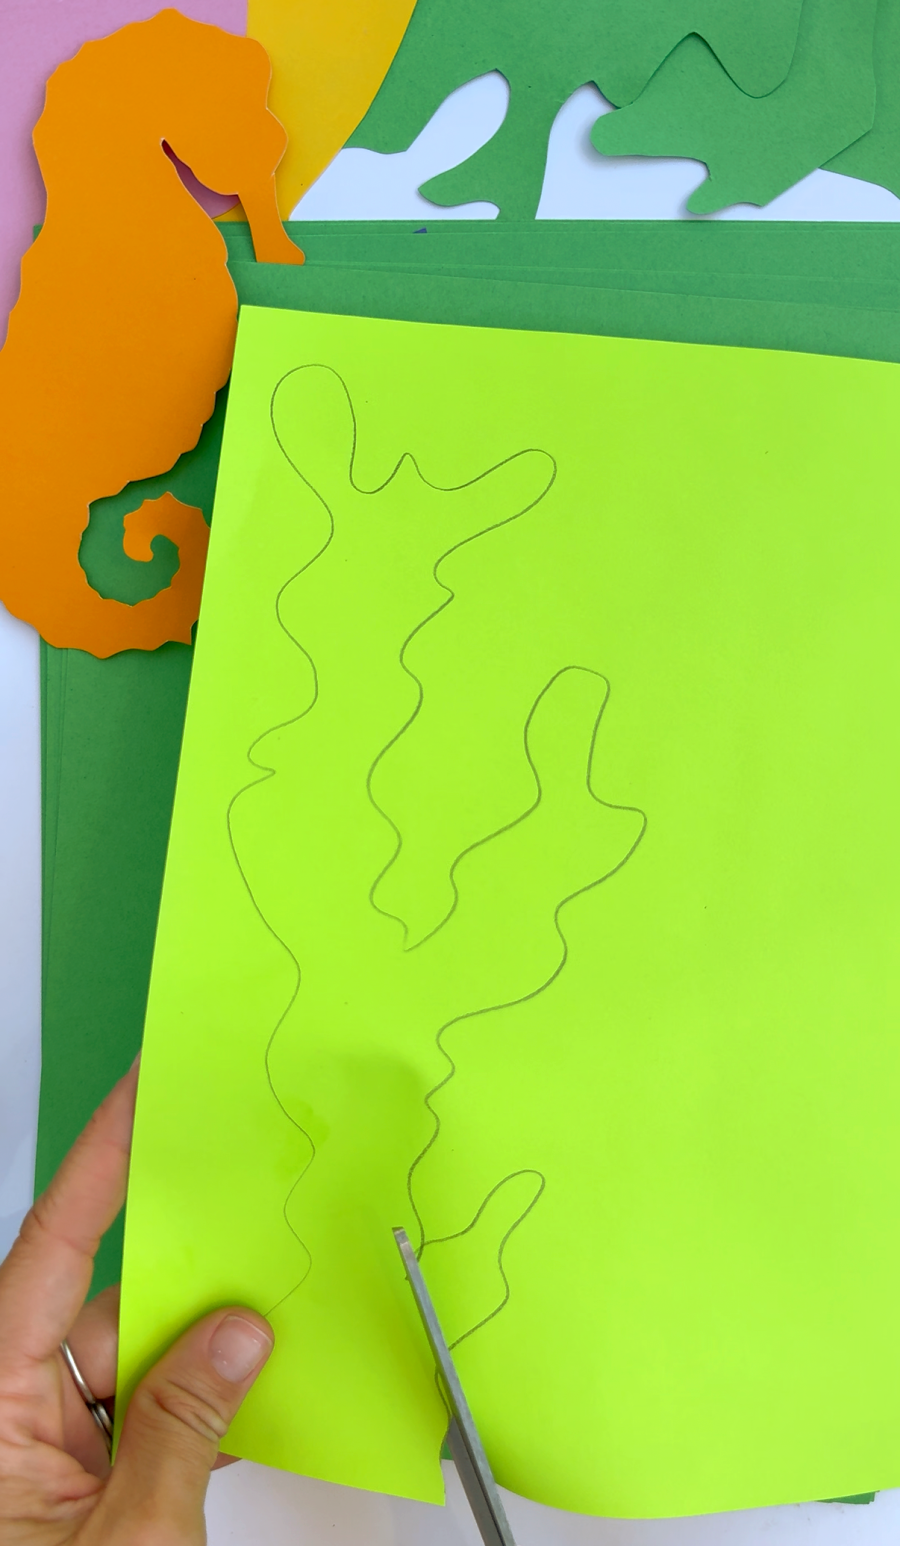
Using several shades of green paper, cut long wavy strips.
Make some tall.
Make others short.
Mix straight blades with curly pieces to create lots of texture.
Layer the seaweed throughout the bottom of the display.
Step 4: Make Colorful Coral
Cut coral shapes from:
- Pink
- Purple
- Yellow
- Lime green
- Orange
Each coral piece should have rounded branches instead of sharp points.
Layer different colors together to make the reef look full.
Step 5: Create the Sea Creatures
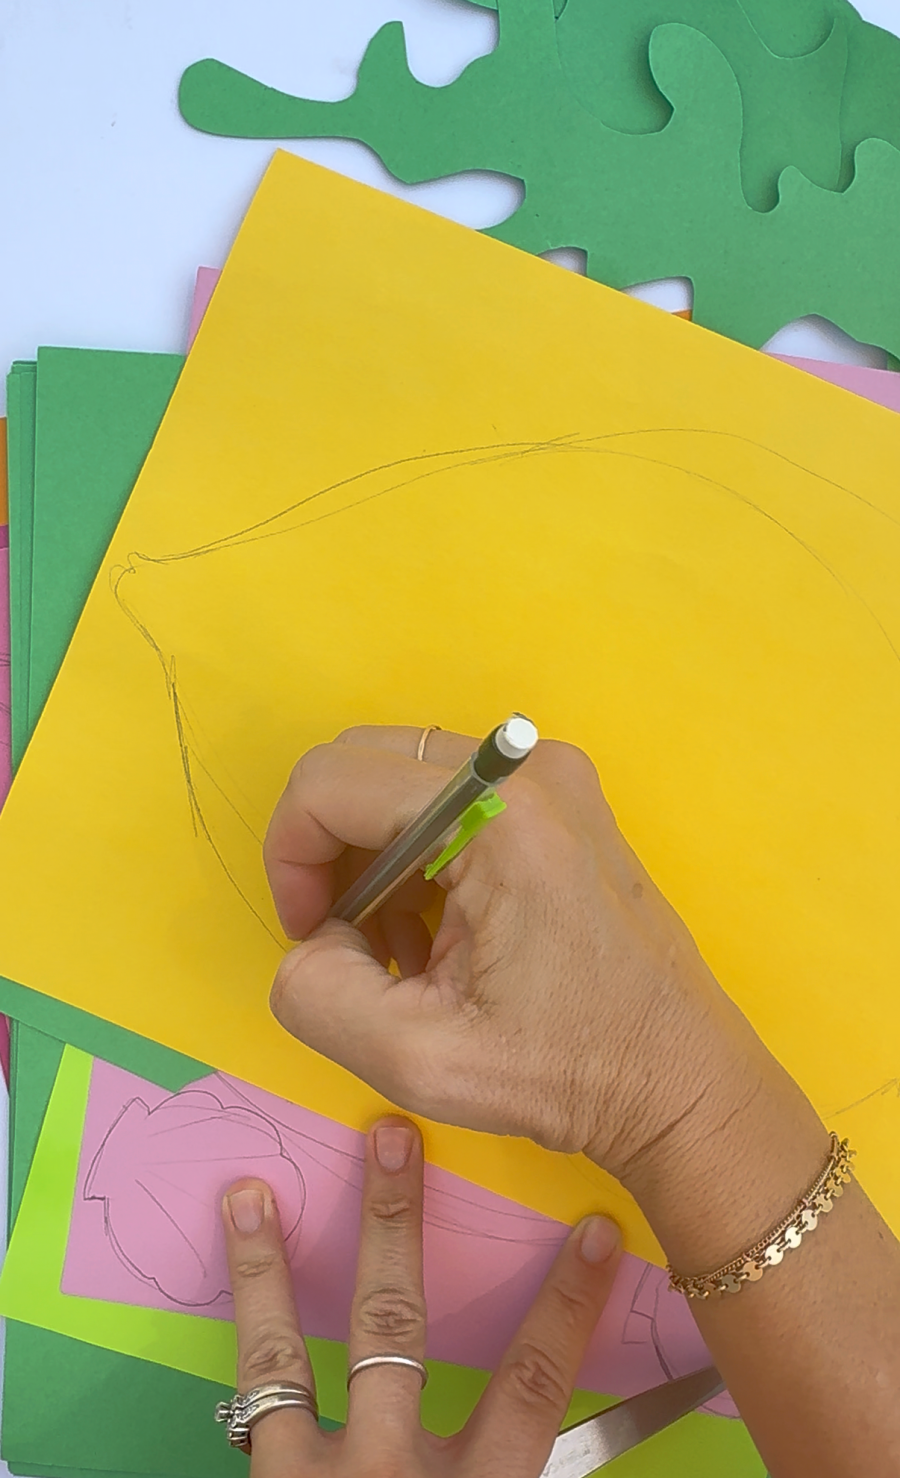
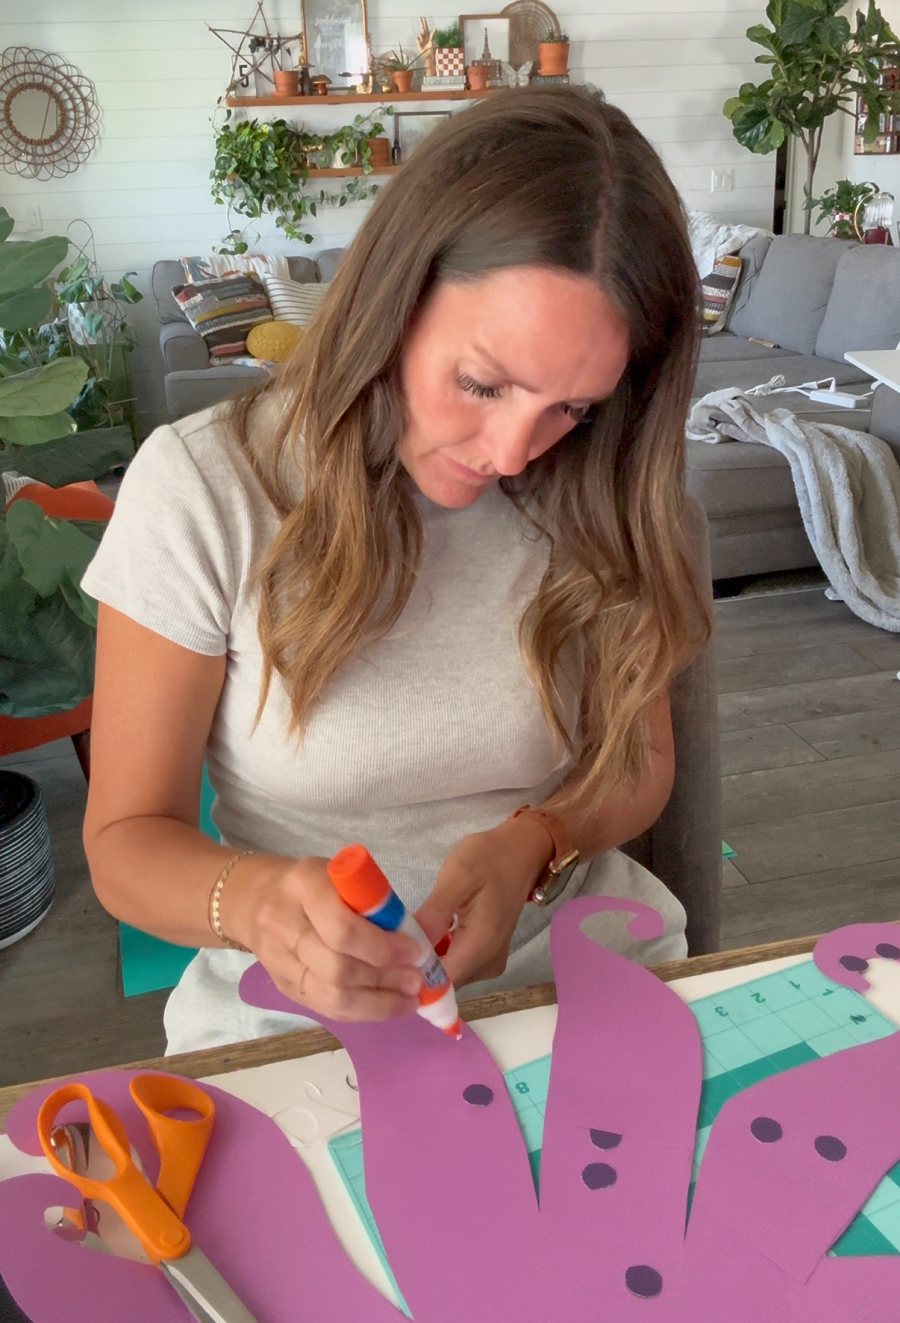
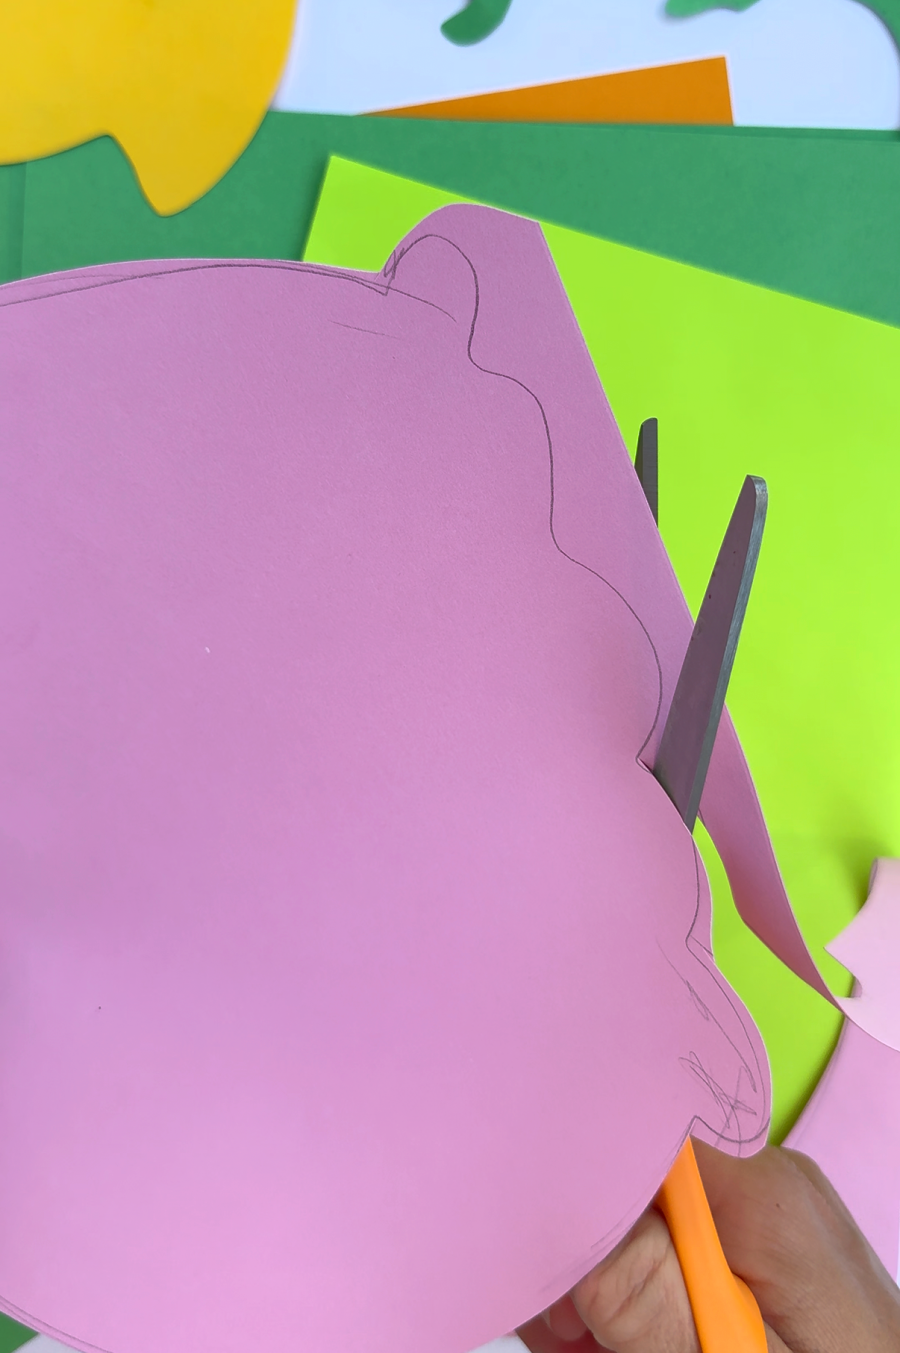
The fun part is bringing the ocean to life! I had to sketch out some designs and then made sure the pencil marks were on the back so I didn’t have to erase. If you aren’t great at free handing, you can trace some images using your phone or computer!
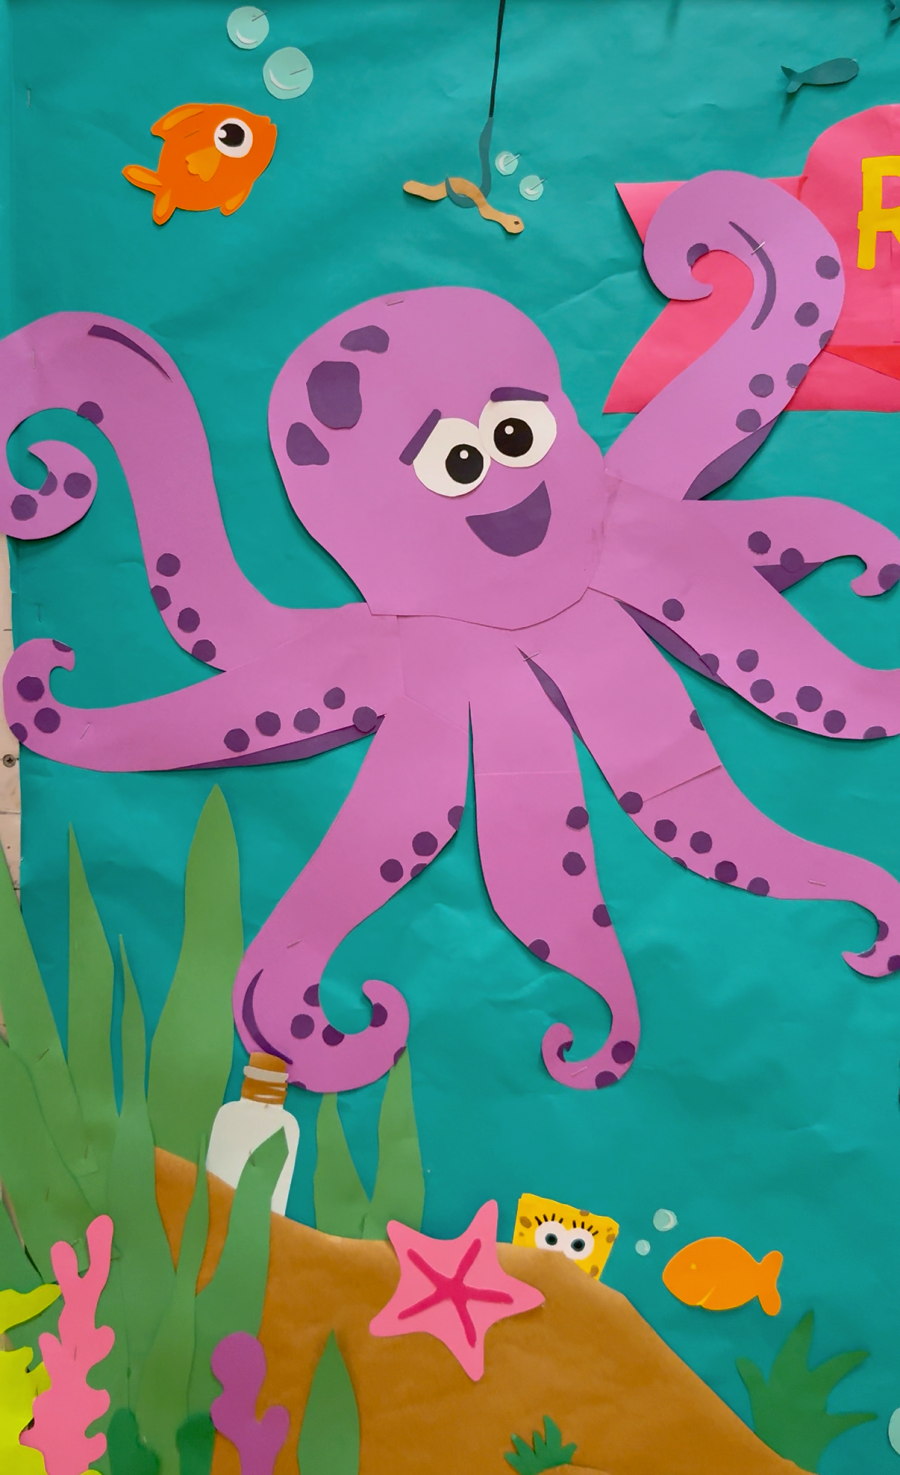
Octopus
Cut:
- One large circle for the head
- Eight long curved tentacles
- Small circles for suction cups
- Large cartoon eyes
Glue everything together and add little eyebrows for personality.
Jellyfish
Cut:
- Rounded domes
- Long wavy tentacles
- White circles for shiny highlights
Adding a few white accents makes them look glossy.
Fish
Fish are incredibly easy!
Cut:
- Oval body
- Triangle tail
- Small fins
- Circle eye
Decorate with stripes, dots, or scales using markers or layered paper.
Make several different sizes to create depth.
Crab
Cut:
- Large circle
- Two claws
- Six legs
- Funny eyes
A smiling crab instantly adds character.
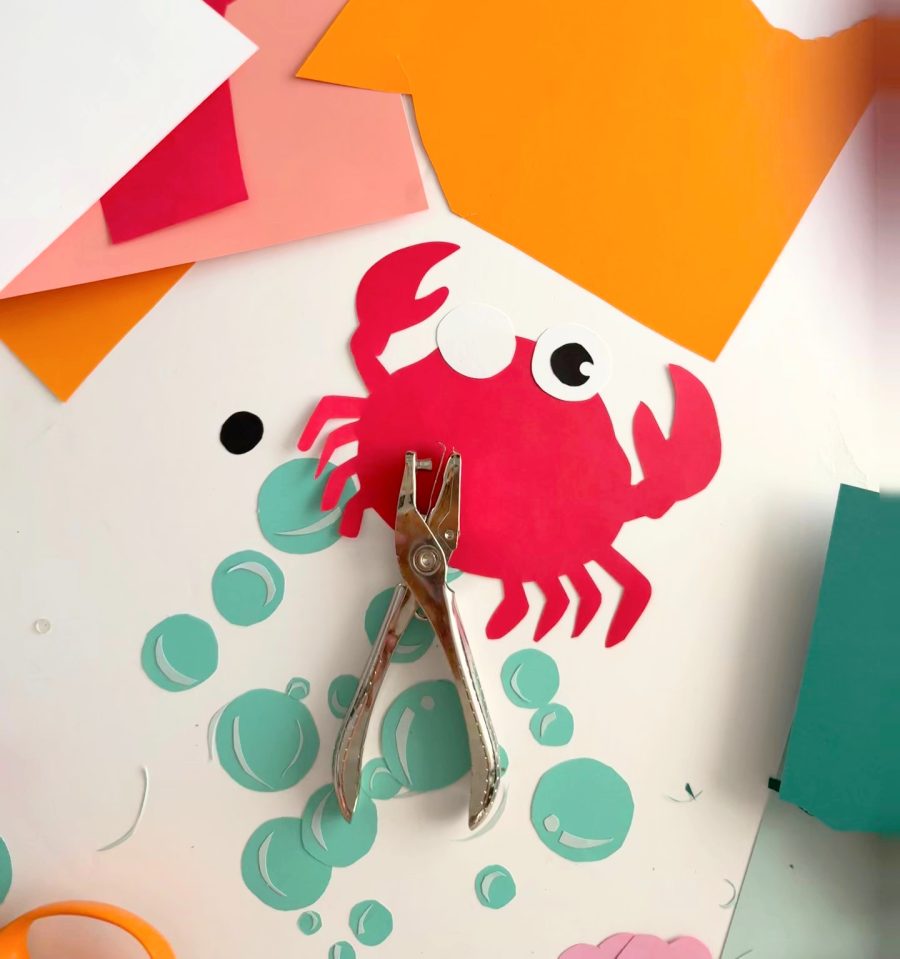
Tip: Use a hole punch to get perfect circles for the eyes.
Turtle
For the turtle you’ll need:
- Oval shell
- Small head
- Four flippers
- Tiny tail
Decorate the shell with paper circles.
Anchor
Cut out an anchor. Cut strips of paper and create a paper chain to connect it from the top to bottom.
Seahorse
Cut one simple curved body.
Add:
- Curled tail
- Small fin
- Eye
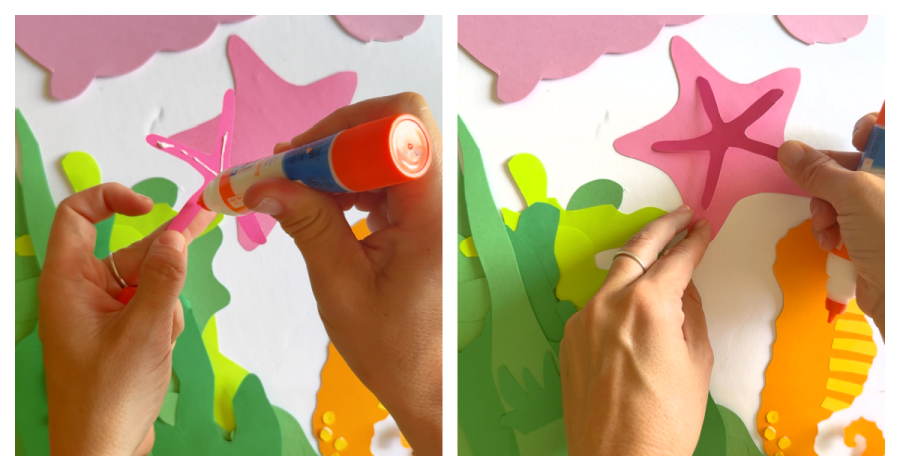
Starfish
Simply cut a five-pointed rounded star.
Cut a smaller one for dimension.
Step 6: Add Bubbles
Nothing says “underwater” like bubbles!
Cut circles from light blue in different sizes.
Scatter them throughout the board above any creature or fish.
You can even overlap some for extra dimension.
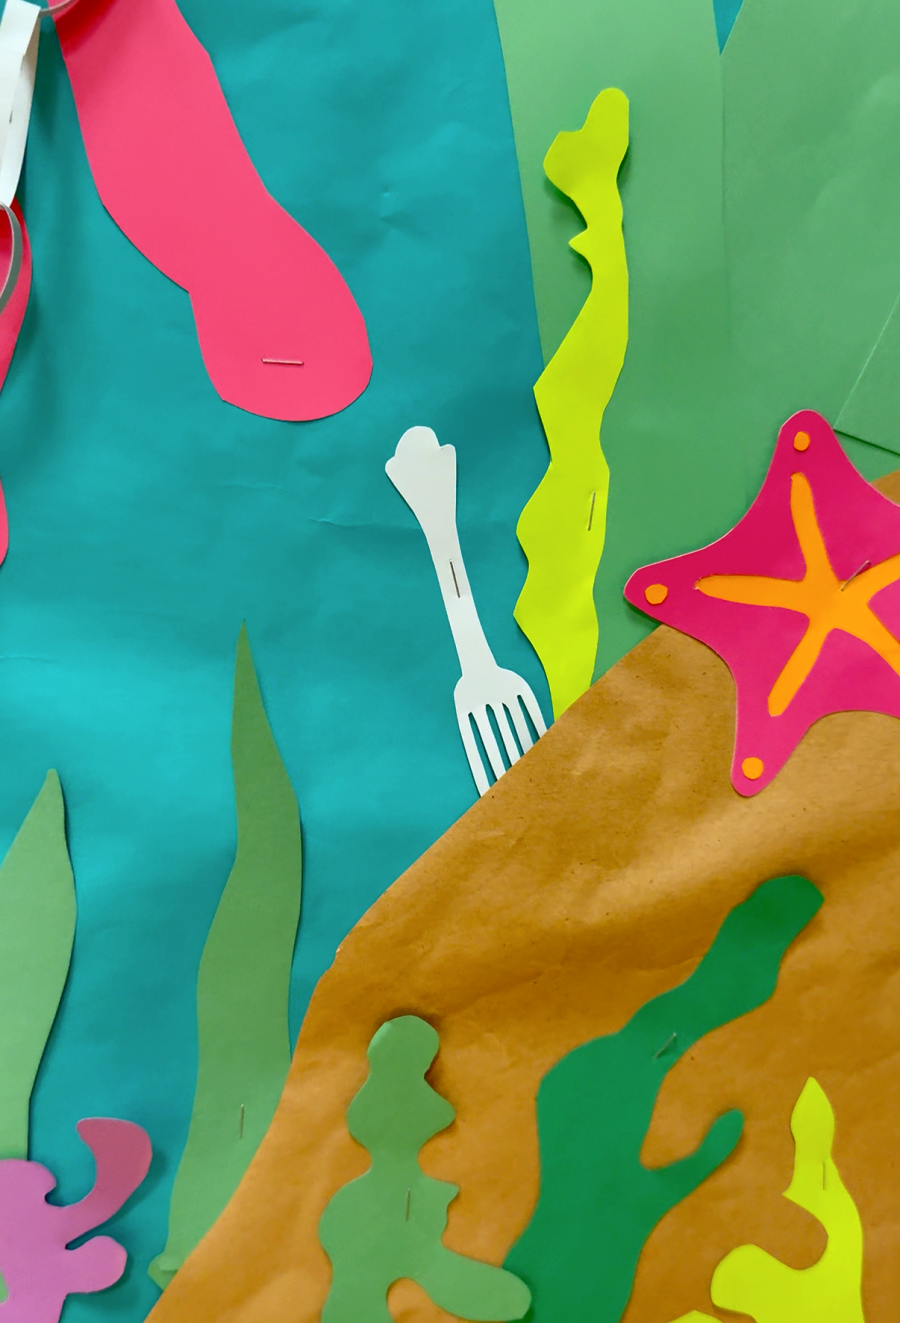
Step 7: Add Small Details
Tiny details make a huge difference.
Cut:
- Tiny fish
- Sea shells
- Sand dollars
- Sea plants
- Rocks
- Anchors
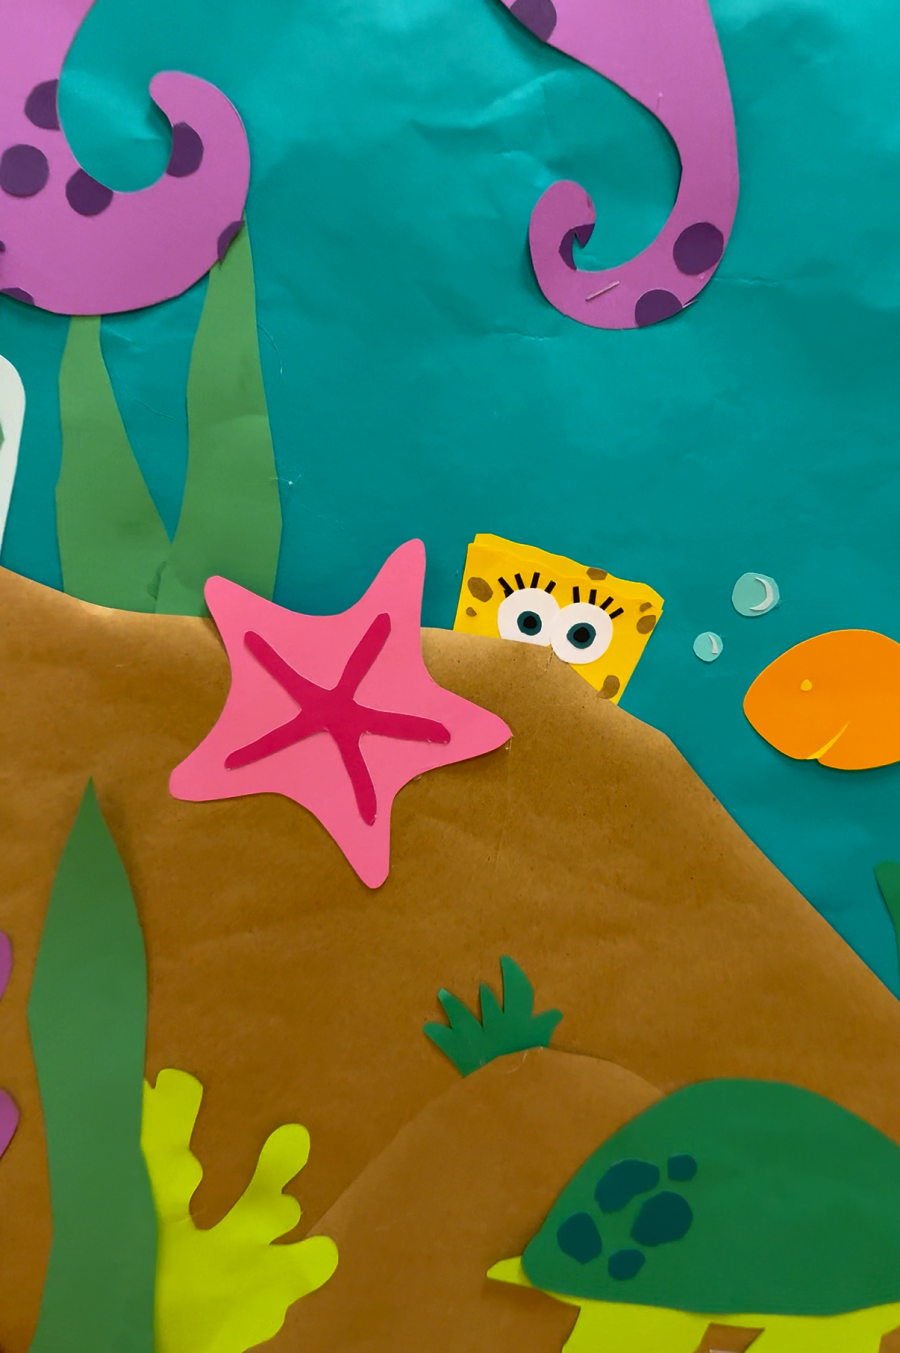
These filler pieces help the board feel complete. We even included a fork for little mermaid, a little spongebob peaking behind dirt, and a hook with a worm.
Step 8: Create the Bulletin Board Title
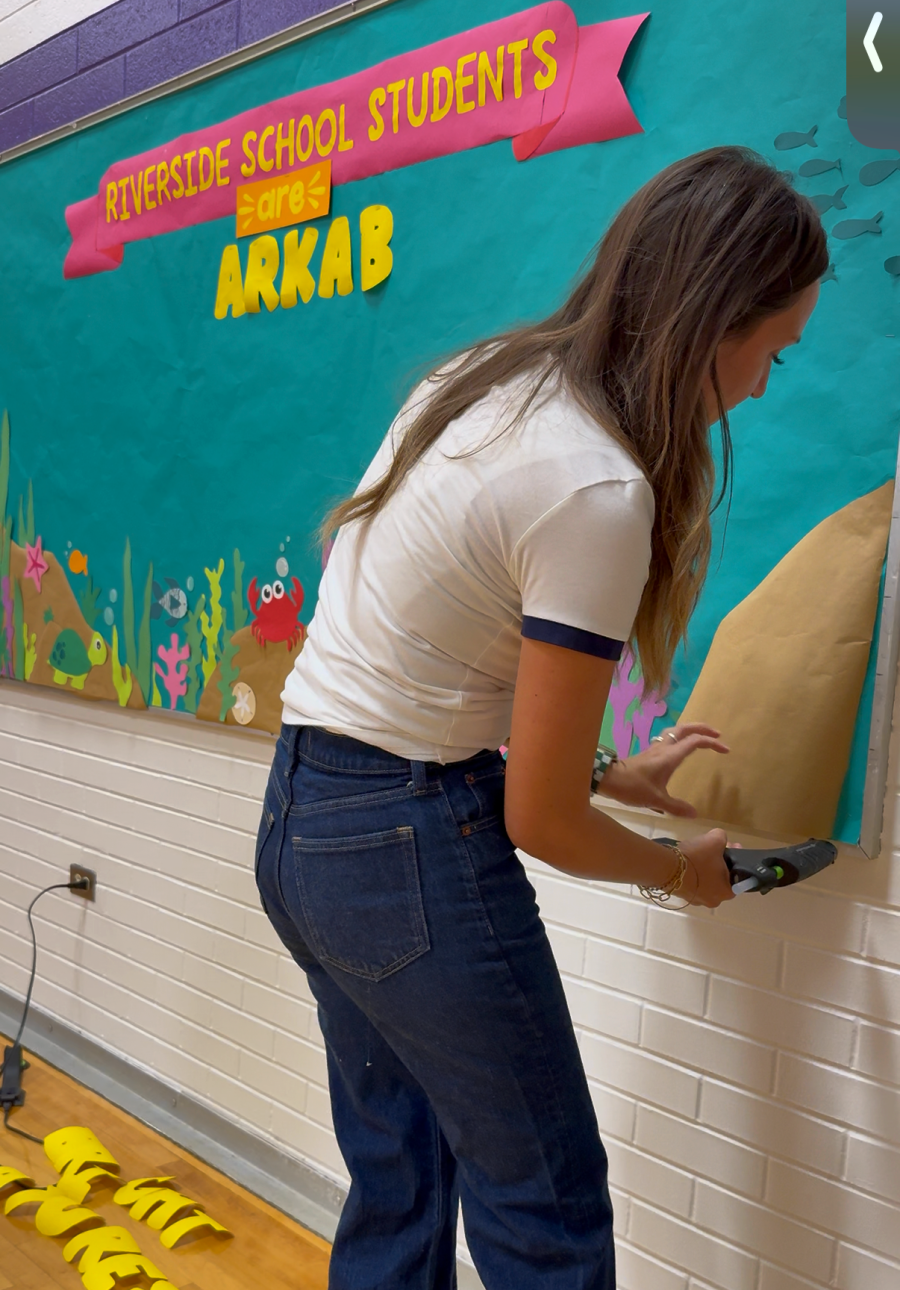
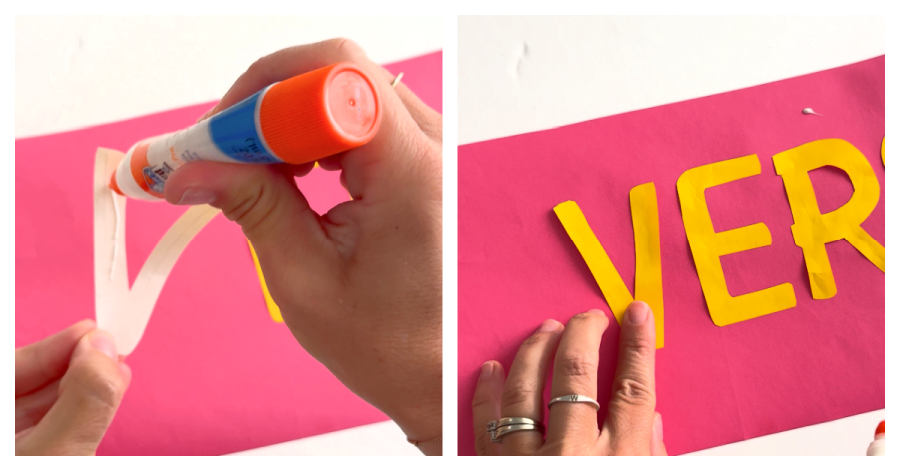
The title is the focal point of the board. And I even cut this out my hand! I was so tempted to use my silhouette- but I really tried to prove that you only need scissors, glue and paper! (You can print out some letters to trace around if you need to!)
For this display we used:
“Riverside School Students Are Remarkably Bright Creatures”
You can customize it with your own school name.
Other fun sayings include:
- We Sea Great Things This Year!
- Dive Into Learning
- Our Class Is Making Waves
- You’re O-Fish-Ally Amazing
- Seas the Day!
- School Is Fin-Tastic
- Welcome to Our School of Fish
- Our Students Are Shore to Succeed
- We are having Oceans of fun
- Happy to Sea you
Cut each letter from brightly colored paper.
Layer darker paper behind each letter to create a shadow effect that makes the words pop.
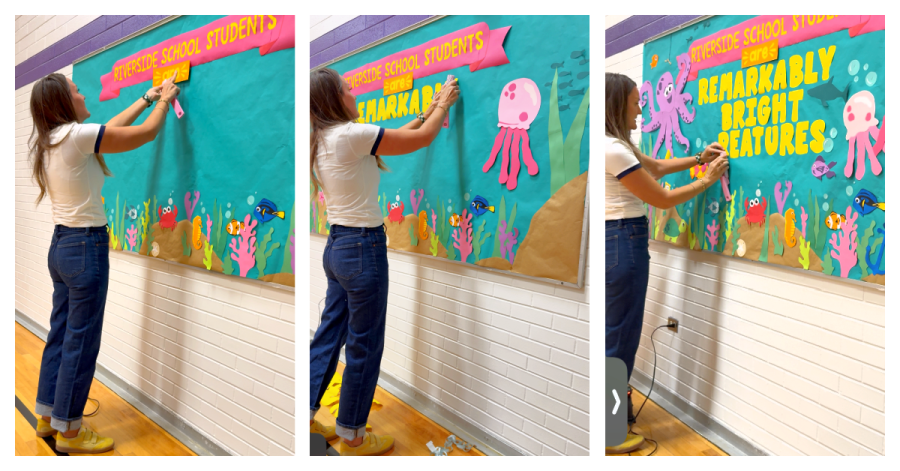
Step 9: Layer Everything
Start with:
- Ocean floor
- Seaweed
- Coral
Next add:
- Large animals
Finally:
- Title
- Small fish
- Bubbles
- Sea plants
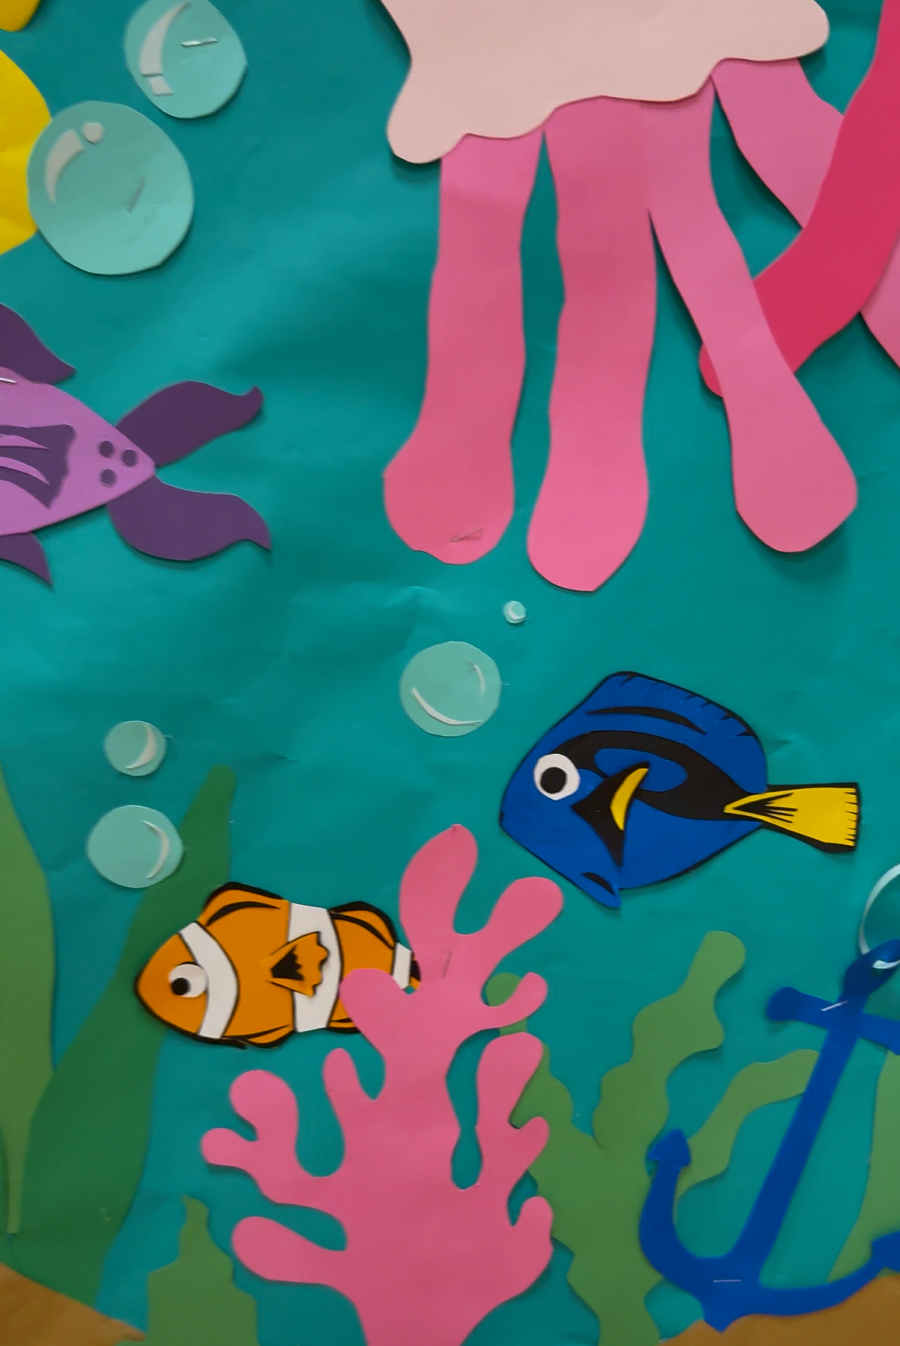
Layering creates a three-dimensional look even though everything is flat paper.
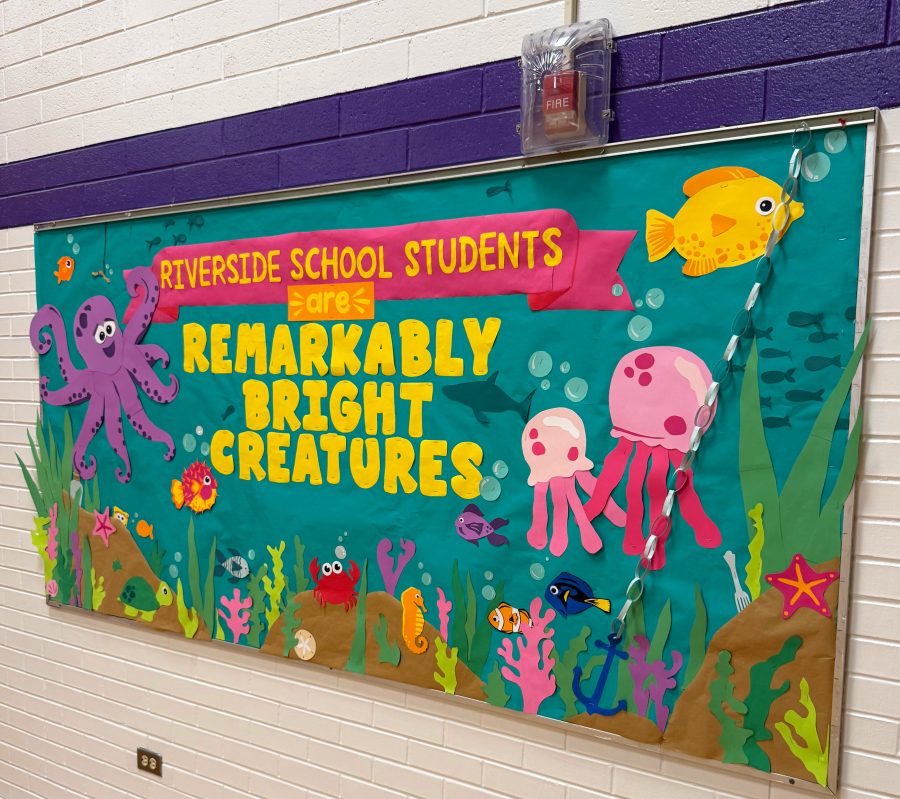
Tips for Success
- Use several shades of the same color to add depth.
- Make creatures in different sizes.
- Slightly overlap pieces.
- Don’t make everything symmetrical—nature isn’t!
- Leave some open space so the board doesn’t feel crowded.
Ways to Customize This Bulletin Board
This theme works for every season!
Beginning of School
“Welcome to Our School of Fish”
Reading Theme
“Dive Into a Good Book”
Testing Season
“Our Students Are Making Waves”
Science Theme
“Exploring the Ocean”
Summer School
“Sea You Learning!”
Frequently Asked Questions
Can I make this with a Cricut or Silhouette?
Absolutely! Every shape can be cut by hand using scissors and simple paper templates. Or put the paper into your cricut and have it do the work for you.
What type of paper works best?
Construction paper works well for smaller pieces, while bulletin board paper is ideal for backgrounds and larger elements. Cardstock is great if you want sturdier sea creatures that will last longer.
How long does this bulletin board take to make?
Plan for about 3–5 hours, depending on the size of your display and the level of detail you add. To save time, recruit a coworker, student helpers, or family members to cut out different sea creatures.
Save for later
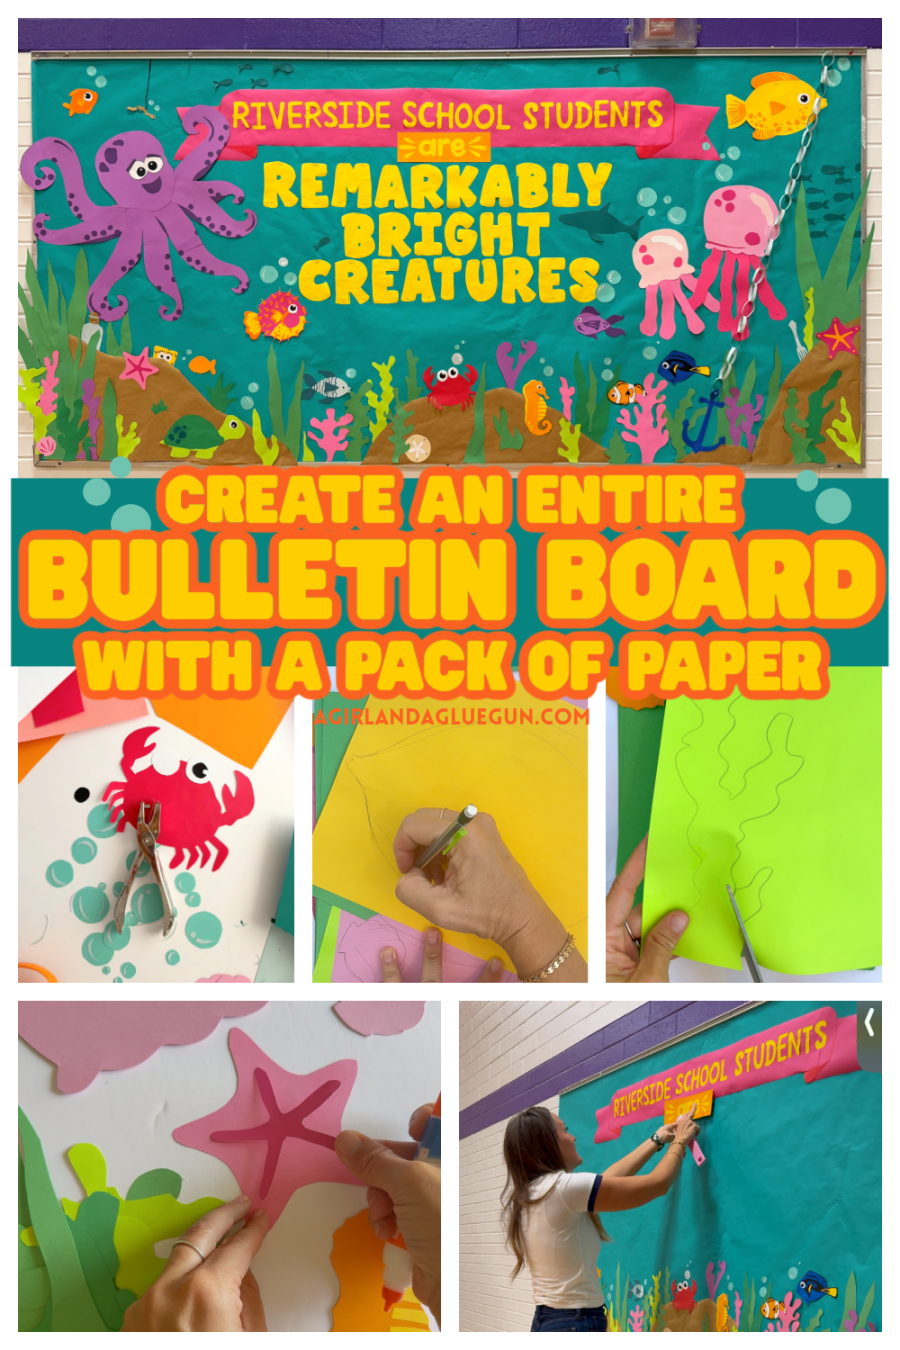
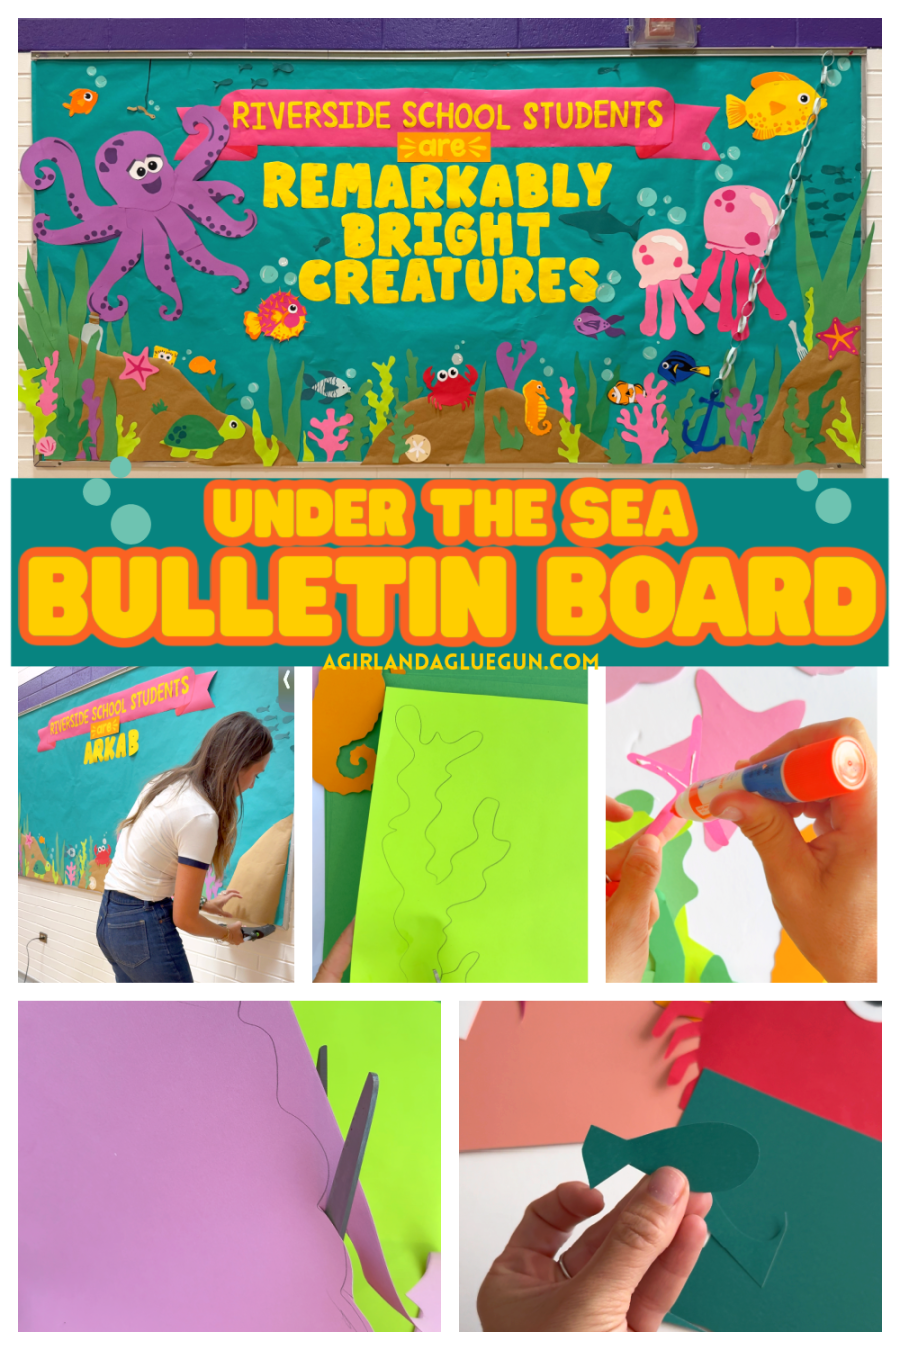
Too busy to get crafting today? No problem! Pin this post to remind yourself about this project later! Sharing my projects helps me reach more people, allowing me to continue sharing free content!
Final Thoughts
This Under the Sea bulletin board is a fun way to welcome students into a bright, cheerful classroom. Best of all, it requires only basic craft supplies—paper, scissors, and glue—making it affordable and easy to recreate. With colorful sea creatures, layered coral, and a playful ocean-themed message, this display is sure to become a favorite in your school hallway or classroom.
Check out all my Bulletin Board ideas:
- Friendship era
- Favorite books
- Smart Cookies
- BEE-utiful year
- Great minds grow here
- Mistakes are proof we are trying
- Berry Best
- Color the world with kindness
- Pinata Smashing good year
- Giant Friendship bracelet board
Leave a Reply