
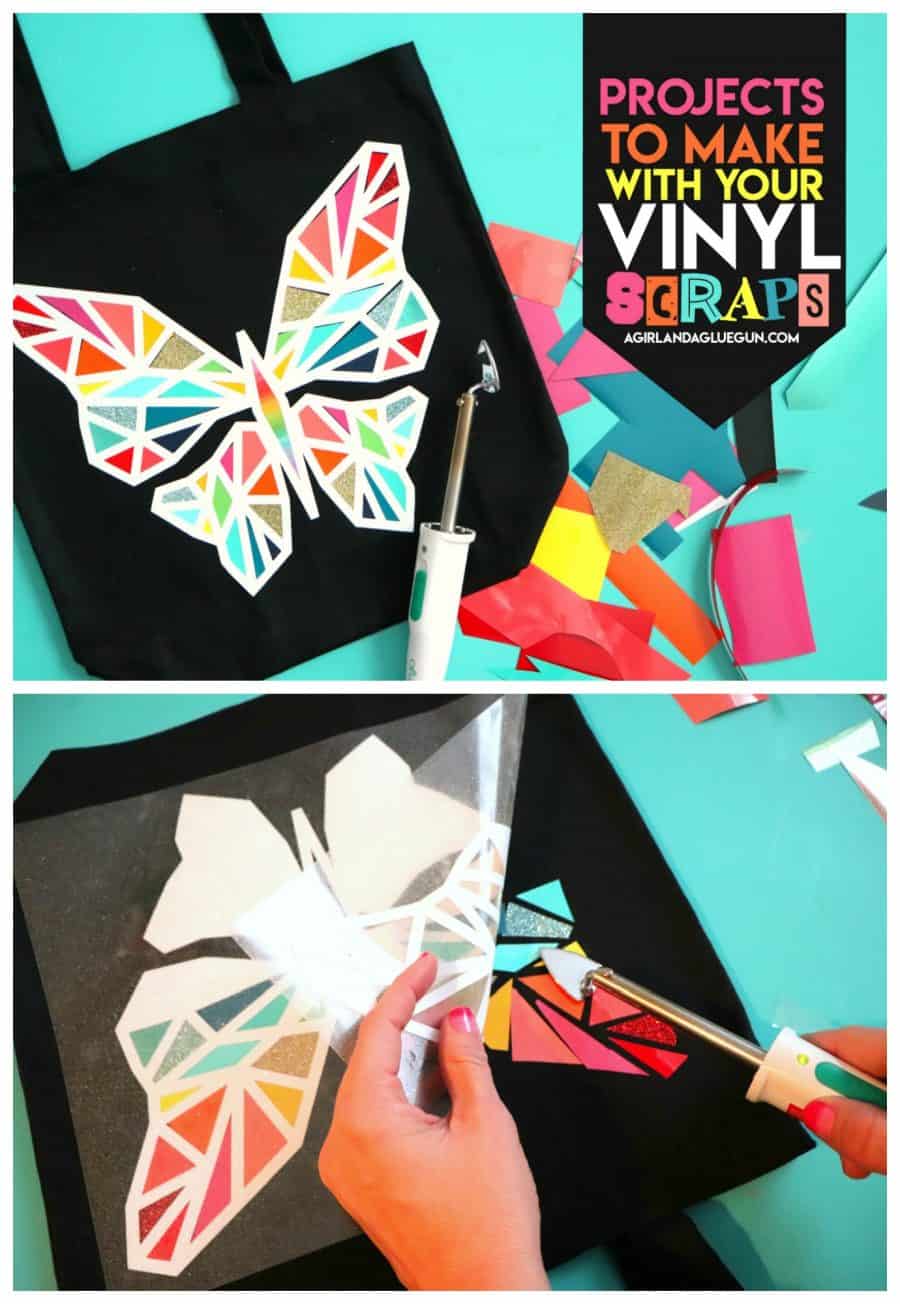
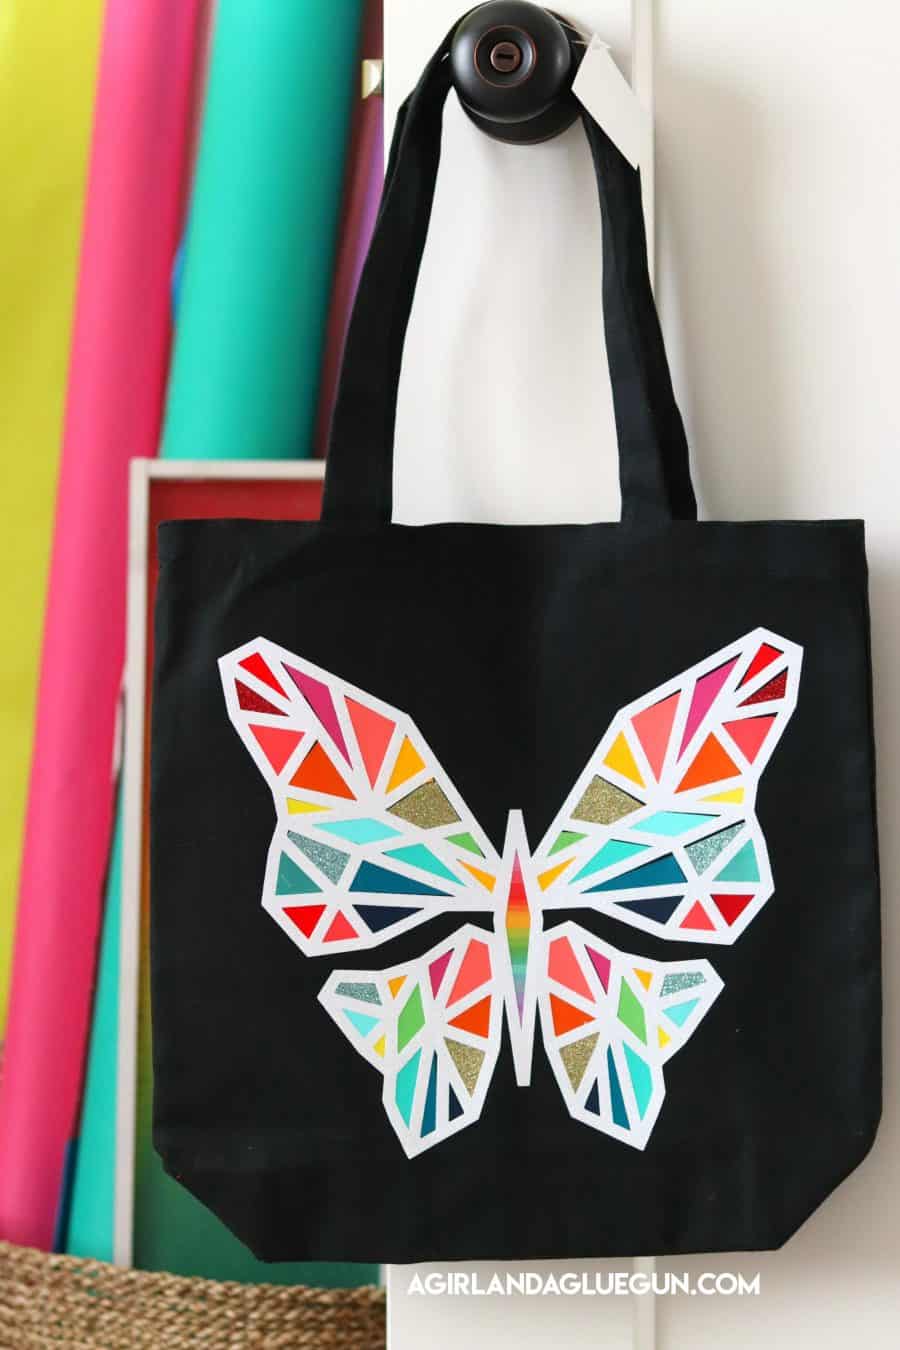
Don’t throw away those vinyl scraps! I’ve got a totally fun tote bag that you can whip up using all those glorious pieces! Get inspired by today’s fun project! Take this basic idea and make a fun water bottle decal, t-shirt, or pennant banner using this technique!
This project is made using Heat transfer Vinyl scraps. It can easily be adapted using adhesive vinyl! I’ll show you down below!
This post may contain affiliate links. If you purchase something through the link, I may receive a small commission at no extra charge to you.
Items used to make this fun tote bag:
- Clover Mini Iron
- Heat transfer scraps (all my vinyl is from Expressions Vinyl. HANDS down the best vinyl out there.
- Tote bag (I’ve got a whole post about my favorite places to buy blanks!)
- Silhouette Cameo (to cut out the main image!)
How to make this cute Tote Bag
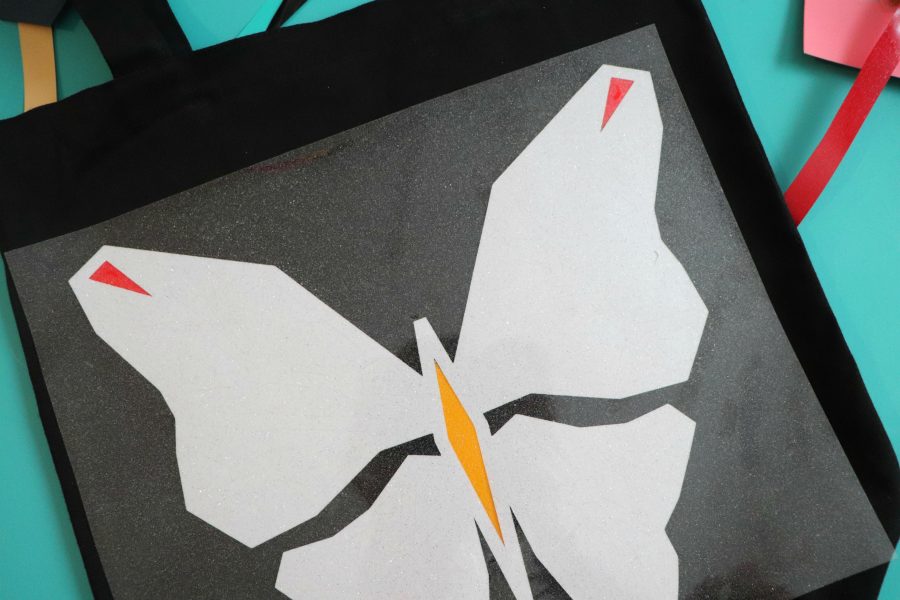
I cut out the main image with glitter heat transfer vinyl with my cameo.
This is the butterfly I used:
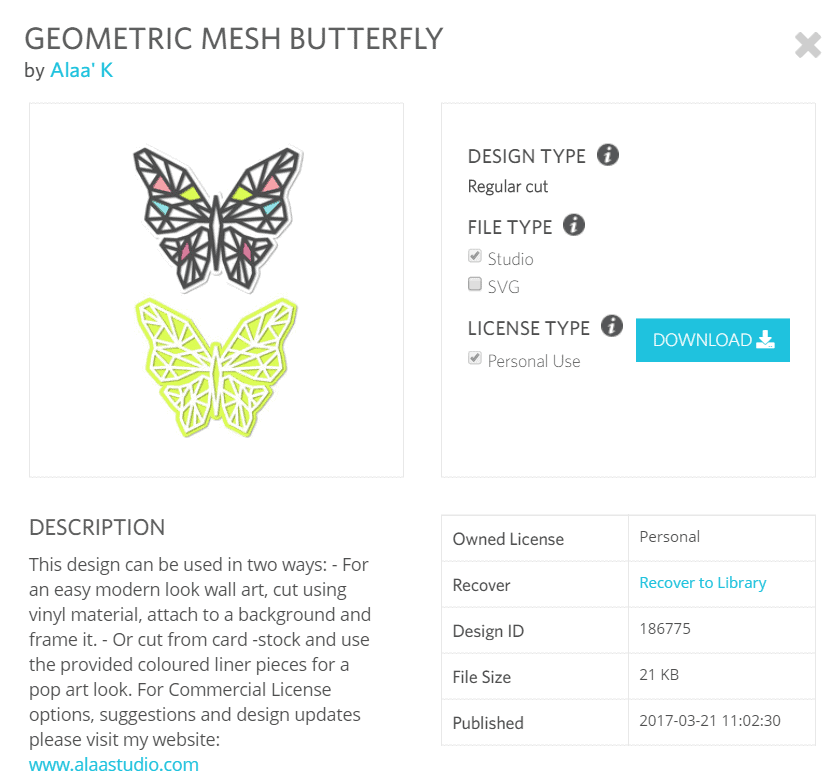
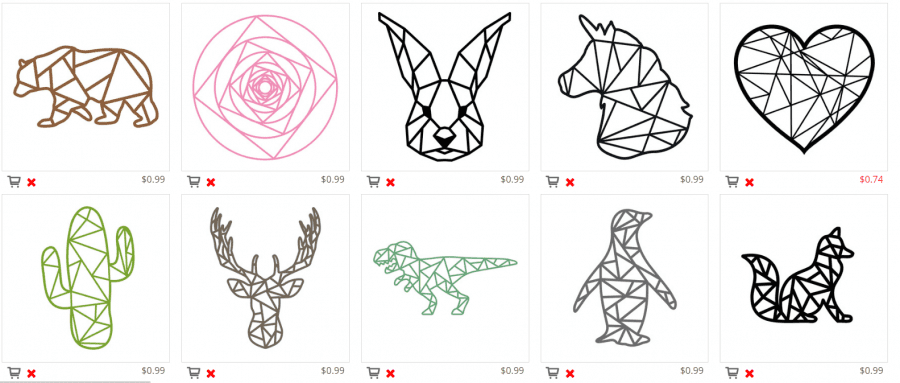
But the silhouette design store has so many options! There is fruit, flowers, shapes, animals, etc! Just type in geometric and have fun picking your project!
How to apply the vinyl scraps
I only wanted to use the outline of the butterfly. So I weeded out the excess around the edge and left the rest. Then I turned it so the backside was laying up. I peeled off one piece at time, trimmed some vinyl scraps to fit the size and then puzzle pieced it in. The carrier sheet has a little stick to it so I just pressed it on it firmly to hold it in place.
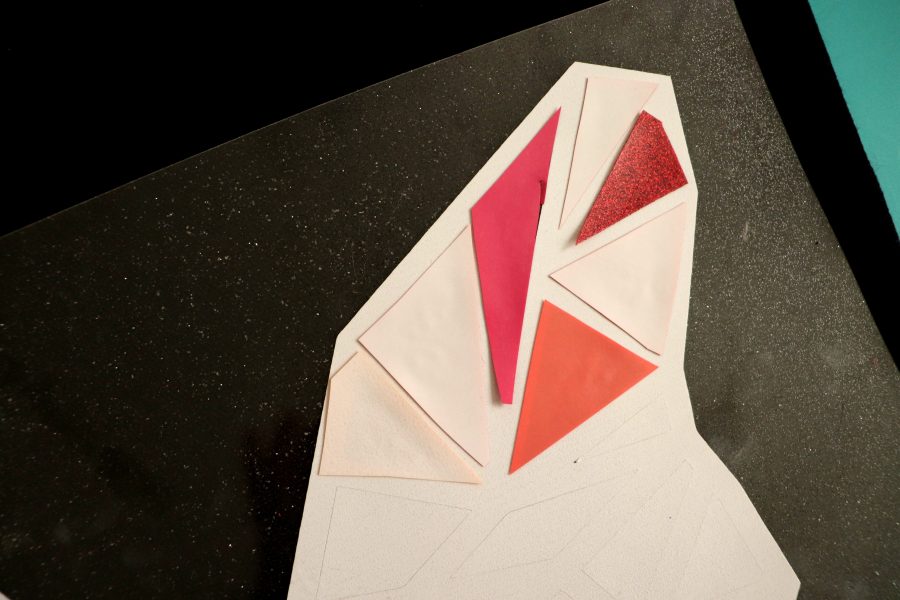
Here is what it looks like. Remember. The carrier sheet is still on the vinyl scraps…so you can’t flip the whole sheet and iron it. The individual pieces need to be ironed on, peel the carrier sheet off AND THEN layer the butterfly outline on top.
Using the Mini Iron
So this is where the mini iron comes in! I bought it because its perfect to put vinyl on shoes, hats, little or curvy projects. and it was PERFECT for this project!
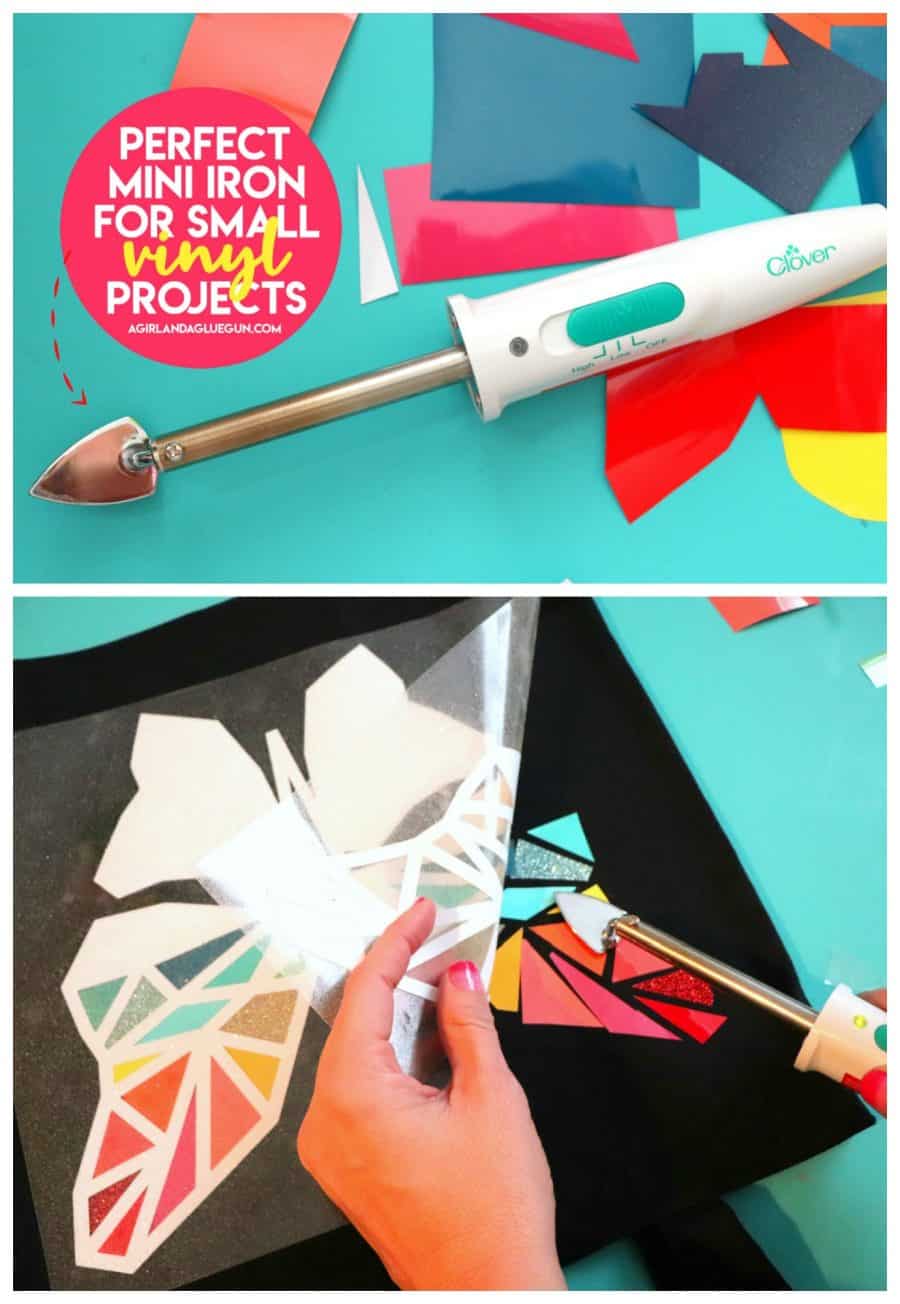
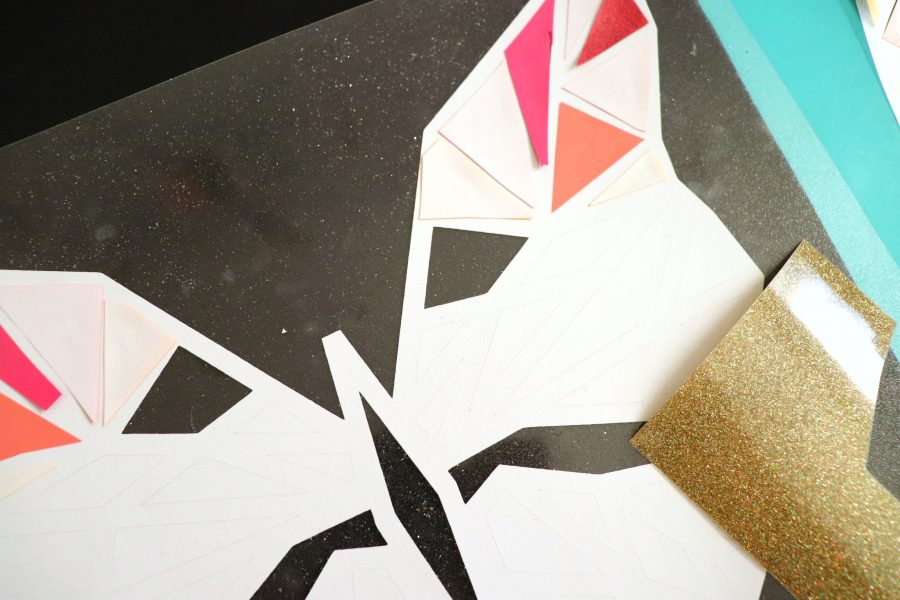
I carefully turned over the butterfly with vinyl scraps attached and laid it in place. then I peeled up the butterfly piece by piece leaving the vinyl scrap on the bag where it goes and press it. Just enough to get it stuck and peel the carrier sheet off. I did one BIG press when the whole piece was done.
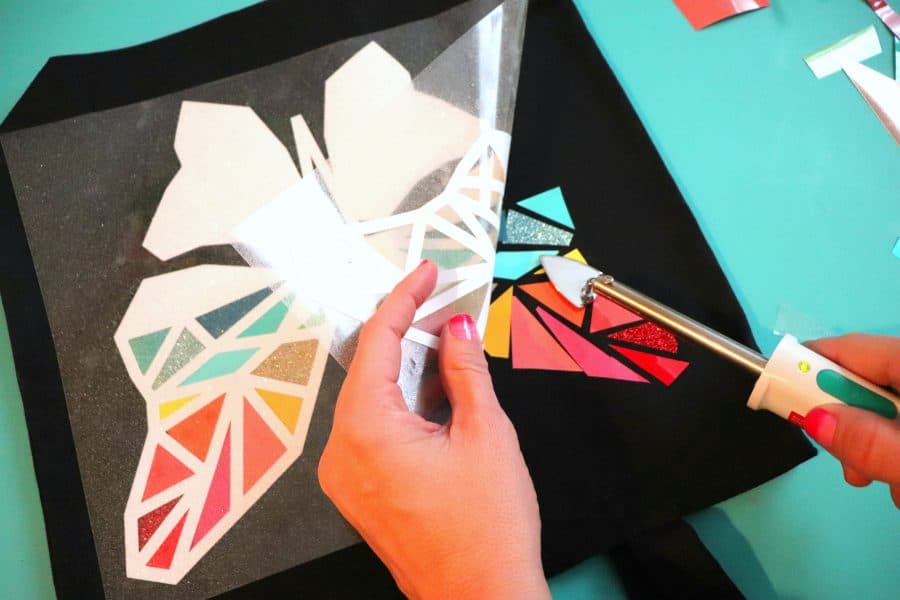
I did not peel off the carrier sheet until the end to protect it from accidentally touching the vinyl to the mini iron!
![]()
I just worked my way down. Turning over and ironing 3 pieces at a time. I didn’t want to get the whole project done and then flip it over and lose some pieces.
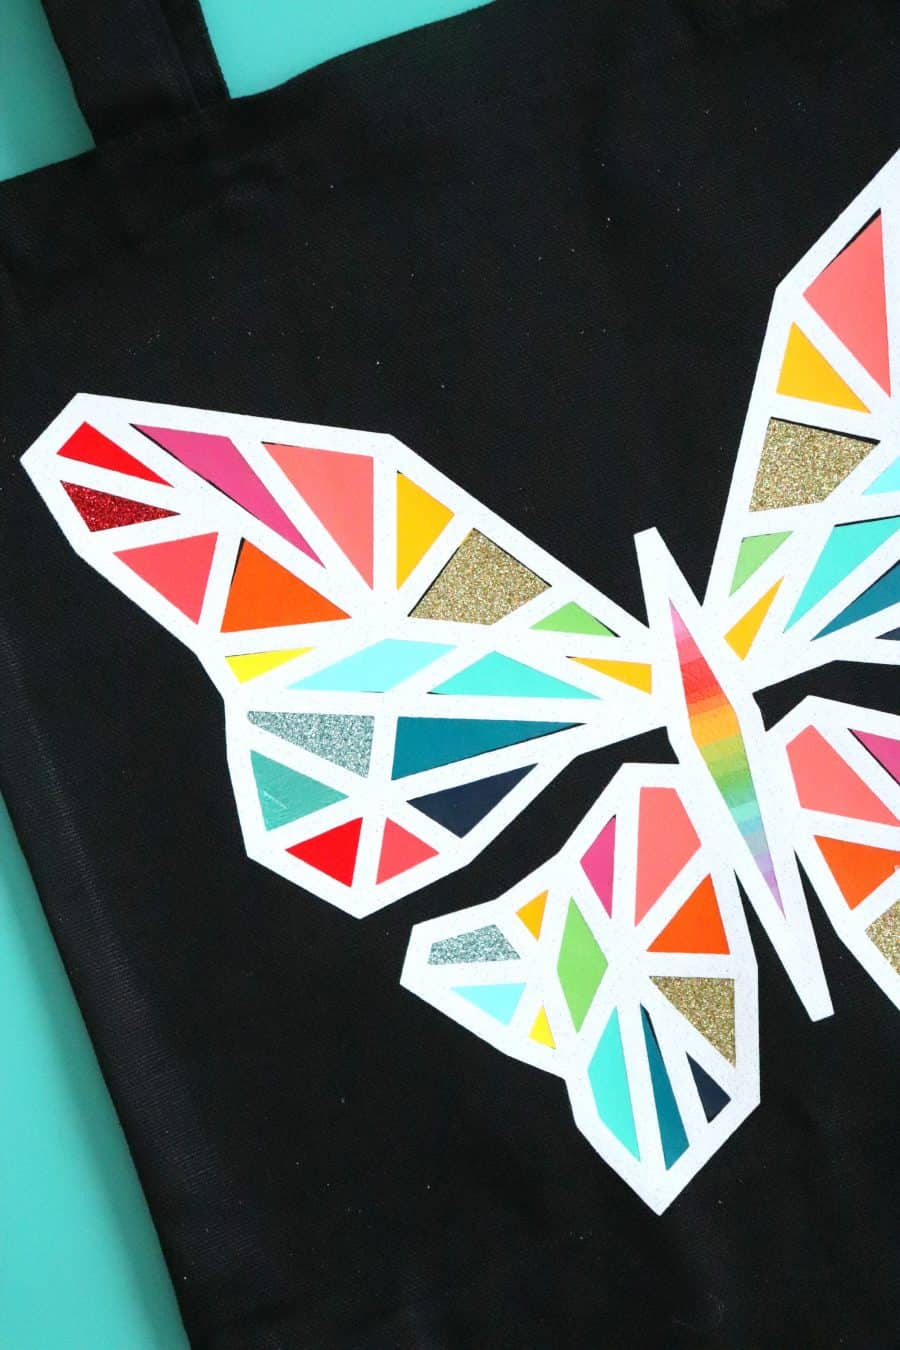
I obviously opted for a rainbow theme–but ombre or random would look so good too!
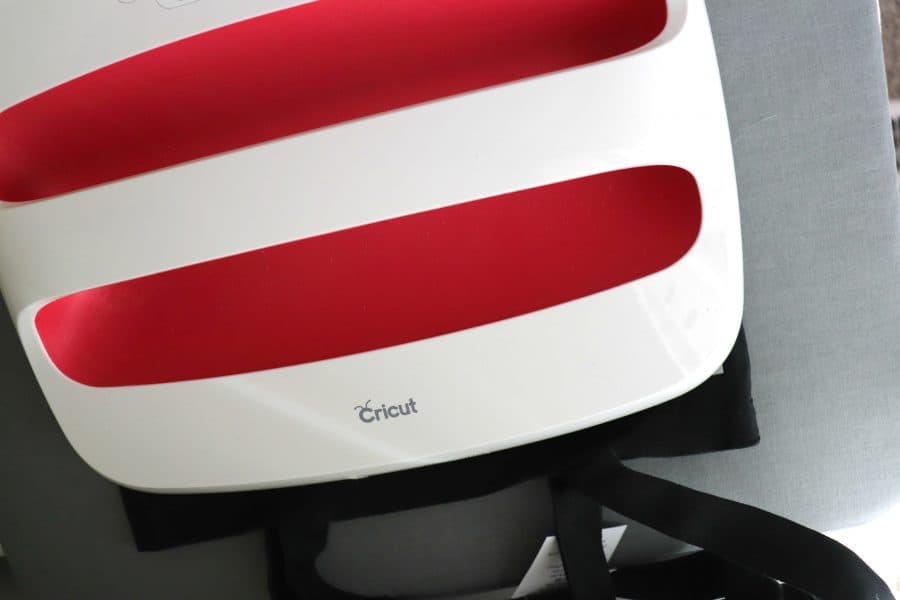
Final Heat Press
Once they were all attached- I pressed it with my cricut easypress for 10 seconds to get them really stuck on. I then peeled off each carrier sheet.

Then it was time to press the outline on!

Make sure to follow these instructions to make sure you are pressing the HTV at it’s recommended settings.
I loved it so much! I forgot that heat transfer vinyl shrinks a little bit when pressed-so I wish I would have cut my pieces a little bigger than to size!
To adapt this using Adhesive vinyl:
Cut out geometric. Peel away outsides excess vinyl but not inside pieces. Place a sheet of transfer tape over the top, turn over, and peel off the backing. You will need to be careful because it’s a lot more sticky than the htv-but you are just going to peel one piece out, measure it and cut a piece of stick vinyl and apply it face down on the outline. When you get all the vinyl scraps on, You will peel off the backing of each vinyl scrap and then turn over and apply directly to your project!
If you love this project- I would love for you to pin it to save it for later and share about it! Have a great day! 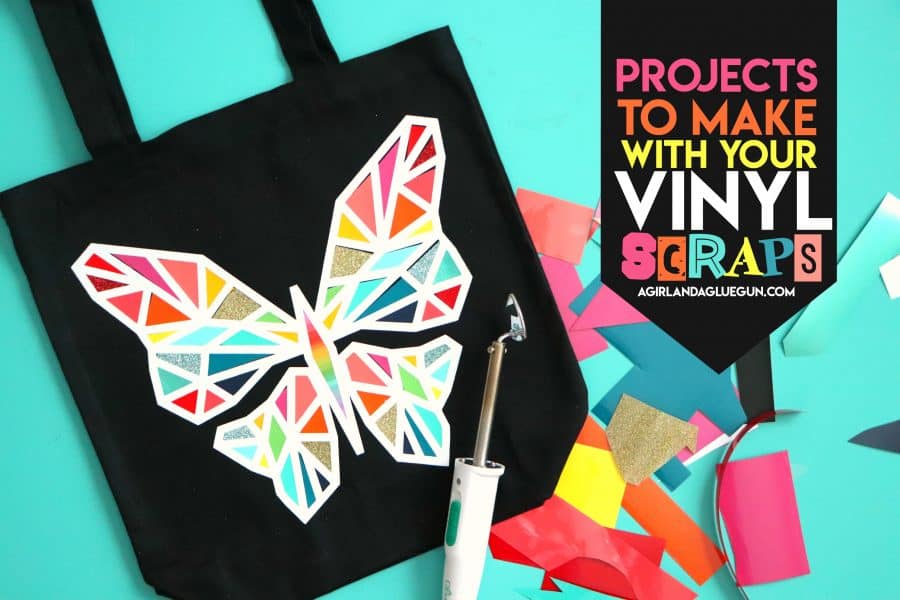
Leave a Reply