
Whether you’re crafting with your family or making a cozy weekend project for yourself, this DIY Felt Gingerbread Garland will bring a touch of sweetness to your holiday season.
This is a sponsored post written by me on behalf of Hobby Lobby. All opinions are 100% mine.

If you love all things cozy, handmade, and gingerbread-inspired, this DIY Felt Gingerbread Garland is the perfect holiday craft for you! This festive project combines the charm of Christmas cookies with the softness of felt, creating a garland that looks good enough to eat — without the mess. Each felt letter is decorated to look like a delicious gingerbread cookie, making it a sweet and whimsical way to dress up your home for the holidays.
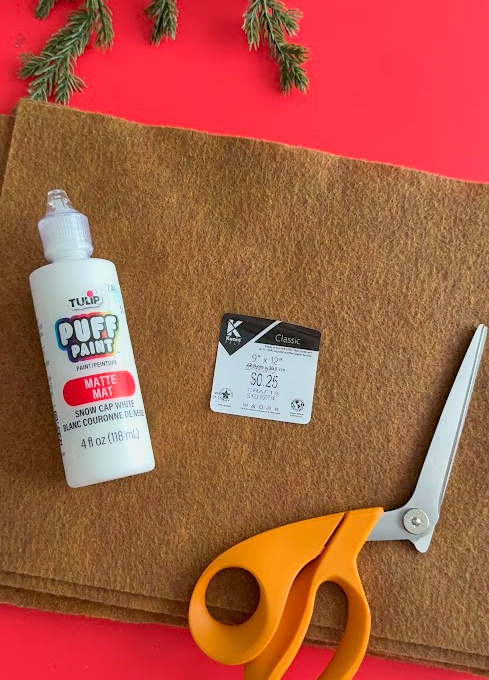
What You’ll Need
- Brown felt (for your “gingerbread cookie” letters)
- White felt or puffy paint (for “icing” details)
- Scissors
- Hot glue or fabric glue
- Ribbon, twine, or string (to hang your garland)
- Optional: sequins, beads, or mini pom-poms for extra decoration
And since I know you will ask here is the list of things I got from Hobby Lobby to decorate the shelves:
- 2 Garlands
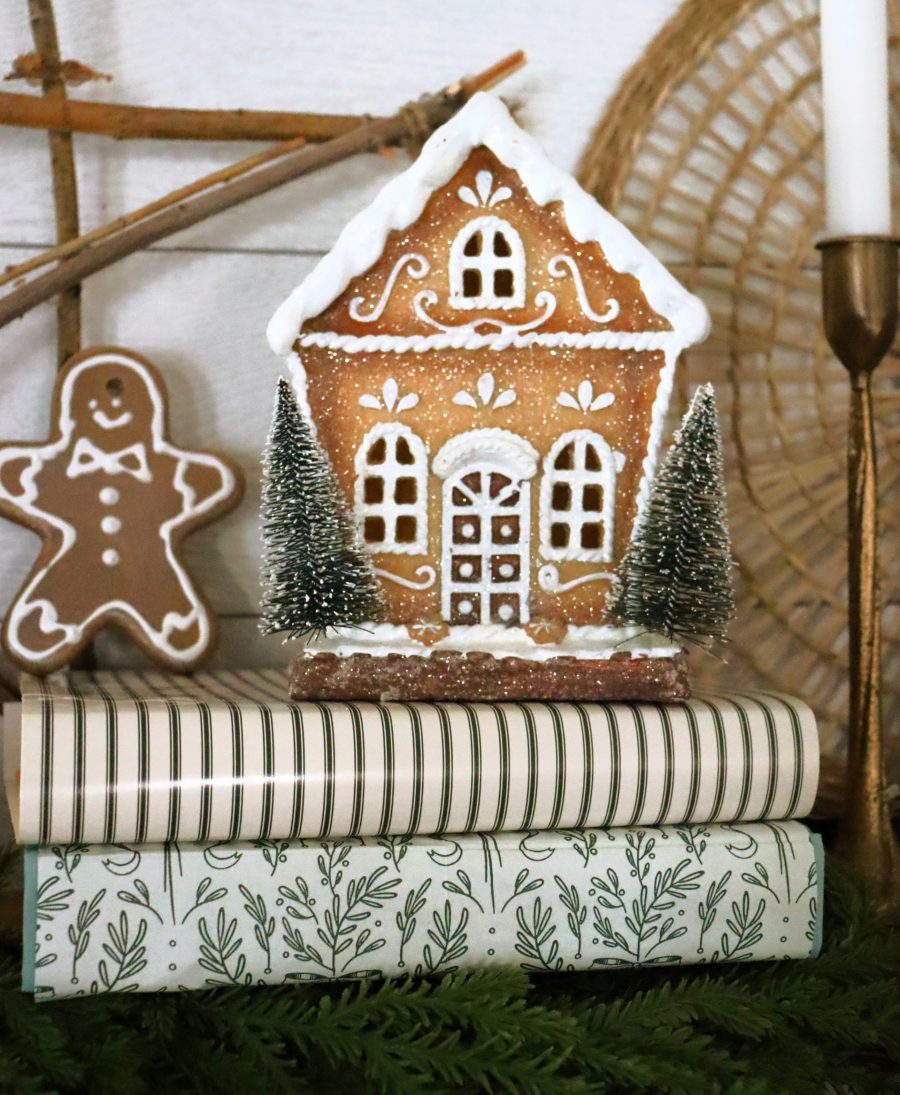
- gingerbread house and light up gingerbread house
- gold taper candlesticks
- reindeer
- horn
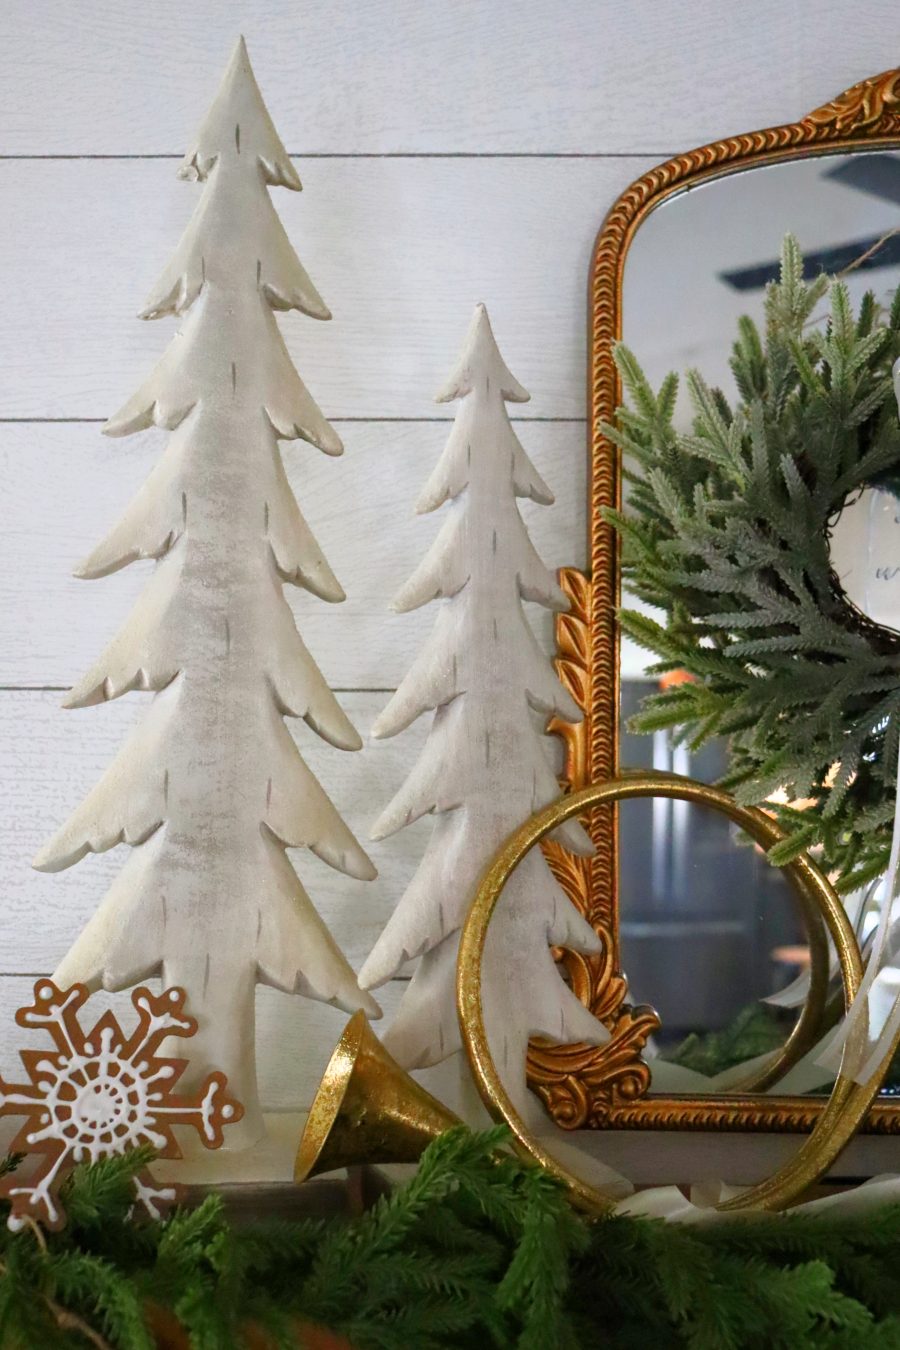
- 2 tabletop wood white trees
I’ve actually had these wood trees from 2018! You can see them in my Christmas blog post here.
AND Remember- Christmas at Hobby Lobby is 50% off!
How to Make Your Felt Gingerbread Garland
Step 1: Cut Out Your Letters
Decide what word or phrase you’d like to display —
Christmas phrases to use
(Keep in mind the space you want to put it in.)
- Merry Christmas
- Joy
- Holly Jolly
- Noel
- Merry and Bright
- Peace
- Happy Holidays
- Season’s Greetings
- All is calm, all is bright
- Deck the Halls
- even your family’s last name
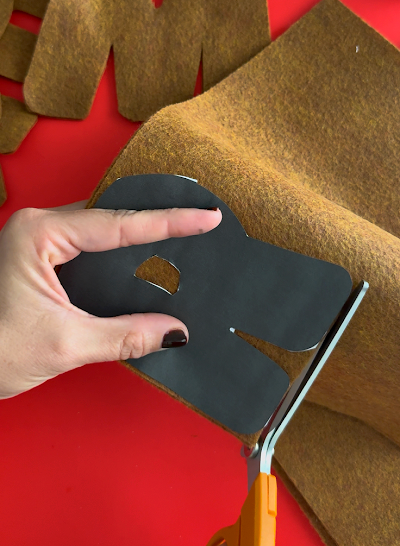
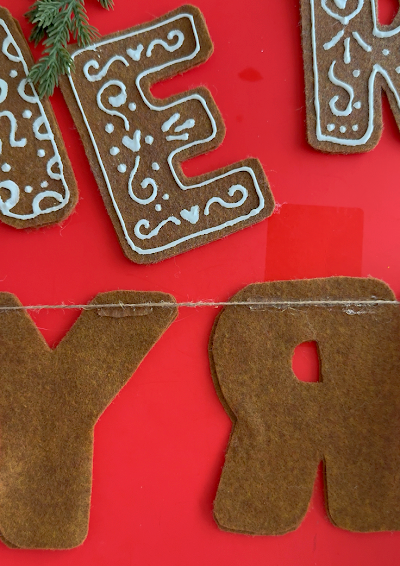
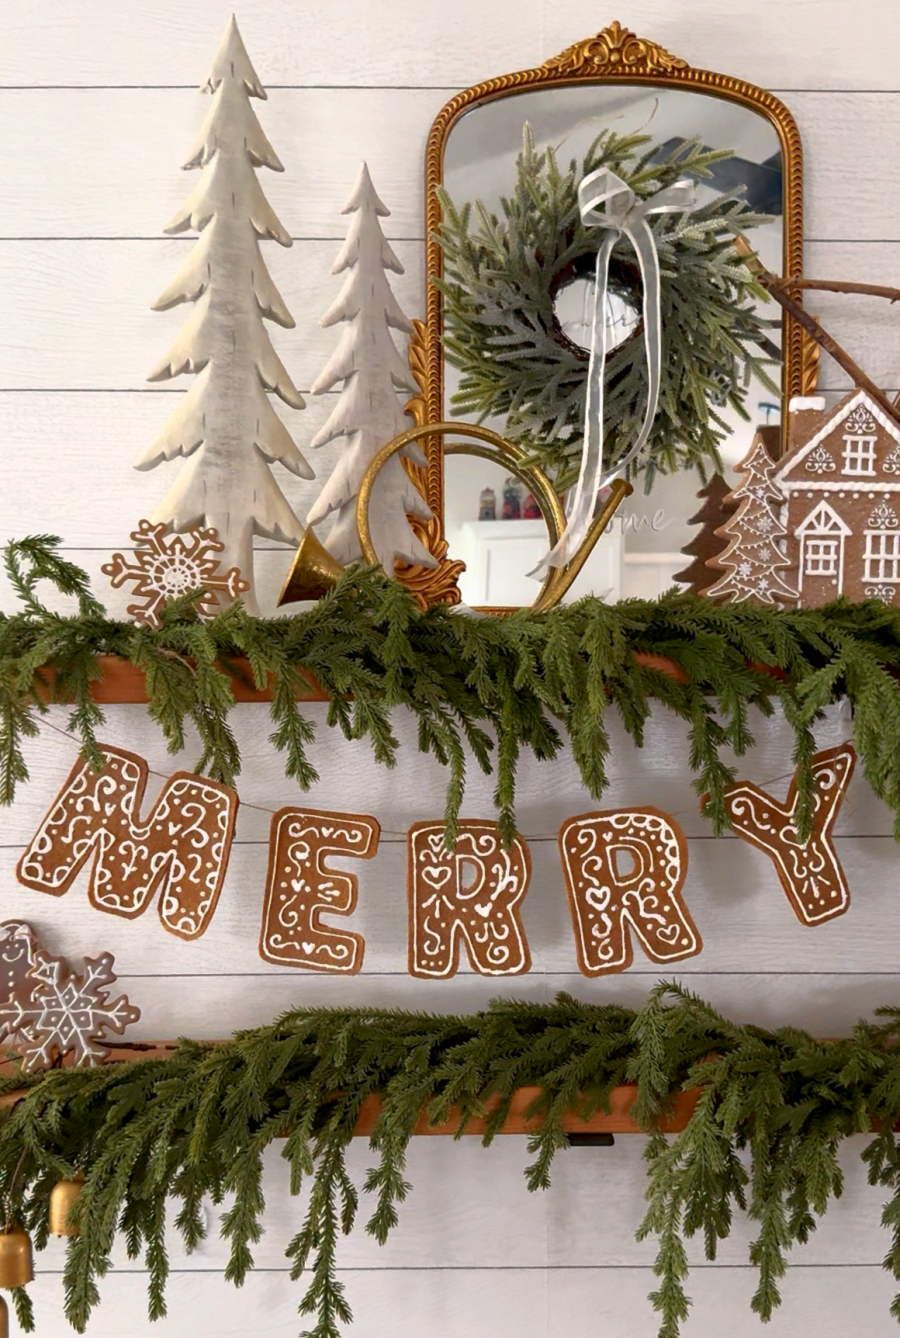
Trace each letter onto brown felt and cut them out carefully. These will be the base of your gingerbread “cookies.”
I have an alphabet printable I created that you can use. I just picked out what letters I needed and cut them out of the felt.

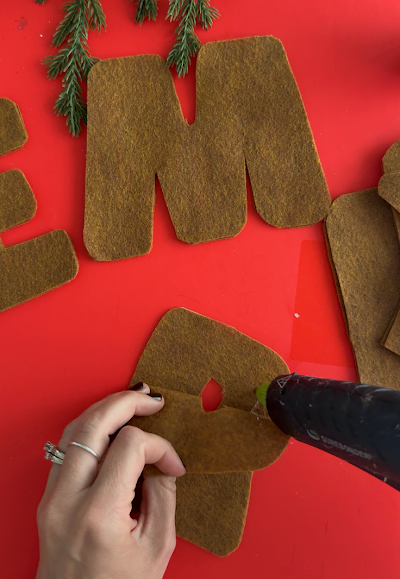
Optional: I wanted the letters thicker (like cookies) so I doubled up each letter. After I got them cut out, I hot glued them together and then trimmed the edges so they lined up perfectly.
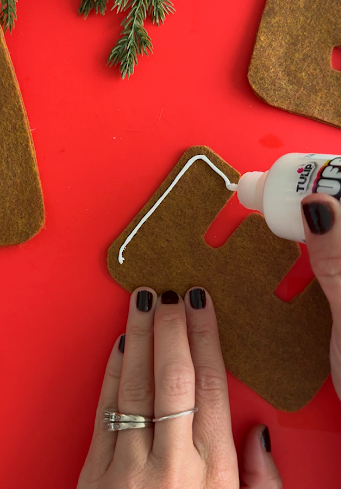
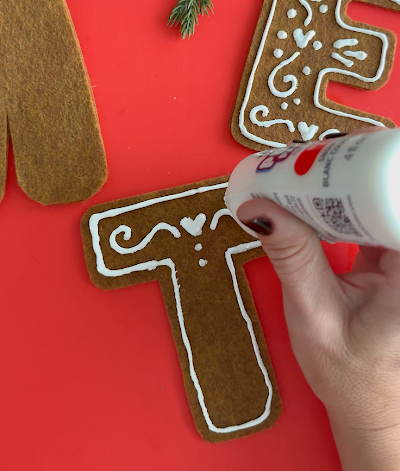
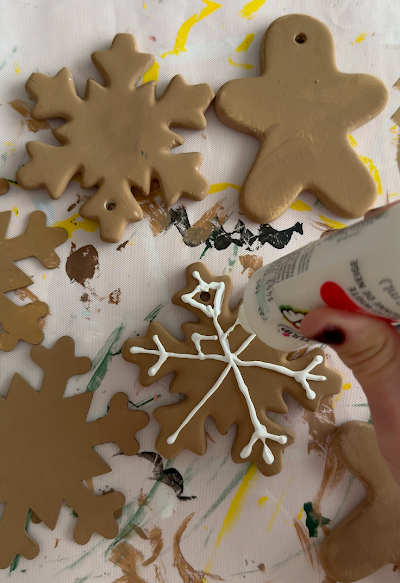
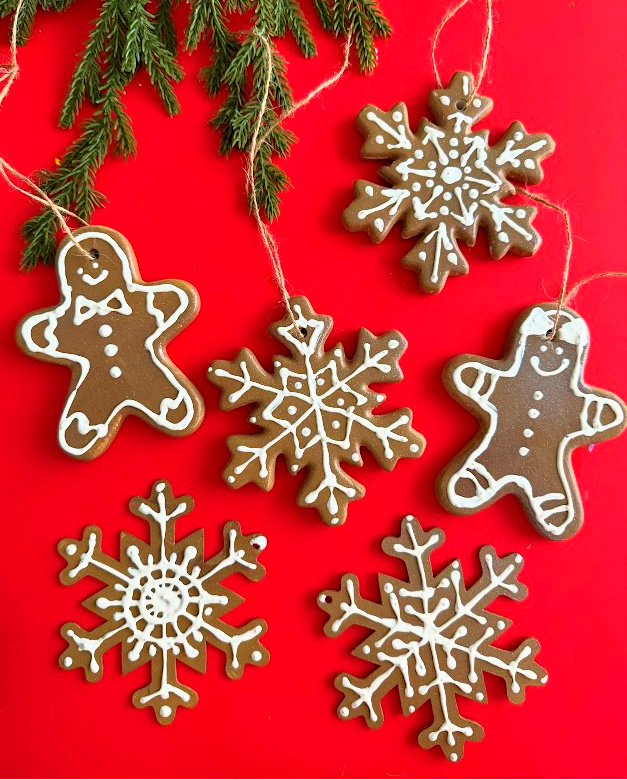
Step 2: Add the Icing Details
Use white felt, fabric paint, or puffy paint to add icing-inspired designs around the edges of each letter. You can outline the shapes, draw dots or squiggles, or even create little frosting “drips.” Let everything dry completely before moving on.
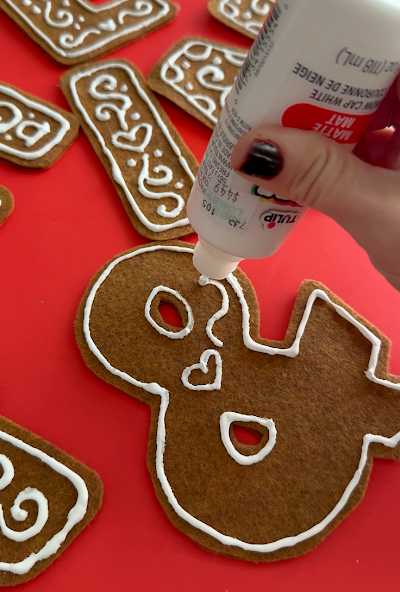

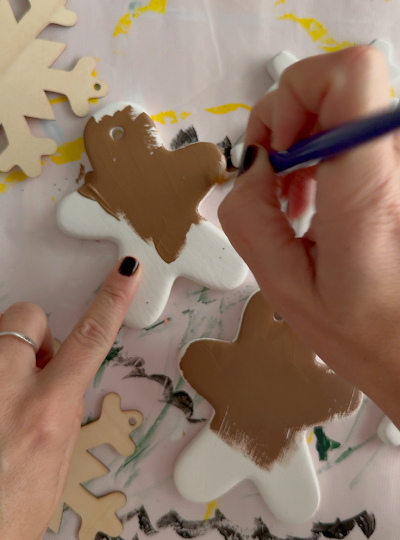
While these were drying, I used the same technique on some ornaments Hobby Lobby had.
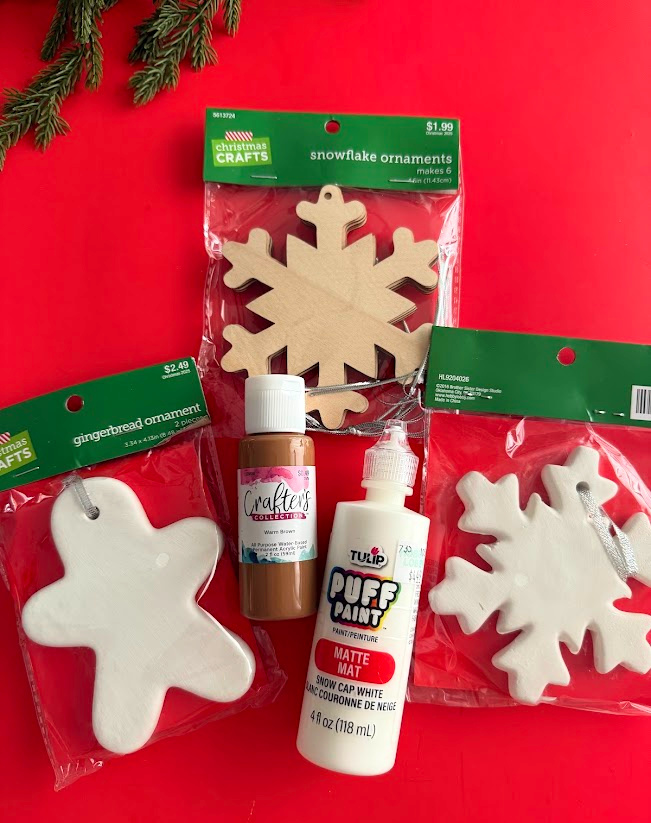
The white ceramic ones were thicker and looked more like cookies, but the wood ones came in a pack of 6 so they were most cost effective!
Step 3: Add Sparkle
For extra holiday sparkle, I added glitter. I wanted it to look like the sugar that is on a gingerbread cookied.
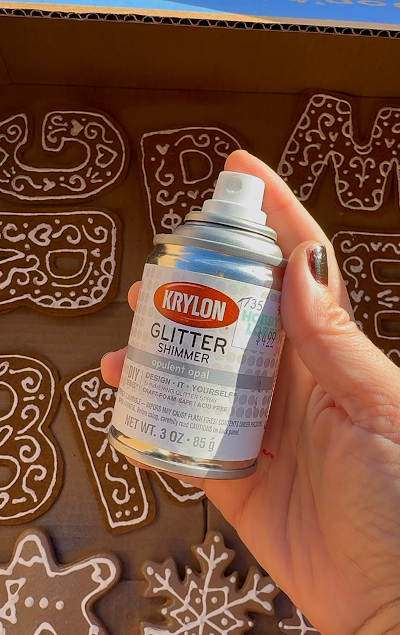
You can also glue on mini pom-poms to look like candy buttons or sequins for a sugared effect. This is where you can really get creative and make each letter unique! Let dry.
Step 4: Assemble the Garland
Once your letters are decorated and dry, attach them to a piece of ribbon or twine using glue, mini clothespins, or by sewing them in place. Space the letters evenly and leave enough extra ribbon at each end for hanging.
I hot glued brown twine to the back of each one.
Step 5: Hang and Enjoy!
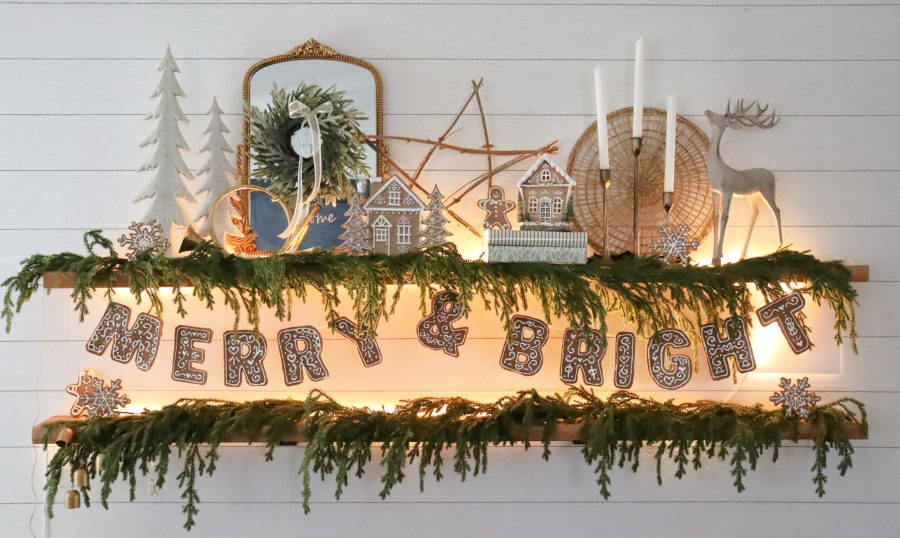
Display your felt gingerbread garland on your mantel, above a doorway, or along a stair railing. It adds a warm, handmade touch that instantly makes your home feel festive and full of cheer.
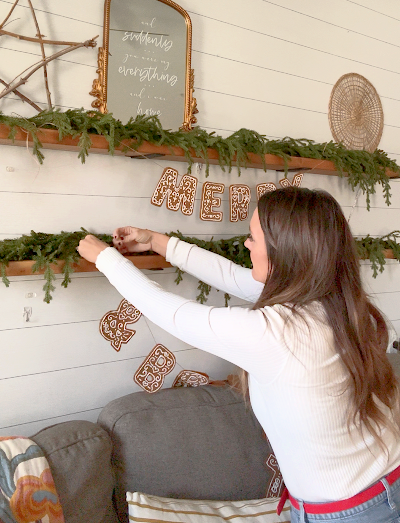
I chose to redecorate my plant shelf and added lots of cute goodies from Hobby Lobby. I wanted to keep the theme of gingerbread houses and stick to neutral colors. But if you wanted to add colorful gingerbread houses and gingerbread men it would look just as darling! Hobby Lobby has a whole section of candy and gingerbread decorations!

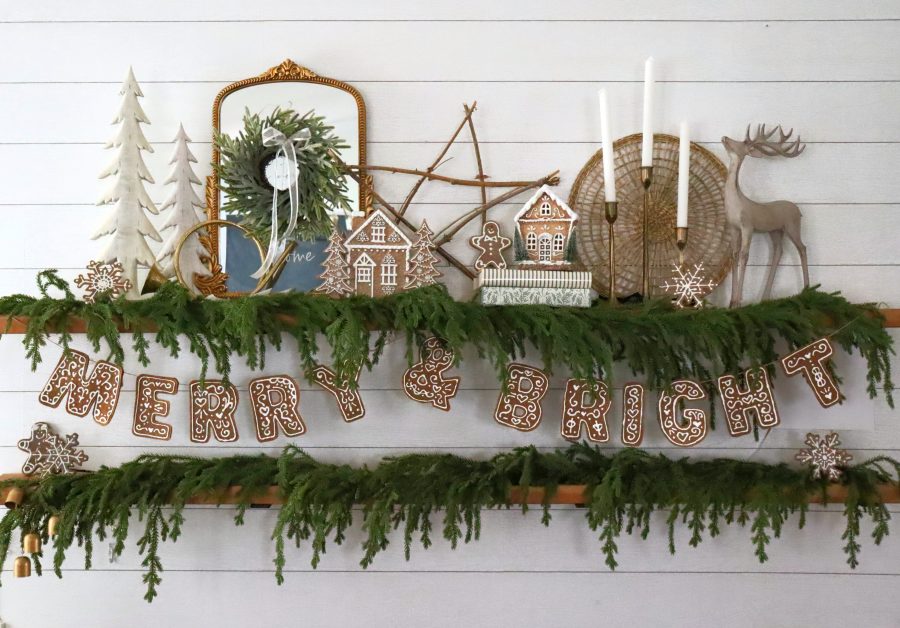
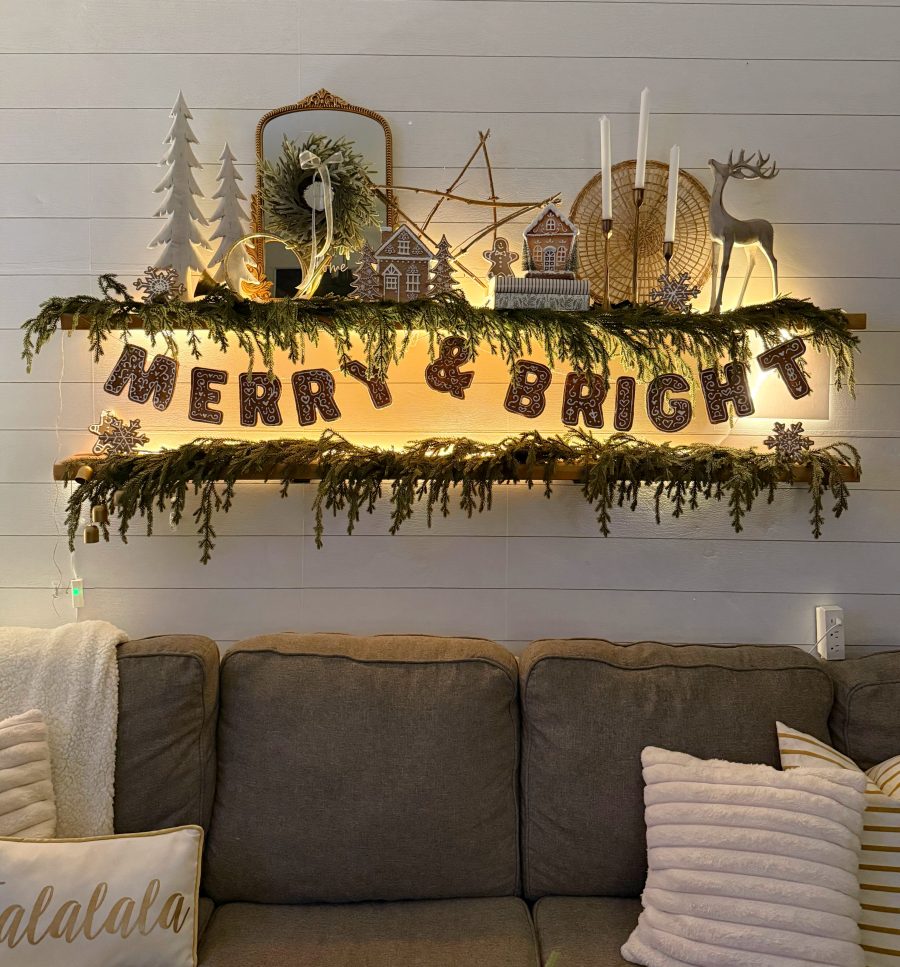
My plant shelf has an led light behind so it lights up! You can add some twinkle lights if you wanted to!
And check out how gorgeous it looks at nighttime!
Why You’ll Love This Christmas Craft
This project is perfect for both kids and adults — it’s easy to customize, fun to make, and looks amazing anywhere in your home. Plus, it’s a great way to create a handmade decoration that can be reused year after year.
Save for later
Too busy to get crafting today? No problem! Pin this post to remind yourself about this project later! Sharing my projects helps me reach more people, allowing me to continue sharing free content!

Other fun Christmas Projects
- DIY Christmas earrings : using mini tree ornaments!
- Christmas trees with wrapping paper: an easy way to decorate for any party!
- Grinch Themed Advent Calendar: All the supplies from Hobby Lobby
- Giant Holly Garland: made with paper and red ornaments!
- Gingerbread Advent Calendar: This would match this year’s theme perfectly!
This is a sponsored post written by me on behalf of Hobby Lobby. All opinions are 100% mine.
Leave a Reply