
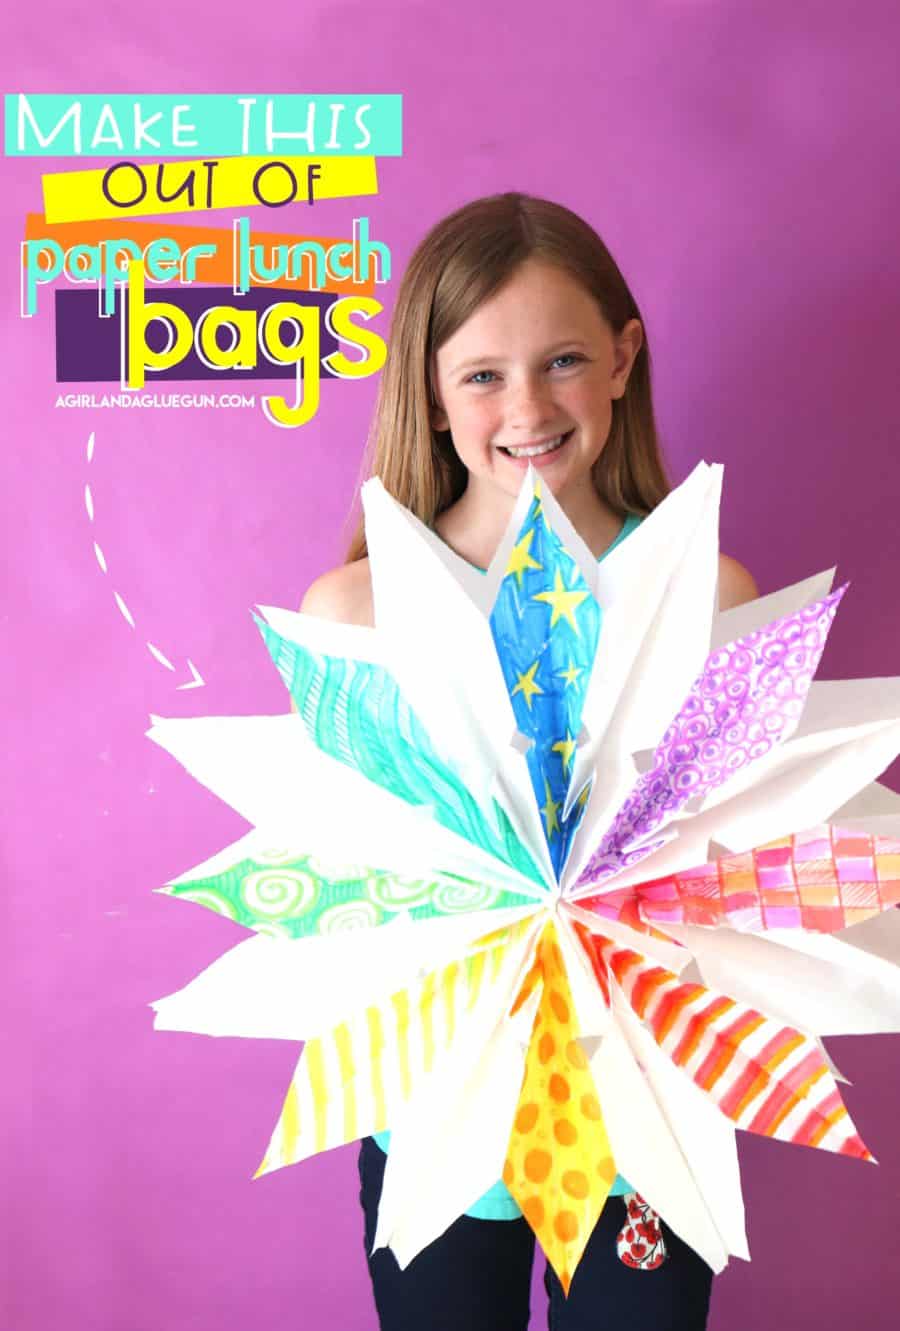
These simple kids craft turned into a full-blown obsession! Once I teach you how to make a big paper flowers, you will be obsessed too! Make them for home decor, Party and Christmas decorations or just to put on your front door! Bonus because they are so easy!
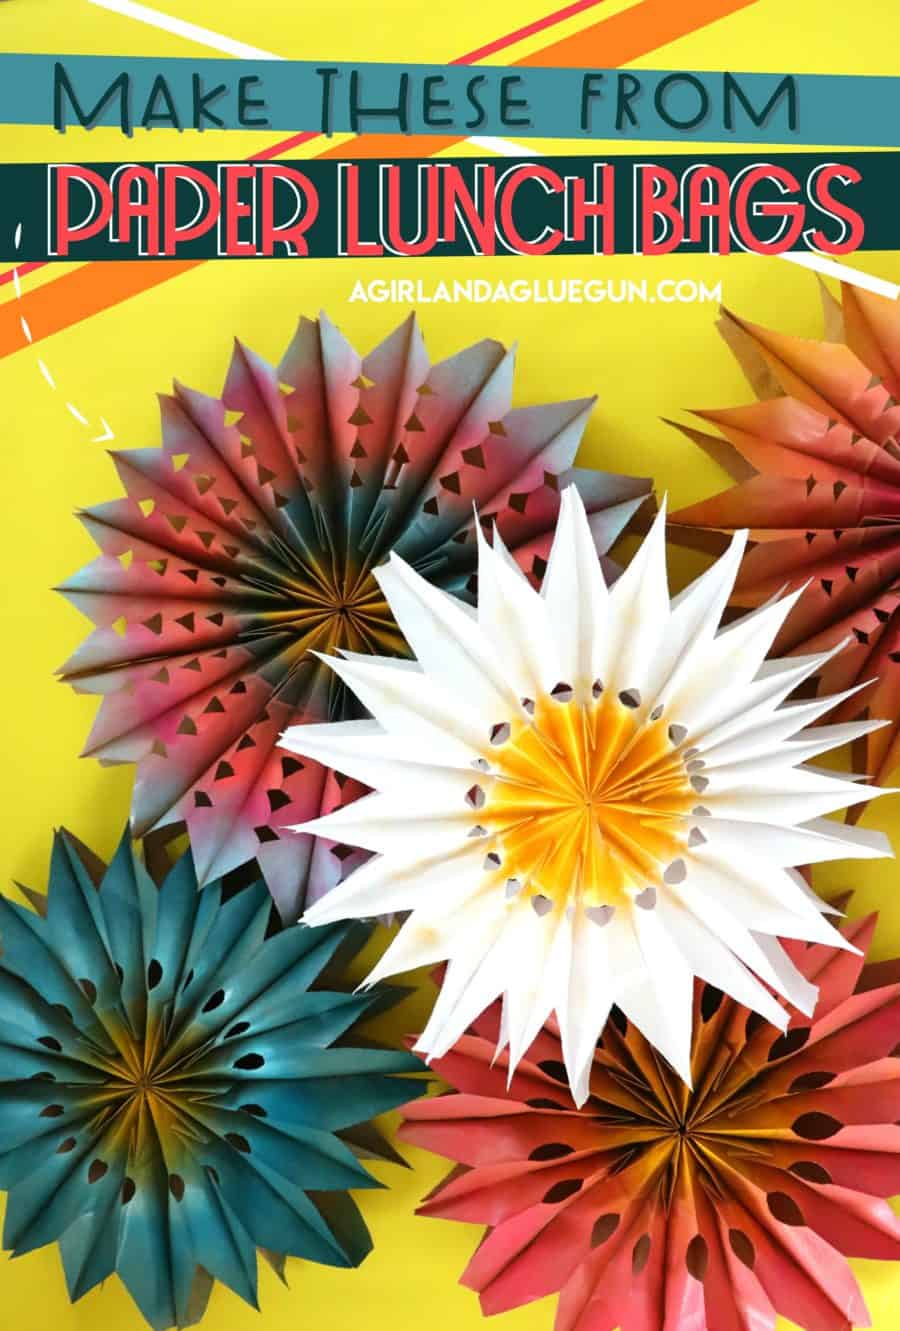
Not only are these paper bag flowers easy, they are cheap cheap cheap! I made all the ones in this post for less than $5! So if you are wanting a big awesome statement piece for a room or birthday party- this is going to be it! And with almost all my crafts, there are so many ways to customize it and change it up to truly make it yours! (FYI: these totally started as paper stars- but once we painted them we thought they looked more like flowers! But It’s the same technique for paper stars and paper flowers. So if if you wanted to whip up some of these to hang in your windows for Christmas they would look AMAZING!
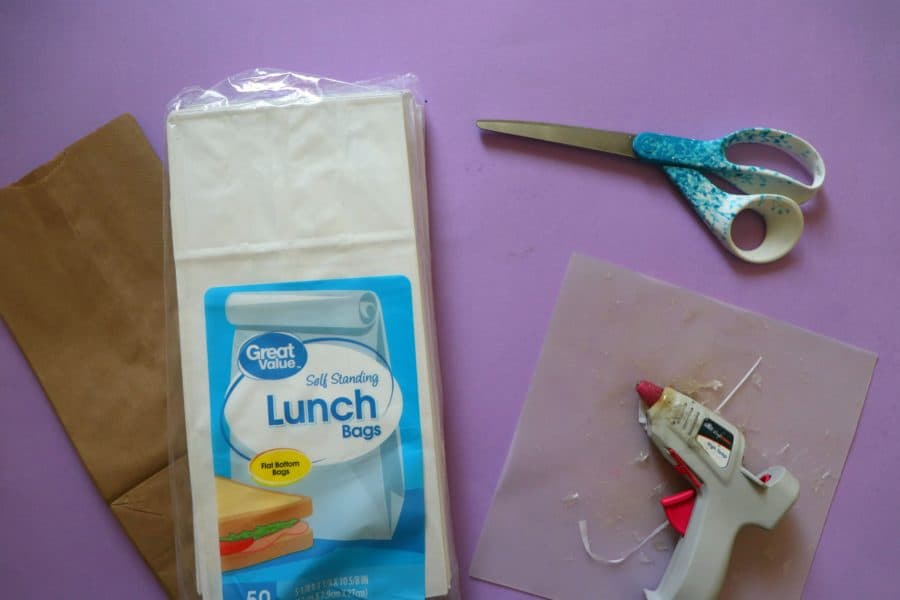
What you need to make big paper flowers
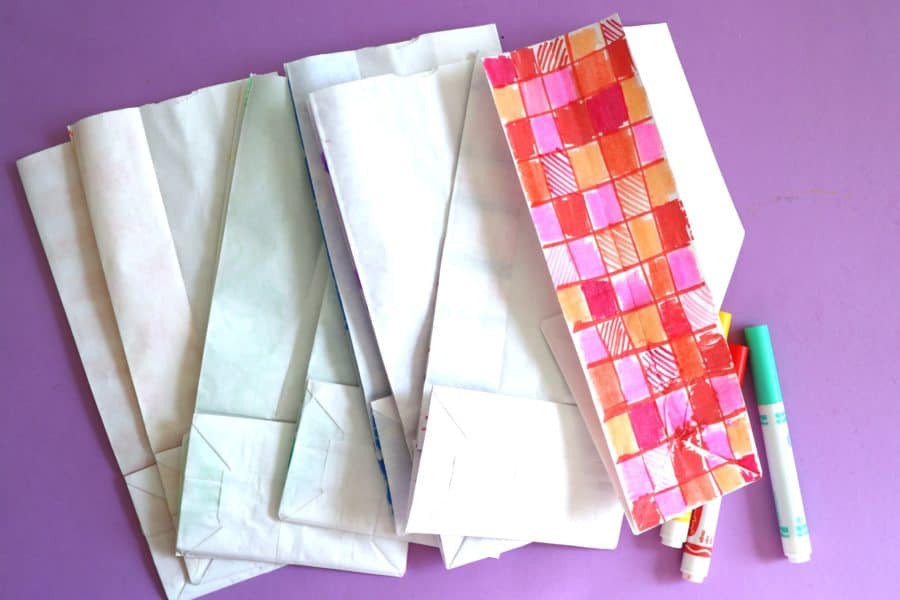
- Paper lunch bags ( I found a set of 40 brown ones at the dollar tree and white ones at Walmart!)
- scissors
- glue (I used hot glue gun but you can use a glue stick
- paint or markers
- hole punch (to hang)
- string

If you are looking for a cool craft to do for a big group- this is it! I found 500 bags online for about $25! which means taking into account glue sticks, These are like $1 apiece!!!
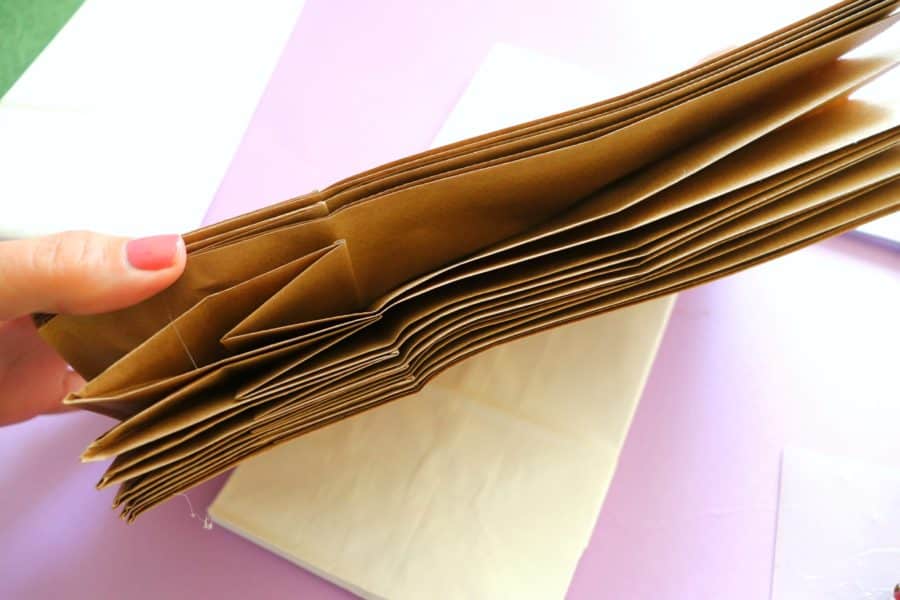
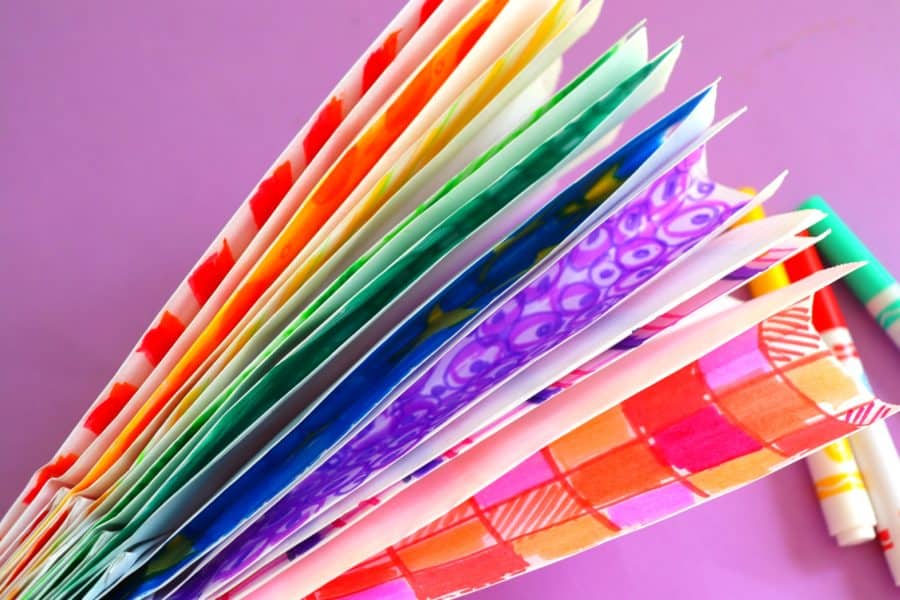
I have found that most stars/flowers look the best with an average of 9 bags. Too many and when it’s hung up, you have a lot of extra petals together (see where the arrow is pointing too)
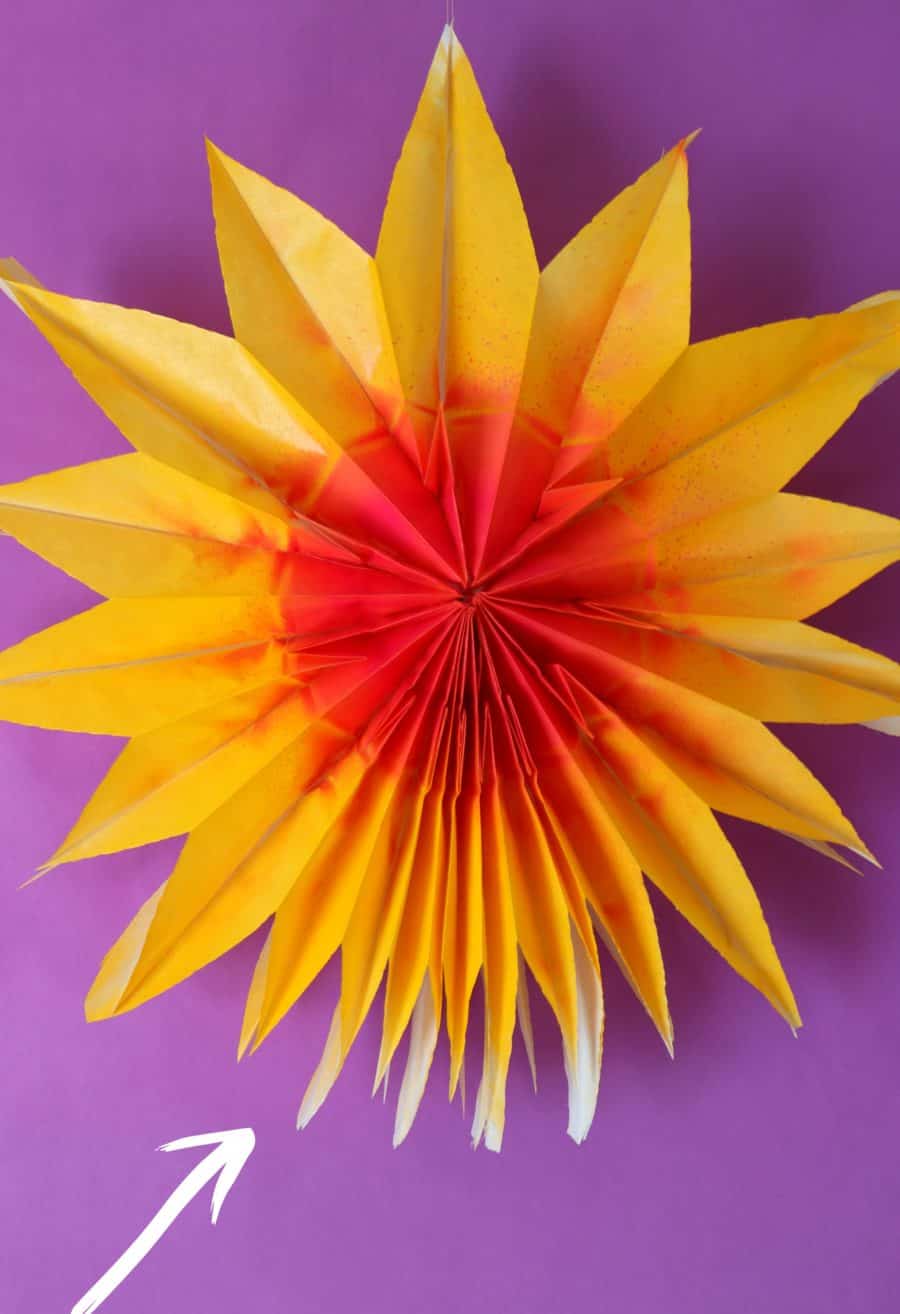
And not enough and it won’t open all the way. As you are gluing the bags together, you can open it up and check it to make sure it’s big enough! I’m sure if you are using BIG Grocery paper bags or smaller treat bags, you might need more or less.
How to glue the paper bags together.
You have to be pretty mindful of how you assemble the paper bags. Do you see the folded portion of the bag? It needs to go against the next bag with no fold. fold on top of no fold. Repeat. I make a T of glue. One glue along the bottom and then a straight line on top.
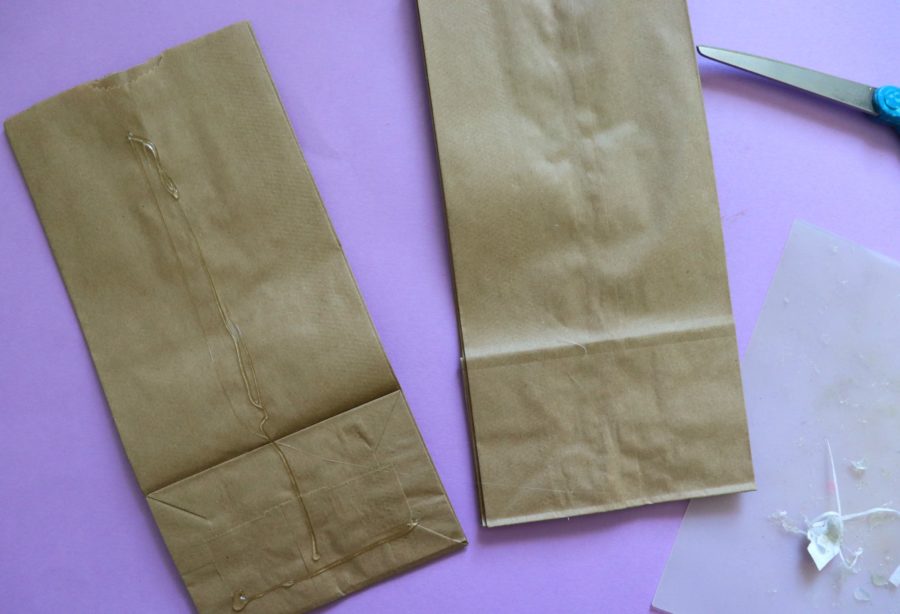
Stack them on top and try to get it as nice as even as possible!
(If you are wanting to decorate them with markers, you will do that before you assemble! I’ll talk about it in more detail down below!)
Once you have your stack of paper bags, trim out some fun detail. To make a star you are going to want to cut the top to a point. I like adding some fun notches on the sides. They are a little too thick to cut through were he fold is. And like a paper snowflake, you don’t want to cut off all the folded parts of the bag or it’s going to be a mess. My personal favorite is a tapered top and one-half circle right by the folded bag.
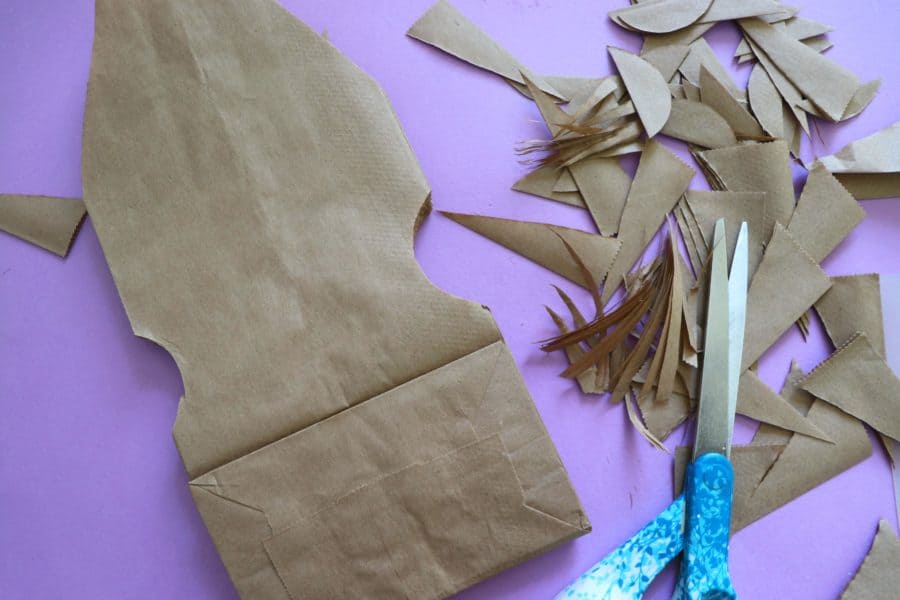
This was a larger paper bag size so I could add a few more notches. YOu can see the result of this one on the next photo.

When you have them all done, you can open them up and glue the two bags together. If you want to reuse them and store them flat, just paper clip them together a few times to hold them into shape!
How to hang up the big paper flowers
These aren’t too heavy, but heavy and awkward enough that tape on the back alone won’t work to hang.
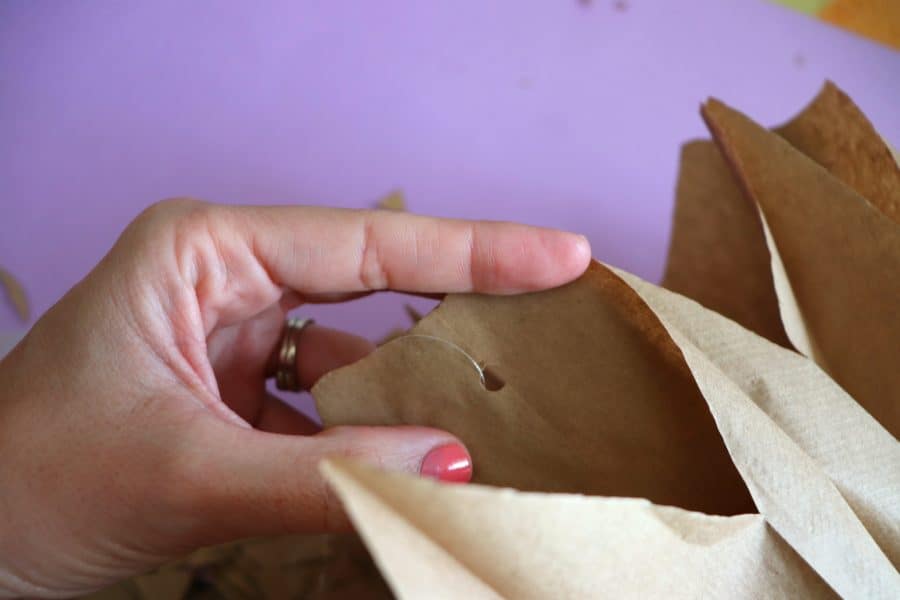
I just put the two pieces of a bag together and popped a hole in it with a hole punch. don’t do it too close to the top or it will rip. Then I just ran some string through it and used that to hang. I just used push pins, but little command hooks would work as well.
How to add color to the Flowers
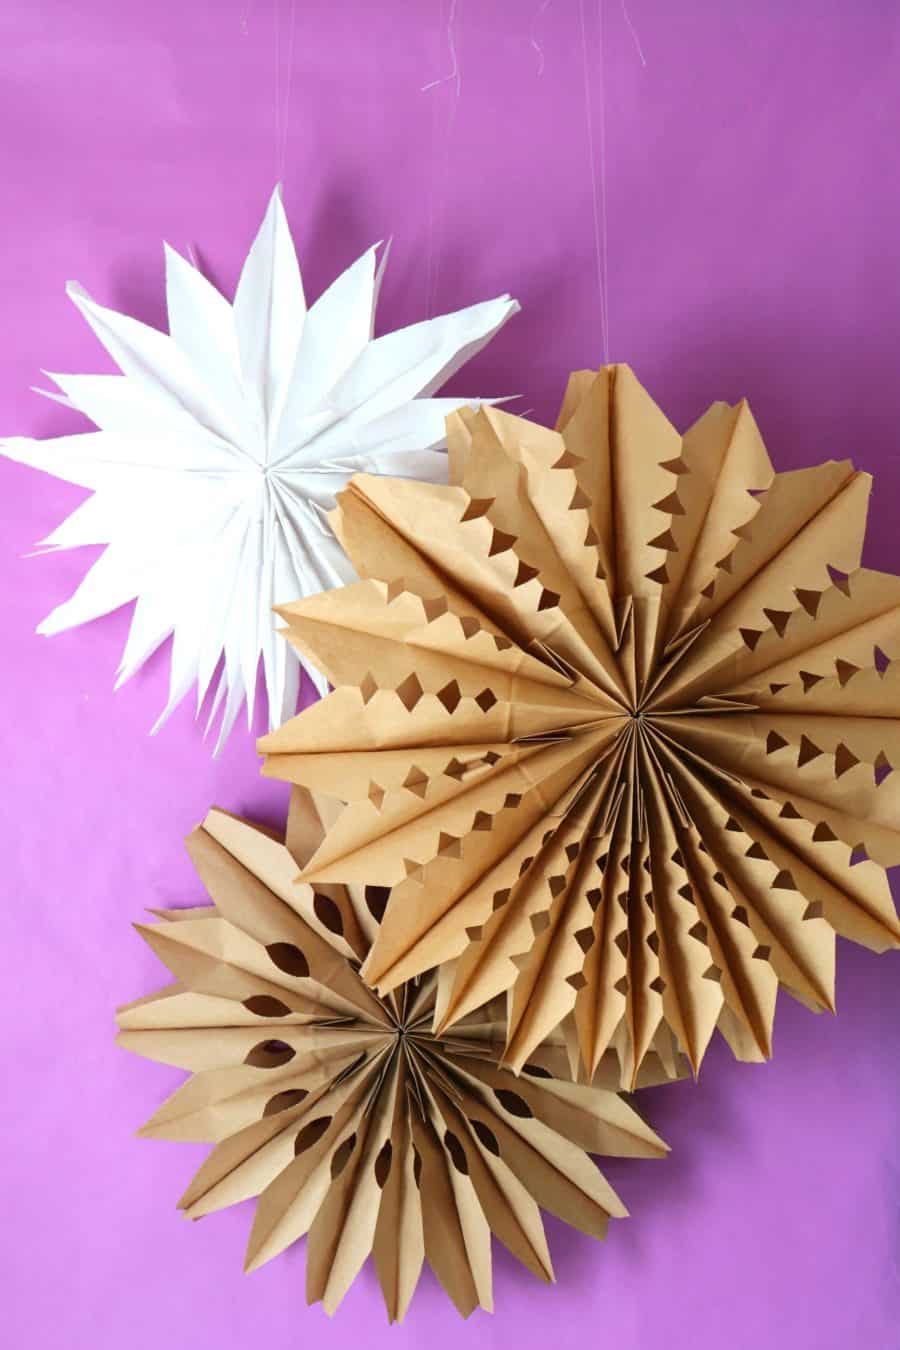
Now realistically, these paper flowers/stars look so gorgeous all-natural. Seriously. I’m going to be making so many more to decorate all the things for Christmas!
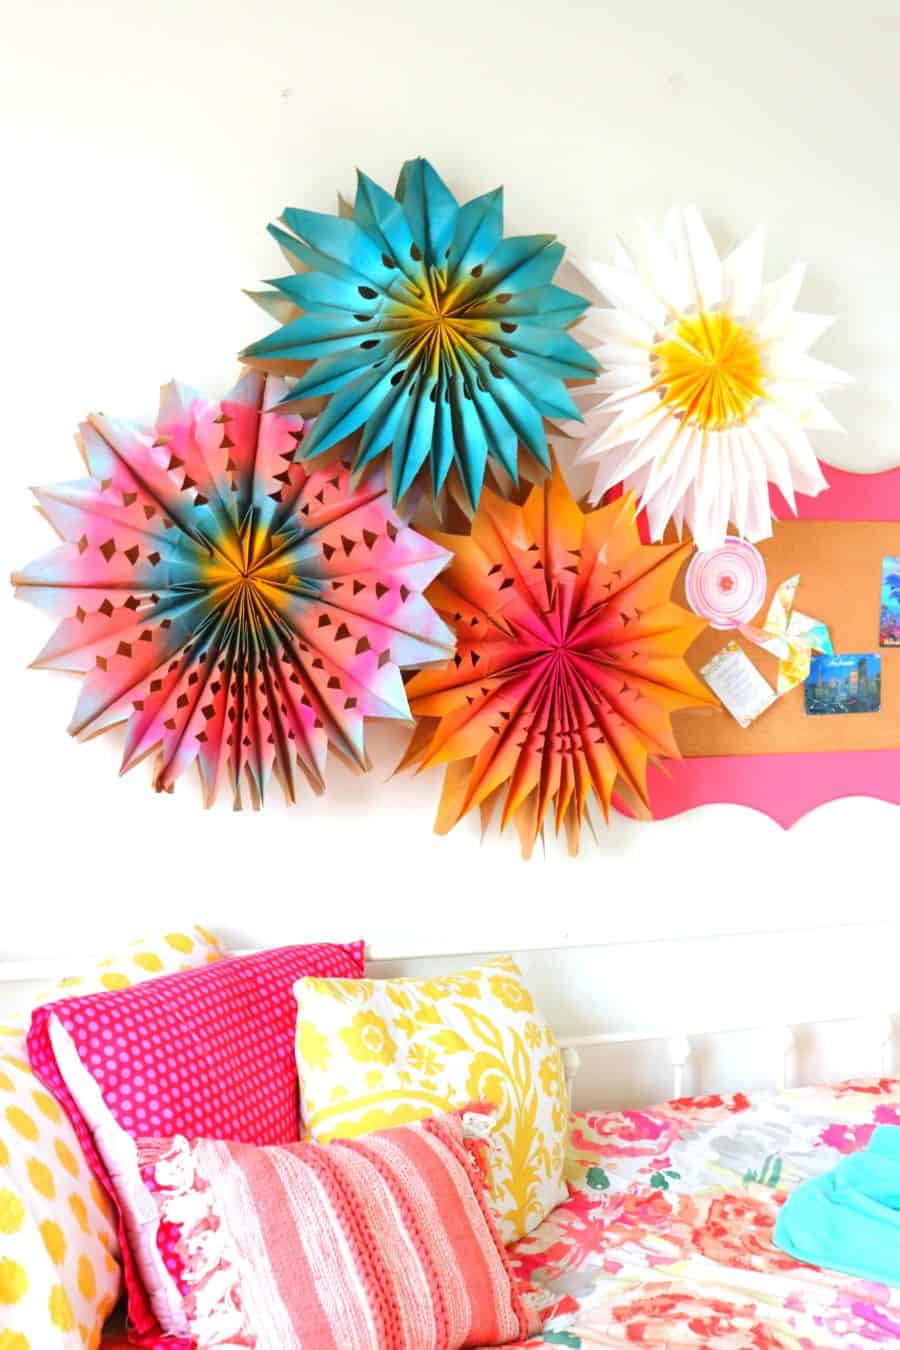
But if you have been here at A girl and a glue gun before, you might notice…I LOVE COLOR. So we zapped them with some spray paint (this is where we really noticed the look of the flower come out!) Just some light coats! I do want to do a whole daisy wall now!
We hung these cute little ones above my daughter’s bed.
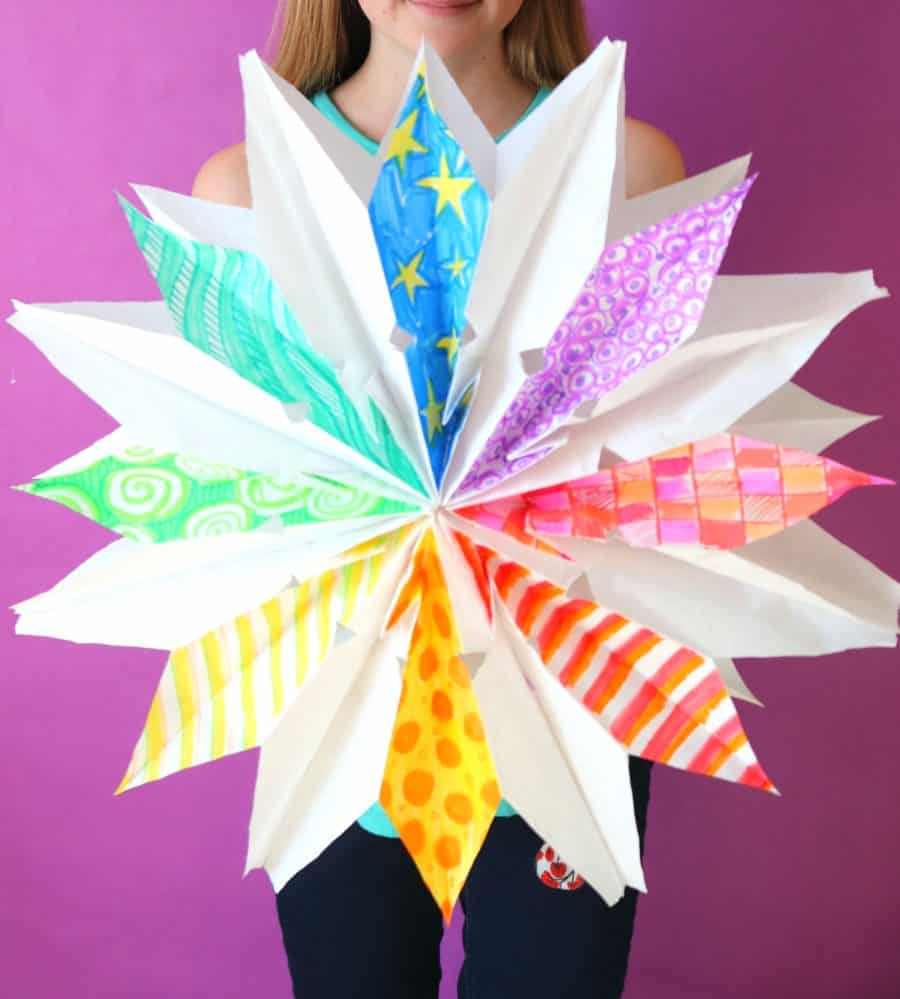
Kid-friendly Paper flowers
Kids will love the magic of these awesome paper flowers! Seriously. When you open it up it’s like the biggest TADA!!! If you want to give them 9 paper bags and let them decorate them, it would be an extra bonus! How cute hanging up in their window or on their bedroom door!
We only colored the side panel. (rainbow-themed off course!) By making the t with the glue- half the bag pulls out (see the white above. That’s the front and back of the bag!)
Kids can decorate all of it or just the sides or just the front and back! Just let them go to town and use their imagination. Glue them together and then open that baby up!
If you want to see a process video- check it ou on my Instagram!
(you should totally follow me on Instagram and become bffs with me!)
If you want more totally awesome kids crafts- check out this post!
Leave a Reply