
Turn your irons on and grab some Patterned vinyl because I’m going to teach you how to put Heat Transfer Vinyl on Shoes!
![]()
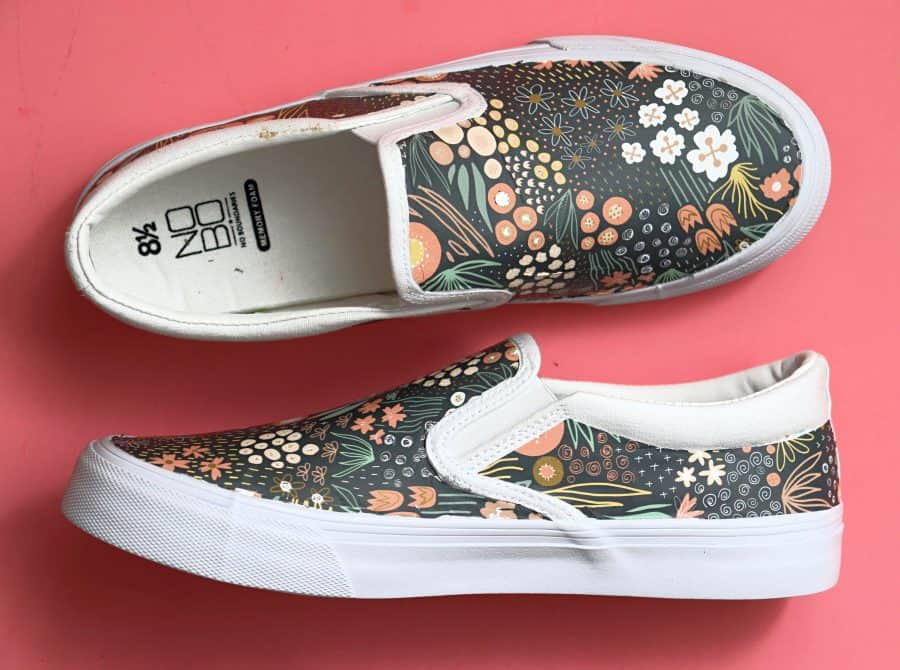
So Listen. When I got my last Expressions Vinyl Mystery Box- I pulled out this flower heat transfer vinyl and I was smitten! I wanted to make something right away. I always love the rifle paper company’s new shoes they have with keds and I wanted to make my own with this. Have I ever put heat transfer vinyl on shoes? no. Did I just wing it? yes. Did some things go wrong? Also yes. Did it work out in the end? and big huge YES! and they are my newest favorite shoes! So come learn how to iron vinyl onto some sneakers!
Supplies you need to put heat transfer vinyl on shoes
- Plain shoes (I grabbed these at Walmart! They are comfortable!)
- sharp craft knife
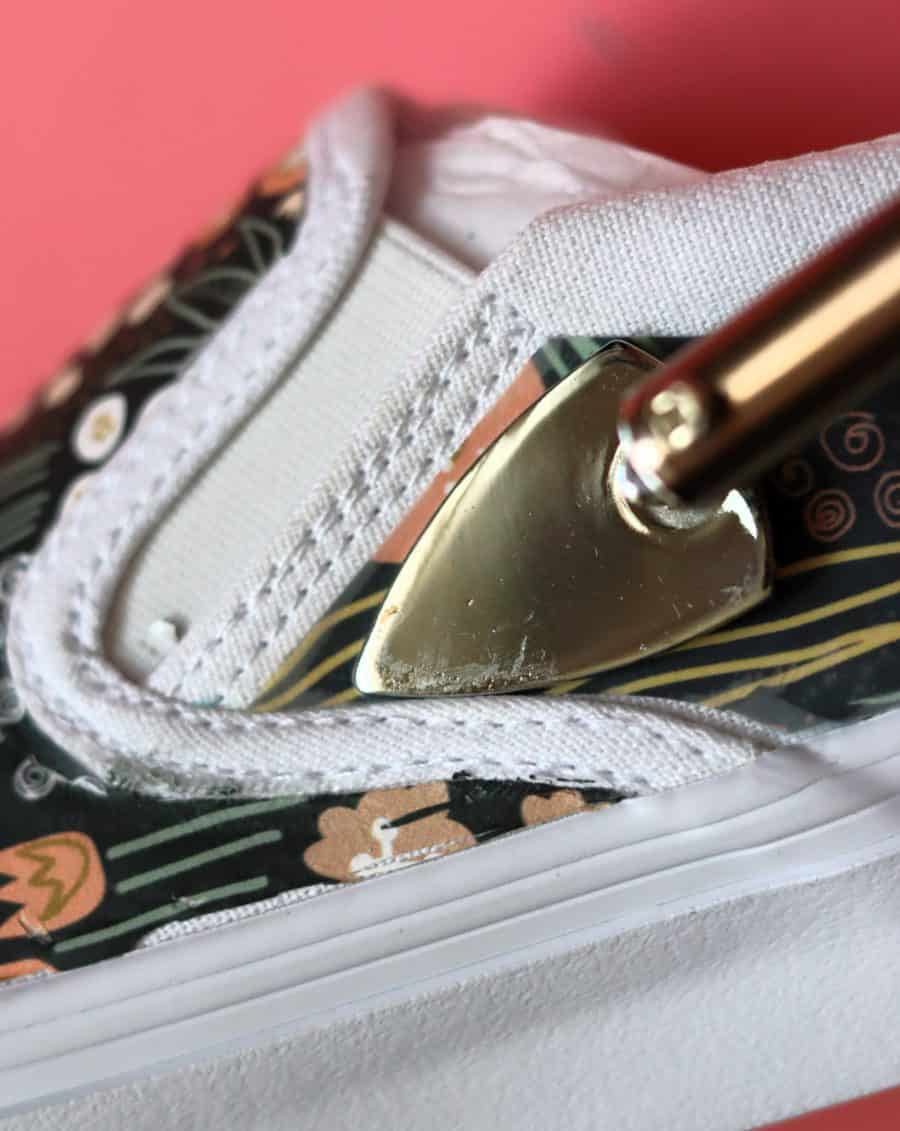
- mini iron (This one is great because the triangle point is perfect for getting into the small spaces of the shoes)
- tissue paper (Just the $1 gift wrap tissue paper)
- washable marker (like Crayola!)
- Patterned Heat transfer Vinyl (This particular HTV was in the EV Mystery Box and I just loved it! Its called dusty floral. Expressions Vinyl has so many cool patterns. I could make 15 pairs! I want to use the daisy pattern next!)
![]()
Prep your shoes and vinyl
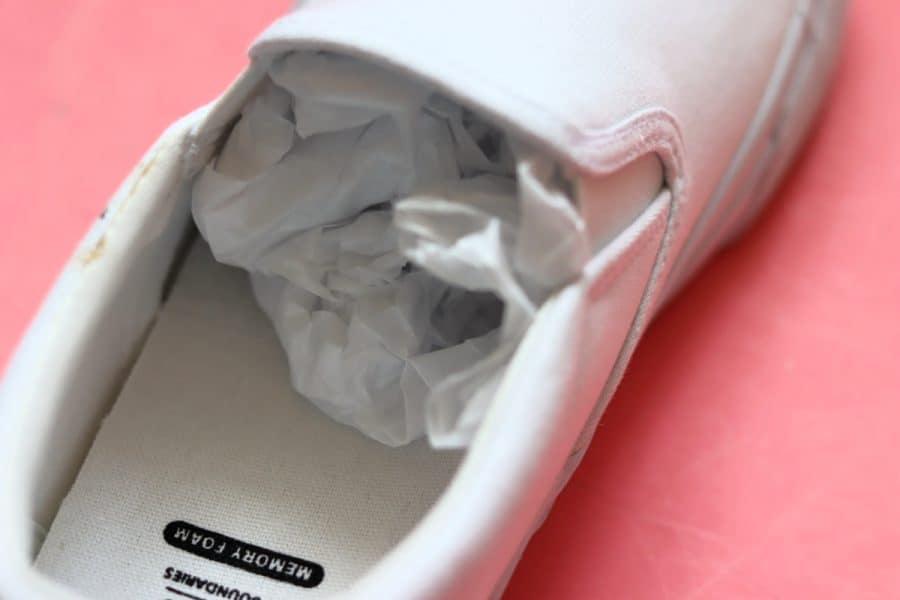
Stuff your shoe with tissue paper or paper towels. You want to be able to keep your shoe in the proper shape while you are pressing it.
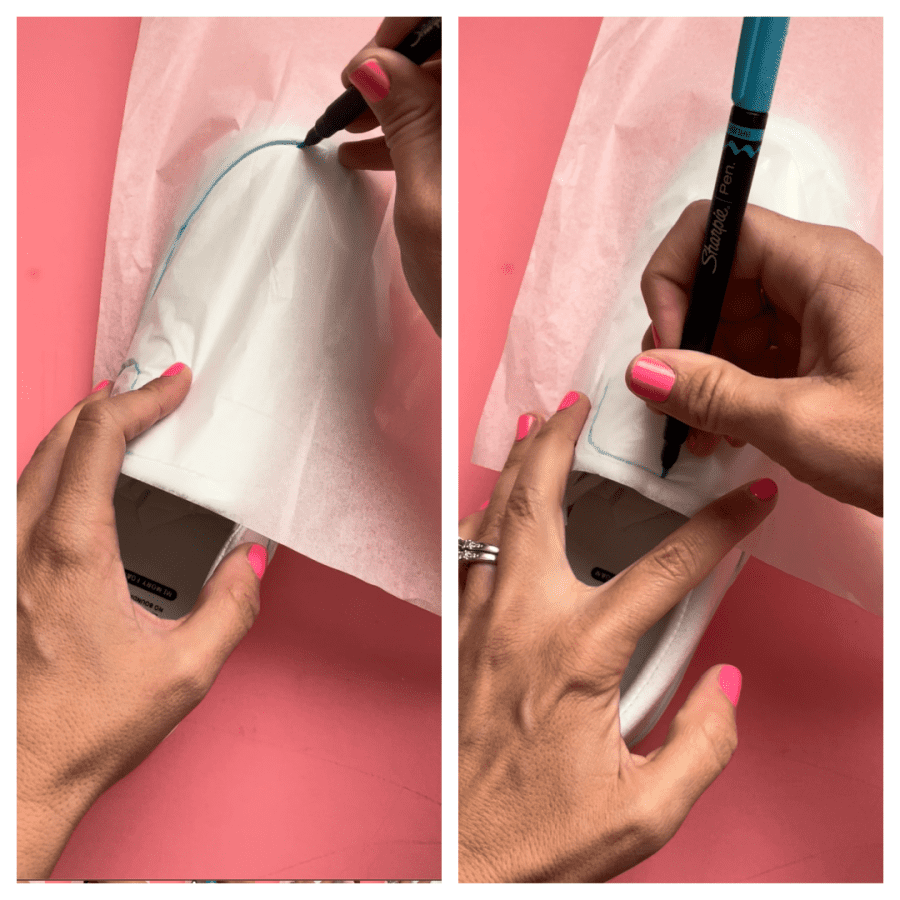
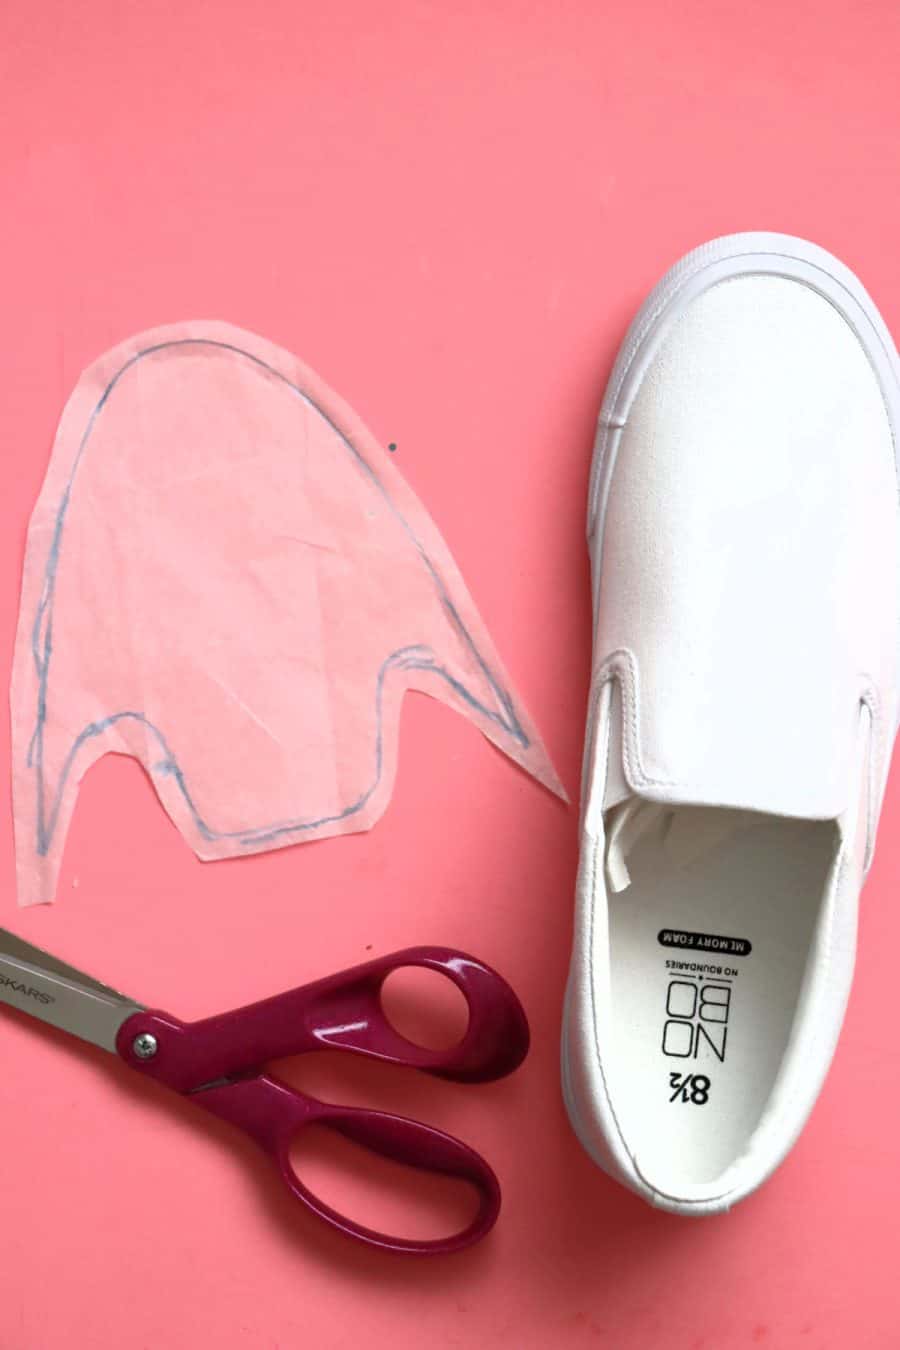
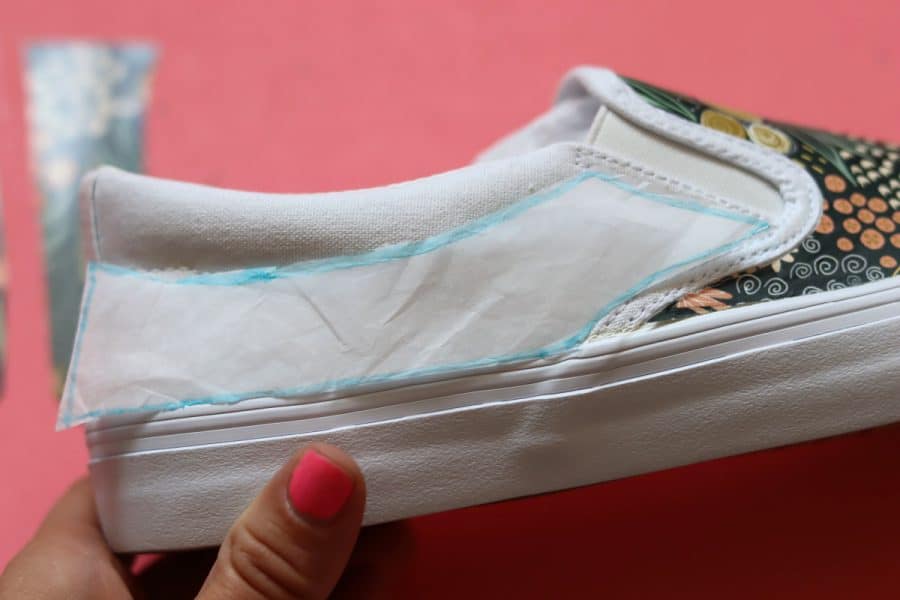
Take a sheet of tissue paper and lay it over the shoe. I used a washable marker to mark the basic shape of the shoe to make a template. I didn’t want to waste any vinyl. The shoes have sections so I just worked by those. One big piece for the front and one on each side. I trimmed around the template leaving some extra space so I had wiggle room with my vinyl.
I started with doing just the toe first since it’s the main piece that is seen and so I wanted to be able to use the vinyl in case I didn’t have enough. (FYI: a 12x 12 sheet was plenty!)
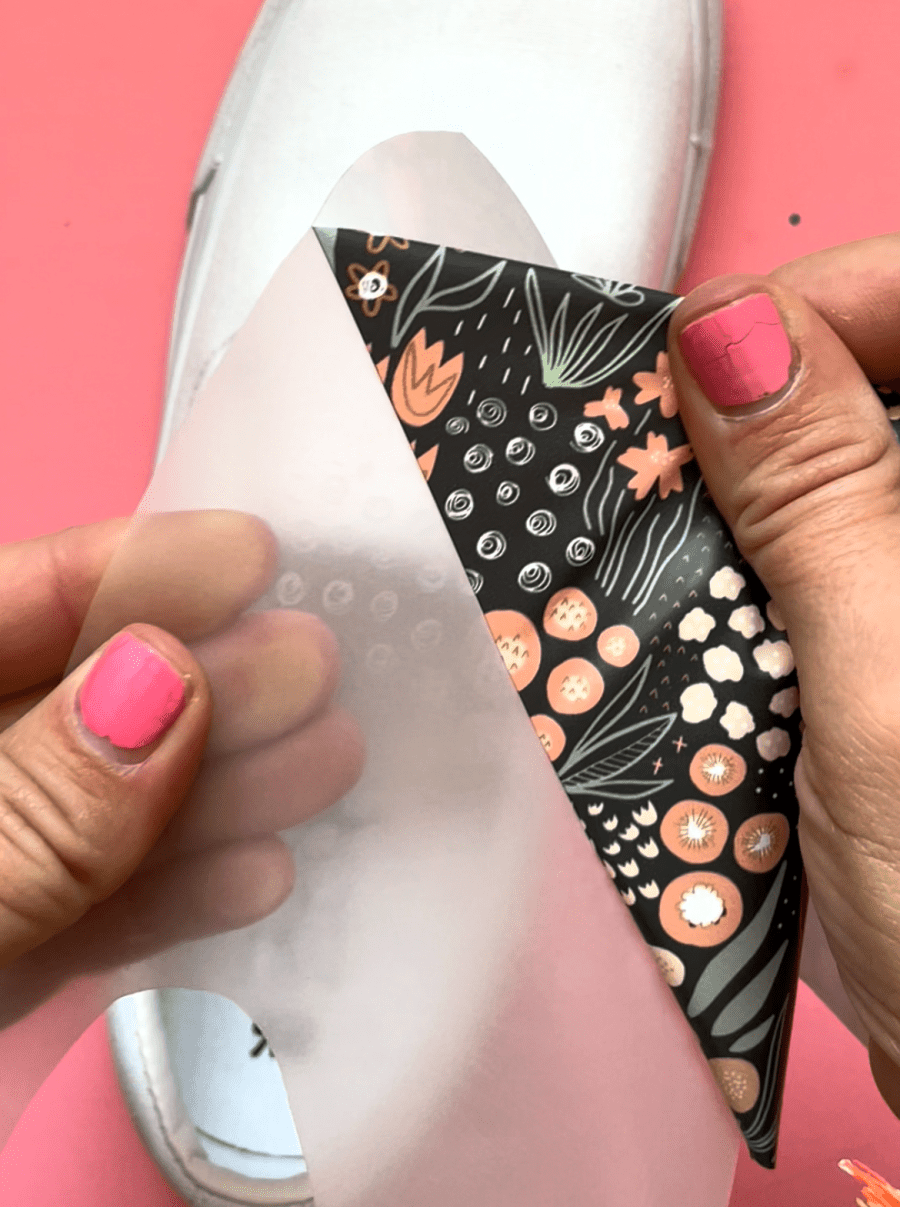
The tissue paper is somewhat see-through so you can lay it on the HTV and pick what part of the pattern you want directly on the front.
Apply the Heat Transfer vinyl
The iron only has two settings. Low and high. I used the high setting for these shoes.
![]()
Since this was a trial and error run- I laid the vinyl on the shoe and started pressing down the middle. I went at it just like I put adhesive vinyl on a cup. Start in the middle and work your way out.
and here is where I ran into problems. It was so stiff and really hard to lay the sides down flat without getting some wrinkles.
So I went Rogue. I peeled off the carrier sheet! I tried this on a scrap piece to make sure that the vinyl would hold up! and it did. So I carefully removed the carrier sheet and then started over. It laid flat so much better!
BUT you definitely do not want to touch the iron directly onto the vinyl! Use the carrier sheet. You can also use a tea towel or piece of fabric over it but I liked the fact that I could see through the carrier sheet and make sure the vinyl wasn’t moving.
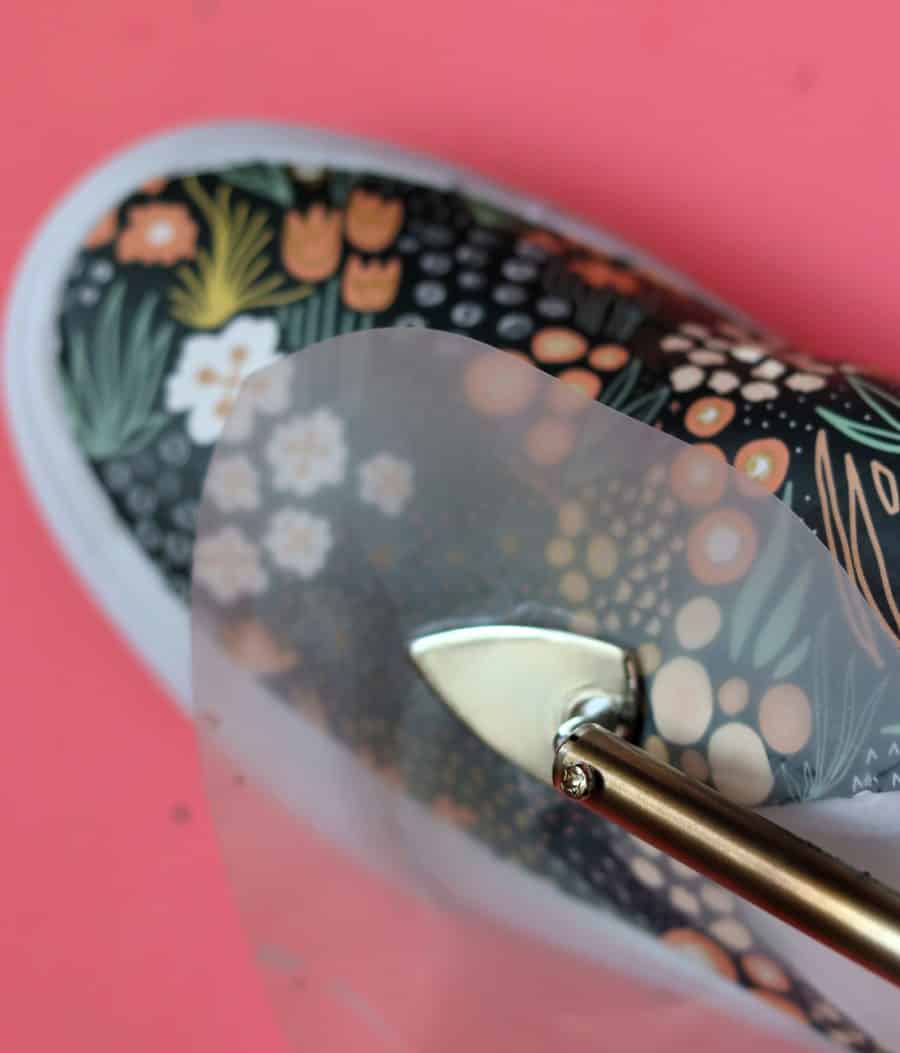
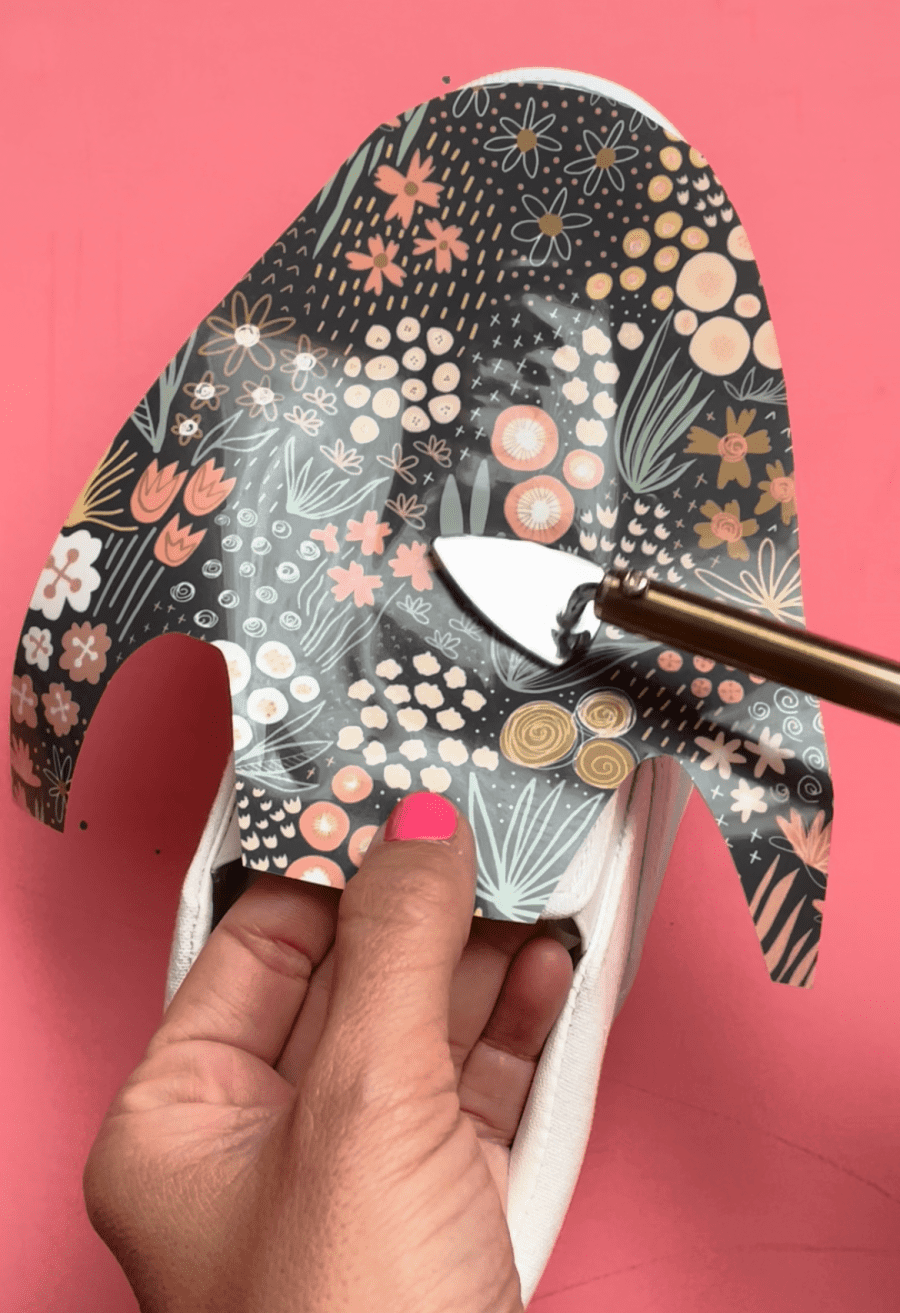
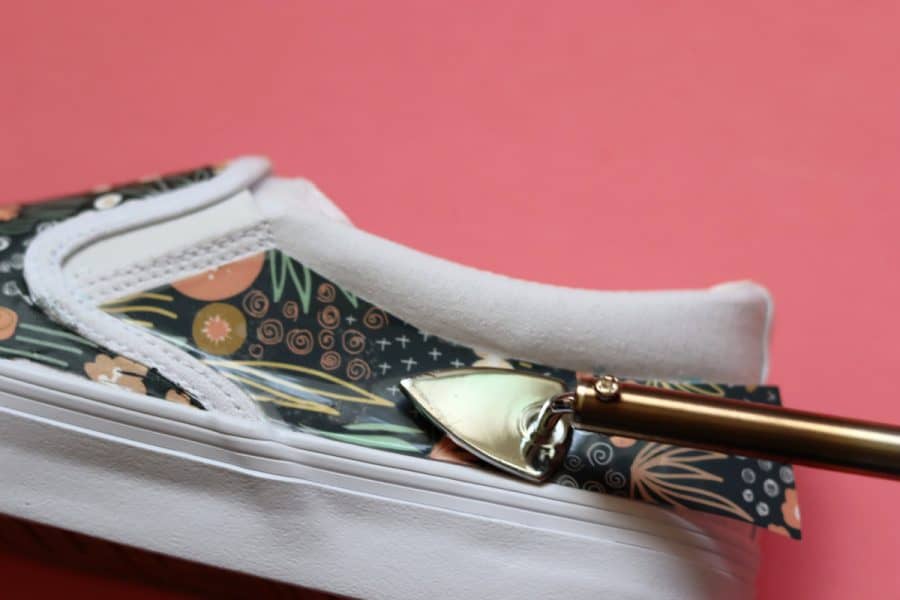
I loved this little iron because the point is so easy to get into tight spots. I just used the iron to press the vinyl up to the edge of the seams and sole of the shoe. Without the carrier sheet, the vinyl has a little give and stretch. So It was easy to pull and press to make sure you don’t get wrinkles. (I still got a few but the pattern is pretty busy so it’s easy to hide!)
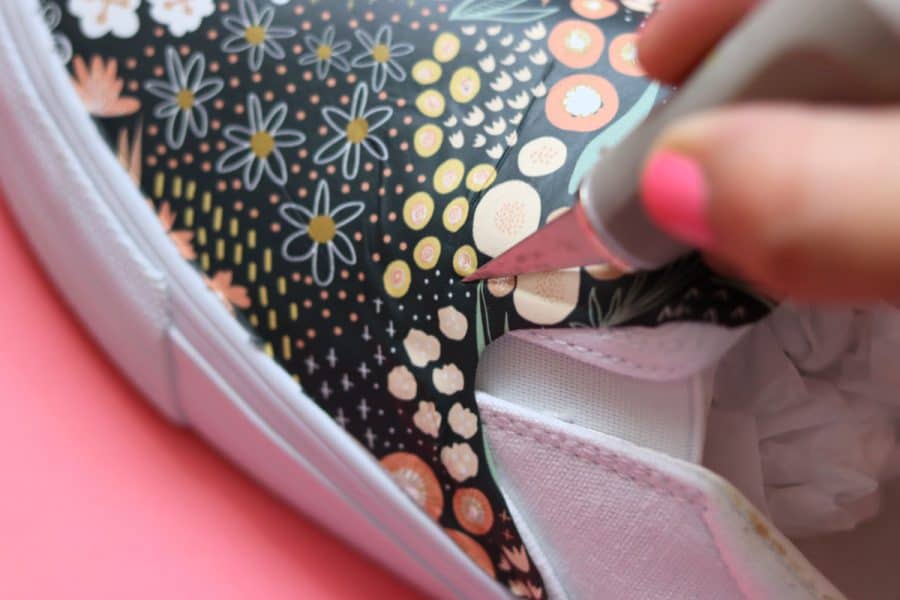
I took my little craft knife and trimmed off any excess. If you missed a spot, you can just cut a little piece of HTV and iron on over it. The pattern is pretty forgiving since it’s busy!
Finishing the shoes
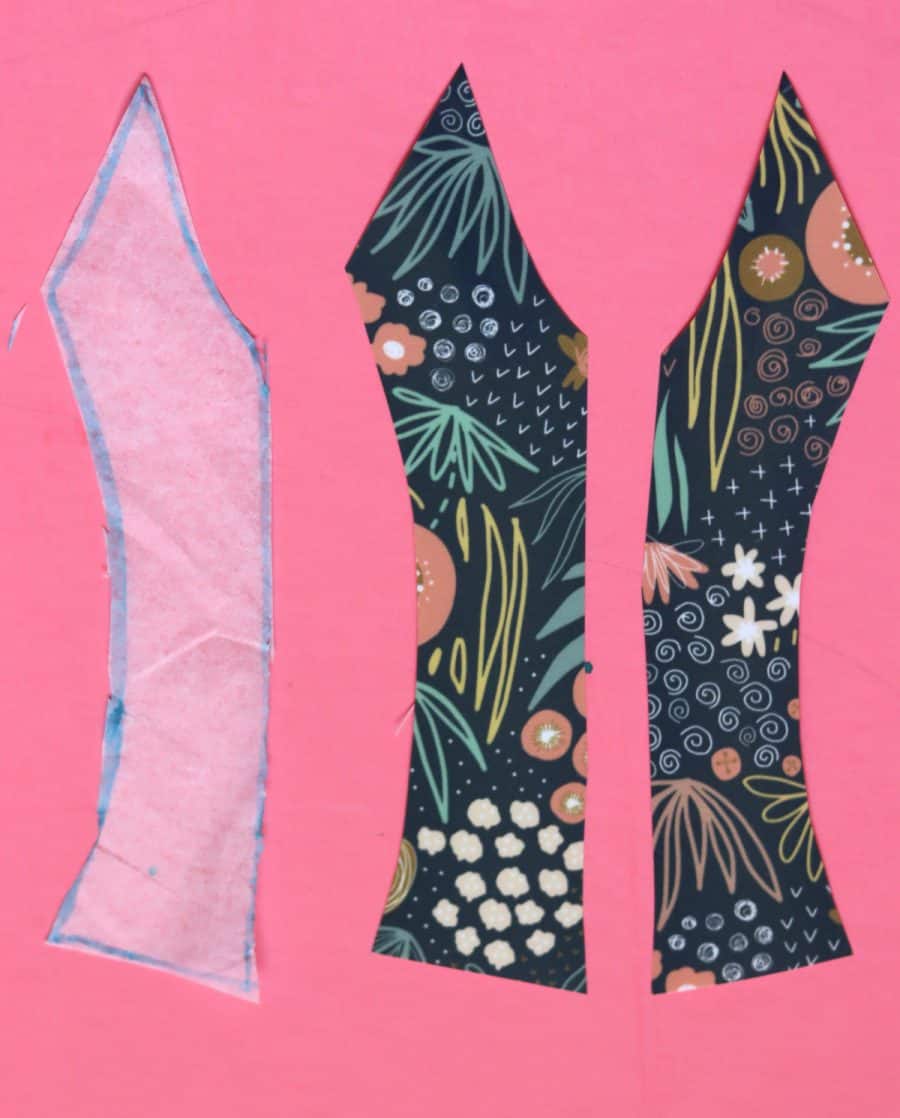
The Sides of the shoes were so easy. Nice and flat. Cut out a template and then cut it out of vinyl.
![]()
The two sides were the same just opposite. So one template could do both sides. You just need to flip the template before you cut!
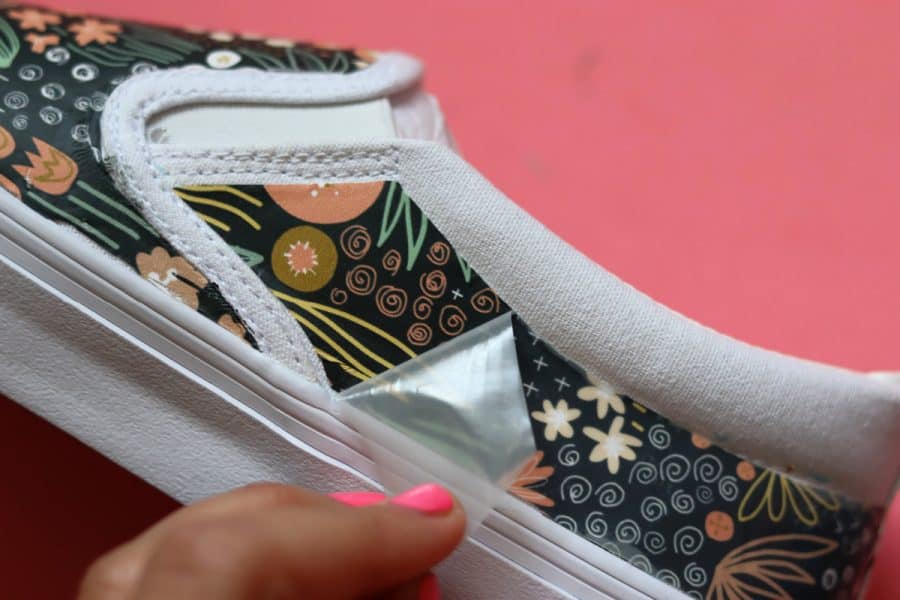
There was no need to take off the carrier sheet for the sides of the shoes.
After it’s been pressed, peel off that carrier sheet!
Then you have the coolest custom shoes that everyone will be super jealous of!
If you want to save this tutorial, you can pin the image down below!
![]()
Other amazing craft projects:
- roundup of cool patterned vinyl projects
- 25 cute Sneaker refashions
- What to make with vinyl scraps
- Is the Cricut Easypress worth it?
Rosa Marie Tatum says
Love these shoes! Great idea