
Keeping your classroom organized while adding colorful décor doesn’t have to be difficult! If you’re looking for functional classroom bulletin board ideas that you’ll actually use every day, these DIY dry-erase bulletin boards are perfect.
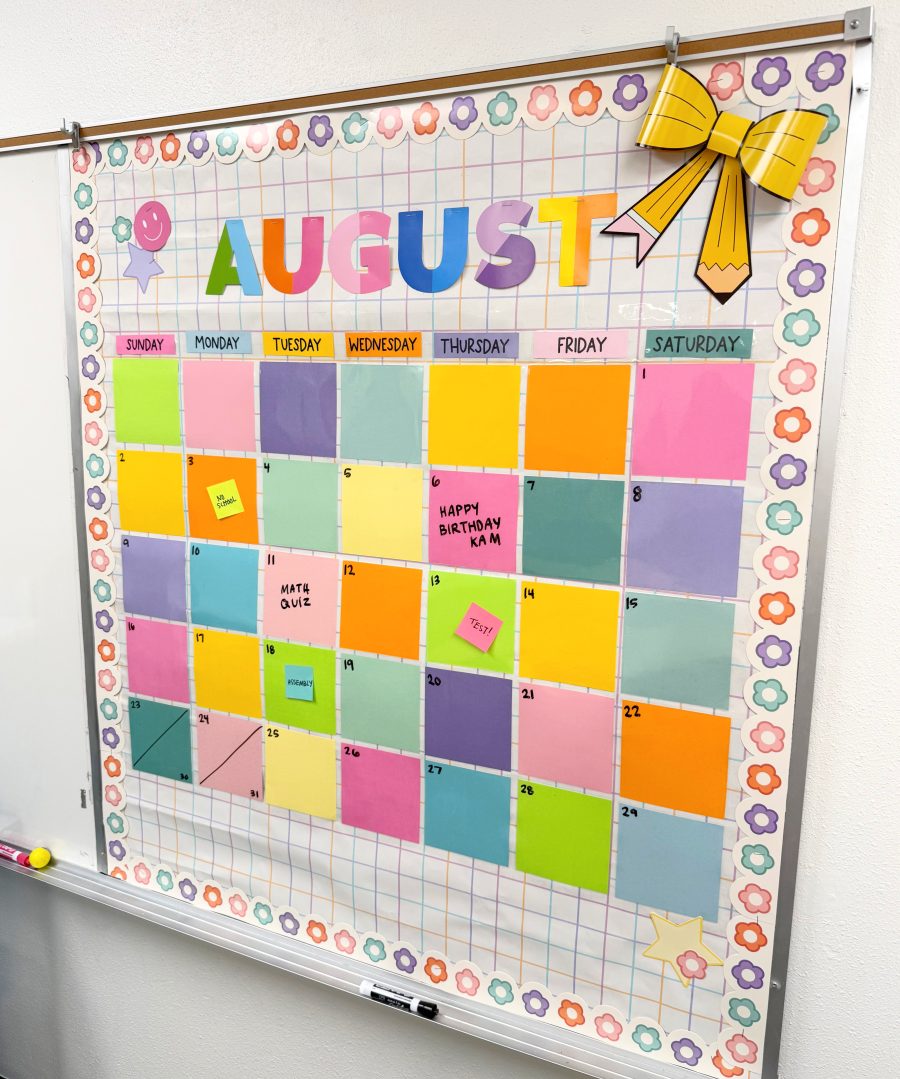
Today I’m sharing two of my favorite classroom displays:
- A dry erase classroom calendar that can be updated month after month.
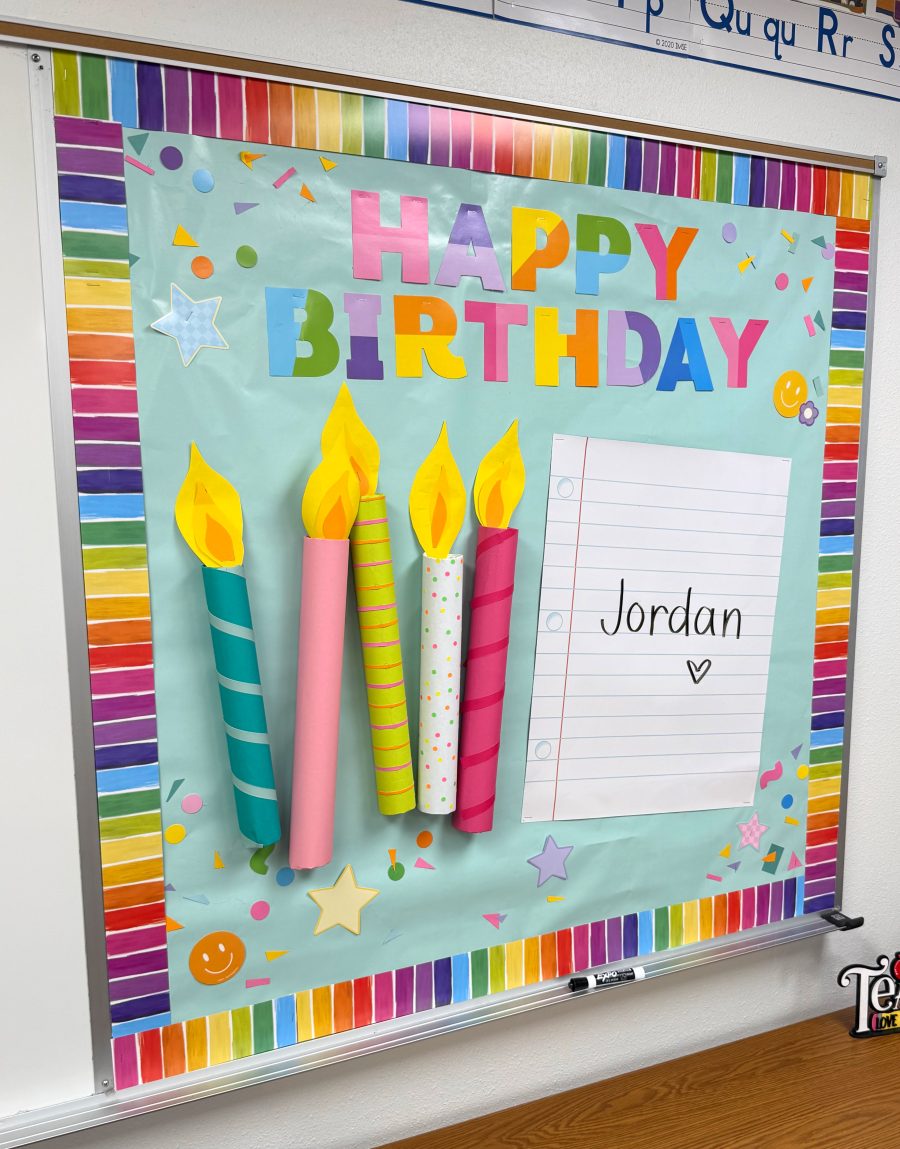
- A birthday bulletin board with a reusable dry erase space for writing student birthdays.
Both bulletin boards are colorful, practical, and easy to customize for your own classroom theme. Plus you can keep them up year after year!
Why Make Dry Erase Bulletin Boards?
One of the biggest challenges with classroom decorations is that they often only last for a single month or season. By laminating your bulletin board pieces (or covering them with clear plastic), you can write on them with dry erase markers and reuse them year after year.
Benefits include:
- Saves time every month
- Easy to update
- Budget friendly
- Bright, colorful classroom décor
- Perfect for elementary classrooms
Whether you’re teaching kindergarten, first grade, second grade, or even upper elementary, reusable bulletin boards make classroom management much easier.
DIY Dry Erase Classroom Calendar Bulletin Board
A classroom calendar is one of the most-used teaching tools each day. Instead of replacing calendar pieces every month, create one reusable display that you simply wipe clean.
Supplies
- Bulletin board paper
- Colorful cardstock
- Letter cutouts (or Cricut letters)
- Laminator or clear plastic laminate shelf liner
- Dry erase markers
- Scissors or paper trimmer
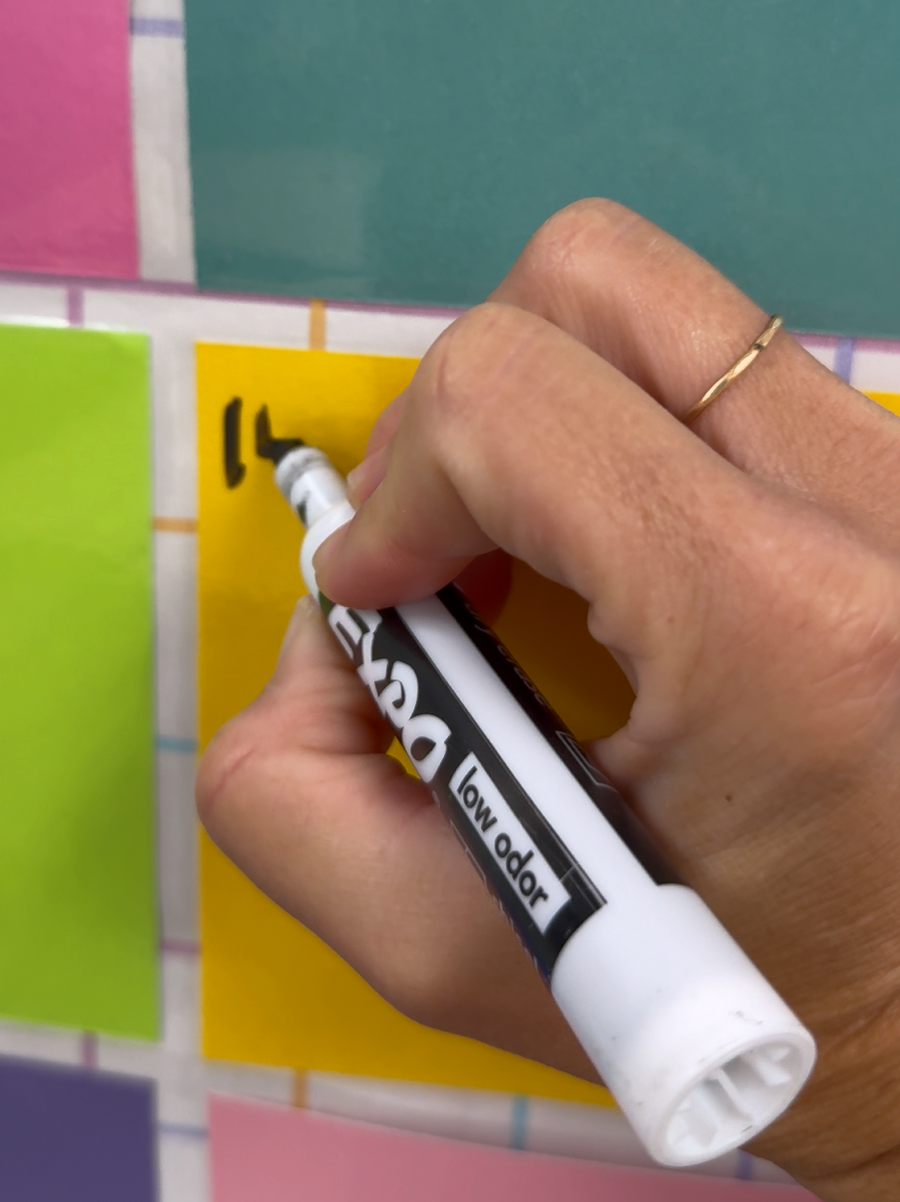
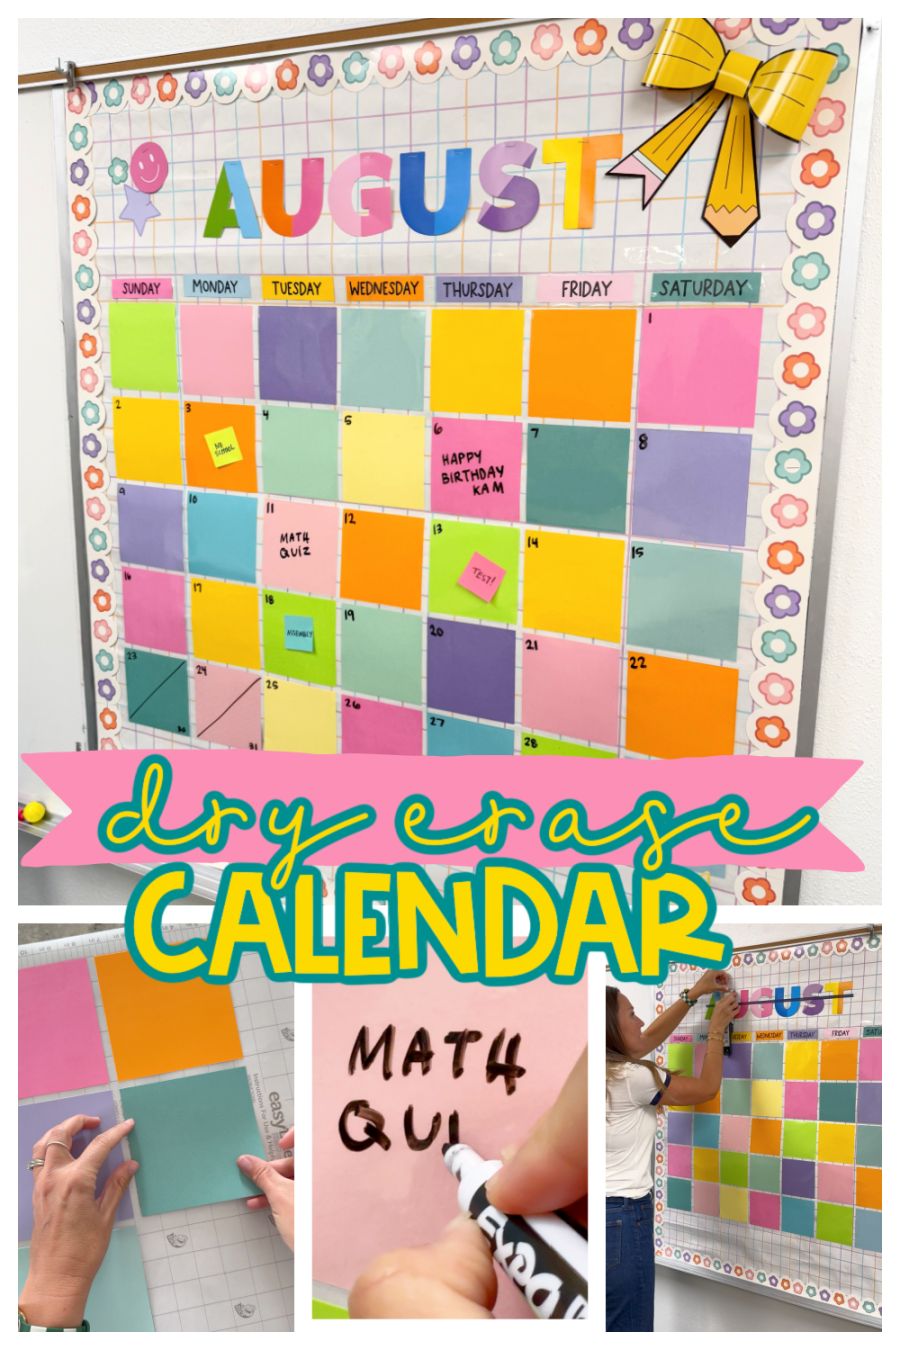
I was trying to figure out the best way to make this calendar reusable. Originally, I was just going to laminate each day. I knew this would eat up a lot of laminating sheets. So when I was at Walmart, I wandered around to see if I could find an alternative. We landed on this adhesive shelf liner! I linked the one on Amazon but it’s cheaper at Walmart. I did a test spot with a dry erase marker and it wiped off perfectly with a damp cloth!
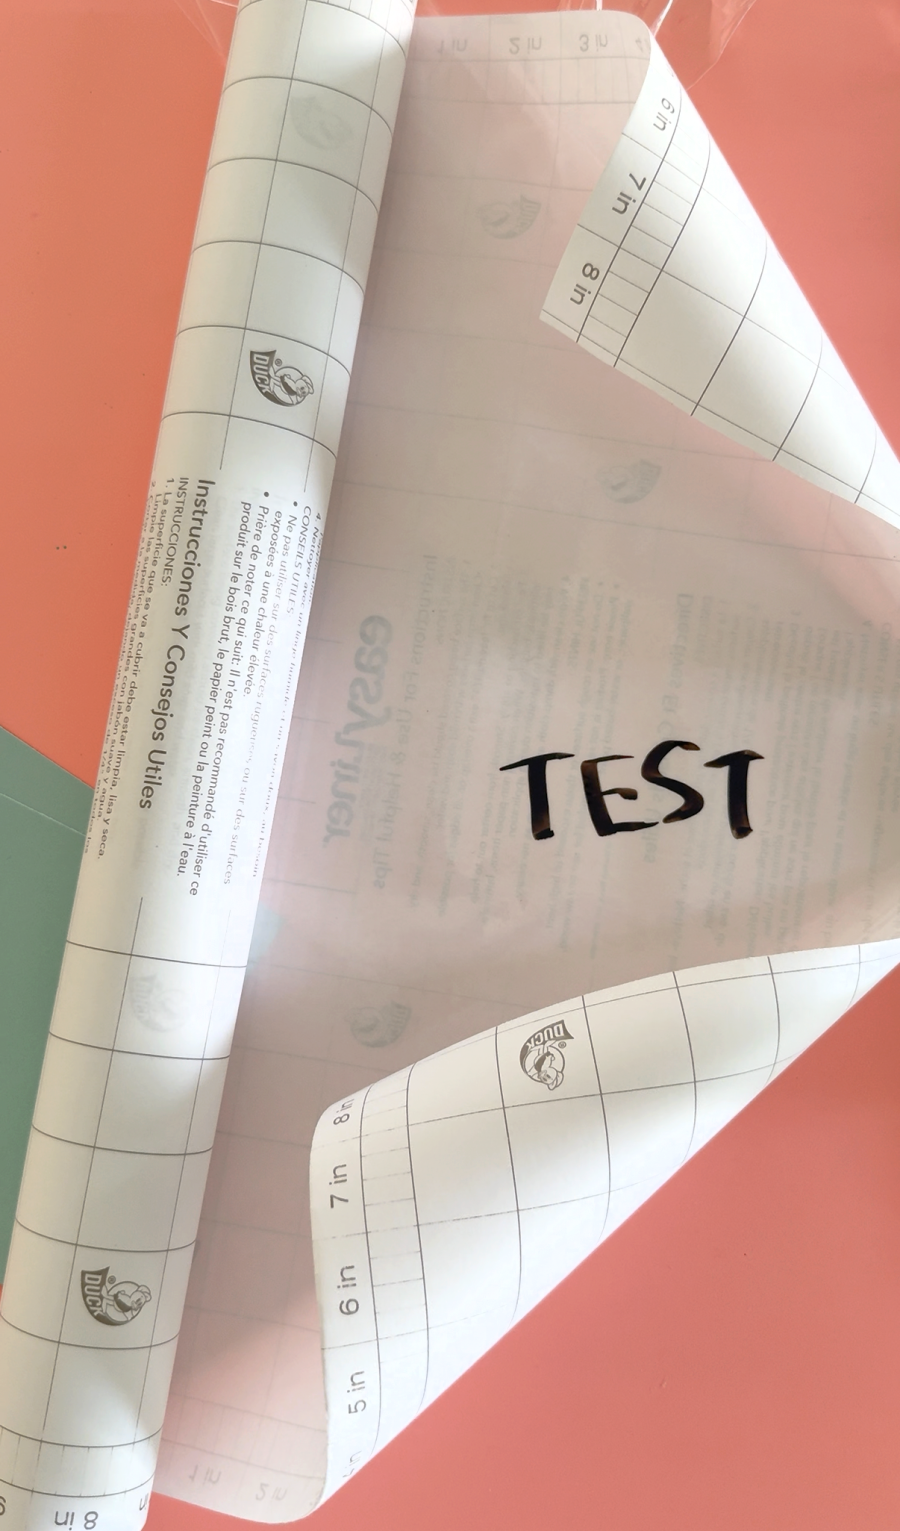
Another plus was that the adhesive is sticky, but not so sticky that it’s hard to work with. I was able to peel the cardstock off of it to replace it.
How to Make the Calendar
Step 1: Cover the bulletin board
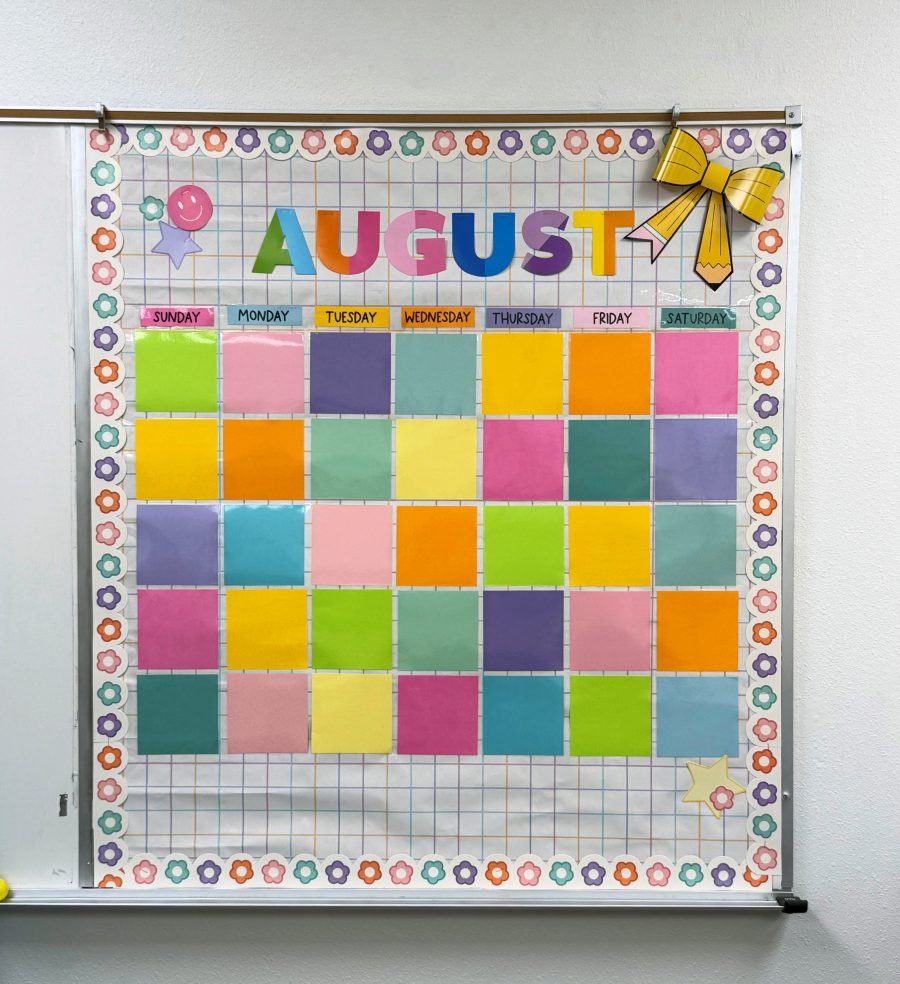
Start with a fun patterned background. A light grid or graph paper design works especially well because it gives the calendar a clean, organized look.
Step 2: Add the month title
Cut large colorful letters spelling the current month. Bright rainbow colors instantly make the board feel cheerful and inviting.
You can swap these letters out each month or create laminated month names ahead of time. The ones I used are a pop out set from Hobby Lobby .
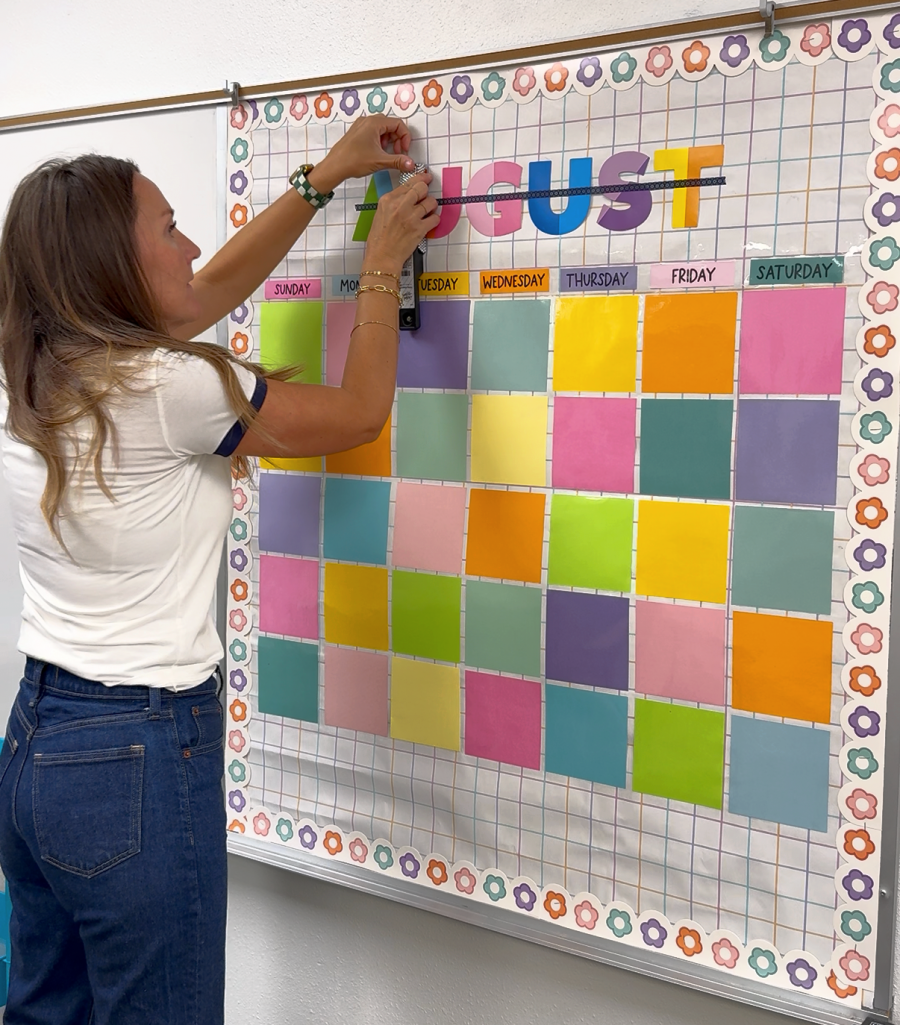
I applied them using this quick cheater method using washi tape!
Step 3: Create the calendar grid
Use colorful cardstock squares to form your calendar. I cut each one 5 inches by 5 inches. If your board is bigger, you could size up.
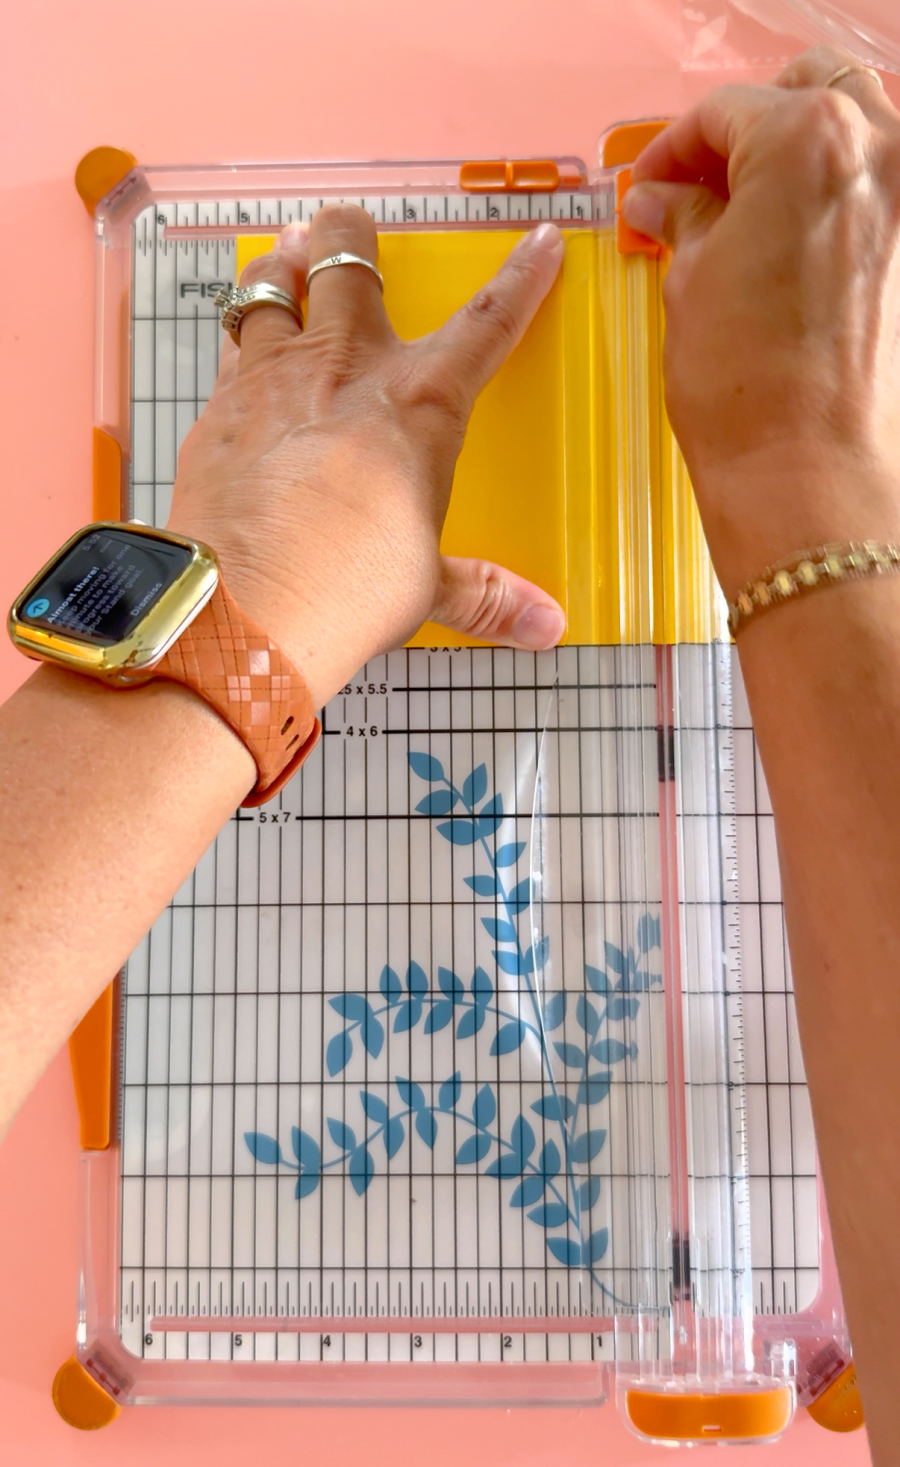
Leave enough room inside each square to write:
- Daily activities
- Homework reminders
- School events
- Holidays
- Spirit days
Step 4: Laminate the entire board
This is what makes the magic happen.
I pulled off the backing and laid it sticky side up on top of the gridded background so I could keep the paper in a straight line as I put them on the sticky laminate.
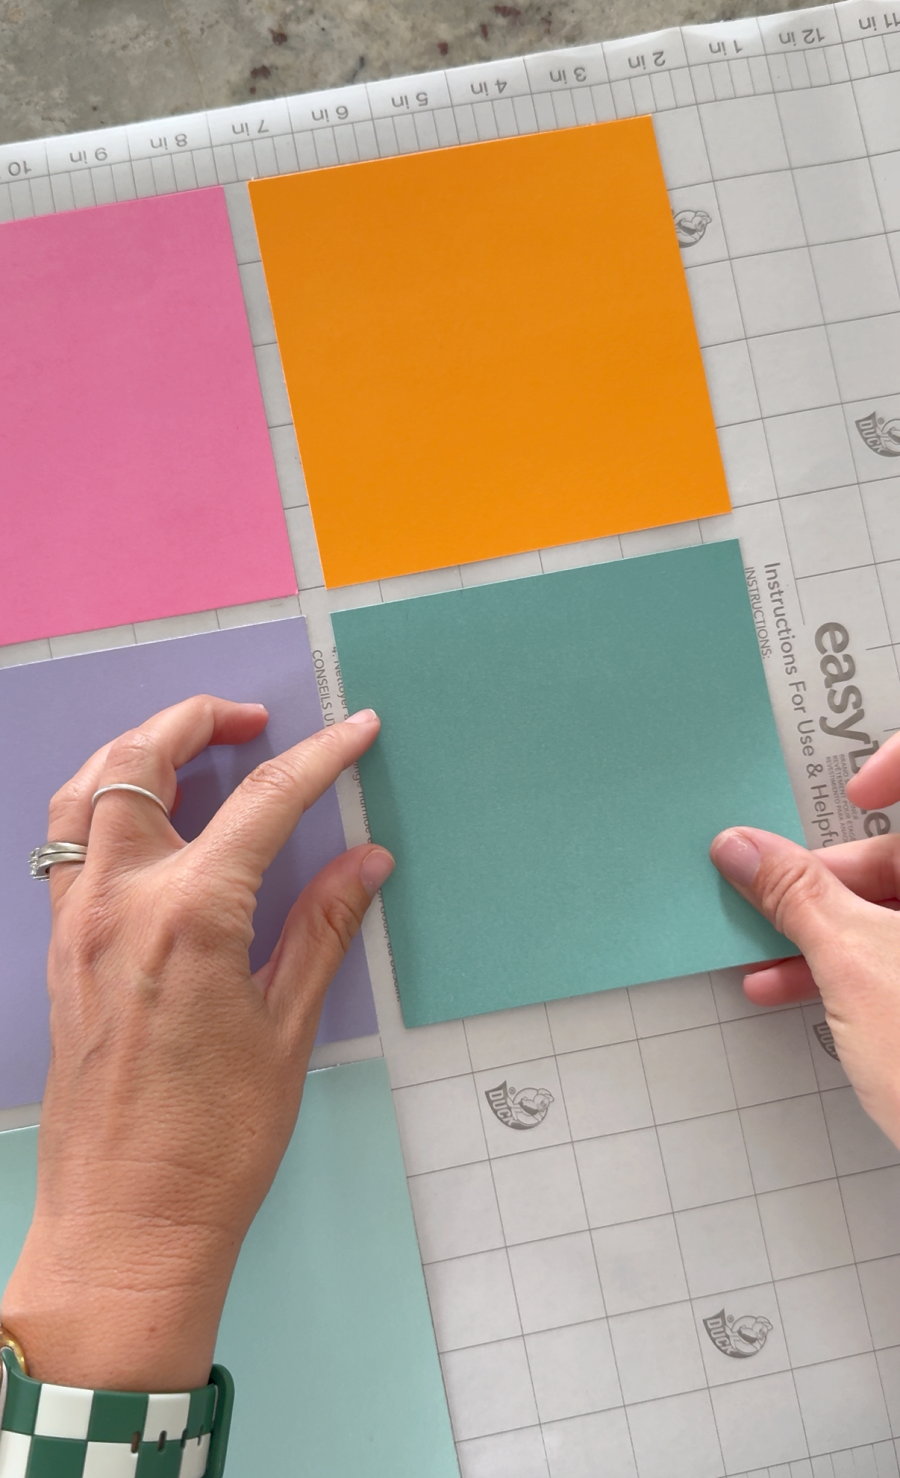
You could laminate each one individually, but I thought that if you are wiping off the dry erase, it would get the paper dirty in between each month. So I thought it would be better to be laminated in big sections. I did 3 weeks and then 2 weeks on another strip of laminate.
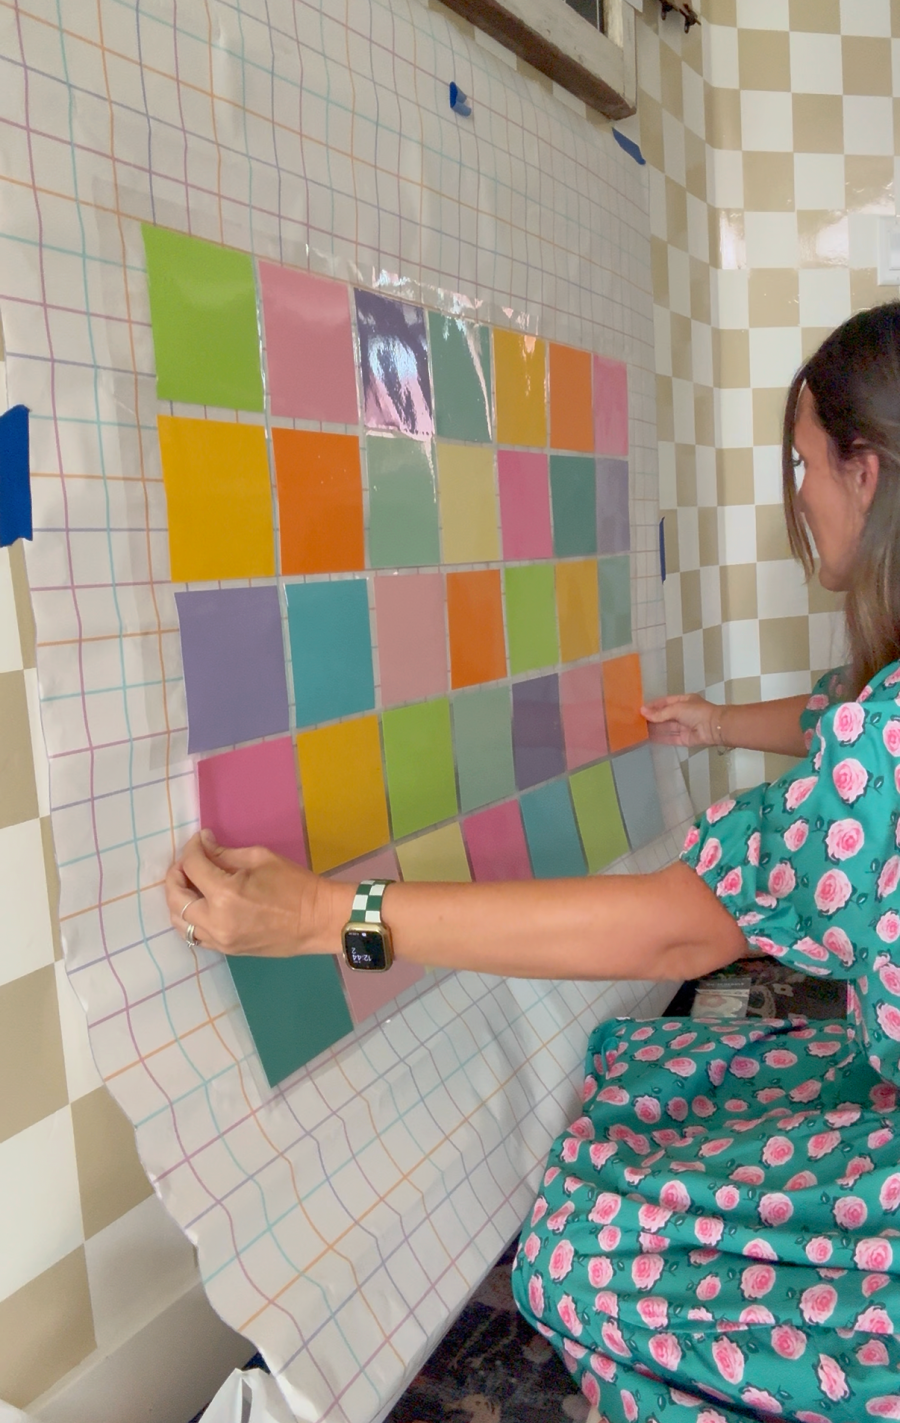
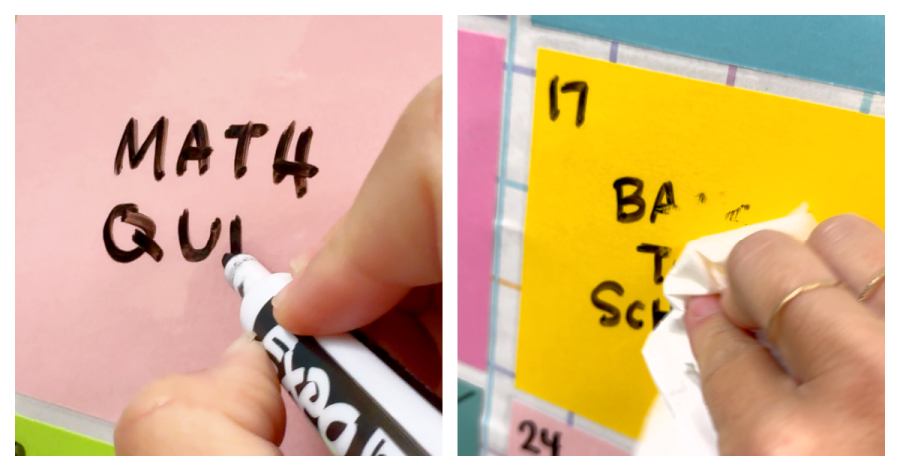
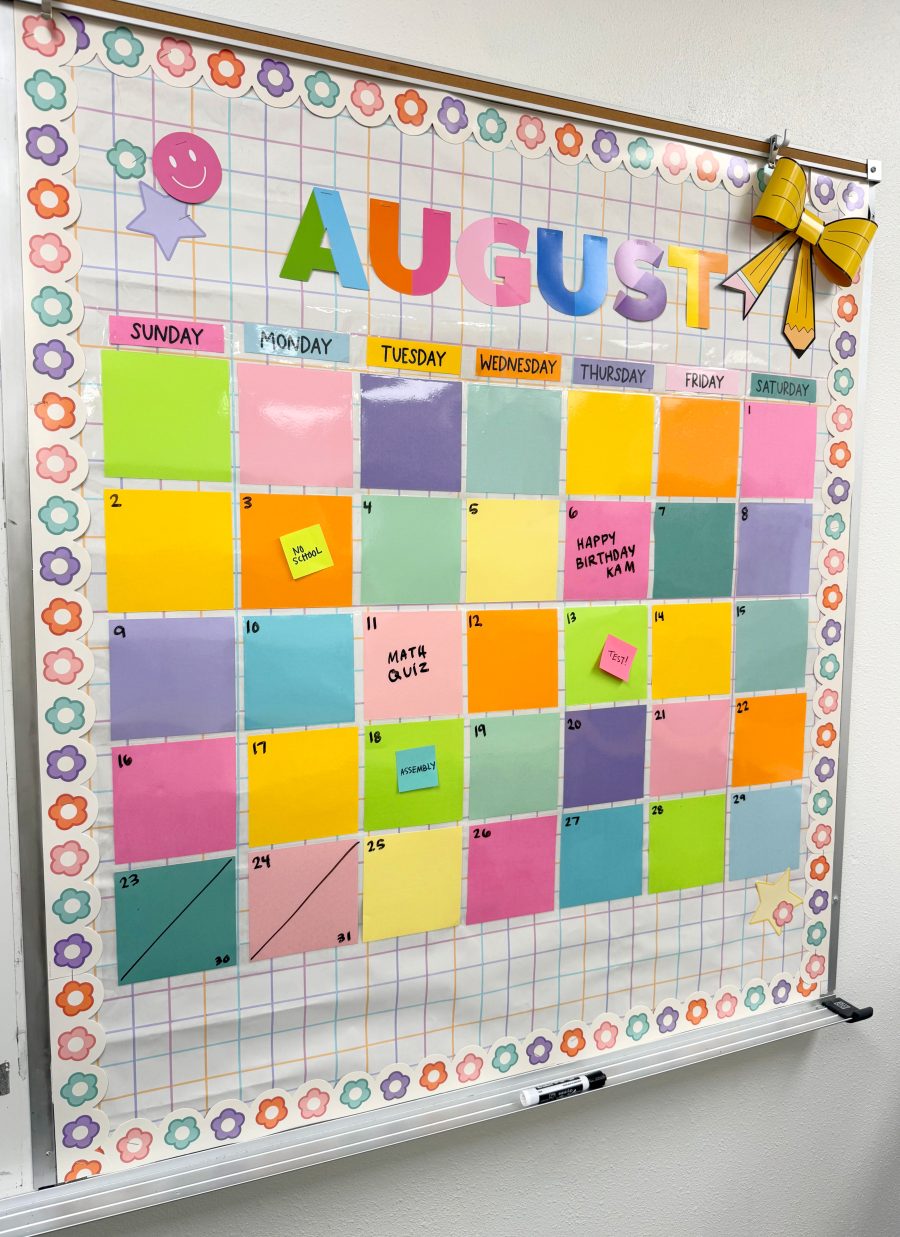
Once covered with clear plastic, simply use dry erase markers to fill in dates and wipe everything clean at the end of the month.
We also noticed that the colors we picked looked good with post it notes- so it would be easy to add up quick notes using post it notes!
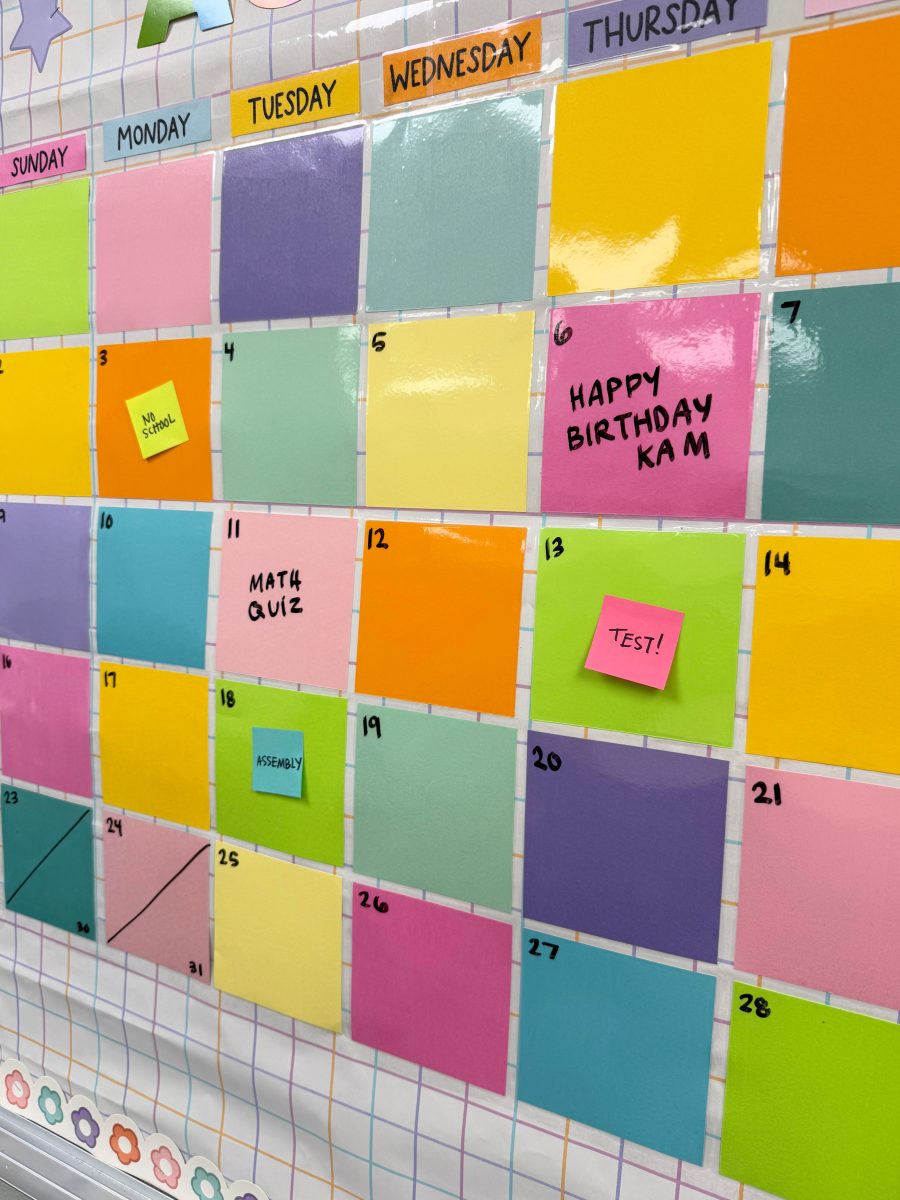
Start a new month
Take down the current month. Remove sticky notes and erase the dry erase marks. Write in the new days of the week and add the next month on top.
DIY Birthday Bulletin Board
Celebrating birthdays helps students feel special, and this reusable birthday display makes it easy to keep track of everyone’s big day.
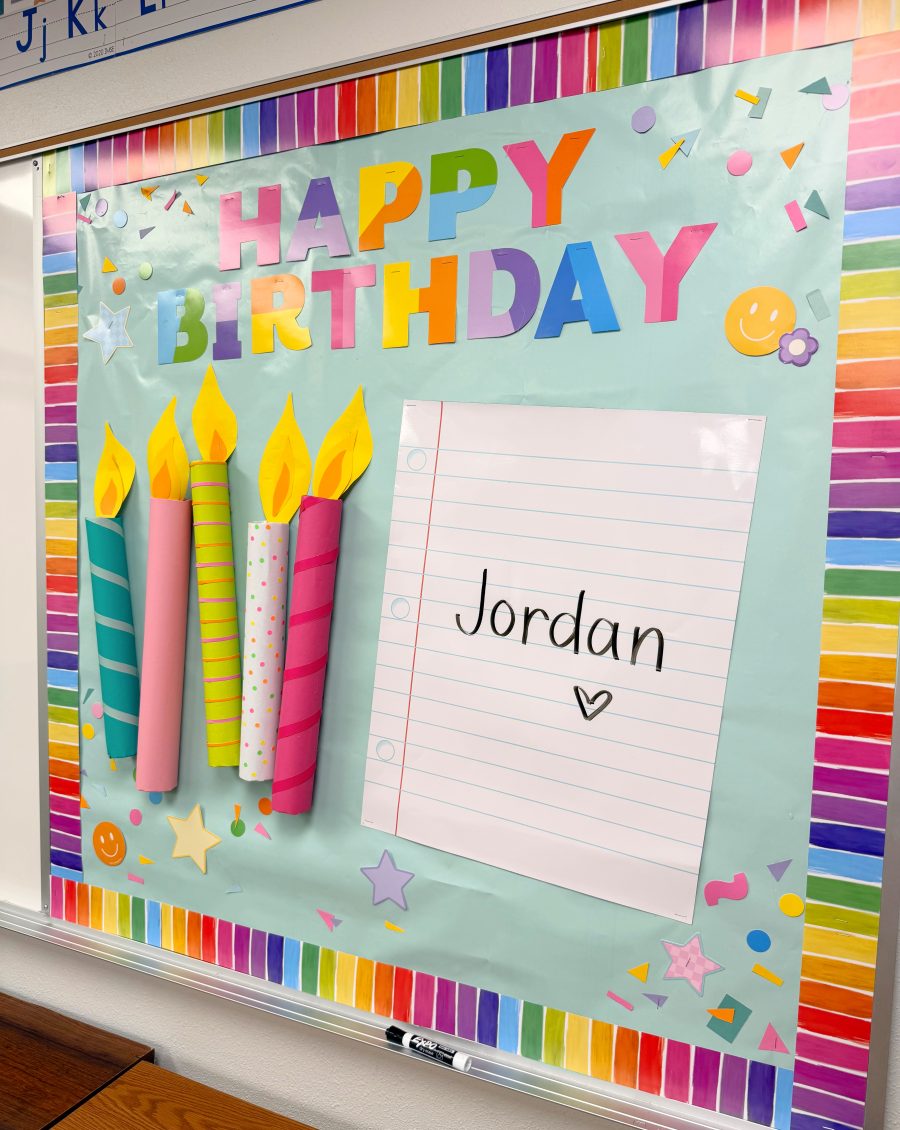
Instead of printing new names every year, simply erase and rewrite them.
Supplies
- Bulletin board paper
- Wrapping paper tubes
- Construction paper
- Scissors
- Glue
- Laminator or clear plastic covering
- Dry erase markers
Step 1: Create the Background
Choose a bright background color like mint, aqua, or light blue to help colorful decorations pop.
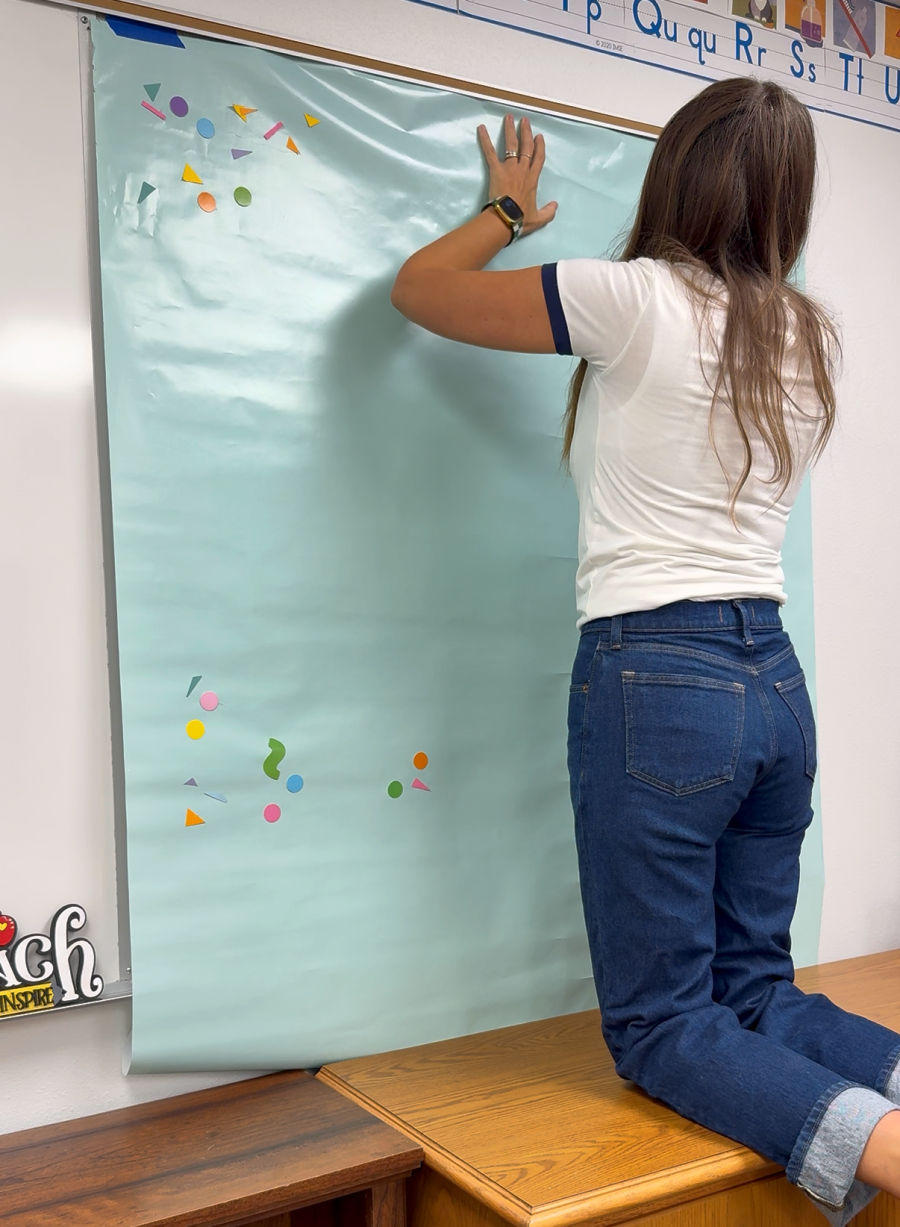
Add a rainbow border for extra fun.
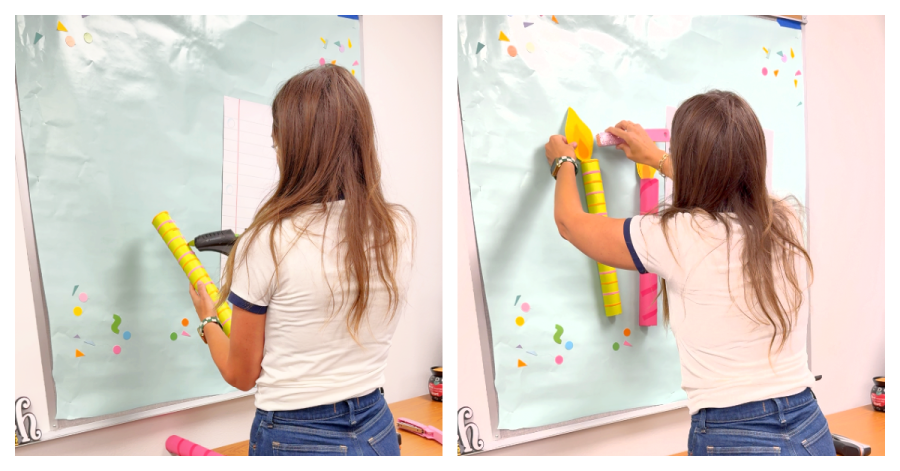
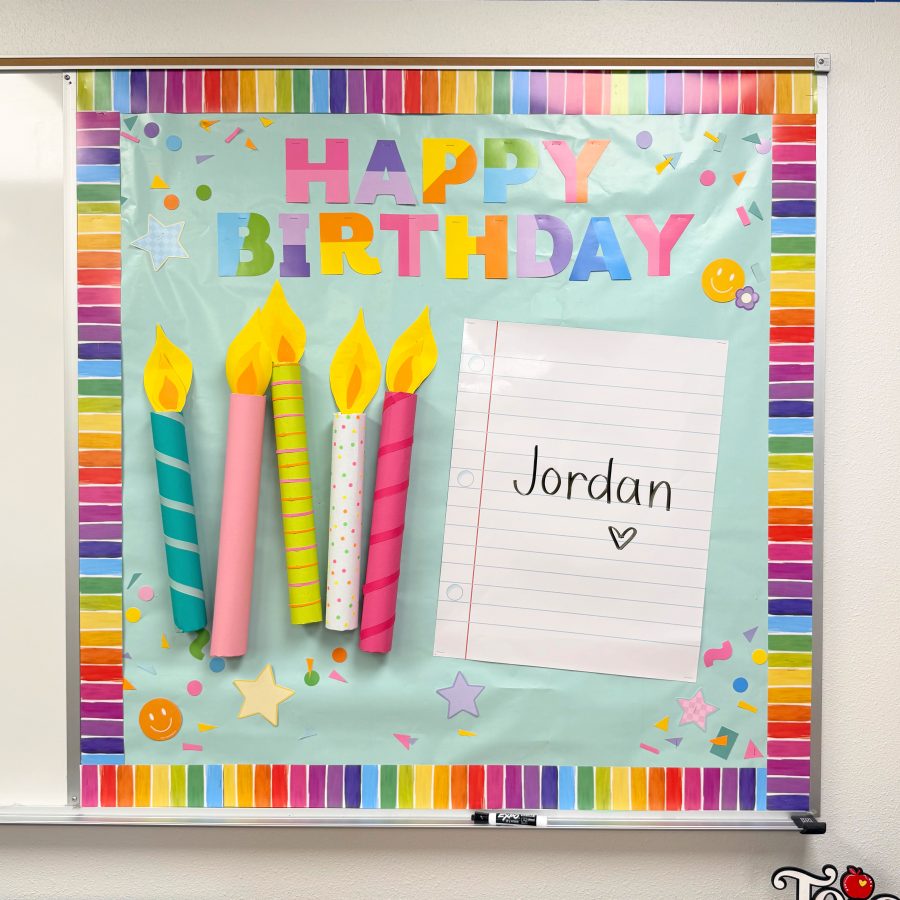
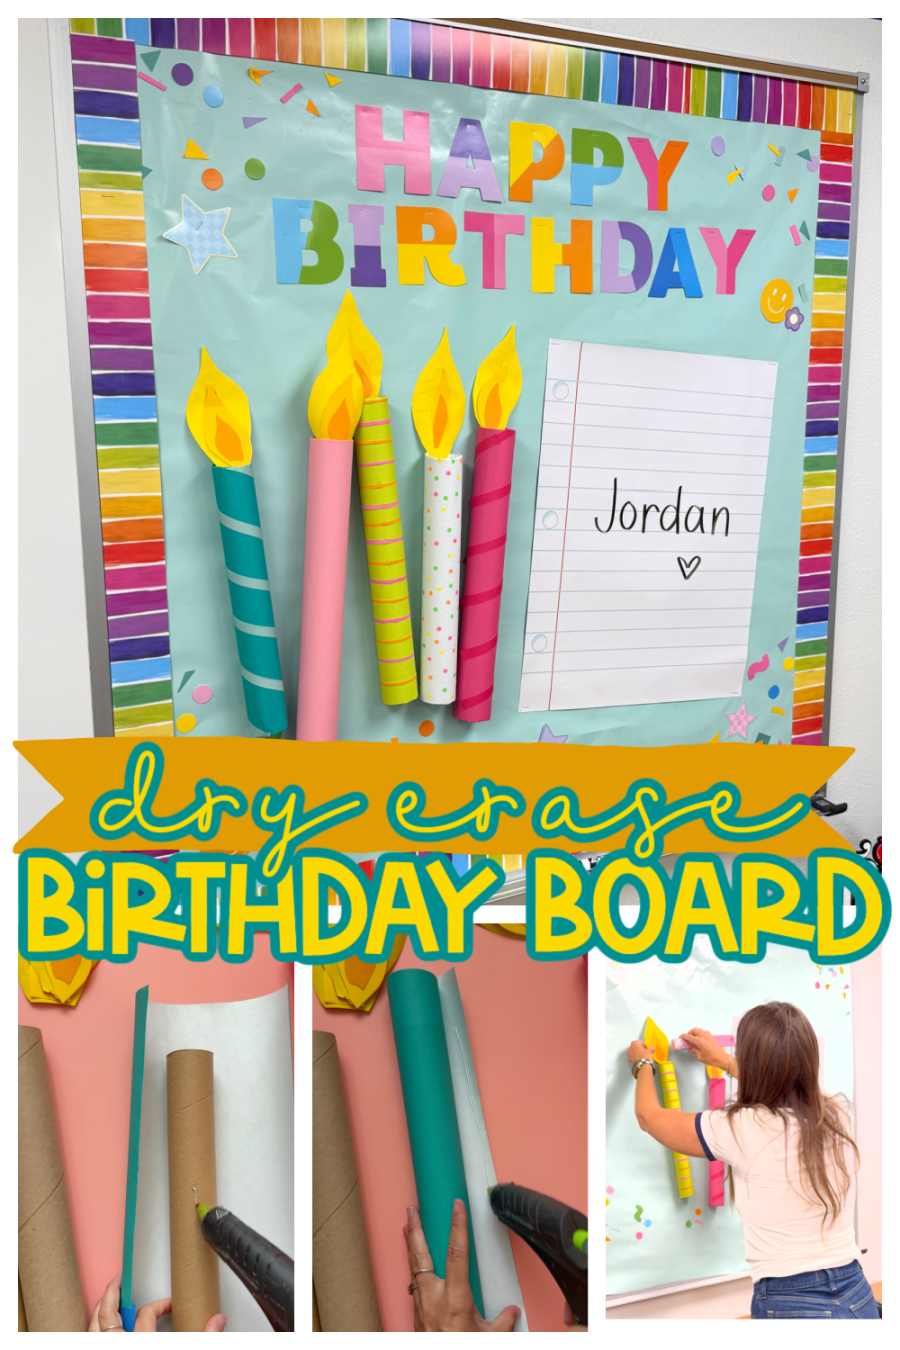
Step 2: Make Giant Birthday Candles
Roll pieces of colored cardstock into tubes to create oversized birthday candles. I had wrapping paper tubes leftover that I just cut in half and wrapped in poster paper.
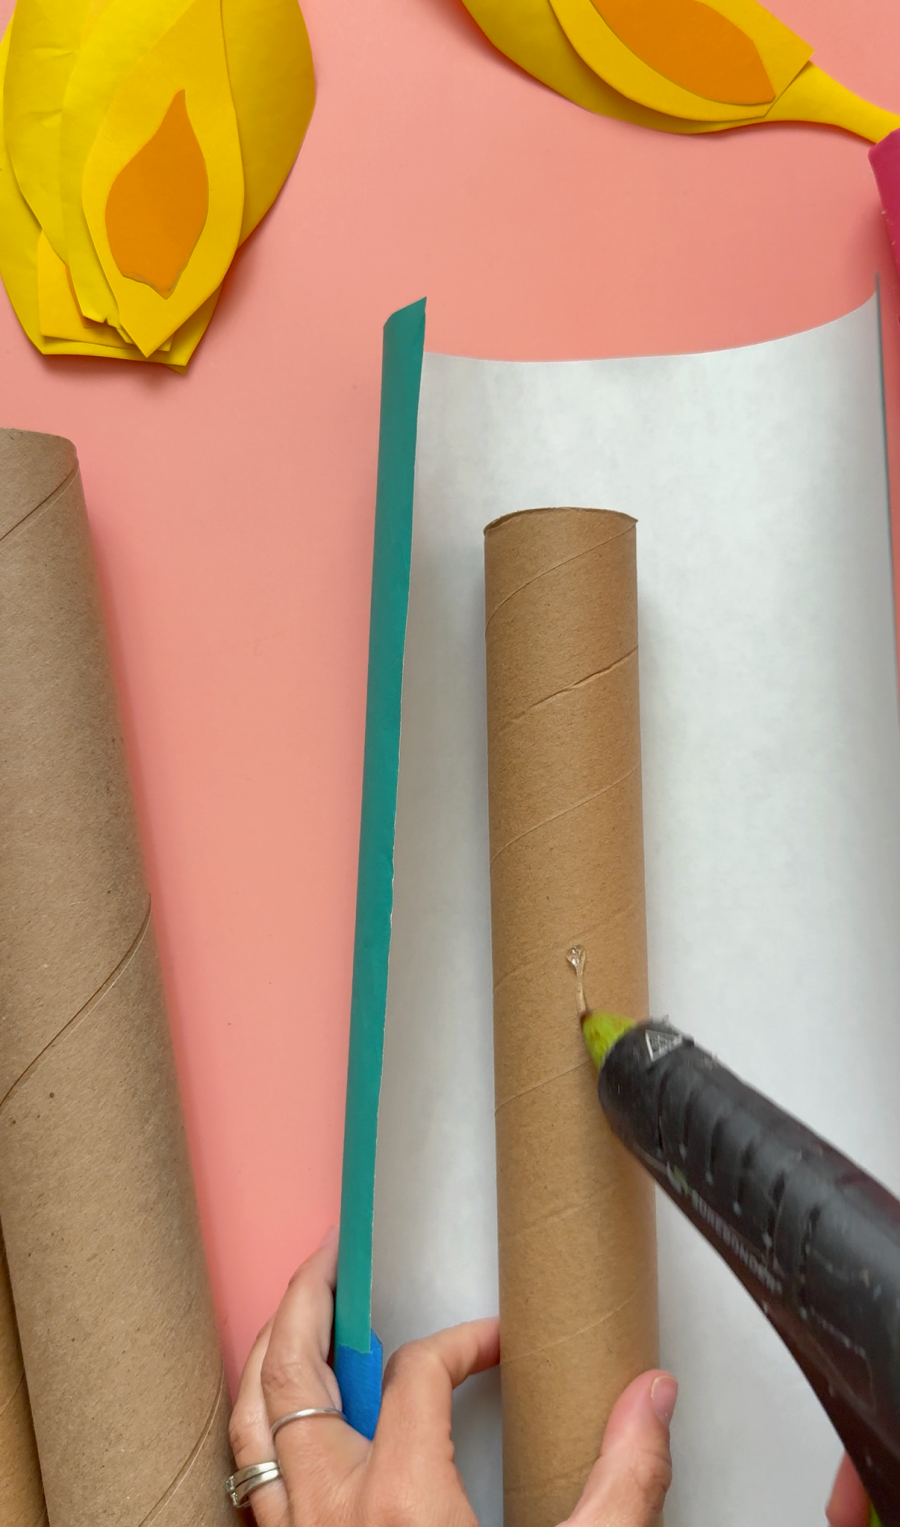
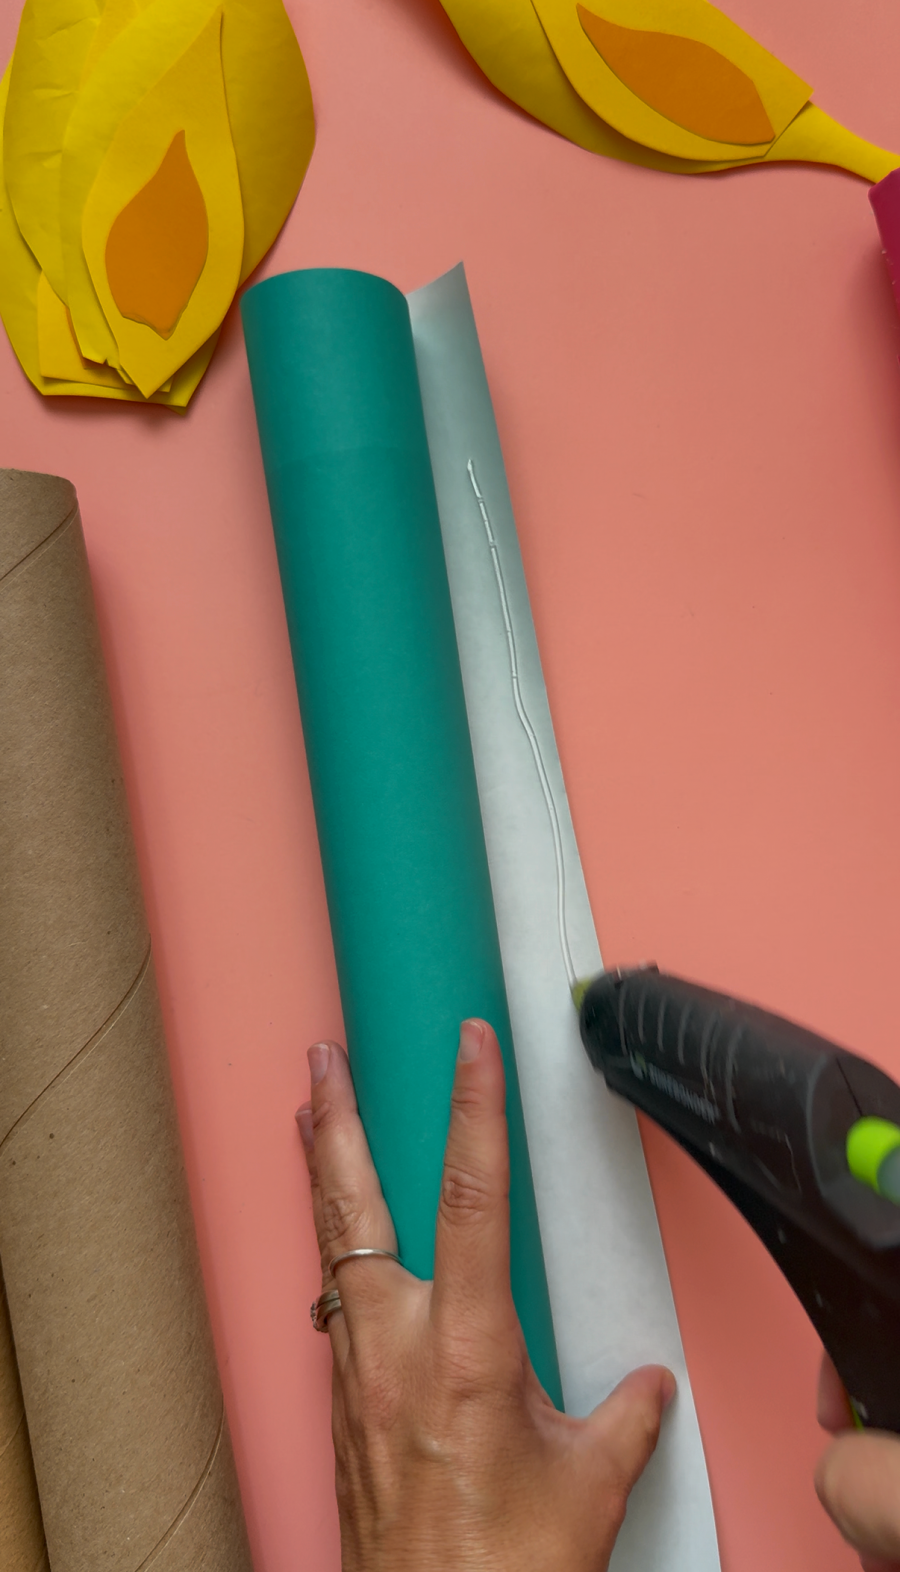
Decorate each candle with:
- Stripes
- Polka dots
- Swirls
- Glitter paper
- Washi tape
Cut layered flame shapes from yellow and orange cardstock and glue them to the tops.
These oversized candles instantly become the focal point of the display.
I couldn’t get a stapler through the cardboard so I just hot glued them to the board.
Step 3: Add a Dry Erase Birthday List
I found this large notebook paper magnet that is dry erase from Hobby Lobby. I was orginally going to create a poster board to look like a piece of notebook paper and cover it with the laminate that I used on my calendar board.
Each month simply write:
- Student names
- Birthday dates
- Classroom celebrations
When the month ends, erase and start fresh.
Tips for Making Reusable Bulletin Boards
To make your bulletin boards last for years:
- Laminate everything possible.
- Use removable adhesive if changing themes.
- Keep extra dry erase markers nearby.
- Store interchangeable pieces in labeled envelopes.
- Wipe clean monthly with a microfiber cloth.
Ways to Use These Bulletin Boards
These displays work in:
- Kindergarten classrooms
- Preschool
- First grade
- Second grade
- Third grade
- Homeschool classrooms
- Library learning spaces
- Daycare classrooms
They’re also perfect for teacher teams who want matching classroom décor.
Frequently Asked Questions
Can I make a bulletin board dry erase?
Yes! Simply laminate your pieces or cover the entire board with clear plastic bulletin board film. Then use dry erase markers to write directly on the surface.
What markers should I use?
Standard dry erase markers work best. Avoid permanent markers unless you’re intentionally creating permanent labels.
How do I clean the board?
A microfiber cloth removes most writing. For stubborn marks, use a small amount of dry erase board cleaner or rubbing alcohol.
More Classroom Bulletin Board Ideas
If you love reusable classroom décor, you might also enjoy creating:
- Seasonal classroom calendars
- Classroom job charts
- Reading trackers
- Goal-setting boards
- Attendance displays
- Classroom affirmation boards
- Weather stations
Save for later
Too busy to get crafting today? No problem! Pin this post to remind yourself about this project later! Sharing my projects helps me reach more people, allowing me to continue sharing free content!
Final Thoughts
A beautiful classroom doesn’t have to take hours to maintain. These DIY dry erase bulletin boards combine colorful classroom décor with practical organization, making them perfect for busy teachers.
The reusable calendar bulletin board helps keep students on schedule, while the birthday bulletin board makes celebrating each child simple and fun. Best of all, both displays can be updated in minutes with a dry erase marker, saving time all school year long.
Leave a Reply