
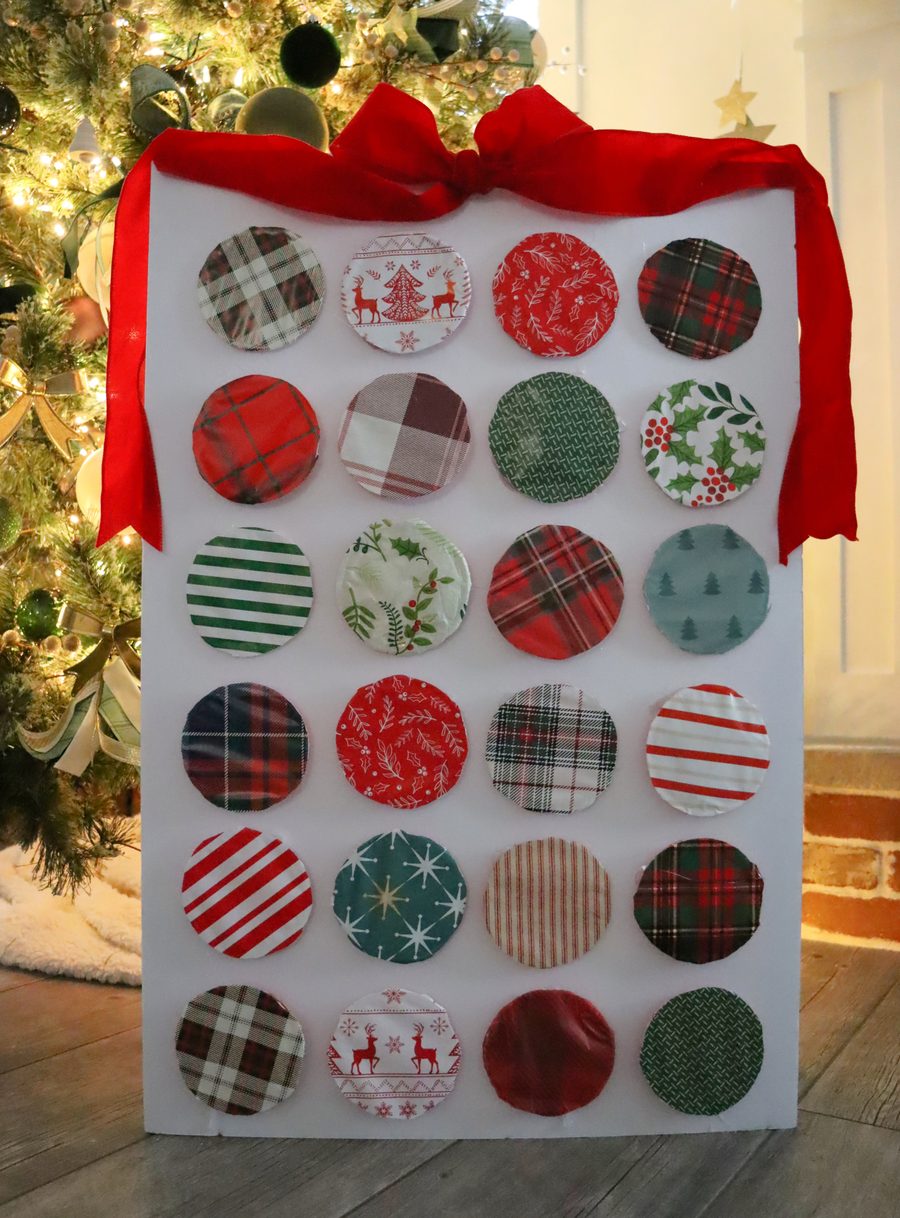
Looking for a fun and easy way to count down to Christmas? This DIY Christmas Advent Calendar is made with cups, Christmas wrapping paper, and a few little surprises! Each cup holds a small treat or present, and every day you get to punch through the wrapping paper to reveal what’s hiding inside.
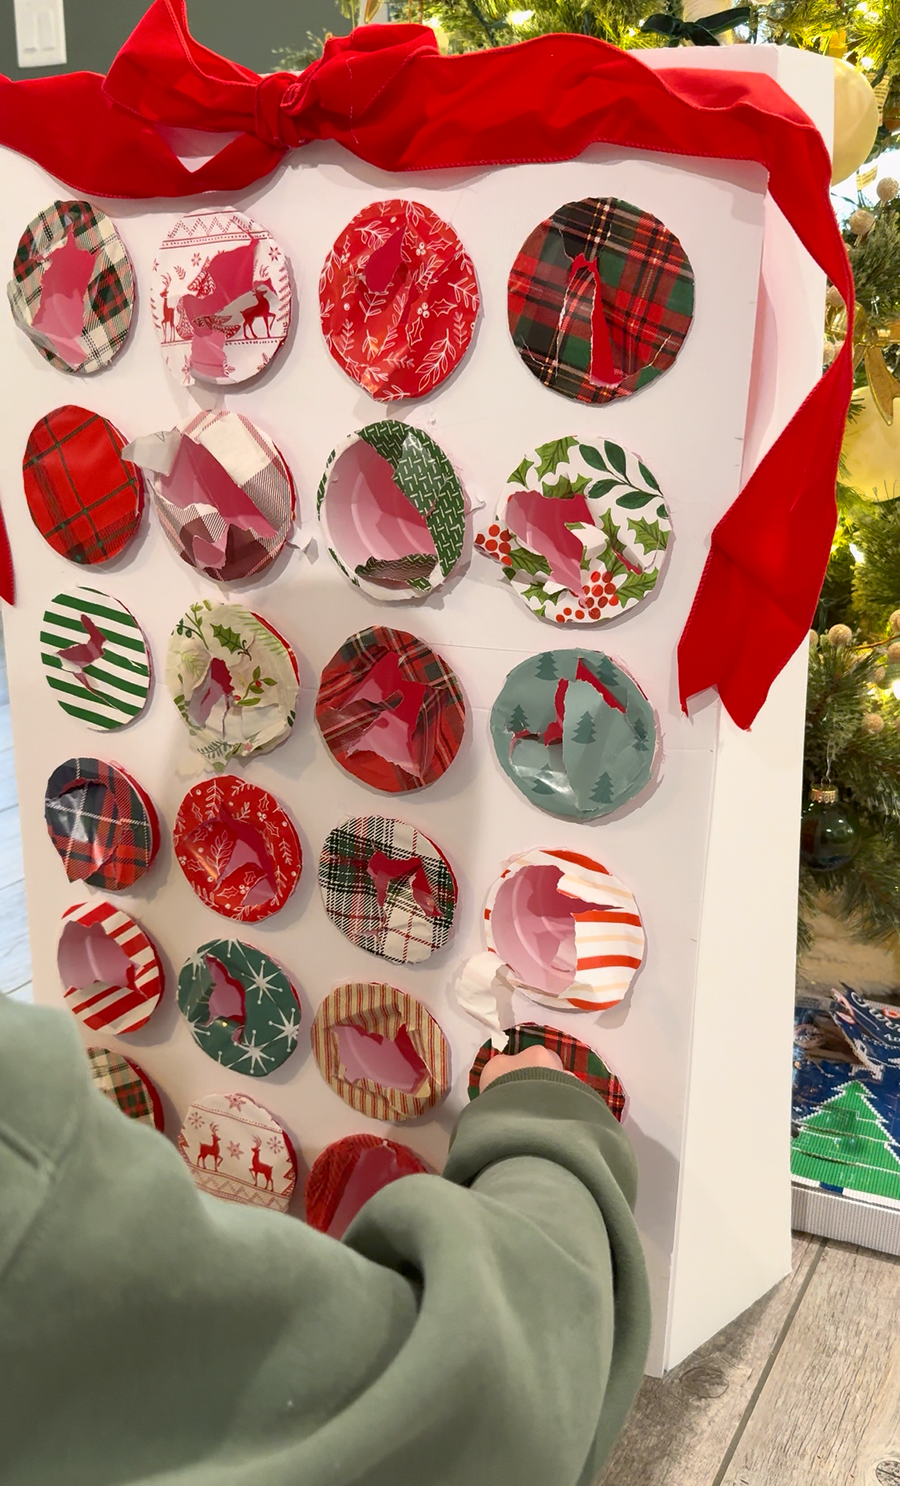
I love how this Christmas advent calendar turned out! You can mix and match your favorite wrapping paper patterns to make it colorful, classic, or match your Christmas decorations. It’s also a fun way to use up those little scraps of wrapping paper you have leftover from wrapping presents.
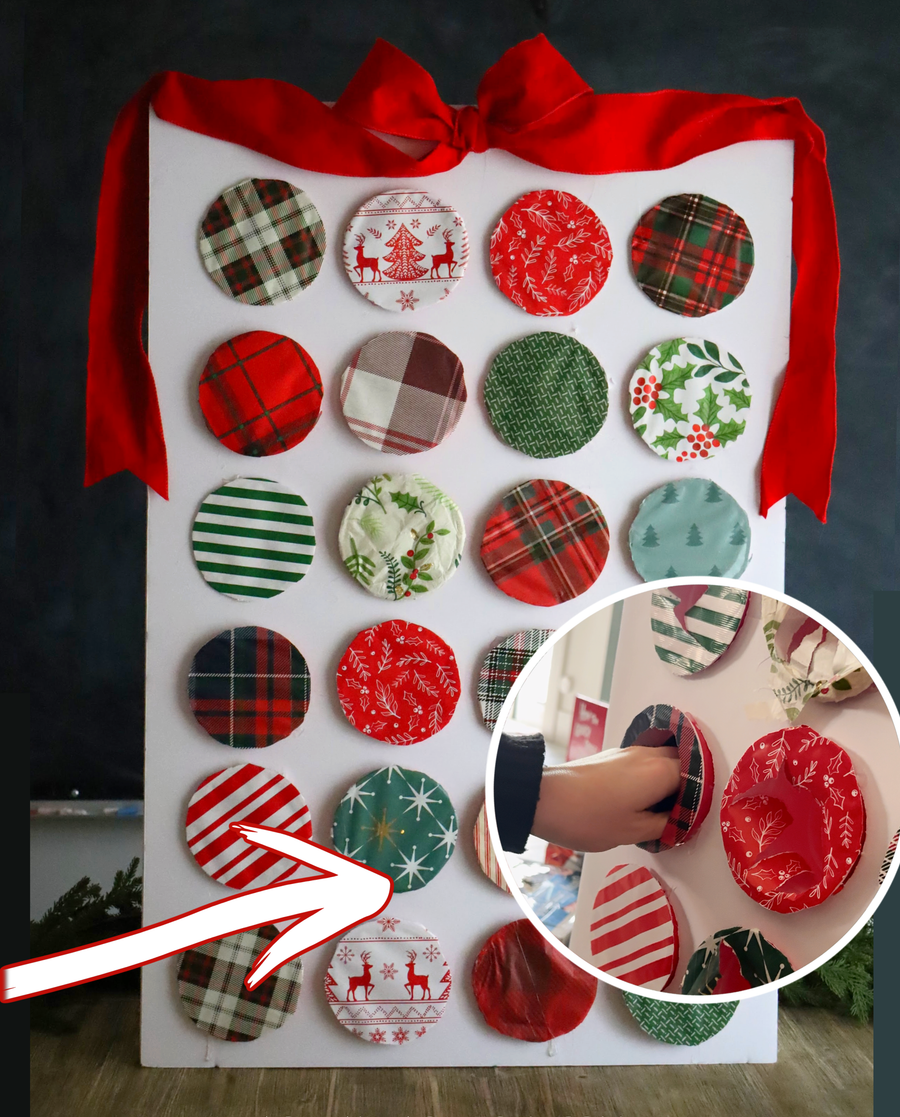
The best part? You don’t need fancy supplies or a lot of crafting skills to make this homemade advent calendar.
Supplies Needed for a DIY Cup Advent Calendar
- Small paper or plastic cups
- Christmas wrapping paper in different patterns
- A piece of sturdy cardboard or foam board for the backing
- Hot glue gun and glue sticks
- Utility knife
- Scissors
- Rubber bands or tape (optional, to help hold the paper in place)
- Ribbon for decorating
- Small treats, candy, toys, or tiny gifts to hide inside
How to Make a Christmas Advent Calendar with Cups
Step 1: Create your board
Start by deciding how many days you want your advent calendar to include. A traditional Christmas countdown has 24 days, but you can make yours with as many cups as you need.
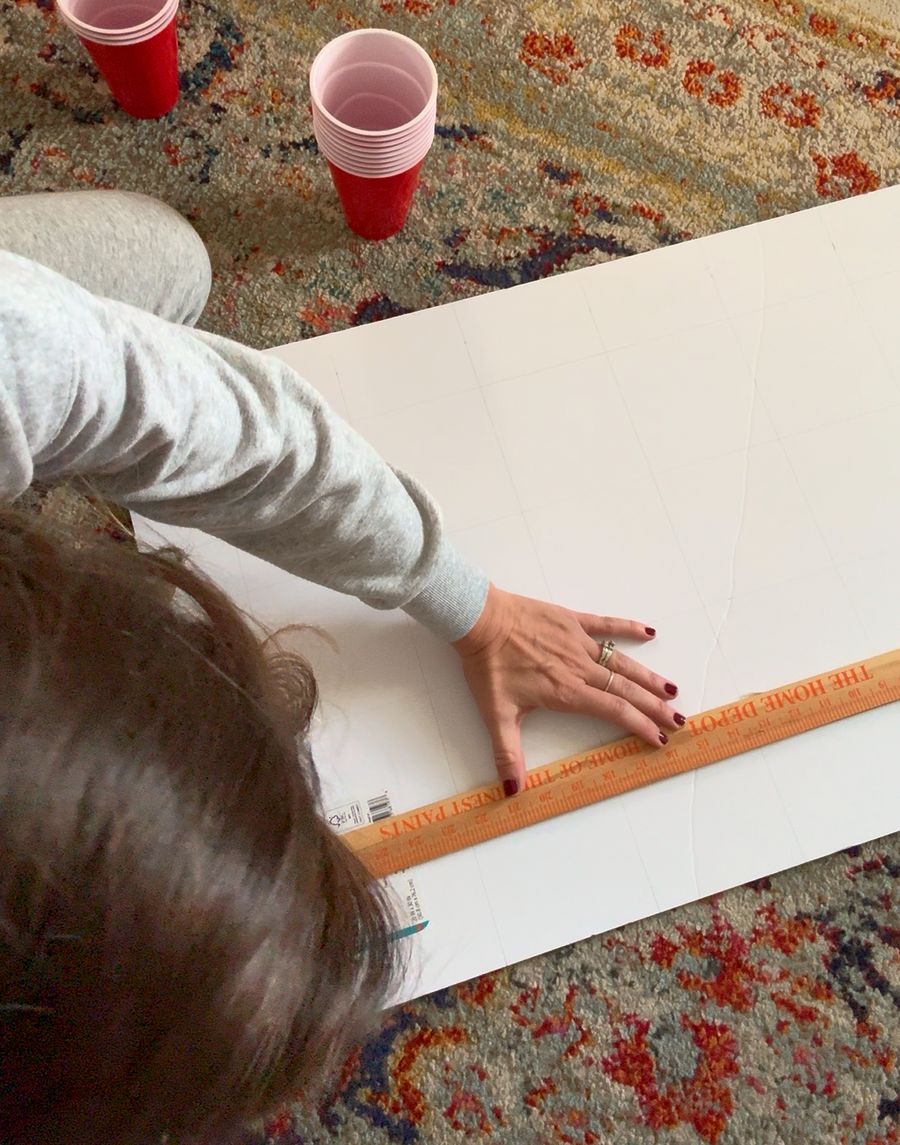
I used a yardstick to create a grid to make sure they were all spaced evenly.
Then trace around the cup. Following the grid. You can also arrange these in a Christmas tree shape.
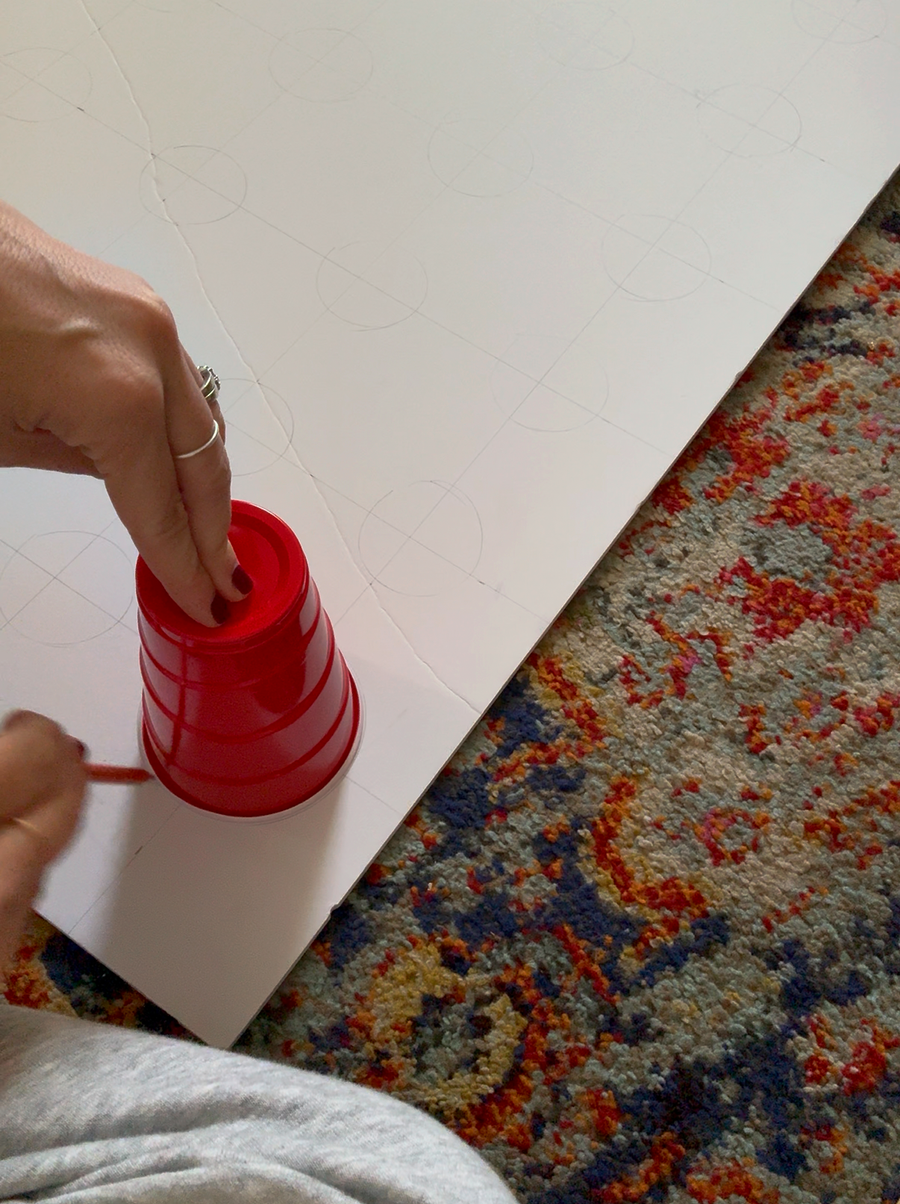
Use some scissors or utility knife and cut out each circle. I cut out a little bit inside the circle I drew since I didn’t want the cup to fall out.
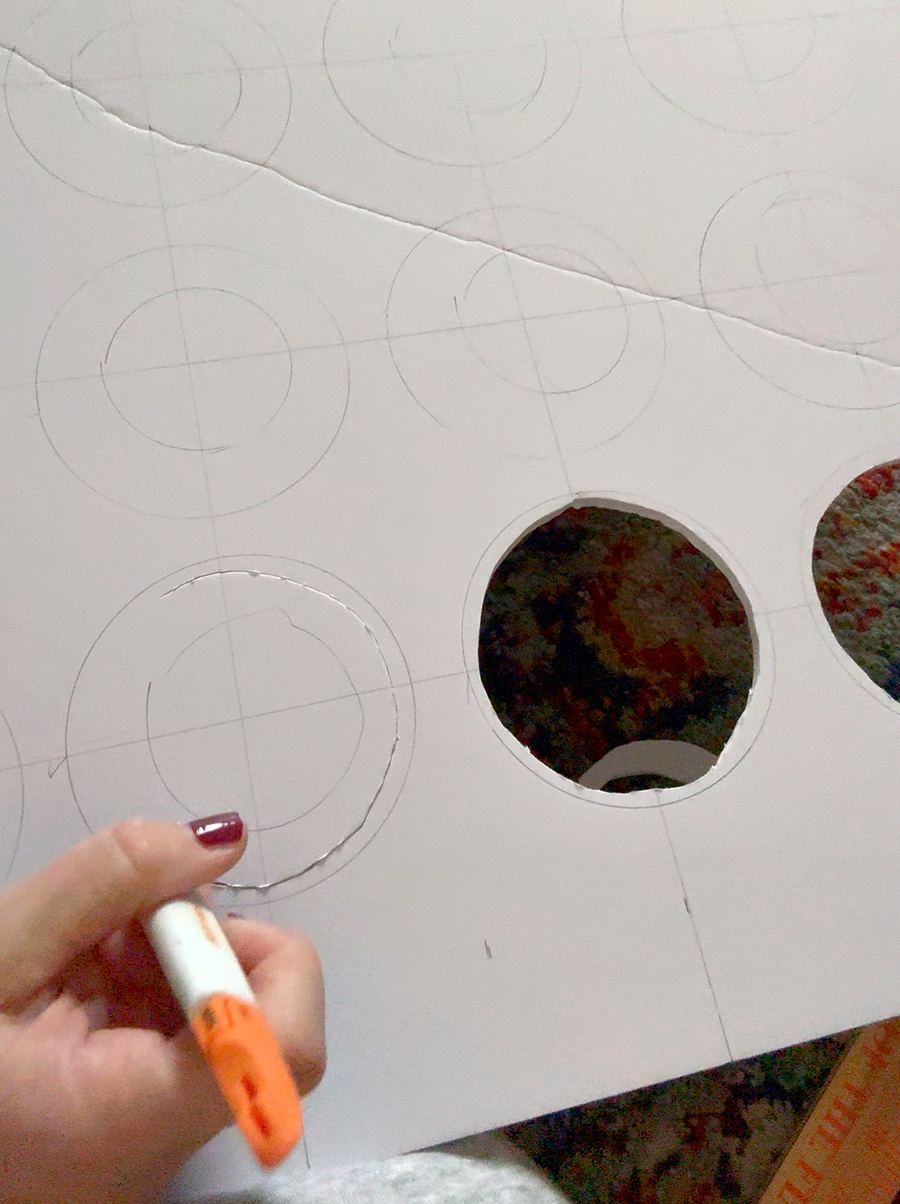
The cup will cover up any imperfections so don’t worry to much about making them perfect.
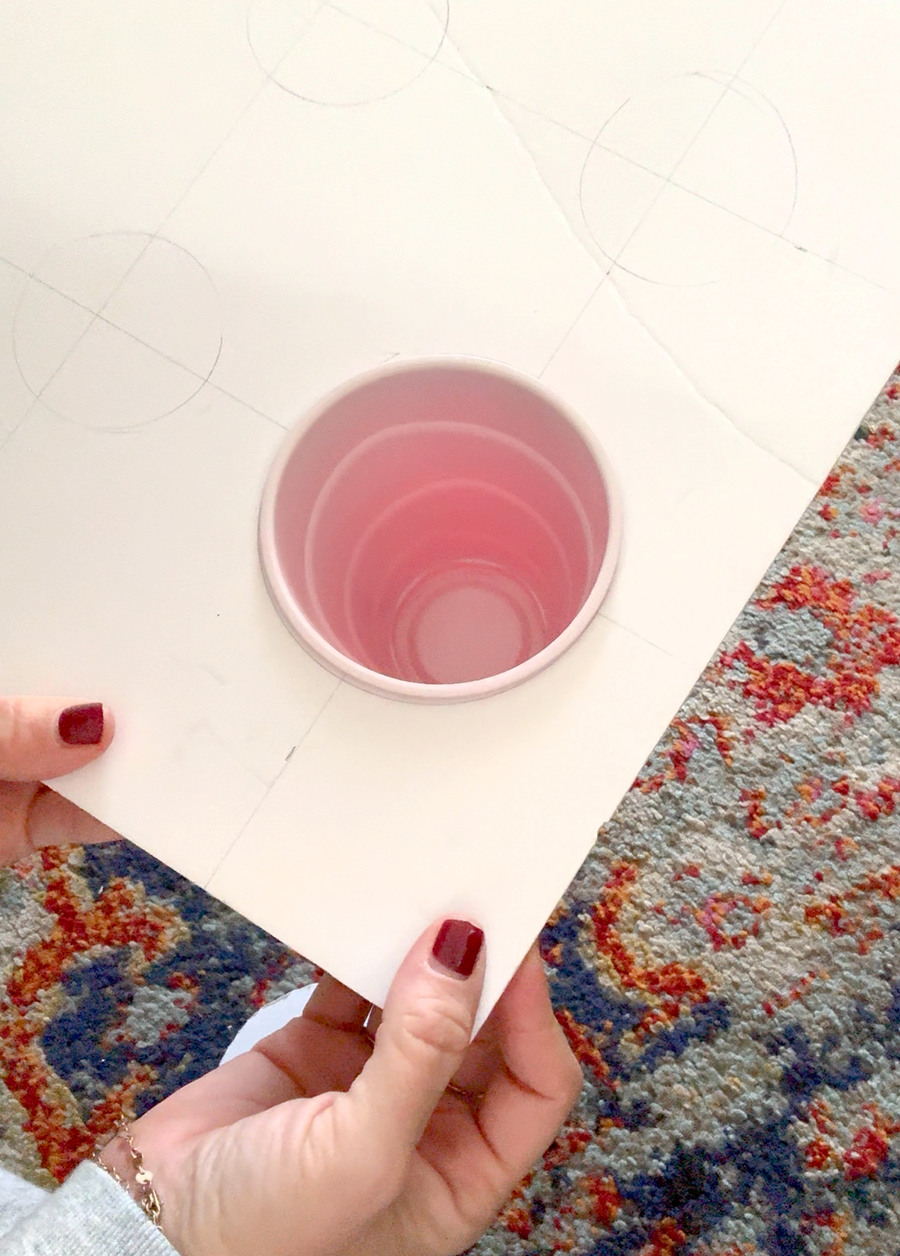
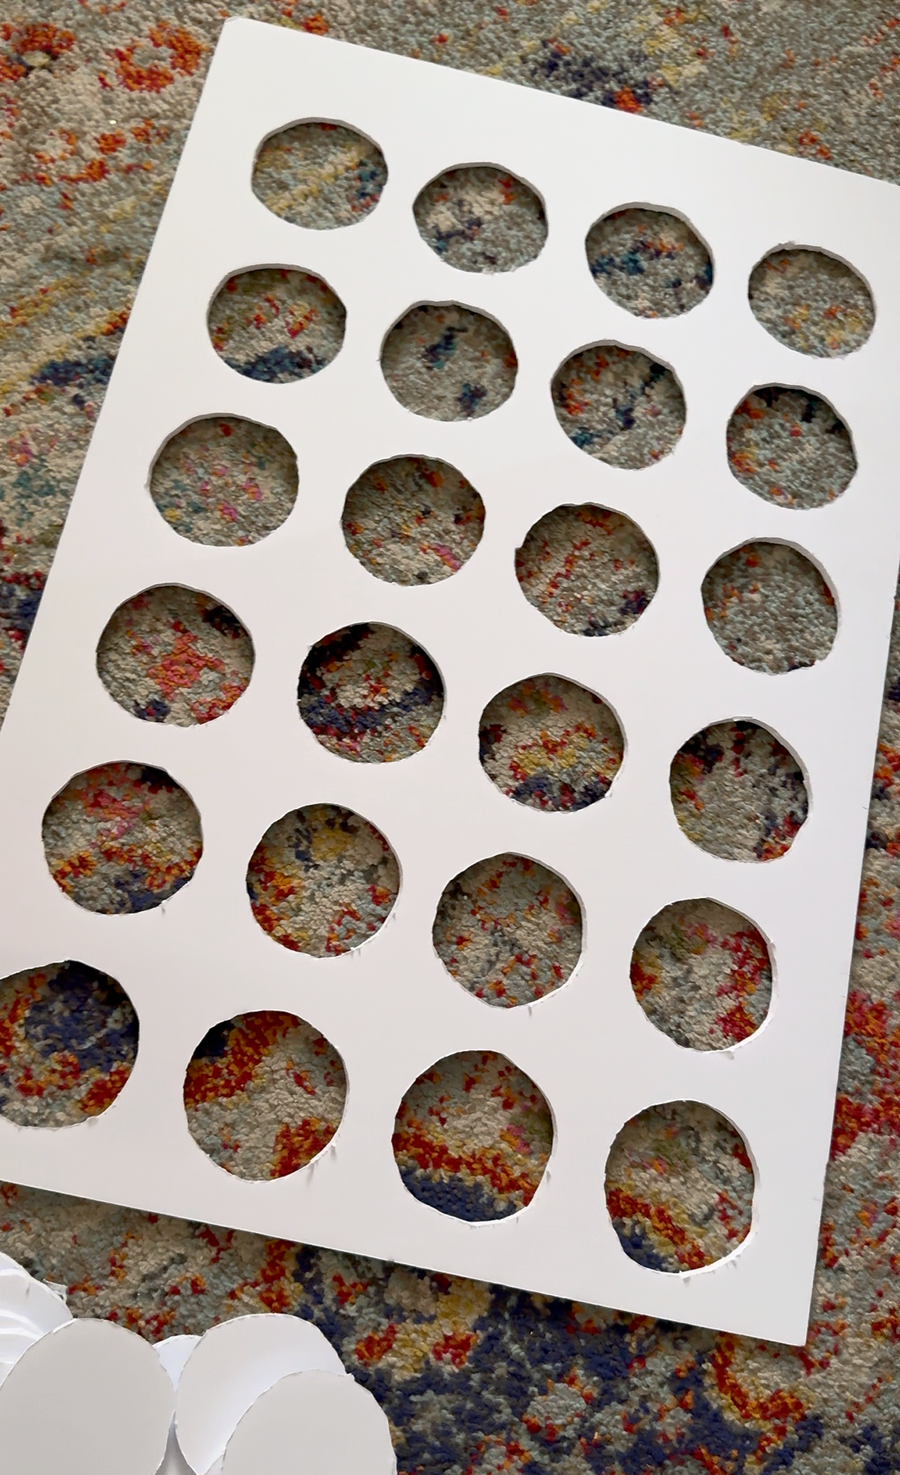
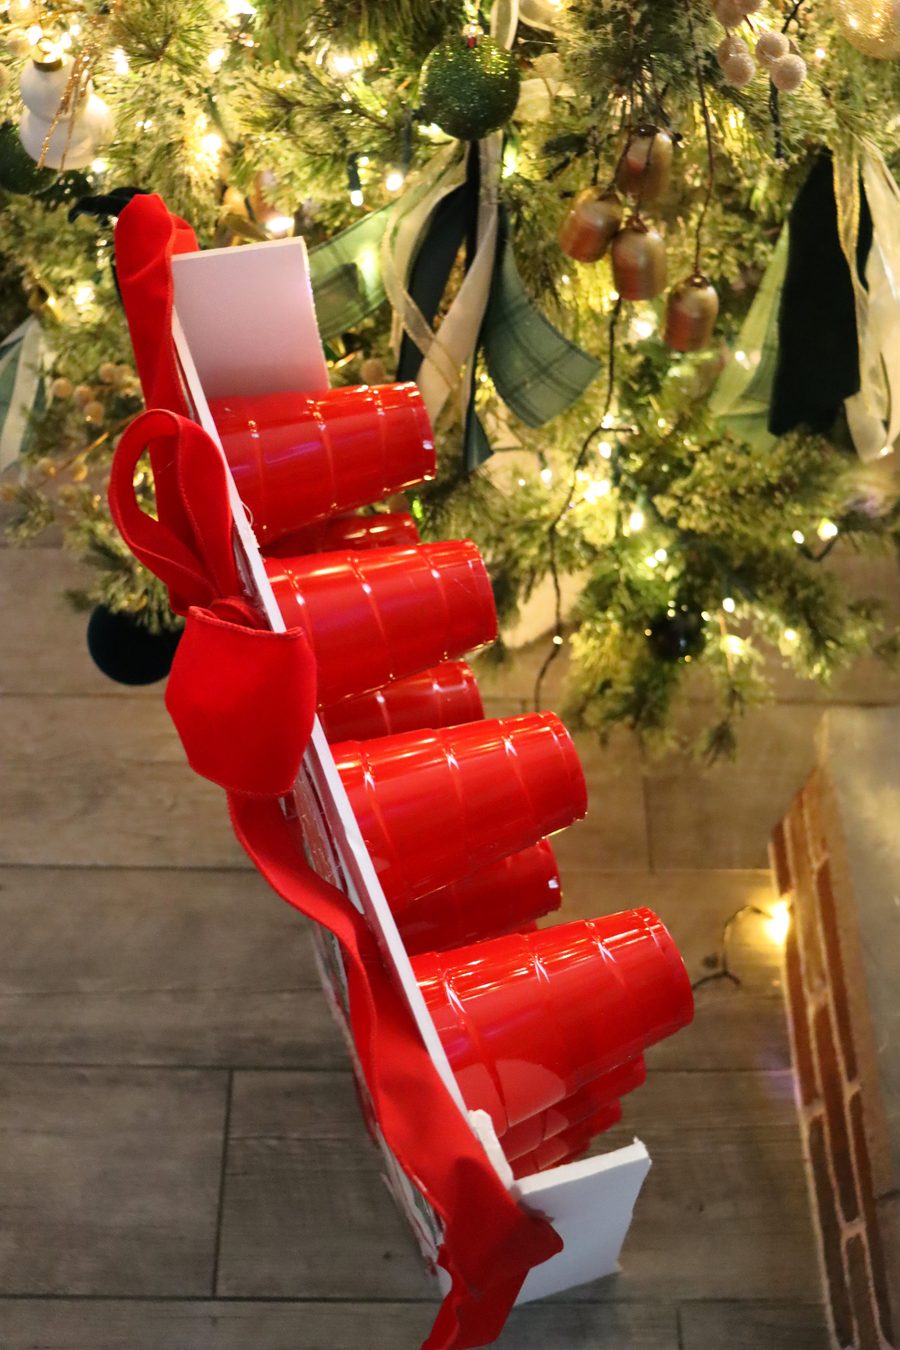
I also added some panels on the side so It could stand on it’s own.
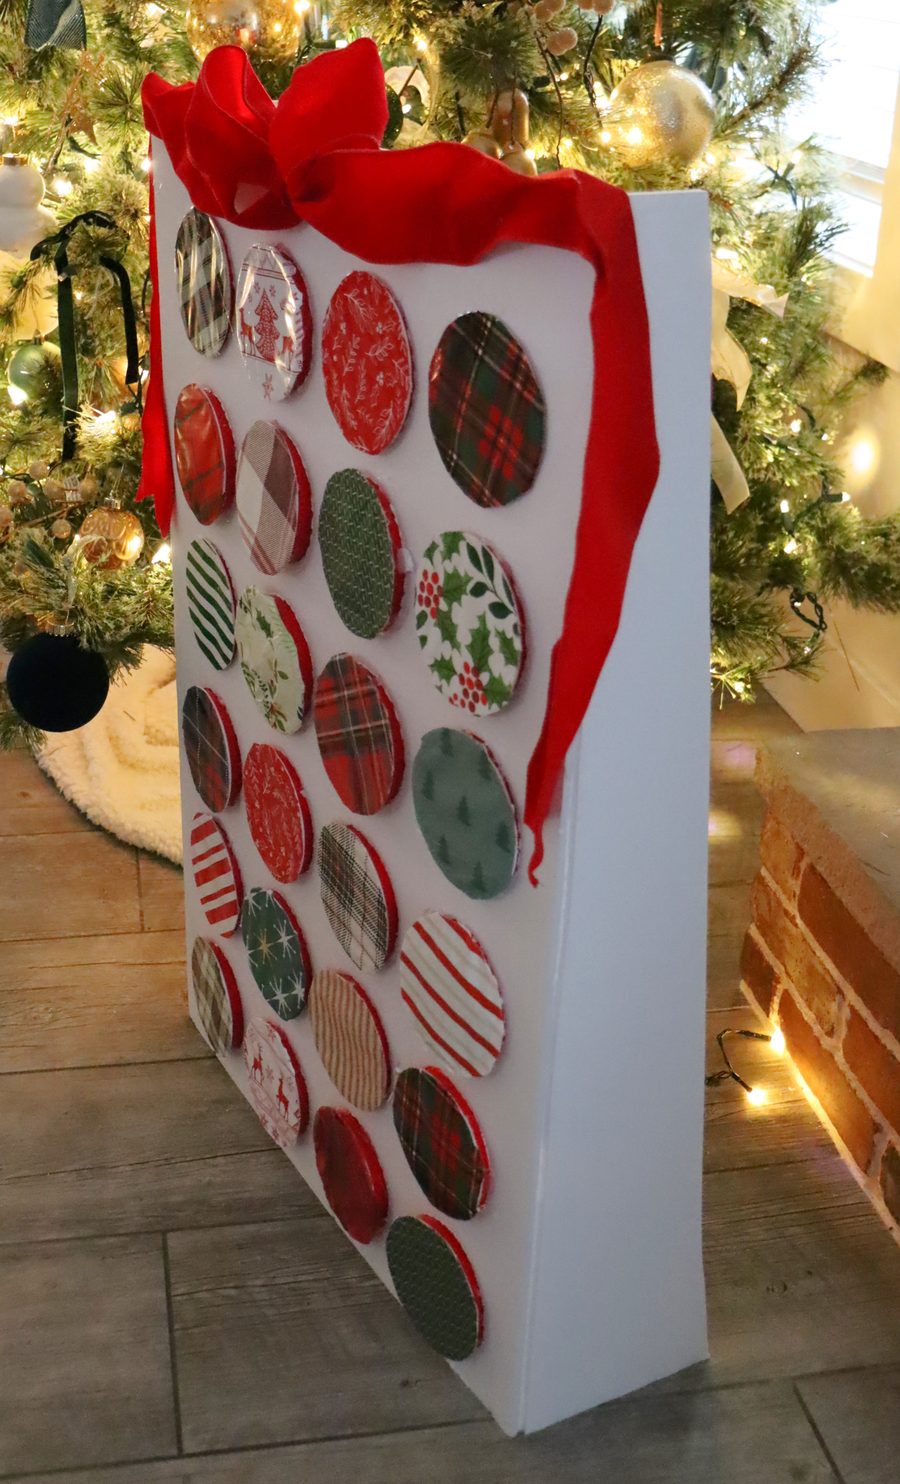
I did leave the top open- but you can enclose this. If you have a box that would fit 24 cups, you could use that like I did for my punch board!
Step 2: Add a Little Surprise
Before we cover the cups, fill each one with a small treat or present. You have to make sure to fit it into the cup. If things are too big, you could put a piece of paper inside telling where you hide the item!
You could use:
- Christmas candy
- Small fidget toys
- Stickers
- bath bombs
- jewelry
- hand sanitizer
- socks
- Mini craft supplies
- Hot chocolate packets
- Coupons for a movie night or baking cookies together
- lotions
- chapstick
- car air fresheners (if they drive)
- keychain
Of course you can gear this for each individual. My daughter loves baking- so she got an apron. I also bought a pack of 6 cute socks and split them up.
You can make every day a surprise or add a little Christmas activity for the whole family to enjoy. I have a list of Christmas movies or Christmas activites that you can cut up and put inside!
Step 3: Cover the Cups with Christmas Wrapping Paper
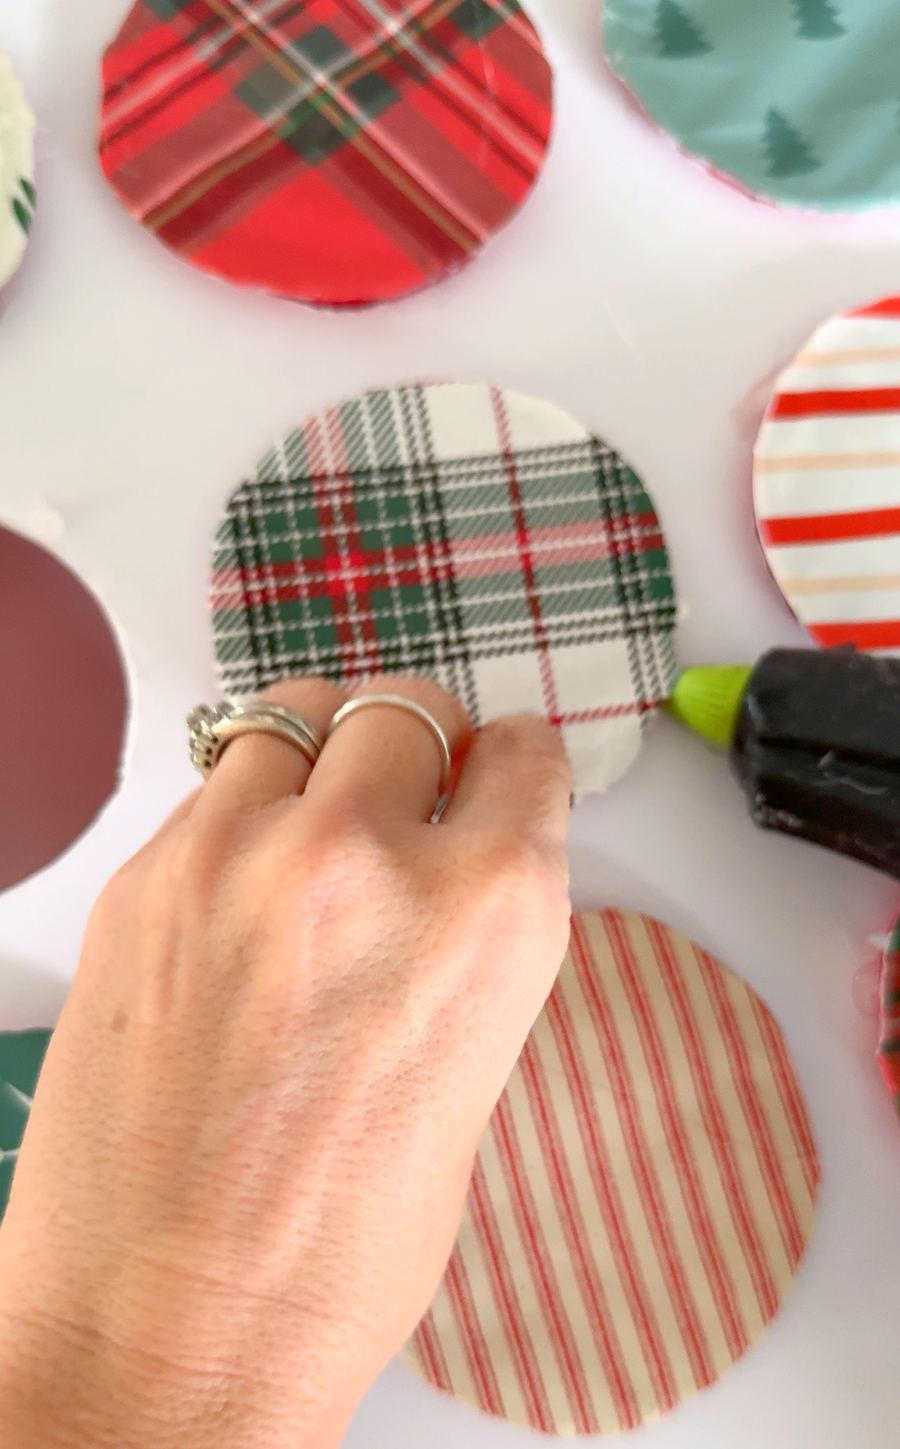
Cut pieces of Christmas wrapping paper large enough to cover the opening of each cup.
Add some hot glue around the lip of the cup.
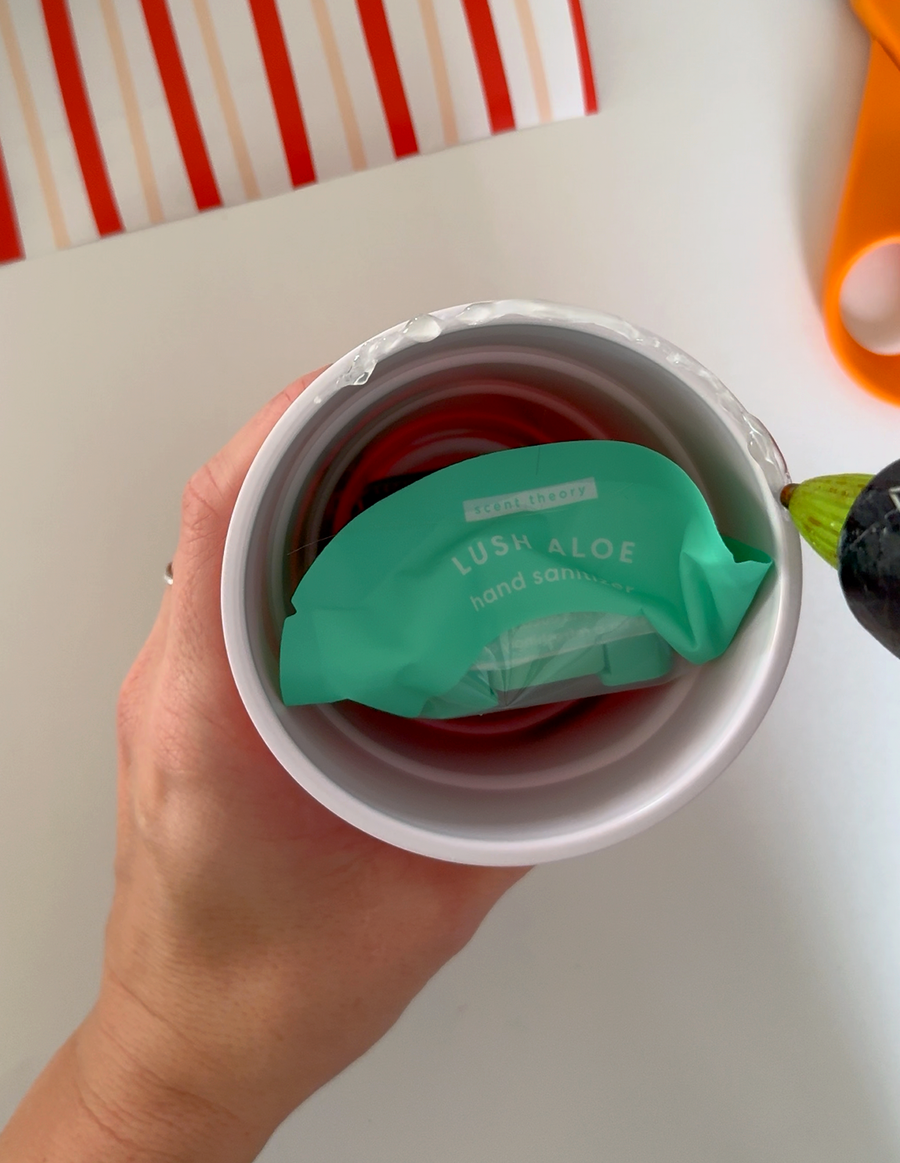
Place the wrapping paper over the cup opening and secure it around the edges. I turn it upside down and pressed it against the counter to get really nice and stuck.
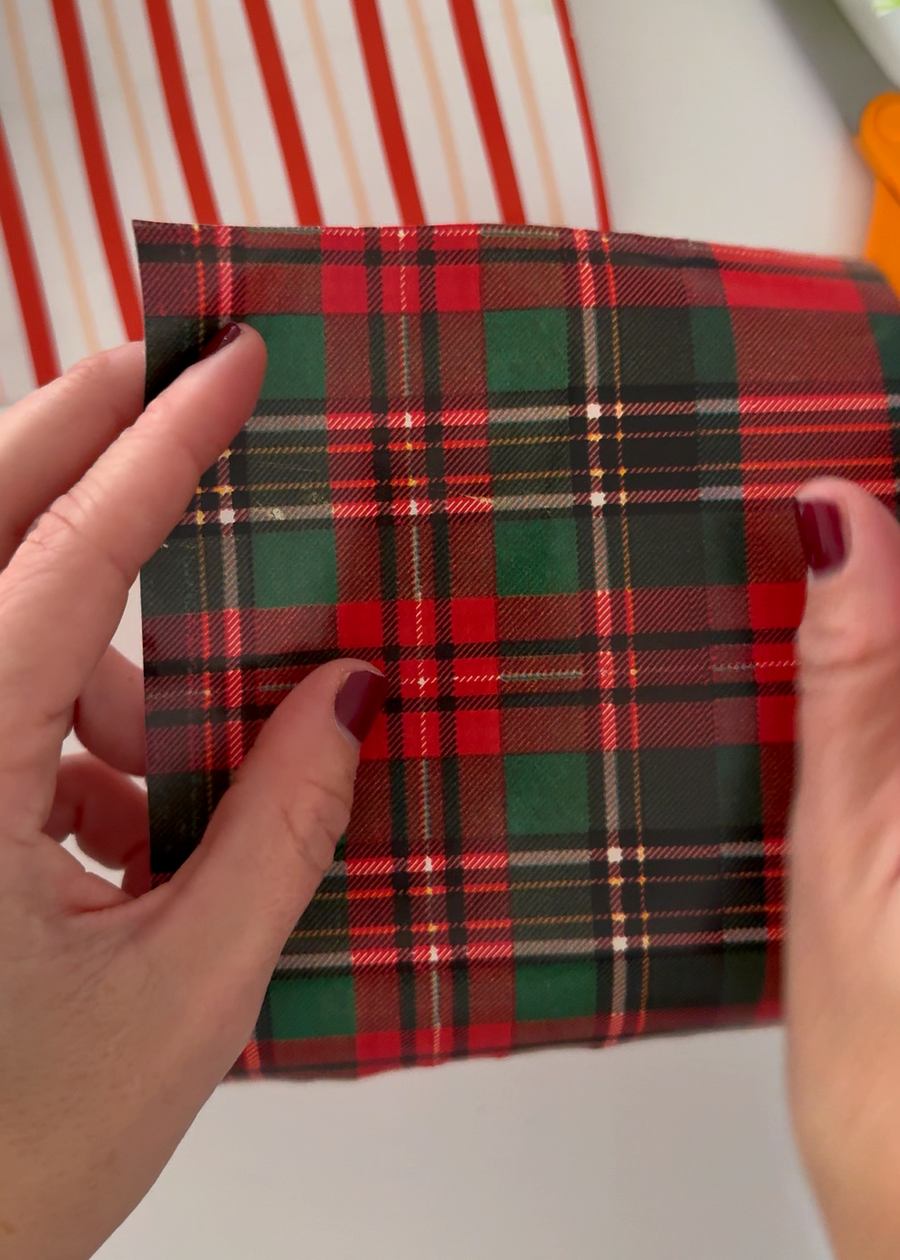
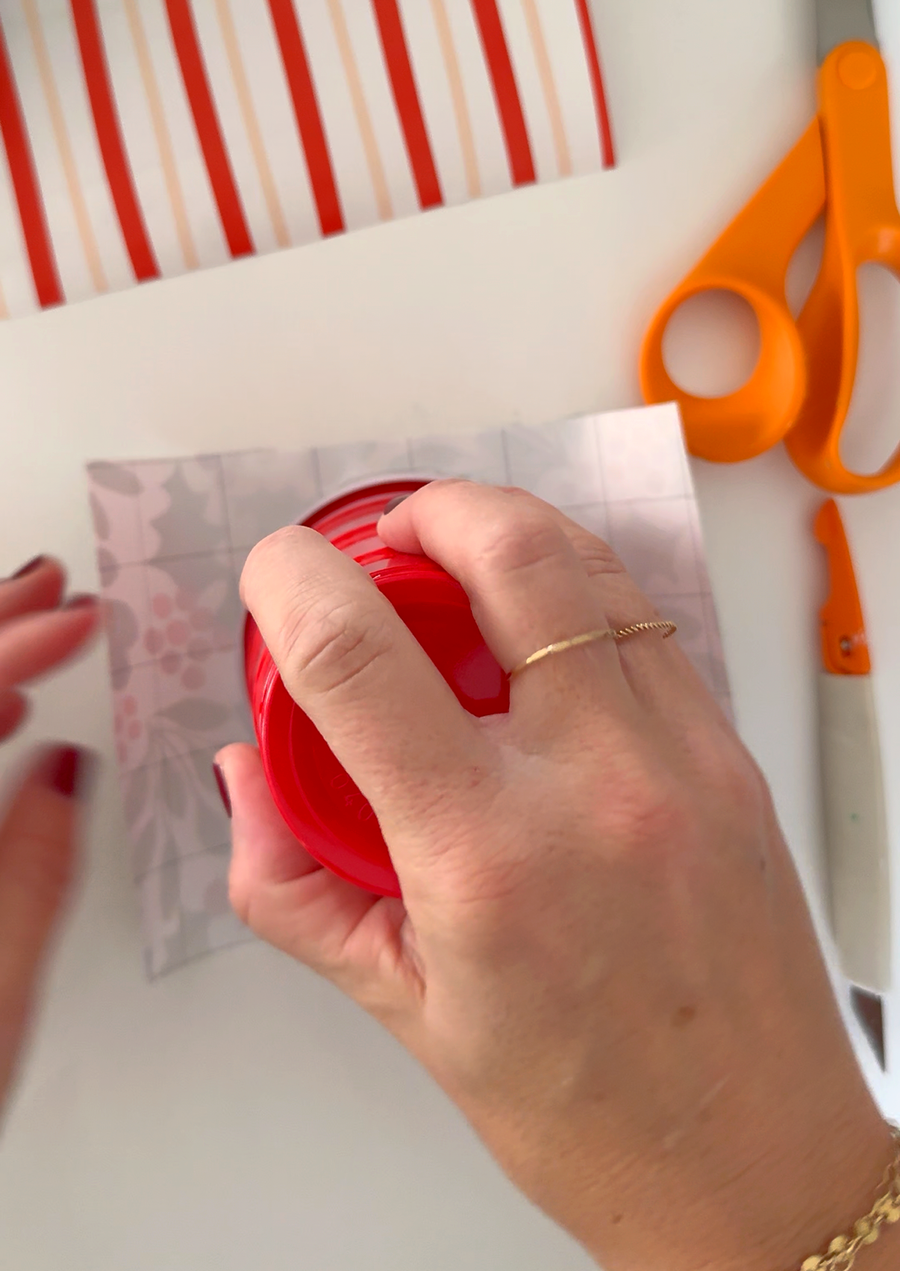
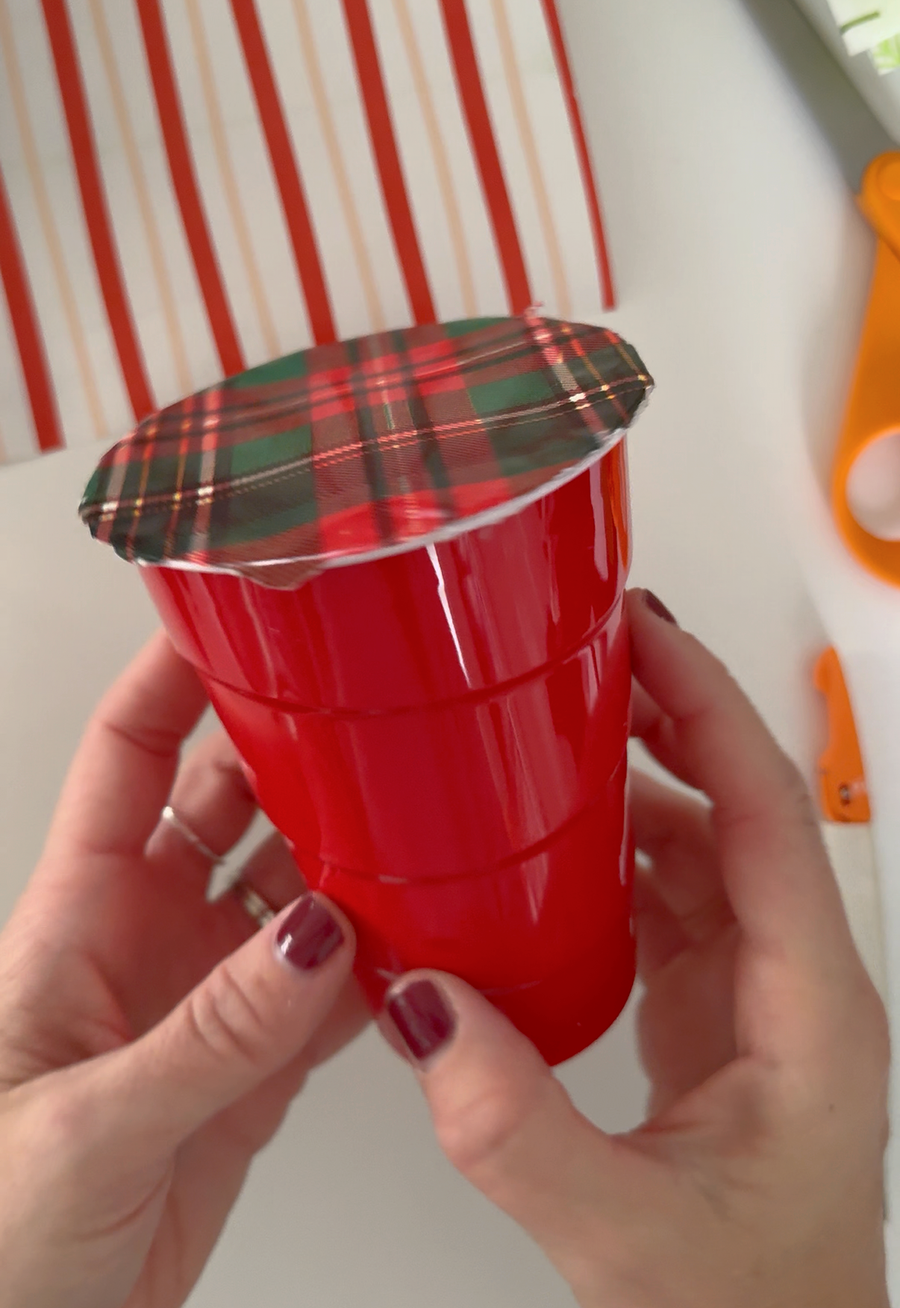
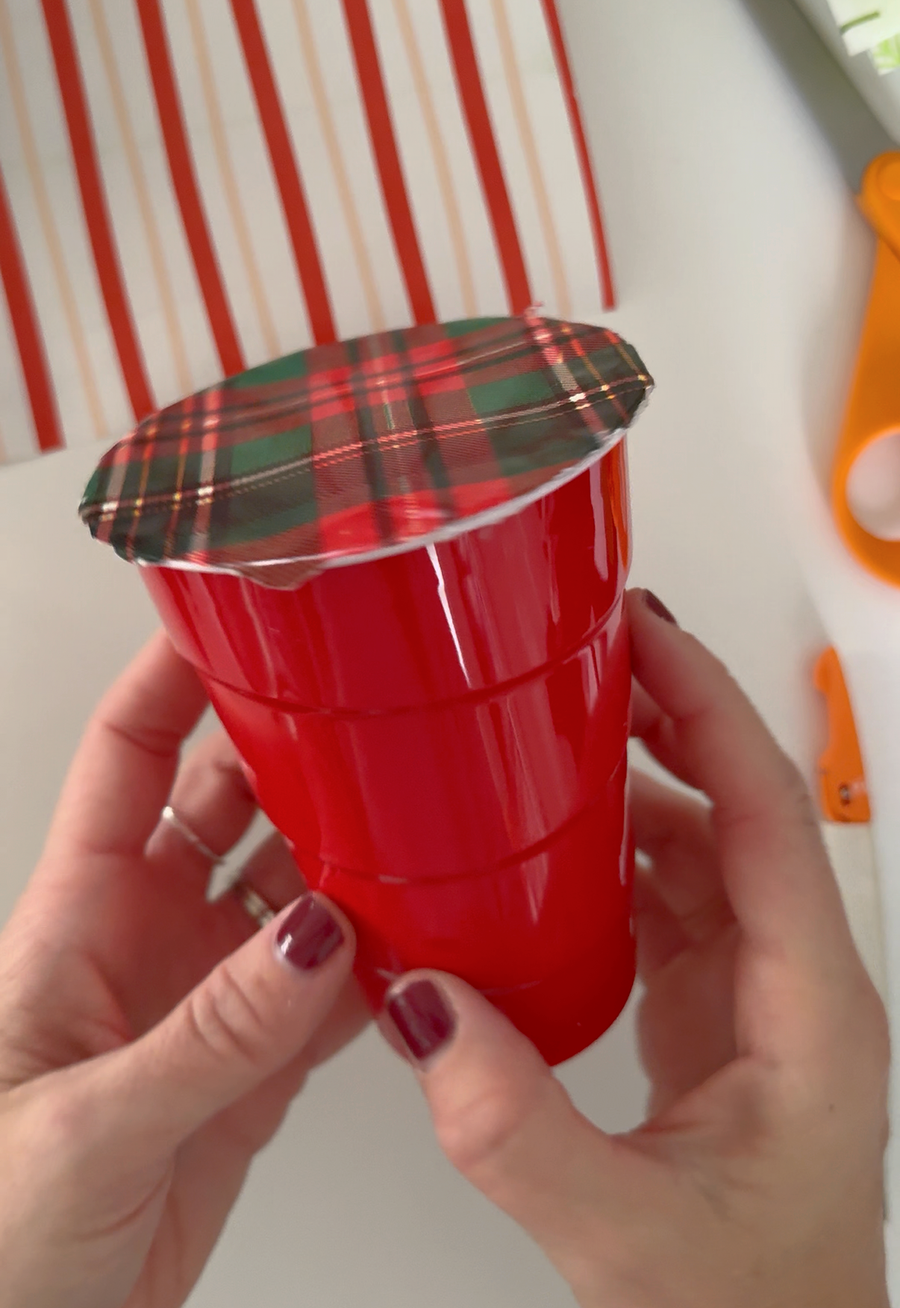
Take a utility knife and cut the excess around the wrapping paper.
Mix and match different Christmas wrapping paper patterns! I used a combination of red and green plaid, Christmas trees, stripes, holly, and other festive prints. You could even use the same wrapping paper for every cup if you want a more coordinated look.
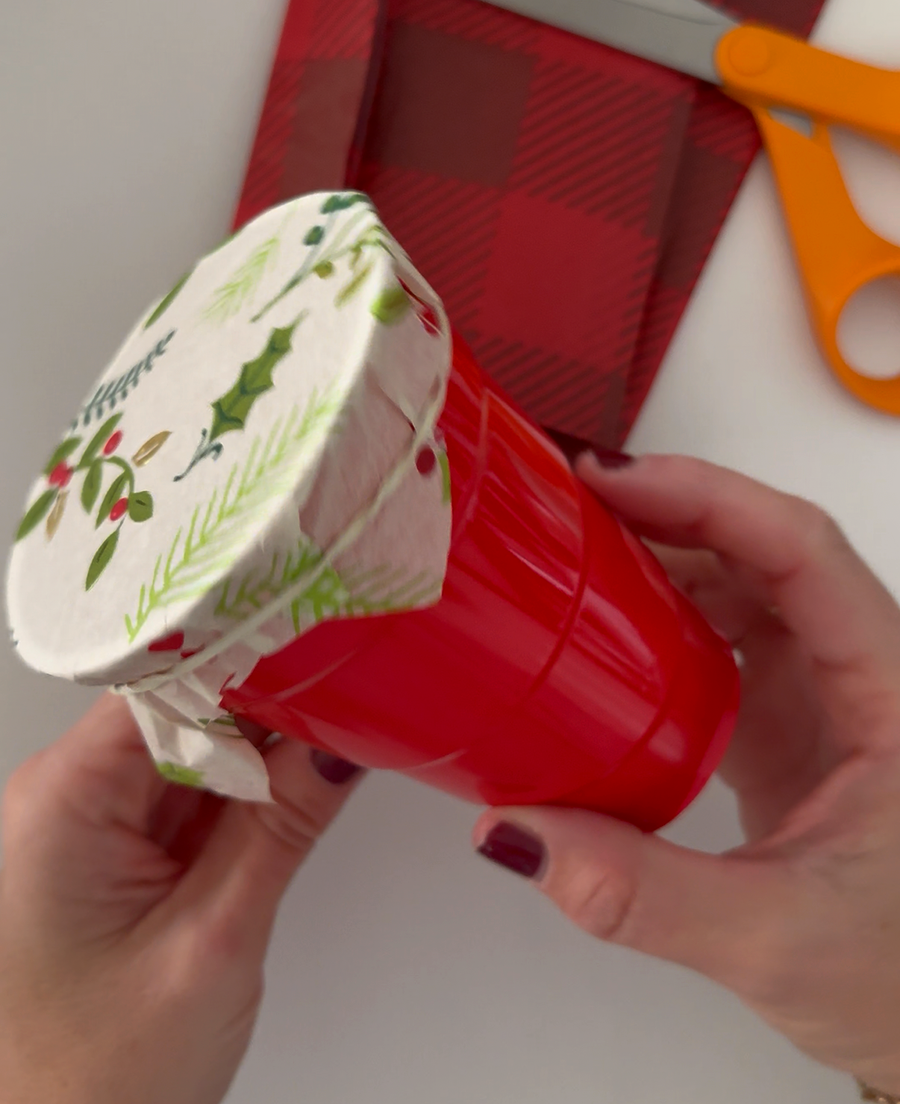
You can also go an easier route and use a piece of tissue paper and a rubber band. This does make it easier to sneak peeks though!
Step 4: Assemble Your Advent Calendar
Once all the cups are covered, place them into the holes of the board/box. Put some hot glue around the edges to keep the cups from moving or falling out.
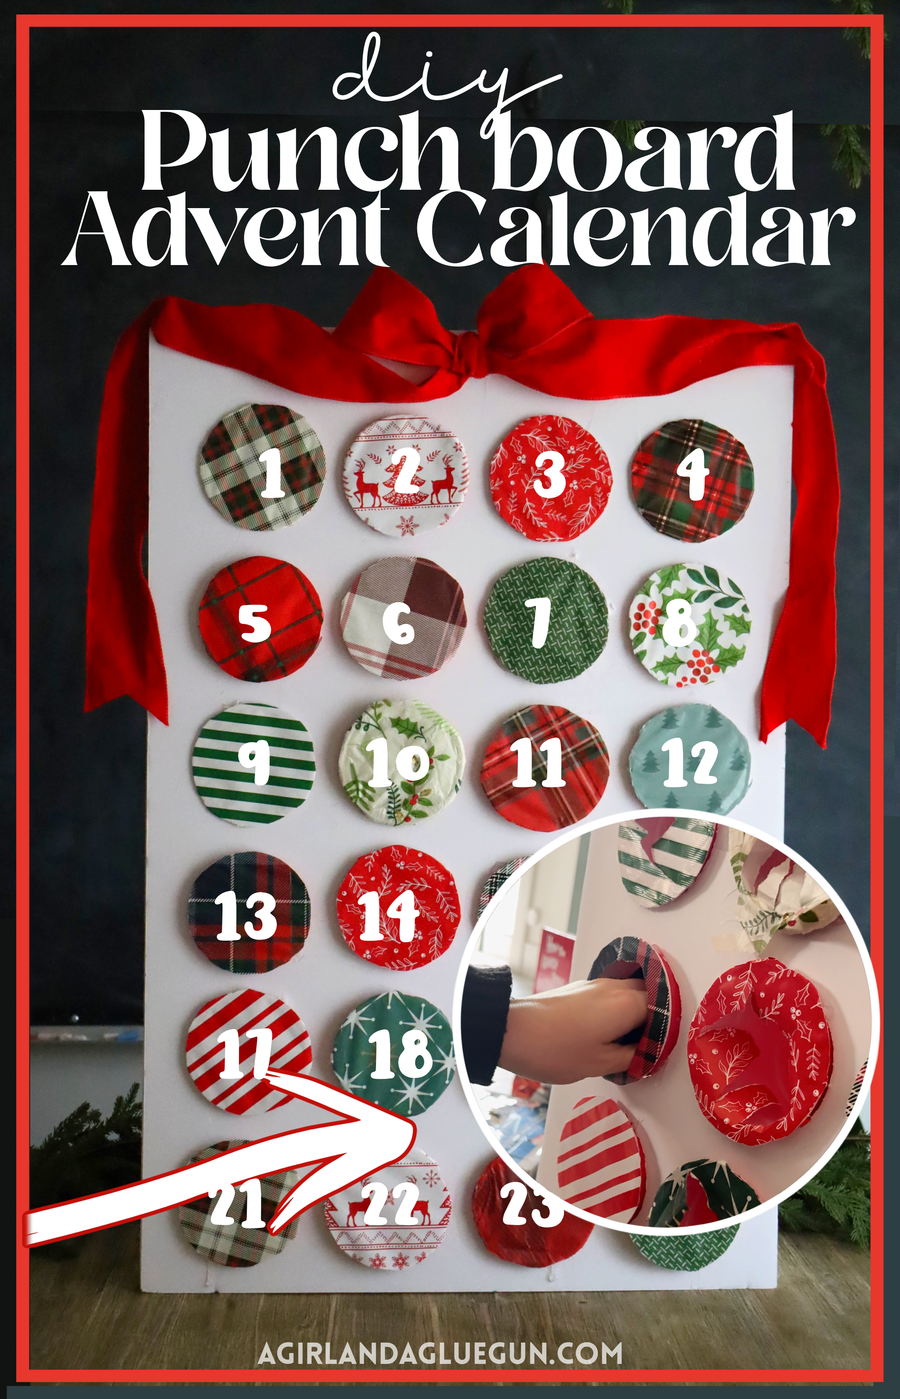
I added a big red ribbon and bow at the top to make it look like a giant Christmas present. You could also add a Christmas sign, numbers, greenery, or other decorations.
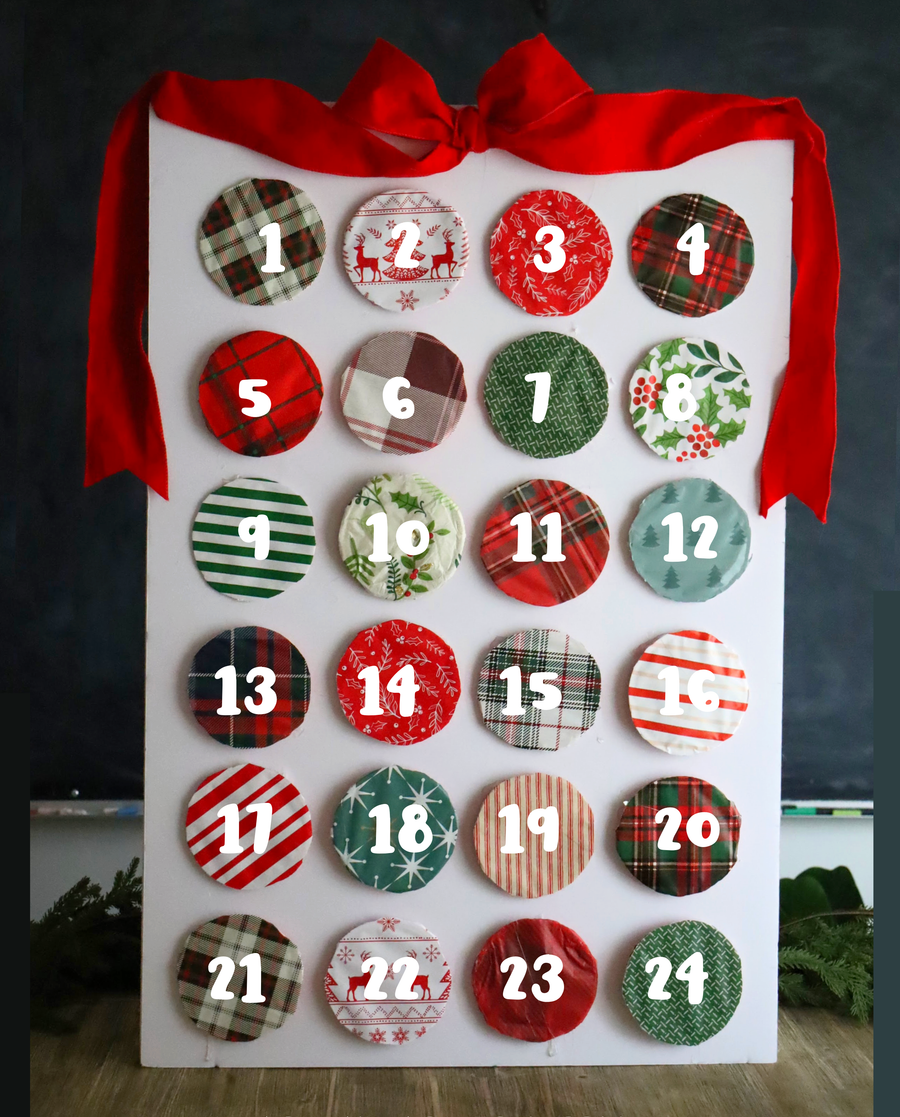
If you are making a traditional 24-day advent calendar, number each cup from 1 to 24. That way everyone knows which surprise to open each day! They have cute foam stickers at Hobby lobby you could use!
How to Use Your Christmas Advent Calendar
Now comes the fun part!
Starting on December 1st, find the cup for the day and punch through the wrapping paper to get the surprise inside. The paper tears open to reveal the treat or little gift waiting inside.
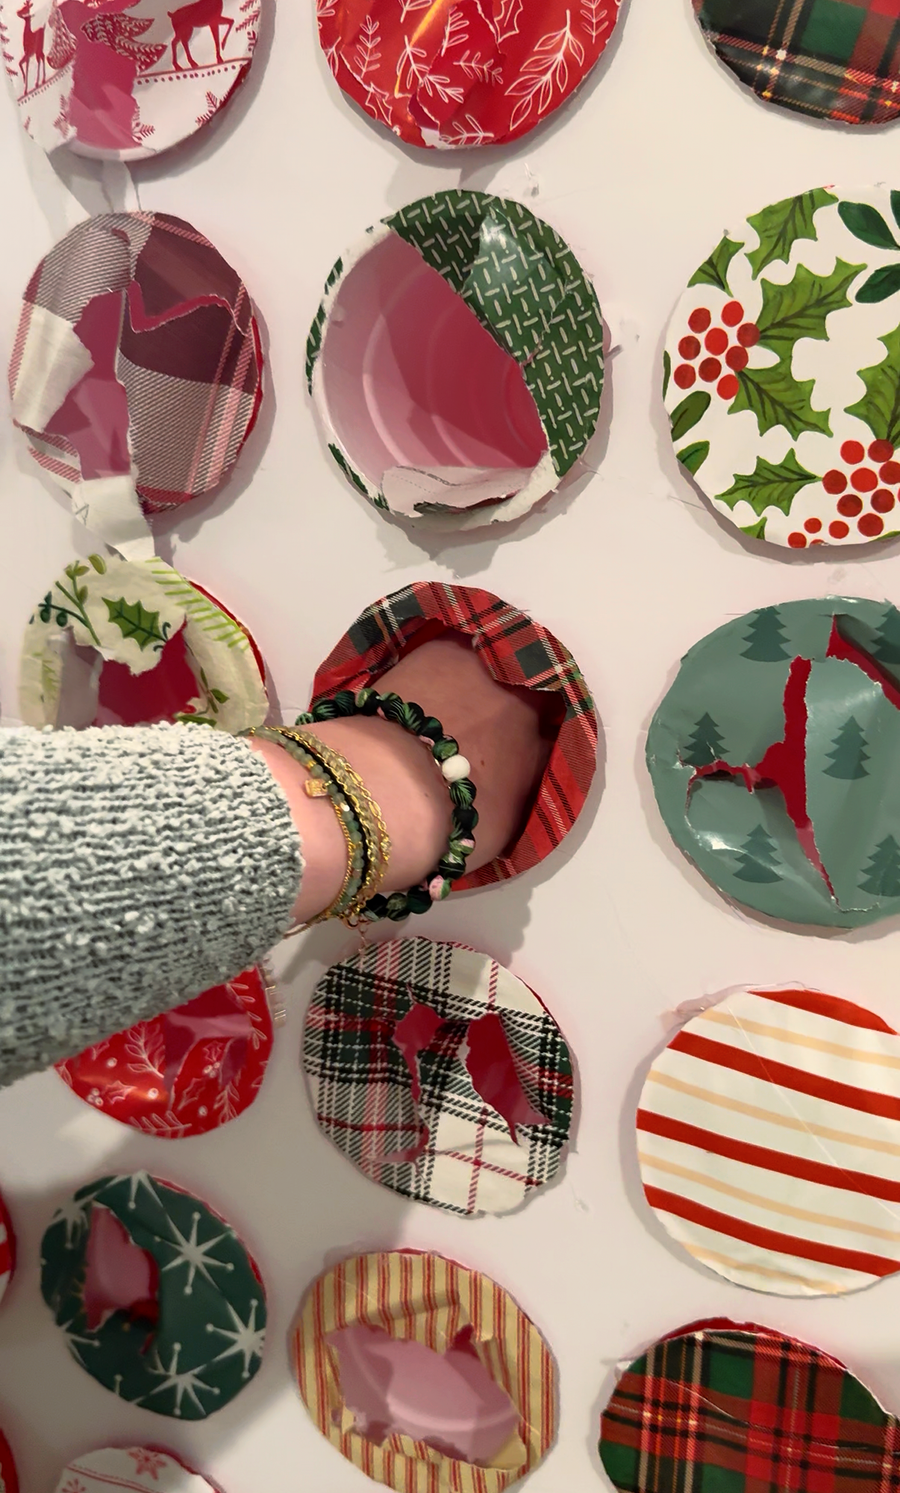
You can let kids take turns opening a cup each day, or make it part of your family’s morning or evening Christmas routine.
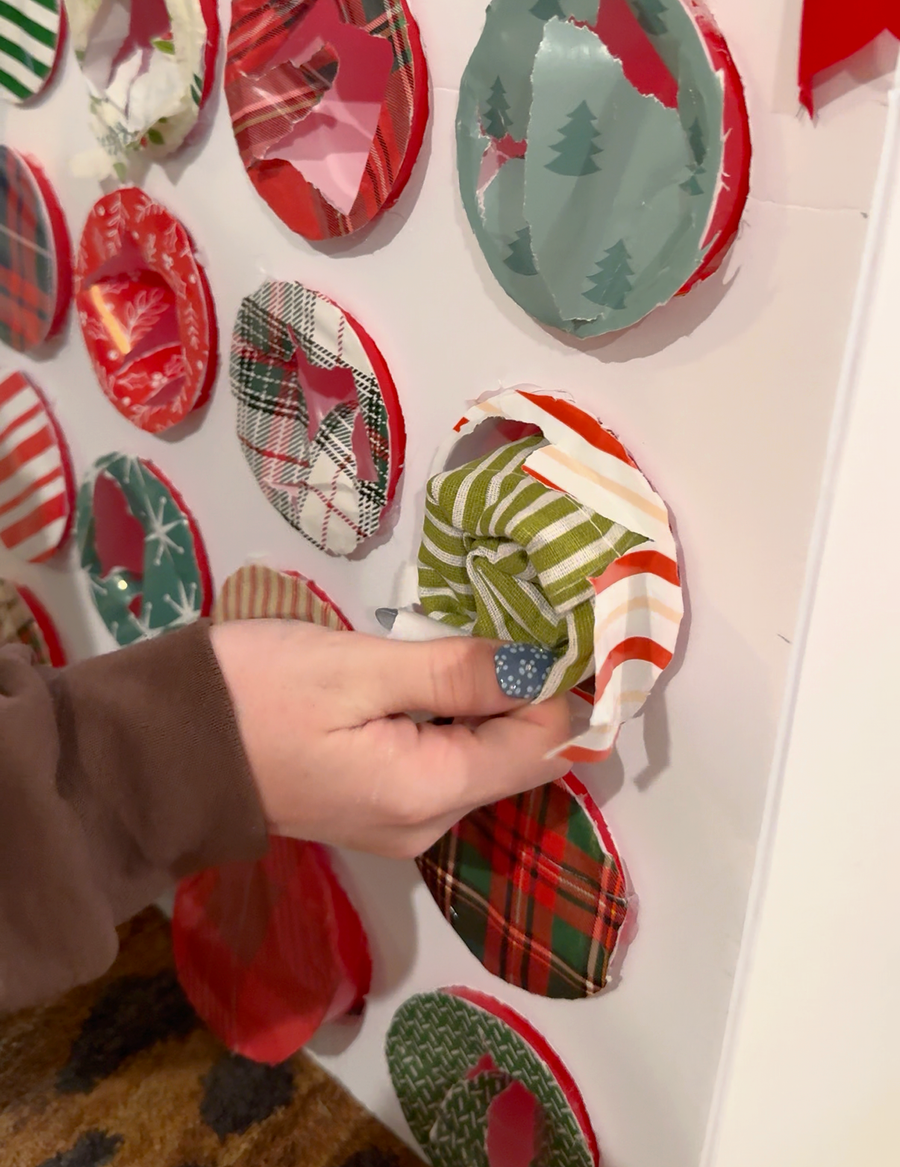
I love that you can fill the cups with whatever you want. You can keep it simple with candy, add little toys, or make some of the days special with Christmas activities and family traditions.
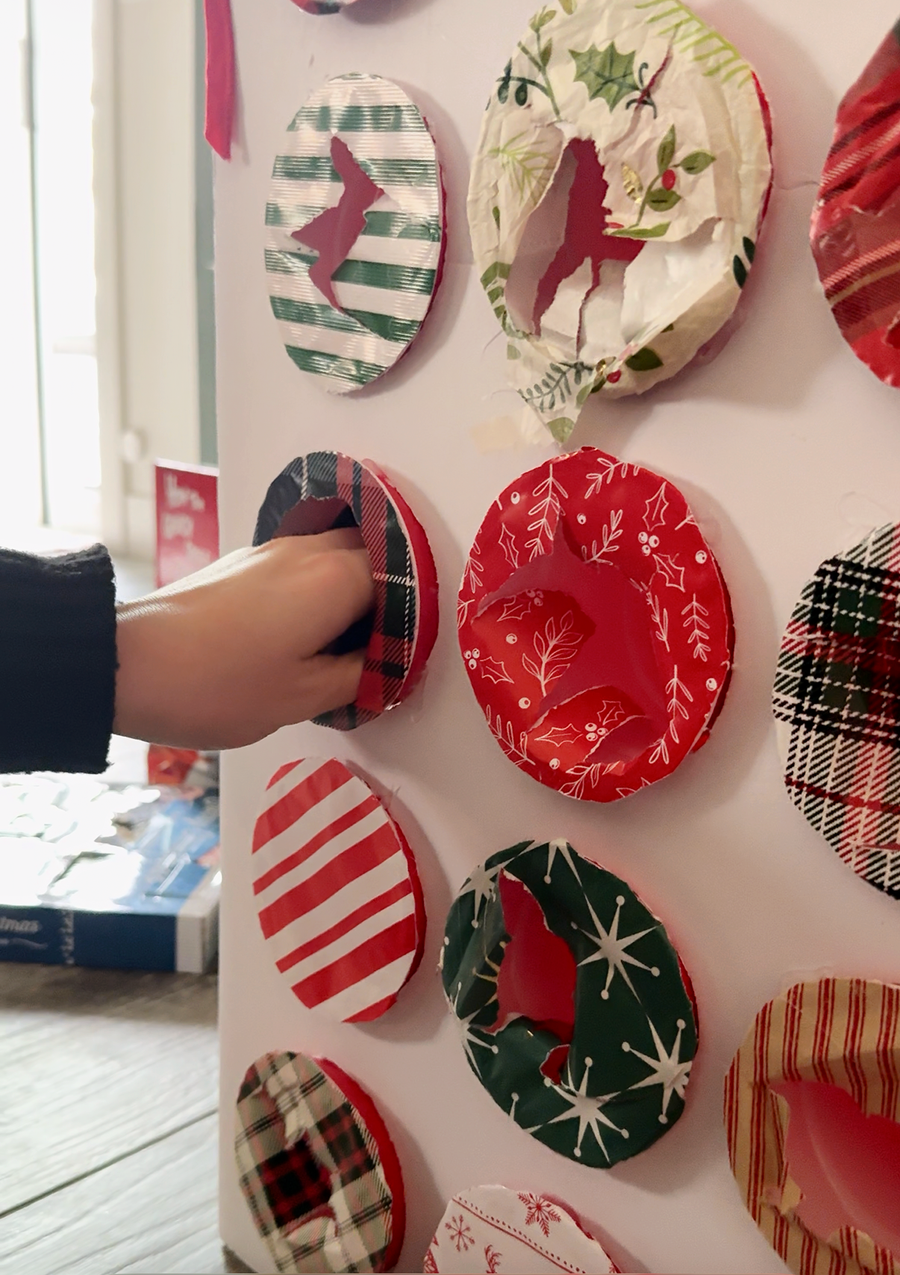
A Fun Homemade Christmas Countdown
This DIY Christmas advent calendar is such a fun way to build excitement for Christmas. It’s inexpensive to make, easy to customize, and you can change the treats inside to fit your family.
Plus, using different Christmas wrapping paper makes the whole thing look like a big collection of tiny presents!
If you’re looking for a creative alternative to a store-bought advent calendar, grab some cups and your favorite Christmas wrapping paper and make your own. It’s a fun Christmas craft and a countdown your family will look forward to every year.
Other uses for the advent board
What makes this board so great is that you can also reuse this year after year if you wanted to! You can also use birthday wrapping paper and make a countdown to a birthday. Use it as incentive during summer to get chores done, or books read. A countdown to a vacation or trip is another fun way to reuse this!
Save for later
Too busy to get crafting today? No problem! Pin this post to remind yourself about this project later! Sharing my projects helps me reach more people, allowing me to continue sharing free content!
Leave a Reply