
Run and grab the supplies to make this darling Dollar Tree Christmas Wagon! You can swap out the decor and use it for every season!
This is a trust-the-process kind of project! When I shared this on instagram- it really looks confusing until it all comes together at the end! It’s well worth it though because it’s so cute!
Related: Dollar tree Wood sign
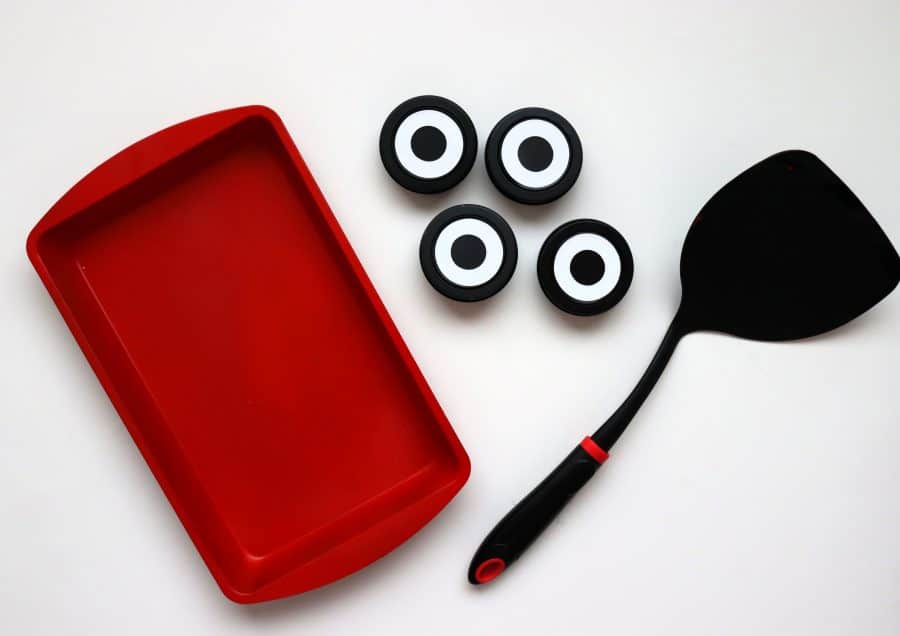
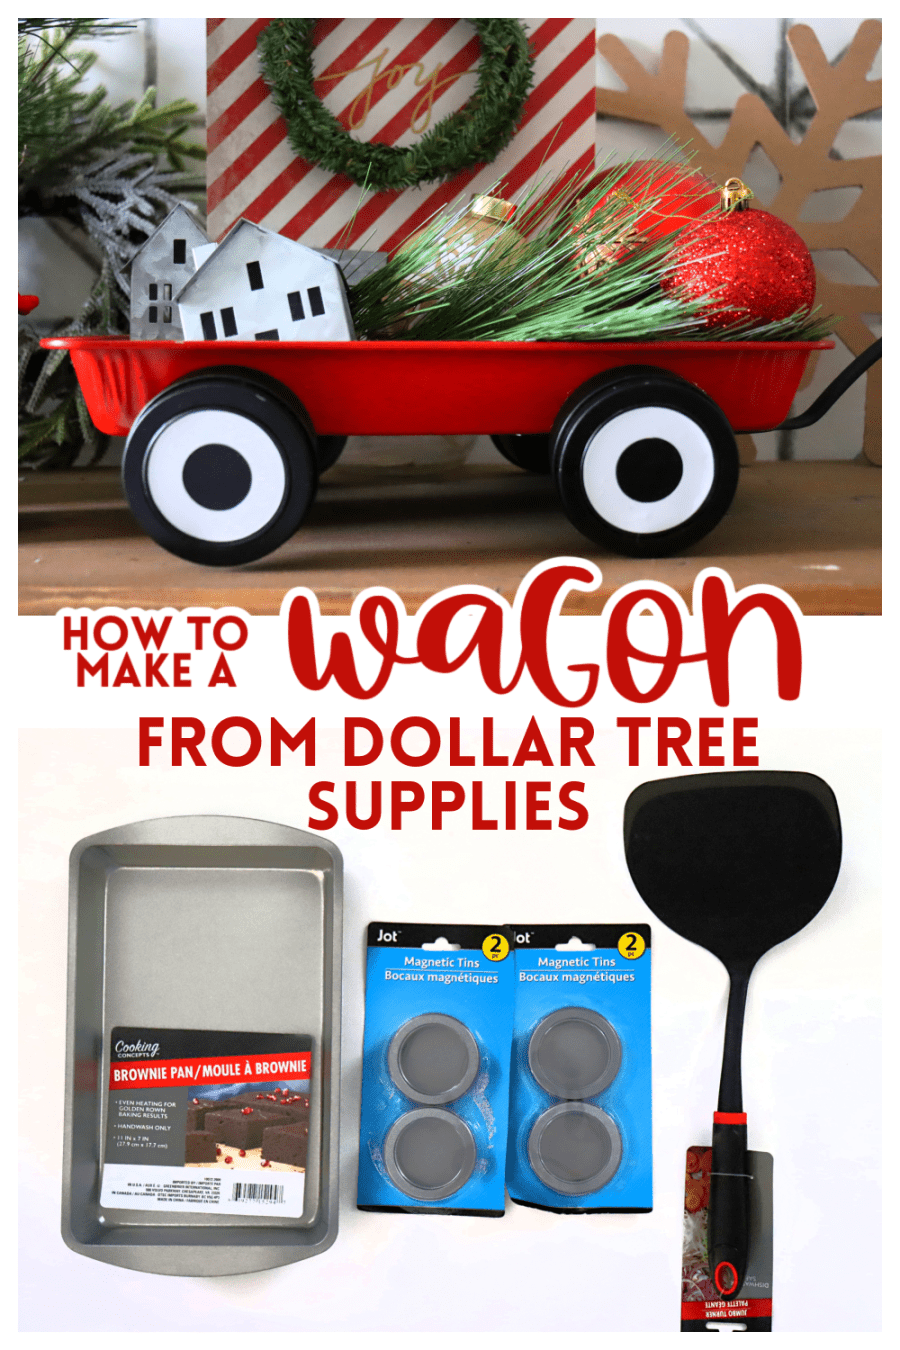
Supplies to make a Wagon
- Brownie pan (dollar tree)
- round magnetic tins (or anything round)
- spatula (dollar tree)
- e6000
- red paint
- black paint
- white vinyl

How to make a Dollar Store Christmas wagon
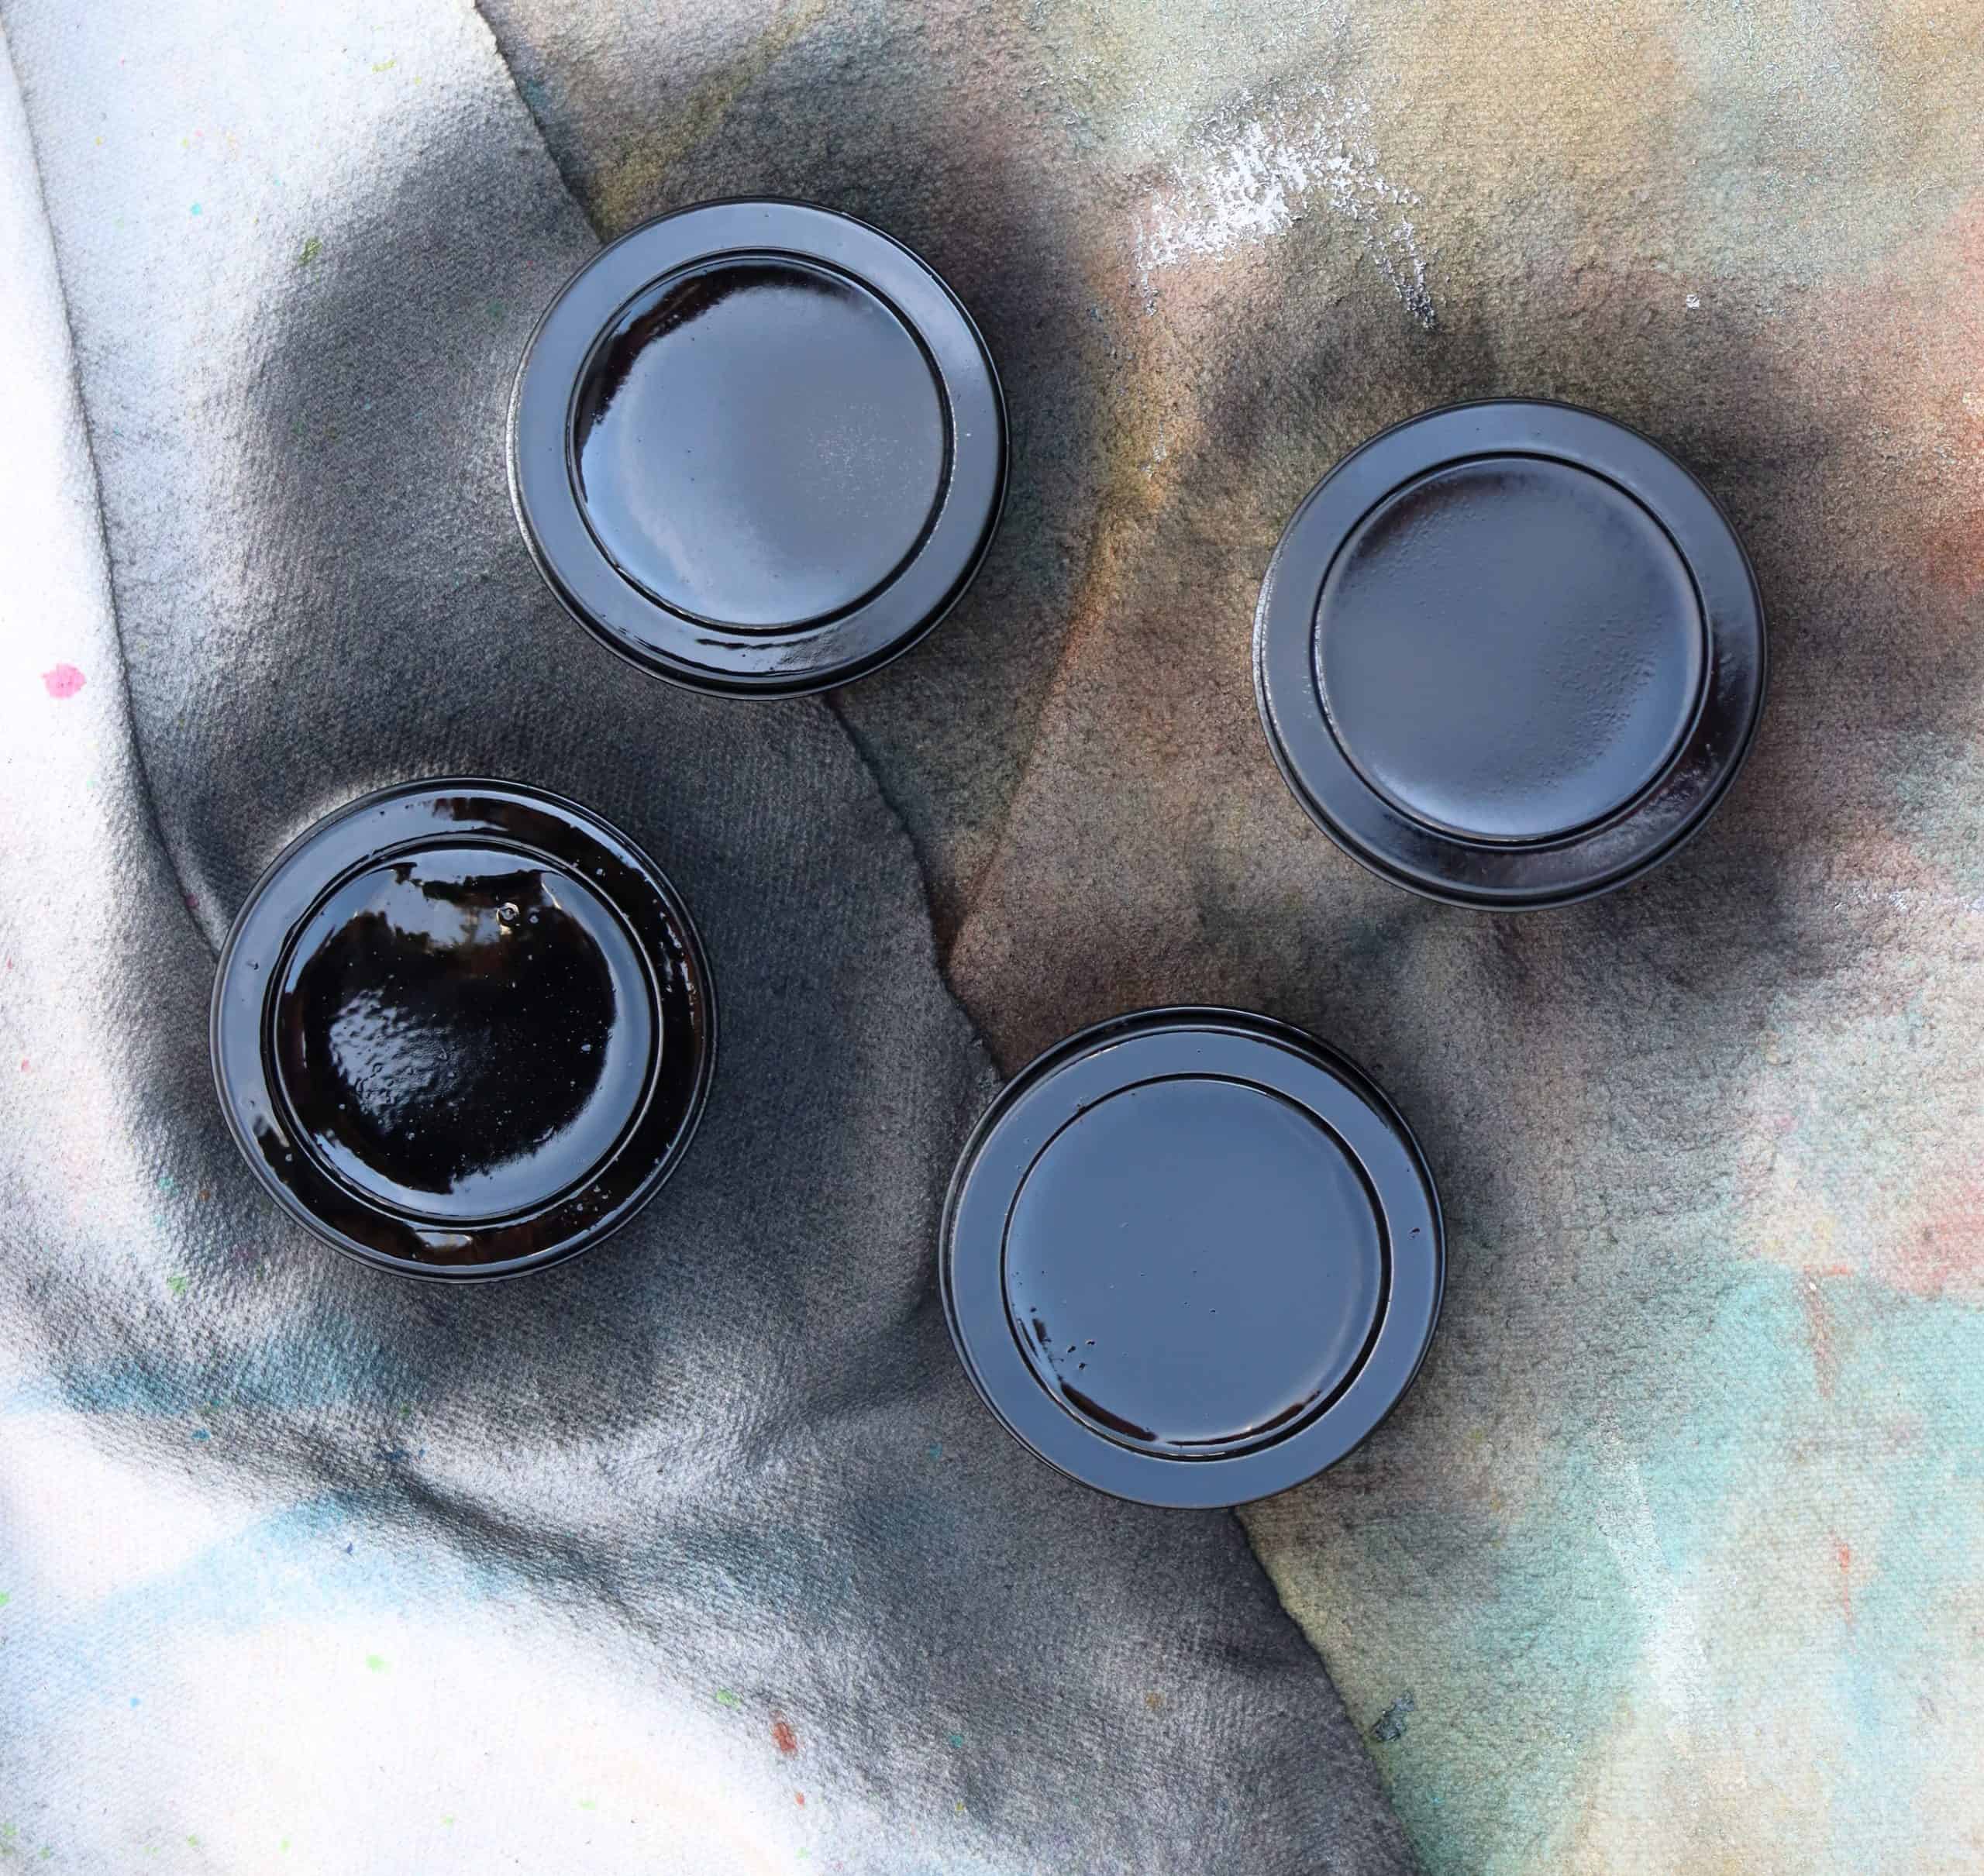
Step1: Paint
The pan needs to be painted red (or whatever color you want for your wagon). The round pieces (aka the wheels) need to be painted black!

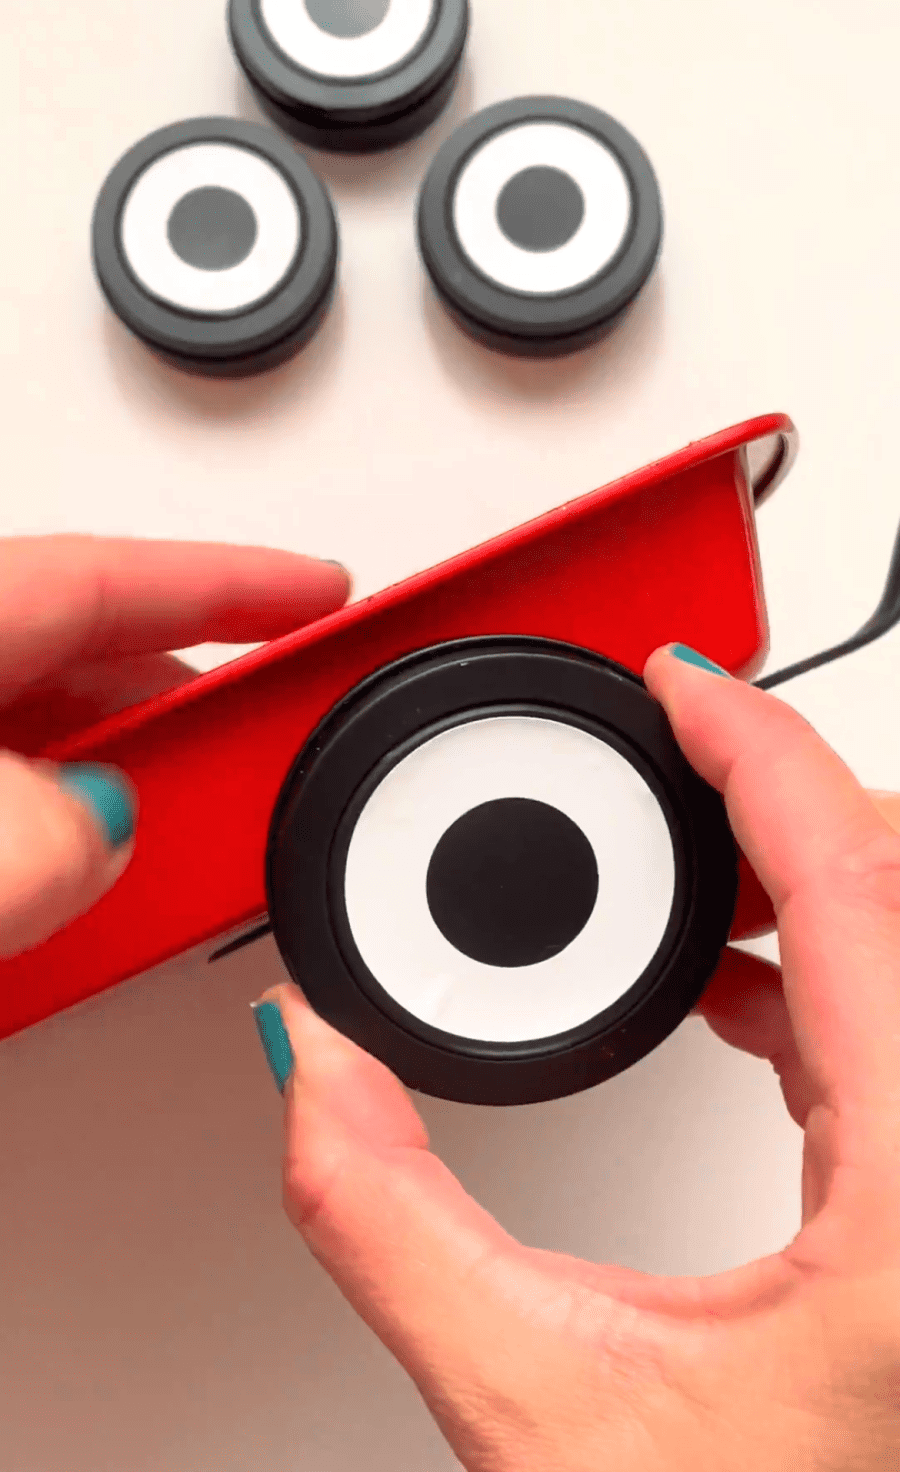
Step 2: Wheels
I measured the black wheels and cut out some donut-shaped pieces of white vinyl to be the rims of the wagon wheels! You could paint these on with white or silver if you don’t want to mess with vinyl! Just peel and stick them on the wheels after they dry.

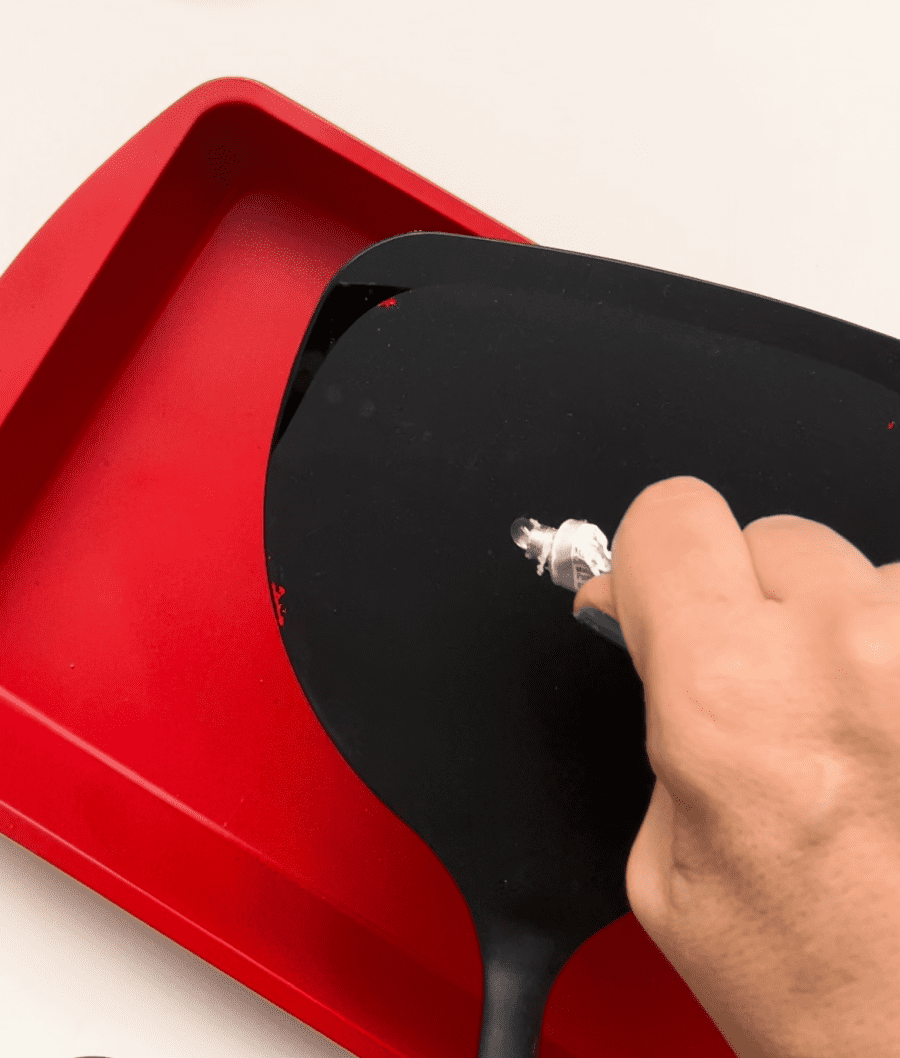
Step 3: Assembly of the Christmas Wagon
After all the pieces are dried, it’s time to assemble our wagon!
I like to use e6000 because it really holds up. I added a generous amount to the spatula and stuck it to the bottom of the pan. You want the handle of the spatula to be the handle of the wagon.
Then I added a dab of e6000 to each wheel and place them all around the wagon. The e6000 takes bout 24 hours to set up!
You, of course, could add a cute little wagon red flyer vinyl decal to the side if you want!
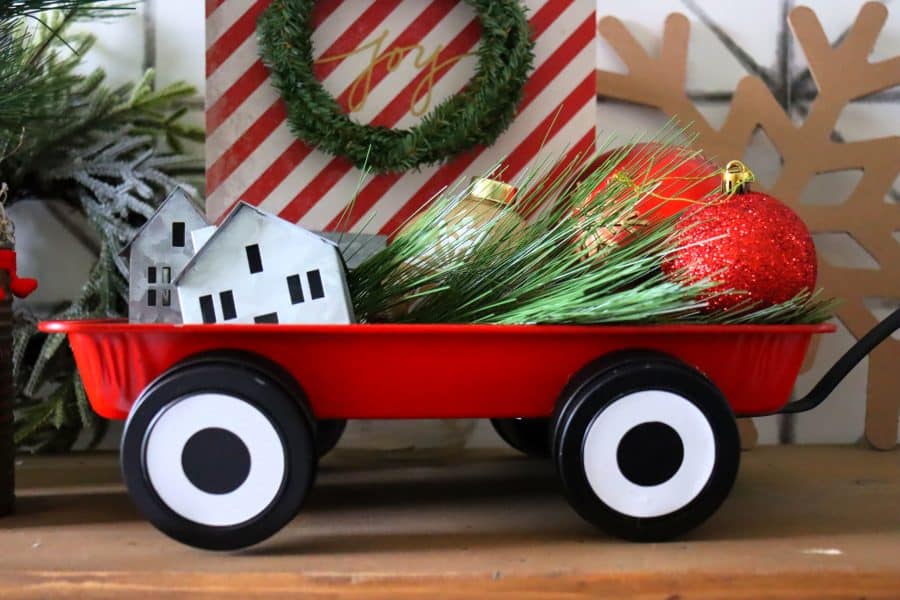
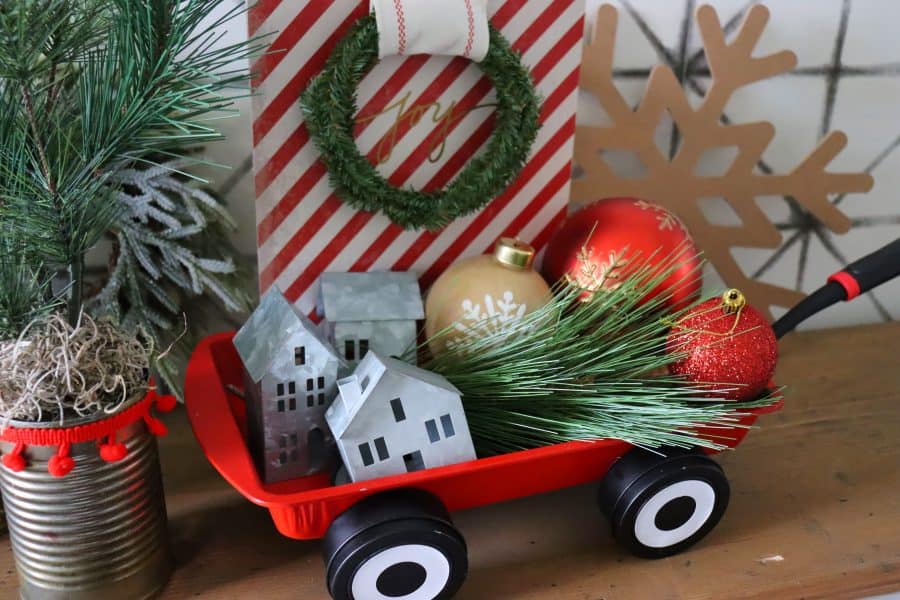
Enjoy your Christmas wagon.
Your adorable wagon is all done! Just fill it up with whatever cute things you want! I have seen people use these for every season and just swap out the decor inside to match the holiday!
You could make a couple of different sizes of wagons depending on how many different sizes of pans you can find!

If you love making fun and cheap projects- come see all my Dollar Tree projects!
Edna M George says
Love the red little wagon