
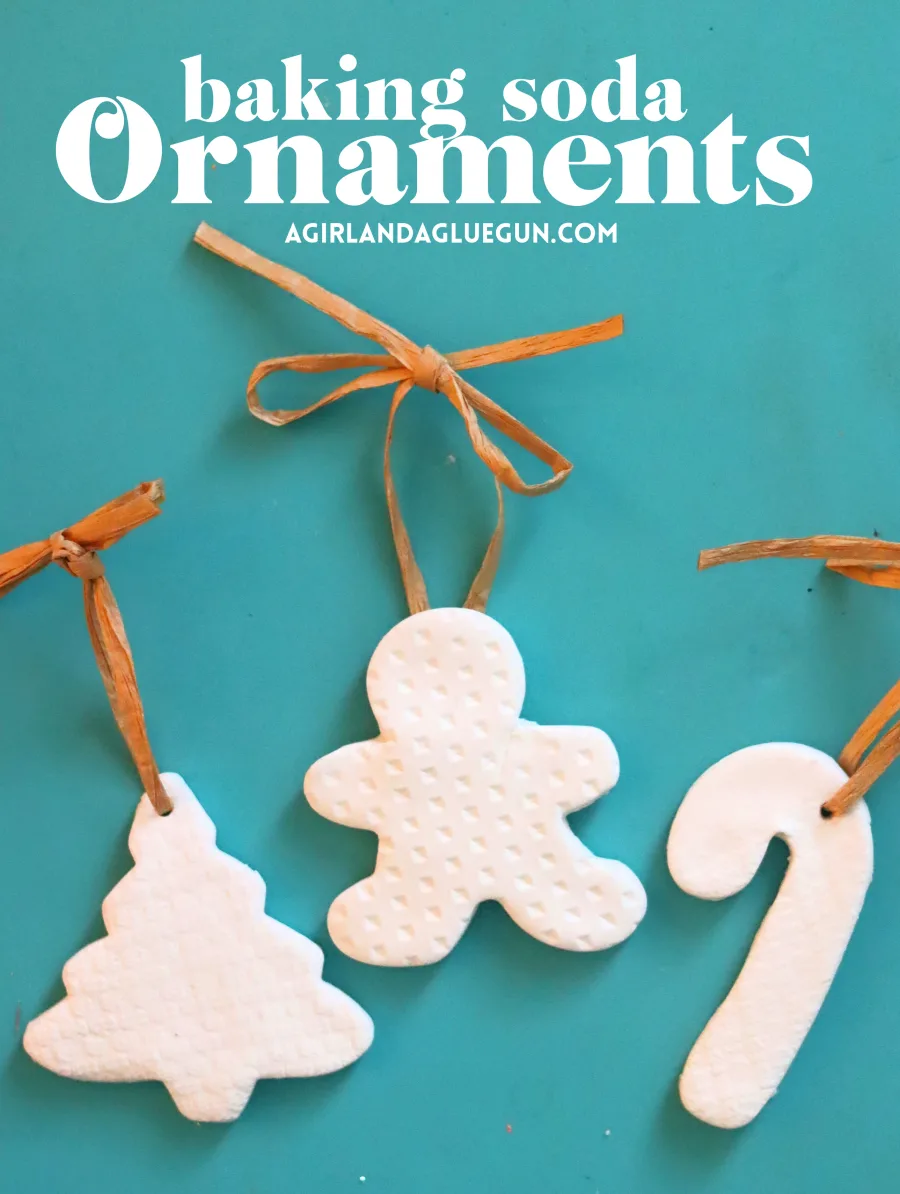
Learn to create these gorgeous baking soda ornaments to hang on your Christmas tree! They are fun, easy, and inexpensive way to celebrate the holiday season at home.
If you’re looking for a fun and unique way to spruce up your home decor this holiday season, look no further than baking soda ornaments! Not only are these ornaments easy and affordable to make, but they also bring a touch of creativity and nostalgia to your home décor. In this article, you’ll learn how to make your own baking soda ornaments and a few fun things you can do with them besides just hanging them on your tree! Grab your mixing bowl and get ready to create some of the most beautiful decorations in your home this year!
Ingredients to make baking soda ornaments
Baking soda dough is a beautiful, white, smooth non-edible dough that is perfect for making ornaments and garlands to celebrate the holidays in your home. What is so great about these ornaments is that you probably already have the supplies in your cupboard!
- 2 cups baking soda
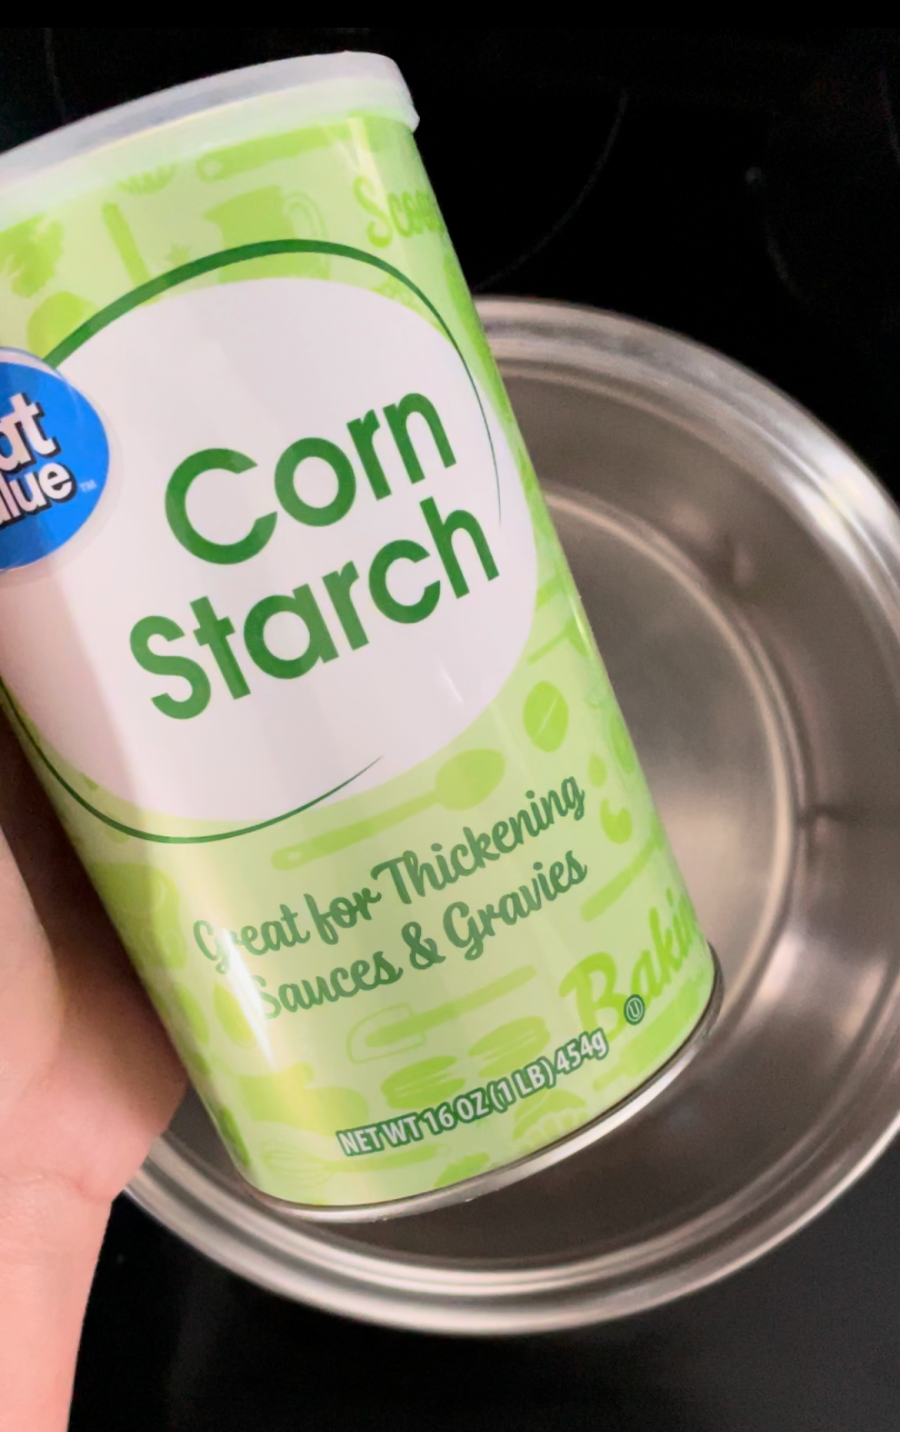
- 1 cup cornstarch
- 1 1/4 cup water
- Essential oils (optional)
- Food coloring (optional)
You will also need
- cookie cutters
- rolling pin
- skewer
- wax paper
- things to create patterns (we will discuss this further!)
How to make the baking soda dough
Making these baking soda ornaments is pretty easy!
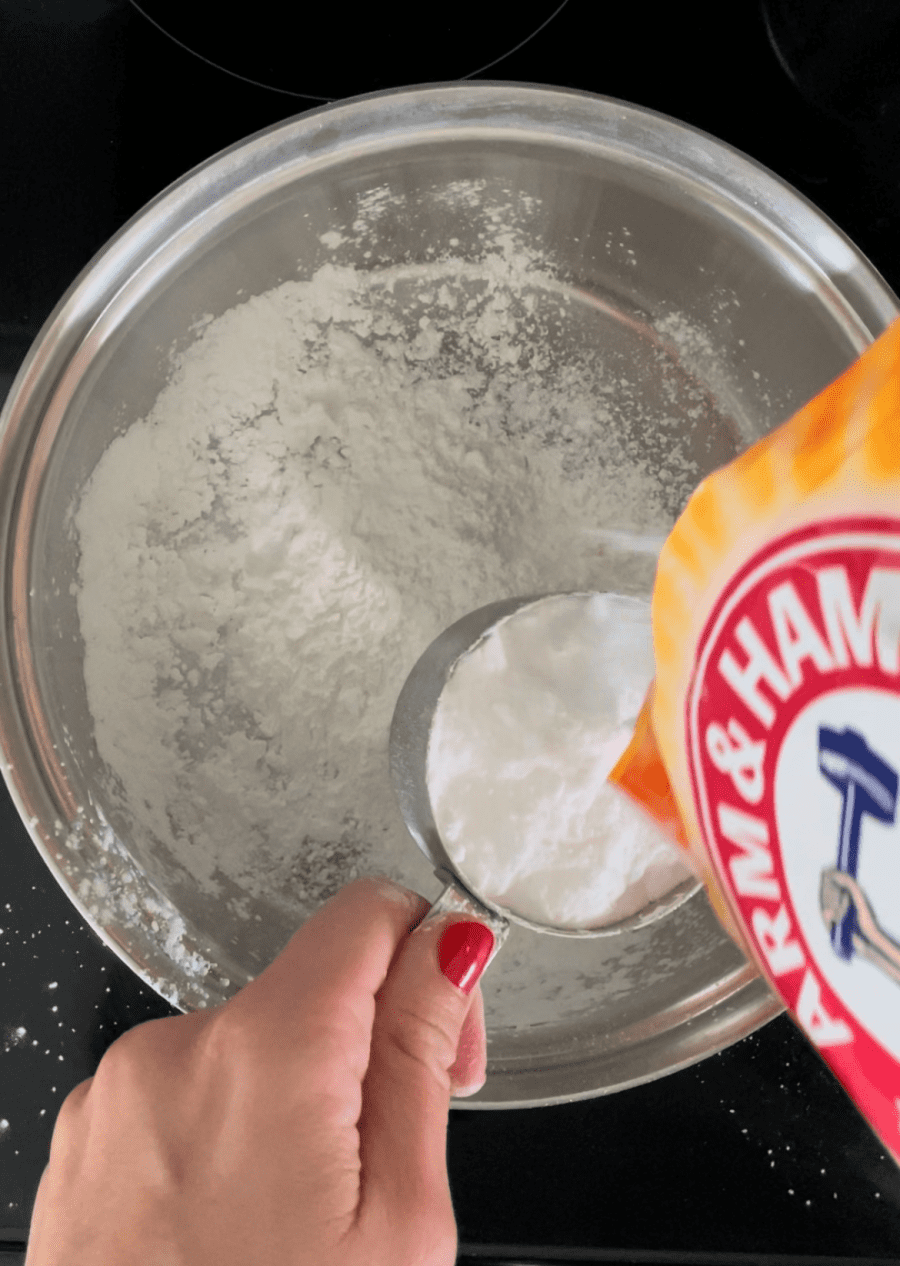
In a medium saucepan, combine the baking soda, cornstarch, and water. Over medium heat, stir the ingredients constantly. After about 5-7 minutes, the mixture will begin to bubble. Continue to stir the mixture for another 2-3 minutes as the dough thickens and comes together.
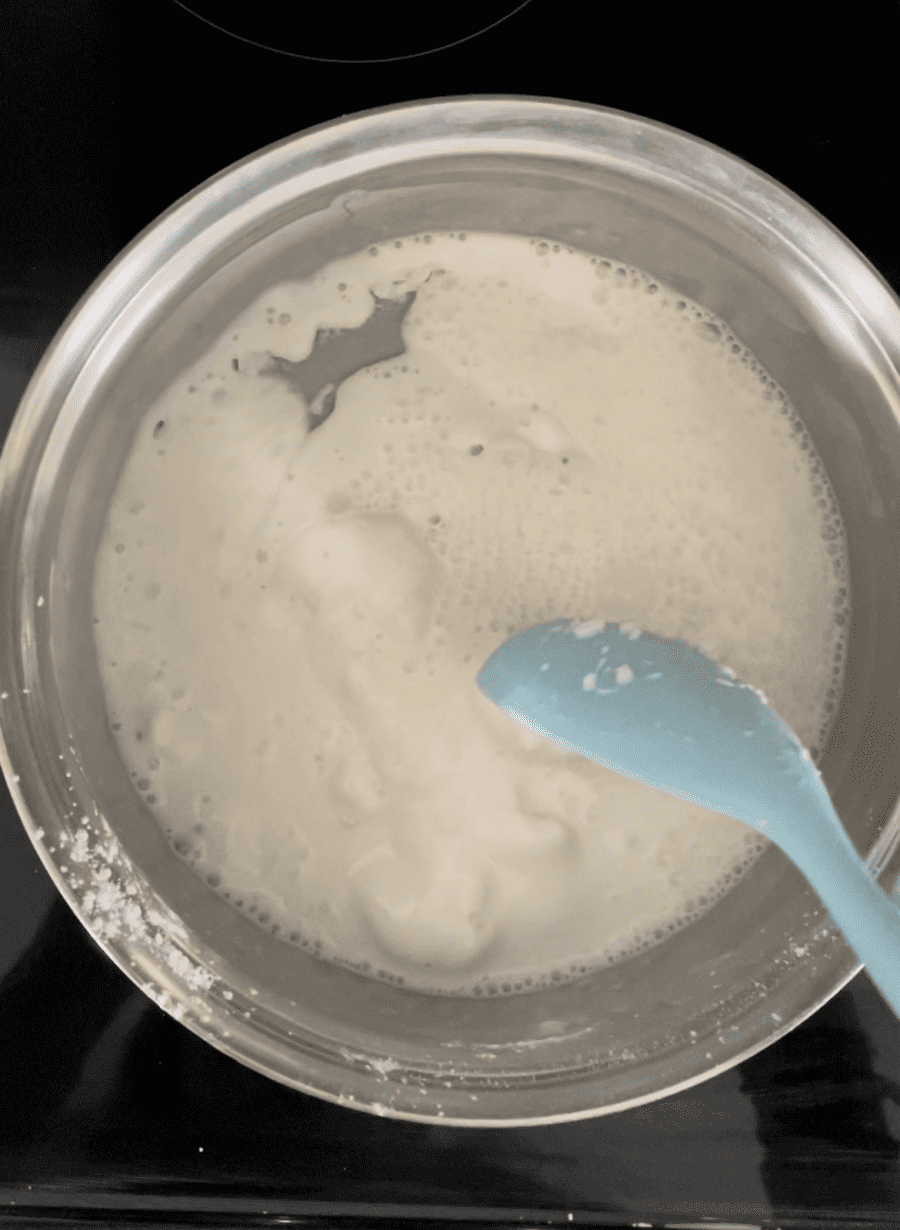
Transfer the dough to a glass bowl. Then, cover it with a damp cloth and let the dough cool. The damp cloth keeps the dough from drying out.
Create the ornaments
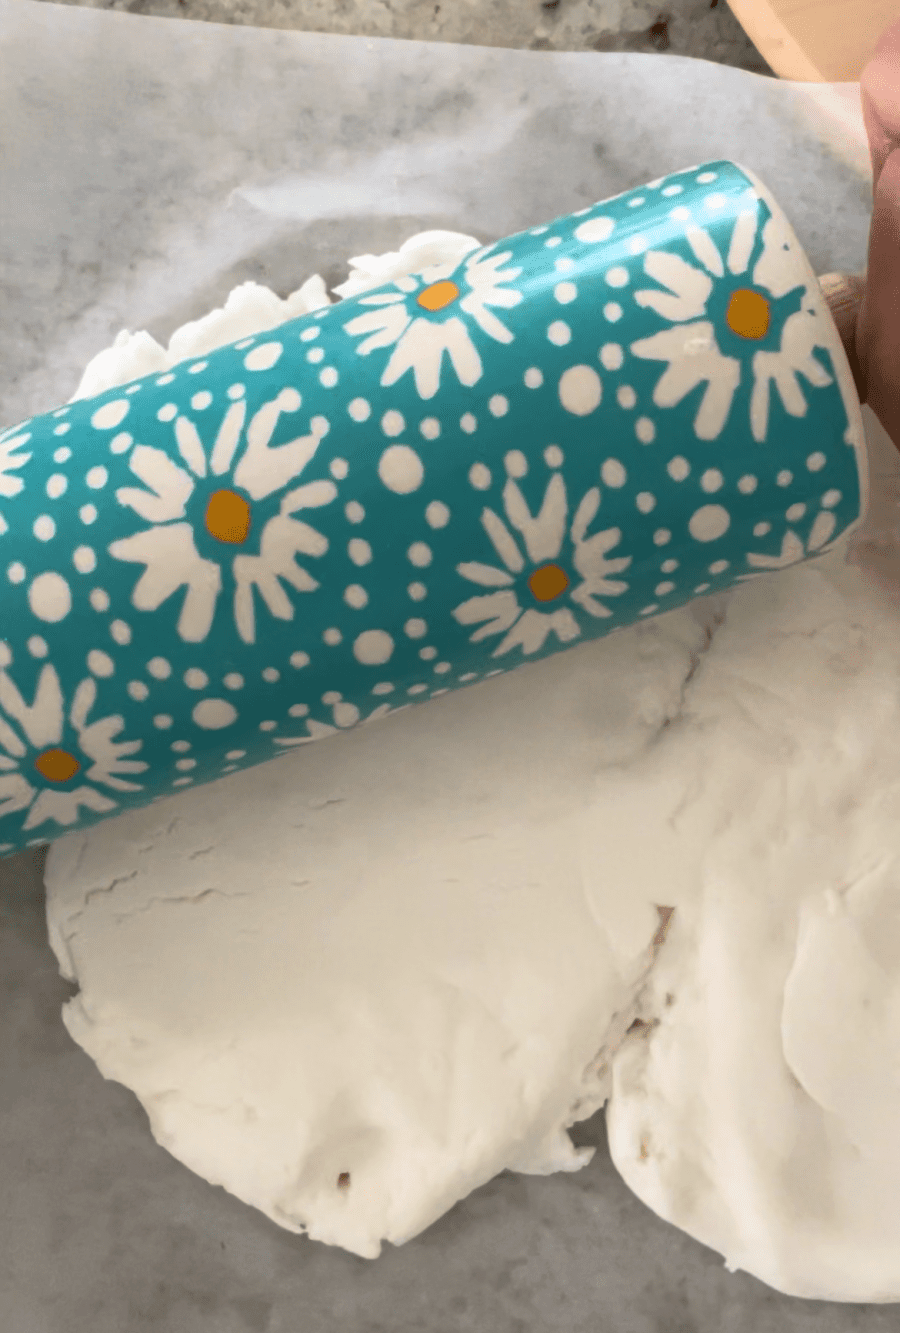
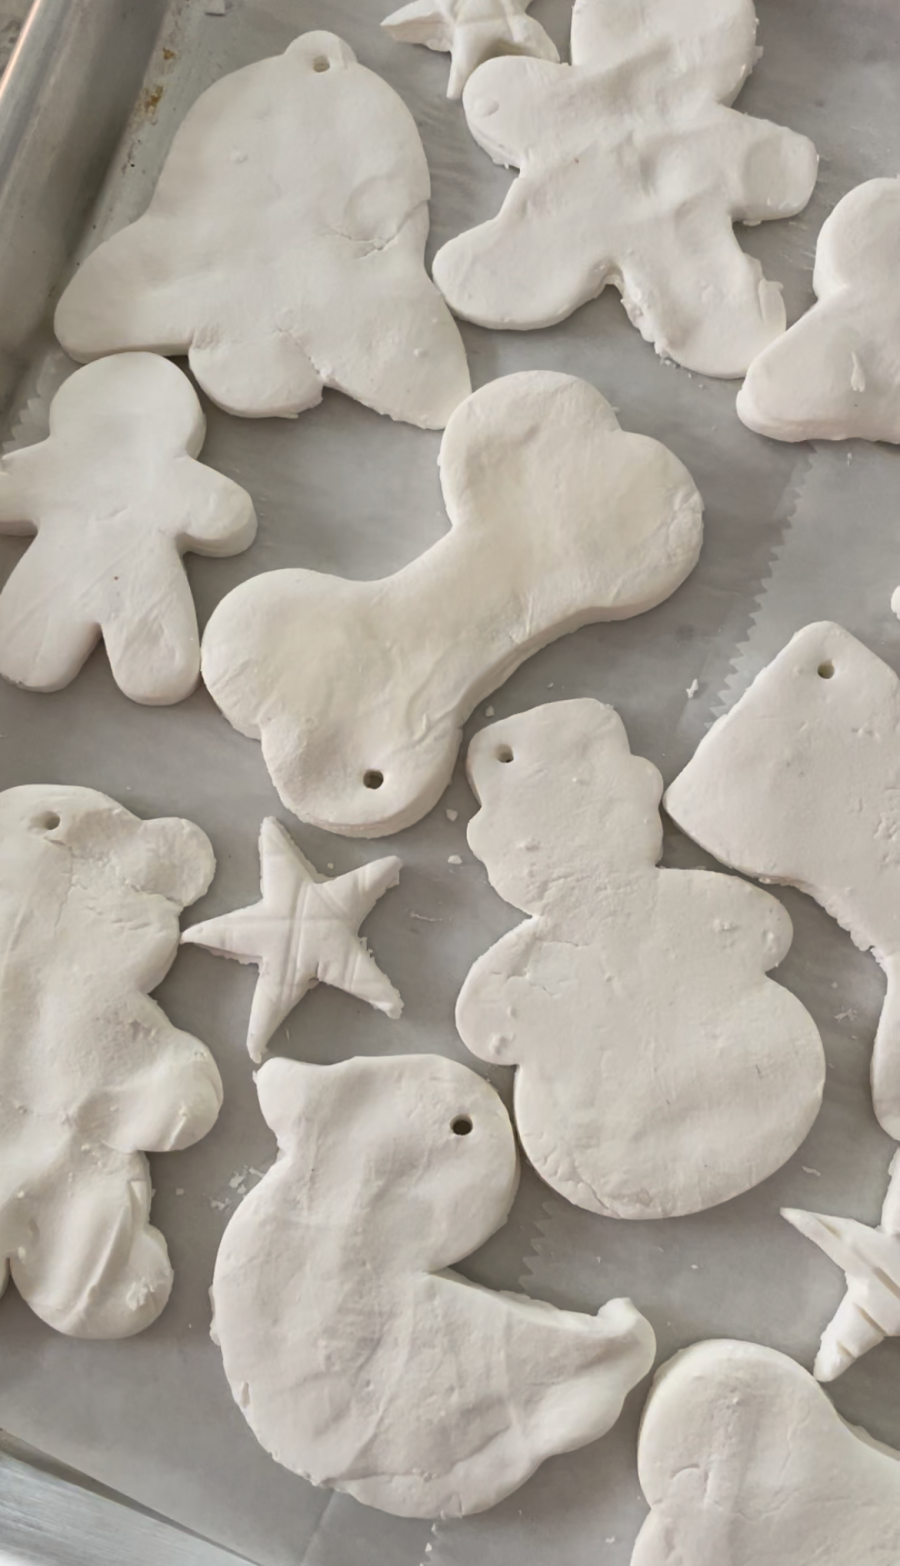
I laid out a sheet of wax paper to press the dough on so I could easily transfer the ornaments to the baking sheet! We did these with my daughter and my nieces so I put a handful of dough on a sheet and pressed it flat with a rolling pin. The girls then cut out their own designs.
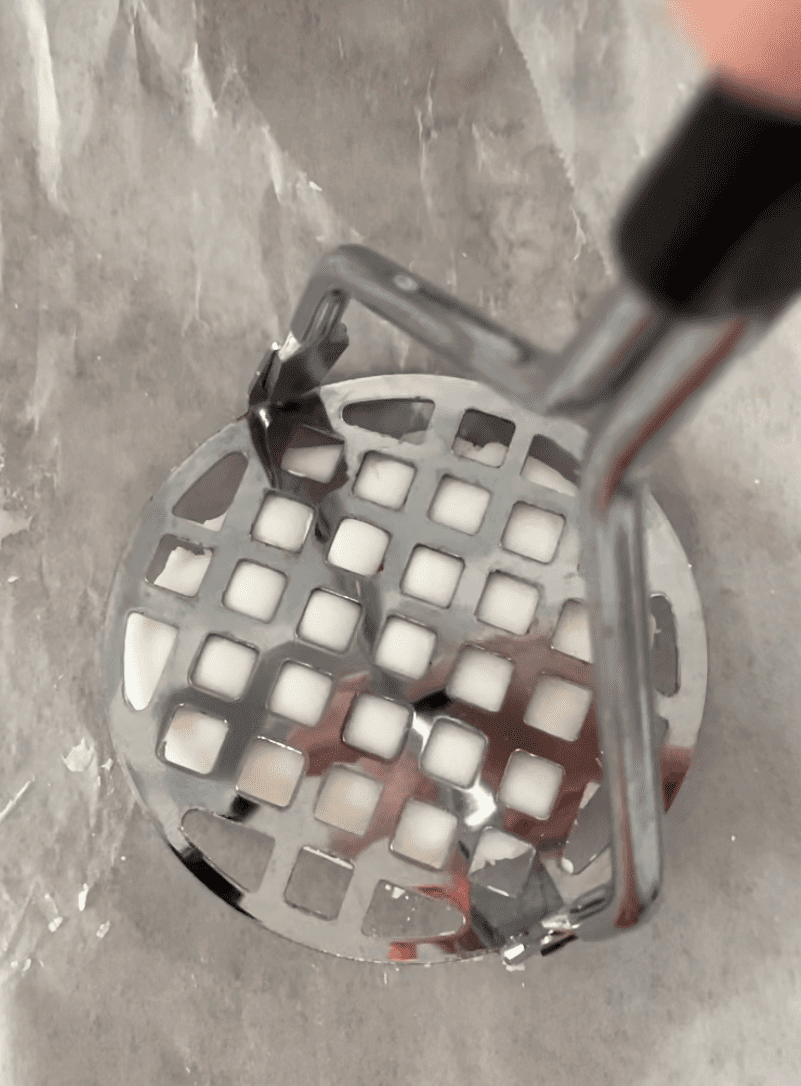
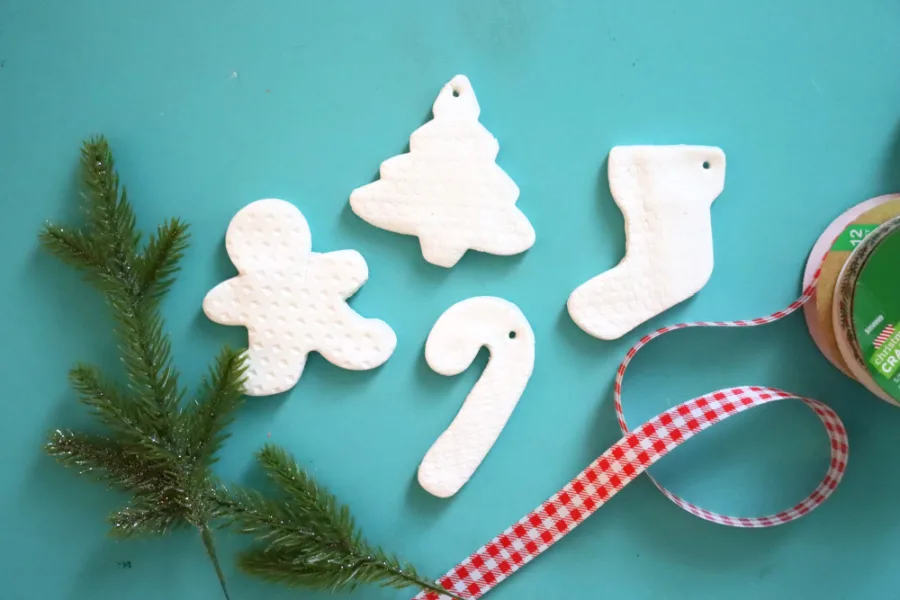
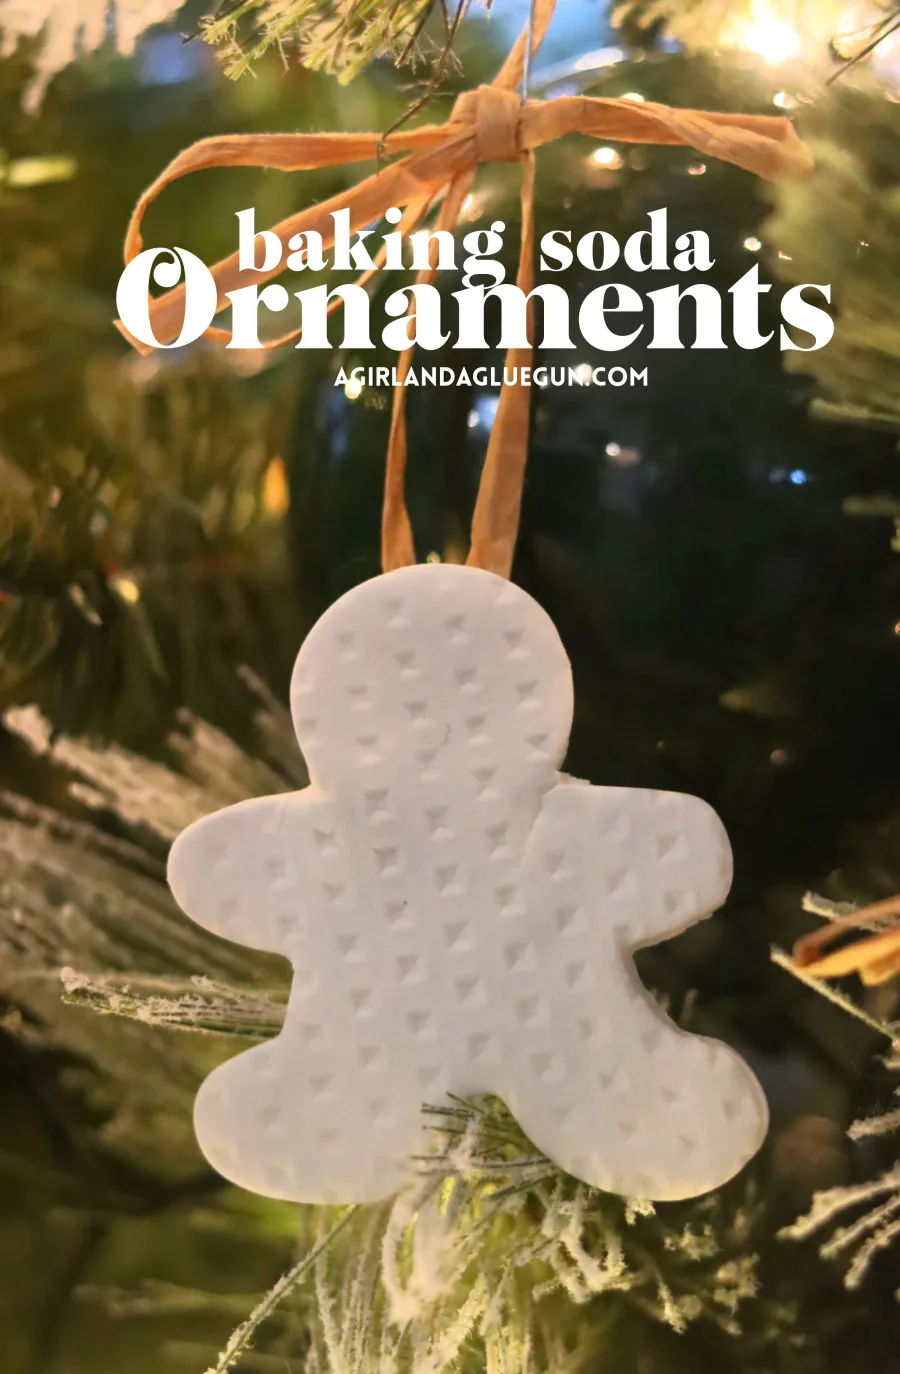
We played around with fun textures. They add so much especially if you don’t paint the ornaments. We looked around the kitchen to try to find some things that would create a unique looking design! Some of our favorite designs were a potato masher, a dishcloth with a cool texture, a piece of green garland. If you don’t like the way it looks, just roll it back out.
The baking soda dough is pretty smooth- just a little drier than Play-Doh! So it’s easy to smoosh it back together and start over.
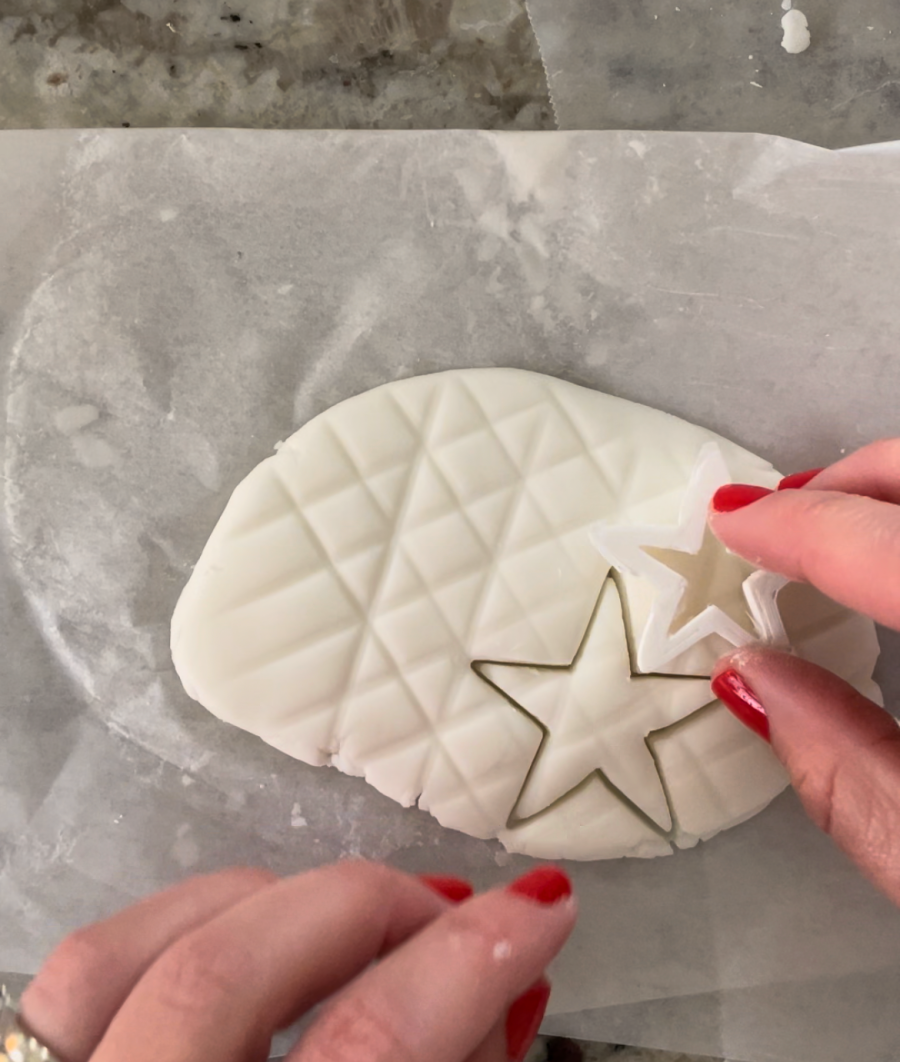
Then press with a cookie cutter! I like to wiggle it around to move any dough away from the cookie cutter and then I pop it out onto a baking sheet!
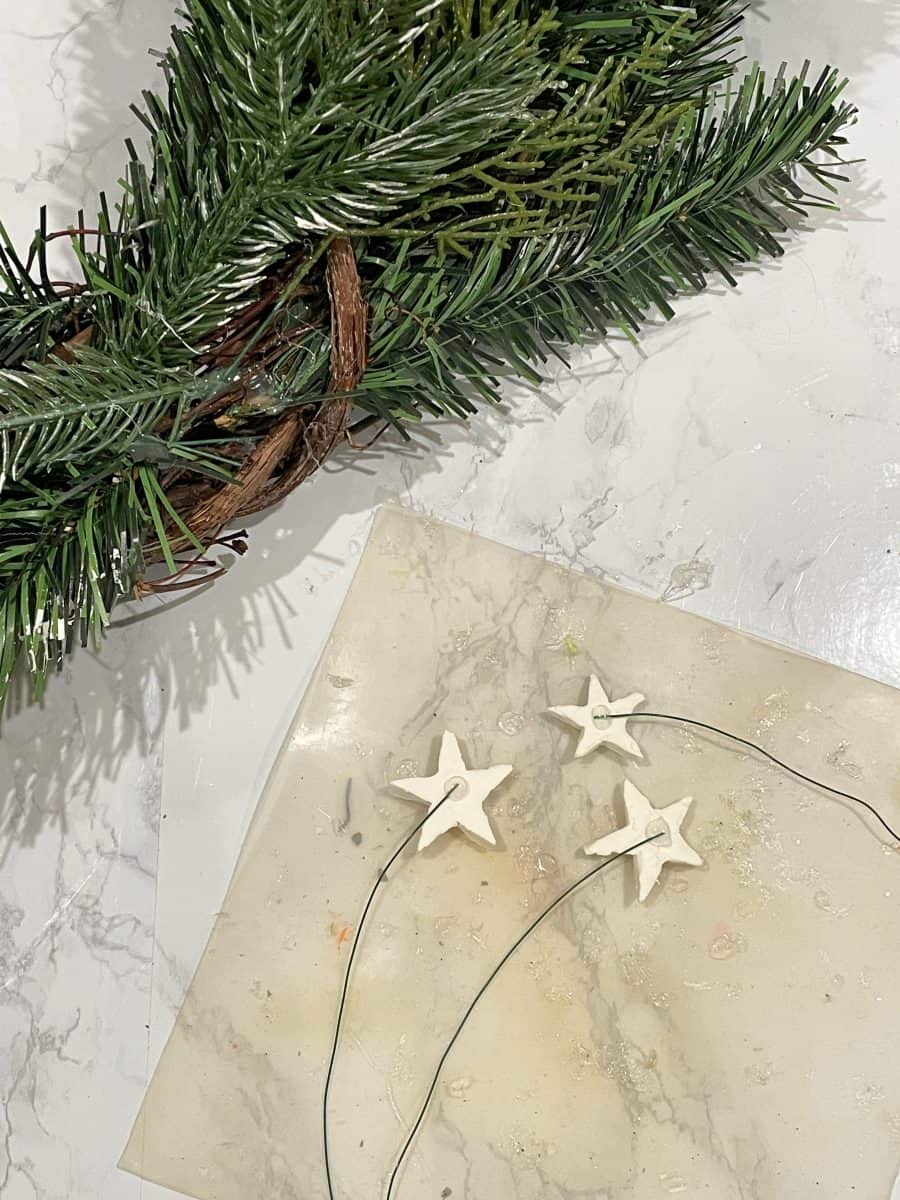
I wanted to create stars for my wreath, and couldn’t find any stars the right size- so I used my ALTA 3-D printer to print out the exact thing I wanted!
For a fun twist, try embossed rolling pins!
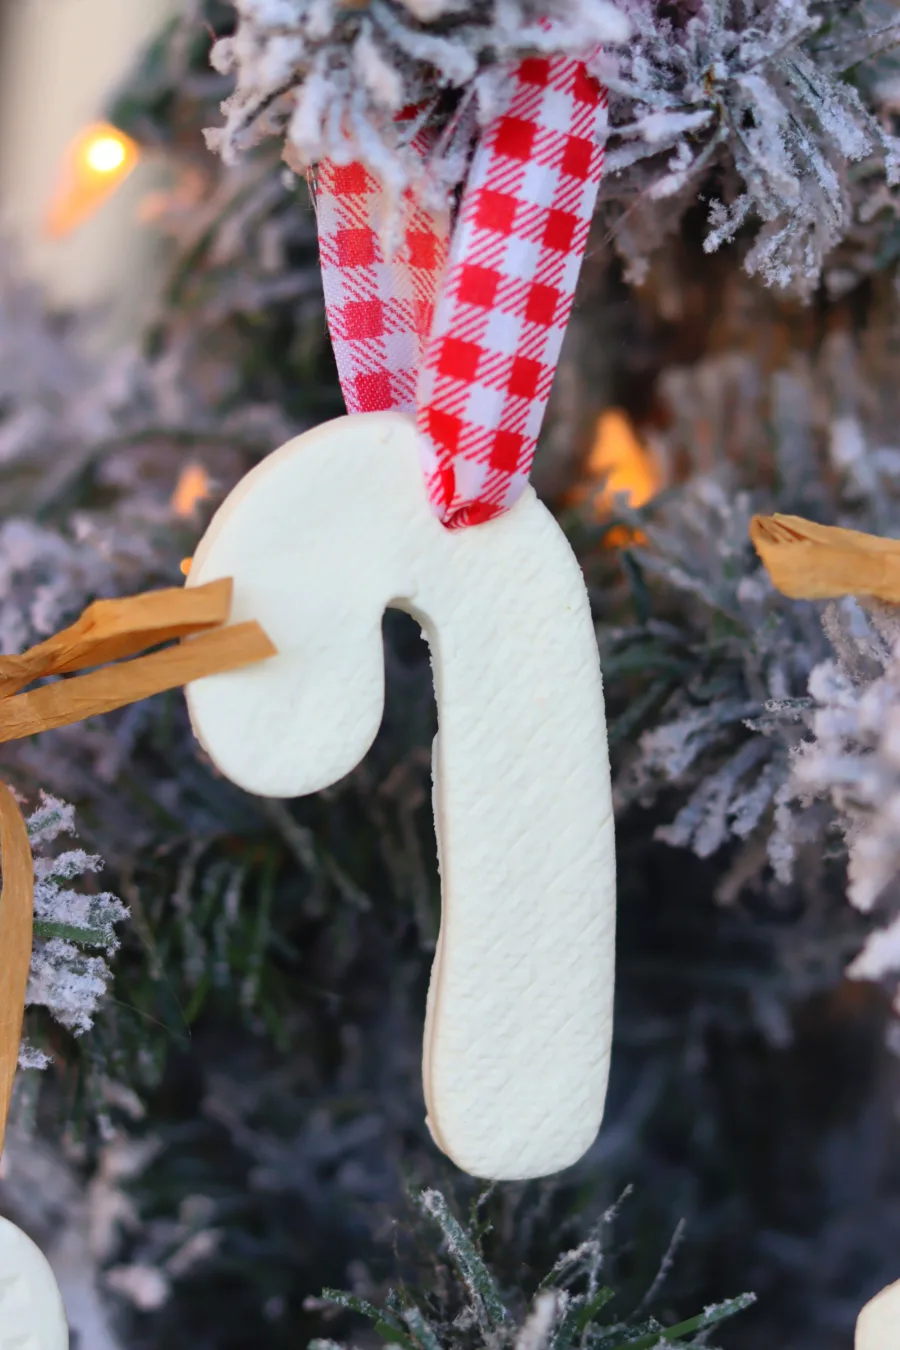
If these are ornaments, you will want to take a skewer or something pointy and create a hole at the top so you have a place to hang your wire or ribbon! Keep in mind that if you want to use ribbon, you might want to make the hole a little larger!
Once you have a full baking sheet, put them in the oven at 170 degrees for about 40 minutes. You might need to keep them in longer or flip them halfway through if your dough is thicker than 1/4 inch!
You can also air dry these for 24 hours but the girls wanted to paint these so we sped up the drying out process. I have read that some people’s ornaments turned a little more cream when they baked them, but mine did not seem to change any color at all!
Warning: They are brittle, so if you drop them, they will probably break!
Baking soda dough variations:
You can do lots of fun things with this basic idea!
- Food Coloring
Add food coloring into the saucepan while cooking to make all your ornaments the same color if you are using them to decorate your Christmas Tree.
- Fragrances
You can also add fragrances or essential oils to the batch. A few little drops and your batch will smell like Christmas! There is a fun oil set on Amazon that includes Cinnamon, Christmas Wreath, Mistletoe, Candy Cane, Gingerbread, and Cranberry.
3. Mix in some glitter for a fun shimmer to your ornaments as the Christmas lights hit them!
Decorating with Baking Soda Dough Christmas Ornaments
There are so many ways to incorporate these baking soda ornaments into your Christmas decor! The basic way is to run a ribbon or string and hang it on your trees! They look so gorgeous! I especially love the ones with texture!

Paint ornaments
Kids can have fun painting these dough ornaments! Washable paint or watercolor will be great for these projects!
Gift Tags
Instead of adding these cute things to your tree, you can attach them to a present or gift basket to add a little something special to your present!
Wreath with stars
Another fun thing we did was to hot glue some wire to the back to the stars and tie them around a wreath!

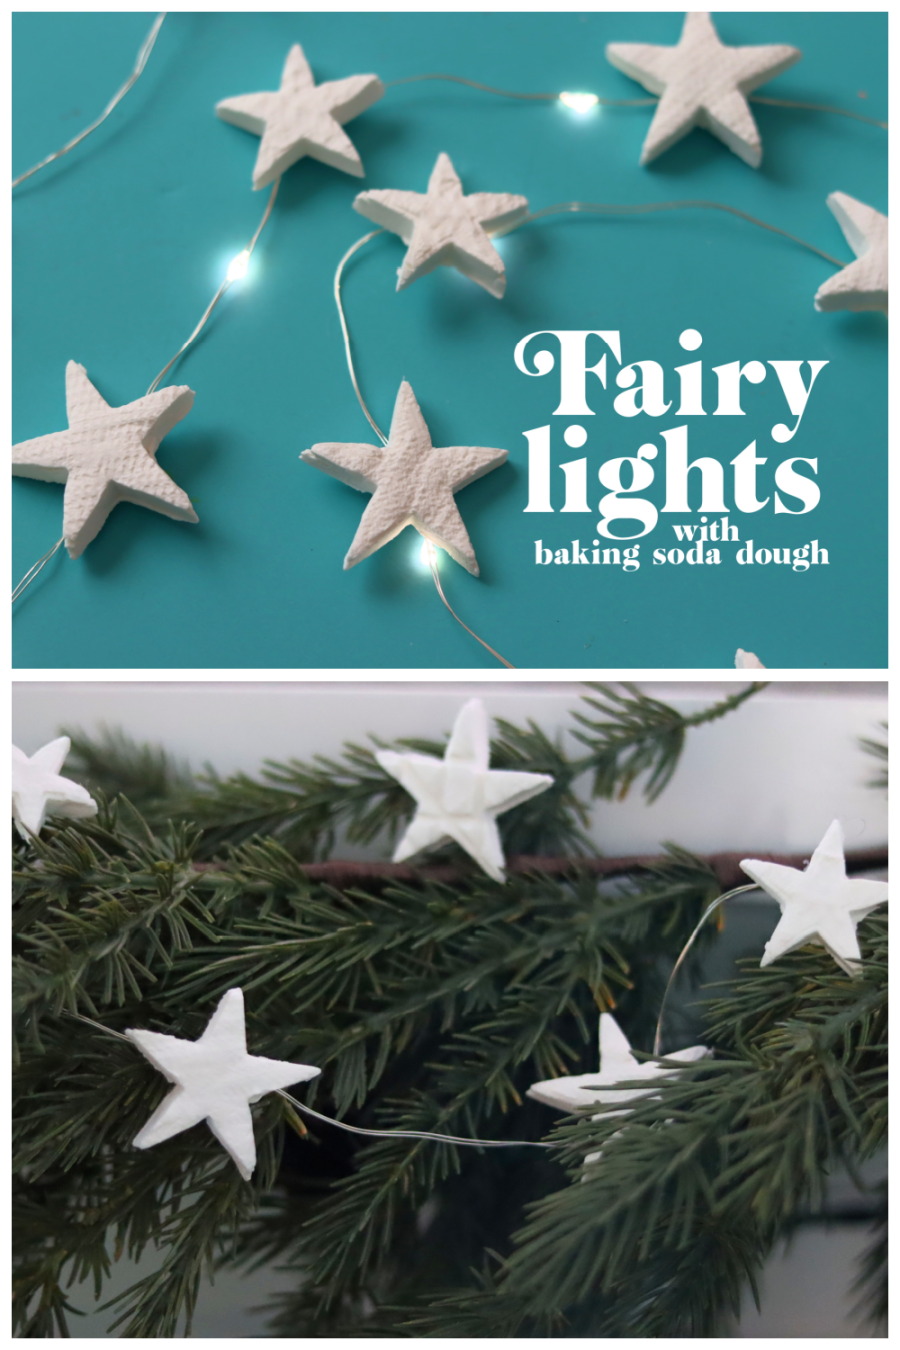
Baking soda dough garland
I had tons of stars left over from my wreath that I ended up hot gluing to some fairy lights and created a light-up star garland to run along my mantel!


Baking soda dough versus Salt Dough
You might be wondering what the difference is between salt dough and baking soda! Baking soda dough has a smoother texture and is a brighter white color, compared to the slightly grainy, off-white color, that salt dough creates. I find it much easier to work with.
Christmas dollar tree crafts
- Red wagon from brownie pan
- Tree stand from contact paper
- Christmas wood sign hack!
- Joy sign from dollar frames
- Christmas hack using Dollar store gift bags
- Snowman hat from treat container
- Giant ornaments
- Mickey Mouse ornament
Too busy to get crafting today? No problem! Pin this post to remind yourself about this project later! Sharing my projects helps me reach more people, allowing me to continue sharing free content!

Leave a Reply