
Come learn how to paint a banner that is customizable! A perfect party decor for any major event in your life!

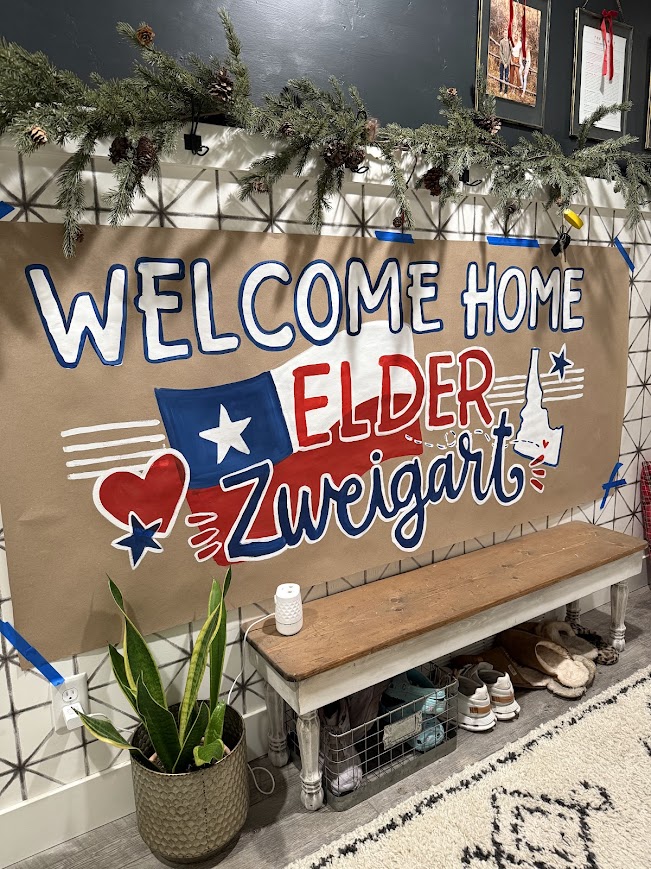
My TikTok feed is full of fun hand-painted banners on butcher paper! So when my son was leaving for a mission for our church, I decided to try to put my talents to use! AND it was so fun! I have ended up making so many in the past month because I just love the creativity of each one!

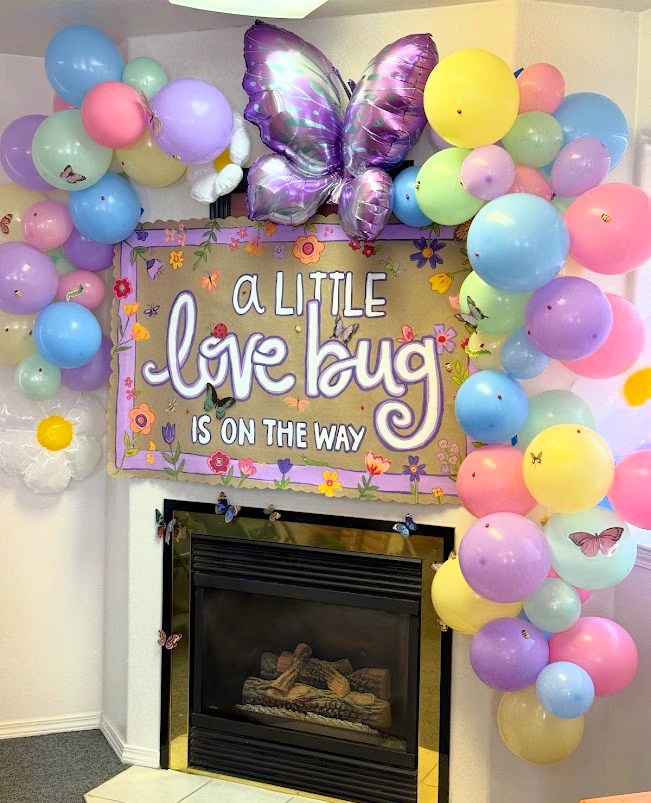
You can make these cute custom banners for graduation parties, anniversaries, birthdays, back to school, summer, lemonade stands, and pretty much anything you want to celebrate!

Supplies to make a hand painted banner
- Heavy Duty Butcher paper
- Paint (I used acrylic)
- Paintbrushes
- Chalk
- magic erasers
I know lots of people use the butcher paper rolls from Home depot or lowes. but I stumbled upon this heavy duty stuff and it’s awesome! I can paint lots of coats of paint without worrying if it will seep through. Its also super thick so when I’m trying to take it down, I dont’ have to worry about ripping it! We actually were trying to set up my son’s banner in the wind and I kept thinking that any other people would have ripped right in half! It’s so worth it!
The other big question is what kind of paint to use when making a banner! I used acrylic, because I have a ton of it in all the colors! You can also use house paint, latex paint. But I don’t know if I would mix and match. The latex has a sheen and the acrylic is matte so together it might look off!
And last: Paint brushes! You need a variety of sizes. I like a good 1-inch fat brush to do all my letters with and then smaller ones for the outlining and details. I saw a video where someone recommended makeup brushes, and I tried a foundation brush and it held a lot of paint in all those bristles making it so you can paint more with less dipping. I’ve used it 4 times and it’s still going strong!
How to paint a banner
I’m going to walk you through my process, and some of the different techniques I have seen, but remember, what works for one person might not work for you!
Set up your area
I have a bad back (from years of crafting!) So I knew that if I was bent over a sign to paint it, I would regret it! So instead, I opted to use painter’s tape and stick the sign up on a section of my wall that didn’t have anything on it! (My front hallway!) Using my rolling office chair, I was able to sit and just scoot around! Honestly, it was so easy!
Cut the paper roll how long you want it (most of mine are about 5-6 feet long) and tape it up! The painters’ tape does take a little of the brown off the poster board so I use it only on the edges!

Sketch out
I have seen some videos where people design up the poster on their iPads and then project the image onto the butcher paper using a projector (they have mini ones on Amazon!) So if you aren’t great about keeping lines straight, or want to do some character like Mickey Mouse that needs to look exact, the projector is a great option!
I chose to freehand it since these were just for friends and family and I’ve got a pretty good eye to keep lines straight!

So either way, you want to use chalk to sketch out the design. I find the middle of the paper and then find which letter is the middle. So for happy birthday, I put the TH from birthday right in center of the paper so it was even on both sides. If something does get off-center, you can easily add a doodle (like a balloon!)

Paint
Once the basic design is up, I take a big paintbrush and start painting! I saw a video where the lady recommended going over everything with white and then when you add the color, it pops easily.

The other option is just going for it with the colors. Both techniques are essentially two coats. Two coats of color or one coat white, one coat color. So you can choose what you want to do. I thought they both worked great.

I do all the paint colors and get everything how I like it, then I take a black or an accent color and outline the details to make it all pop. Since the poster is pretty big, by the time I got done with one section, the other section was dry, so I didn’t really have to wait in between steps.


For this called to serve, I did a blue paint color to make it stand out.

If you have fine detail, you can use a Sharpie or a paint pen for a little more control.

But what if you make a mistake? There is a brown paint that matches the color of butcher paper! I haven’t tried it, but people swear by it! It’s Khaki Tan from Decoart. Just wait for the paint mistake to dry, and then paint over it with the khaki tan color!
Add embellishments
You can be as creative as you want! Add a border, fun embellishments and doodles, or even cut out around the edges for a scalloped edge! This is my favorite part since I can use these doodles to correct any mistakes, off-center words, or paint drips.

Let dry
Once you have everything painted, let it dry completely. Once dry, you will still have chalk lines where you sketched out your design! The easiest way to erase them is to go over the poster with a dry magic eraser! It takes it right off! MAGIC!

Hang up your banner!
I just use packing tape or painters tape on the bag to attach it to my fence! If attaching to a wall, stick with just painters’ tape!

They make great photo backdrops!

I have really enjoyed making these fun signs! They really aren’t too time-consuming! I also don’t fret if something is crooked or not right- because it is butcher paper and will be thrown away eventually!


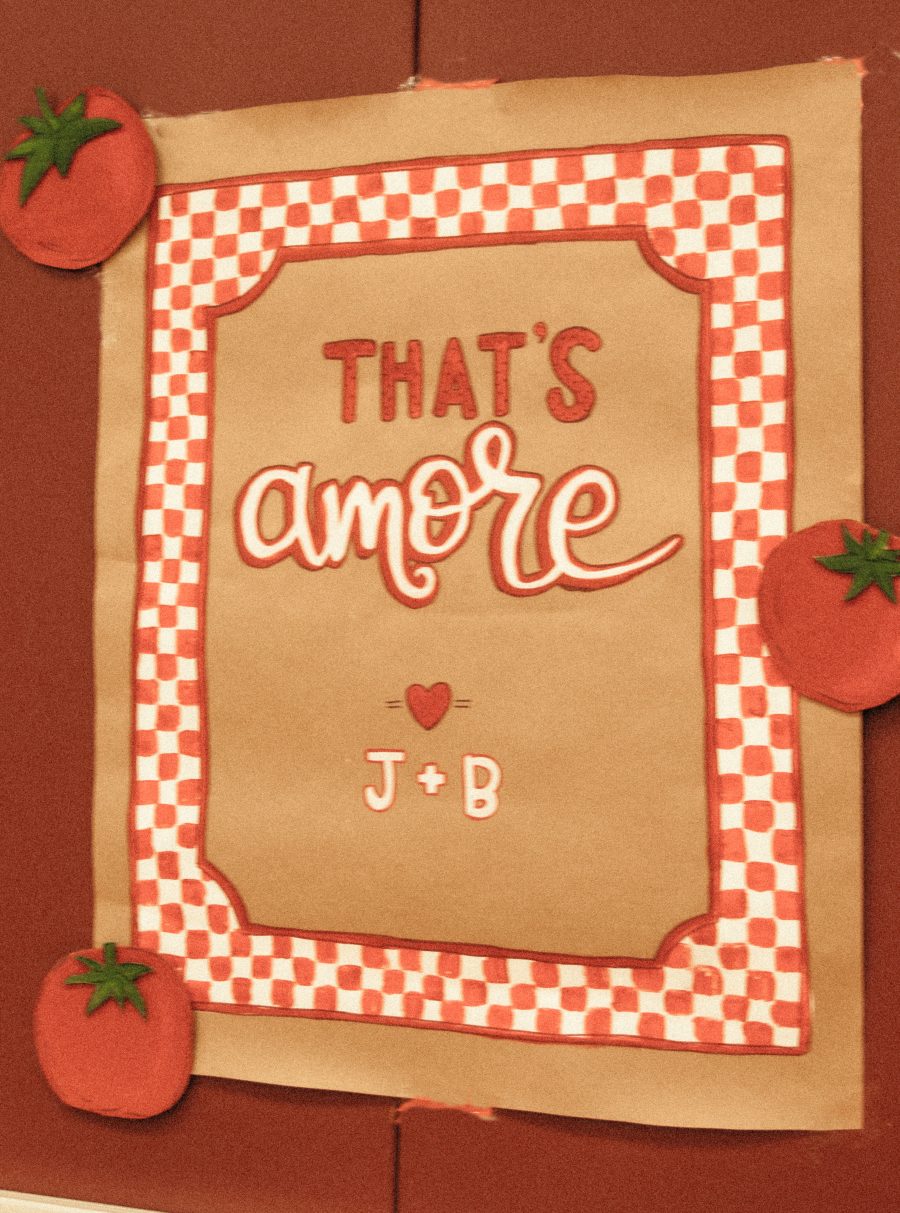
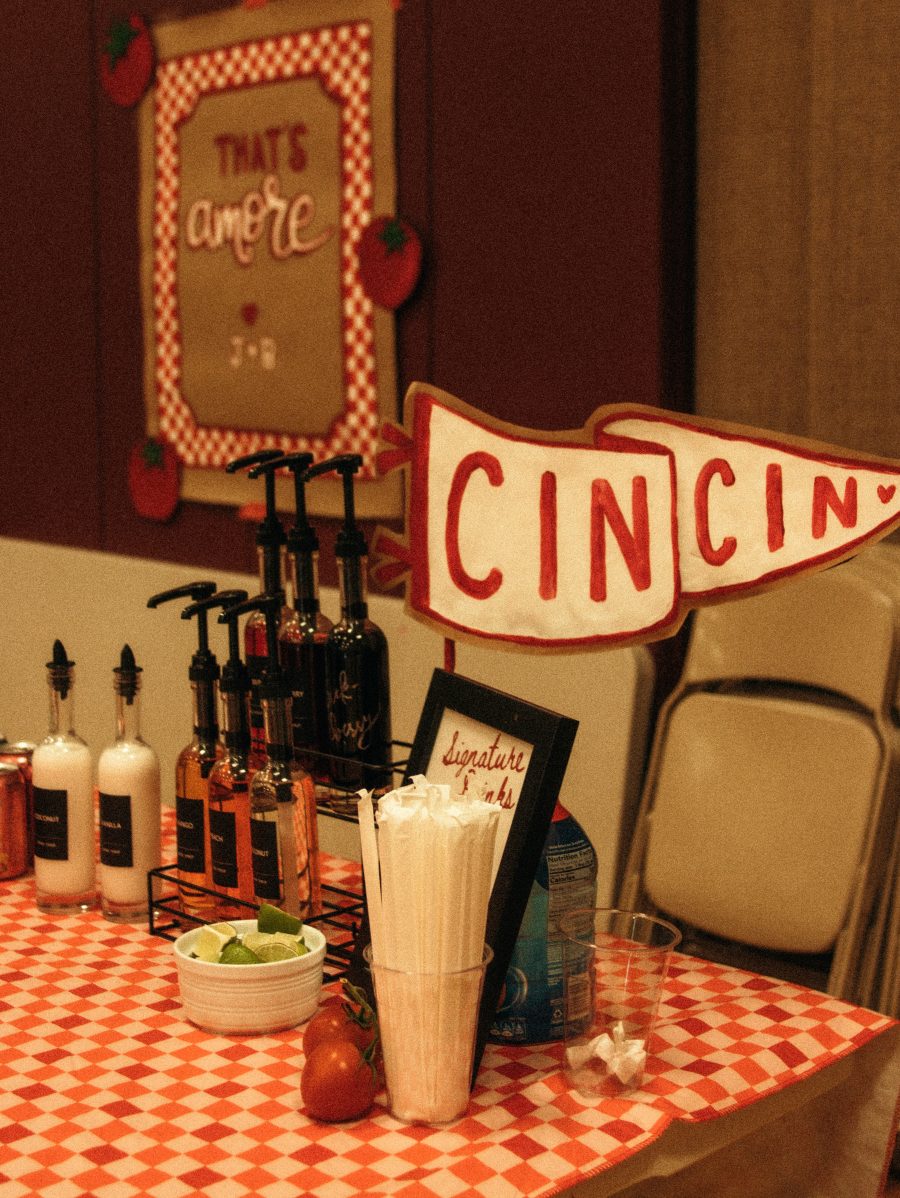
I made this for my daughter’s luncheon after getting married. We had pizza and decorated with tomatos and checkered tablecloths! It was pretty cute!
Save for later
Too busy to get crafting today? No problem! Pin this post to remind yourself about this project later! Sharing my projects helps me reach more people, allowing me to continue sharing free content!

Other fun craft projects
If you like this project- you might like these projects

Leave a Reply