
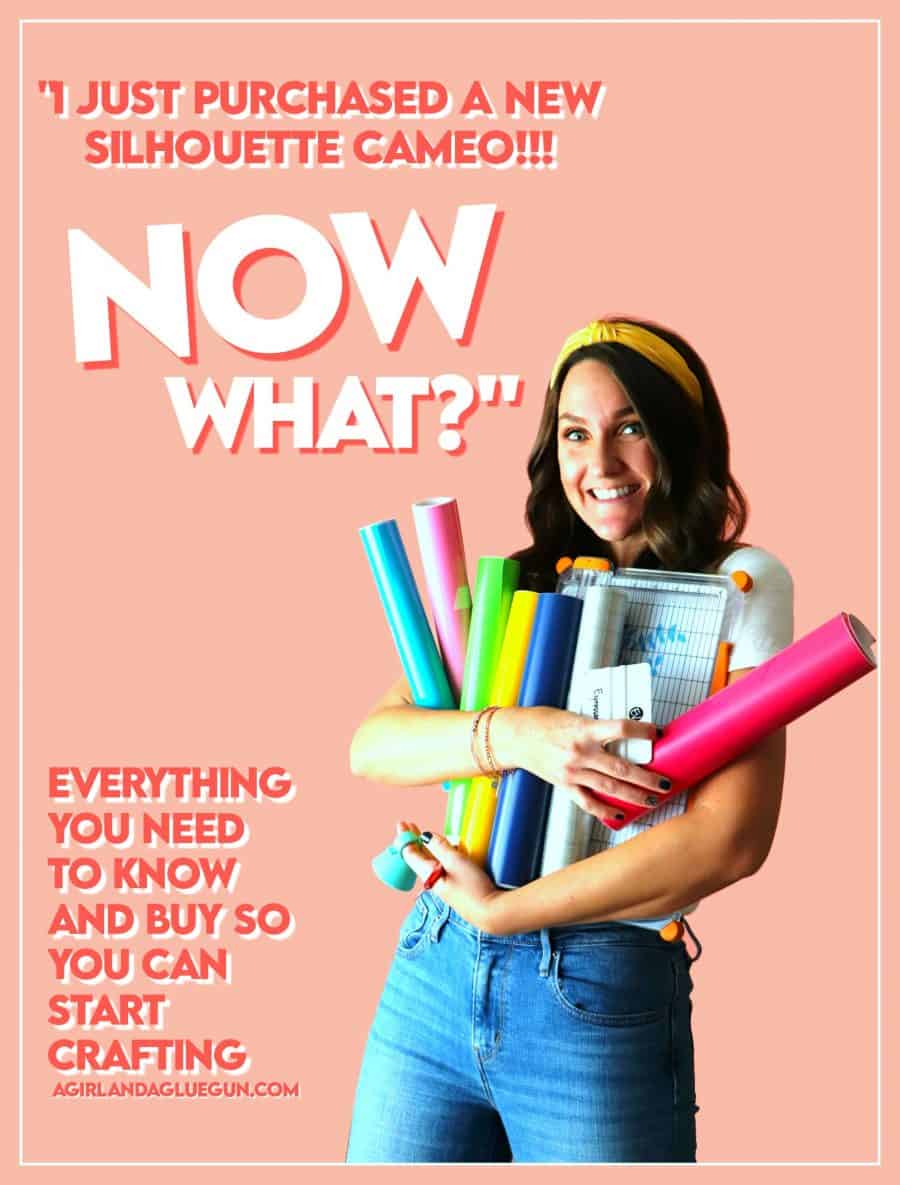
I get asked all the time on social media:
“I want to buy a cameo 4 but I don’t even know what I would need to get it up and running. I’m so overwhelmed.”
OR
“Help…I bought a cricut. now what? What should I buy?”
OR
“I bought a cutter, and a heat press, and 500 sheets of vinyl. and a mini iron. and epoxy. And sticker paper. And 23 tumblers. Where do I actually start?”
HERE. You start RIGHT HERE! I’ve got all the info for you so you can jump right into your cricut/cameo and never look back!
This post may contain affiliate links. If you purchase something through the link, I may receive a small commission at no extra charge to you.
Cricut or silhouette cameo?
First things first. If you have not purchased a cutter yet and are still trying to decided between a cricut and/or cameo- I wrote up a blog post with a comparison (it’s comparing the cameo 3- and the cameo 4 has even more bells and whistles!) Both are awesome machines! They really are. It’s all personal preference. What makes the silhouette cameo my winning machine is the software. The basic softwares are both available for free for Design Space and the Silhouette Studio- so you can download both and play around before you even purchase a machine!
Here are some Cameo 4 bundles that are a great deal:
Getting started with your machine.
Silhouette Cameo:
Cricut:
My friend Sweet Red Poppy has put together a whole course- cricut made easy. It’s not free–but it comes with 19 modules- printables- and cut files. It’s very well organized so definitely worth the splurge.
Supplies you need with your cutter
Blades:
Each machine has a variety of blades that are compatible with it. The cameo 4 has a craft blade, rotarty blade, deep cut blade, and punch blade. And check out all these different blades for the Cricut. Depending on what you are cutting-depends on what blade you are using. If you bought your machine to use with paper or vinyl (which is 90% off the people I talk to) – stick with the blade that comes with machine. As you grow and learn, you can branch out into different blades!
Blades are not interchangeable between machines- the housings are different sizes.
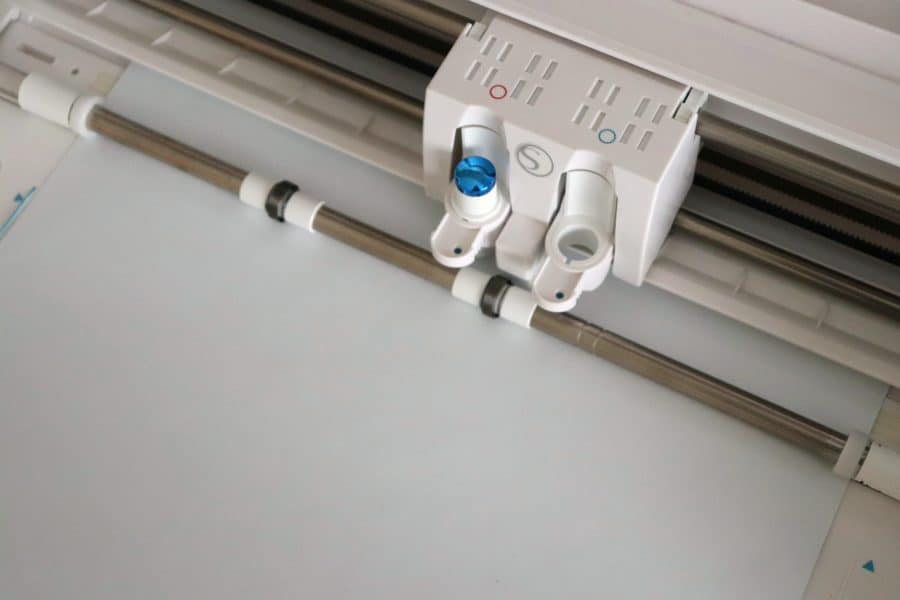
Mats:
Mats come in different stickyness. light, normal, and strong. 100% honesty here. I have only used the normal. I have never come across a need to use a light or strong mat. If my mat has lost a little stickyness- I add some painter’s tape to hold my material in place. I’m sure there are materials out there (like vellum (light tack) or fabric (strong tack) But I don’t cut those often enough to justify buying those mats. KEEP in mind- if you use a strong tack mat with vinyl or cardstock- it can cause it to rip! So don’t confuse mats!
Mats also come in 12×12 and 12×24. I actually cut my vinyl without a mat (to prolong the life of my mat) I don’t think that option is available on the cricut. But that means when I do use a mat- I’m only using it for vinyl scraps or scrapbook paper so the 12×12 is perfect for me! This is Silhouette Mat I use.
I have heard that nicapa are good mats too- it’s a knock off brand that is priced right!
Mats can technically be used interchangeably- I believe the silhouette border along the edge of the mat is a little smaller so you have to adjust for that when cutting.
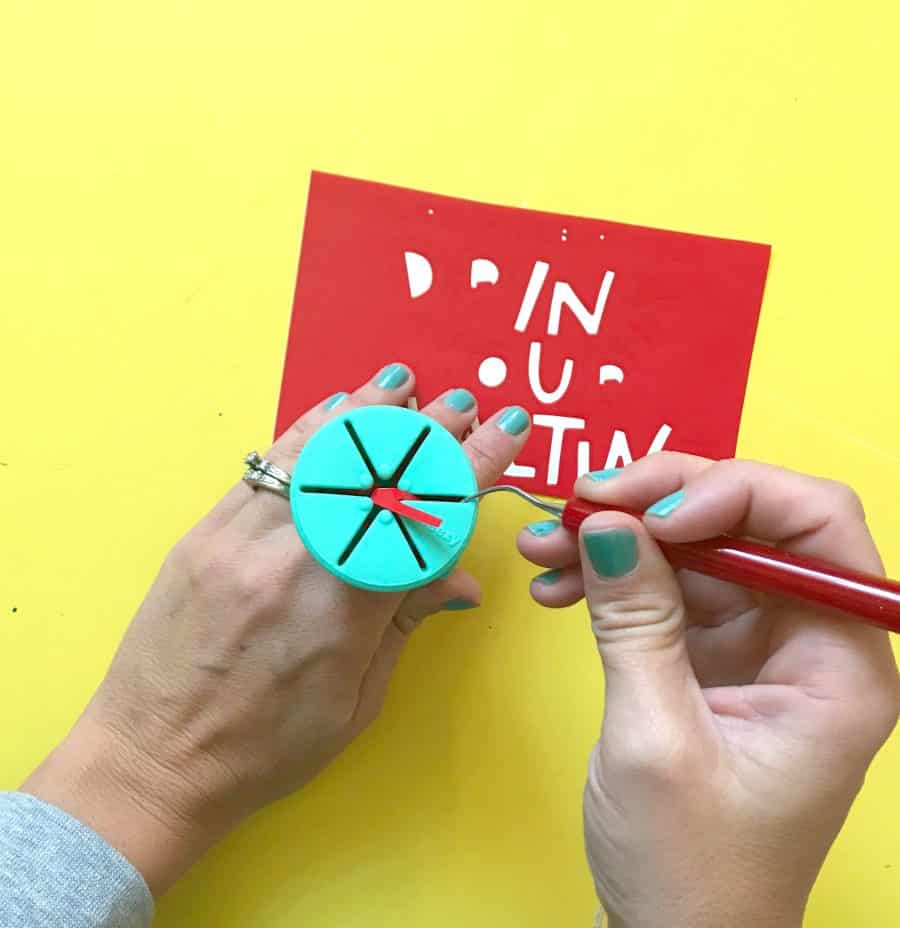
Weeding tools
Weeding tools are things that DEFINELTLY make your life easier- but you can weed with just your fingers- so I’m labeling it a want not a need. People have used LOTS of different things to weed. Exacto knife, straight pin, tweezers, and my personal favorite- a weeding tool (looks like a dental tool). You can play around and see what you like best- Most of these you might already have on hand. The weeding tool from Expressions Vinyl is my favorite because it’s heavy duty, it’s sharp and I love the rubber handle on it! You can score a set of 4 of these from harbor freight- but they aren’t has heavy duty and don’t have the grip on it!
Grab my Favorite Weeding tool here!
Application tool
Application tool- This is used when you are applying transfer tape to vinyl or vinyl to a project. It helps you rub it and get it adhered really well. You can use an old gift card or a popsicle stick. I got one of these application tools in a mystery box from Expressions Vinyl– and I love how heavy duty it is. I don’t have to worry about breaking it (I’ve broken a few popsicle sticks in my day.) I also love that it’s a little bigger than other ones that come with the machine so I can actually grip it. 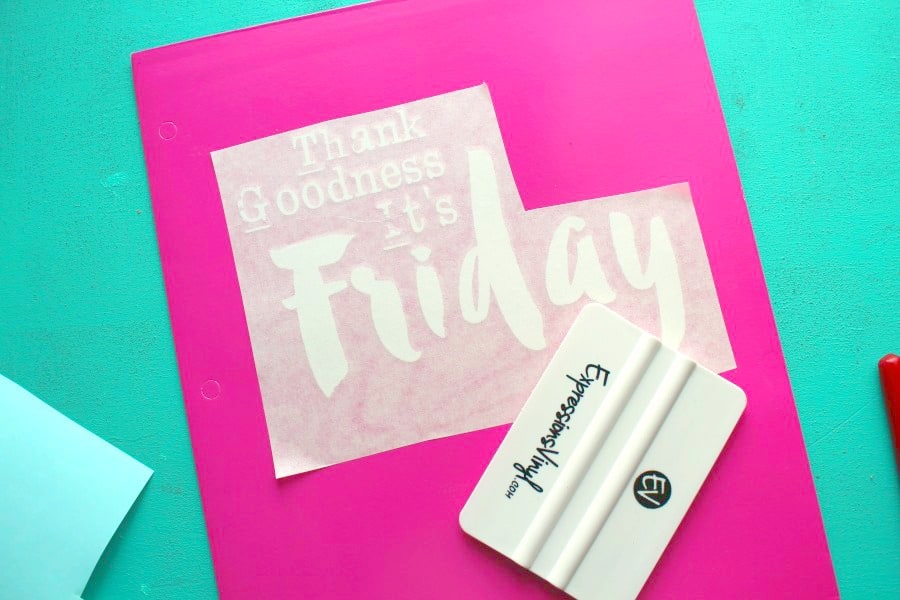
Heat Press/iron /Easy Press
If you are going to be using Heat transfer vinyl (heat activated vinyl that you put on clothing) You need a heat source. I used an iron for MANY YEARS. (go here to read how) But I did upgrade to an easy press. It is a little more heavy duty and I love how big it is. If you have the room and plan on doing shirts on the regular (think small business) I would recommend using a heat press.
Other Tools
Each company offers a variety of different tools. Full disclosure- I have quite a few. I use none of them. The only one I have touched in the past year is the spatula tool- it helps get off small pieces of cardstock that are stuck to your mat.
One random tool that I stumbled upon and loving is this tweezy--It’s technically a nail polish holder- but it’s perfect for putting small pieces of vinyl in it instead of trying to stick them to something else! But it’s just a fun little thing to have- doesn’t make or break your weeding experience.
I also have a post on where I buy my vinyl blanks here (things to put vinyl on)
As well as my favorite soft cheap shirts to put Heat transfer vinyl on
Cut Files
Cut files are designs that people have created that you can upload and cut out! Cricut and Silhouette both have stores that you can buy gorgeous designs from. One thing to keep in mind- if you are selling projects made with cut files or fonts- you need to make sure they come with a commercial license.
I have lots of free cut files here.
Materials
Both machines can cut out so many things! The silhouette materials include tattoo paper, scratch off sheets, and magnet paper! (you can check out this post that has a rundown of all the fun things)
But for the most part- People usually only cut two things- paper and vinyl! So we are going to focus on those!
Paper:
The paper I like is regular cardstock that you can buy in big packs from craft stores I like to use double sided (I make a lot of paper flowers) The kind to stay away from is the paper that has the white on the inside- If you tear it- you can see it. It doesn’t look good when the cutter cuts it out because you can see that white edge. I also try not to grab the paper that has a texture to it- I can cause it not to cut through all the way.
Vinyl:
Vinyl. There are soooo many places that sale vinyl- So many options. So many prices. It can be so crazy overwhelming. Over the years I have learned- you get what you pay for- and using cheap vinyl that doesn’t cut well, doesn’t weed well, and/or doesn’t adhere well will make you HATE using your cutter! It’s frustrating to spend so much time cutting stuff out and then have it fall off the cup you put it on! So I stick with one company.
Expressions Vinyl! I have used them for years! YEARS. They stand behind everything they sell. I’ve never had any problems with anything I’ve got from them. The brands that are well known and quality are Oracal (sticky back vinyl) and SISER (heat transfer vinyl) They sale those (and so many other kinds! you HAVE TO check out their opal-it’s so shiny AND their patterns!) It’s comfort to have a one stop shop for vinyl that you know is going to hold up!
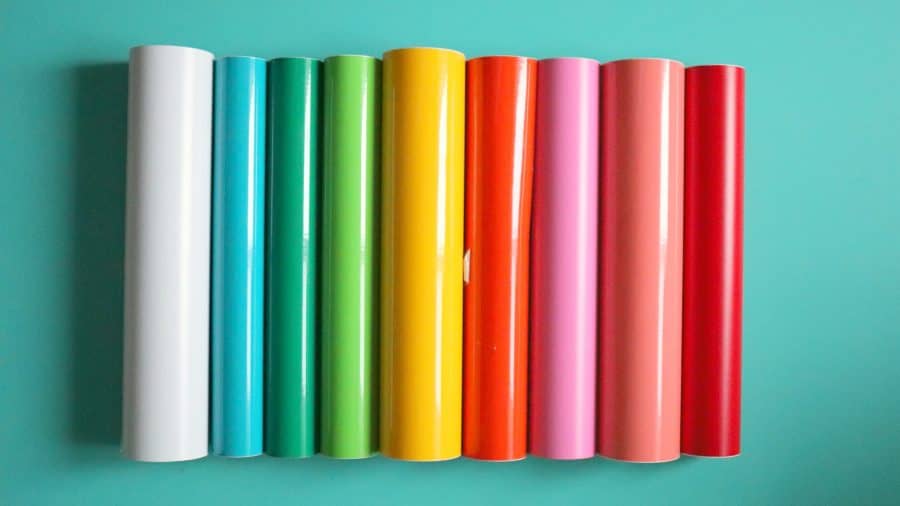
There are lots of different kinds of vinyl- removeable adhesive, permanent adhesive, glitter, opal, flocked heat transfer, stretch heat transfer vinyl, glitter heat transfer vinyl (heat transfer vinyl goes by htv or iron on as well)I’ll be going into more detail about these in another post- but here is a quick rundown.
Adhesive: Removeable adhesive (sticky) is great from walls, permanent adhesive is great for cups and signs. All the kinds of adhesive (sticky) fall into those two categories. You need transfer tape to apply your design to your project
Heat transfer vinyl is vinyl that is heat activated to apply onto fabrics ie pillows, bags, shirts hats etc. Expressions Vinyl HTV comes with the carrier sheet already on top of the vinyl- so you don’t need to buy anything else to go with it.
On the bottom of each product on expressions Vinyl website they have instructions on how to use it!
If you are just starting out- don’t go too crazy (each different kind of vinyl requires different cut settings) I usually buy sheets of oracal 651 (adhesive)and sheets of siser easyweed (htv)
Both the Silhouette and Cricut can make stickers! It’s called Print and cut for silhouette and print then cut for cricut. You can purchase the inkjet sticker paper from EV as well! Here is the tutorial for Silhouette

Transfer Tape:
Transfer tape is what you use with adhesive to transfer your vinyl to your project. You will use your application tool with it to get it stick really well. Once again- I see lots of people popping up in facebook groups complaining about transfer tape. LOTS of different kinds. Different stickyness levels. I have tried every single one of Expression Vinyl and it’s been dreamy. I personally love the gridded one- but the paper used to by my favorite! It’s another one of those things that will frustrate you if you skimp and buy some that doesn’t work! Stick with the good stuff!
I don’t know why, but people never like to cross brands. But there are so many fun materials that each company offers- Once you are comfortable with your machine- try them out! If you use some silhouette tattoo paper with your cricut- you will have to adjust the settings a little bit- but don’t be afraid to experiment!
If you want more help with your silhouette make sure to check out all these posts: silhouette Love
And if you want help with all things vinyl- check out these posts: Vinyl
If you found this post helpful- please share so others can find it too!
Leave a Reply