
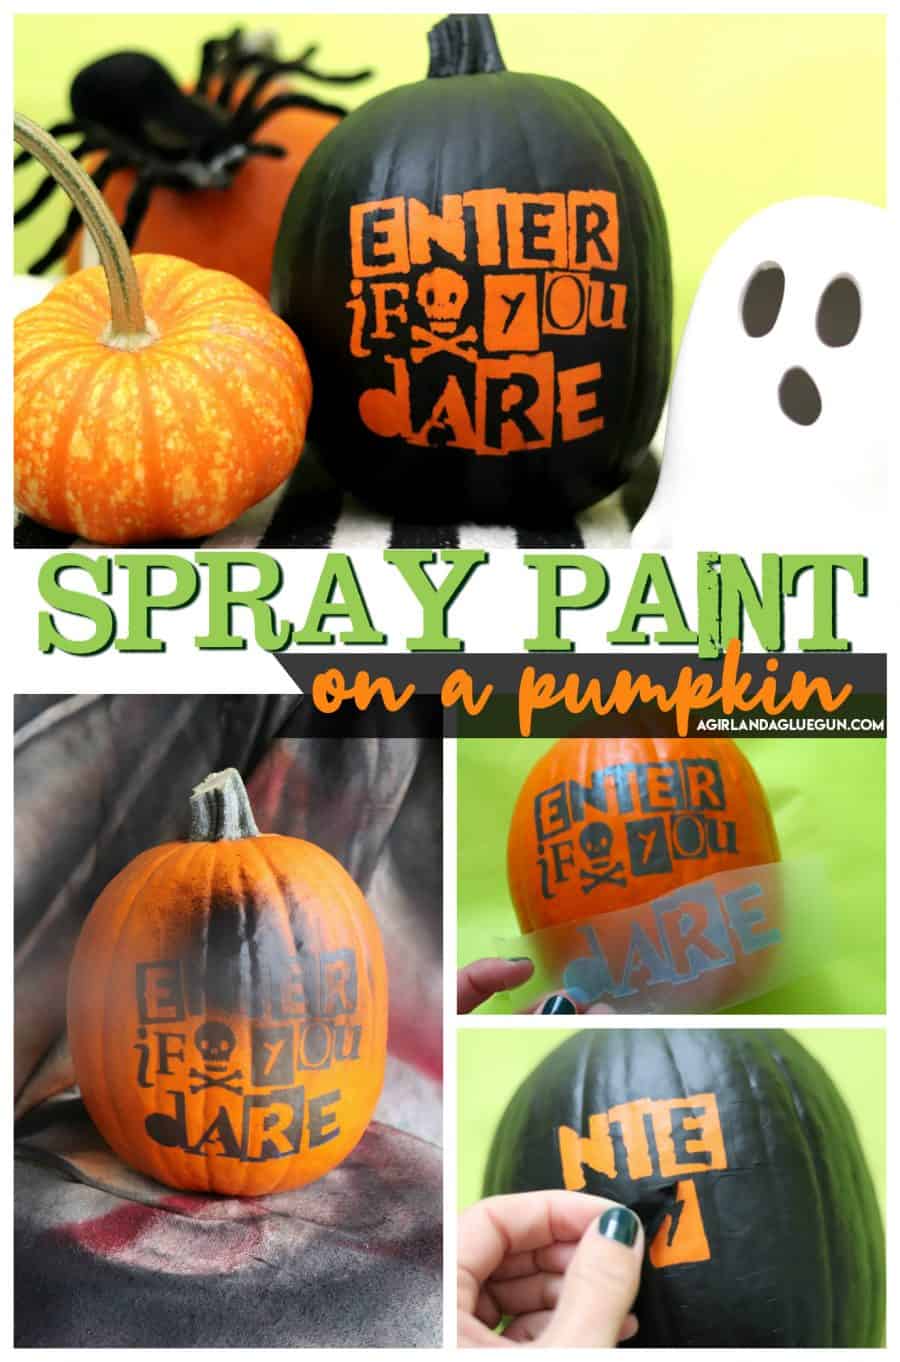
We’ve chatted before about how much I can’t stand touching the GUTS of the Pumpkin—so I wanted to show you how easy it is to spray paint a pumpkin! It’s a great way to decorate your pumpkin for Halloween!
 (You probably saw this little guy on THIS POST)
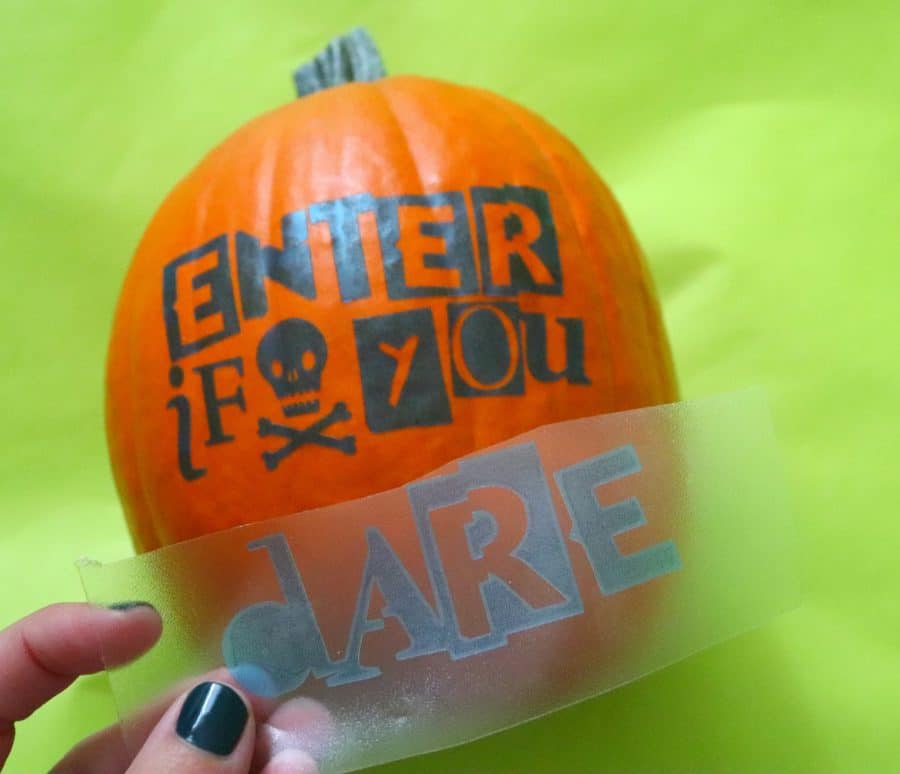
But I wanted to walk you through painting on a pumpkin–I used vinyl as a stencil! (actually oramask material)
How to apply vinyl to a pumpkin
Step one: Cut out the vinyl -You can get this (and 3 other) cut files here!
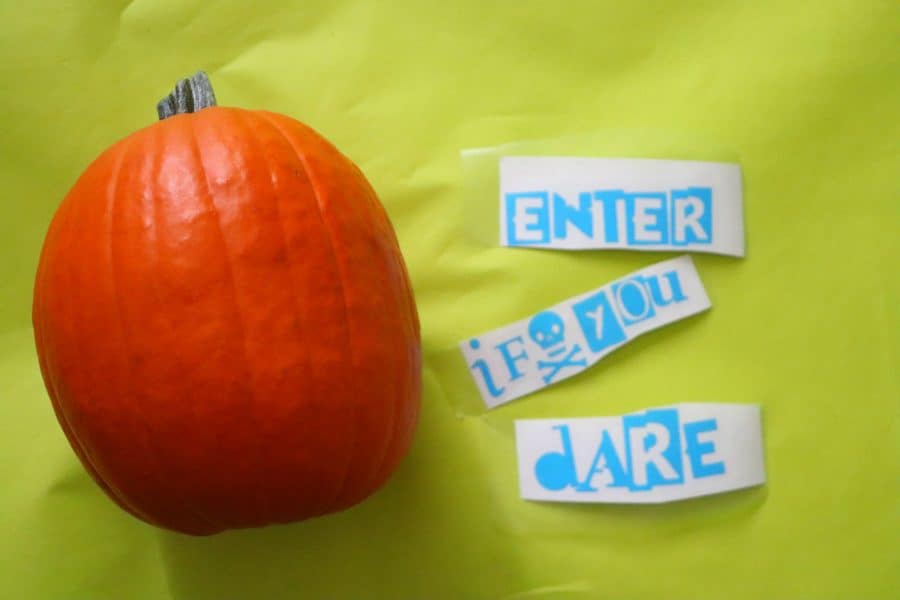
Step 2: Since it’s a curved surface–I cut it apart and applied it in pieces to avoid bubbles and going on crooked. If you have ever tried to apply a big piece of vinyl to a curved surface, you might know how quickly it becomes a hot mess.
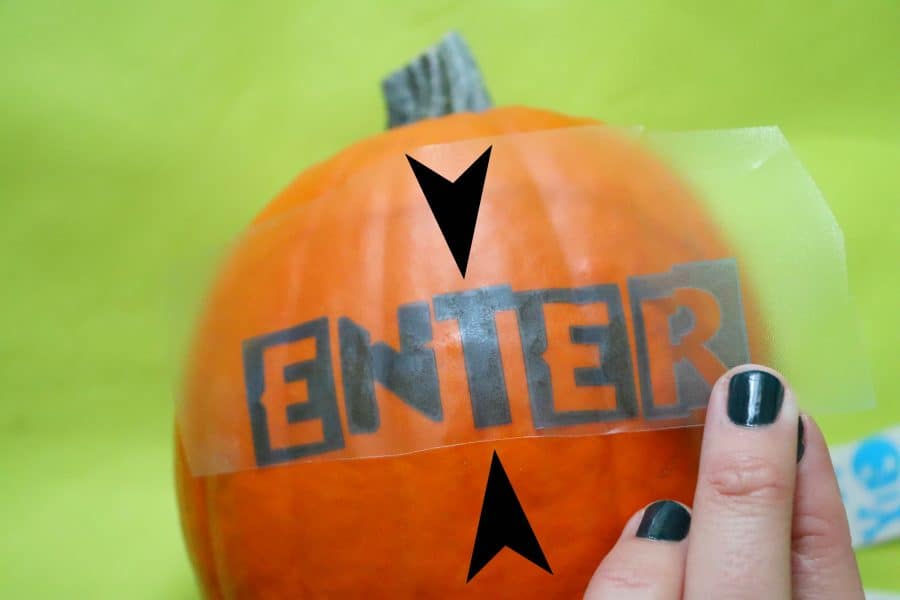
Start in the middle and press it going out to the edges. It’s similar to how you apply vinyl to a cup, but it’s has even more dips and textures so just go slow and rub it well to get it to adhere.
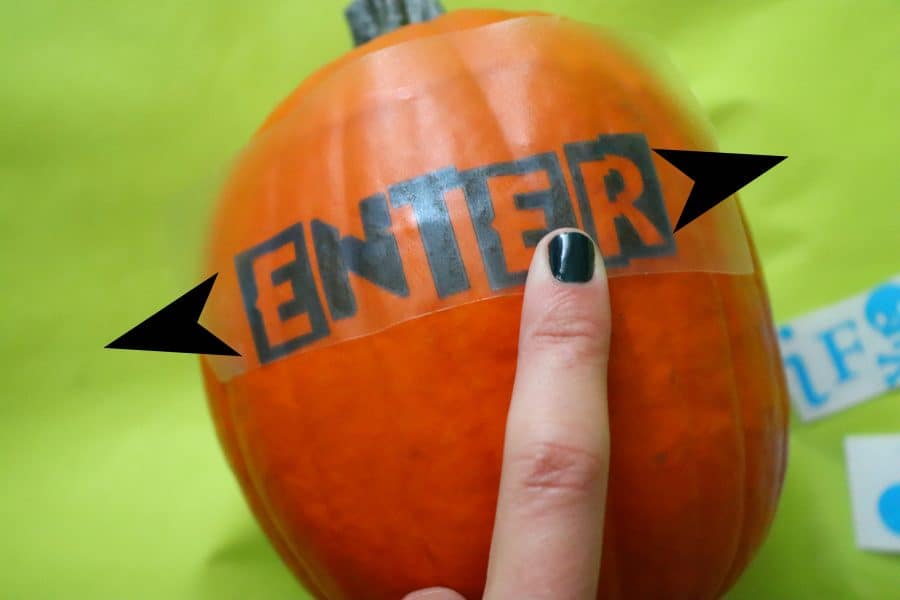
Apply each vinyl section the same way.
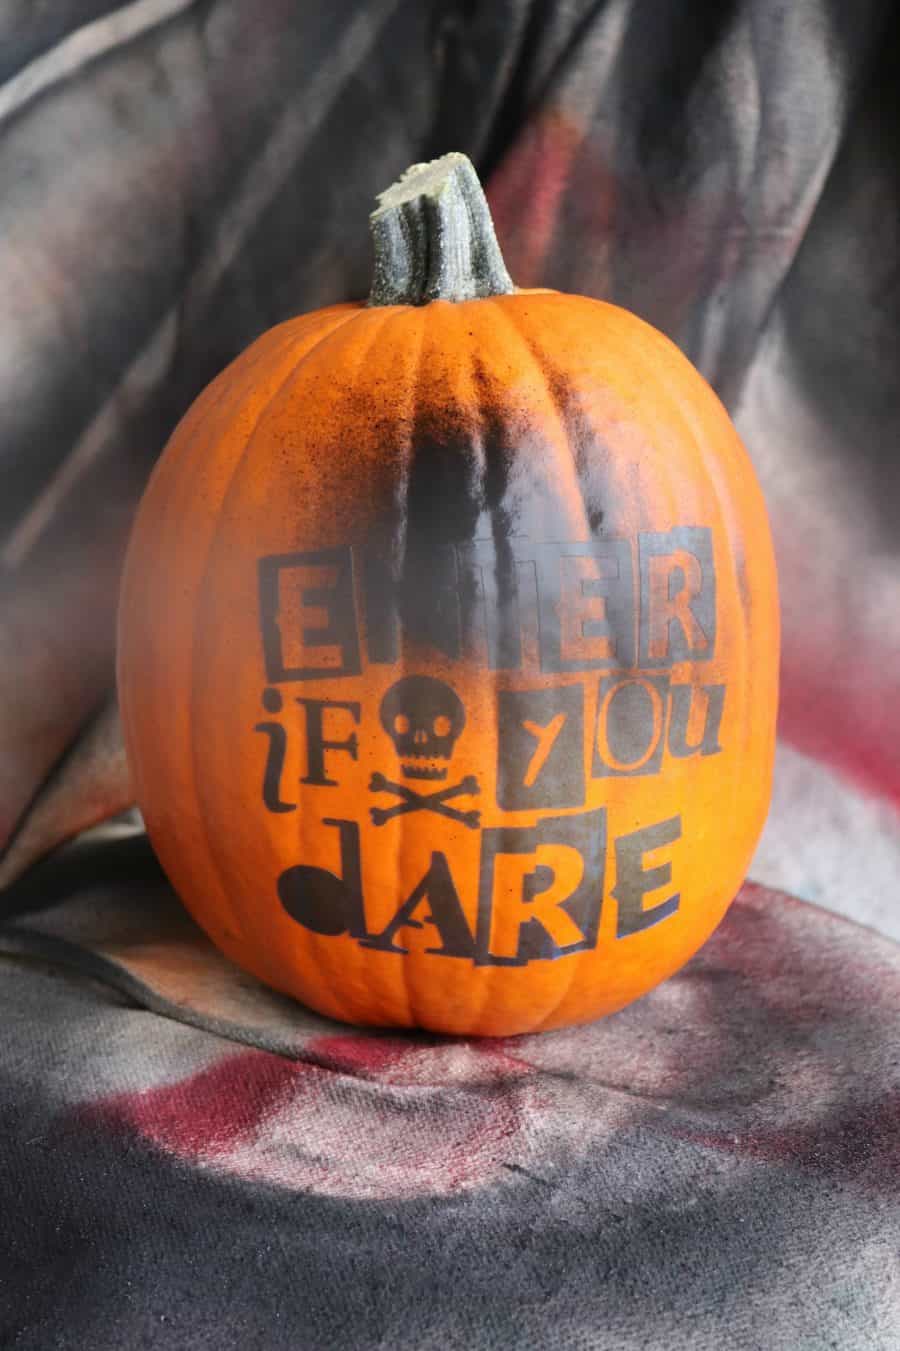
Once it’s stuck on really well- time to Spray paint!
How to spray paint a pumpkin
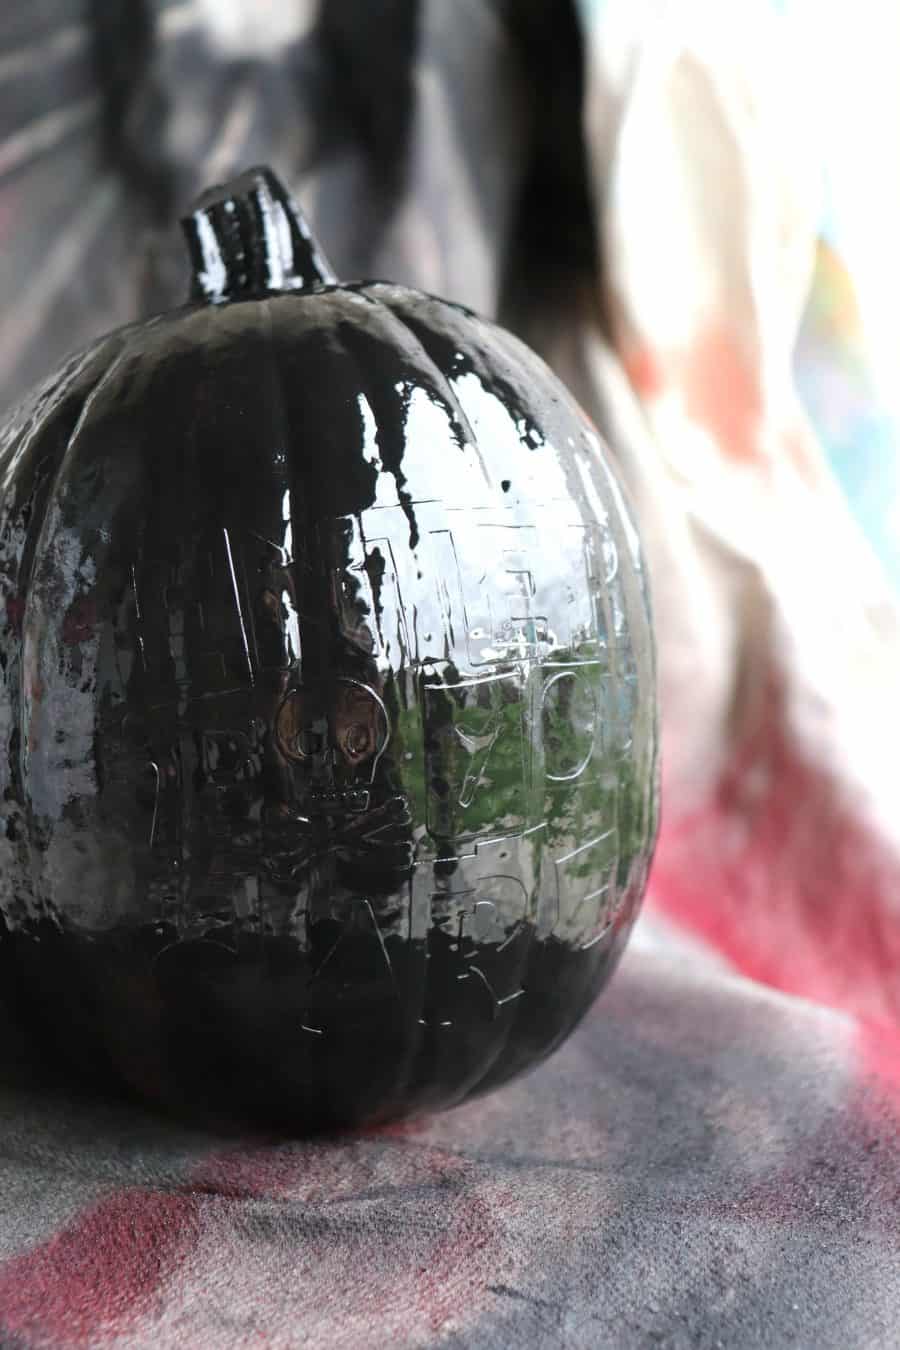
Light coats of spray paint it going to be your goal. I love Color shot spray paint in Matte so the Pumpkin isn’t shiny.
The spray paint goes on shiny but dries in a matte finish.
Before the spray paint dries- You are going to want to peel up the vinyl pieces. If it dries completely, it will peel up paint as you peel up the letters. Since it’s wet, It can get paint everywhere. Take a sharp tool (weeding tool or straight pin) to help pull it up.
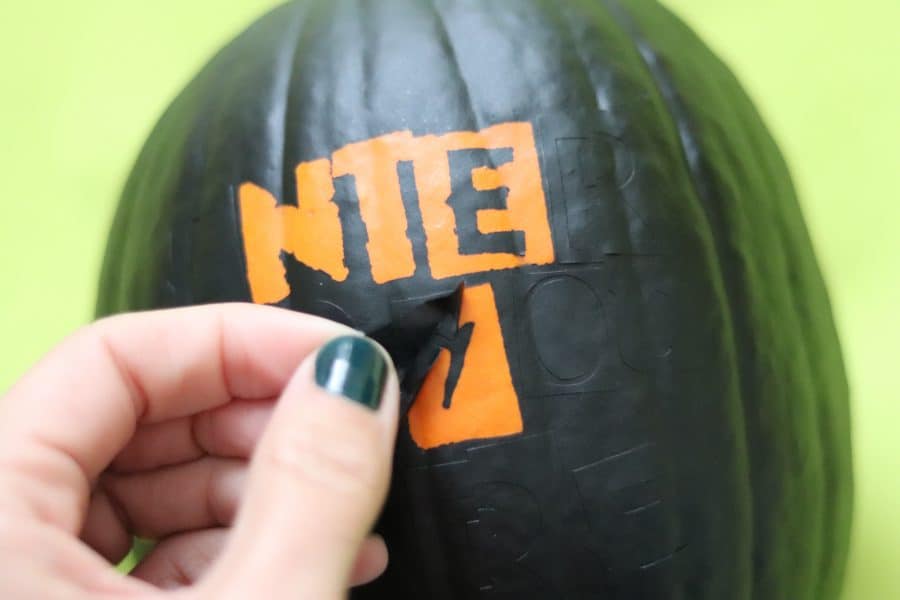
After it dries completely, you have a totally cute spray painted pumpkin that doesn’t make a giant mess of pumpkin seeds! Enjoy on your porch.
p.s. There is glow in the dark spray paint if you want to have a little fun!

Leave a Reply