
This DIY Apron rack doesn’t have to be expensive or complicated. There are plenty of easy and inexpensive ways to build your own storage solution for aprons. In this blog post, I’ll provide a few simple, step-by-step instructions for creating your own apron rack, so that you can save money and get organized at the same time.
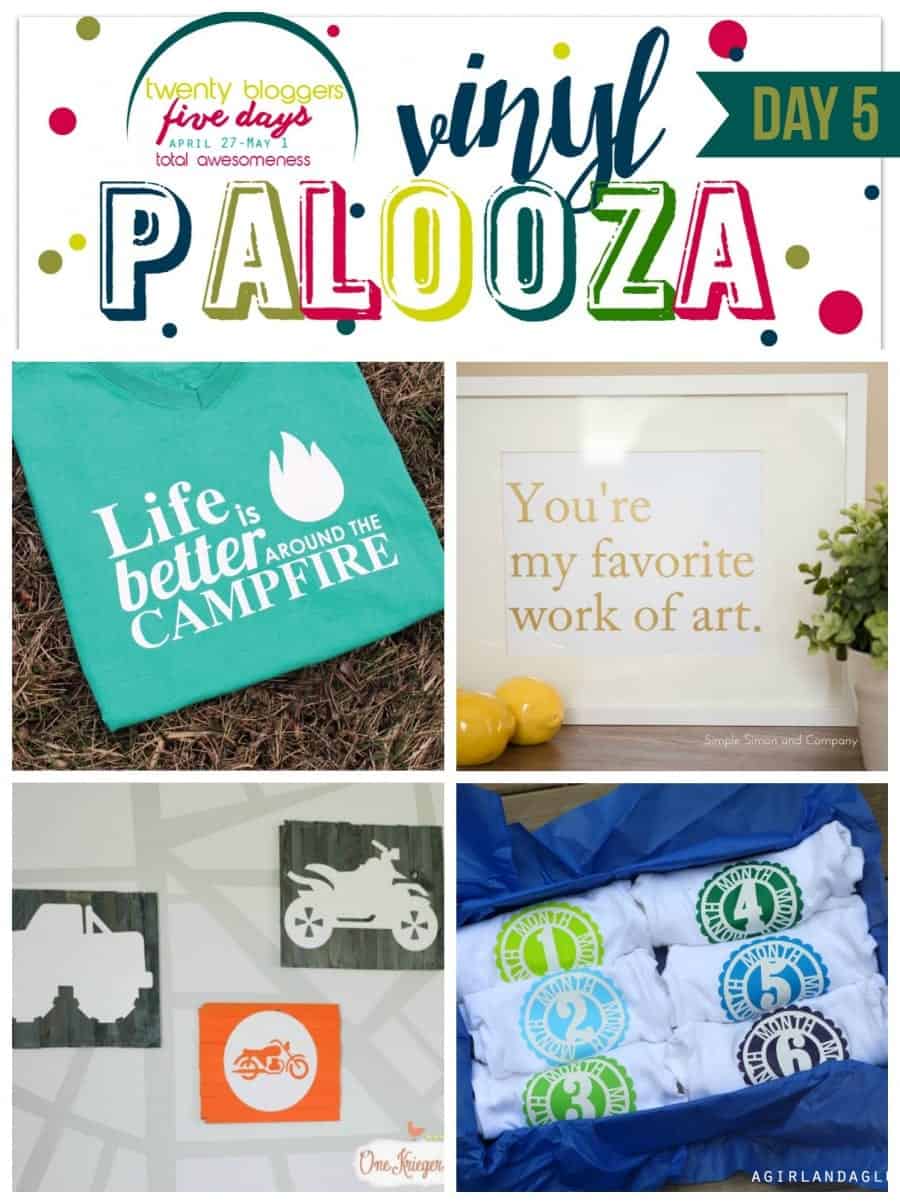
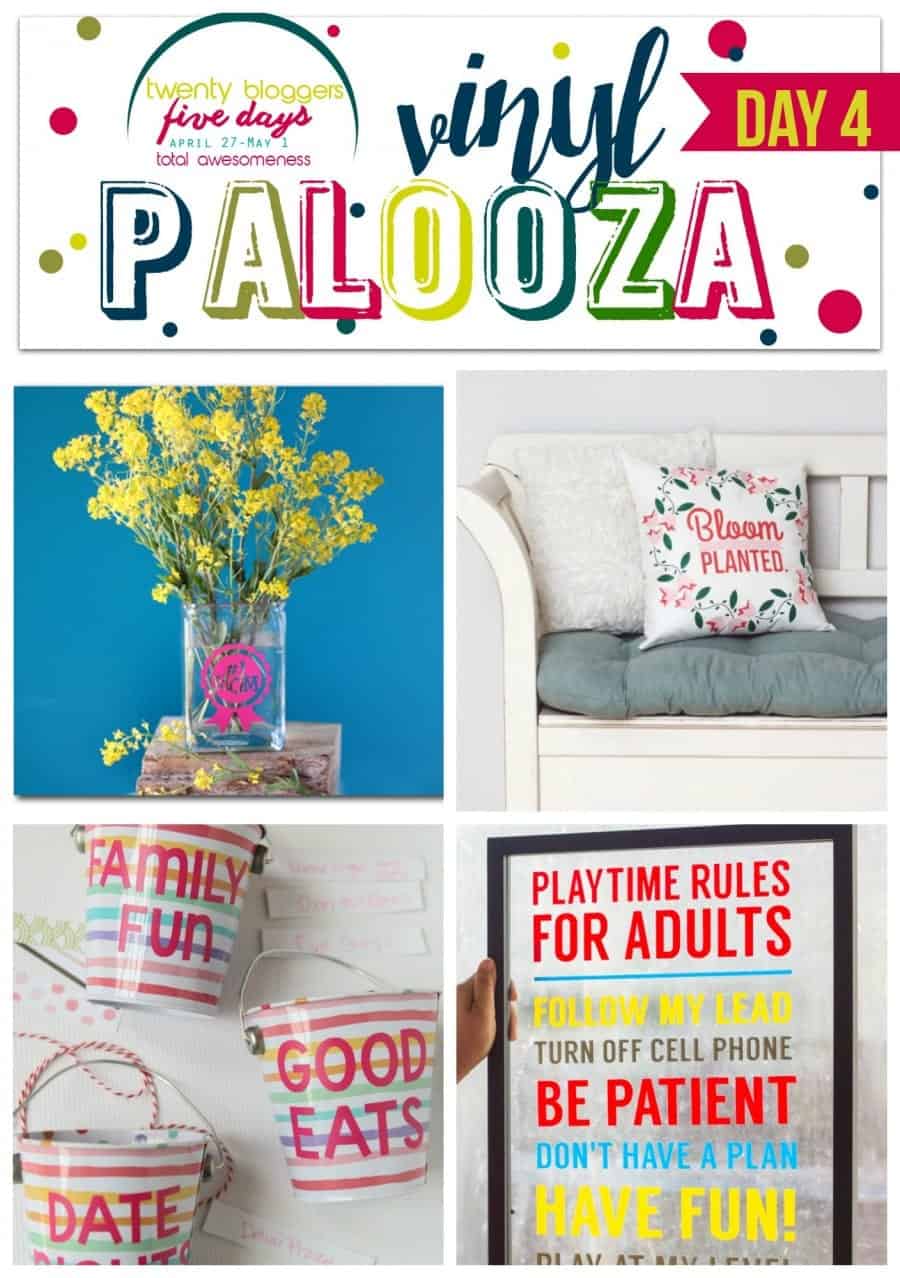
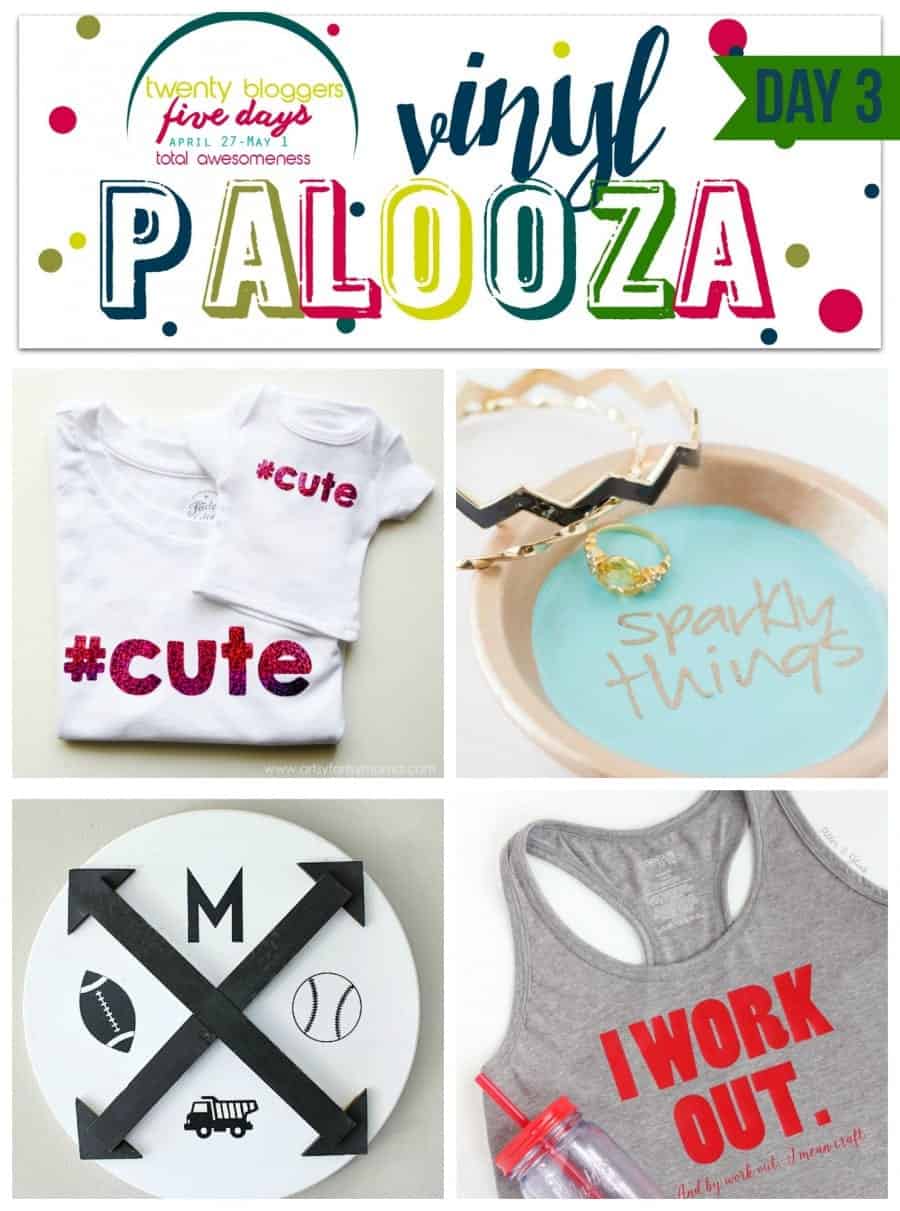
This is part of a fun Vinyl Palooza week by Expressions Vinyl!

20 AMAAAAAZING bloggers….(okay..19 and me.) have been paired up with tons of Expressions Vinyl to give you so much fun inspiration to get your vinyl creative juices flowing!
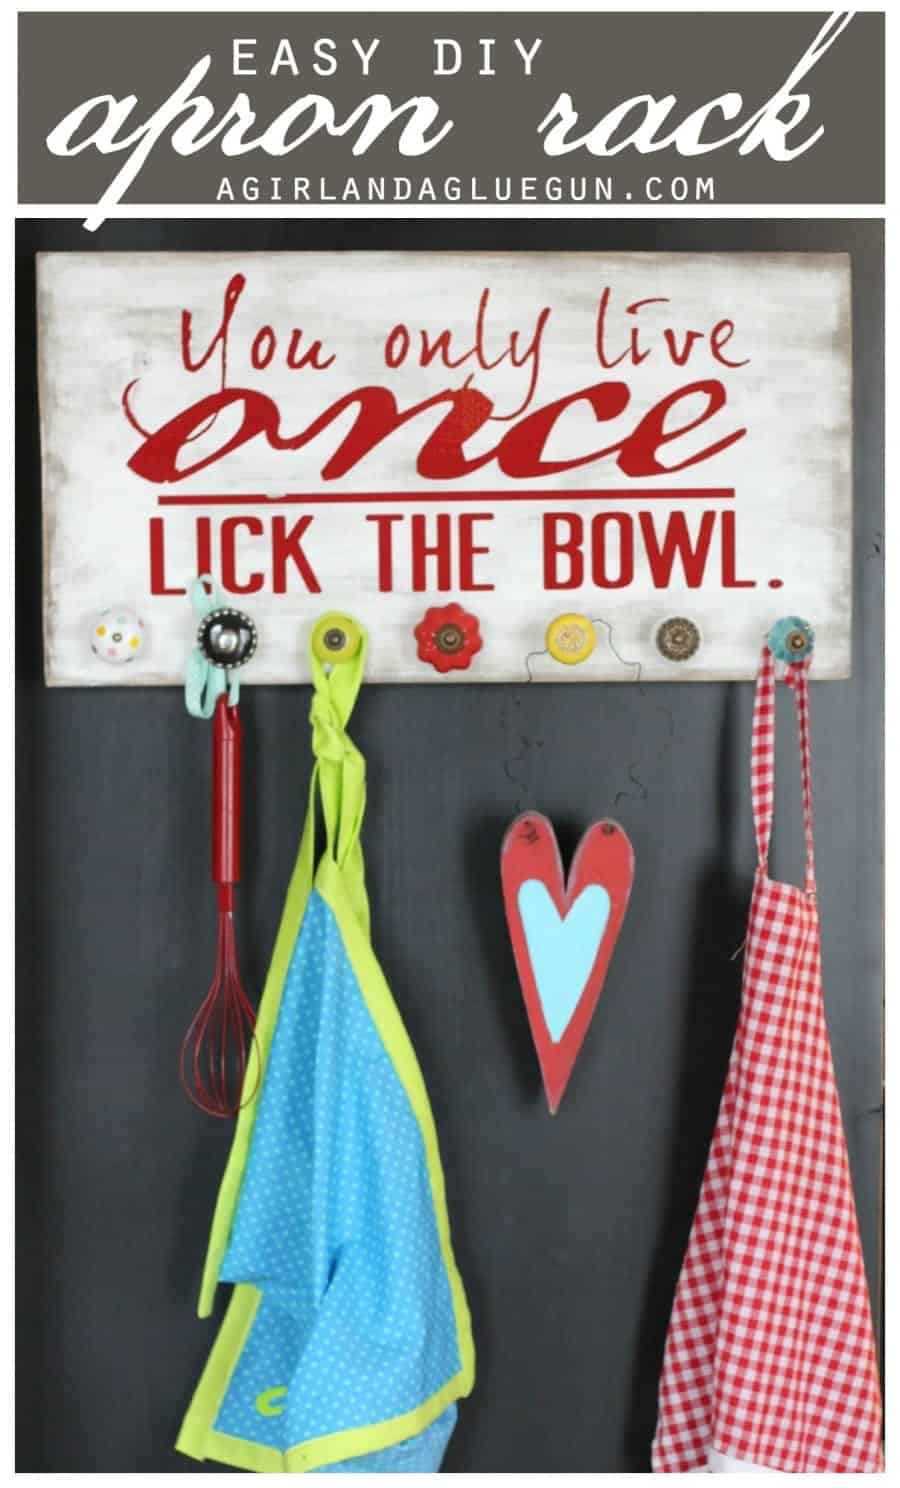
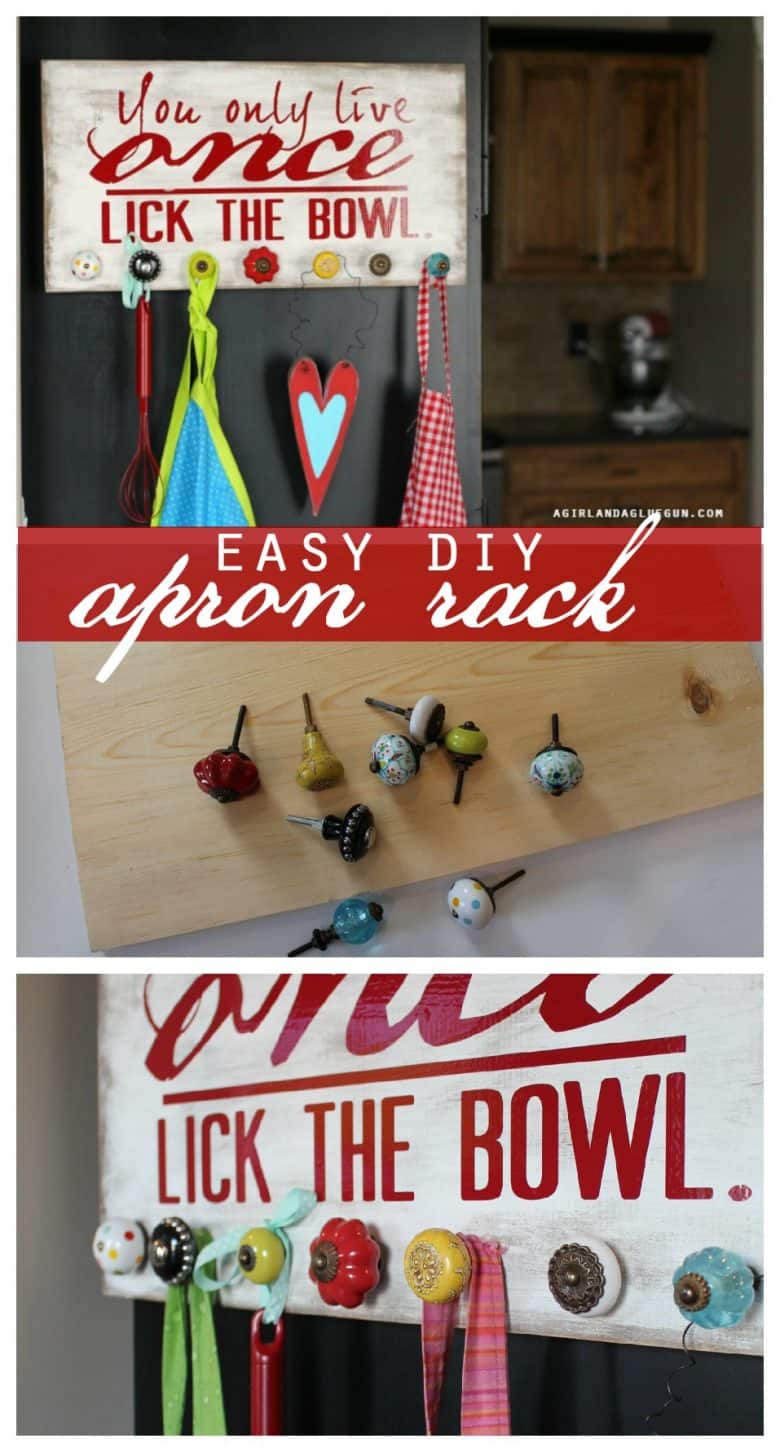
Today, I’m up with a DIY apron rack with a fun vinyl saying
Supplies to make a DIY Apron Rack
- Wood board
- stain or paint
- knobs or hooks(hobby lobby or home depot)
- vinyl
- Drill
- hanging hardware
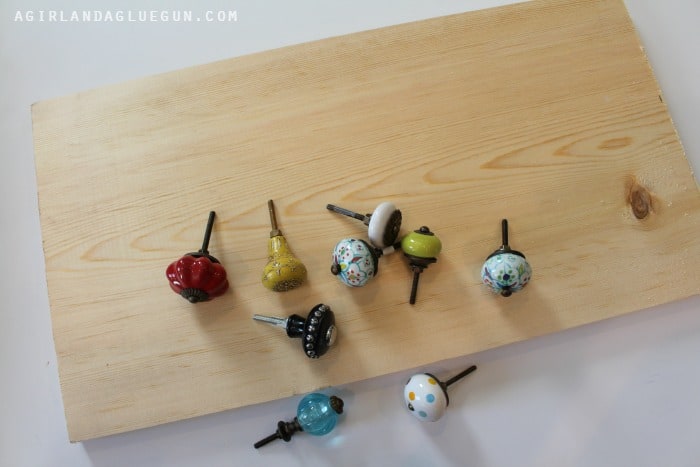
I scored some amazing knobs at Hobby Lobby (#knobheaven).
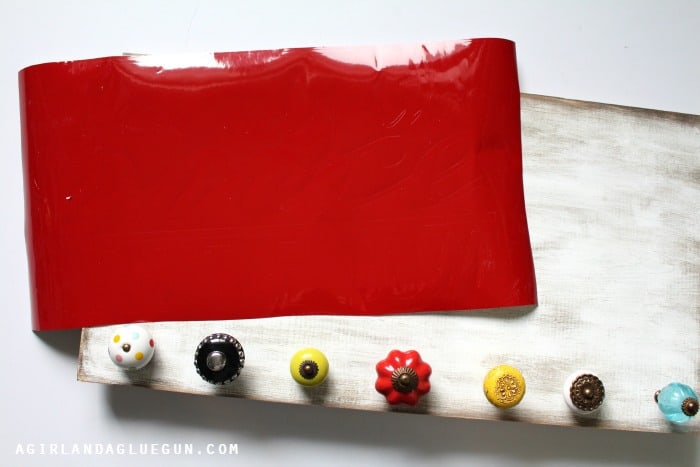
Home Depot will cut the wood down for you so you can just tell them your measurements. Mine is 12 inches by 18 inches.
How to make a custom apron holder tutorial
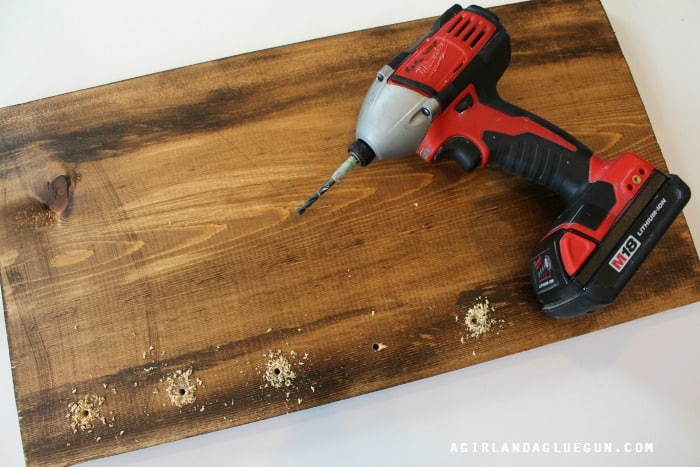
I stained the board and later painted it white for a distressed look.
Then I measured out even spaces and used a drill to pop holes into it making it easy to screw the knobs in!
Then designed what I wanted my vinyl to say!
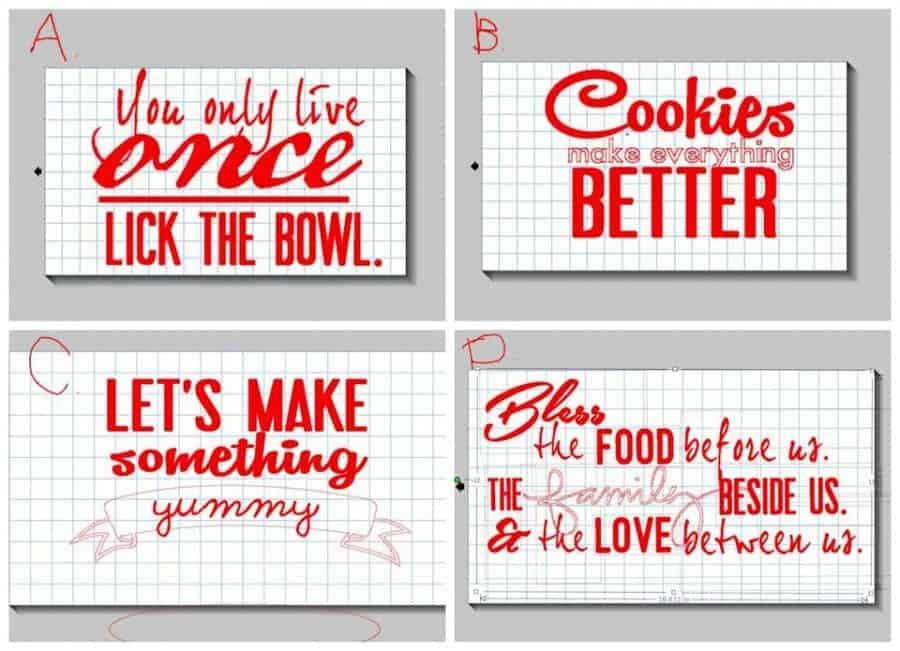
(and of course, I couldn’t decide so I asked on Facebook…and the winner was A!
Electronic Cutting Machine:
These are some of my favorite silhouette machines!
All these free SVG files are compatible with the Cricut design space software and Silhouette Studio. I have a silhouette cameo that I use almost daily and LOVE. If you are new to silhouette, I did create a whole Silhouette Love series! I just want everyone to love their silhouette as much as I love mine!
- Silhouette cameo 4
- Silhouette Cameo PRO (cuts 24 inches wide)
- Cricut Maker
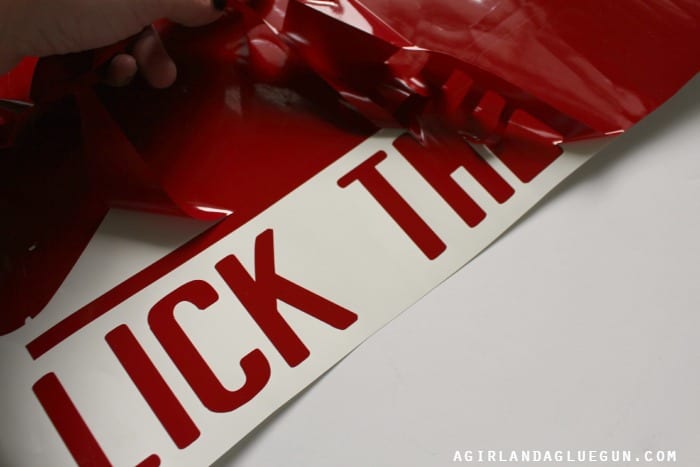
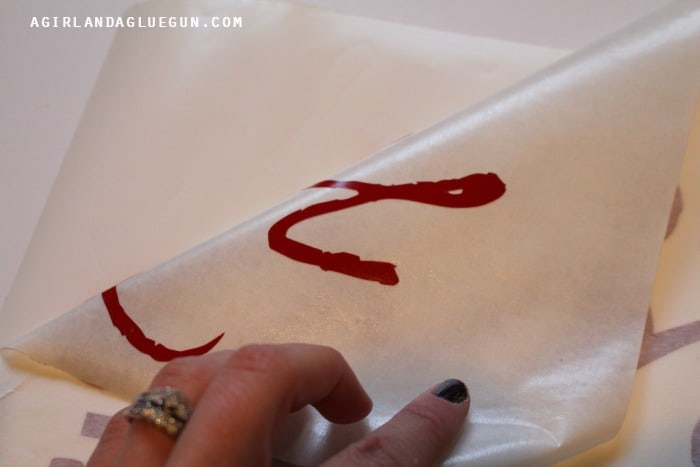
I weeded (pulled away all the extra vinyl that is not part of the design! ) Then take a piece of transfer tape and lay it over the vinyl and rub it so it really sticks to it. Peel up the corner of the transfer tape and the whole design should be stuck to the transfer tape (this makes it so you don’t have to peel and stick each individual letter!)

Then take the transfer tape, hover above the project and get it all lined up, and then lay it down and then another good rub! Take the corner of the transfer tape and peel it up…The vinyl should be stuck to the project (if parts of it come up with the transfer tape you can just lay it back down and rub it again!)
The stain on the board can be a little oily and that sometimes makes it difficult to get the vinyl to release onto it! Just go nice and slow!
I used permanent vinyl and is a bit more glossy than the removable…and that makes a wicked glare on it for photos!!!
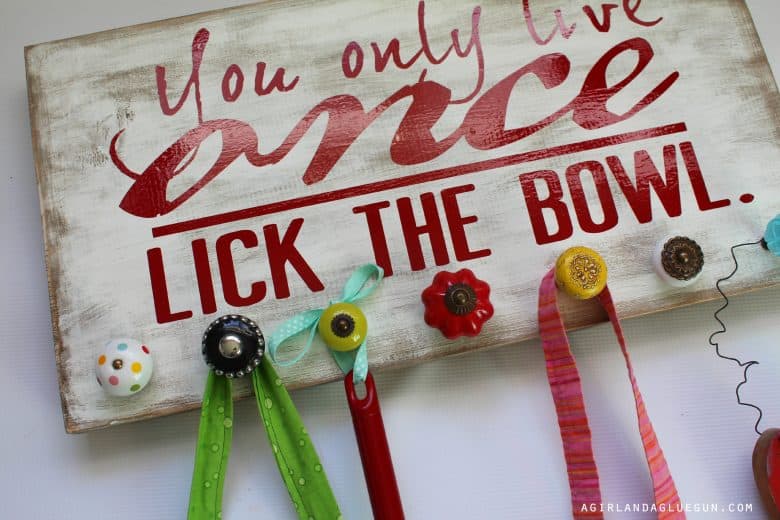
Then just hang up using a hanger hardware or command hook. Then and add your aprons, some fun signs, old whisks, or wooden spoons as decoration.
Make sure to check out these fun apron pattern

Here is a sneak peek at all the amazing projects!
Steph @ Crafting in the Rain says
All those pretty knobs!! Love this idea 🙂
Stefania says
Hi!
I’ve got a Creatività Organizzata post that links to your apron rack http://www.creativitaorganizzata.it/2015/05/04/attaccapanni-con-decorazioni-in-vinile-tutorial/
Salena says
Your sign came out perfect!
Is yours about 12″H x 18″W? Or a different size?
Kimbo says
yes…right around 12 x18!