
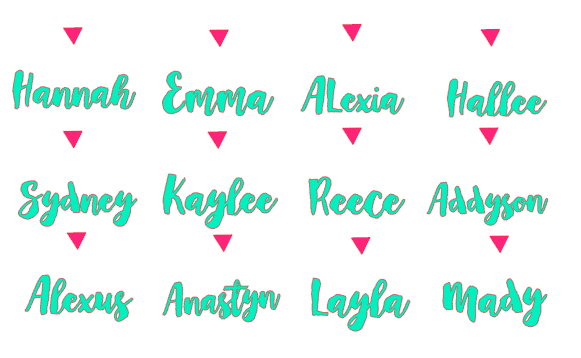
We were having a fun tea party for a church party….and I got a hair brained scheme to make each girl their own cup.
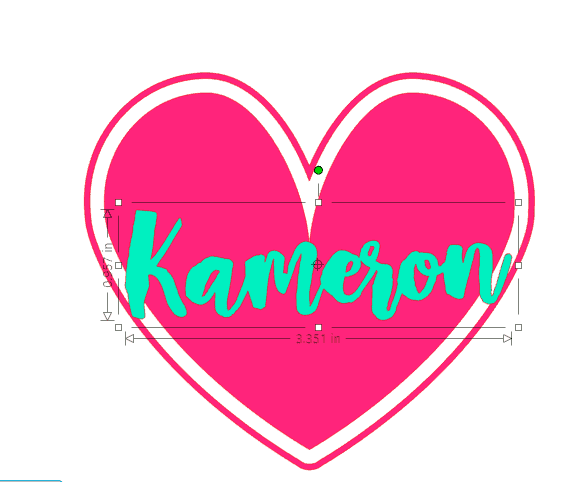
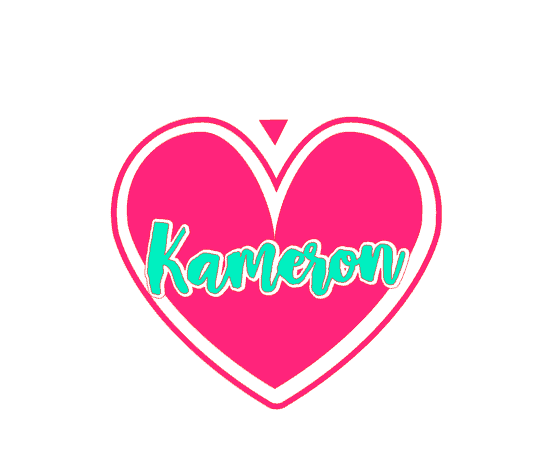
After playing around for awhile I came up with this cute fun design:

and since it involves using the offset–which is a little tricky the first time you play around with it…I put together a whole tutorial on how to do it (and why!)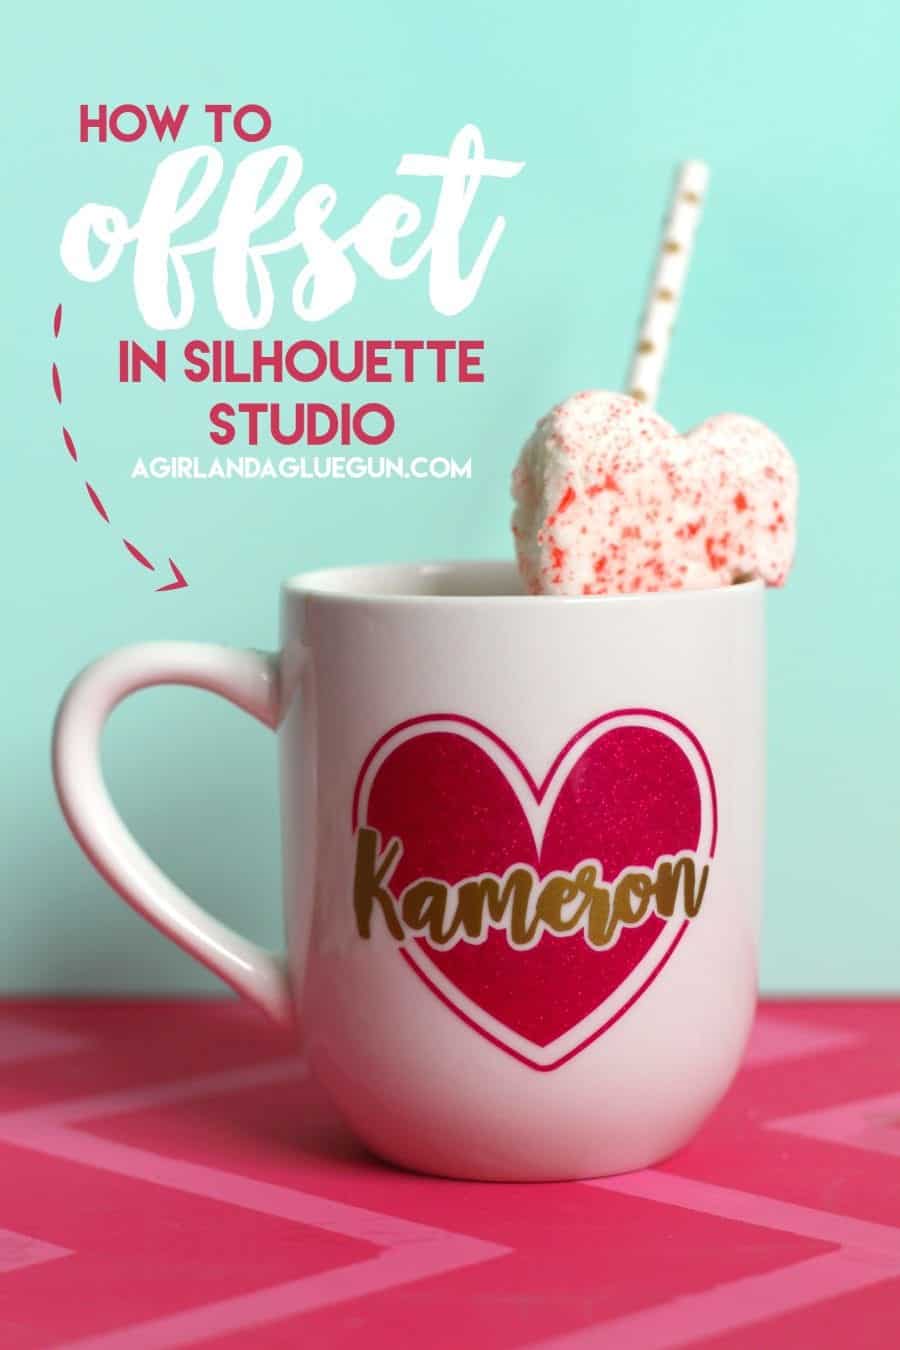
I found a heart in the silhouette store. Open up the offset button and click offset. Since I wanted a double line I just clicked offset AGAIN and made two lines around my heart.
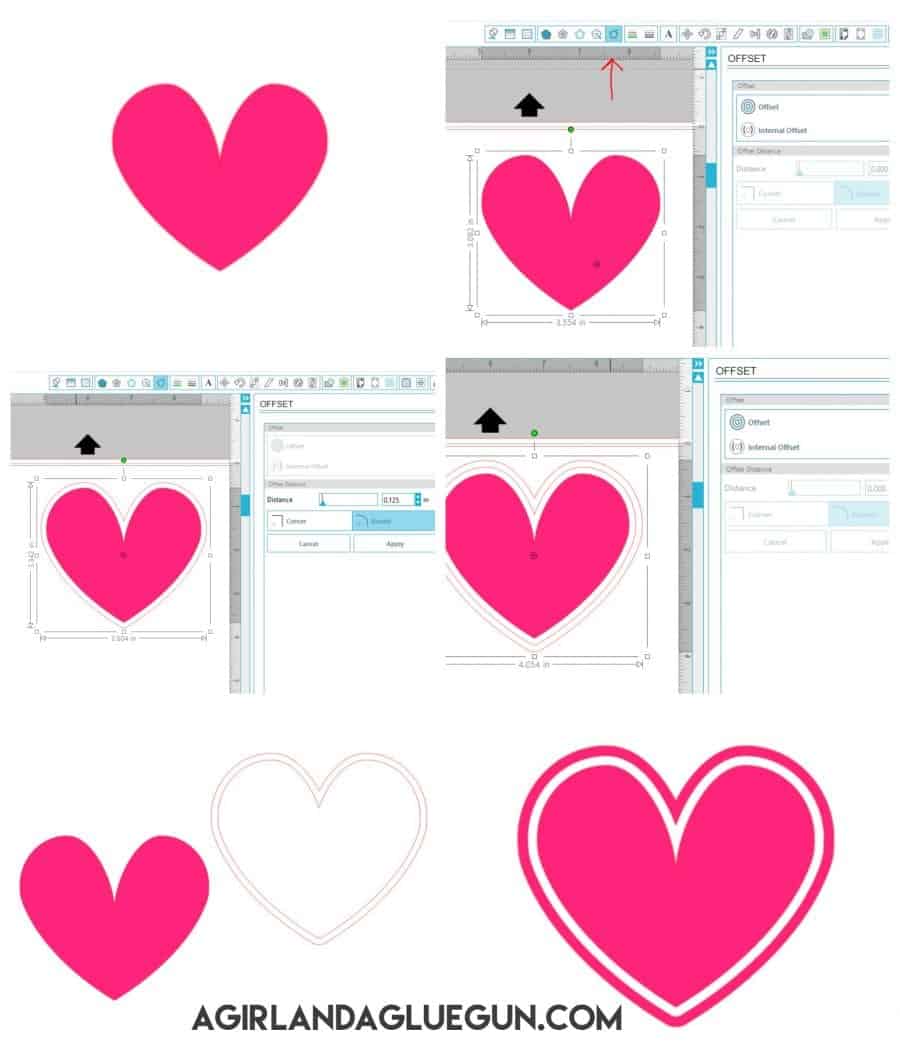
I pulled off the main heart and made the outlines a compound path so I could color it in. (I like to put the color’s together so I know what needs to be cut during each round of cutting.
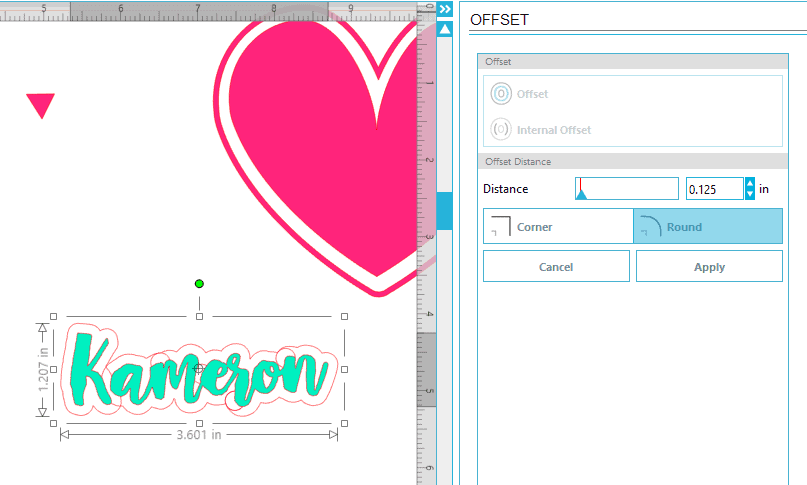
You can play around with the offset and make it reallly big….(which is good with basic shapes) or really small–which is good if you have a font that has really small lines–you can thicken them up using the offset!
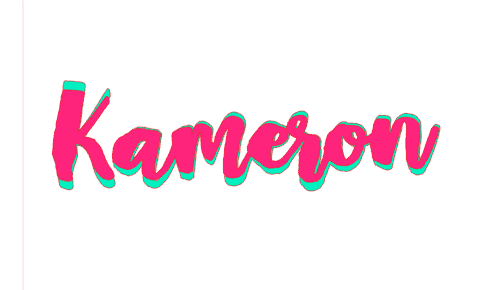
I wrote out the name (font is Mayton) and Made sure to weld it all together. After I placed it on my heart I wanted a little more pow to it! I was afraid that the gold would be lost on the pink.
and did the same–pushed off offset and made it thicker–The offset automatically goes to .125..which you can see is way to big for my words. so I jsut moved it down to about .5
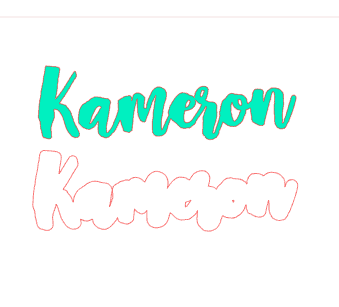
The offset is clear…so I highlighted it and colored it in so I can see how my project was going to turn out!
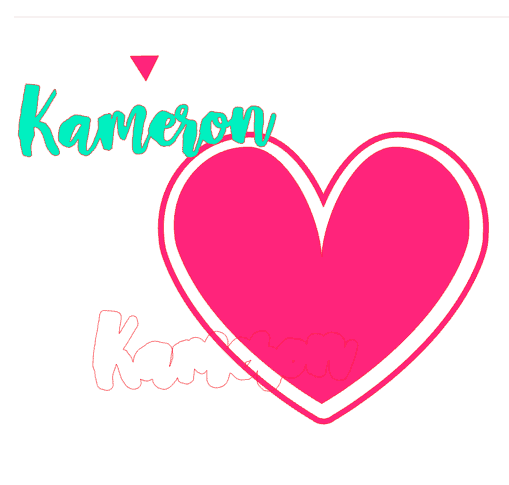
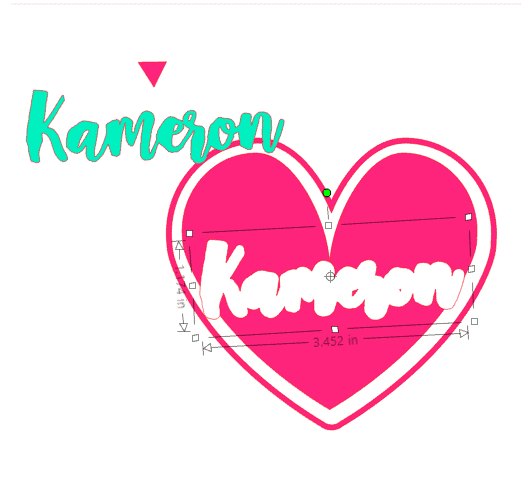
Then I assembled it how I wanted it. Then I added a triangle to the top. (this is going to help me line it up more easily when assembling on my cup!)
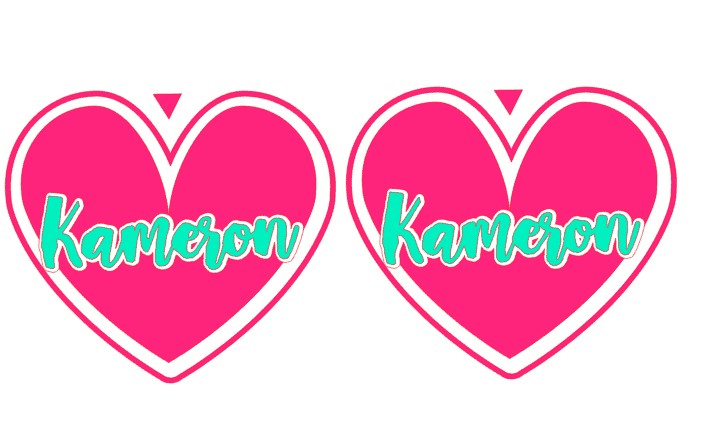
Highlight it all and duplicate.
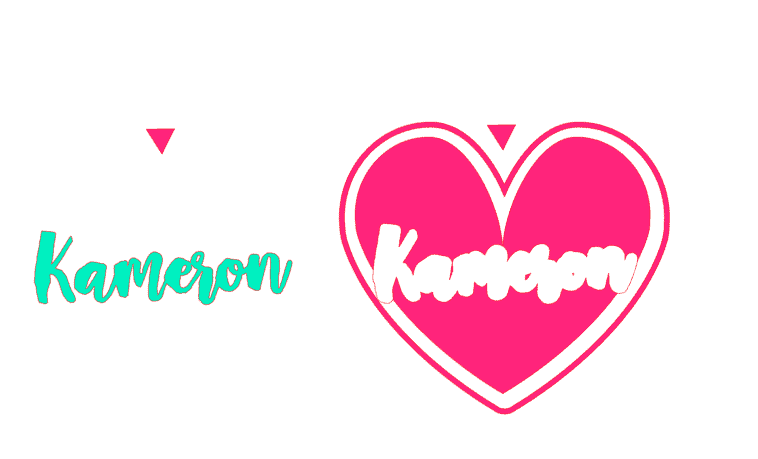
Then I arrange them into cuts. I made two layers. One pink (the heart) and one gold (the words) So I pulled off everything that wasn’t part of the cut making sure to leave the triangle and the design in exact same size. (If you move the heart accidentally the triangles won’t line up! If you need to make the design bigger or smaller make sure to drag a box around the EVERYTHING and size it all together!
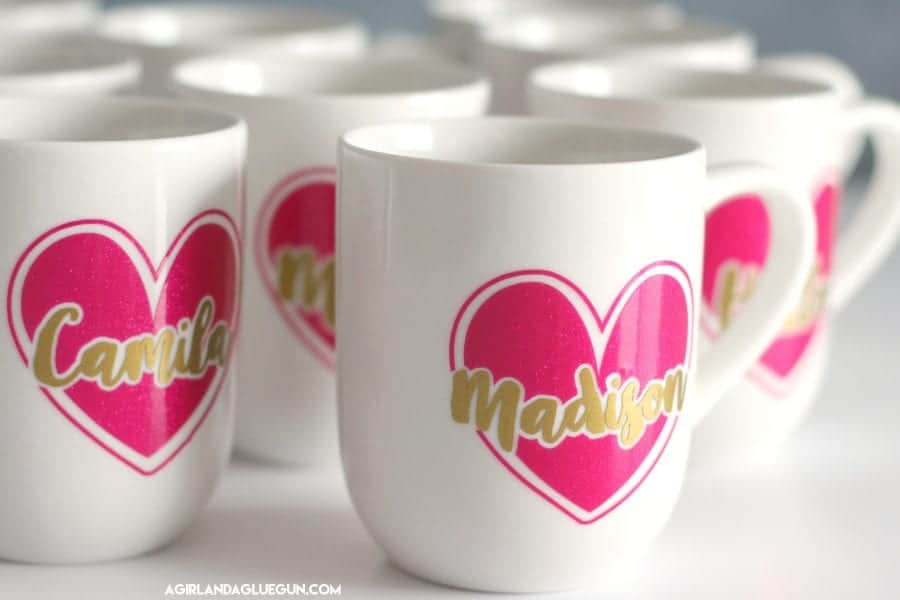
Since I made 16 cups…I mass produced.
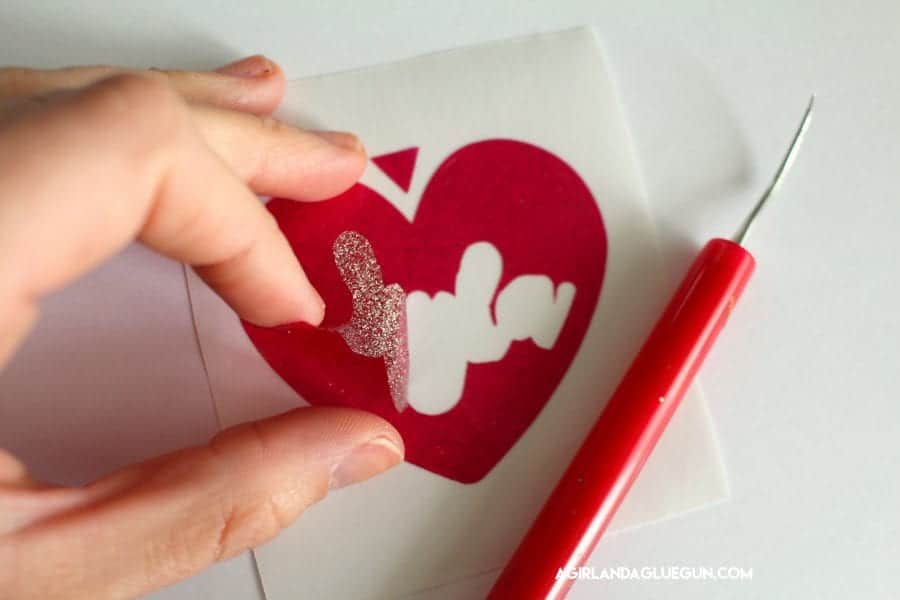
Cut them all out (the pink is actually transparent glitter from Expressions vinyl and it’s LOVELY!)

Gold vinyl from HERE!
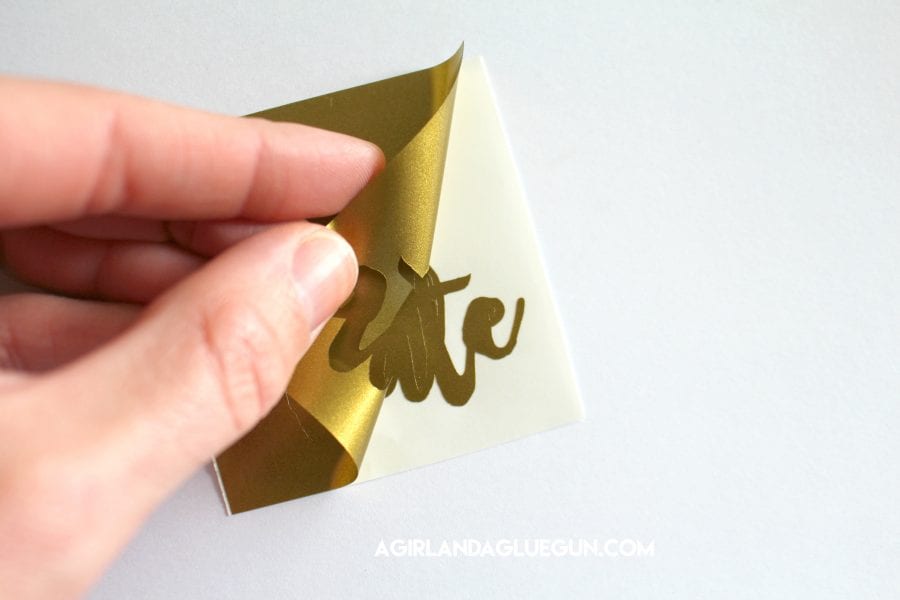
When all your pieces are weeded you can assemble!
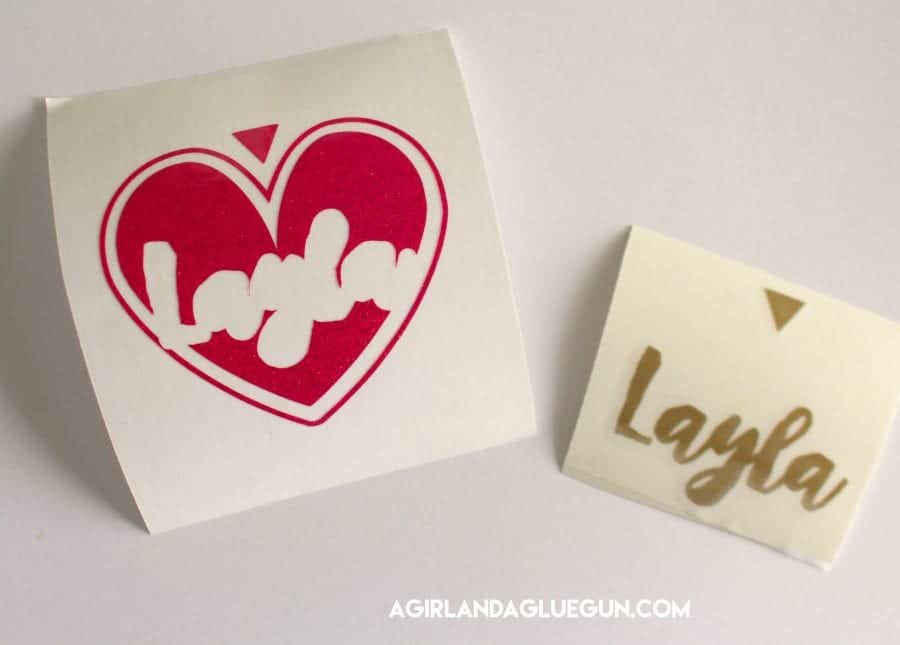
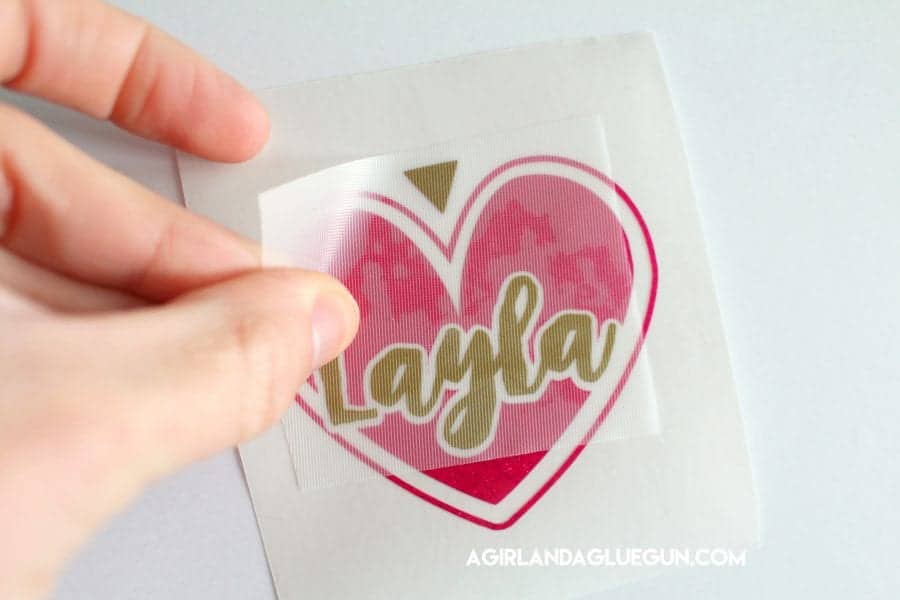
Lay transfer tape over the word and then matching up the triangles you should get a perfect fit!
Then add to your cup. Your cup is a curved surface…so I start by pressing it in the middle and then slowly pushing down the sides.
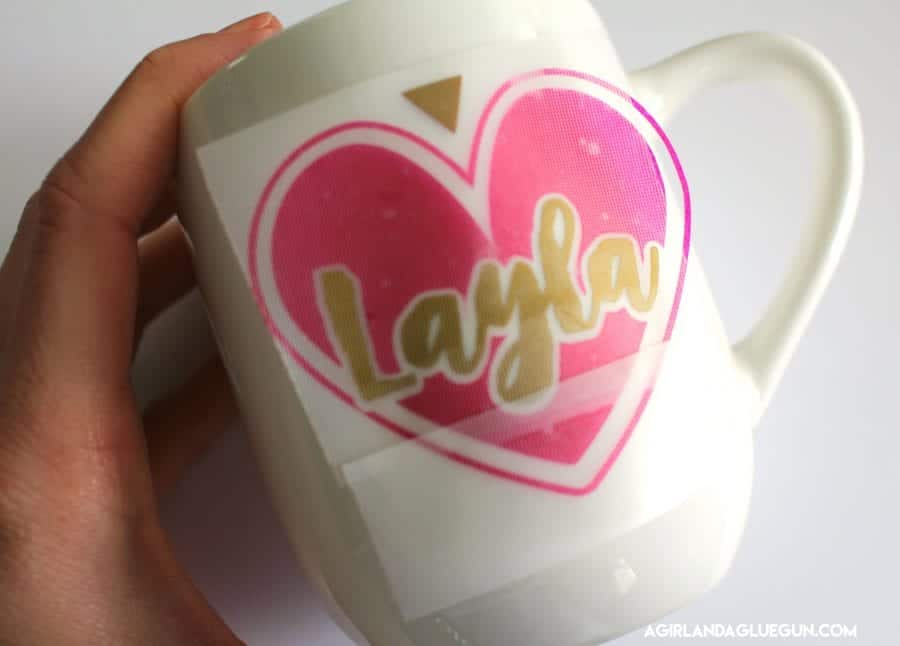
Peel off the transfer tape–this diagonal method helps release the vinyl the best! You can peel off the triangle guide as well!
![]()
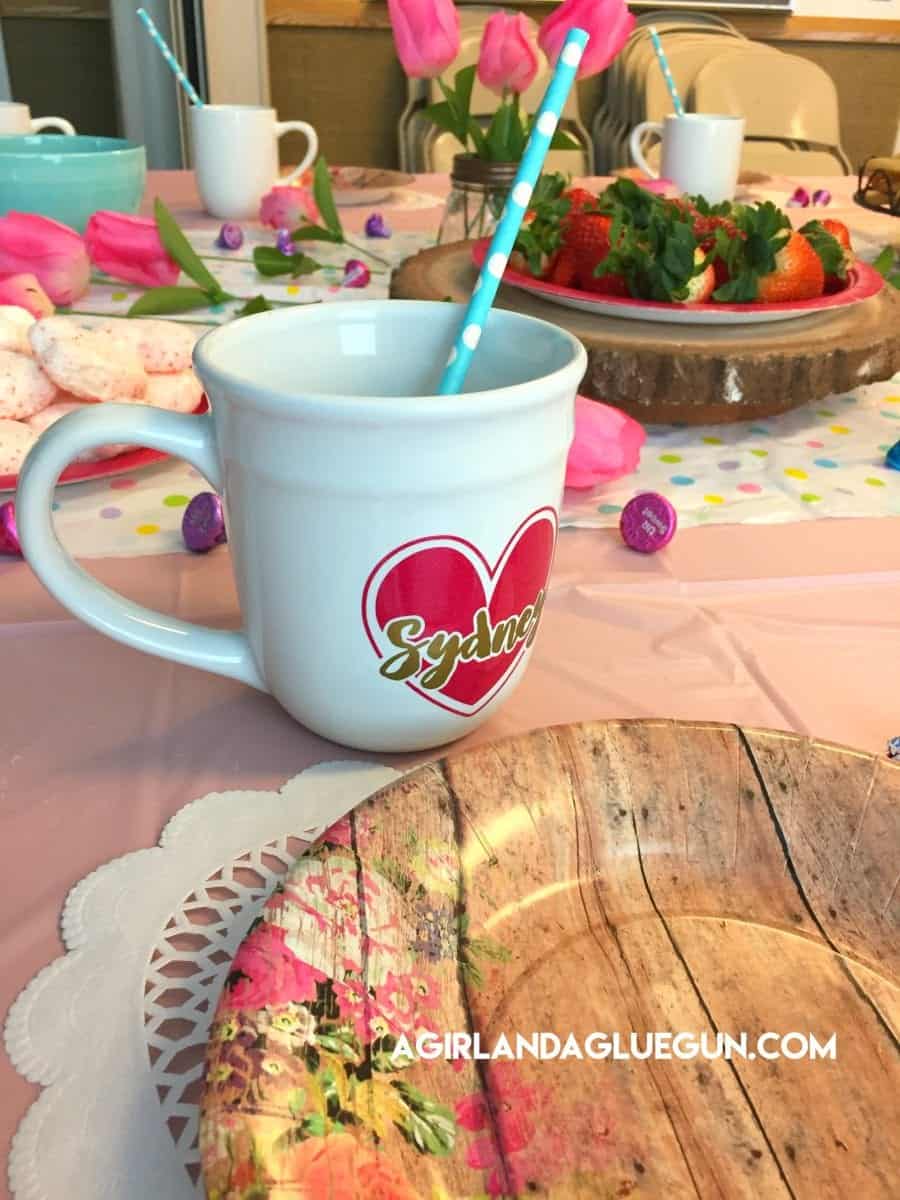
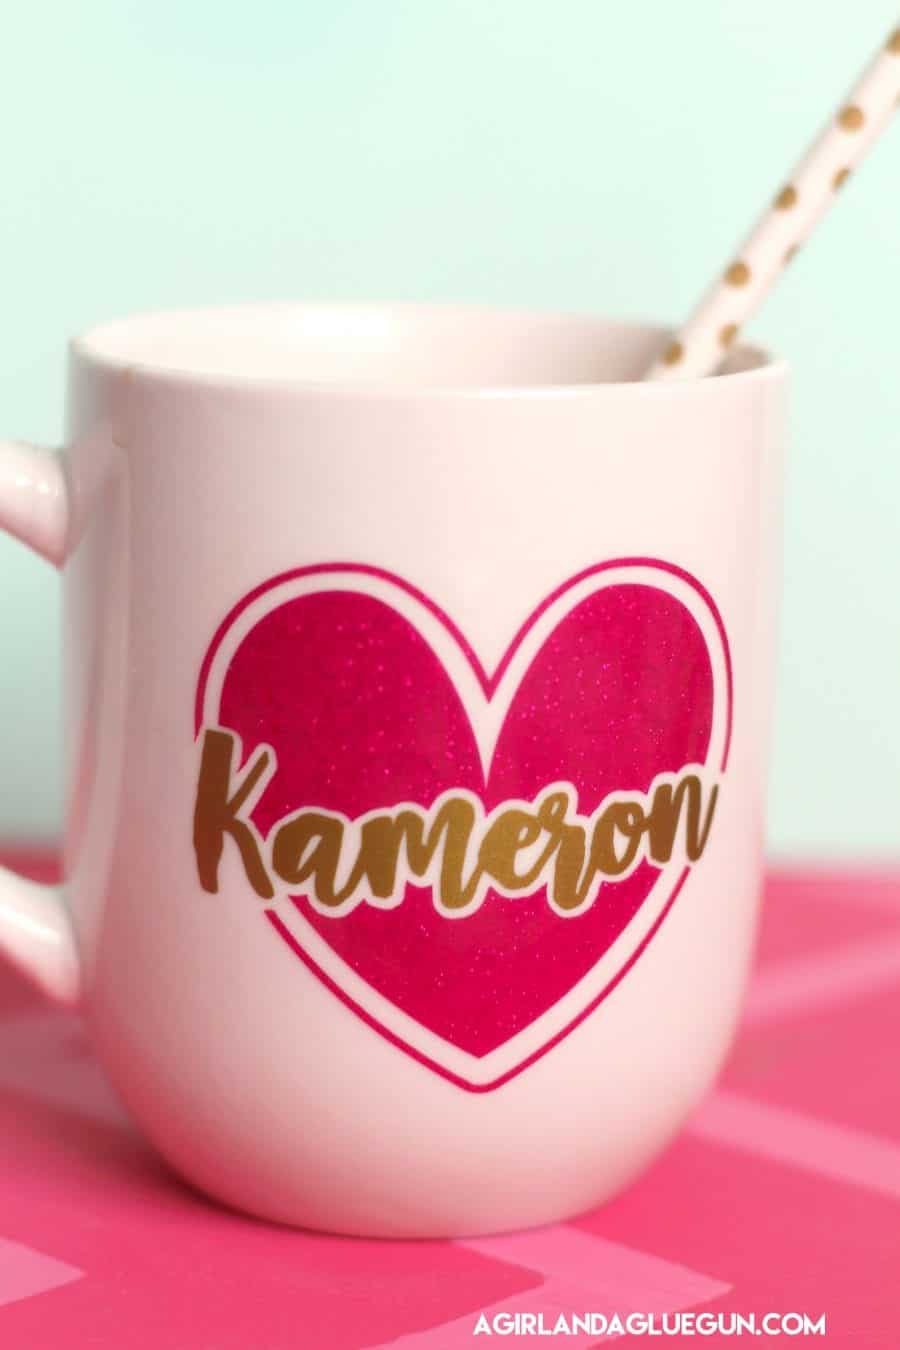
You are left with totally fun personalized cups!
Now you might wonder WHY you would want to use the offset…. You would think you could just copy the heart and make it a little big bigger to get a nice outline…but it never really matches up like you want it to!


You can watch this video if you want more offset help!
Leave a Reply