
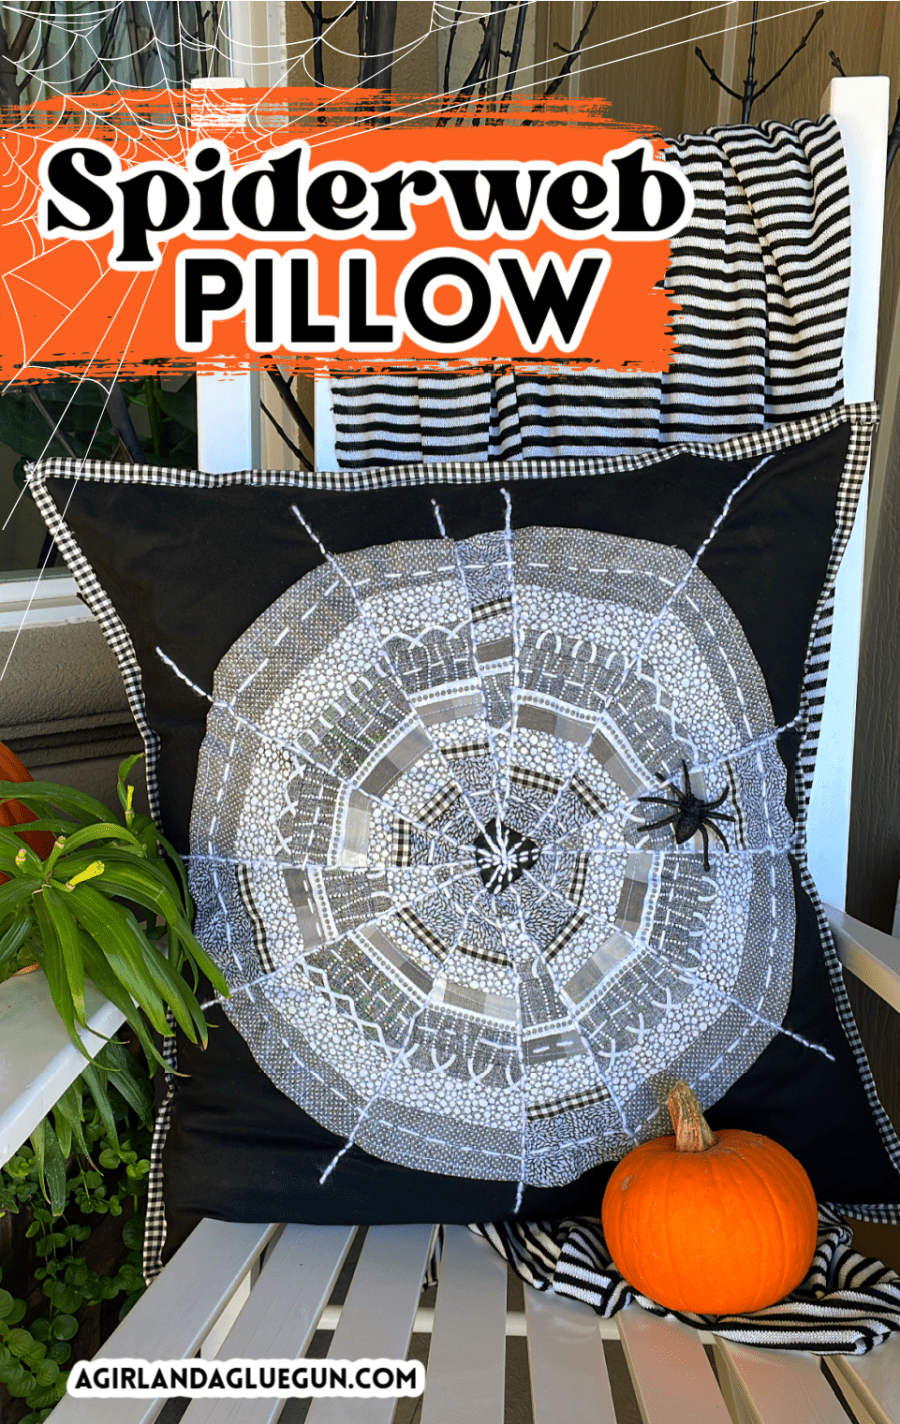
Create this quilted spiderweb pillow for a perfect addition to your front porch or living room Halloween decor. It’s an easy sewing project!
Who needs a totally cute Halloween pillow that you can slip onto your other pillows? What is so great about this pillow is that I wanted a more messy look. A little random. So if you are just starting your sewing journey, then this is a great project!
Supplies to make a quilted spiderweb pillow
- gray and white fabric (I got mine from Walmart! the Waverly brand!)
- 3/4 yard of solid fabric from the pillow
- yarn
- bias tape for edge (optional)
- Ruler
- rotary cutter
- cutting mat

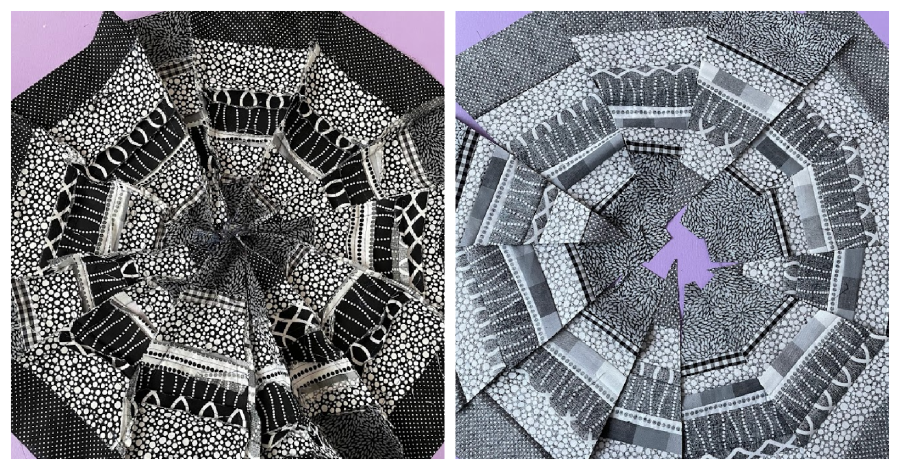
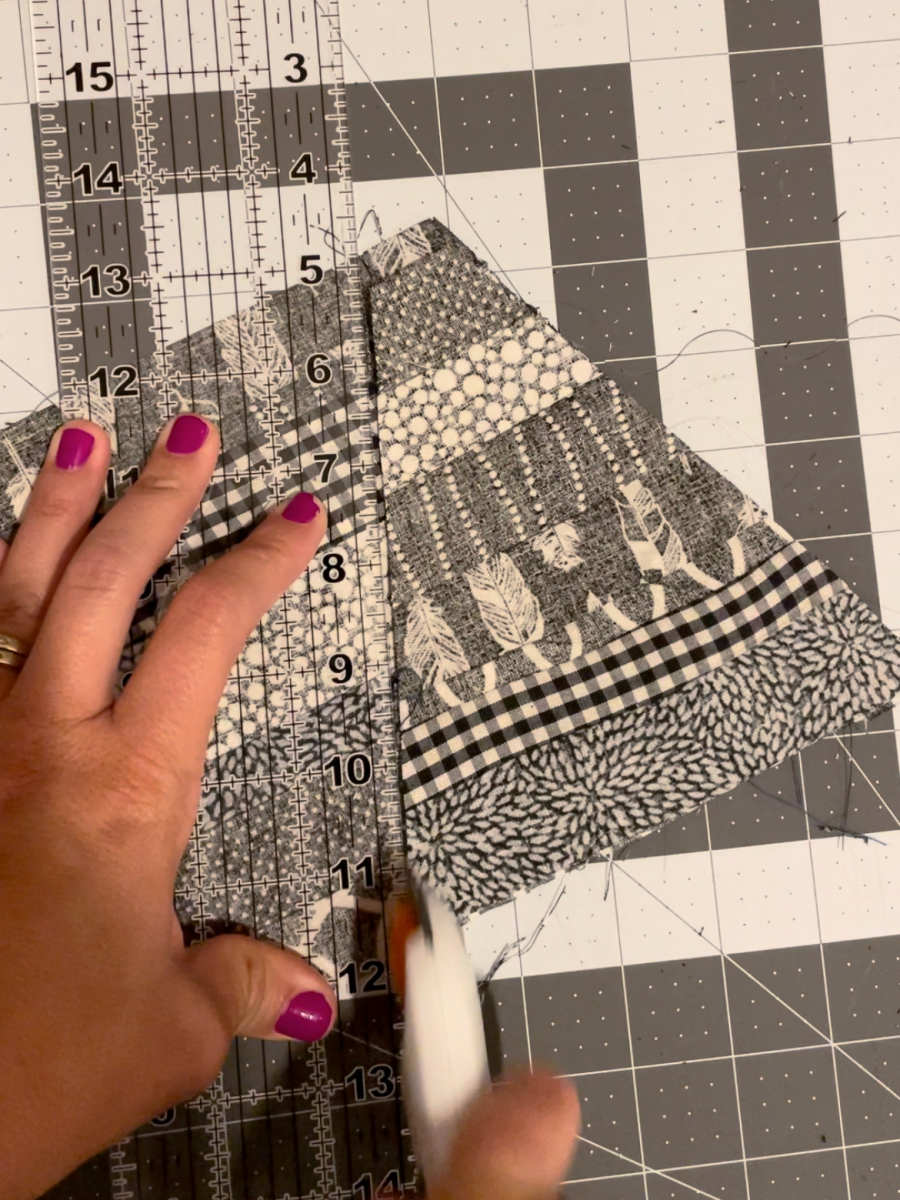
If you notice this picture, it’s black and white fabric! I found the black and white too harsh so this spiderweb is actually the BACKS of each of these fabrics! You can buy gray and white fabric or black and white and use the backside!
Here is the side-by-side.
How to make a quilted spiderweb
I knew the basic idea of how I wanted the pillow to look. I sewed about 3 different versions. And just didn’t love it! I’ll walk you through my process!
Keep in mind, that I didn’t measure anything. The size will vary depending on how big your strips are and how big of a pillow you are making!
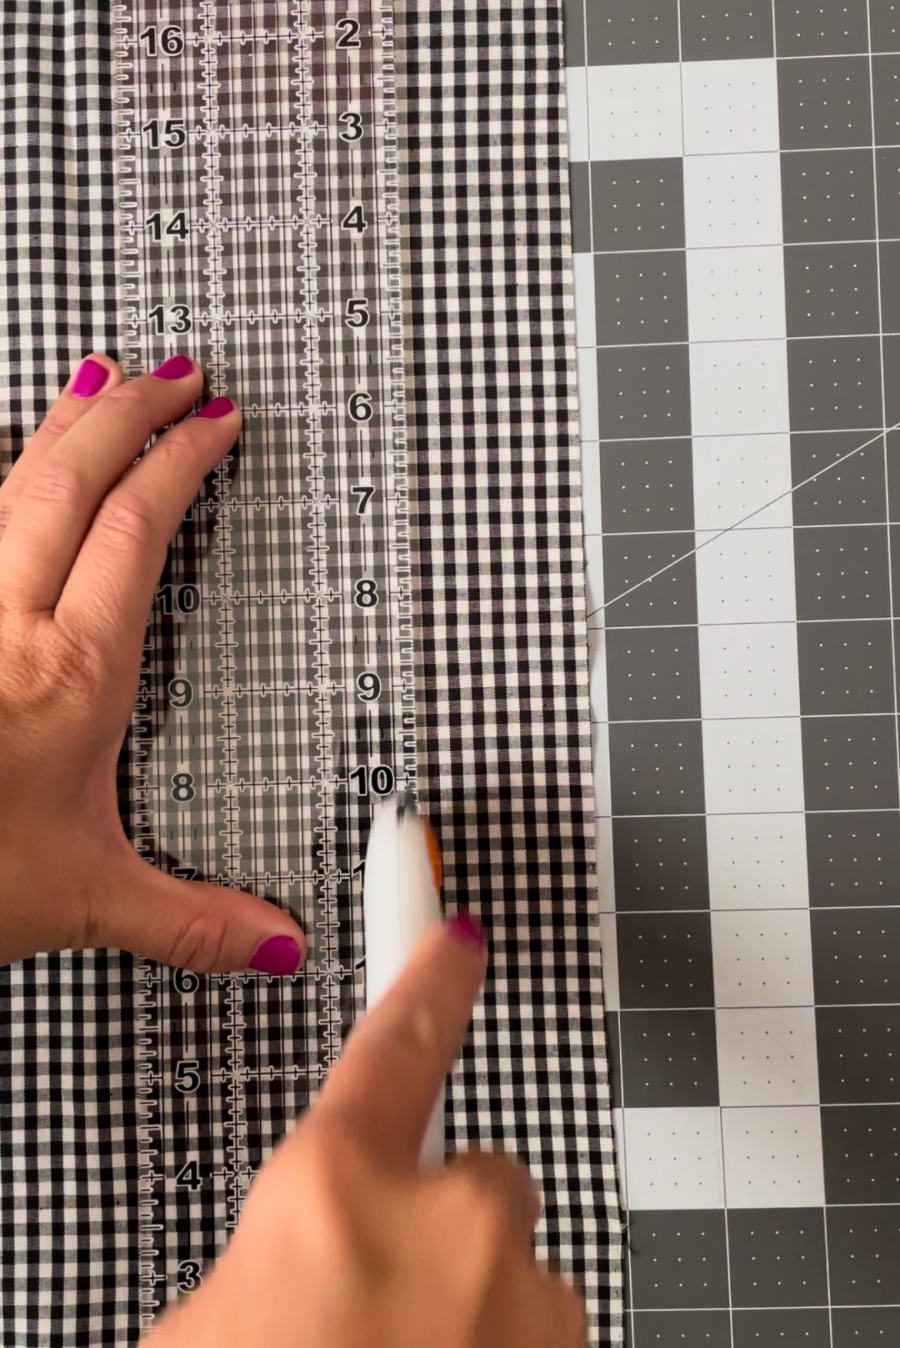
Cut out the pieces
The basic pattern is sewing strips of fabric together to create long pieces. I wanted the spiderweb to look messy, so I did all different sizes of strips
You can choose to do all the same pattern for the spiderweb or do each piece of the pie a different pattern. I tried both. I liked the more cohesive look. (That was spiderweb number 2 that I didn’t like!) I did vary it up a little bit but made sure that the dark pieces all kind of lined up (even though they were different patterns.)
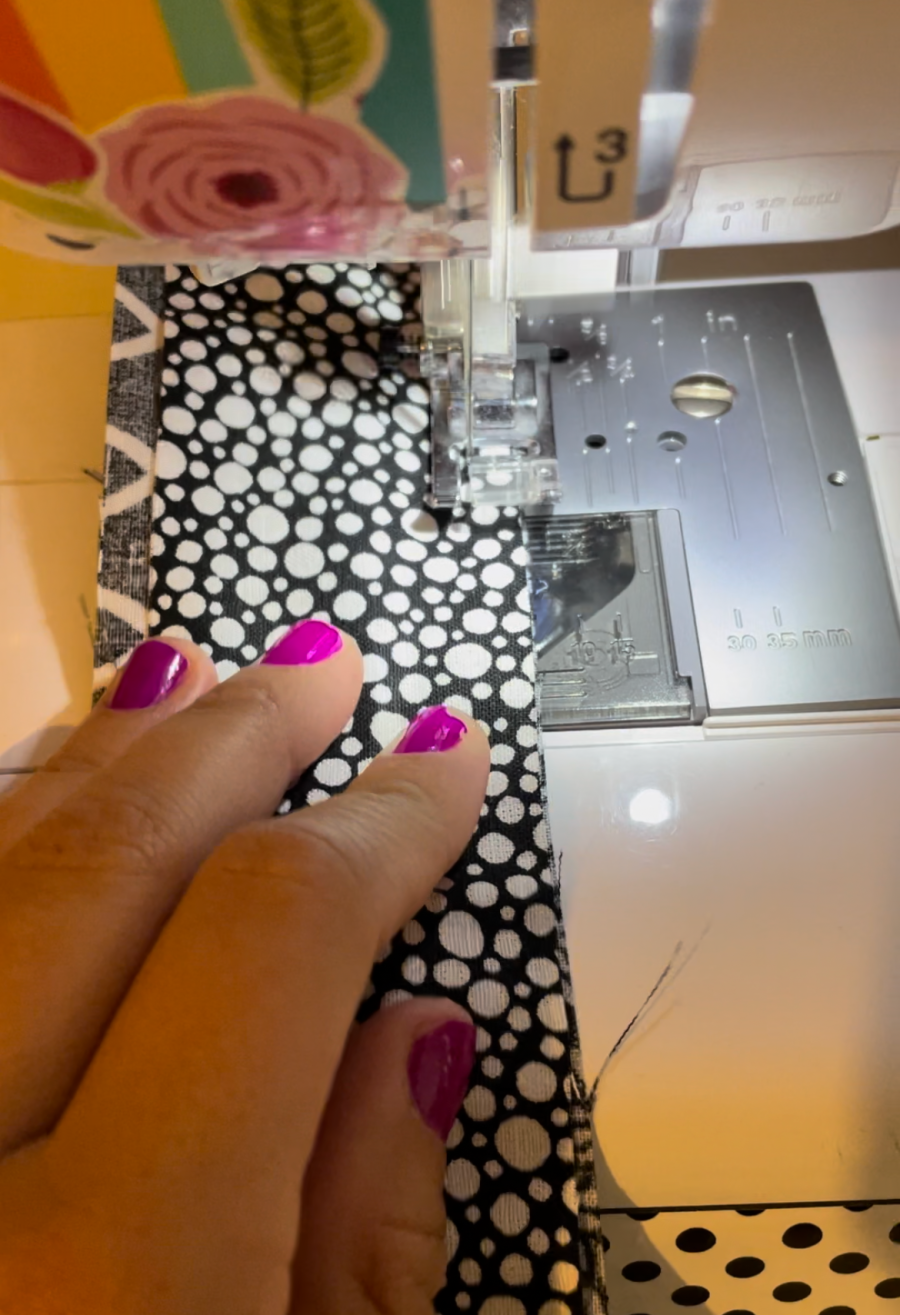
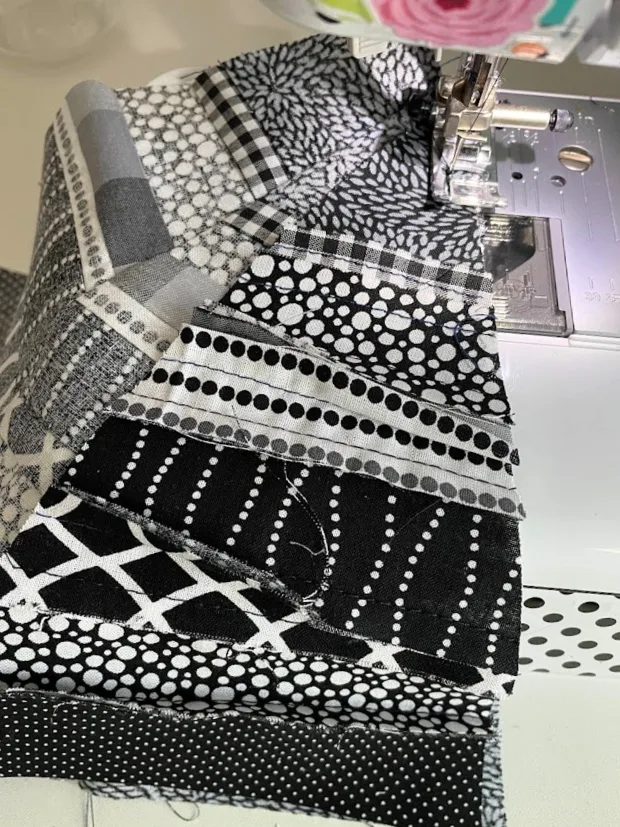
Sew strips
I sewed them together. Be mindful of what side of the fabric you want facing out for the spiderweb. I sewed the black pieces right sides together but didn’t like it, so I had to recut and resew with the backs of the fabric together!
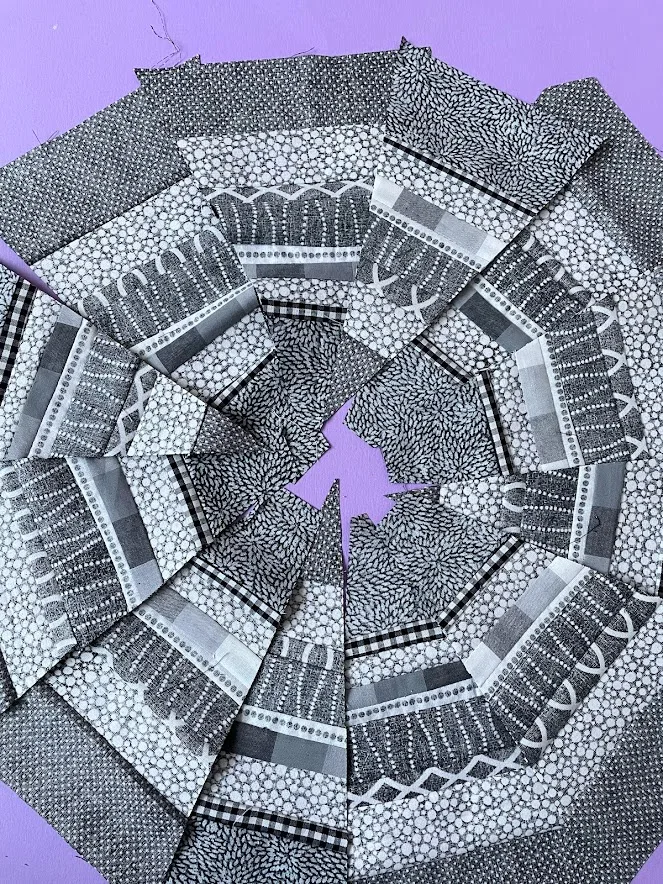
Cut out pie shapes
Once you have all the strips created, It’s time to slice them up. I cut them all different sizes again. They just need to resemble a piece of pie or pizza. I left about an inch across the bottom of each slice so the spiderweb wouldn’t be fully enclosed.
Once again, didn’t measure- just laid them all out to see if I had enough pieces. Since they are all different sizes, if you have a space, you can just add another slice of fabric.
Sew the spiderweb
Put the right sides together and sew each piece.
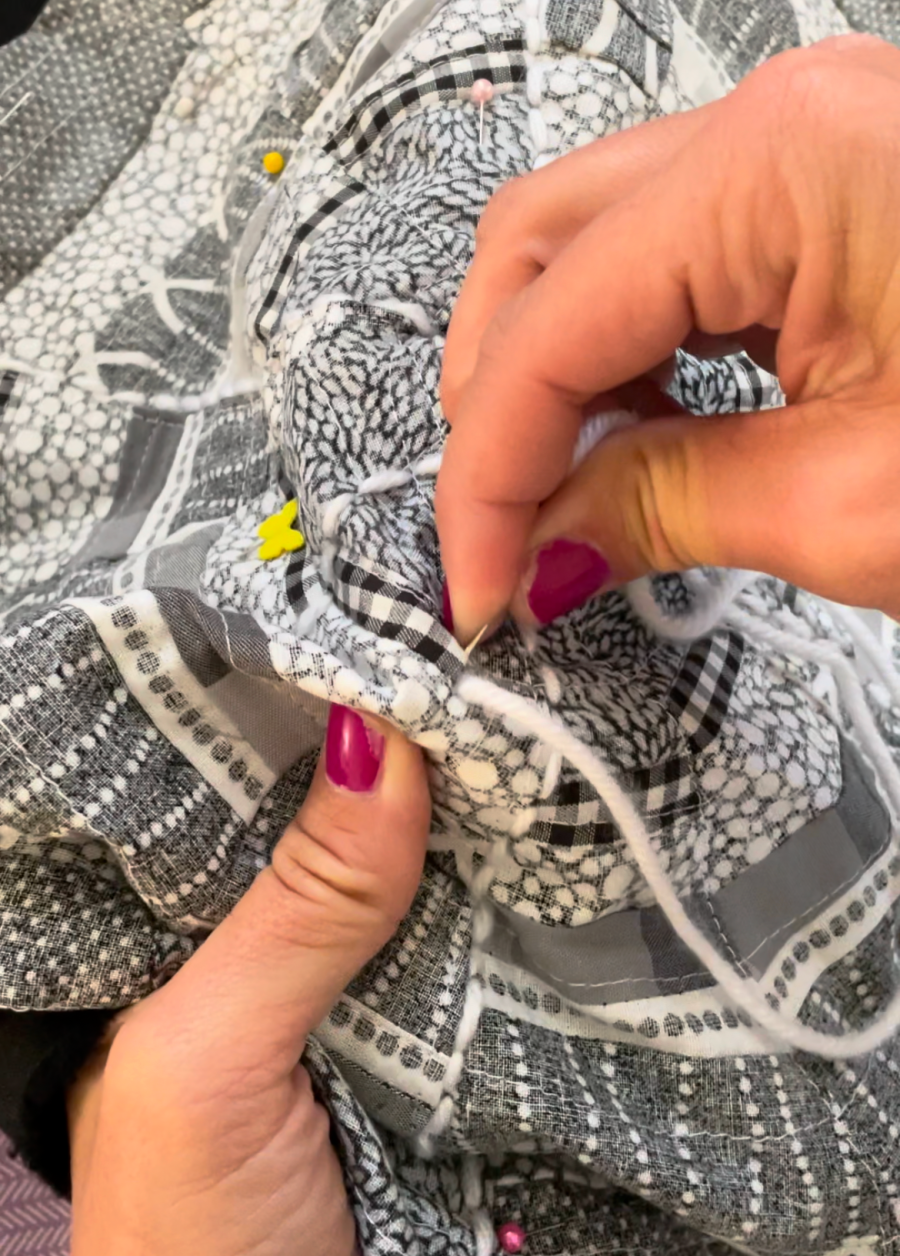
Create the pillow
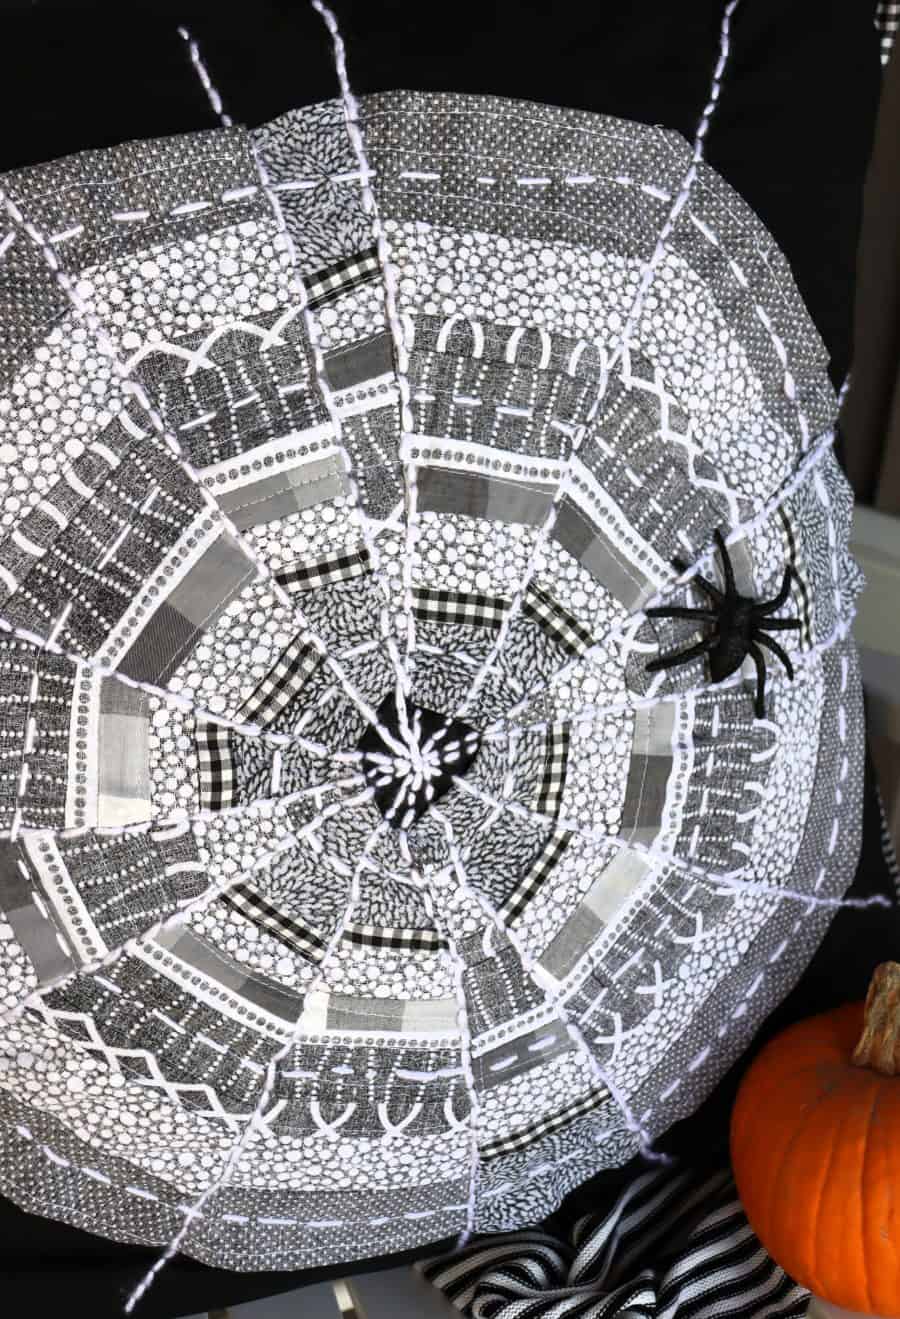
I sewed the spiderweb to the rectangle of fabric that is going to be the front of the pillow. At this point, I still thought it needed a little more! So I took some yarn and ran a little stitch along the spiderweb to create the lines of the spiderweb. I just followed the lines of each piece. You do need a needle that is big enough to fit the yarn.
There are lots of different ways to make a pillow. Since it’s a holiday pillow, I like to make an envelope enclosure so I can just put it on the pillow and take it off when the season is over.
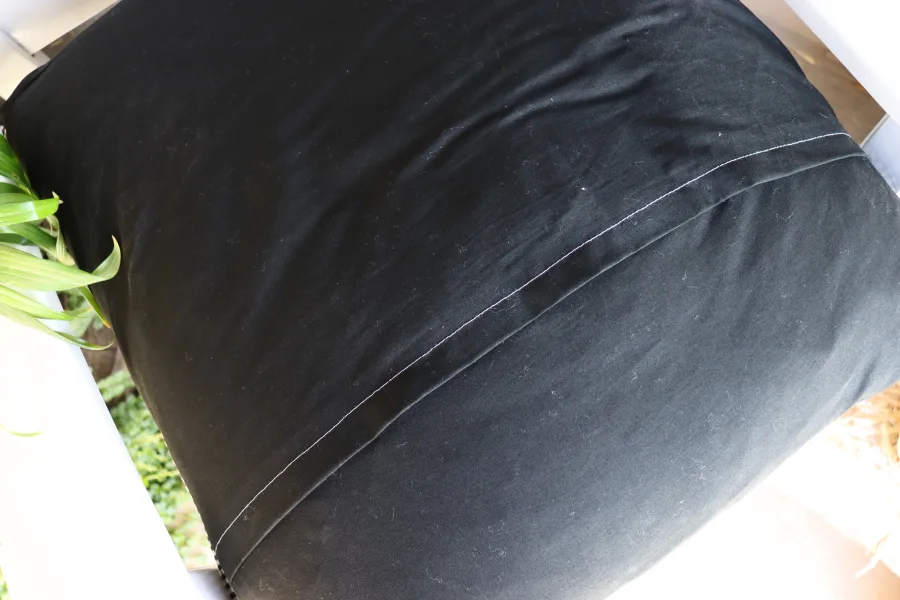
HERE is a great tutorial on making a throw pillow.
I added some bias tape around the edge that I used in the spiderweb!
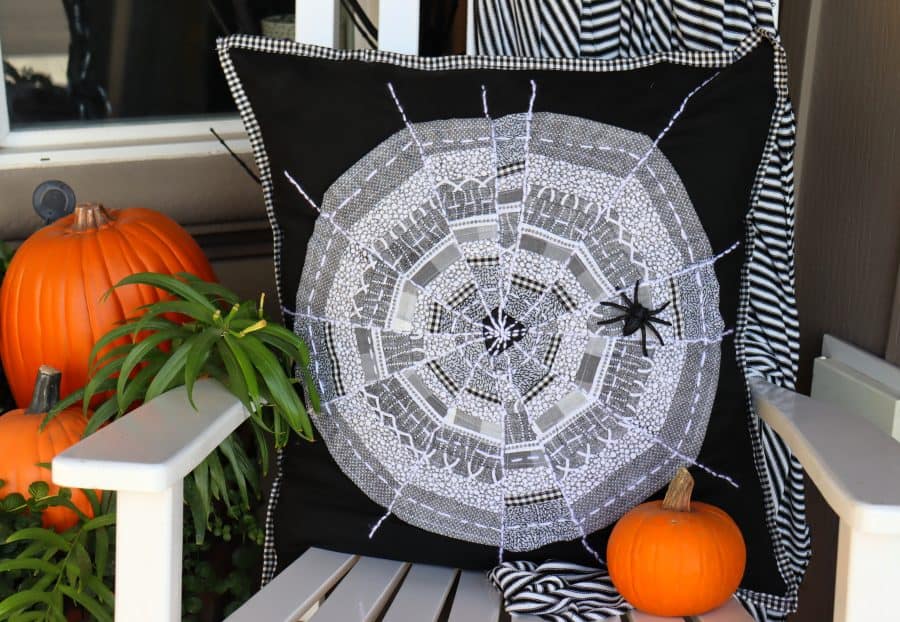
Finished pillow
Here is the finished product! I love how cute it is! You can add a spider (real or fake!)
If your pillow gets dirty, I would turn it inside out and wash it on delicate. (Mostly because of the yarn!)
Too busy to get crafting today? No problem! Pin this post to remind yourself about this project later! Sharing my projects helps me reach more people, allowing me to continue sharing free content!
Leave a Reply