
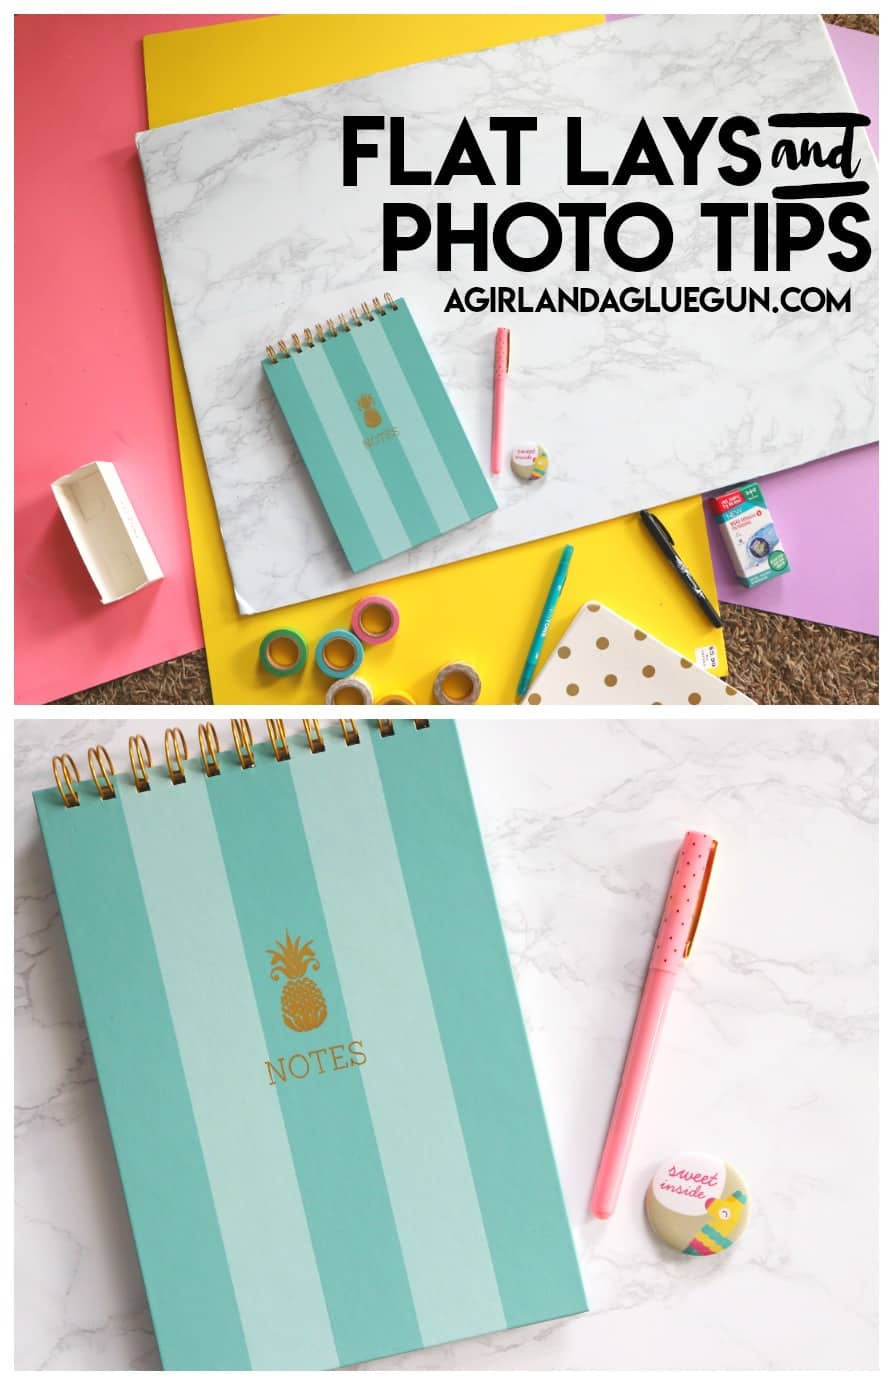
Today I’m going to show you some behind the scenes in how I do my flat lays to make your photos pop! This is somewhat of a random post–but I wanted to address something! There are so many amazing etsy shops and blogs out there. So many awesome ideas! And sometimes I stumble upon a blog/shop that has the cutest projects but aren’t really getting the recognition they deserve. And the usually the reason is bad photography. I feel like such a hypocrite because if you scroll back in my blog….there is some horrific photos. Photos of crafts on my carpet…at night time. Stuff no one should see. But as I’ve grown and evolved I’ve learned a few things…and I wanted to pass them on to you! This can be used even if you aren’t selling anything…but just want to show off fun stuff on social media!
I actually put together a whole facebook live on this! Here it is in case you want to watch!
NOW–I’m not talking about anything camera wise or editing software– Most pictures I take for Instagram are just done on my phone. What I’m talking about are Flat lays–Laying out your projects and Posing and staging it to make it extra fun.
THIS WILL BE THE ONLY PHOTOGRAPHY TIP I WILL TELL YOU: Always take your photo in natural good light (by a window) Not in direct sunlight (cause shadows!) NO flash. No nighttime. I legit have a 2 hour window in my craft room that I know is perfect photo-taking time. I wait around all day to get a good photo! (and I still have to up my highlight/exposure when editing!)
Okay…Let’s talk about FLAT LAYS!
I use lots of different things for my flatlays….First my favorite:
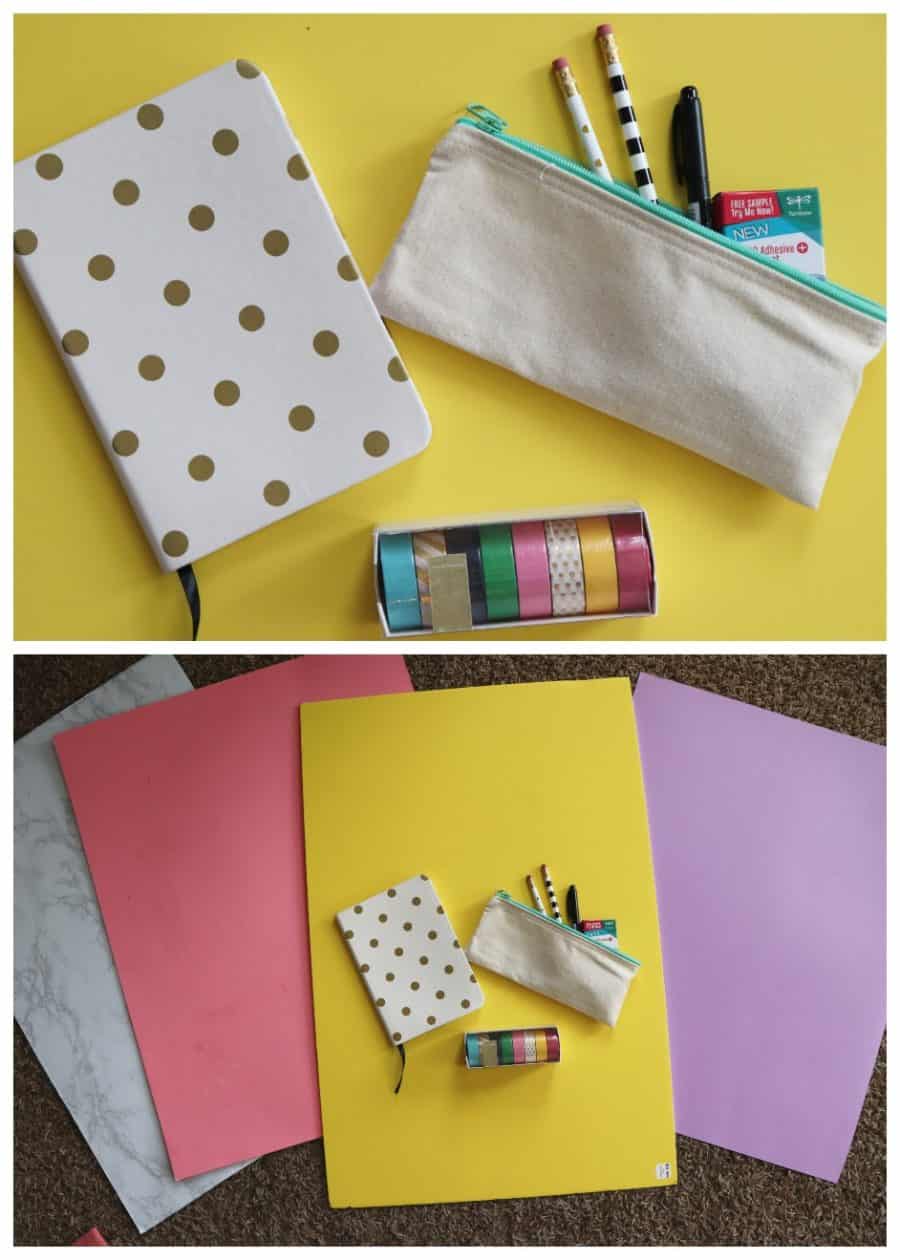
Cardboard/posterboard/as backdrops.
For heaven sakes..get your fun projects off the carpet! Posterboard is inexpensive. I wanted my Instagram to be a certain color scheme–so I rotate between 4-5 backdrops when taking photos!
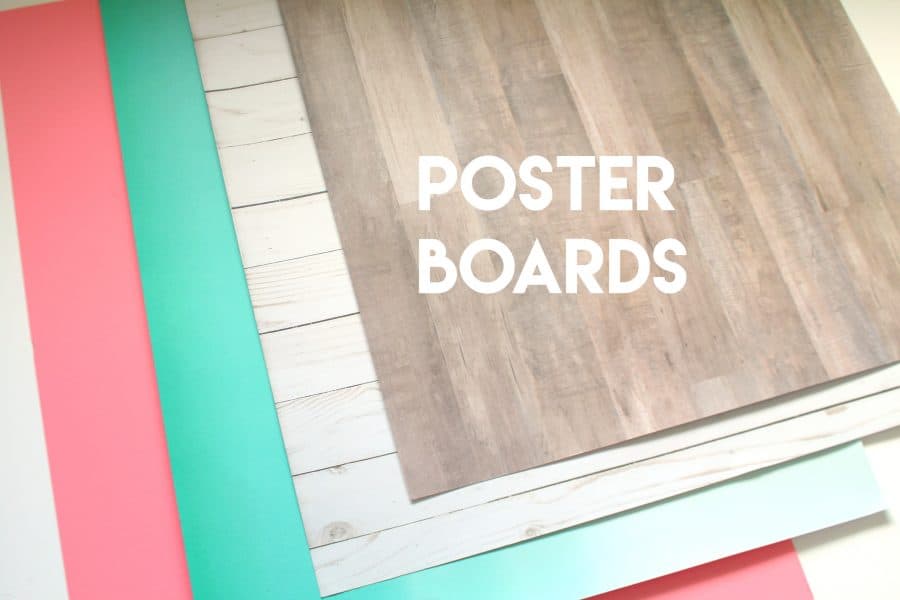
Hobby Lobby even have some fun wood grain looking poster boards
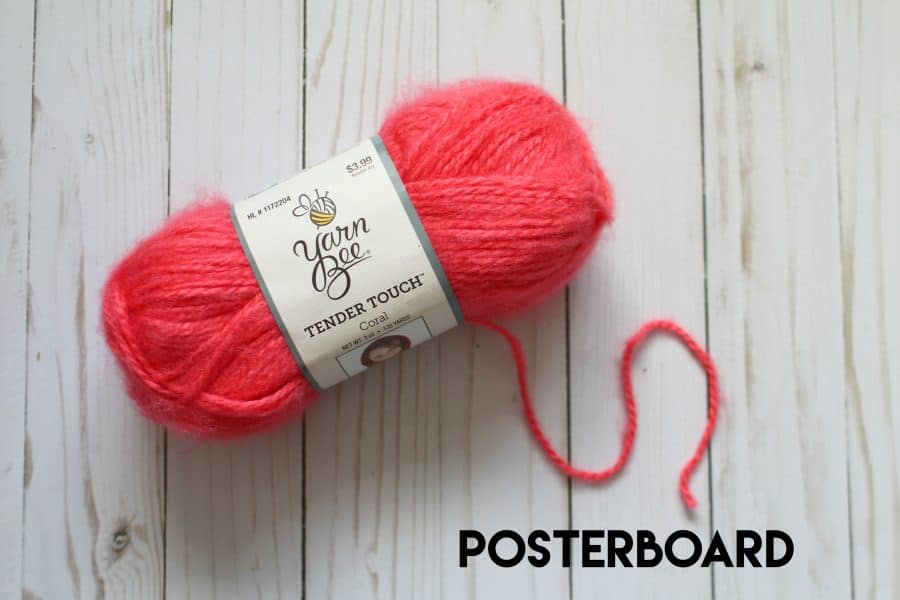
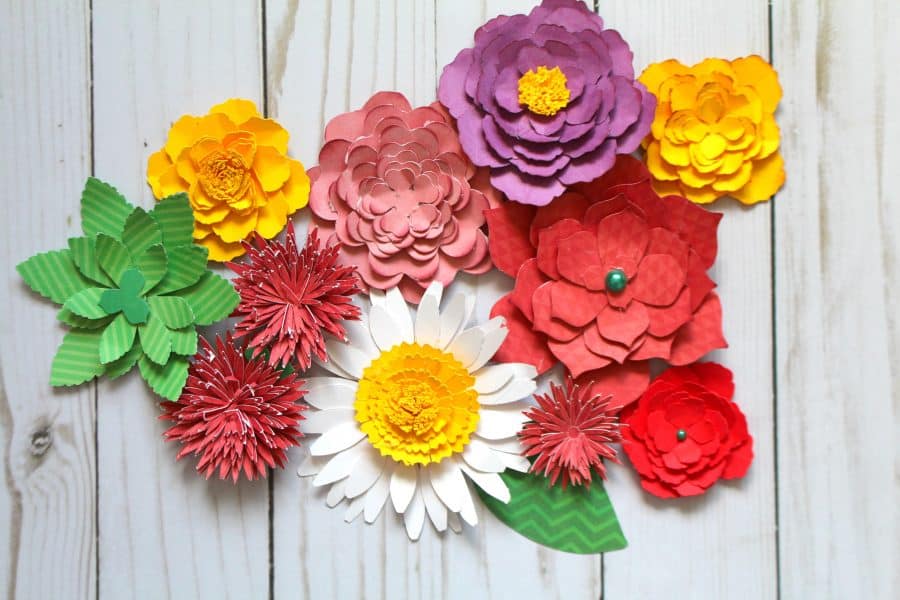
Almost every project you see on the blog has one of these posterboards behind it! 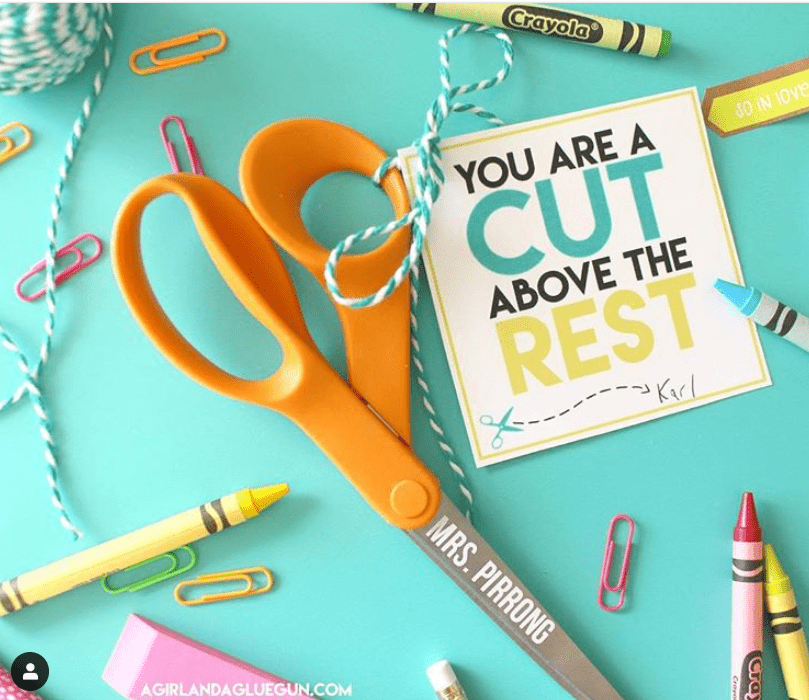
I love posterboard over anything else because the size is right and you can bend it if you wanted a cohesive bottom and backdrop.

I actually purchased a roll of this marble contact paper and applied it to the back of a foam core board–instant (and cheaper) than marble counters!
I have one in every color. Even a chalkboard (great for teacher projects) 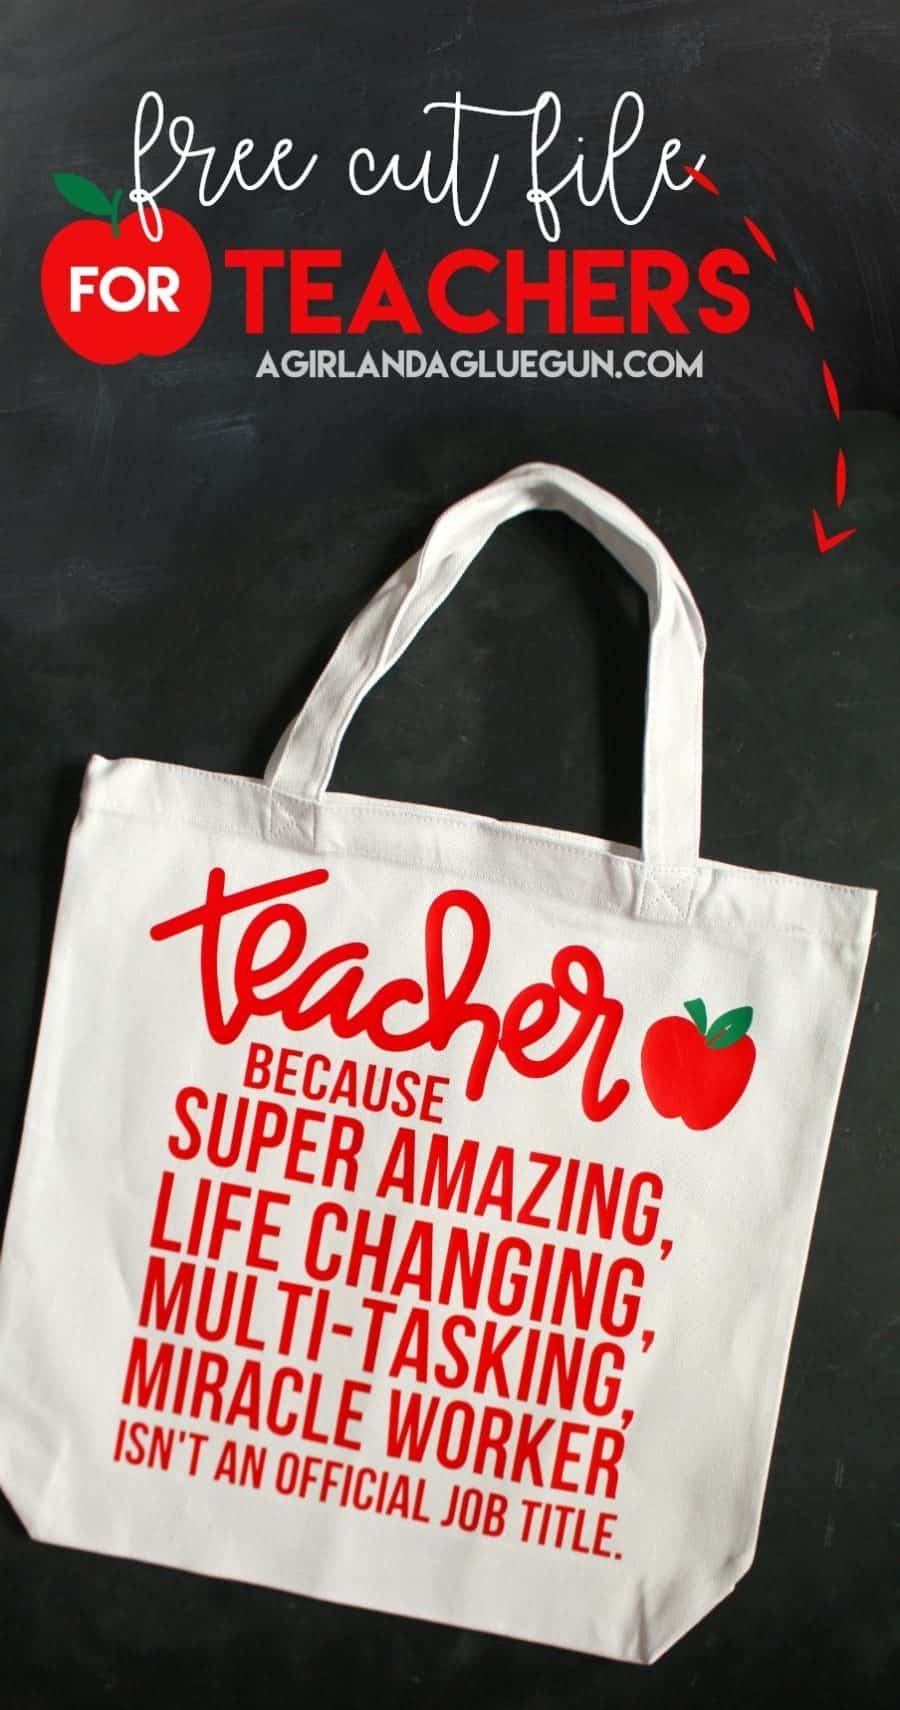
and sometimes I even overlap them to get a fun design
![]()
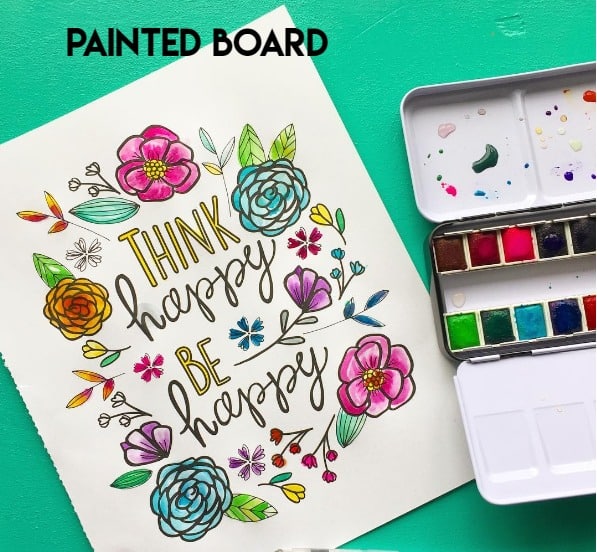
Painted wood as backdrops
One of the plus sides to painted boards is that you get exactly the color you want-plus you can’t bend and crease the board (I’m constantly having to replace my posterboards
I don’t love that they are bulky though. When you have 5 or more they can take up quite a bit of room. But they are nice because you can stage it and then haul it around the house to find the best light!

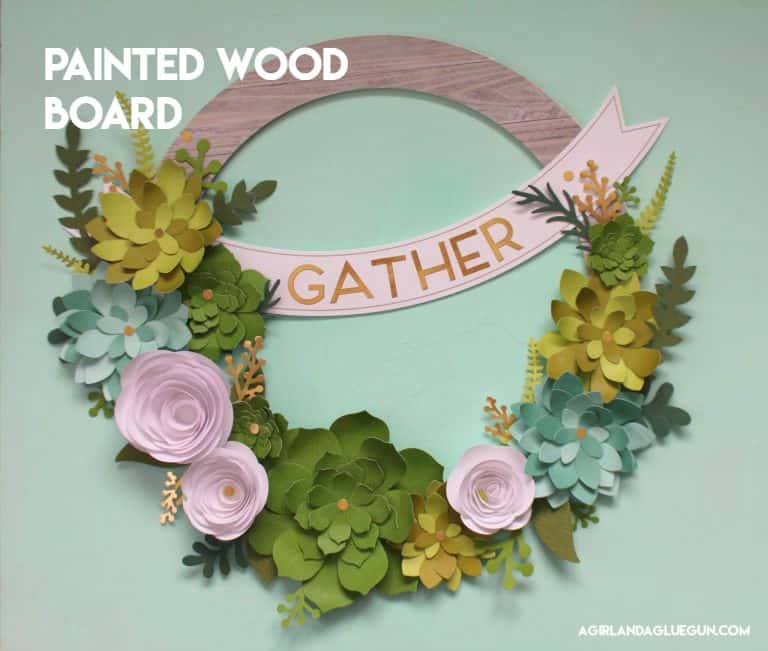
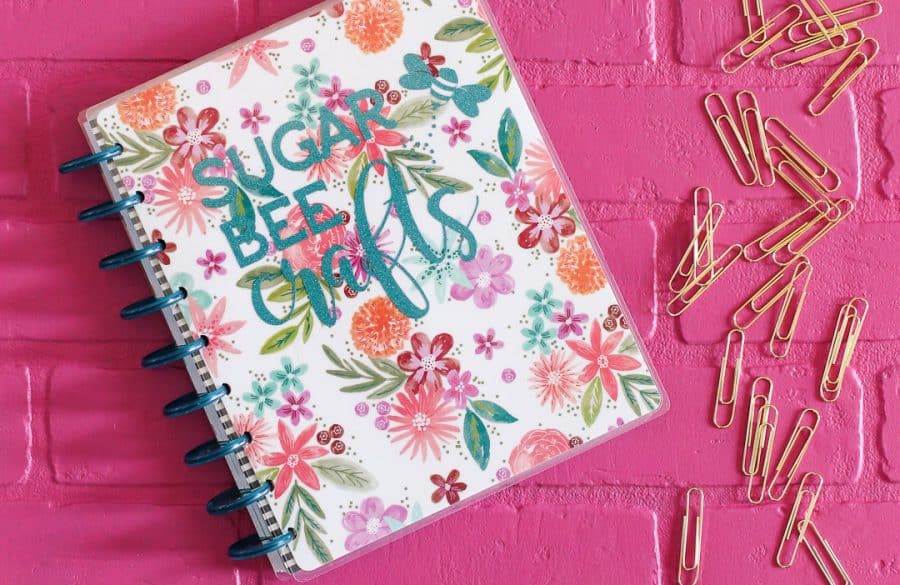
Sugar Bee crafts actually purchased a faux brick wood paneling that she has painted! That’s my next investment!
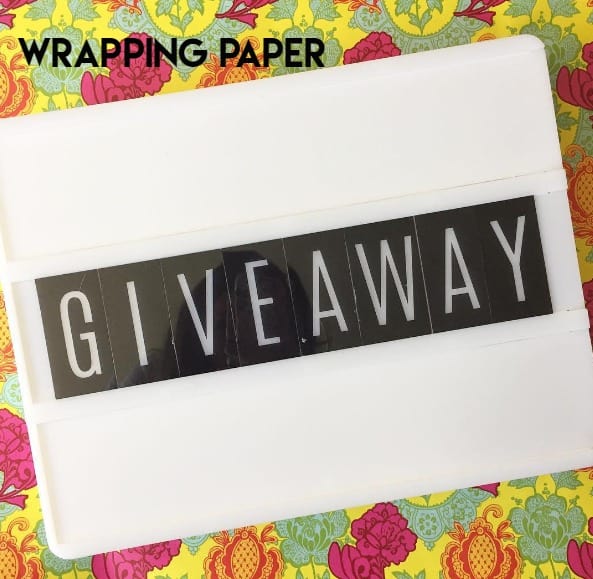
Another great backdrop: Wrapping paper
Plus: you get a lot for cheap. Lots of fun patterns…and you can throw it away and not feel guilty when it get wrinkled! 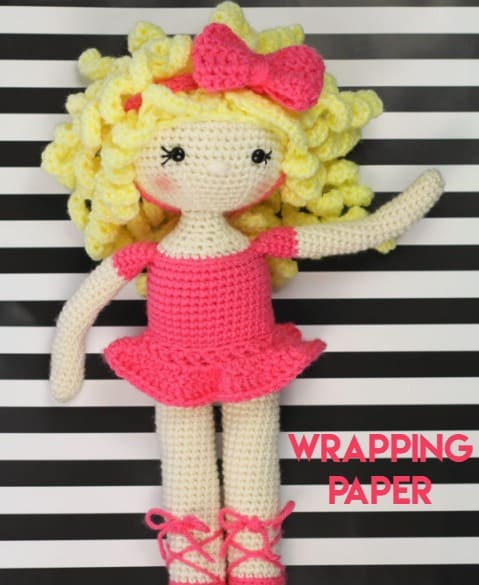

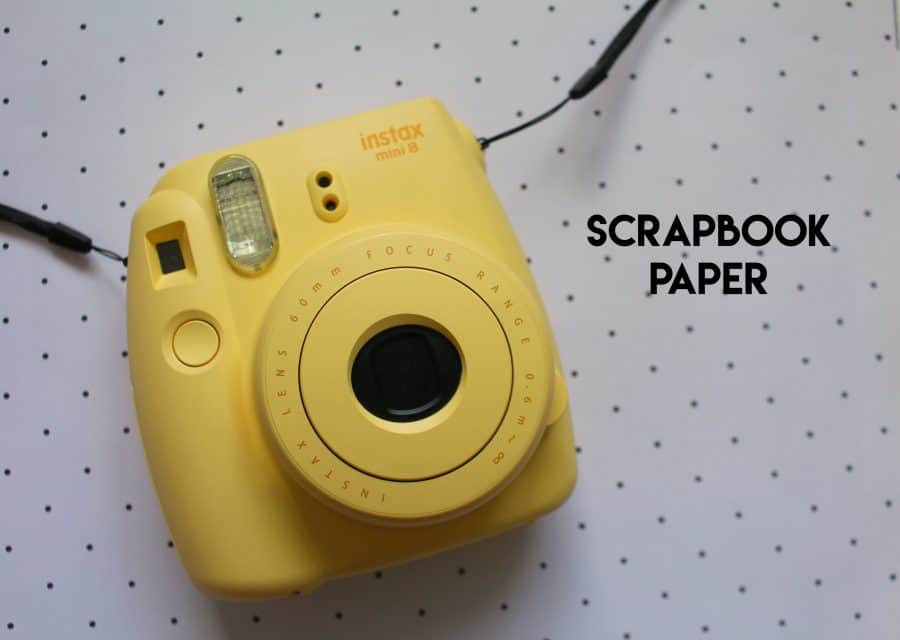
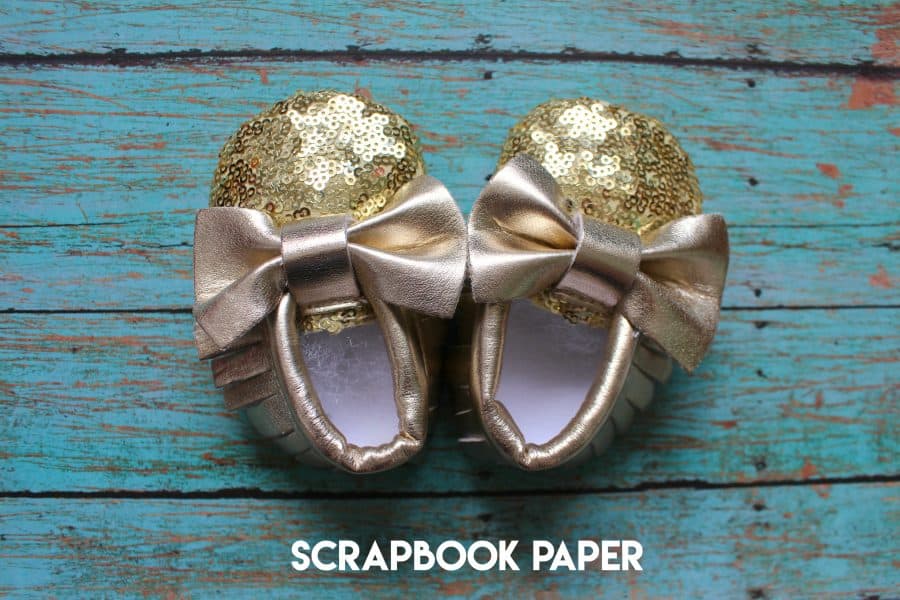
Scrapbook Paper
This should have probably been number 3 of my most used (but I’m too lazy to swap it out) scrapbook paper!
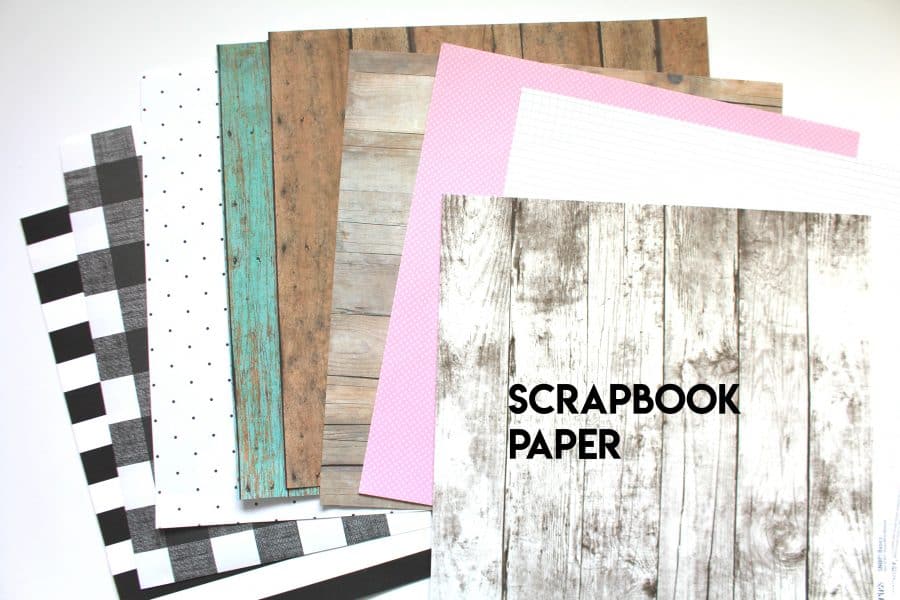
It’s perfect for smaller items. And you can store them so much easier than large pieces of cardboard–plus the patterns are endless!!!
I bought this paper pack off amazon–it’s double-sided and has lots of great faux wood options! 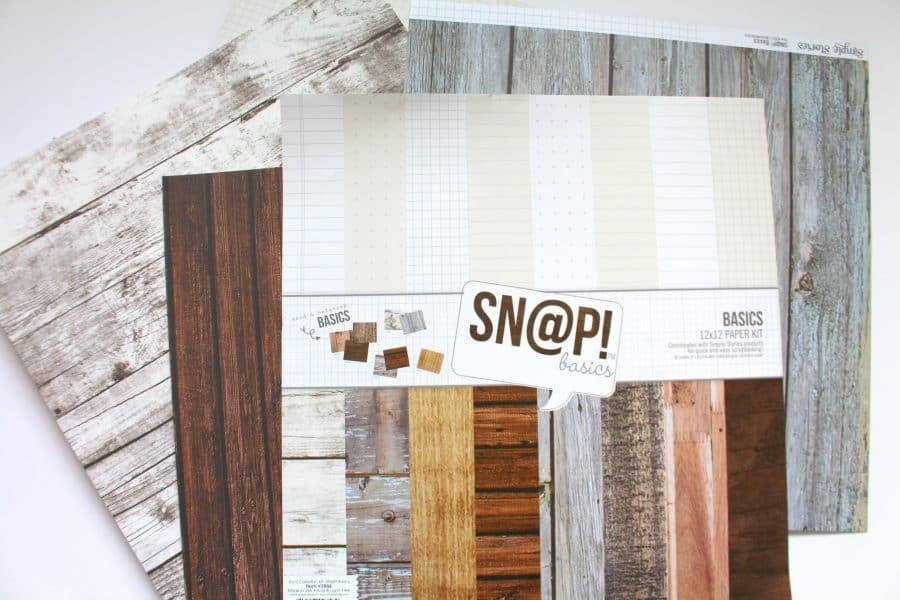
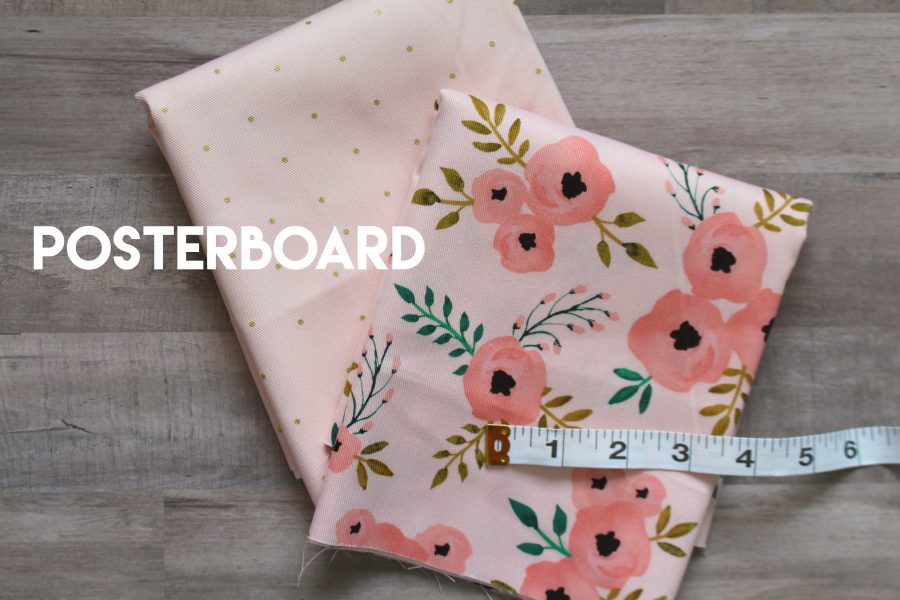
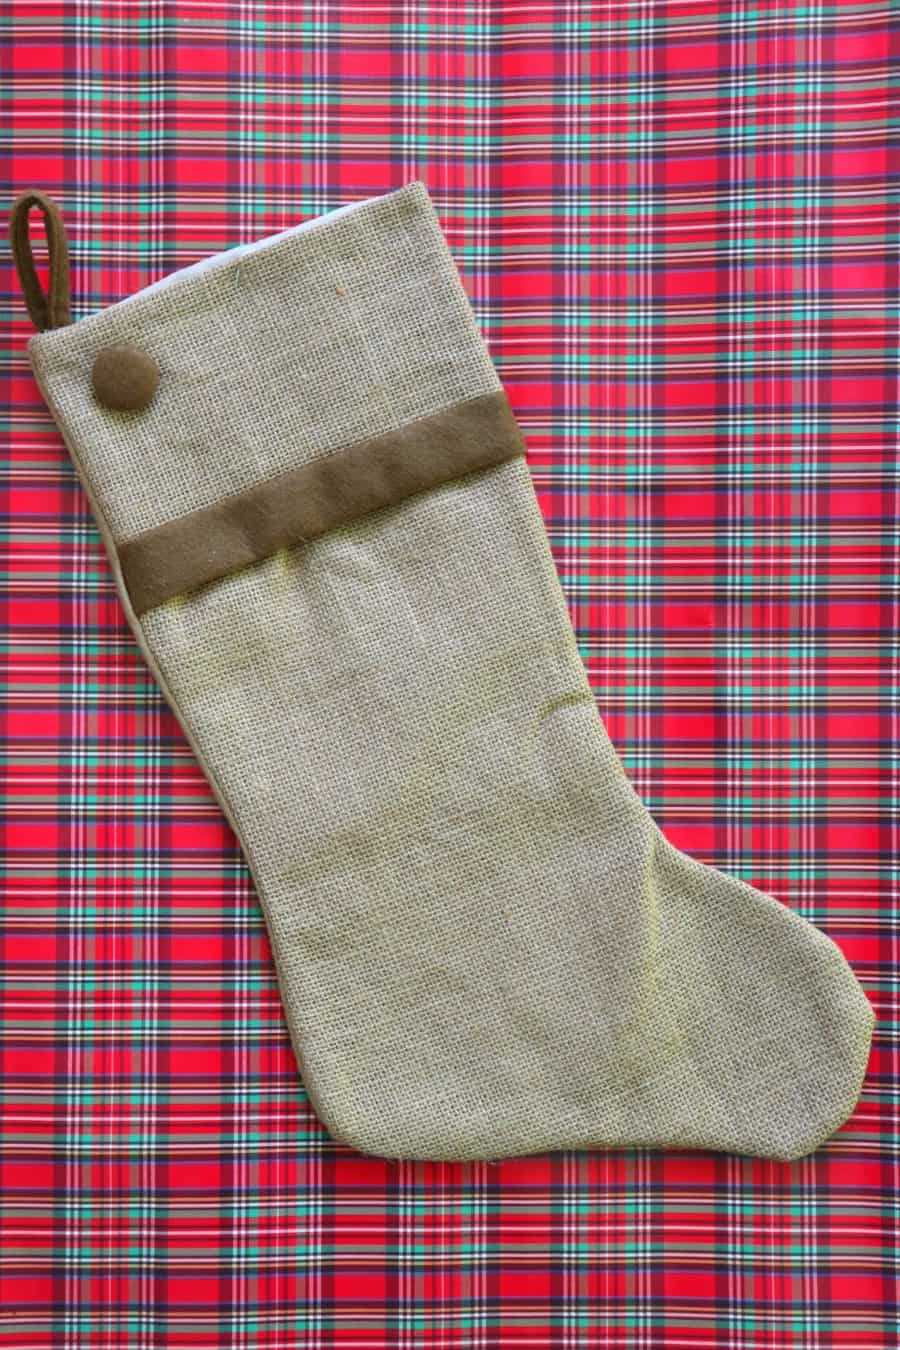
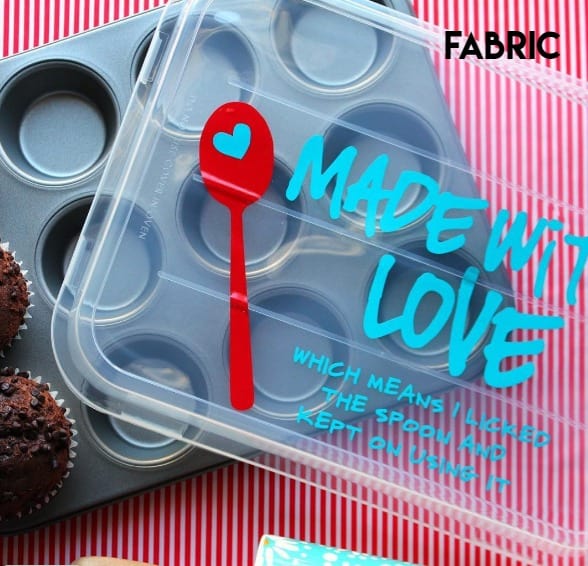
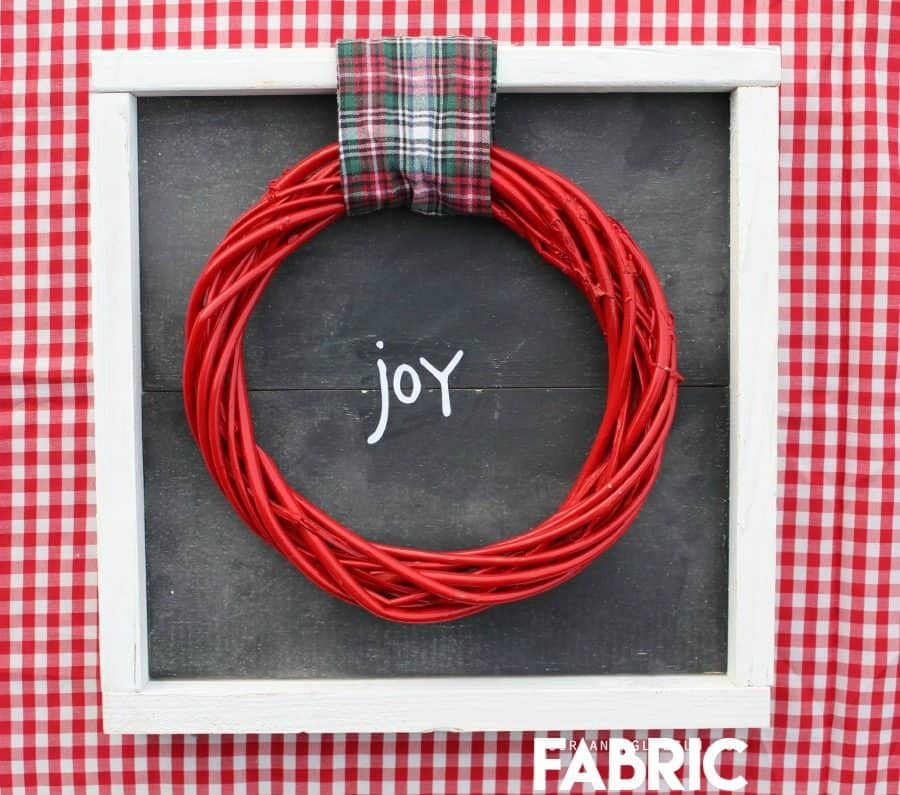
Flat Lay on Fabric
I usually don’t buy fabric with the intention to use a flat lay–(like everything else) but sometimes I just look up and see fabric that would be the perfect pop in my photos! (the only downside is having to iron it!)
Okay-let’s switch gears for a minute:
Let’s talk a litte about staging.
Adding something else besides the item!
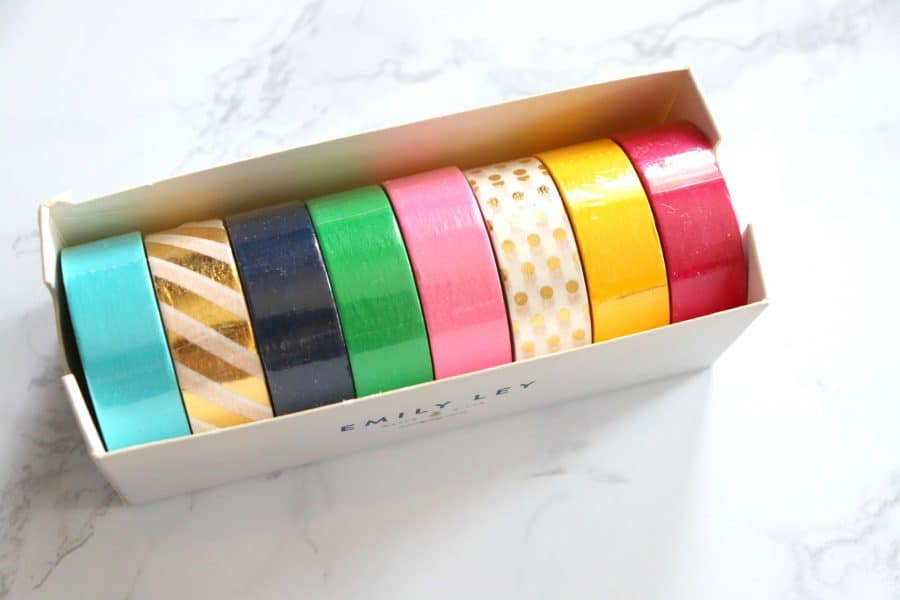
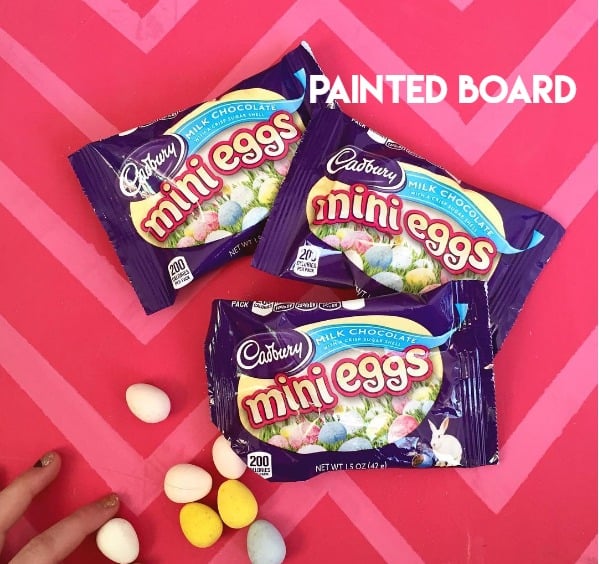
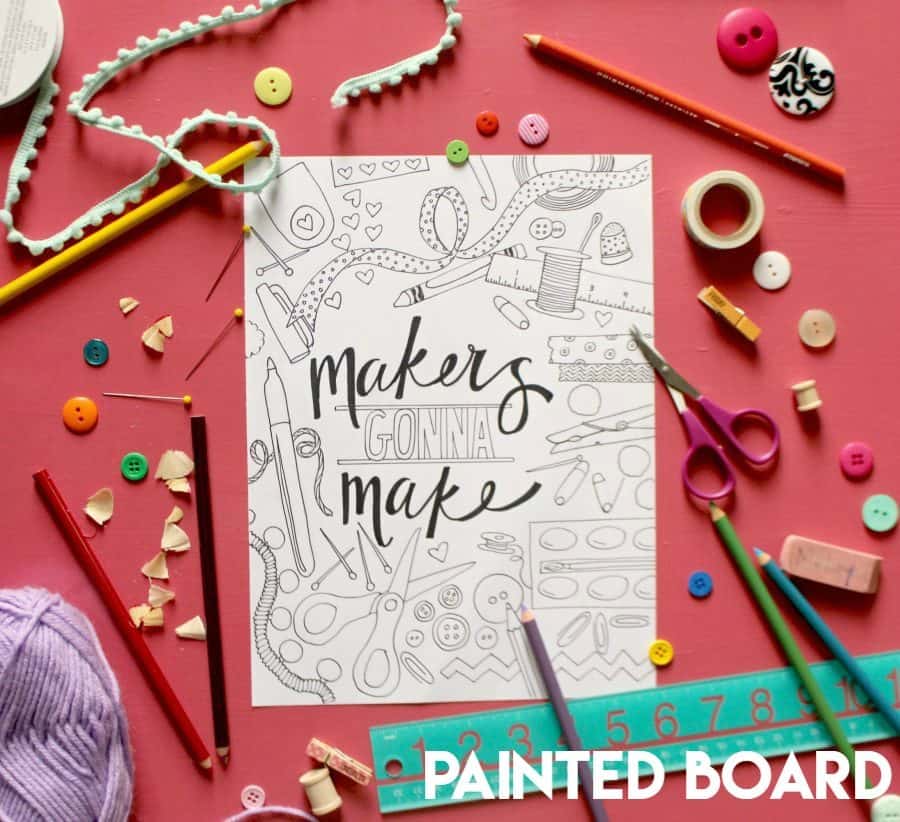
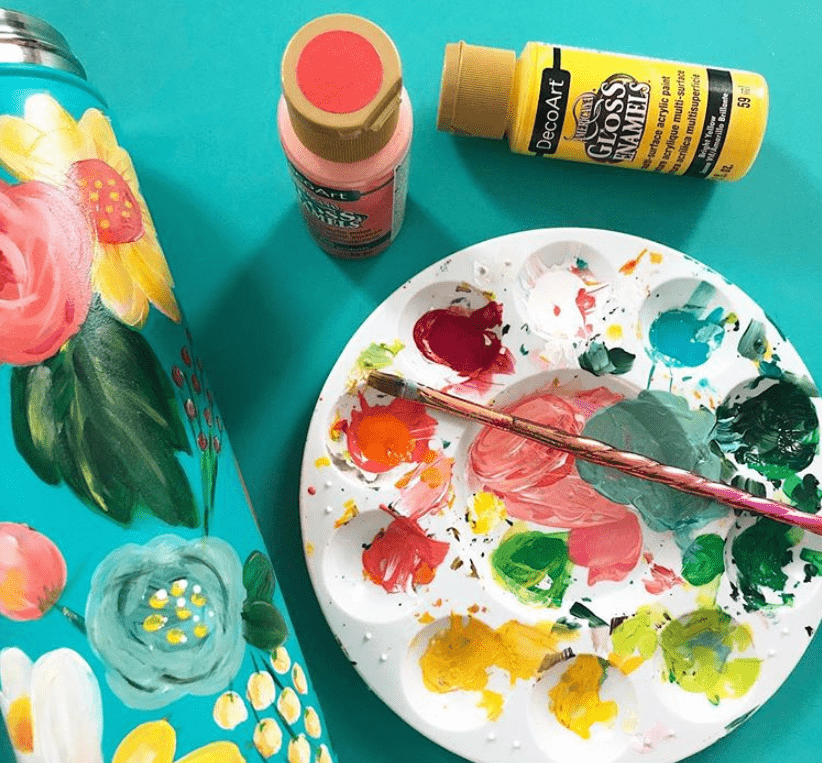
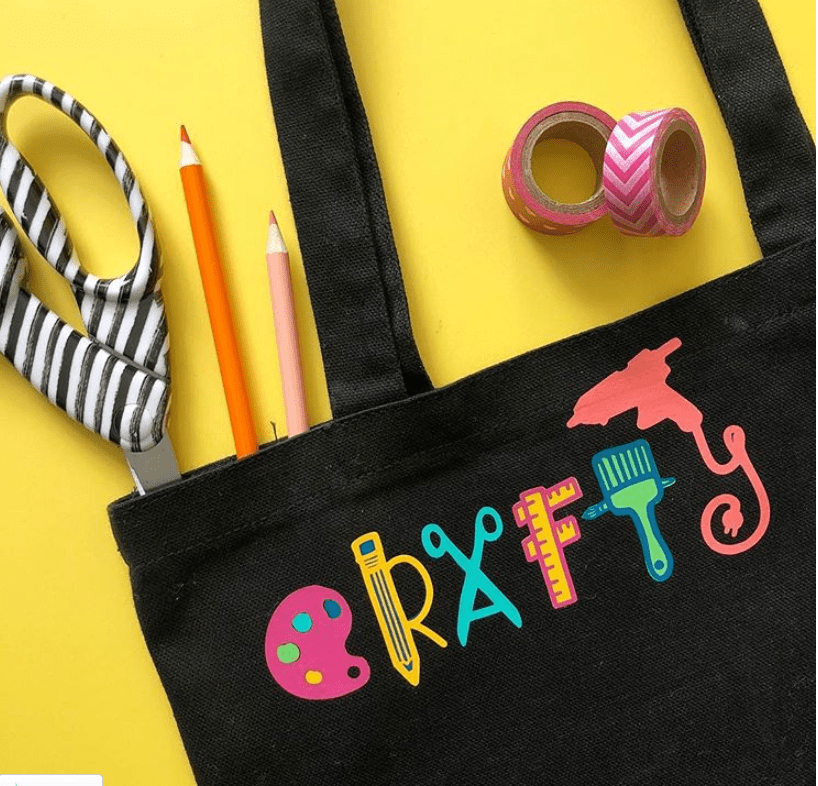
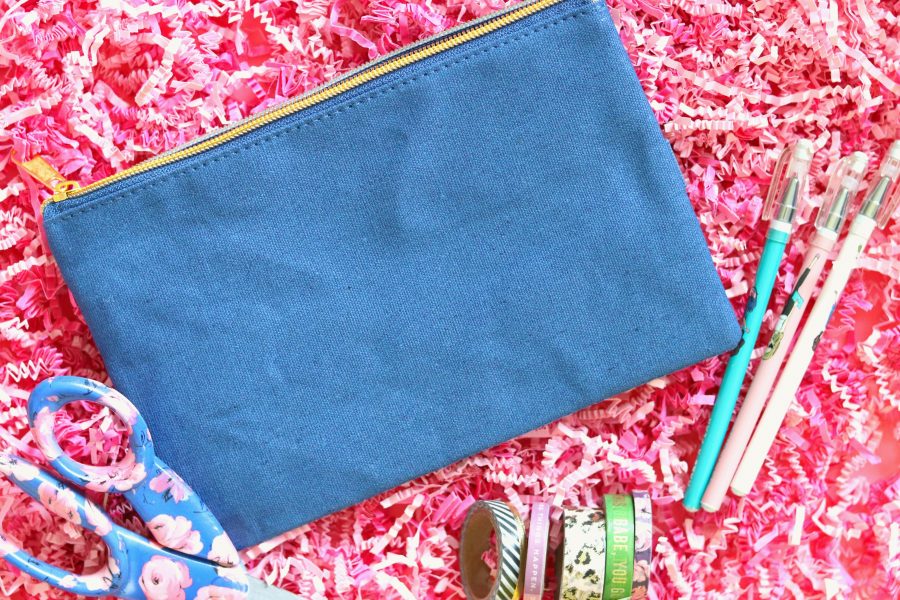
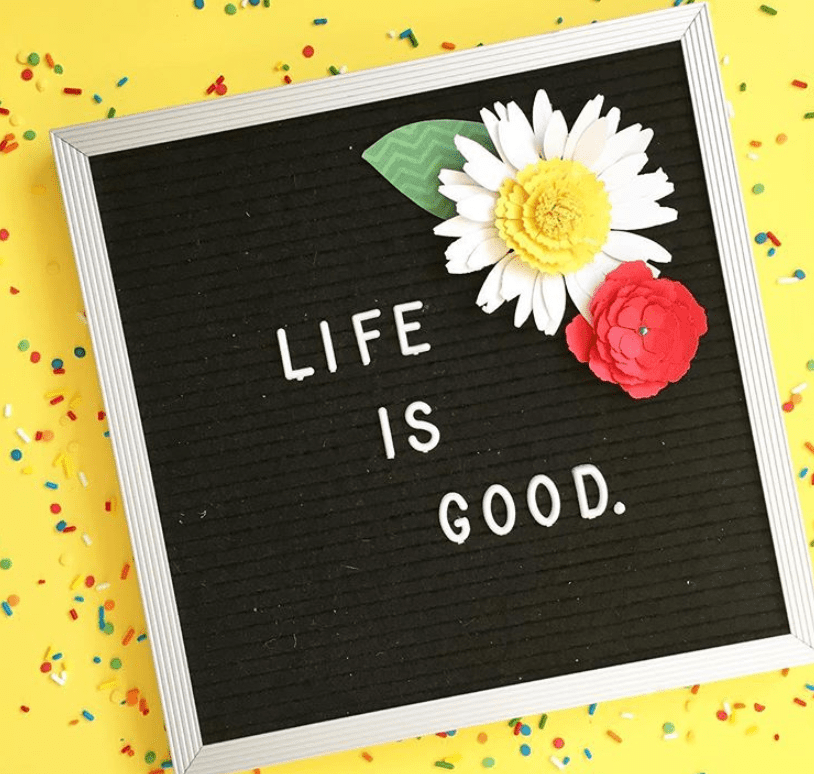
I love adding props! (keep in mind…sometimes less is more) but sometimes I want to fill the space with some interest! The easiest thing to include in the photos are the supplies I used…
Paint, paintbrushes, pins, buttons, fabric scissors etc!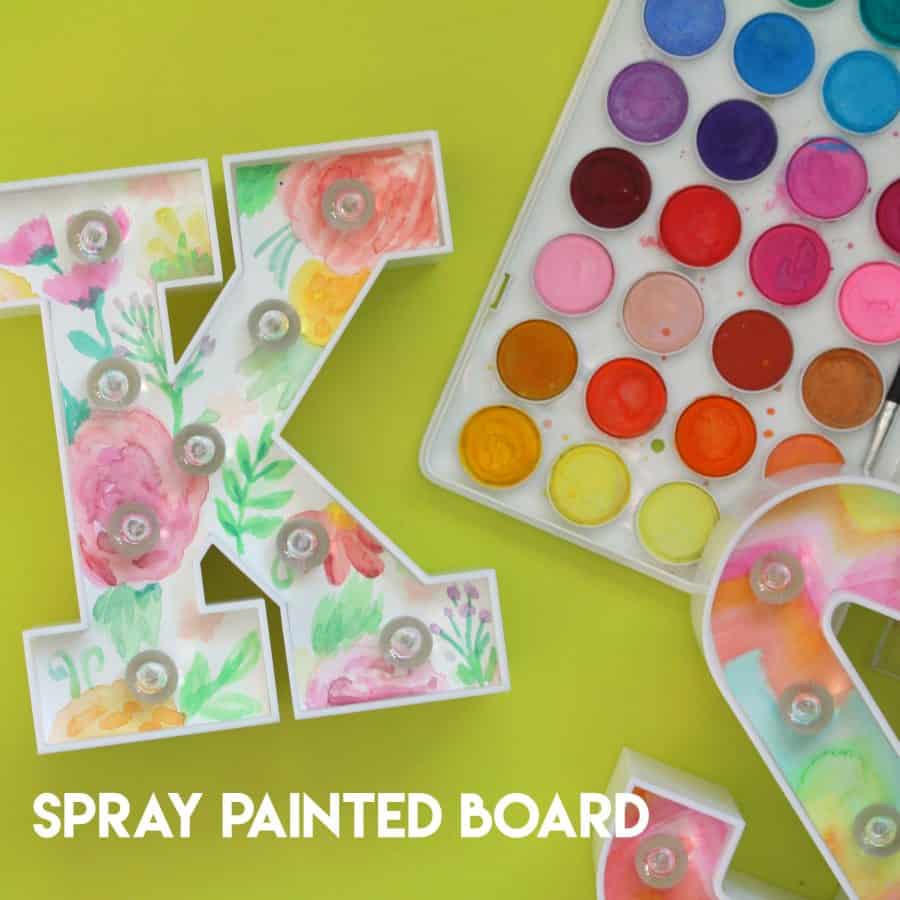
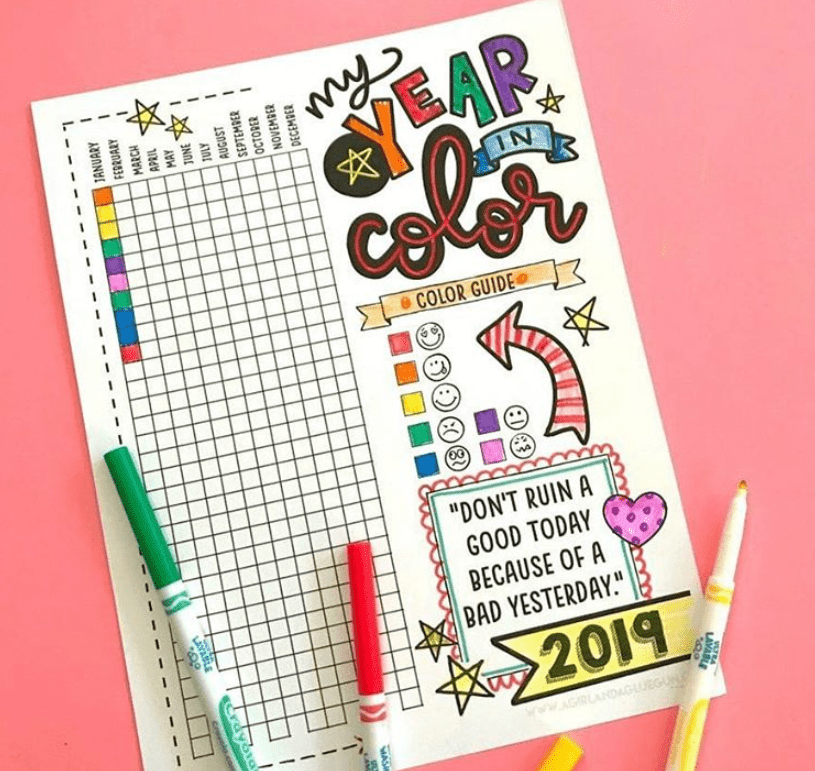
I also use candy–I legit have a bag of stale conversation hearts and candy corn and candy canes to use as props! 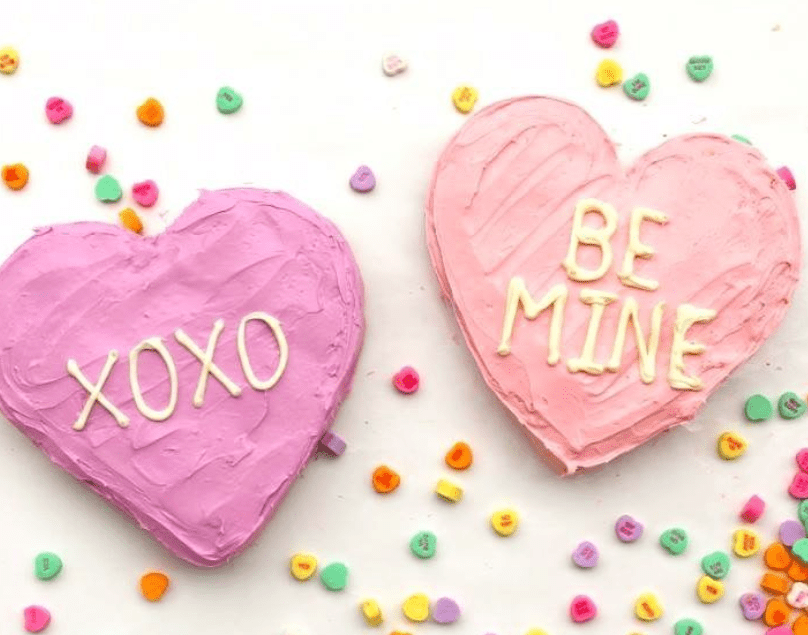
I also love using fun colored confetti–seriously have jars of it for this purpose! My craft room is so weird!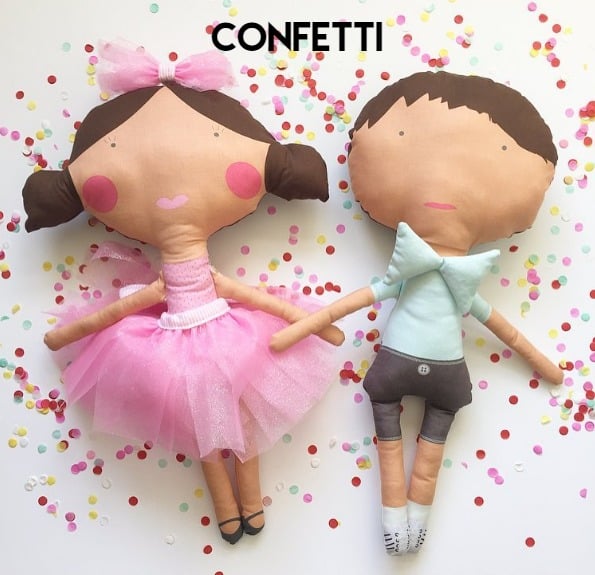
Shredded paper
Pom poms! 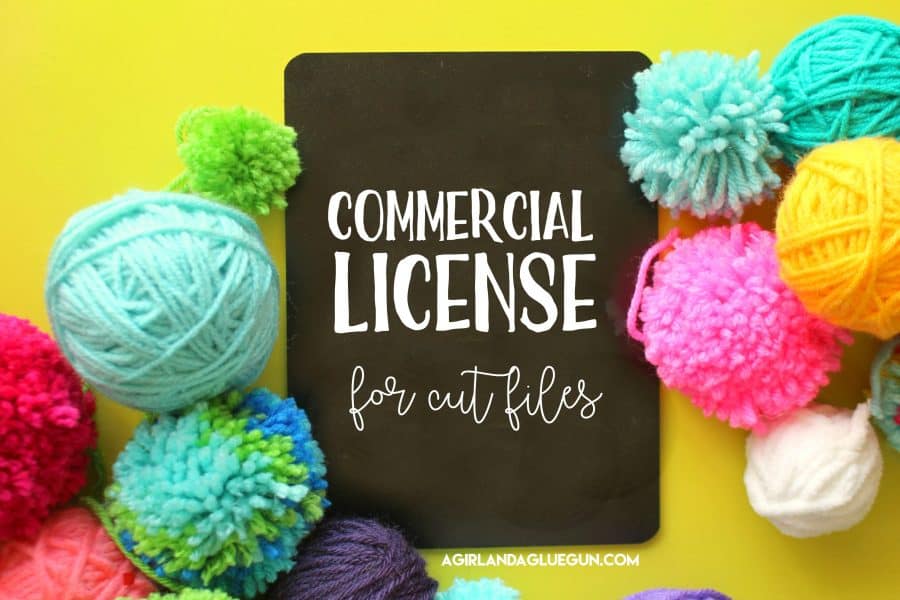
Flowers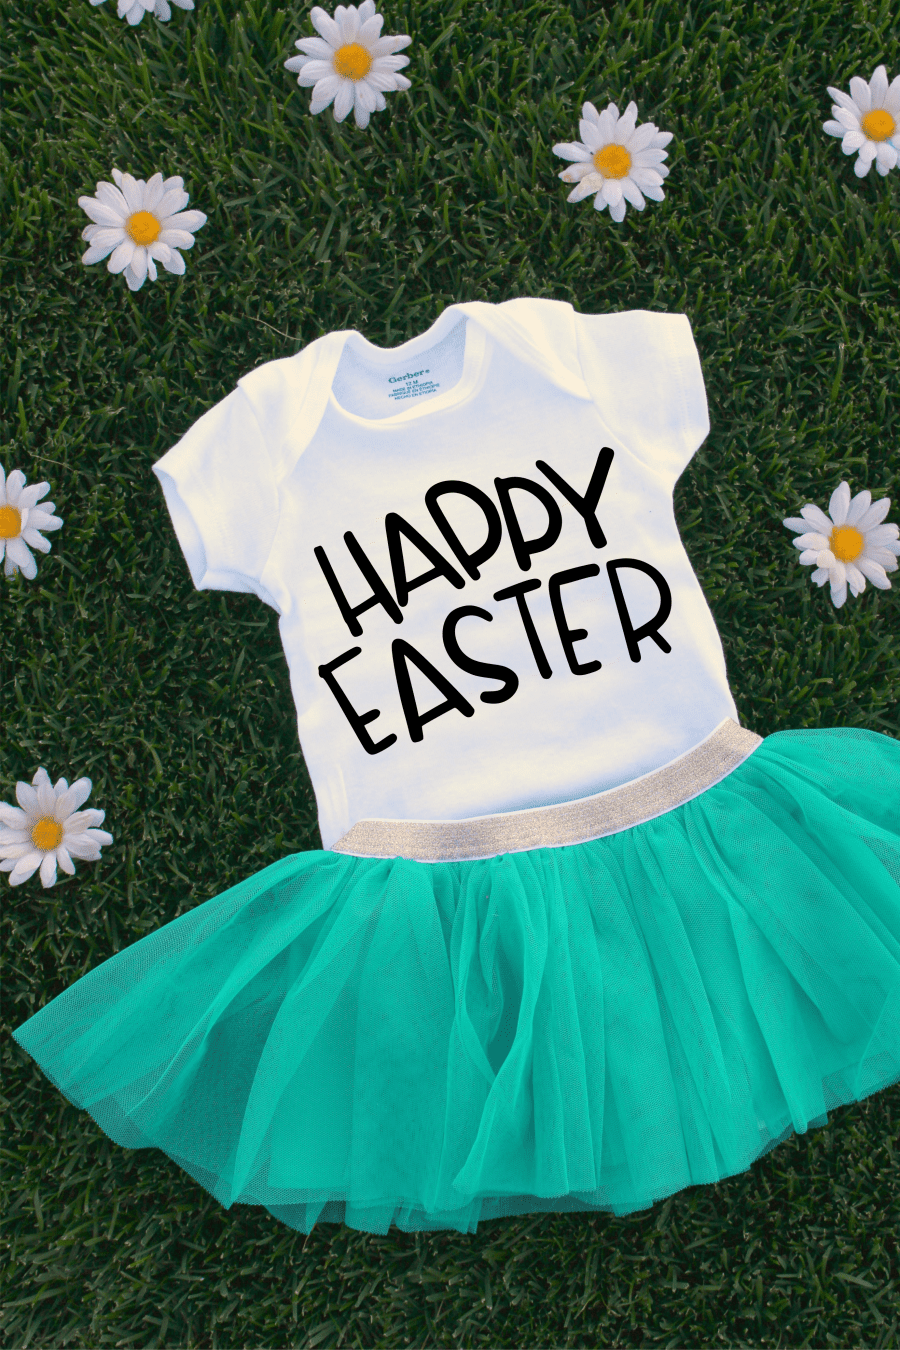
and my collection of sprinkles is NOT for baking! 
and just remember–behind every cute staged photo
is this:
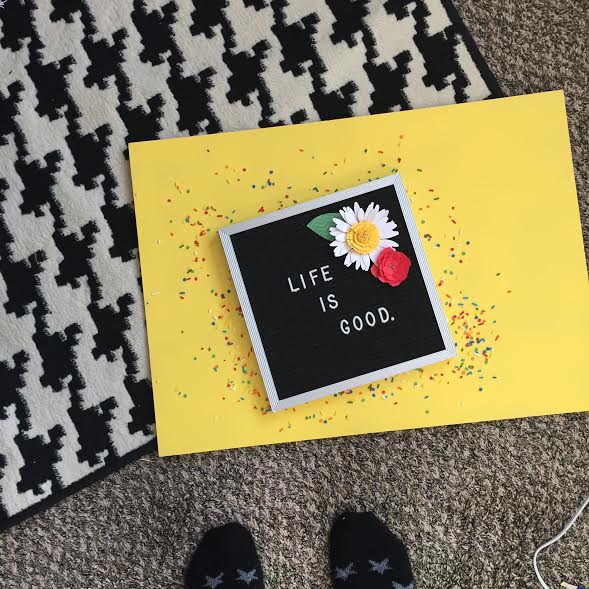
I will say this: There is effort into having a pretty photo. Waiting for the right light..laying it out. ironing stuff…gathering props. Don’t think that those “effortless” looking photos didn’t actually have some effort to them! Most are a lot of work!!
Leave a Reply