
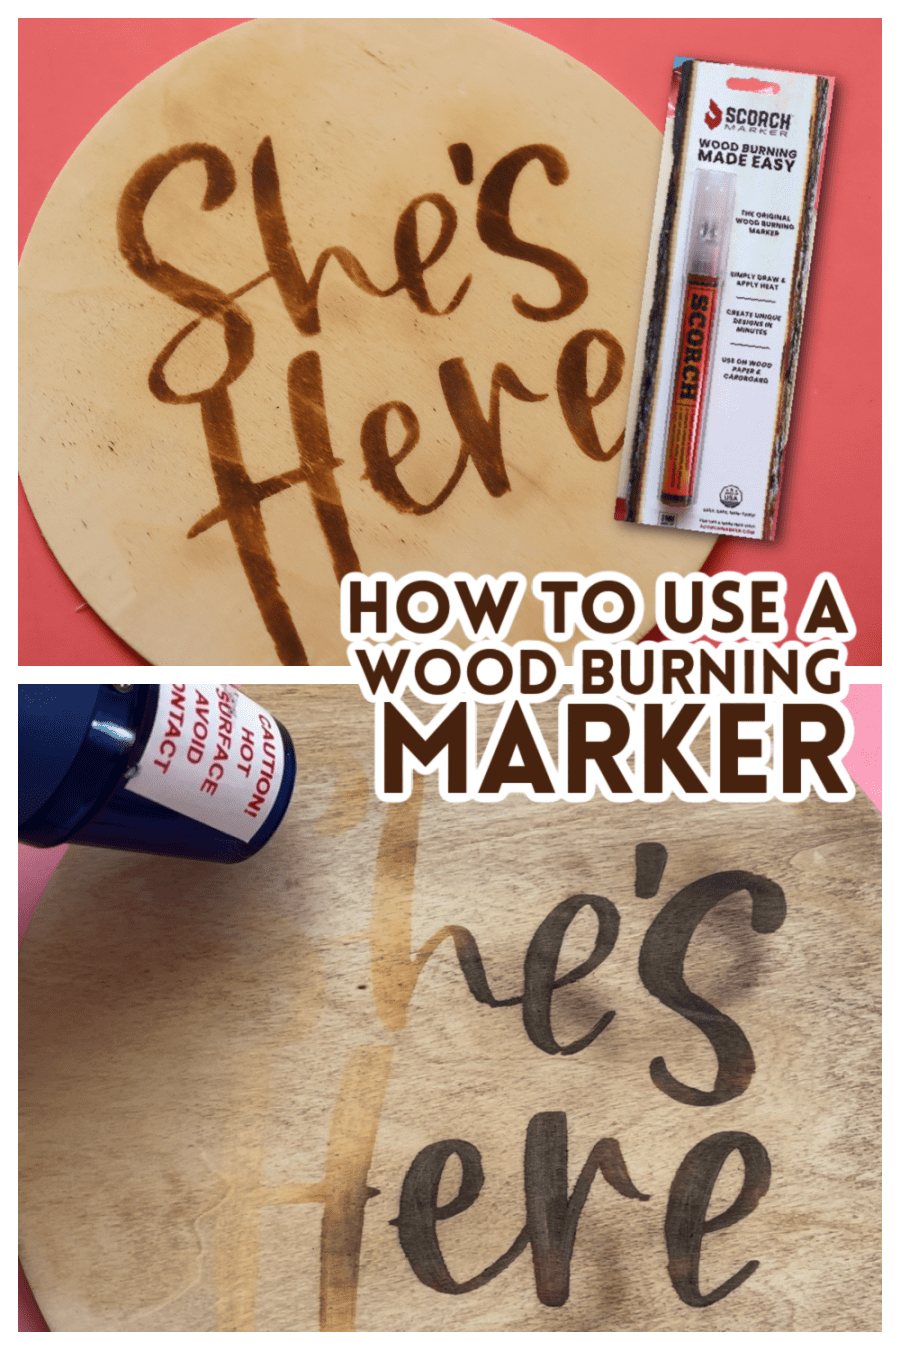
Is a wood-burning pen worth it? I’m trying it! Come see how to use a wood-burning marker and learn from my mistakes!
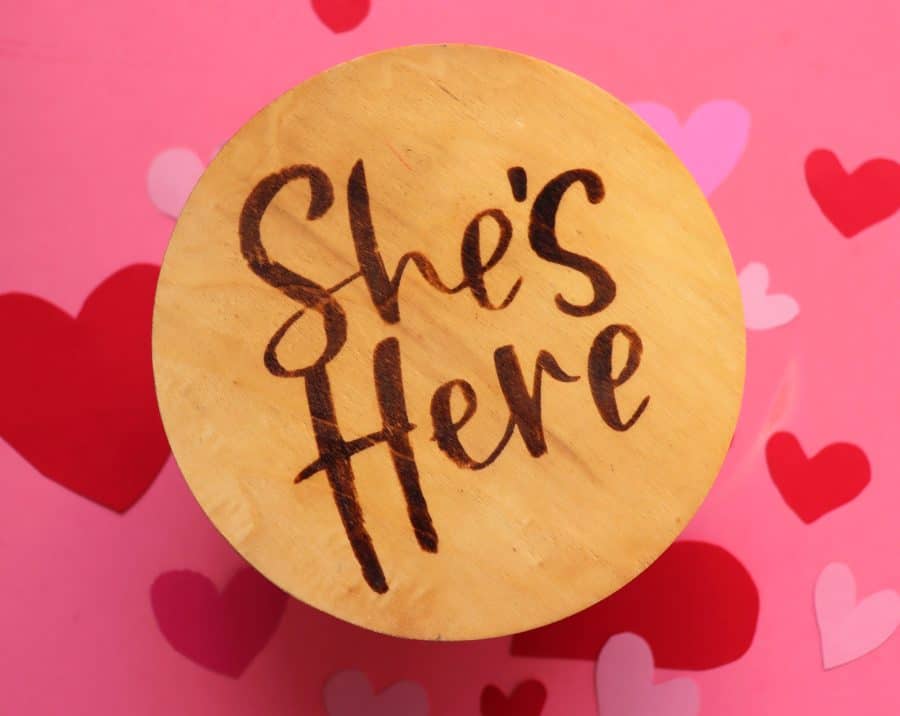
I bought this wood-burning marker so long ago! I knew I wanted to try it, but didn’t have a perfect project! My sister actually came up with the idea for a cute ‘she’s here’ sign since she was having a baby! I loved having an excuse to try it out! So I did! It’s a totally fun project that has a great reveal! It’s also a great price if you don’t want to buy a whole wood-burning set!
Supplies to make projects with this SVG cut file
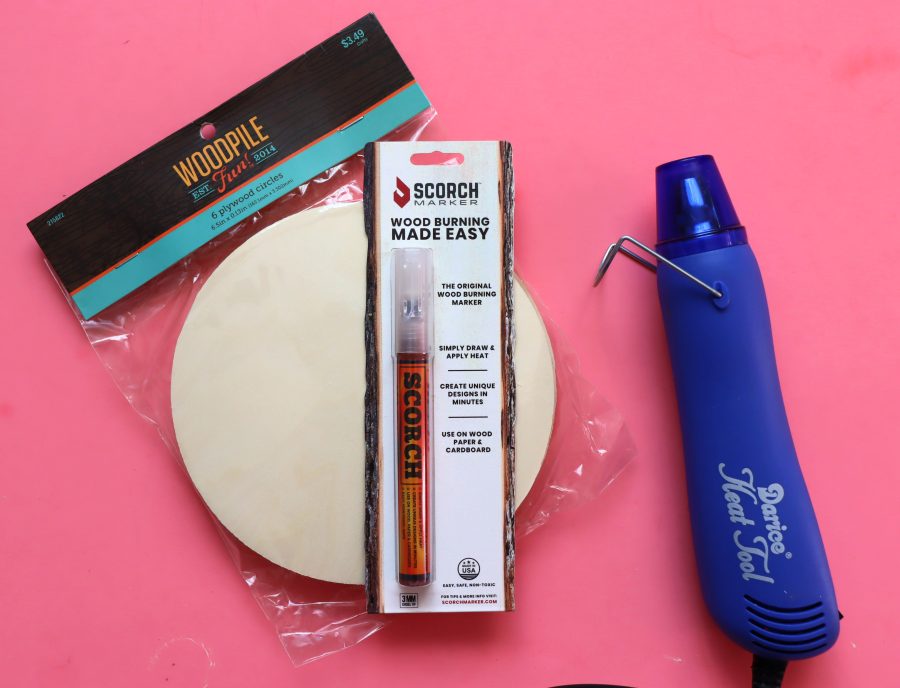
- Wood burning pen
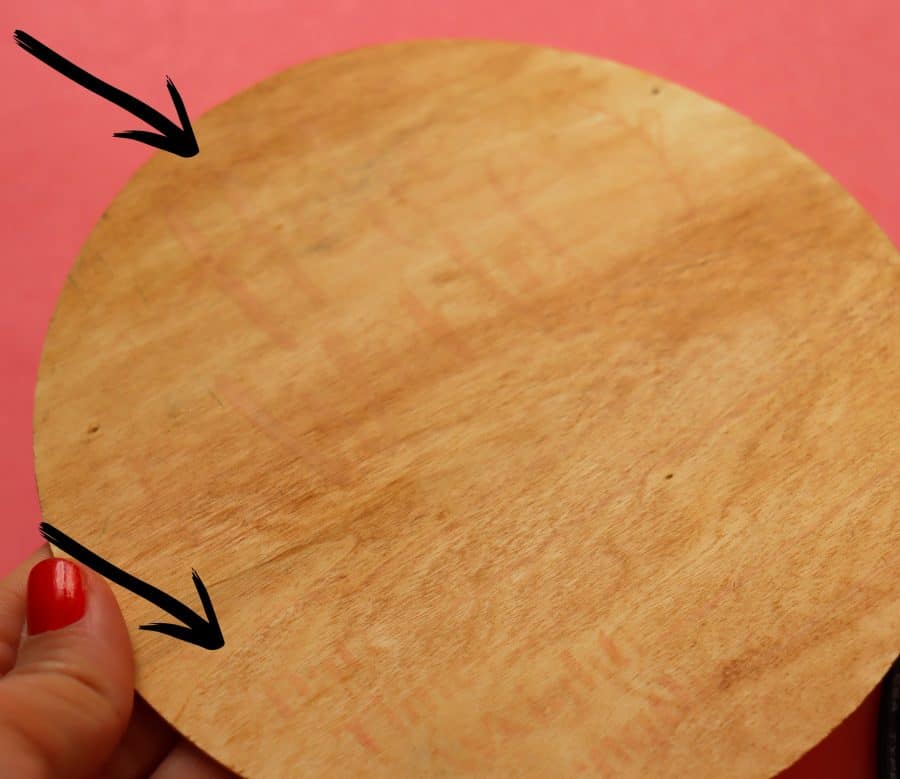
- wood rounds (found these at Hobby Lobby)
- a heat source (I’ll go more into depth down below)
- adhesive vinyl
- Best Transfer Tape
Cut out the template.
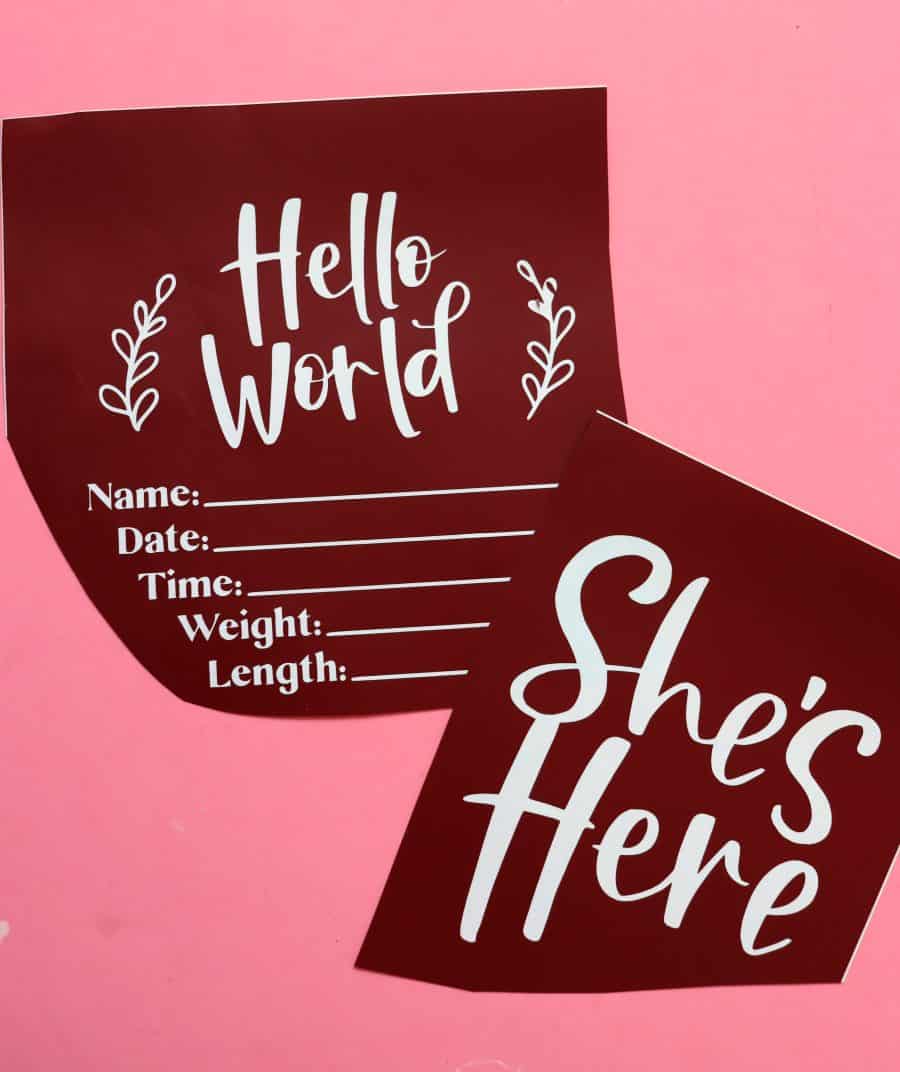
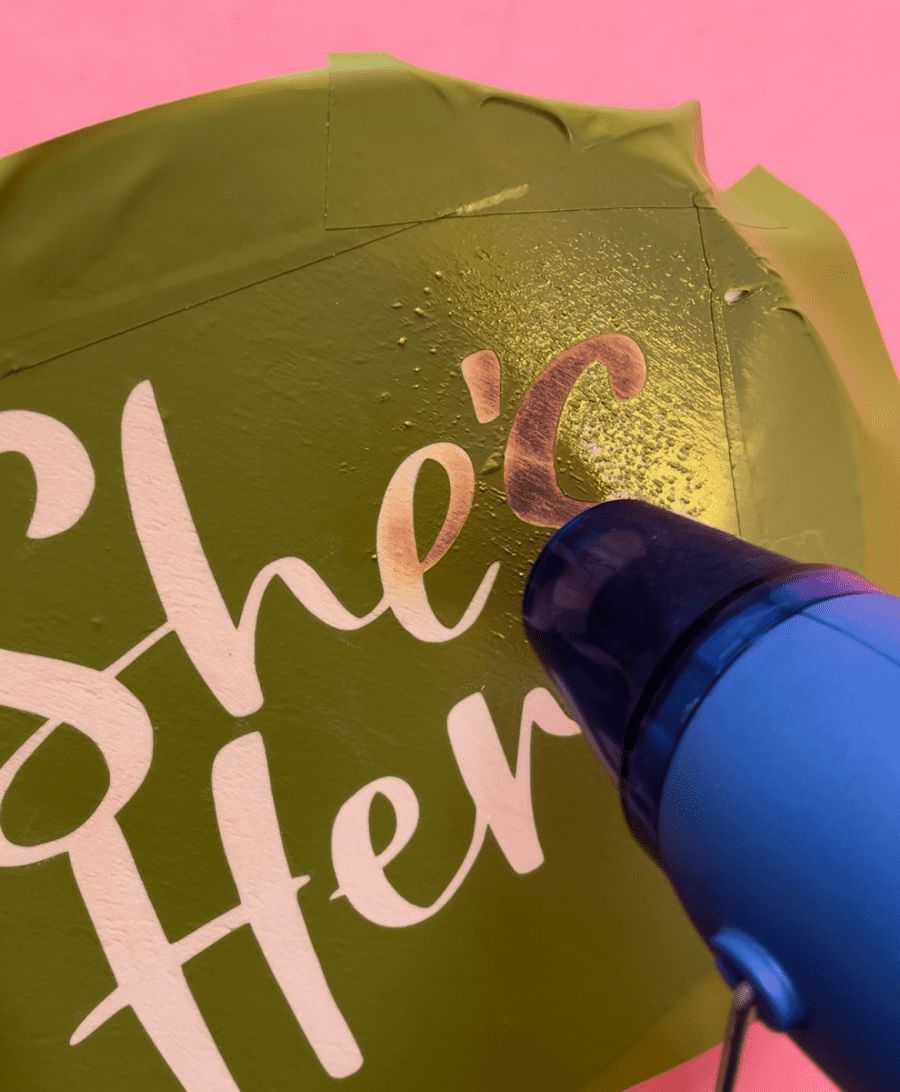
The beauty of this pen is that you can freehand it and draw something OR you can cut out some vinyl and create a stencil!
You do need an electronic cutter to cut out these are some of my favorite machines!
- Silhouette cameo 4
- Silhouette Cameo PRO (cuts 24 inches wide)
- Cricut Maker
I used vinyl from Expressions Vinyl. It’s the best quality and they have SO MANY options! I just picked a vinyl color that I don’t use very often! You will also need transfer tape to move it from the backing to the wood!
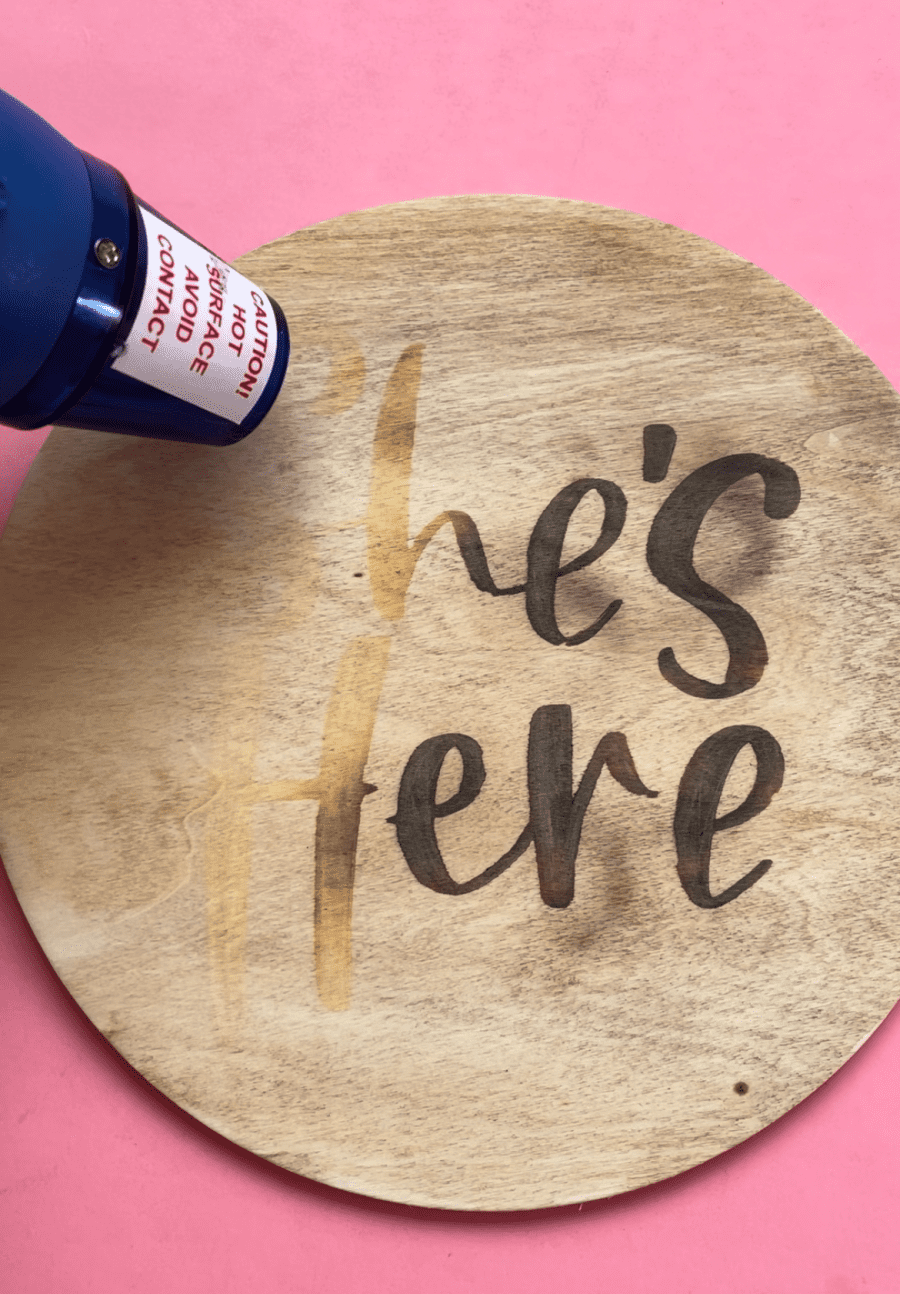
Using the wood-burning marker
You need to depress the tip to get the liquid flowing. The pen says chisel tip but it’s pretty hard to get a nice thin line so keep that in mind when planning out your project. I just rubbed it all over the design TWICE.
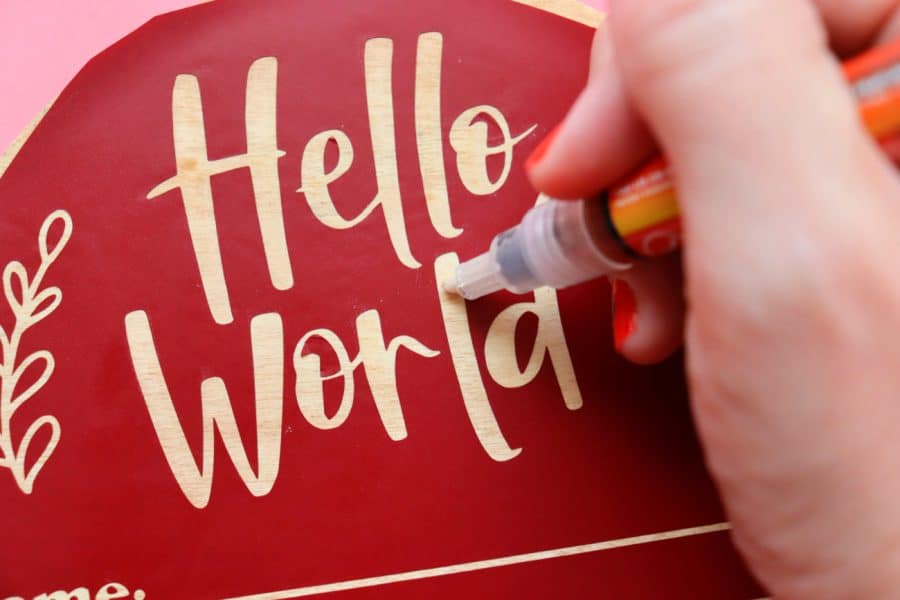
The wood gets a little darker so you can see where you have colored in. I didn’t want to have any random section that I forgot so I just went over it two times to get a good transfer!
When you peel off the vinyl you can see the design (I know it’s hard to tell in pictures) but it’s noticeable!
Apply the heat
So here is where I had to experiment.
Method 1: Heat gun
I originally used the heat gun I use for embossing. It gets really hot. and it took quite a while to get the burn to show up. The instructions on the back of the pen say to keep moving your heat source. When it was all said and done- My design definitely showed up, but had some scorch marks from the heat!
I know this is pretty thin wood so that could be partially to blame, BUT I didn’t want to use an expensive nice piece of wood to have it fail!
Method 2: Leave Vinyl on
My second attempt was using the heat source with the vinyl on. I thought the vinyl would protect the wood. It melted pretty quickly. I knew it would bubble and wrinkle but it only took a few seconds for it to get destroyed.
And it left a sticky residue on it. It came off with a good rub. And it still looked a little brown underneath the vinyl. I definitely don’t recommend it this way.
Method 3: OVEN
My third attempt was the oven. I thought maybe I’m just getting too close to the wood with my heat tool so I preheated the oven to 300 degrees. I have some old baking pans that I use specifically for crafting and I just popped it onto the baking pan and left it for a few minutes. And it totally worked!
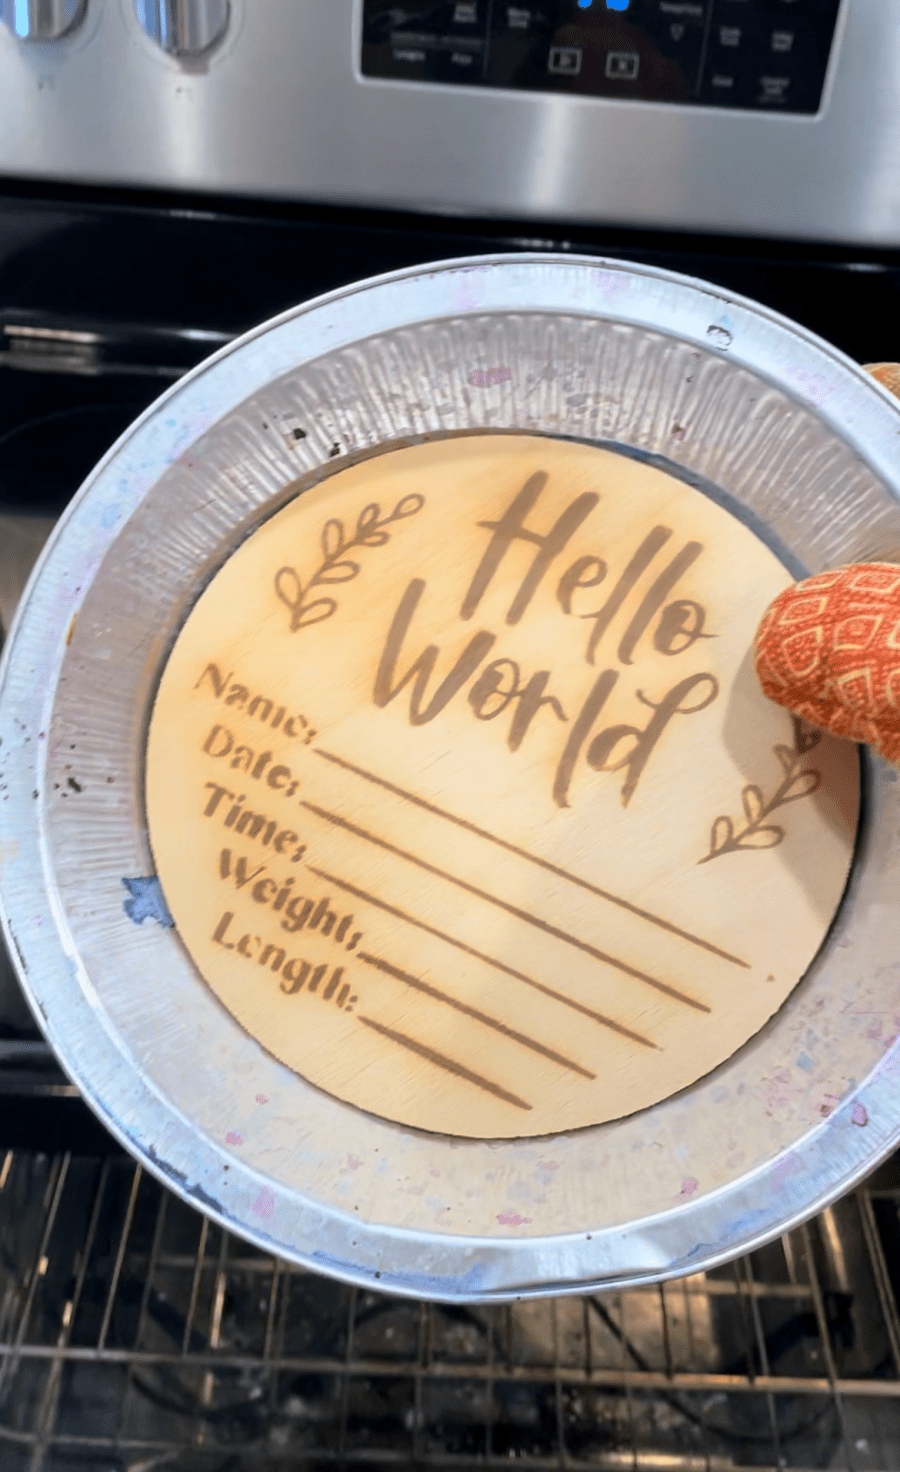
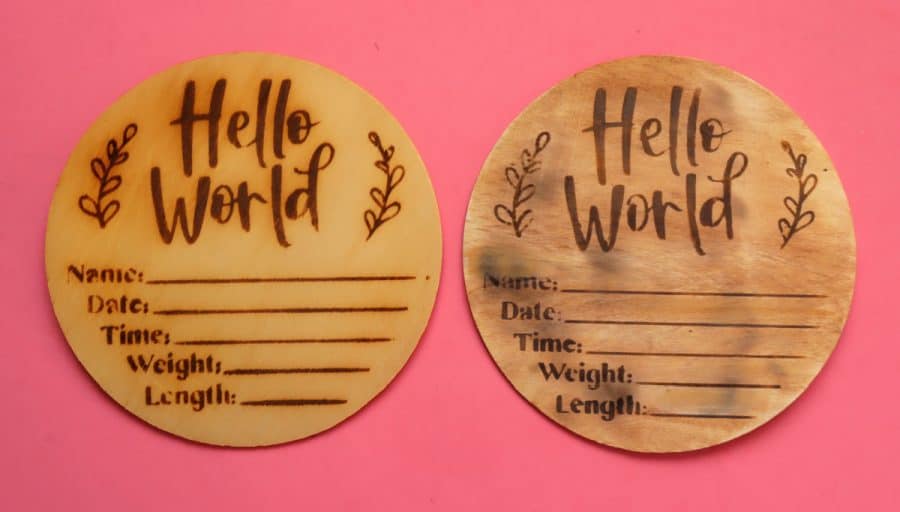
Here is a side-by-side of the heat tool versus the oven. The oven still creates a little discoloration- but not nearly as bad as the one I used the heat gun with!
GET THE New baby SVG Cut File

If you liked this cute new baby, she’s here, and hello world SVG, you can grab it by signing up below to access this cut file, as well as all my entire free cut files offered on my website! It’s well over 125 SVG cut files! If you are already a member, log in right here
If you do not see the form above, you can sign up here!
If you are looking to sell products made with this cut file please purchase a commercial license HERE! (This will let you use ANY of the free cut files I offer on my blog! Every cut file is hand-lettered by me on my iPad pro with an iPad pencil. I have a WHOLE video on how I create my cut files HERE!
Dianna says
I love all your. Craft ideas.
Can not wait to try some