
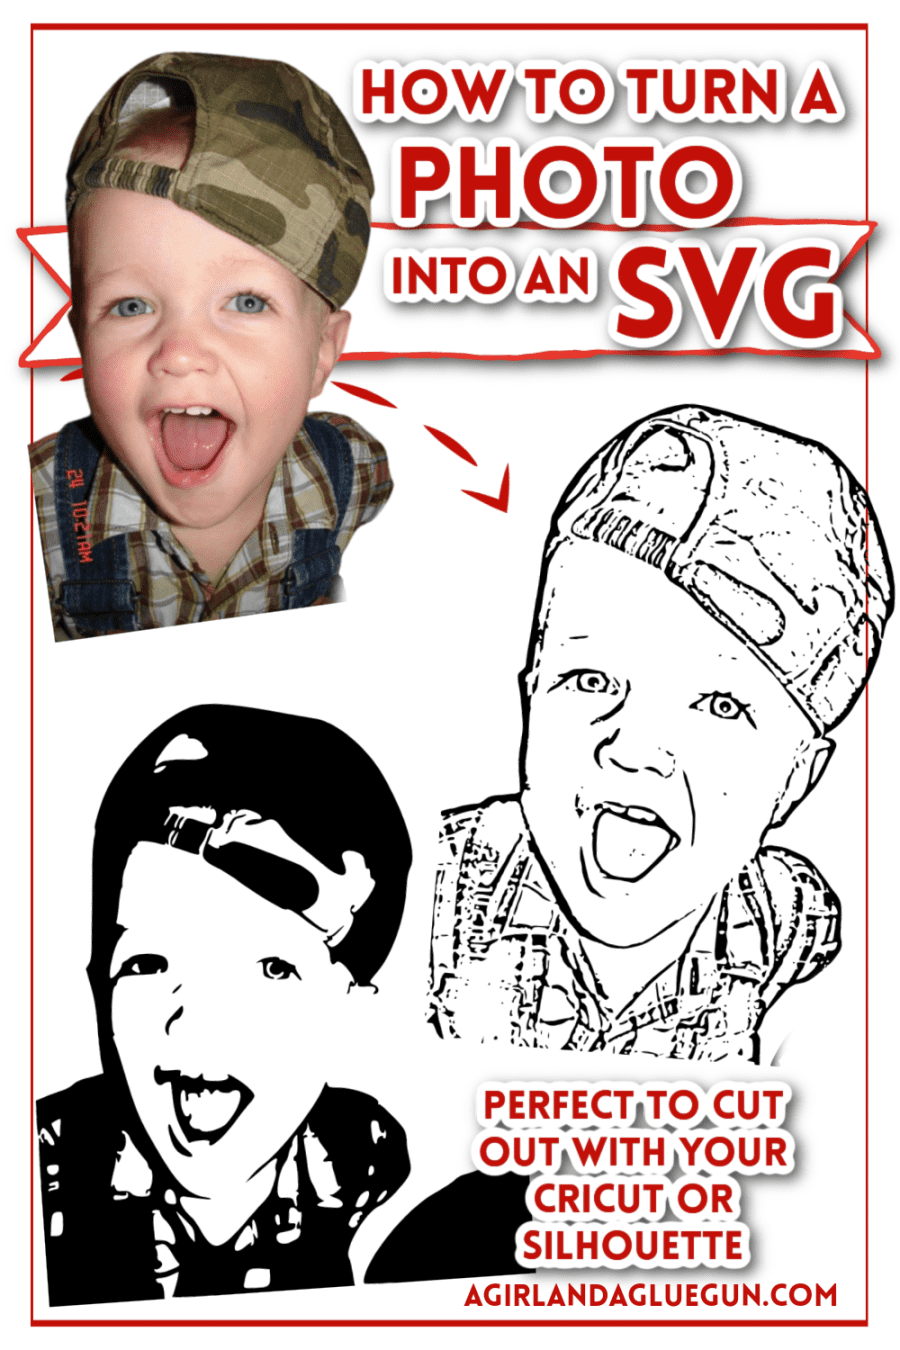
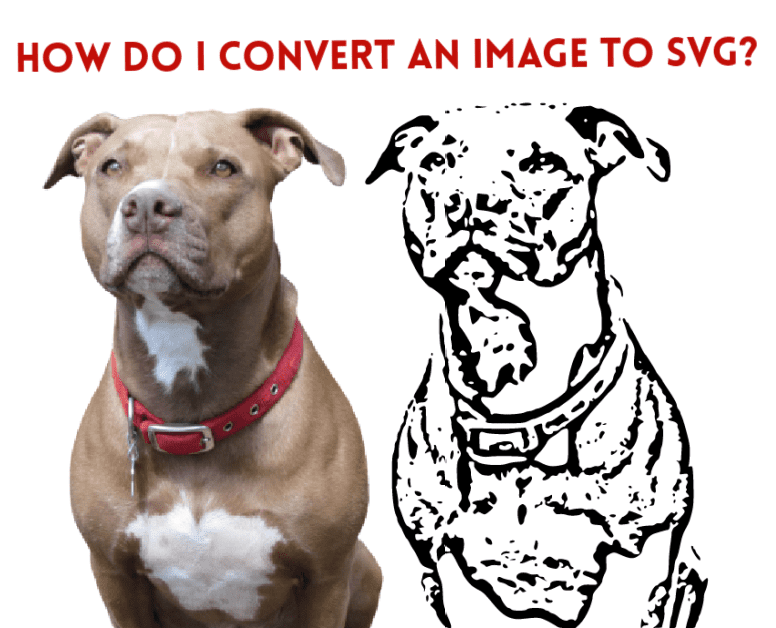
Make a special tribute by taking this tutorial on how to turn a picture into an SVG and create a personalized present! Cut it out with your Silhouette Cameo or Cricut!
I’m in lots of Vinyl Facebook groups. And I see people uploading pictures of their loved ones, pets, or fun love letters and asking people to convert them into SVGs so they can cut them out with vinyl! So today I’m answering the question that is always getting asked; How can I create SVG images for free?
This is just a neat way to pay special tribute to those you love! Turn their photos, handwritten letters, or their famous recipes into pictures and t-shirts! I’ve even seen some cool pet tributes!
How to turn a picture into an SVG
This youtube video will show you how to easily remove the background and go through lots of different websites that turn pictures into an SVG! I have all the websites down below with photos of what the SVG cut file looks like so you can have a quick comparison!
Picking a good picture to turn into an SVG
If you have a choice of pictures, I recommend going with the best lighting! I know if you are doing a picture of your great-grandma or grandpa, there might not be a whole of options. But if you do have options, try to pick the best lit, most clear photo.
How to remove backgrounds from photos
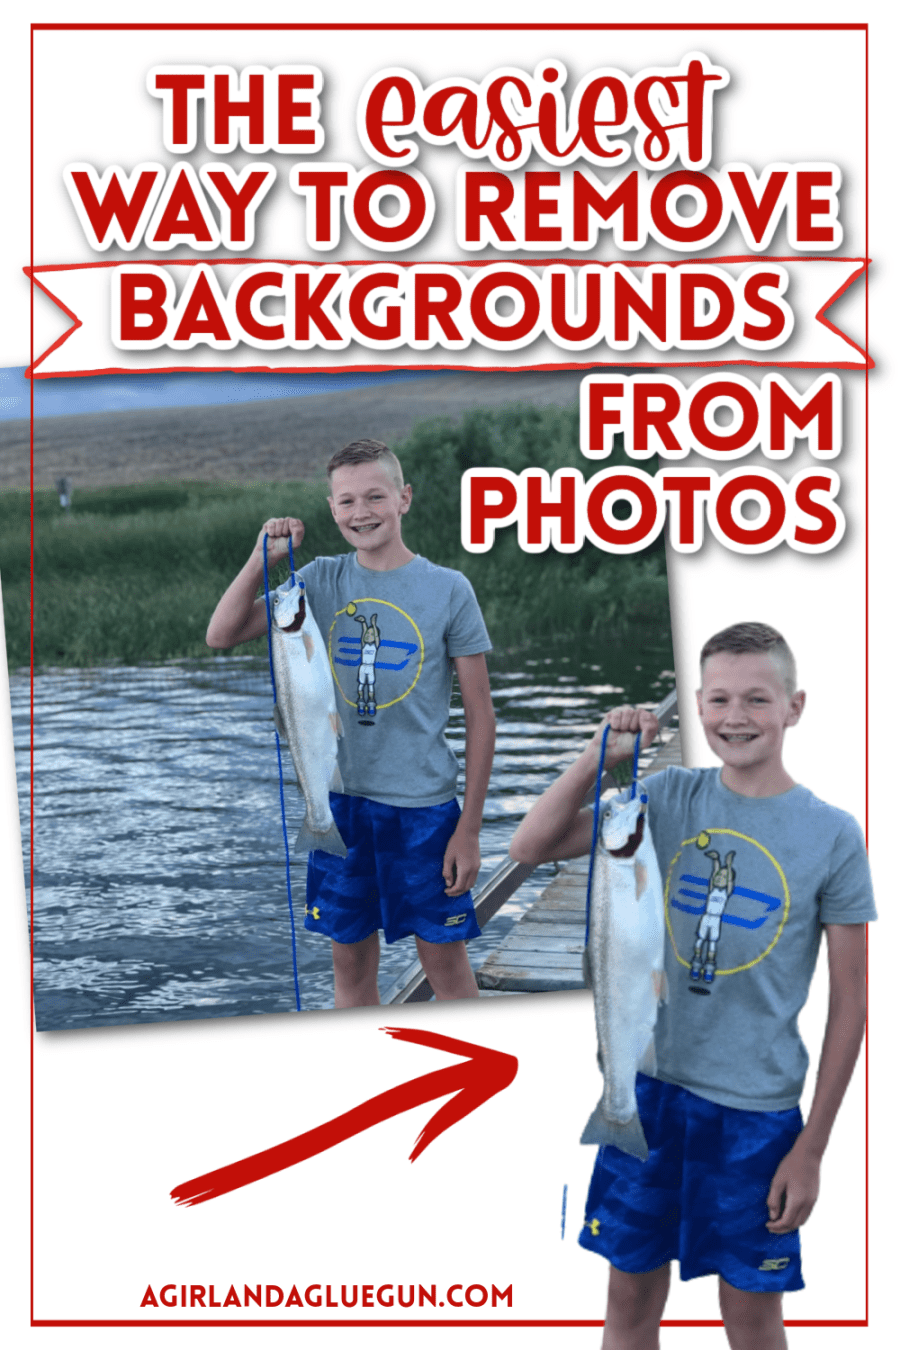
Before trying to turn your Pictures into SVGs, you most likely need to get rid of the background. The background is extra noise, and we are just here for the picture’s main subject.
Below is an example of what it looks like with the background vs without the background.
It doesn’t look too bad. But it can get hard to read the picture when cutting it out of vinyl.
The easiest way to remove the background is at www.Remove.bg
By simply uploading and clicking the link- bam! The background is gone! It’s almost magical to watch. I uploaded a recipe and it didn’t work. I don’t know how the software works, but I’m assuming it knows how to read faces and cut around them.
What is the best app to convert pictures to SVG?
There are so many websites out there that can turn images into SVGs. BUT a photo with colors and shading is a whole lot harder than just a plain black and white image. So let’s delve in on some of the options out there and I will give my honest review!
(Keep in mind. This is for using photographs and turning them into SVGs- But if you are uploading your cut files, some of these websites might work fantastic!)
What is the best free SVG converter
Keep in mind: every single one of these is FREE!
Inkscape
If you read my post on how I create my cut files, you know I use Inkscape and love it. So I decided to start there. The Con of Inkscape is that you have to download it to your computer. Since I already have it downloaded- it’s not a big deal. And it’s FREE!

One big PRO with Inkscape is that you can adjust the brightness threshold. The photo below has .35, .45, .5, and .6 threshold. It’s nice to be able to play around with depending on how much detail you want. I like the .45 – .55 range.
This one is my number 2 favorite. I think it works amazing. You can also save as a DXF in the Inkscape software.
Online-Convert
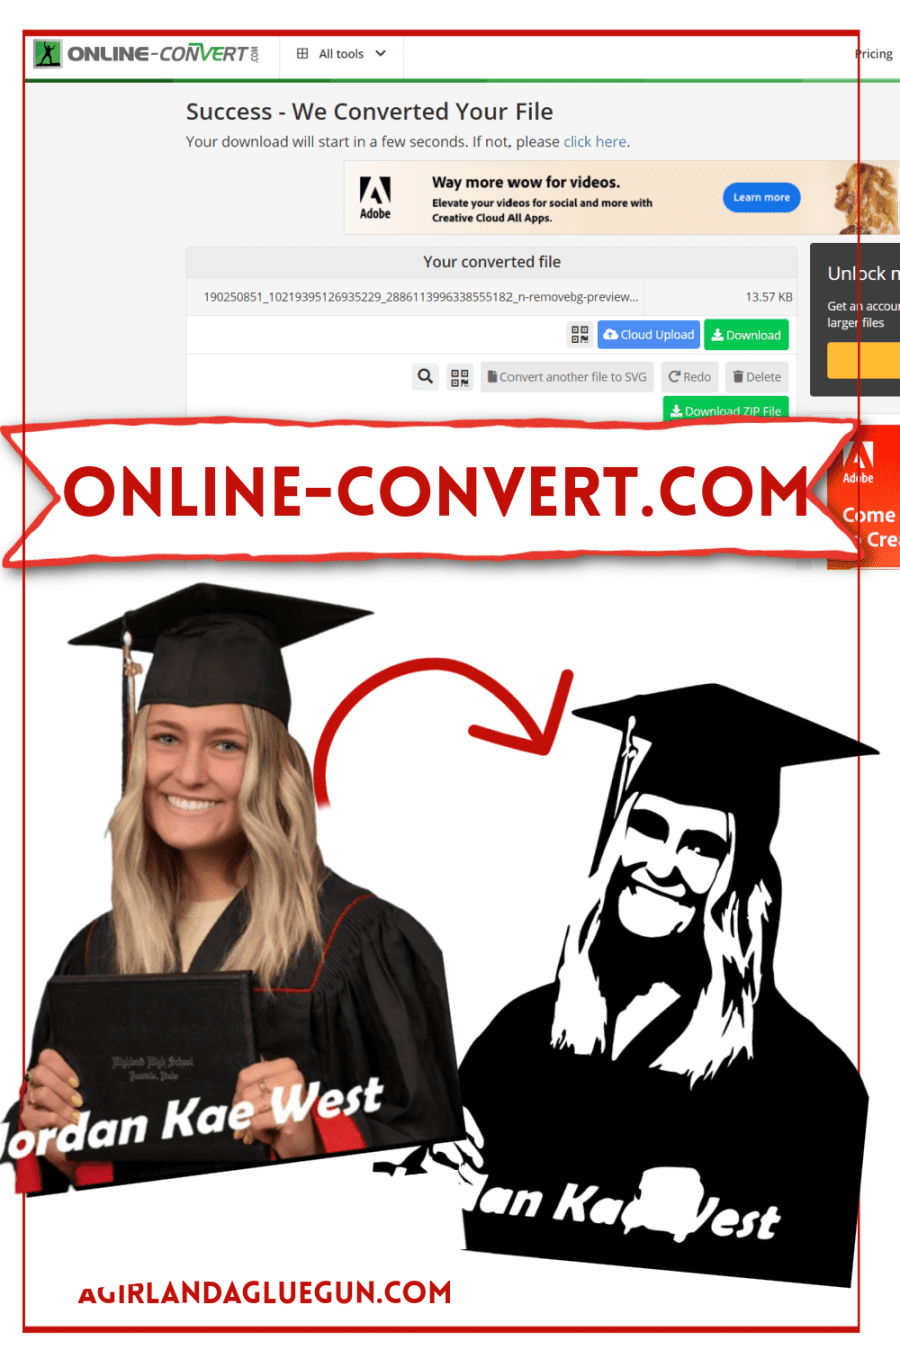
Online convert has a few cons. It only allows you three free images a day. It’s also not fantastic quality of SVG. You can see you lose her eyes into her eyebrows. I would say pass on this one.
PNG to SVG
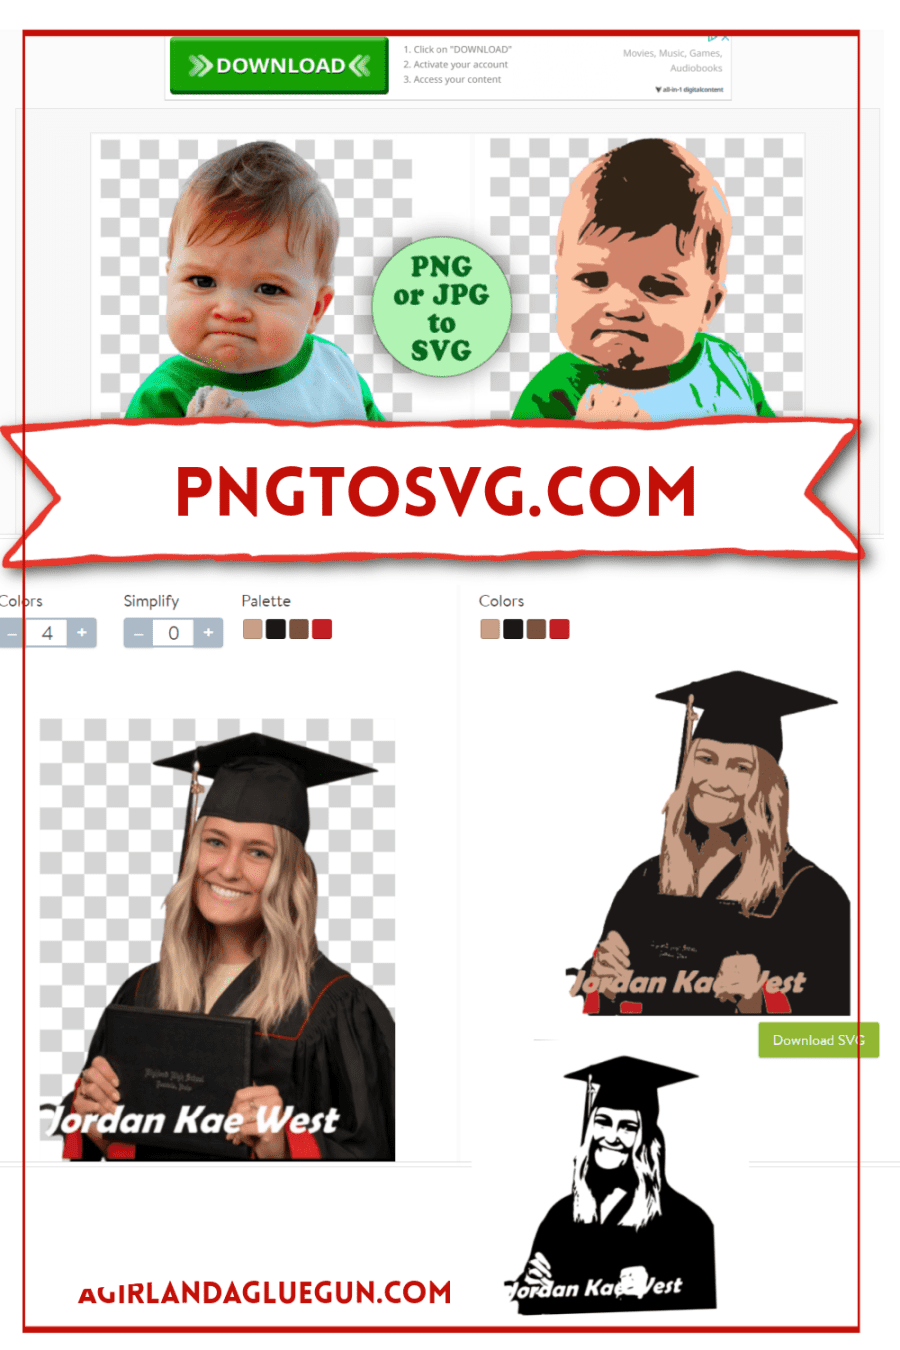
This website is pretty darn cool. Not exactly my favorite for what we are doing here. This one converts over by color. You can take it down to one color (black) and get the SVG that you are looking for. The quality is pretty good too. But what I think this website has some fun potential for is if you want to cut out a photo in different colors of layers. You can add in how many colors you want.
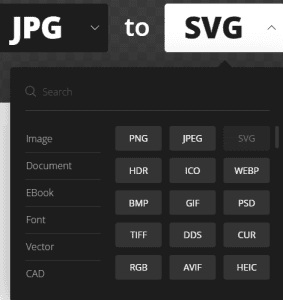
Convertio
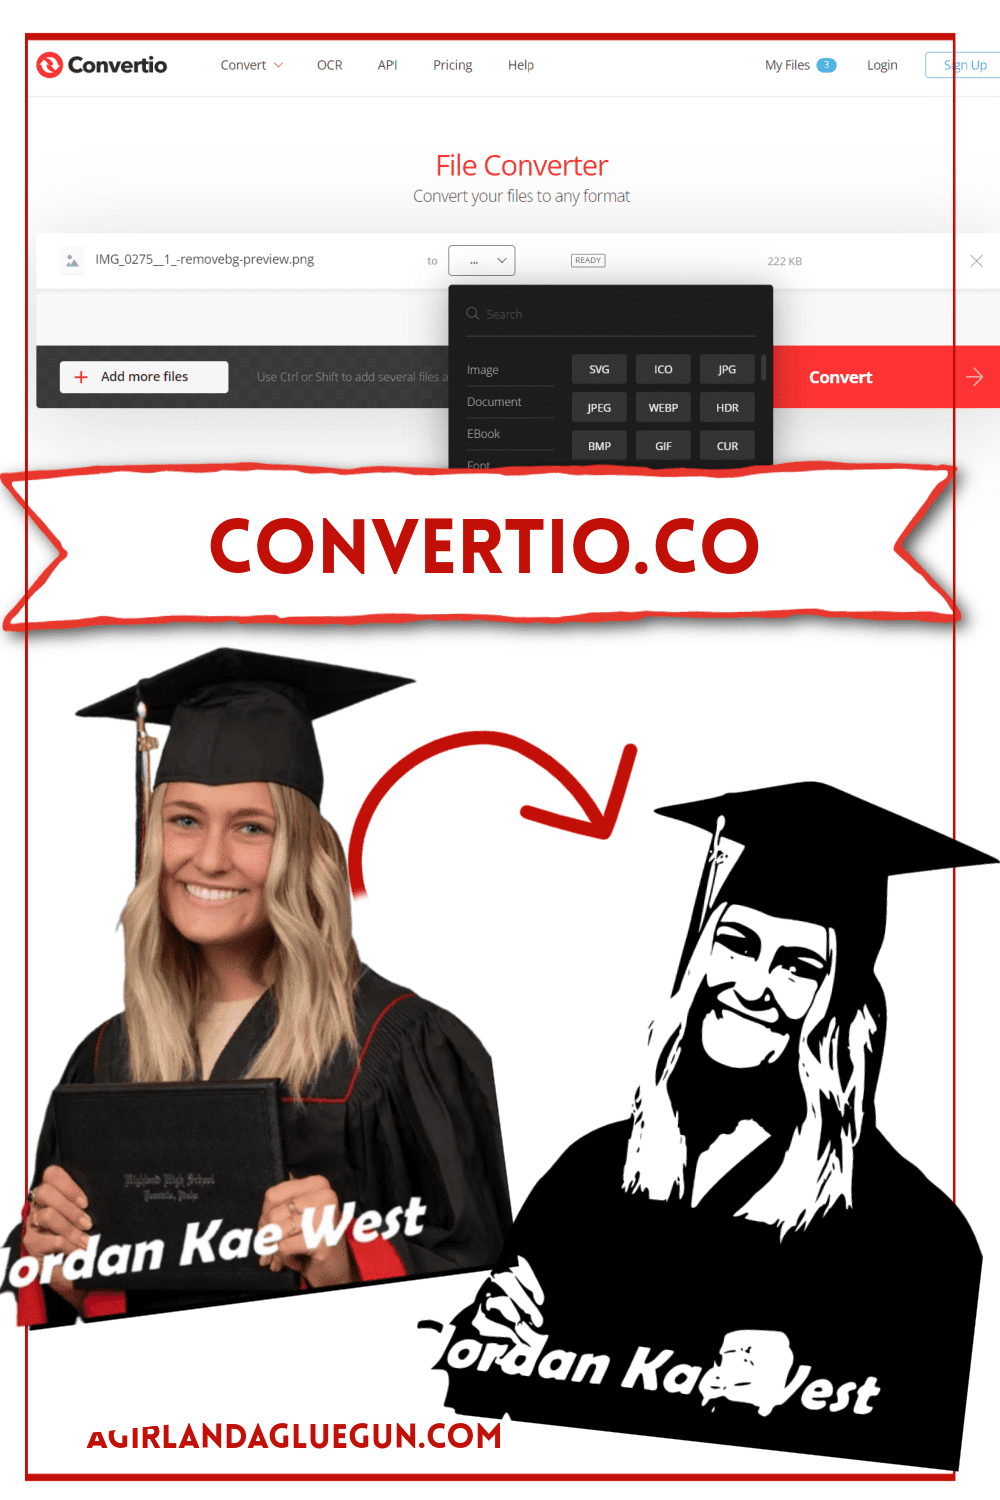
This one is just fine! Nothing special. It creates the SVG. It’s free. You can tell compared to the first one that this one is better. (Her eyes aren’t entirely black.) If this is the only one you have access to, then it’s a great option. What I like about this website is that you have lots of options for what you want to convert your image to. It’s just nice to know that these options are available!
Freeconvert.com
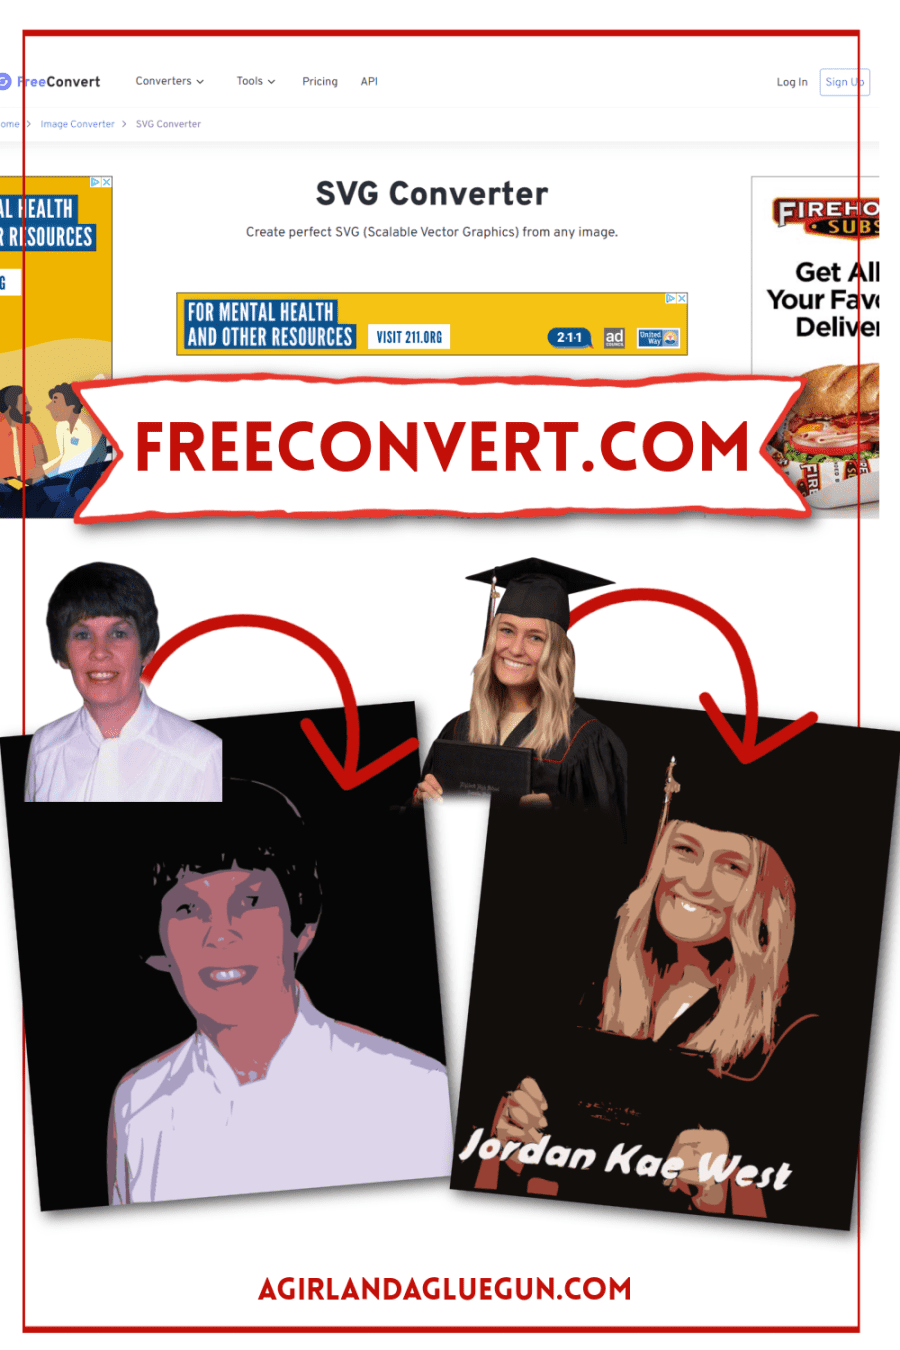
This one is a no. It pulls by color. It gives a color by number look to it. Cool but not the intended desire we are going for! Pass!
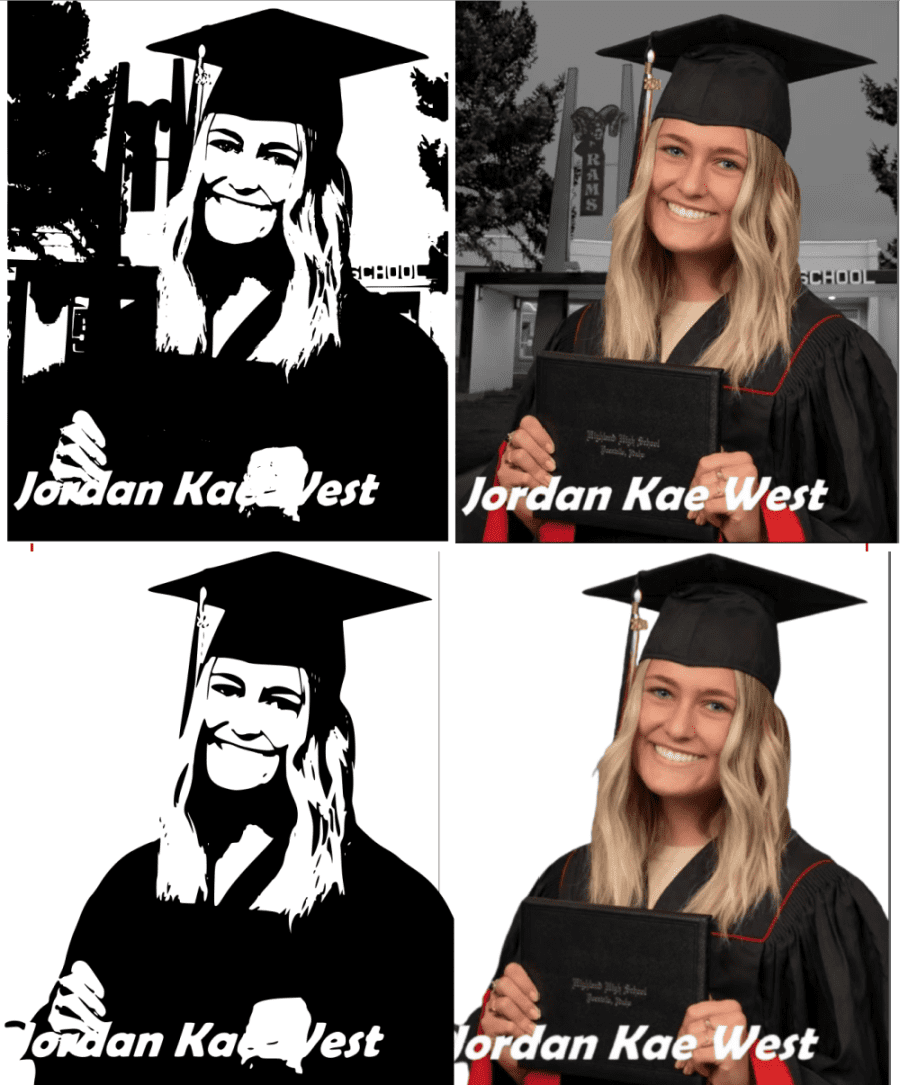
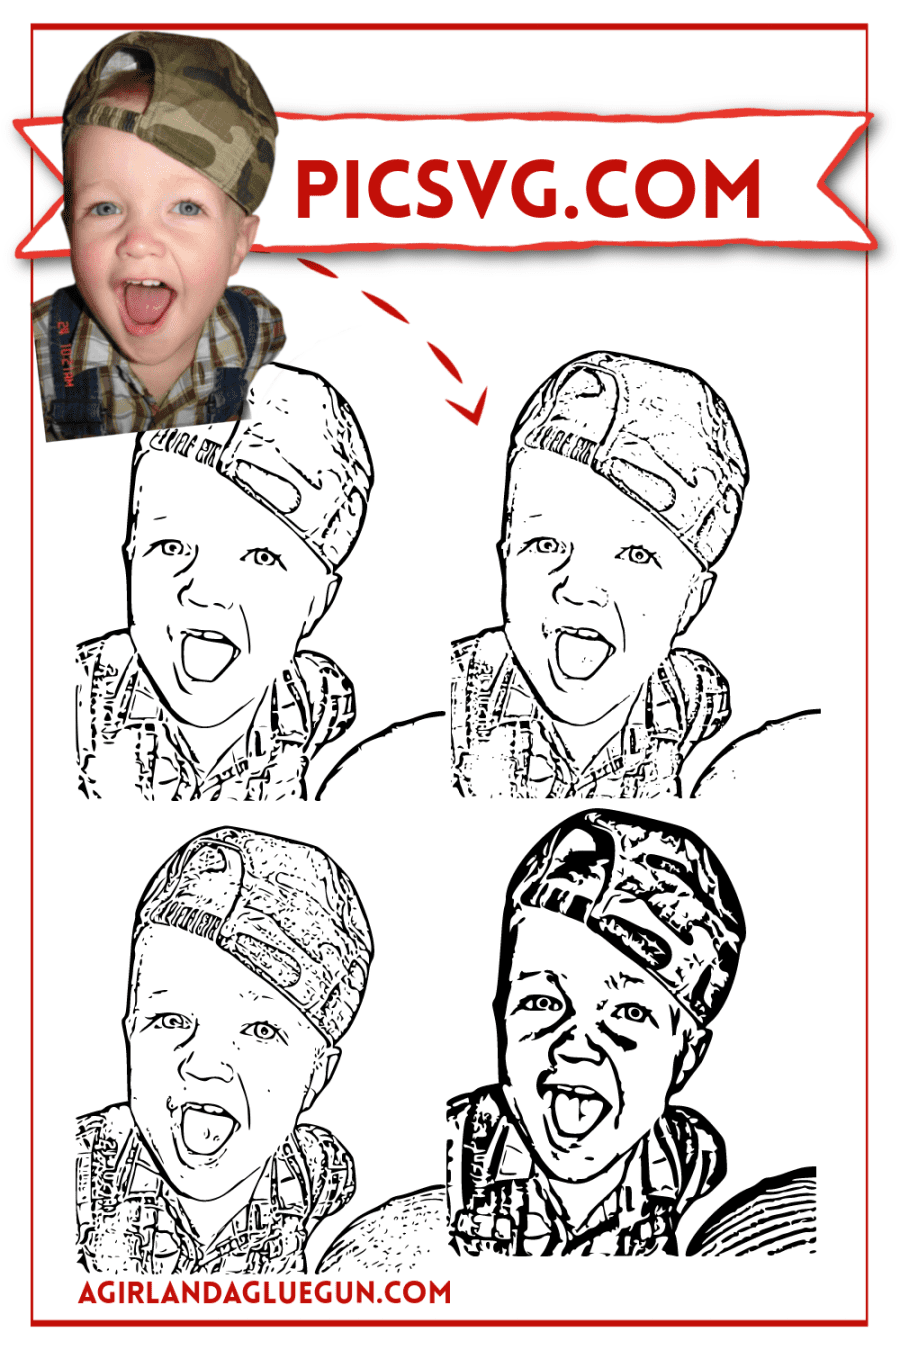
PicSVG.com
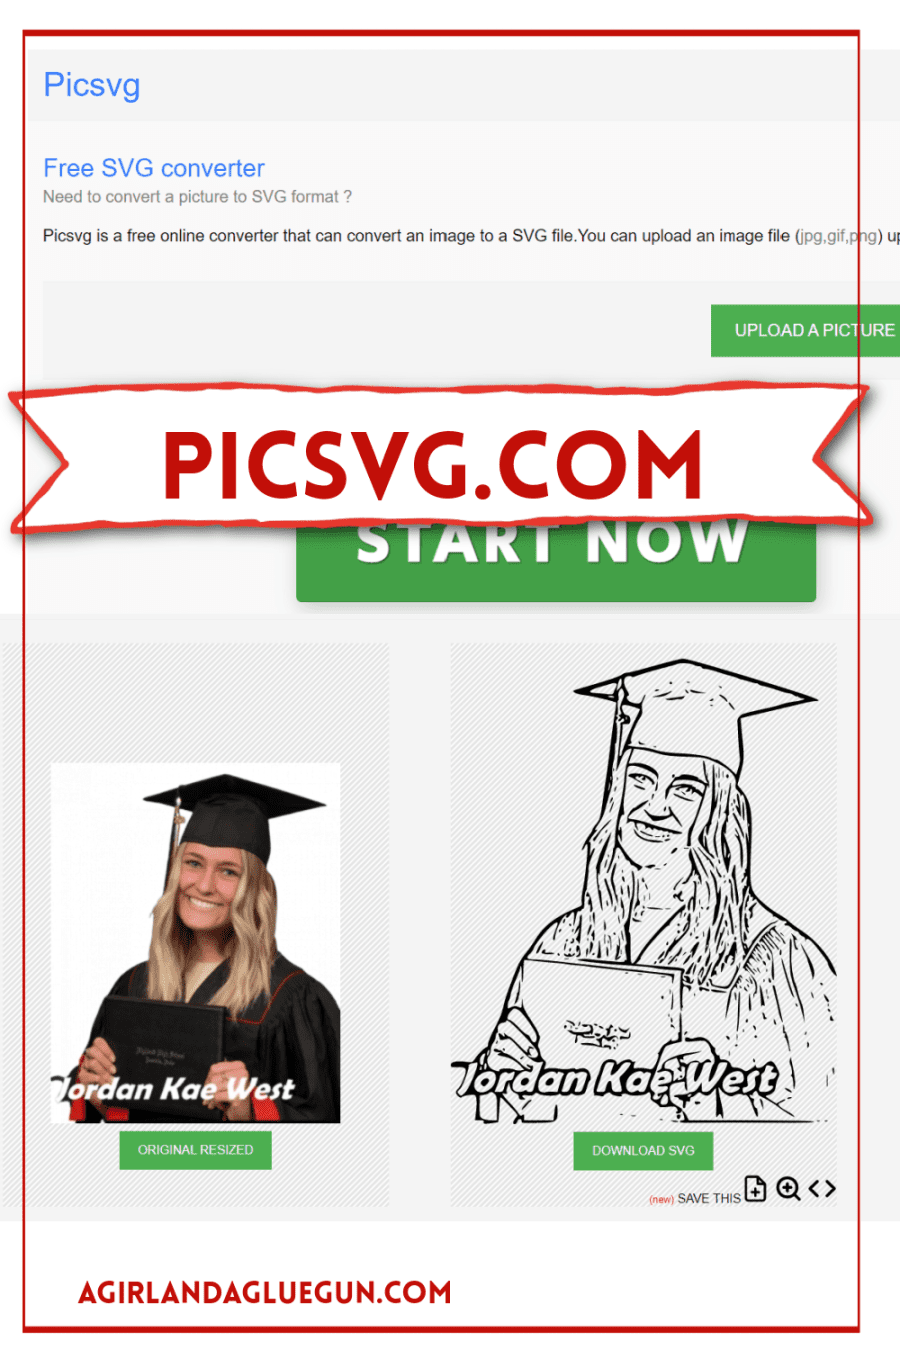
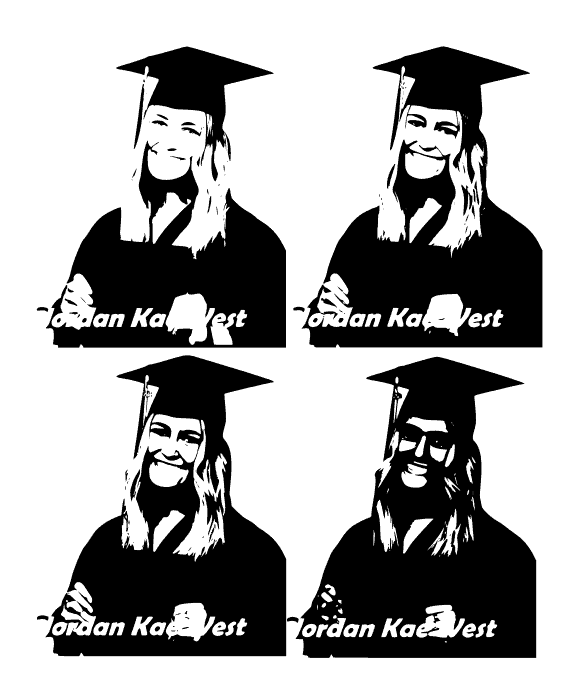
This website is my favorite. It does two different kinds of converting so we have options! (Plus it’s free!) First, it gives us an outline coloring book SVG. It gives us way more detail than any other SVG we have had. You can play around with filters and get minimal detail to lots of details.
And then you can click the filter to READY and you get the normal SVG we were getting with all the other websites!
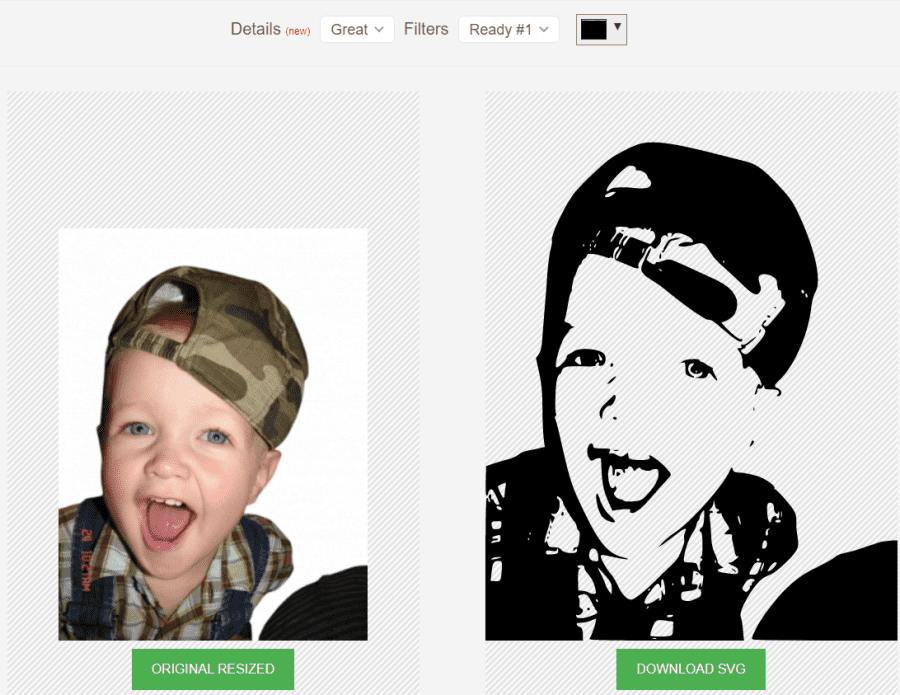
I just love that you have options to play around with. As I mentioned, each picture is going to yield different results so it’s nice to have different filters to play around with to get the best quality SVG!
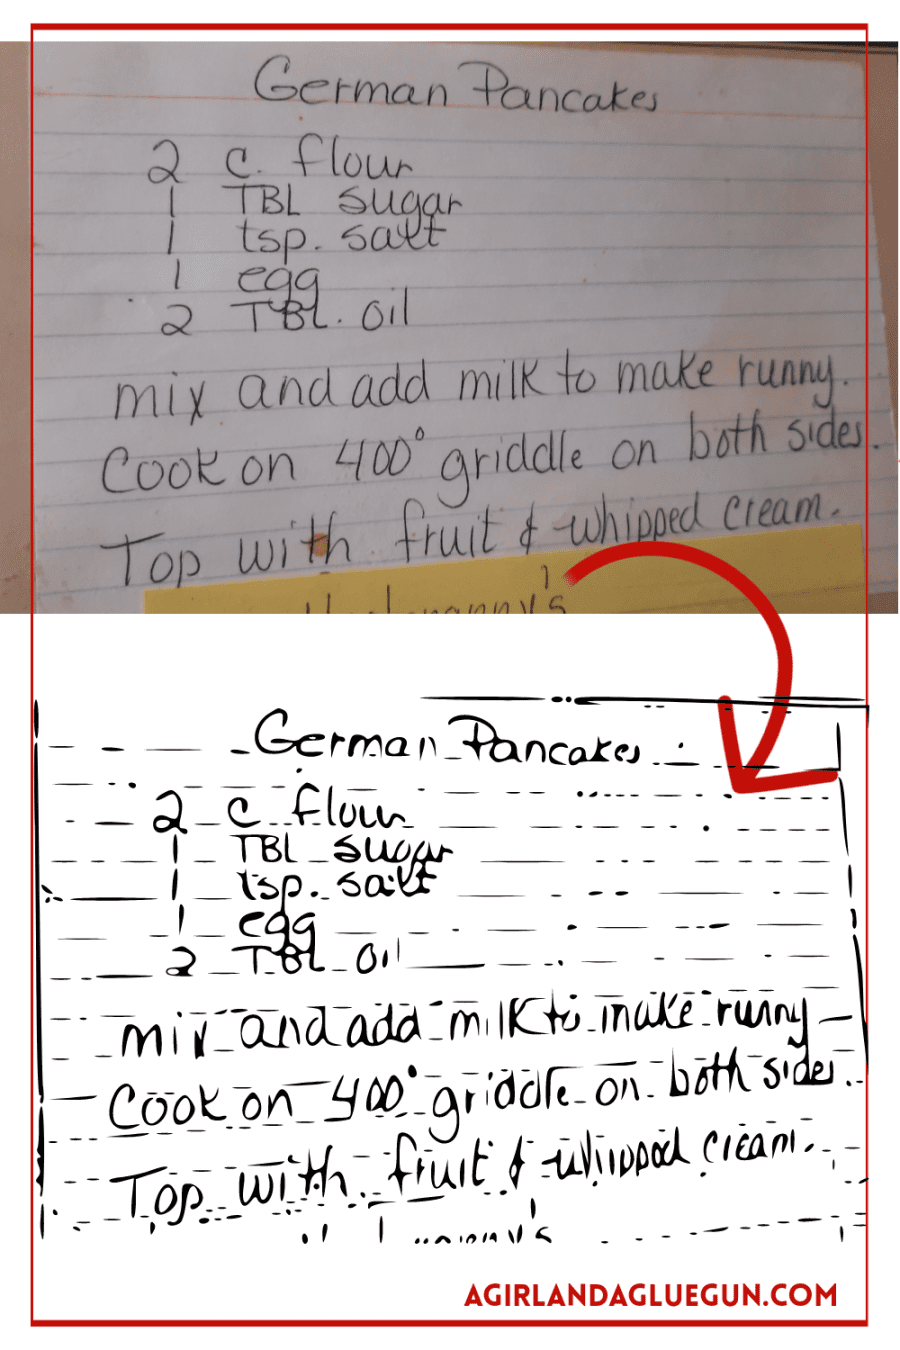
In case you don’t want to do a photo of someone, but instead a love note or recipe, here is what it looks like converted with the picsvg:
What is the best free SVG converter?
Here is a side-by-side comparison! Remember- Number 1 (picsvg) does the regular SVG as well!
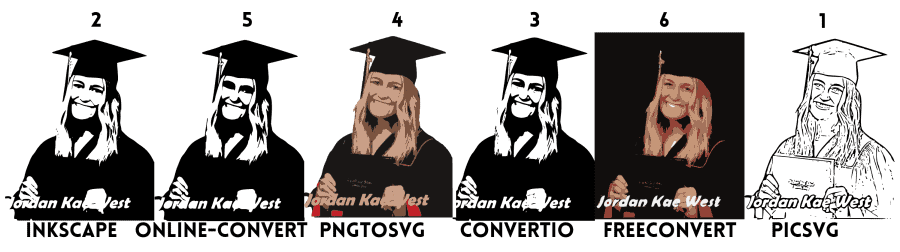
Here is my preference from best to worst!
- Picsvg.com
- Inkscape.org
- Convertio
- pngtosvg
- online convert
- free convert
Editing photos for best quality SVGs
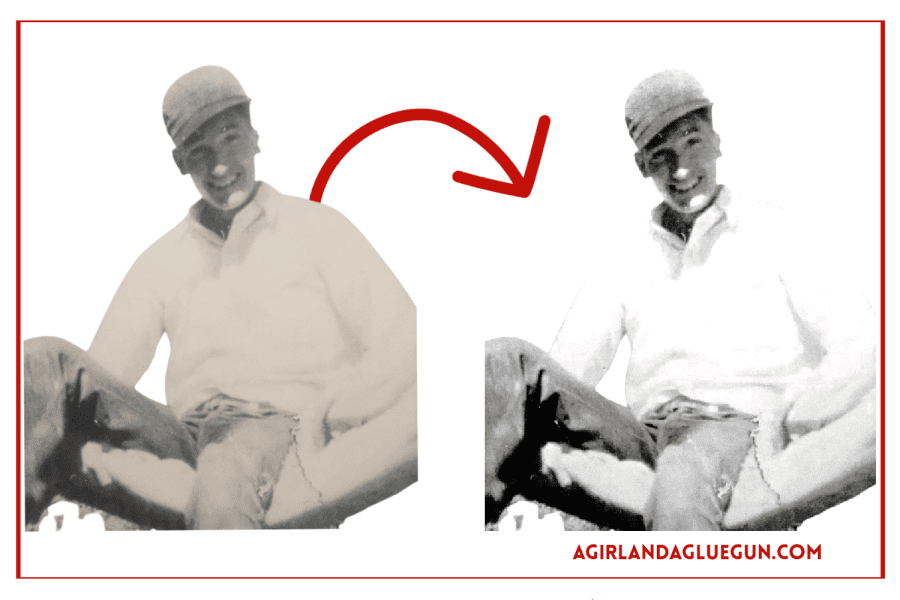
If you are working with an older photo, the quality might not be fantastic! I like to upload mine into photo editing software. You can lighten, darken, or turn the photo into black and white. All will help the SVG programs pick up more detail! Notice the picture of my grandpa. It was all one color and I was getting a lot of black instead of any details on his face. After I darken the shadows and sharpen some details, it reads so much better!
I use picmonkey. It’s what I use to make all these fun graphics and collages. But it does cost a fee. Canva is a free option that should get the same results!
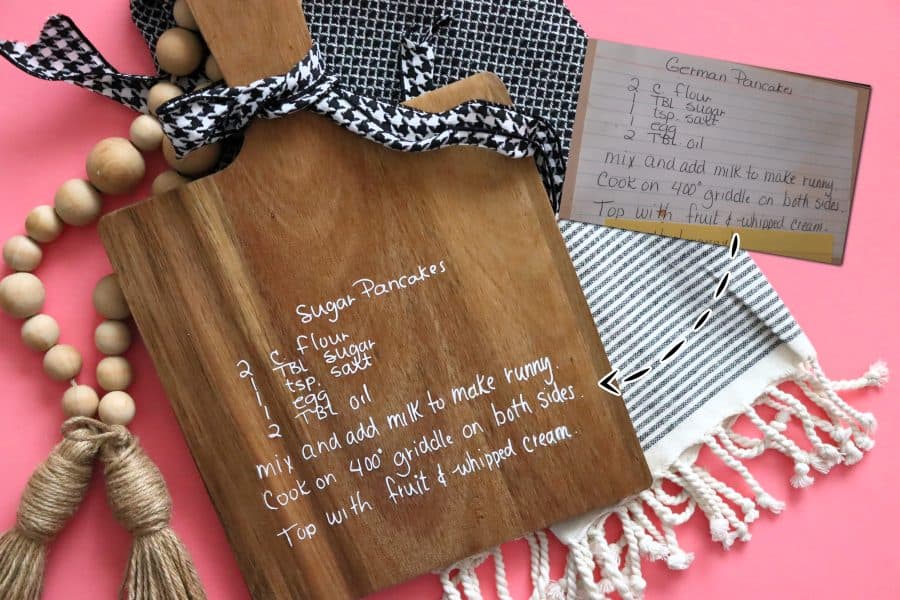
Here is what I made using my mom’s Recipe.
Hopefully, you can now take any photo or picture you have and convert it into an SVG cut file!
Here is an image to pin if you want to save this tutorial for later!

jen says
awesome thank you so much for taking your time to help tech handicapped folks like me!! it’s very kind
of you