
(spoiler–free cut file for this hello down below!)
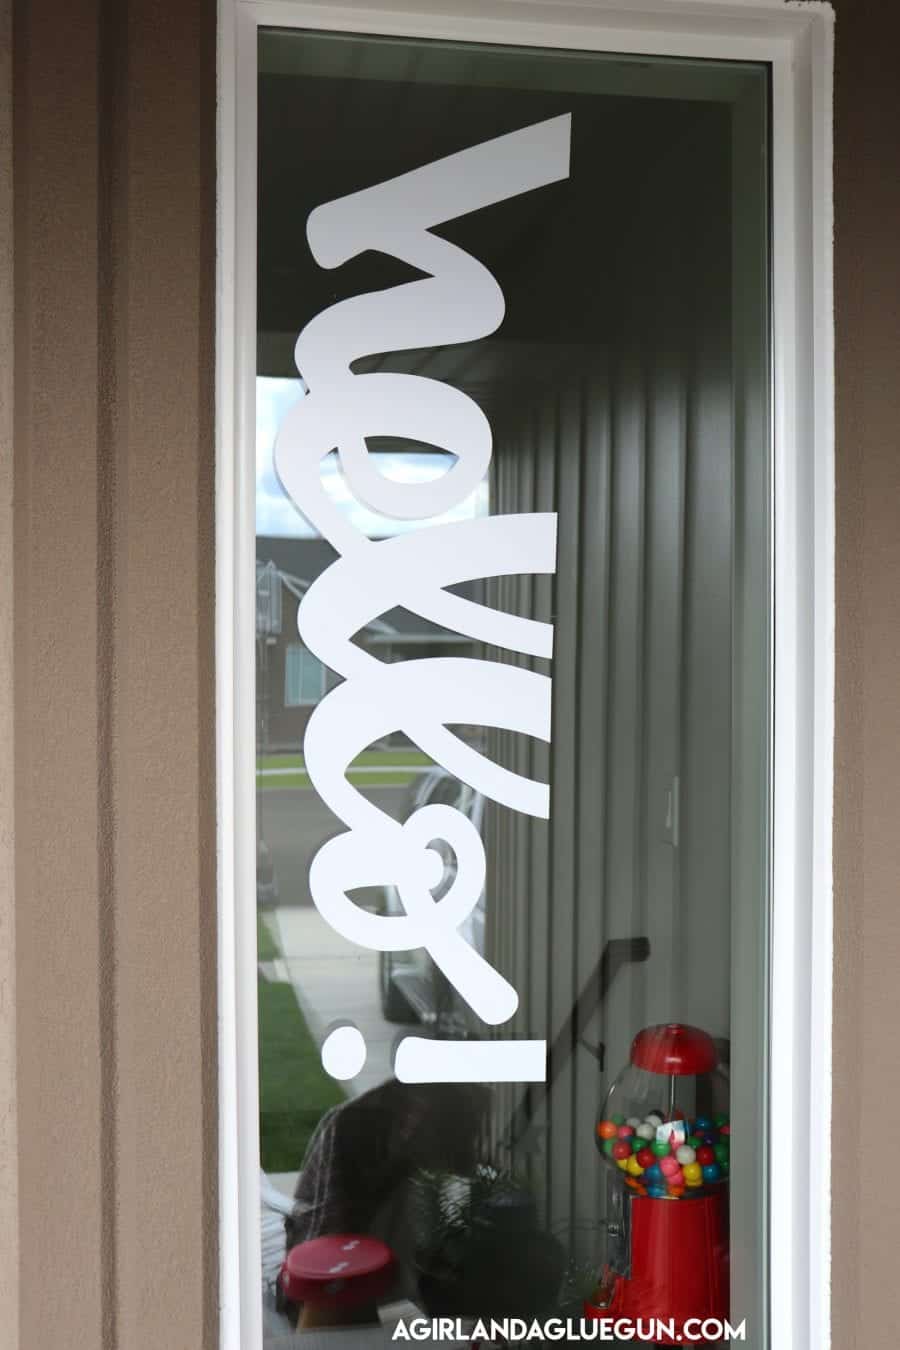
I was on my instagram stories (agirlandagluegun come follow me!) showing off my new hello vinyl decal on my window and I got SOOO many questions on how to cut and apply big pieces of vinyl. Lucky for you- the one I applied had lots of bubbles because of my impatience. So I decided to rip it down and start over so I could document it for you!  Here is what you need to cut big vinyl
- An electronic cutter. I love my silhouette…but you can see why HERE
- Vinyl ( I love expressions Vinyl- They sell vinyl by the roll and that’s what I’m using here but they also have just sheets)
- A 12×24 cutting mat (if you are chicken and can’t cut without a mat!)
- transfer tape
- Application tool or credit card
- patience (not sold in stores!)
How to cut out vinyl in your Silhouette software
First. I’m going to show you the general what I do to cut out the pieces. This is in the silhouette software. If you are team cricut you will need to adapt it to for their software. Open up your image and size it how you want. At the top in the right hand corner is page setup and you can pick how big you want. The silhouette cuts 10 feet. because it can cut without a mat!
But if you are cutting with a mat or if cutting really long makes you nervous…you can size it to the 12×24 size.
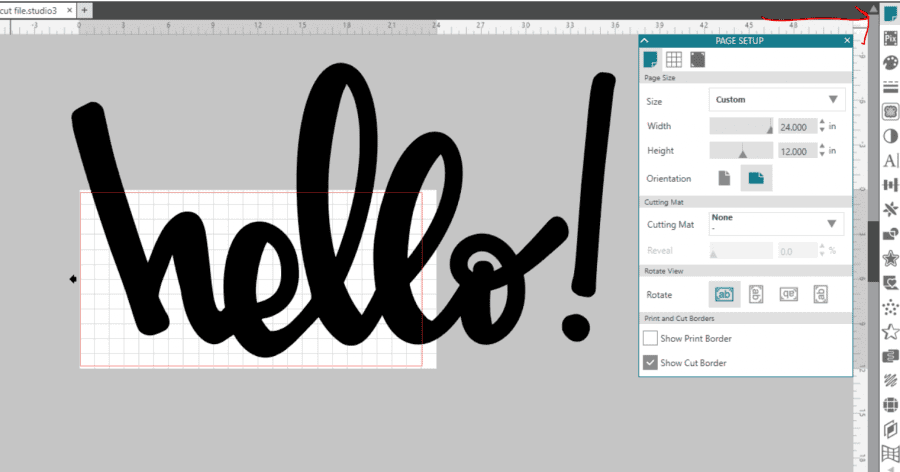
You can see the red mark around my cutting area. That is where the cutting will stop. So I will take my knife (left hand side) and basically follow that red line as a guide and SLICE off the pieces that are overhanging. 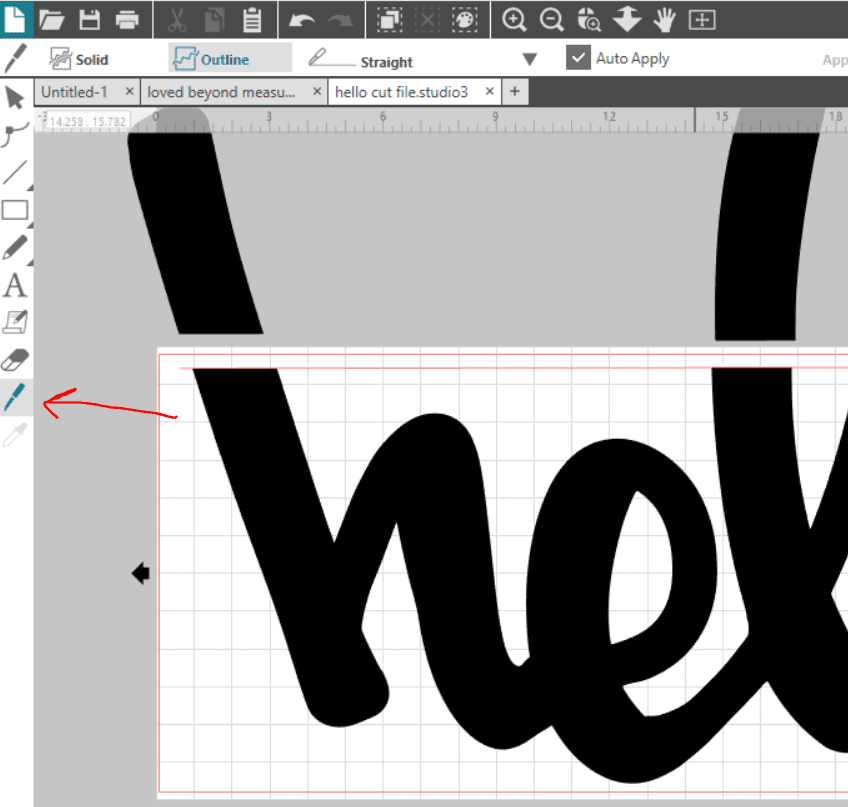
So what is left is only what fits on the screen. You want to make sure that the pieces you are slices are that you drag a box around them and group them together before you move them so they will still match up. 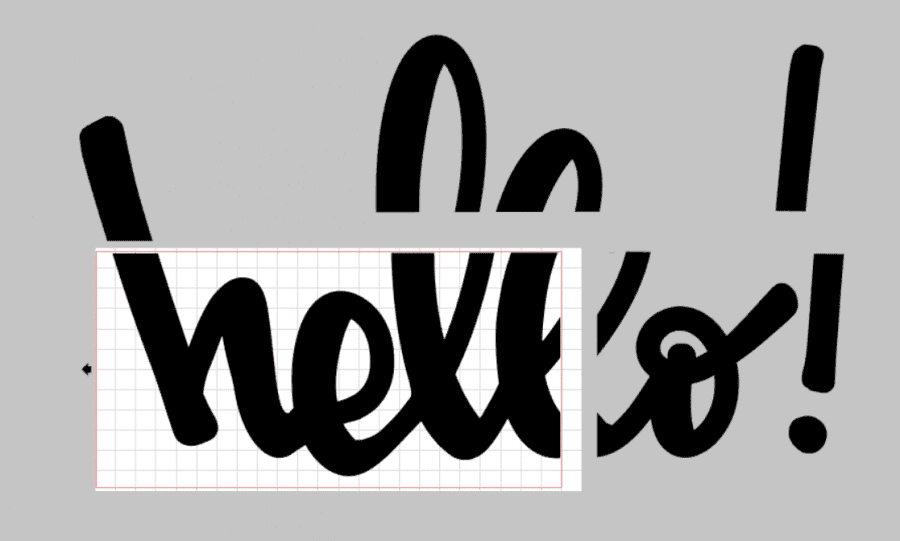
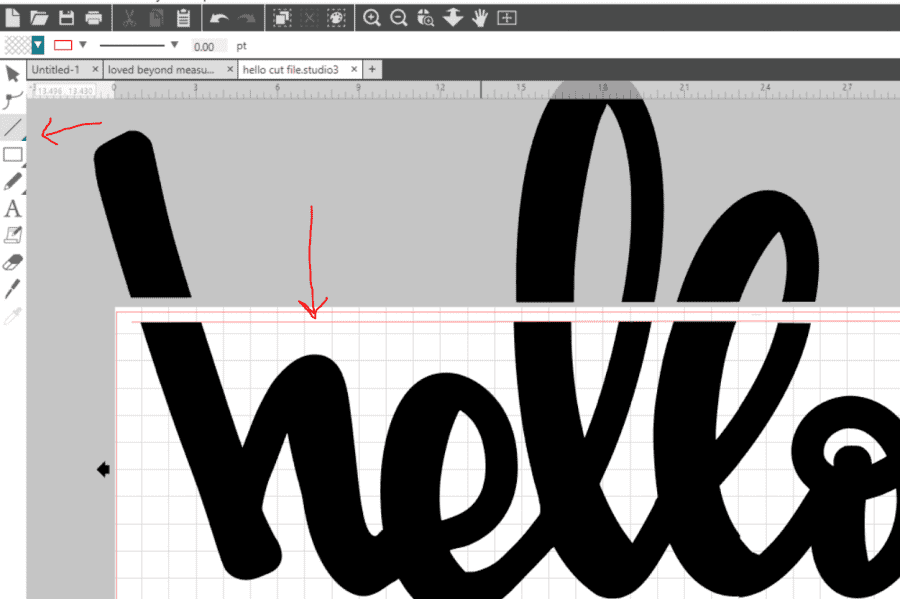
Now. Since we just sliced the top…it means it’s open. Which means when you weed it…it won’t weed. (Can you see the top of the h?) 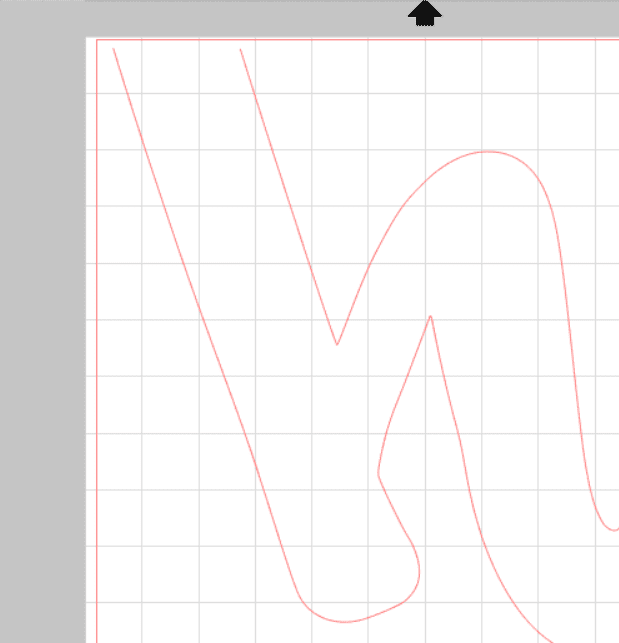 To remedy this–I just click the line (see the arrow) on the right and draw a line across the top so it’s touching the ends (you will need to draw a link down the side too (or wherever you slice)
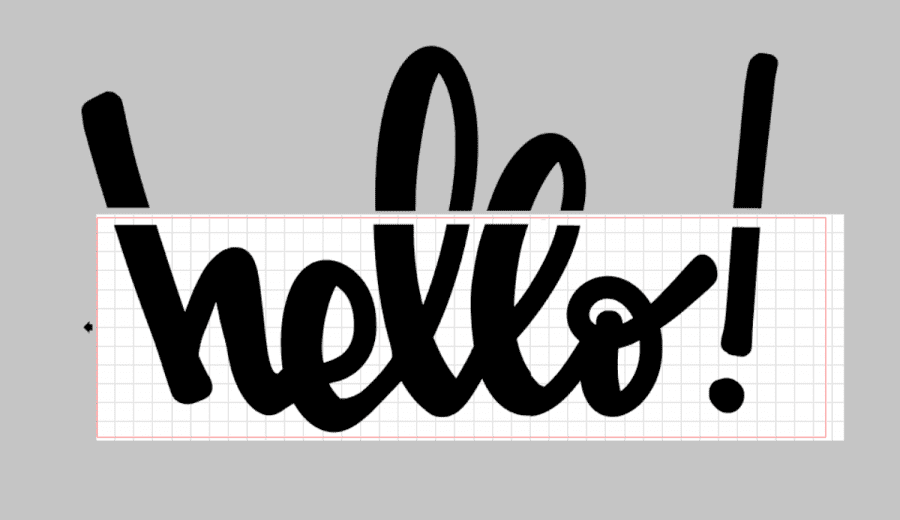
Then I just cut each piece. First cut.
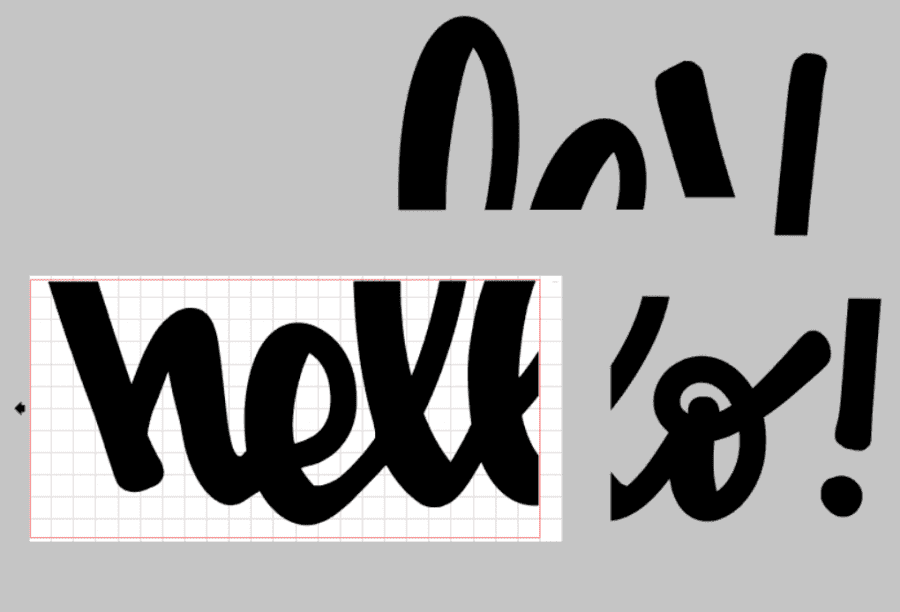 After that one cuts-pull it to the side and put on the next piece.
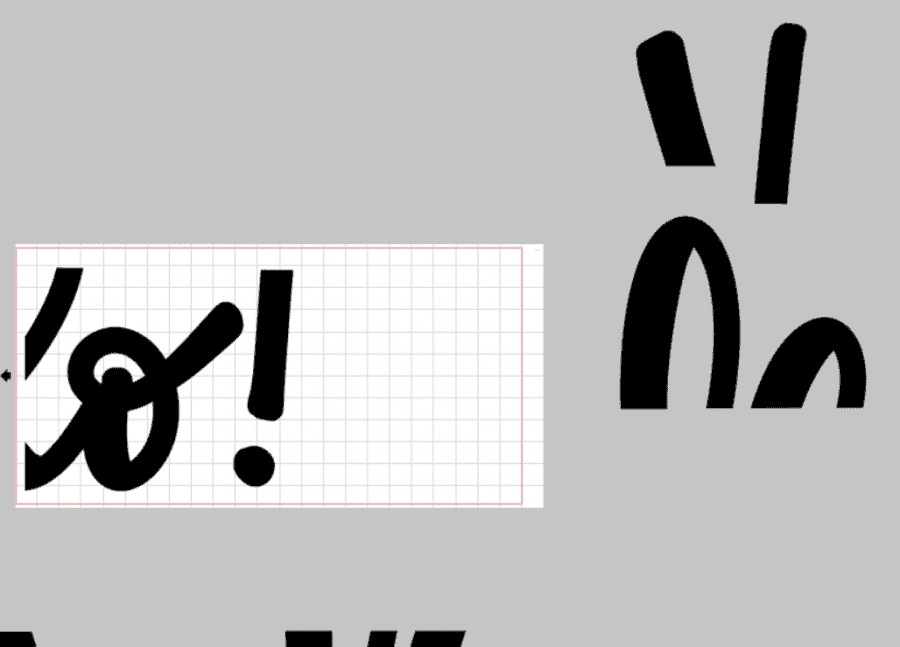
and then the last cut. (guys…I’m so cheap-I hate wasting vinyl–so I pieced these together so I didn’t waste any!)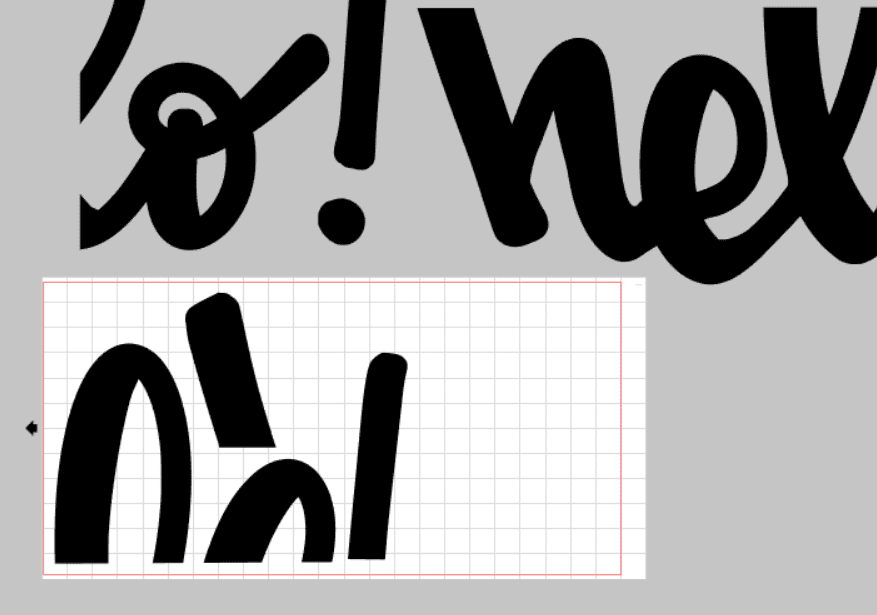
If you are good with cutting without a mat and have a roll of vinyl- you can just cut off the top pieces.
 After cutting out–you weed away the vinyl.
 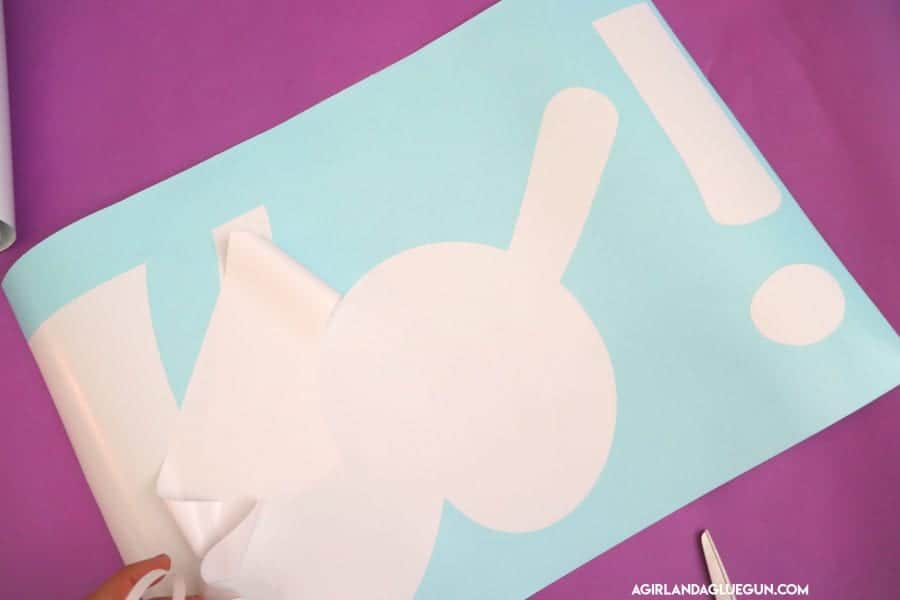 Here are my three cuts that I made.
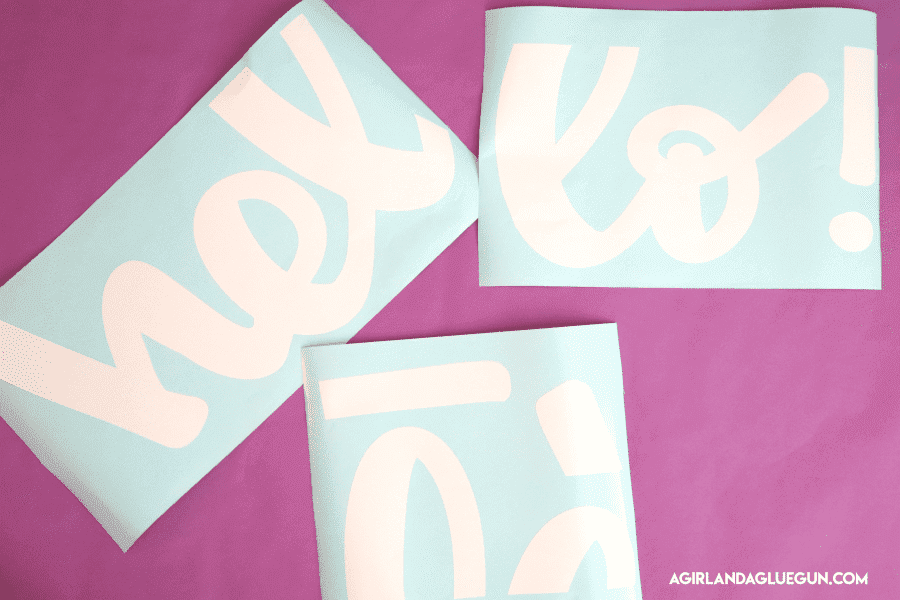
When I was applying the transfer tape- I just pieced the two main pieces together-It’s a little easier when it has a backing on it versus when you are trying to stick it down. 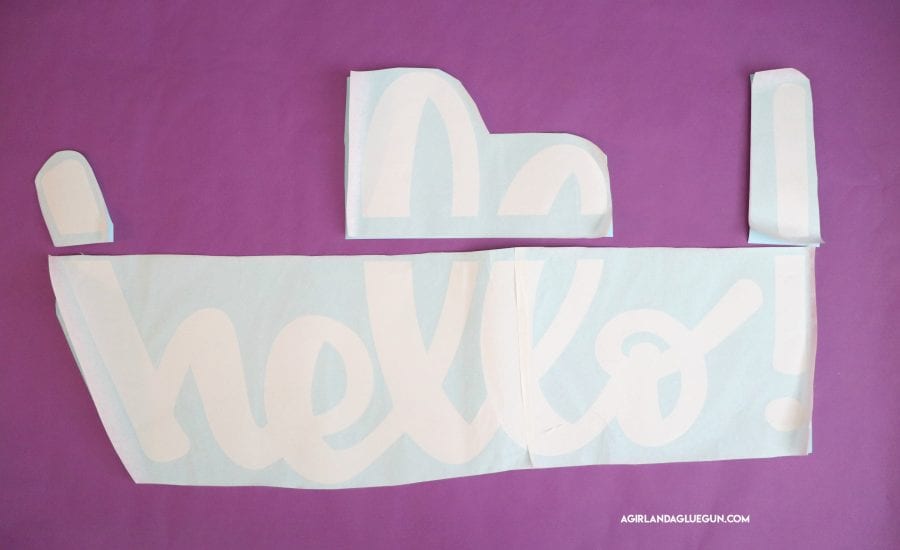
Next up:
How to apply Big vinyl decals

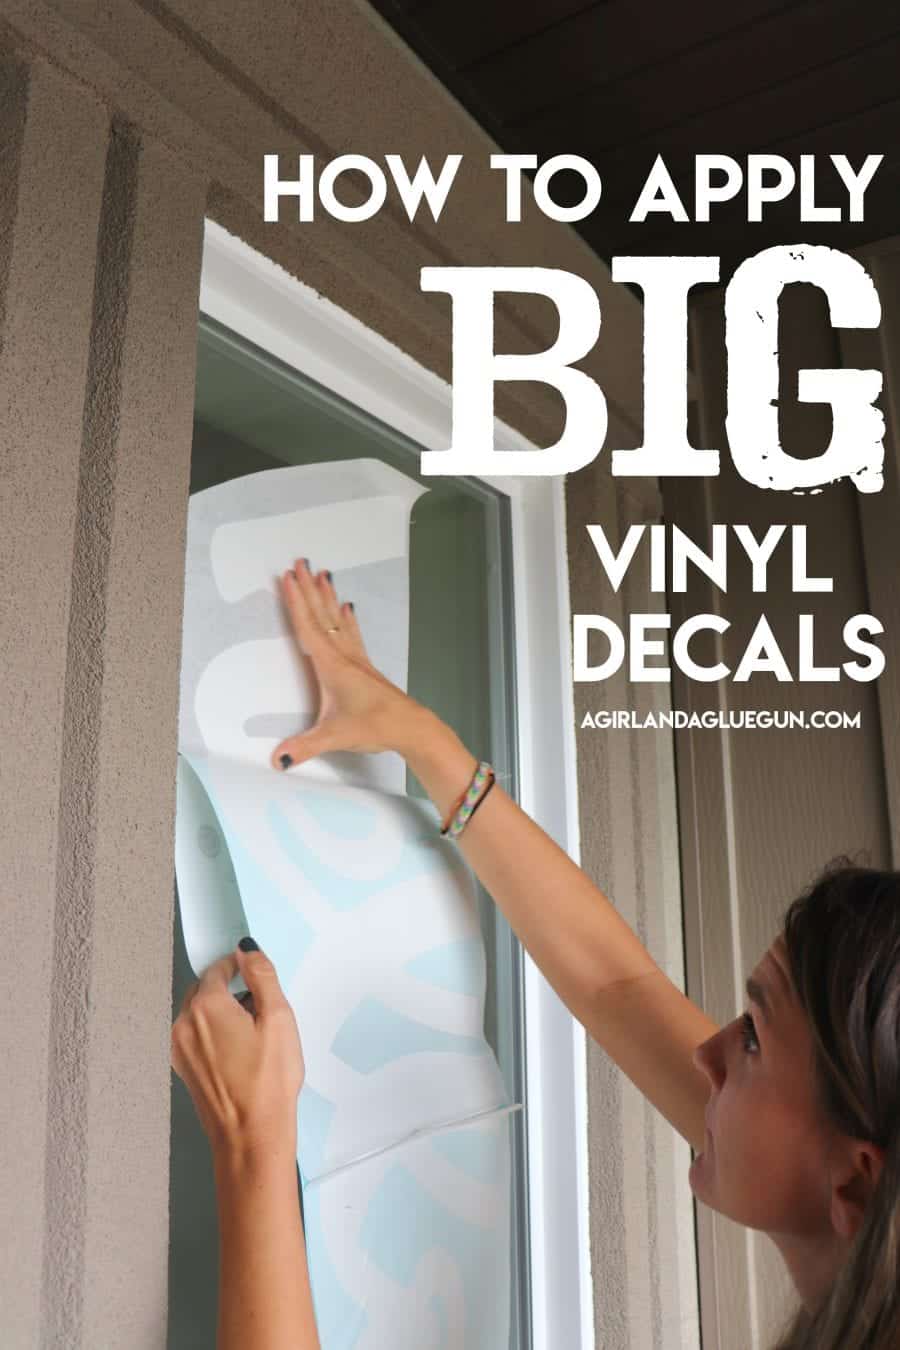
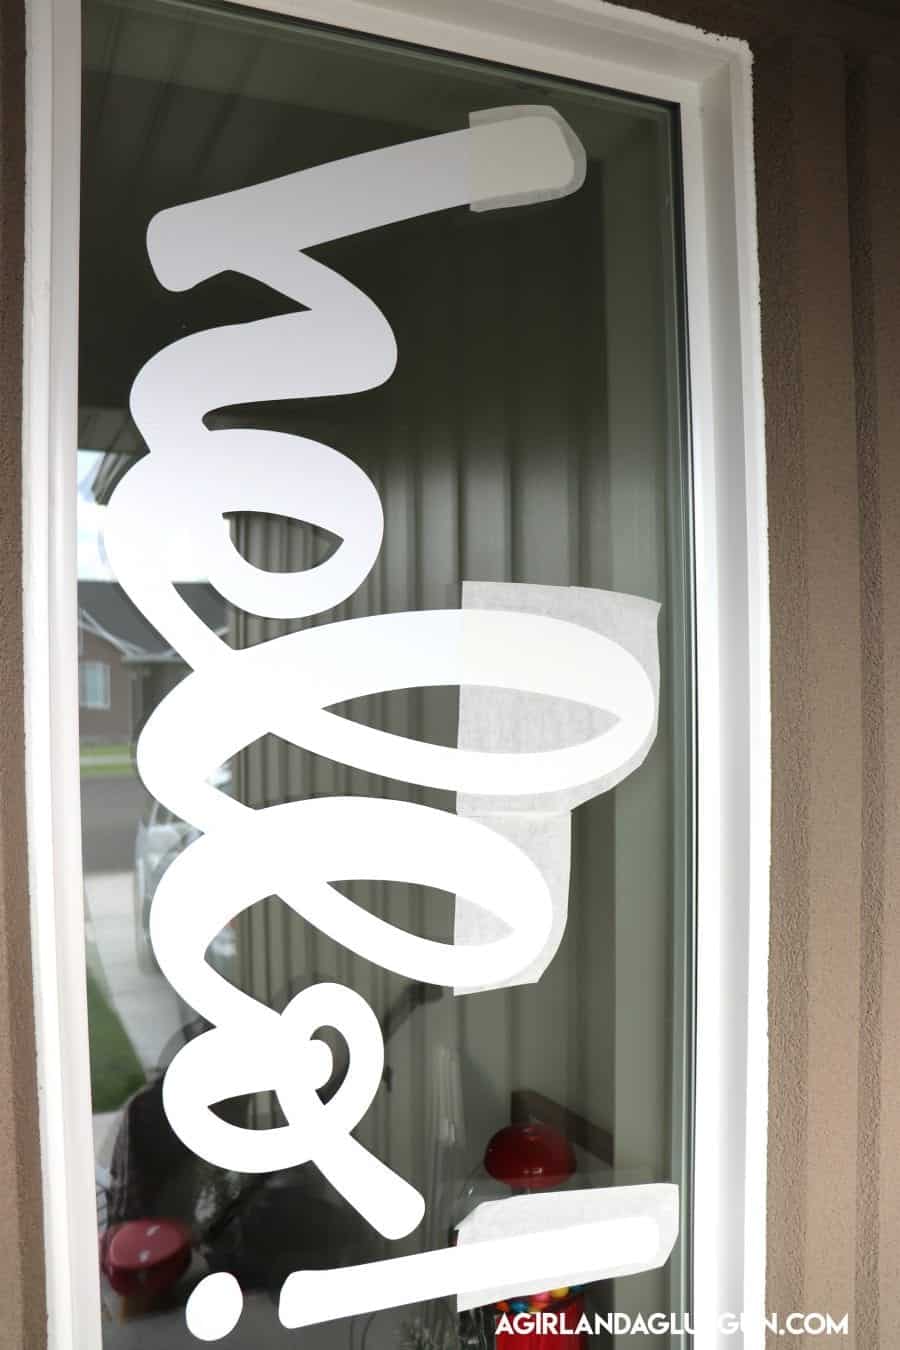
Applying it can be tricky–this is my favorite way to ensure you get it right where you want it! It’s called the HINGE method. You snip off the backing off a section of the top piece. Place the vinyl where you want it and press down. ![]()
Then you reach up behind and start slowly pulling the backing off as you smooth down the front. 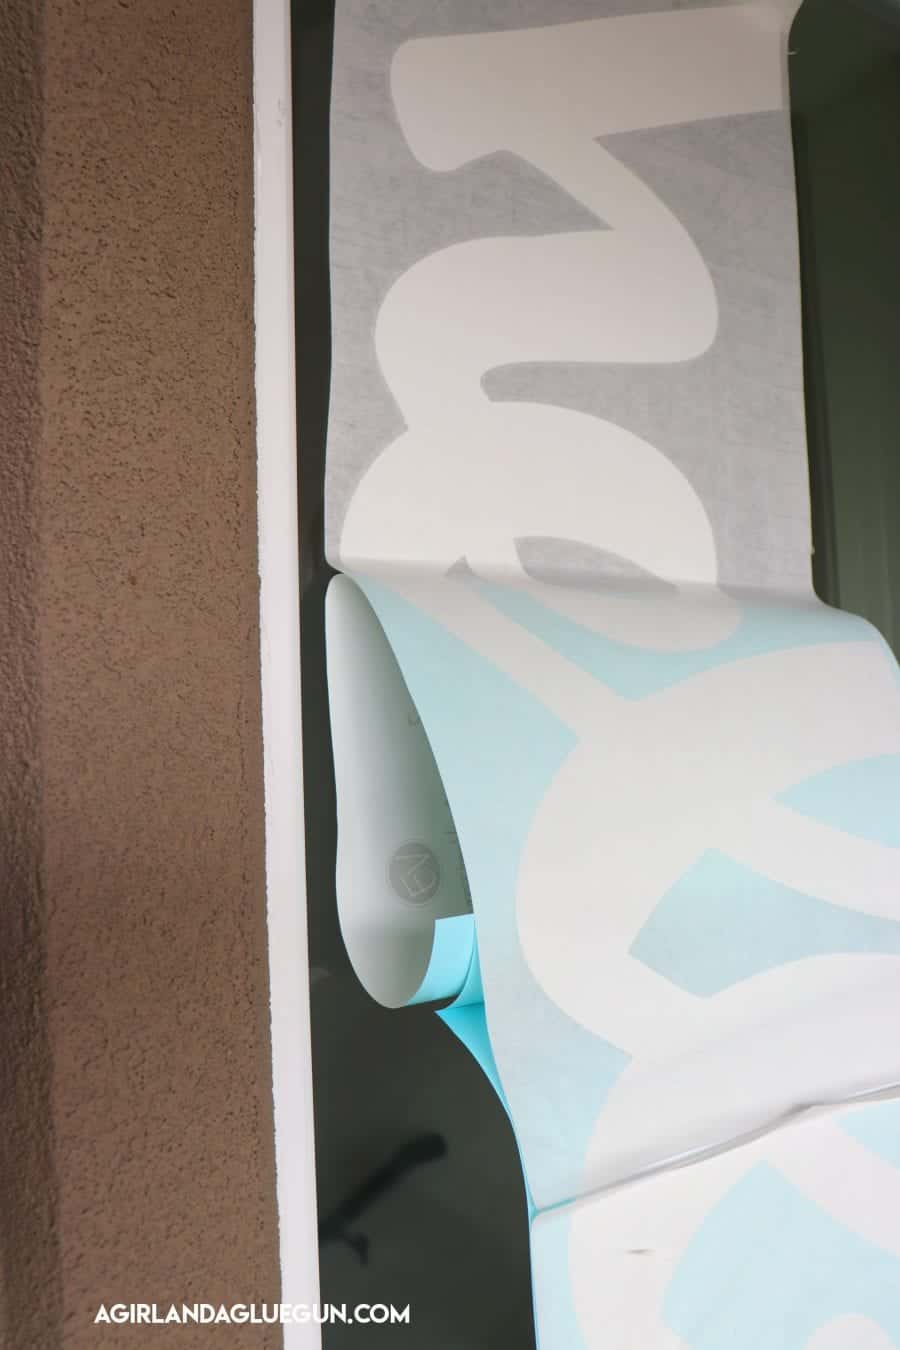

See? not so bad?!
Peel off the transfer tape and so you can add your next layer. ![]()
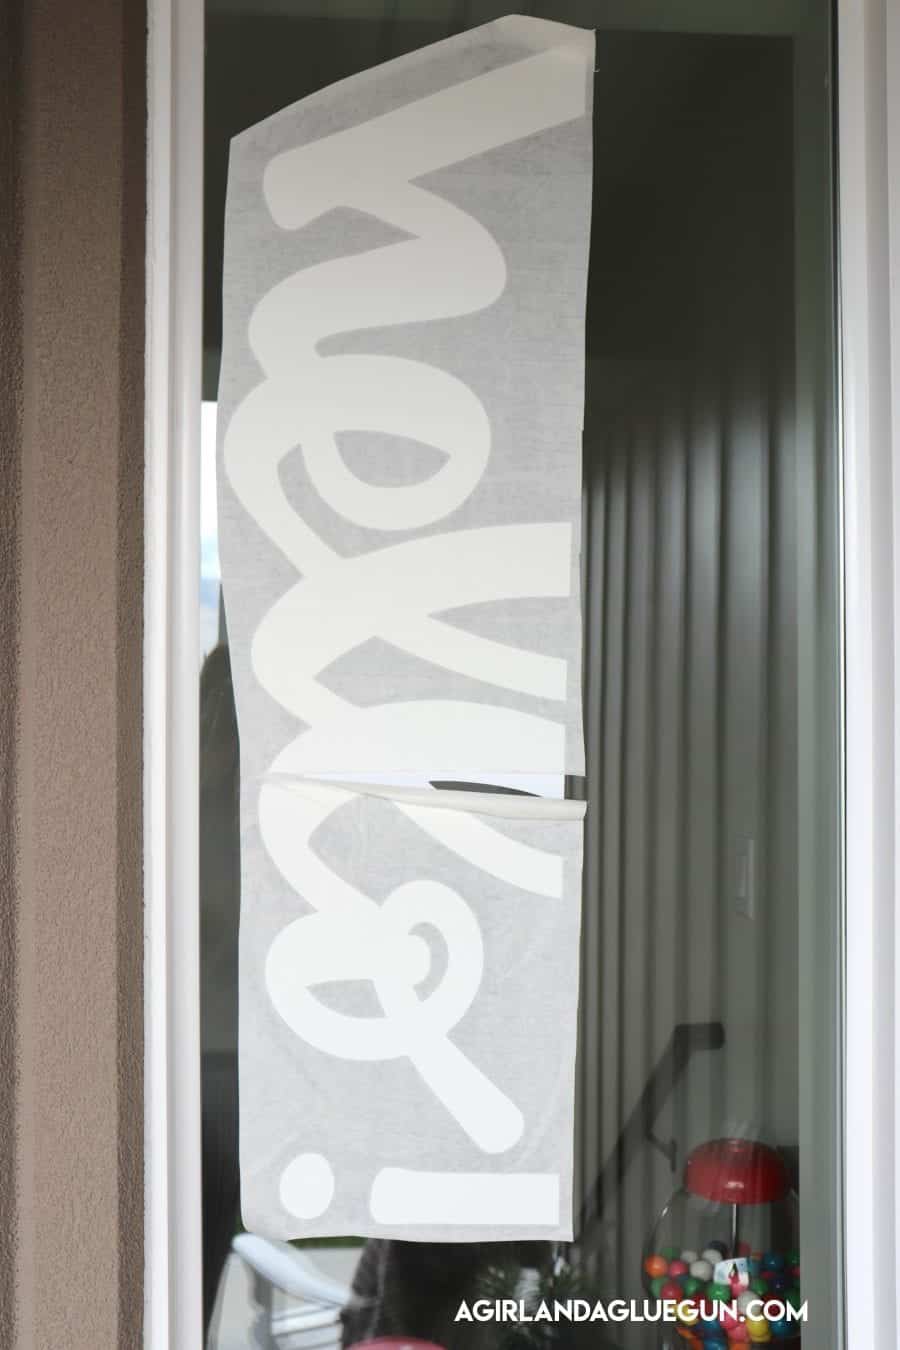
I just pieced each one right where it goes. It’s pretty easy to match up because of the straight line.
If you are really close-you can see where they match up. But you have to be pretty darn close to see it! 
and that is how I cut out and apply a BIG huge piece of vinyl !
Looks so cute on my new front porch! 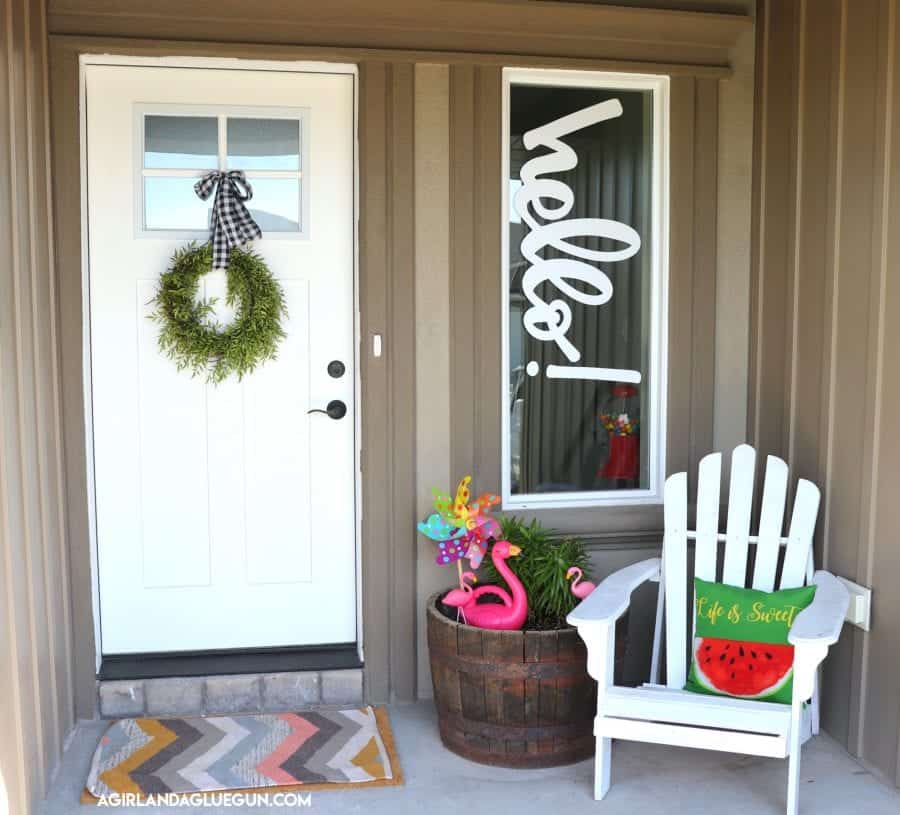
This one has light coming through so any overlapping of vinyl is noticeable!

and here is the hello cut file just for you!
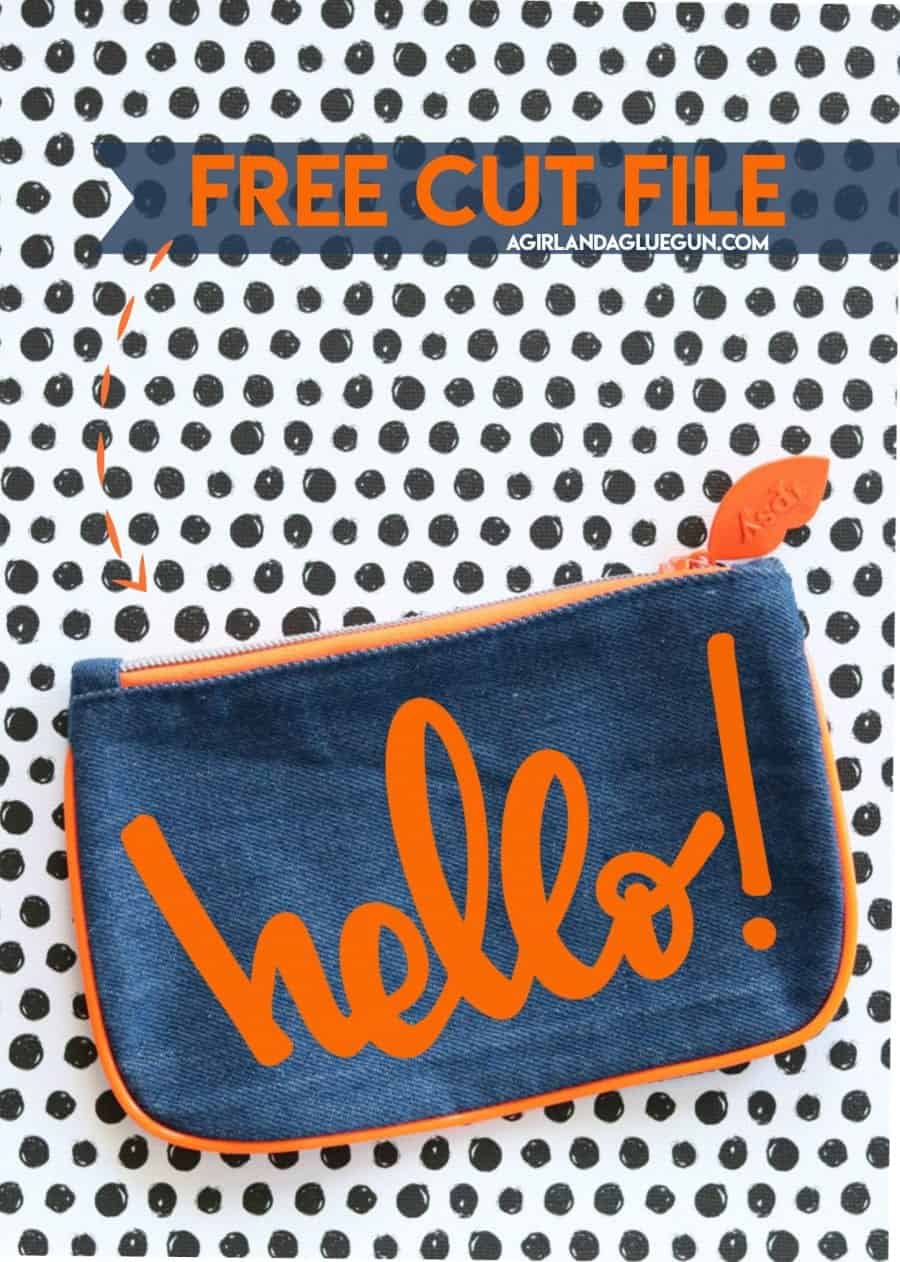
If you are looking to sale products made with this cut file please purchase a commercial license HERE! (This will let you use ANY of the free cut files I offer on my blog! If you are having a crafting day and want to use this to whip up a cute sign or tote bag…than totally free! Every cut file is hand lettered by me on my ipad pro with an ipad pencil.I actually have a WHOLE video on how I create my cut files HERE!

If you need more vinyl help–head here!
Leave a Reply