
–This was a guest post over at Ribbon Retreat!!! I love love love this bag…One of my favorites!!!!
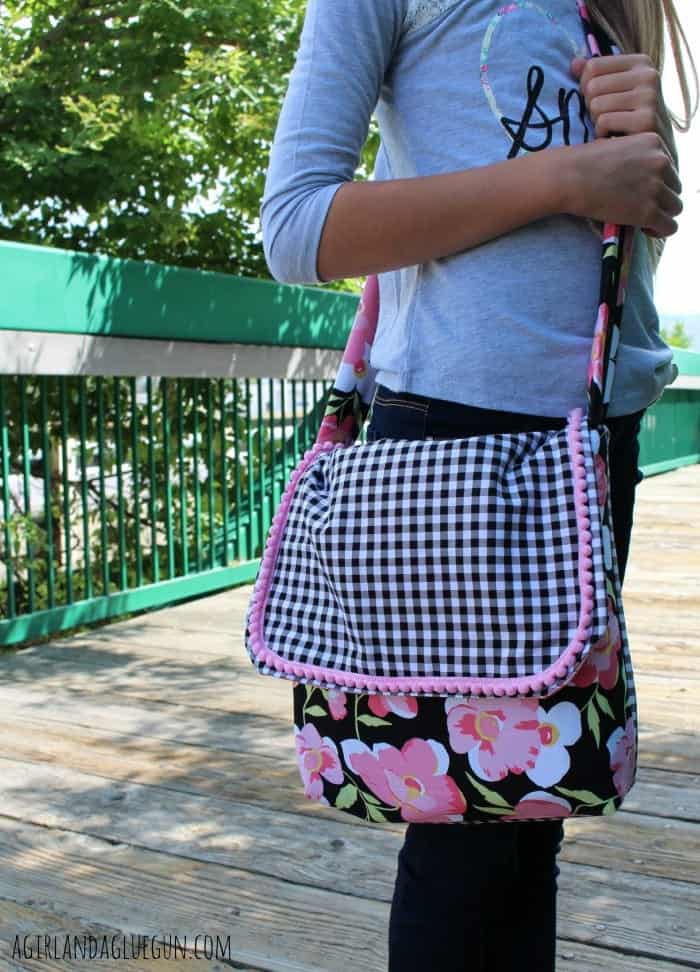
Hi! I’m Kim with a Girl and a glue gun! I got the letter G! I’m sure it has something to do with the three G’s in my blog title! but today I’m unplugging the glue gun and plugging in the sewing machine to show you my letter G messenger bag!!!!
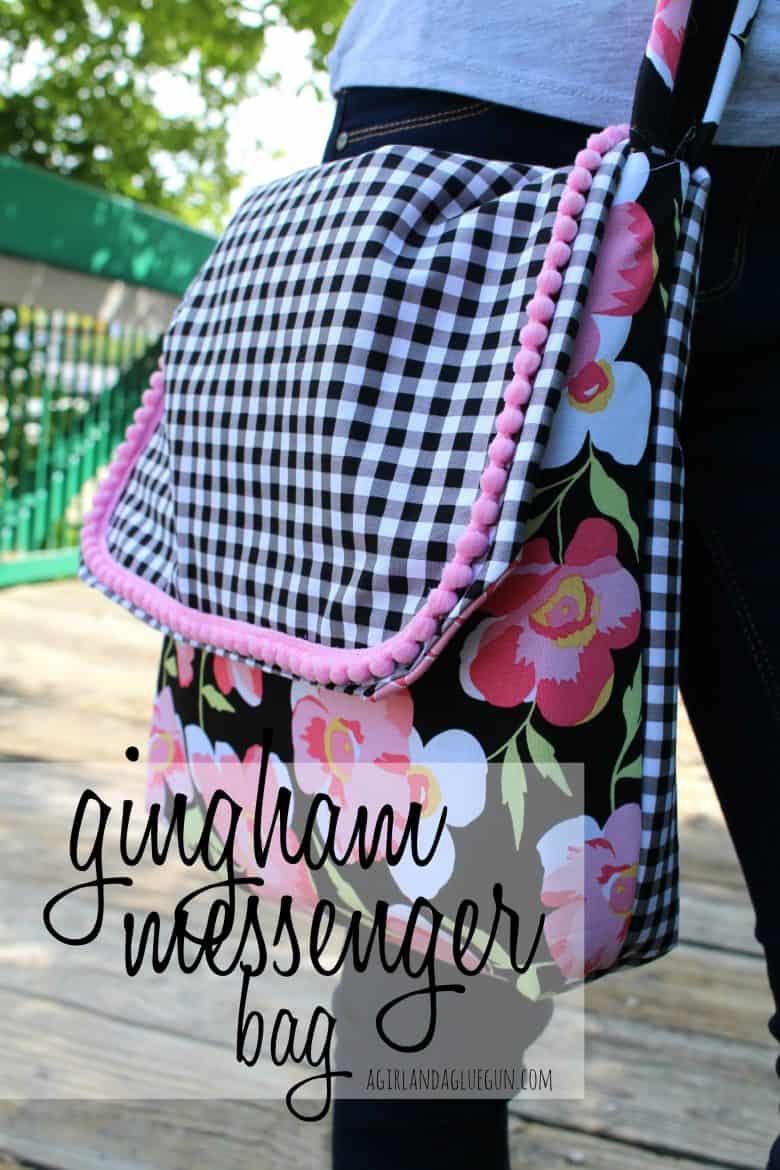
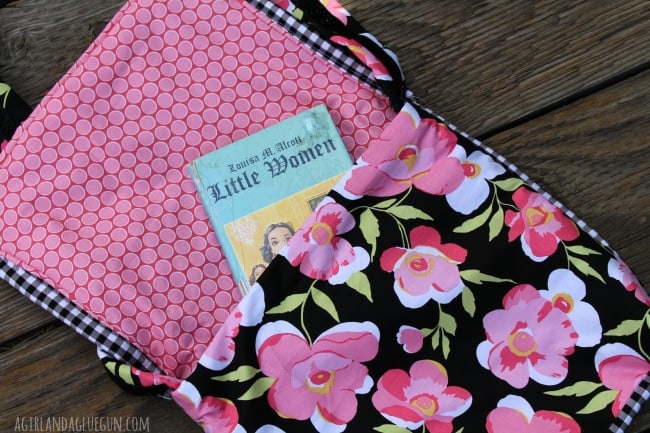
It’s Gingham . It’s Girlie. and it even has some Glitter. The triple threat of gs. (and cuteness.)

(first! you will have to excuse my pictures! it’s been raining and dark all week (weeks) long! Makes it impossible to snag good how-to pictures!)
Here’s the supplies –everything found at the ribbon retreat!
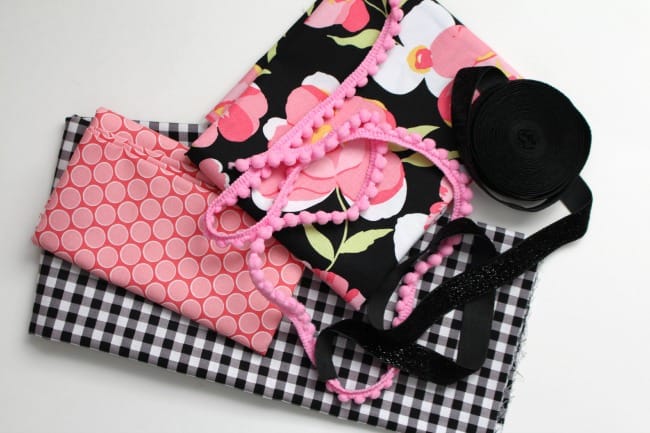
(Isn’t’ that mini pink trim dreamy??? I love it!)
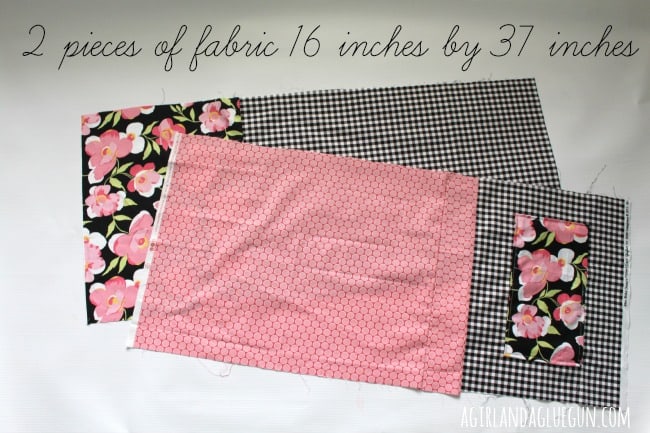
You will need to cut two rectangles…(I wanted the flap and inside to be contrasting so I cut and sewed to make it that way (the contrasting piece is 13 inches long!) (you can see on that top piece I added a pocket–if you want a pocket –add it NOW or forever regret it)
 Put right sides together and sew around the bag…leaving the top flap part open (you can add interfacing or stuffing for reinforcement!)
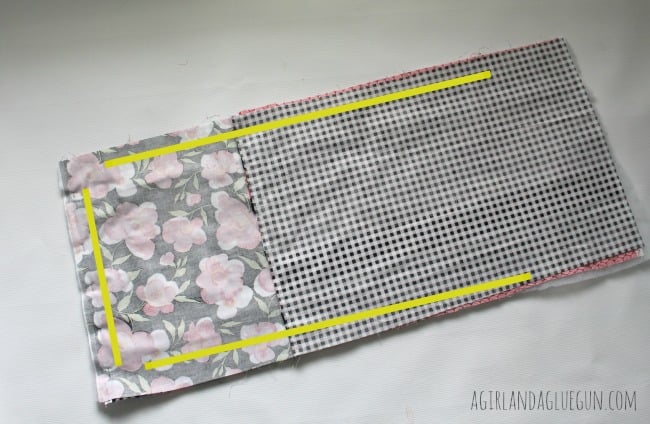
I (last minute) decided to add curved edges to my flap…so I used a plate and cut some before sewing around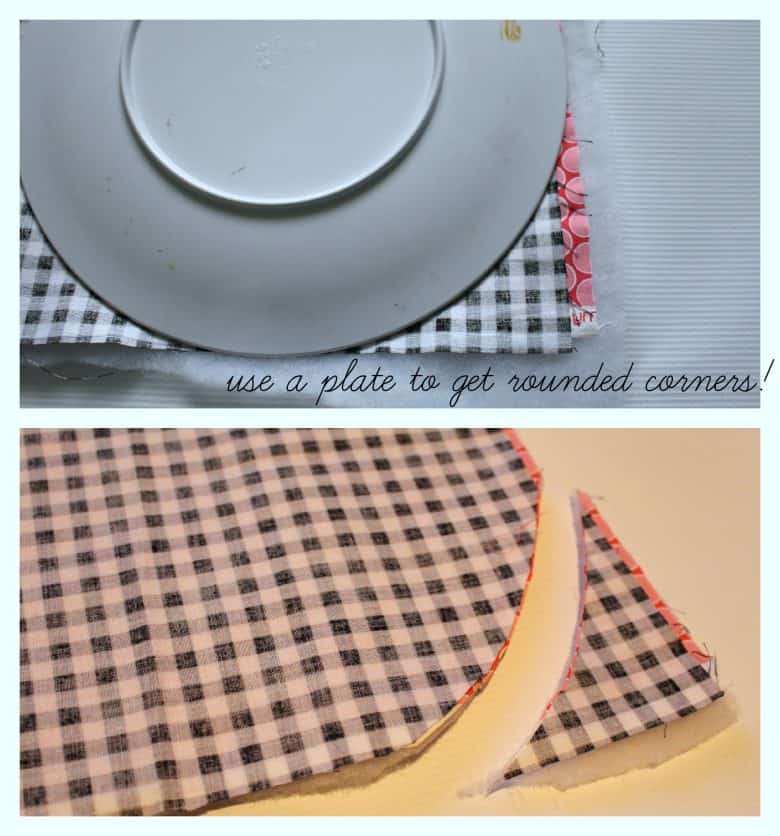
Then turn right sides out. I folded in the unfinished edges and pinned the remaining opening and sewed it closed.
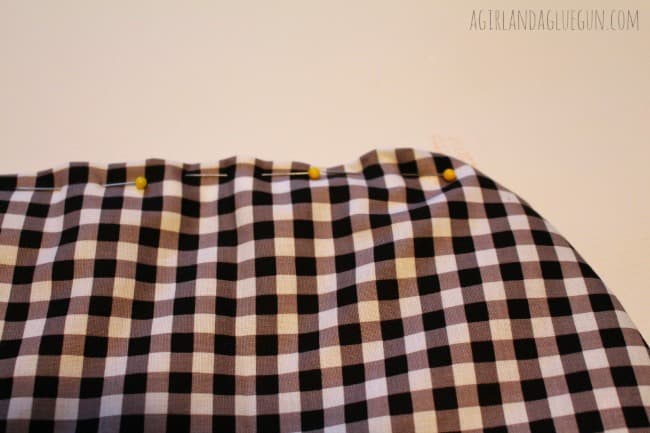
Now. Your dimensions are 13 and 13 for front and back and 11 for flap. So folding it up (so the inside is on the outside–see my pocket?) you are going to sew up the two sides.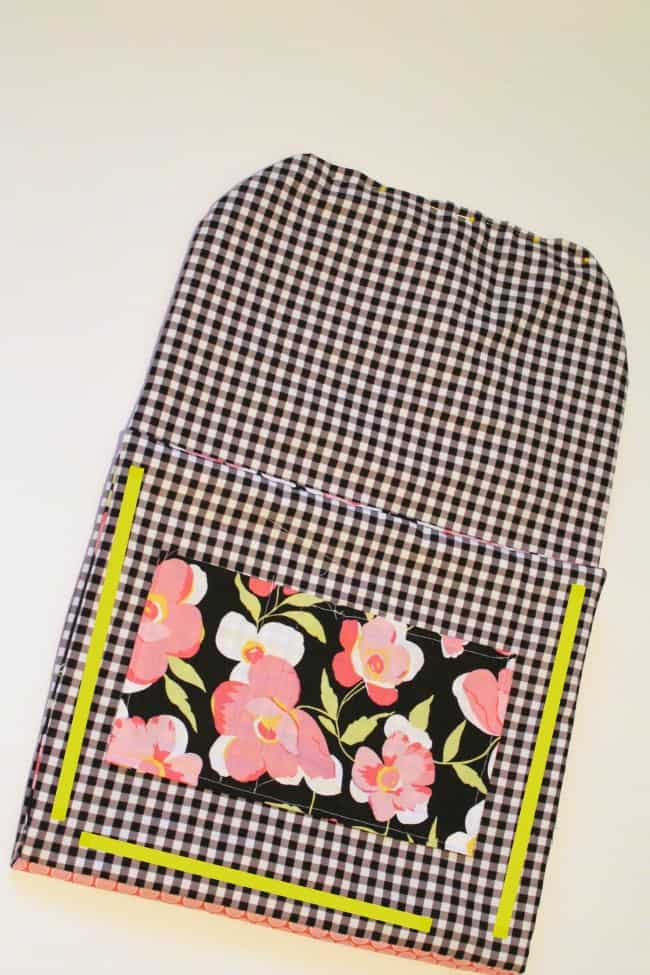
Then pinch the corners to sew it into a triangle. It makes a great bottom for the bag!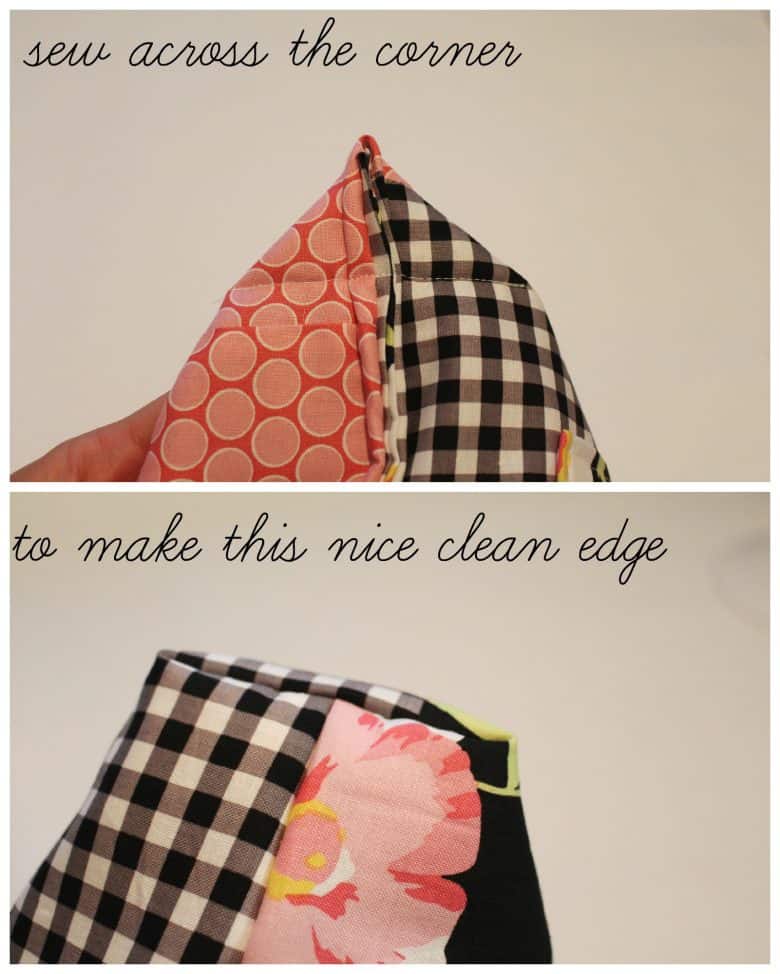
now…since you sewed up the sides of the bag it leaves a little overhang on the sides of the bag flap. I just rolled it over and pinned it and sewed it up! I love the little gingham that sticks out!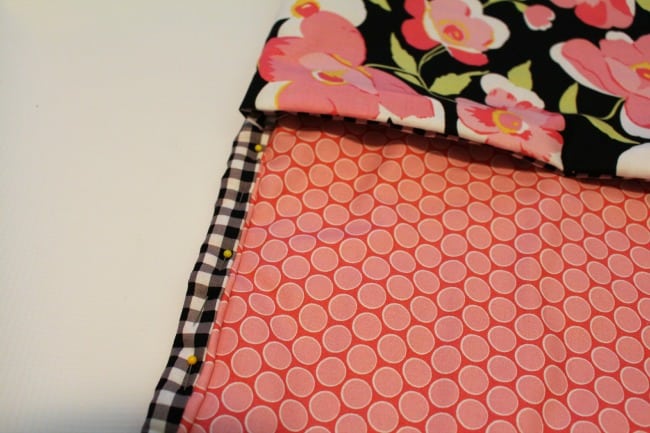
then add the pom pom trim! 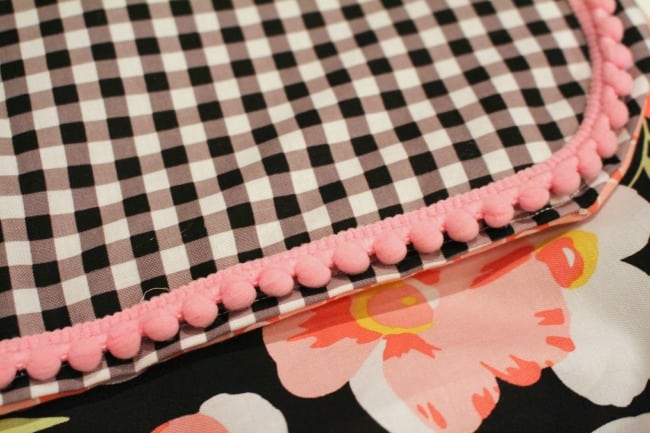
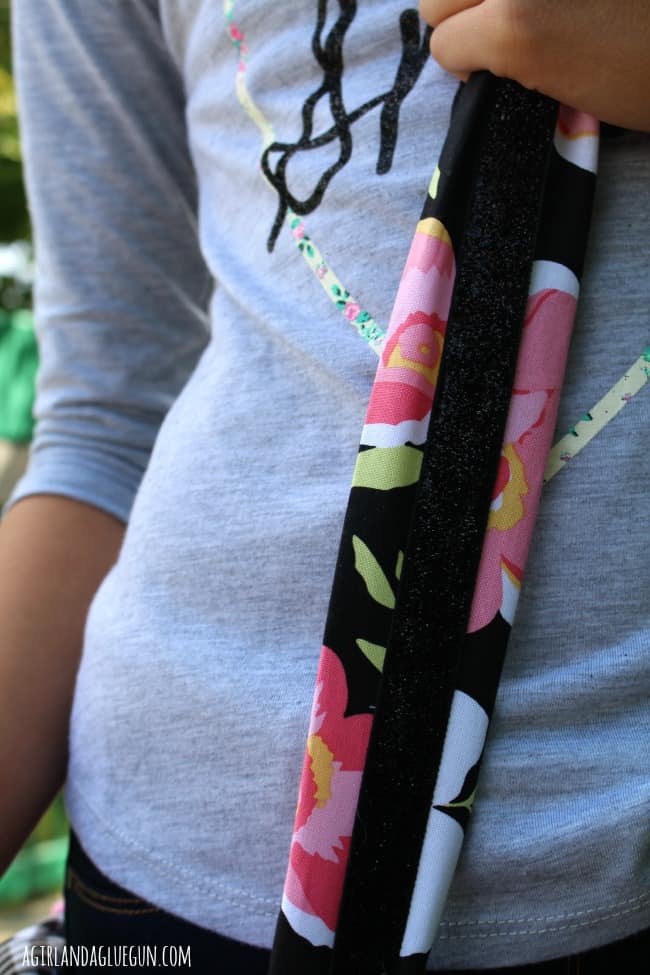
and for the strap:
My strip for the strap (say that five times fast –strip for strap strip for strap strip for strap) was 46 inches by 5 inches I ended up folding it in towards each other and then used the ribbon retreat sparkly ribbon to cover up the seam!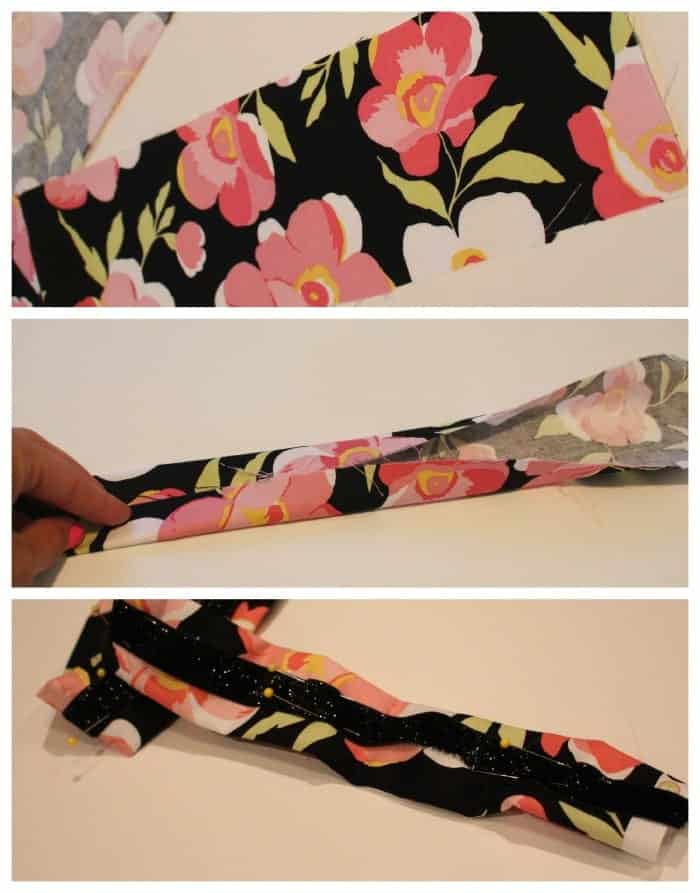
then attach to the sides of the bag !!!
It’s really easy…and made so cute thanks to all the ribbon retreat goodness!!!!

Juliana says
I have just found your site and I love it! I just got a new sewing machine and this is a great starter project! (one that works A LOT better than the other that was from 1970’s. Eek!) I will be coming back to your lovely blog! Yay! =D
Sharlyn says
Agree. Darling!
rebecca says
this is so cute! i might need to make one for myself…
Tedi @ Running With Infertility says
Super cute! I definitely can’t have enough of bags like this!