
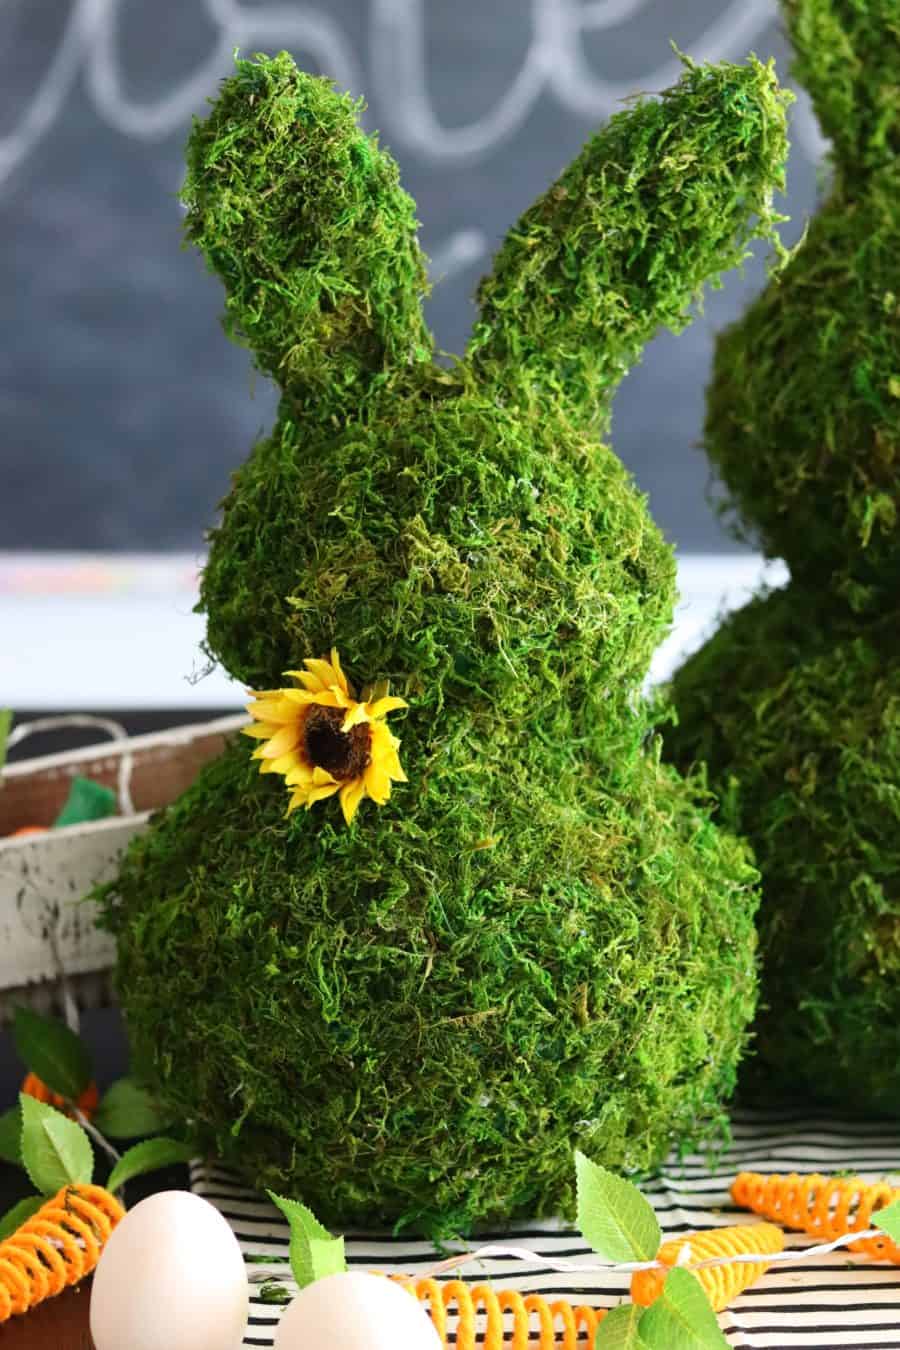
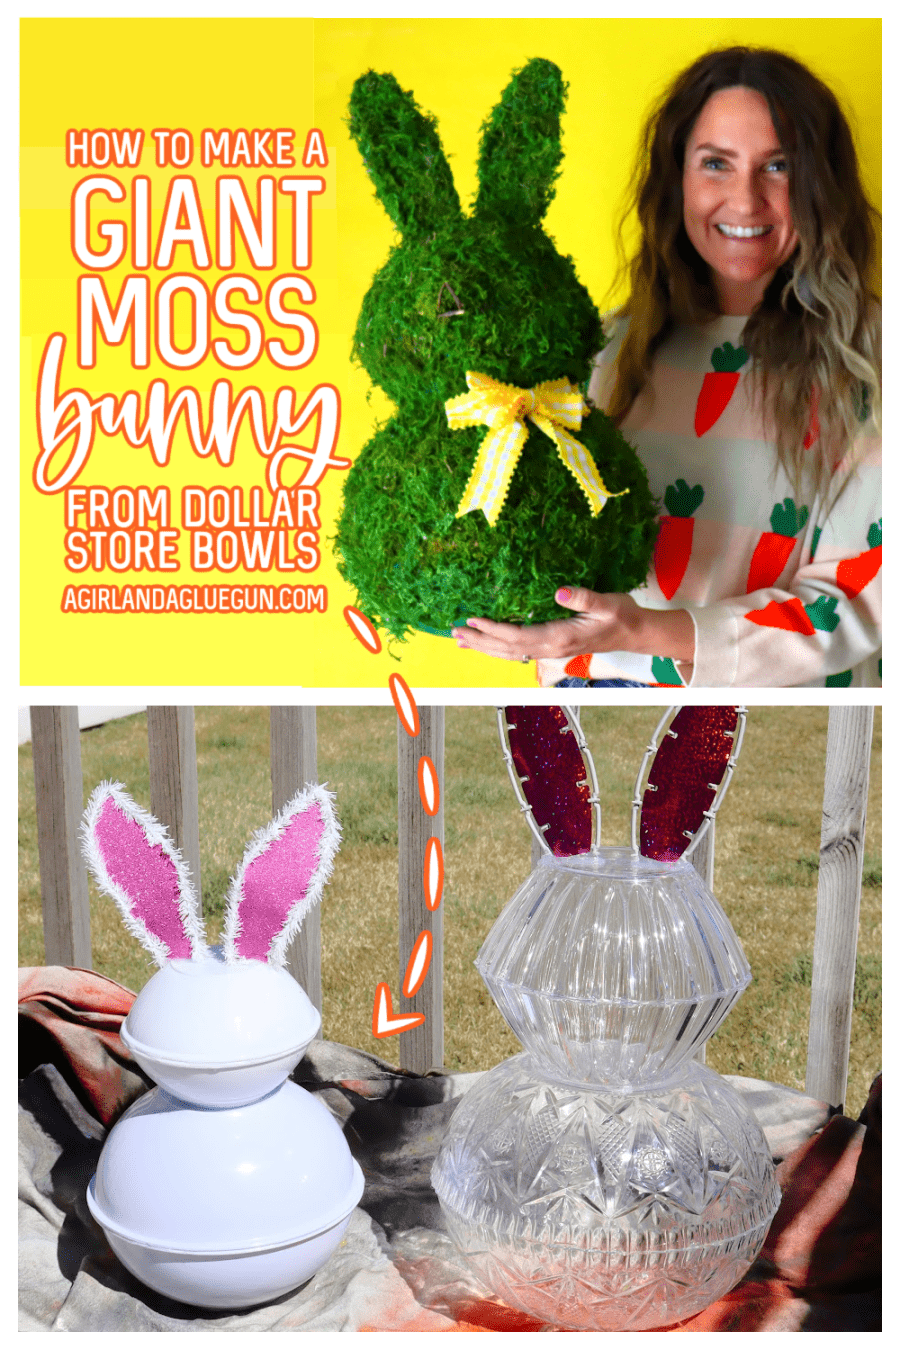
Learn how to make a Giant Moss Bunny from Dollar Tree Supplies! The cutest Easter decoration you will make this year!
I saw this amazing idea on Facebook and I just knew I had to make one! They were just so darn cute! The Facebook post was just a picture so I had to wing it and try to figure out what the supplies and instructions were! So I thought I would share it with you so you can also create one!
Here is a nice sped-up video:
Supplies to make a Giant Moss Bunny
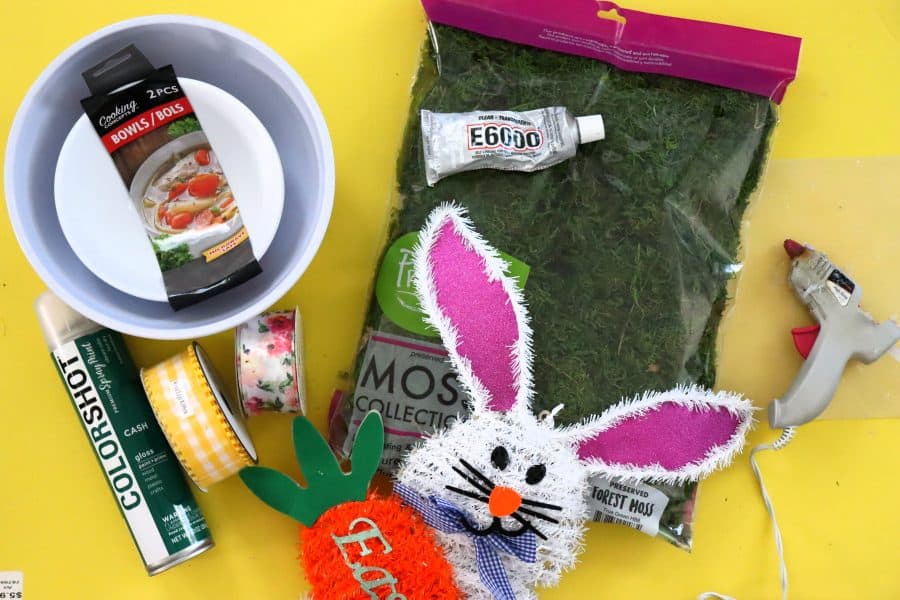
- 2 small bowls from the dollar tree
- 2 large bowls from dollar tree
- Bunny head from dollar tree
- E-6000
- Forest Moss (they had some at Dollar Tree but only 3 bags. I found a big bag at Walmart)
- Green Spray paint (any craft store or Walmart)
- Hot glue gun
- LOTS of glue sticks
- Scissors
- Ribbon (Optional)
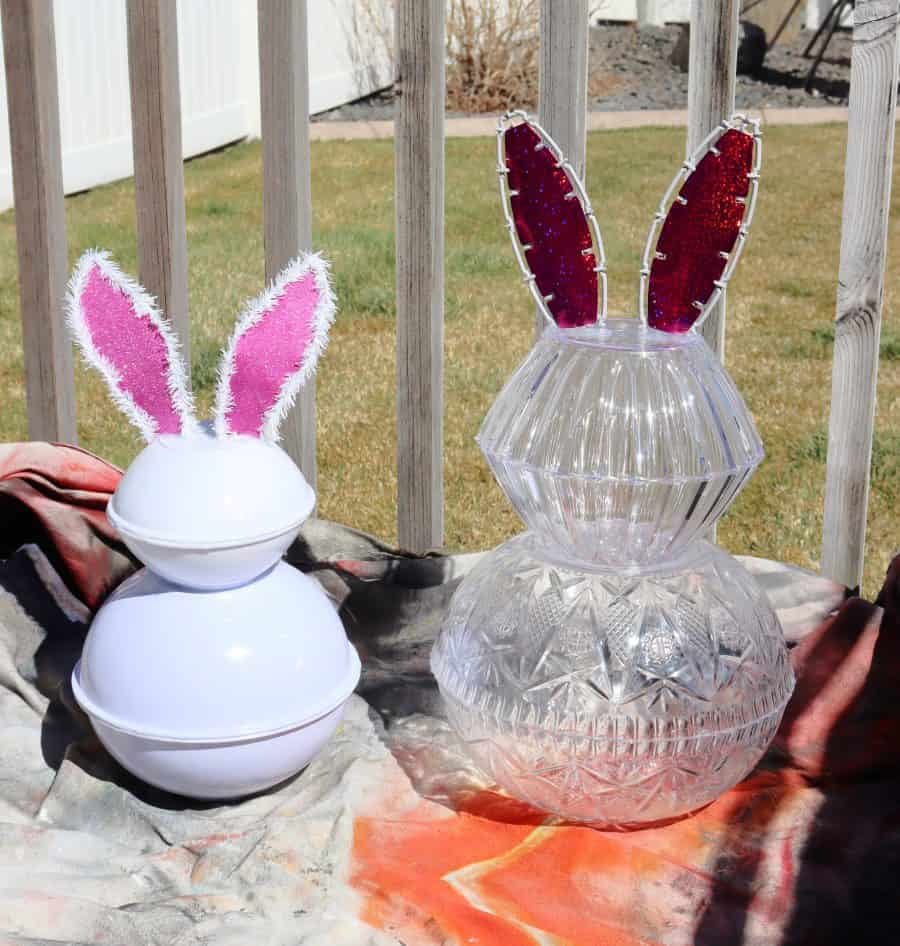
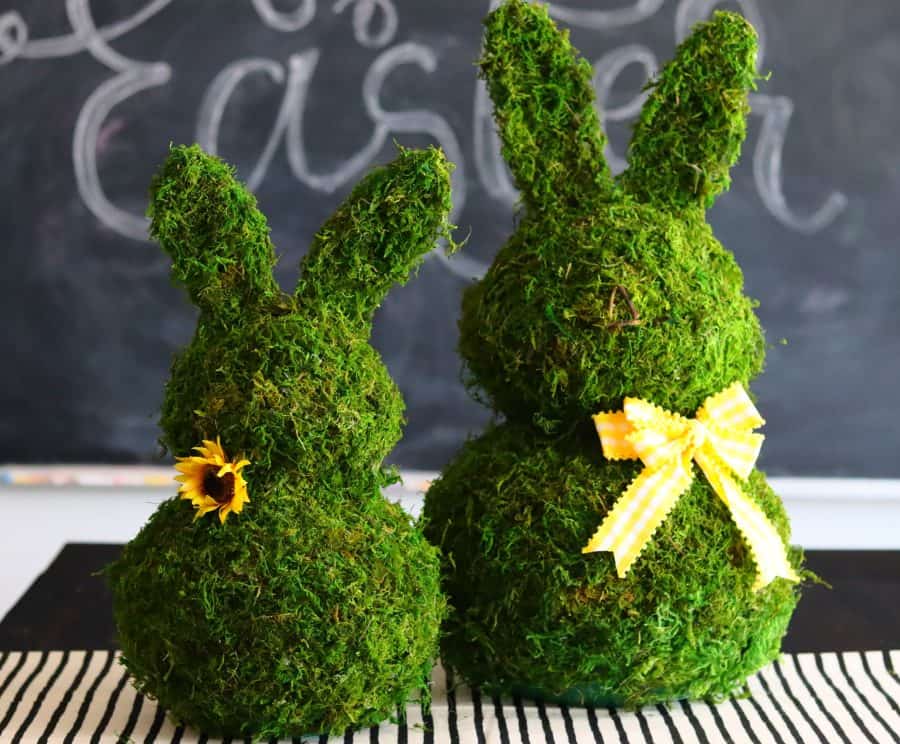
I tried out two different bunny sizes trying to see if there was one that was better than the other.
Spoiler. Both are adorable. So grab two different sizes of bowls and just make sure they are proportionate to each other.
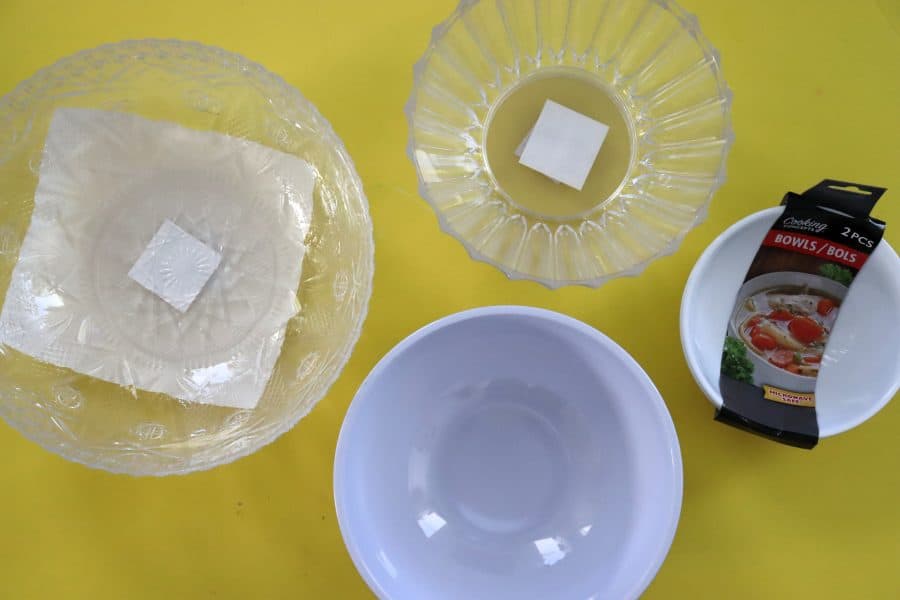
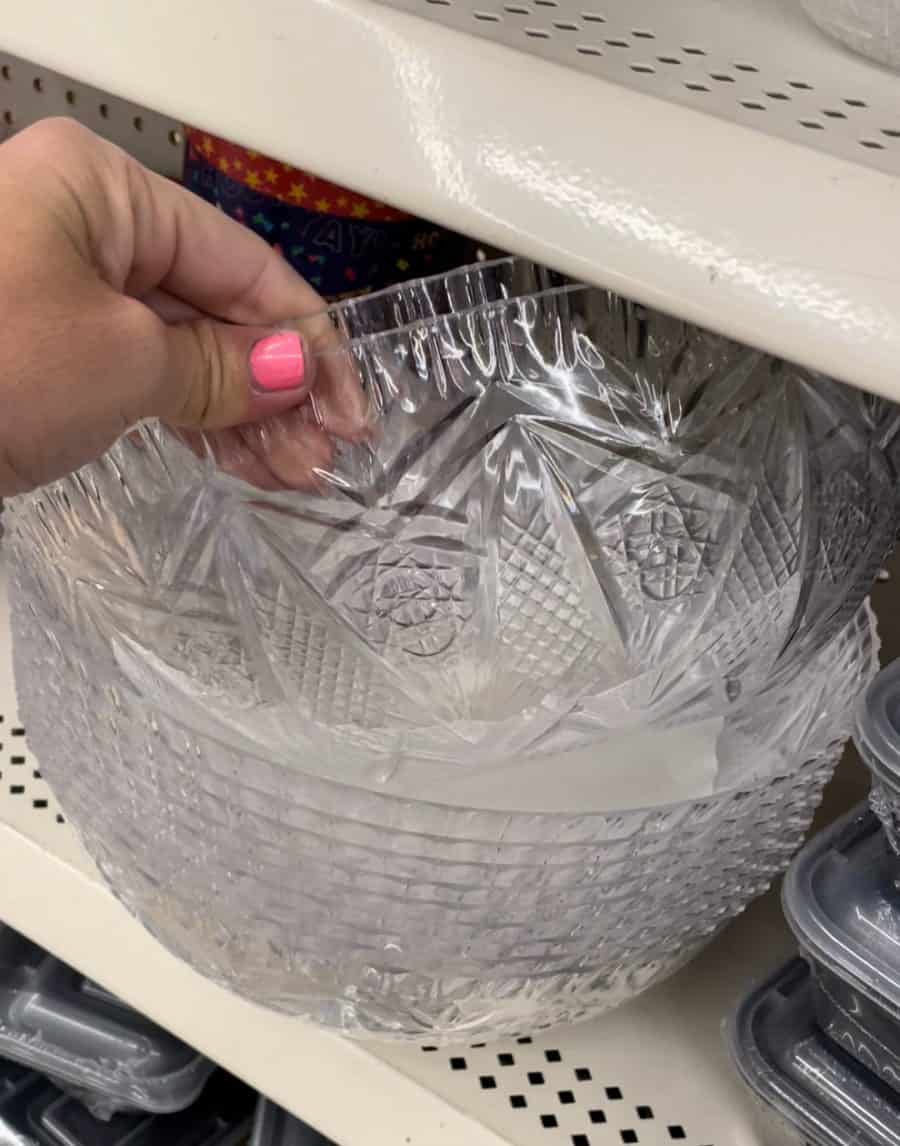
The bowls I found are in two different sections. In the party section are some big punch bowls and serving bowls. The other place is Housewares. Popcorn and regular bowls galore! Lots of different sizes to choose from!
Like I said previously- Moss is actually at the dollar tree. But since I was doing two bunnies, I knew I need a lot. I found this bag at Walmart for $6. This covered the entire small bunny and about 75% off the bigger bunny! Plenty of moss in this bag!

UPDATE: I did see that people have started making these using this faux grass runner from Dollar Tree! You could have to cut it into pieces and I’m not sure if you need more than one runner to cover an entire bunny but it would be WAY less messy!
How to assemble the Moss bunny
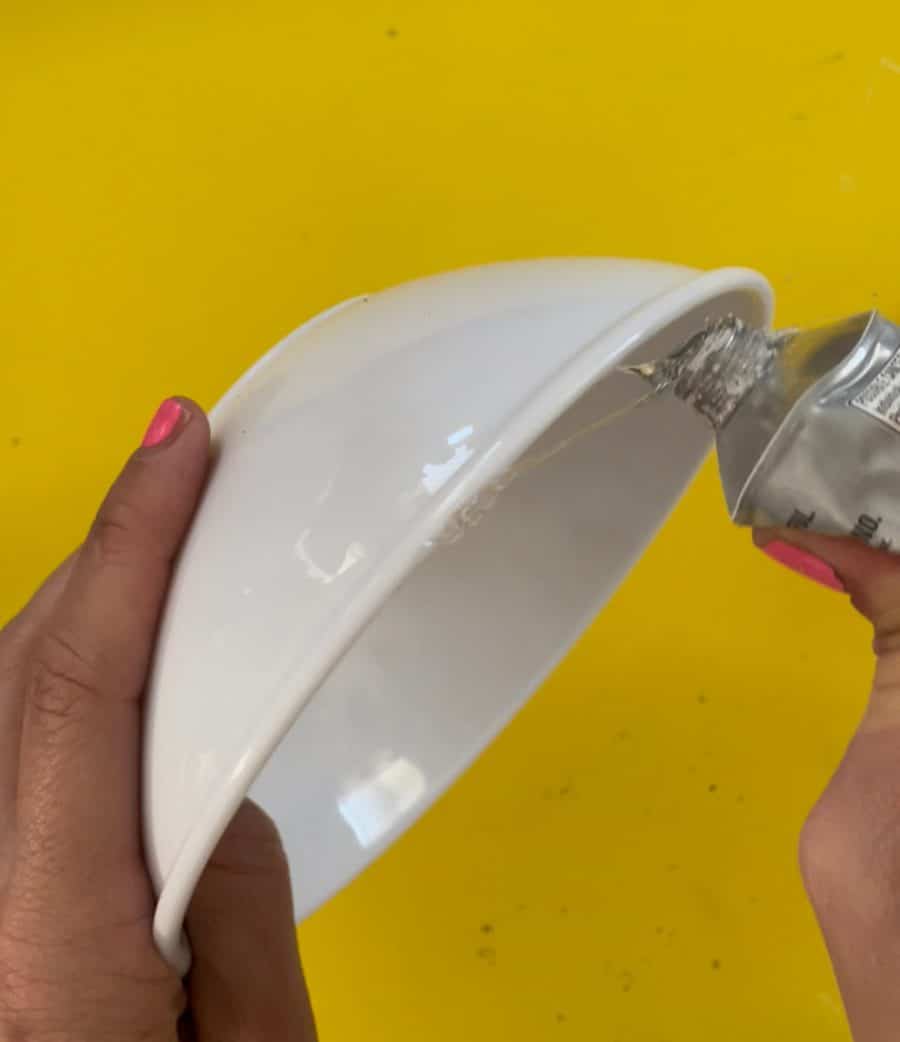
Glue the Bowls
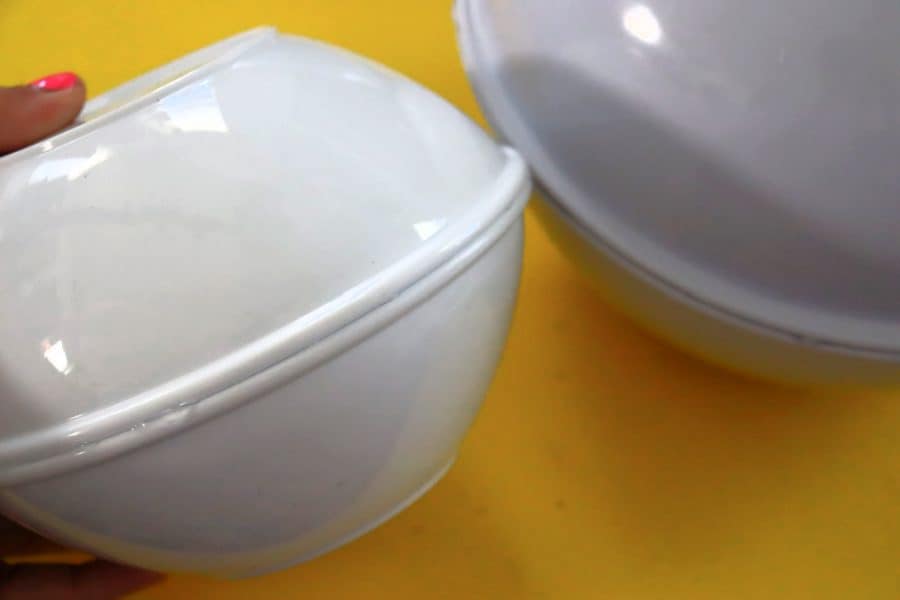
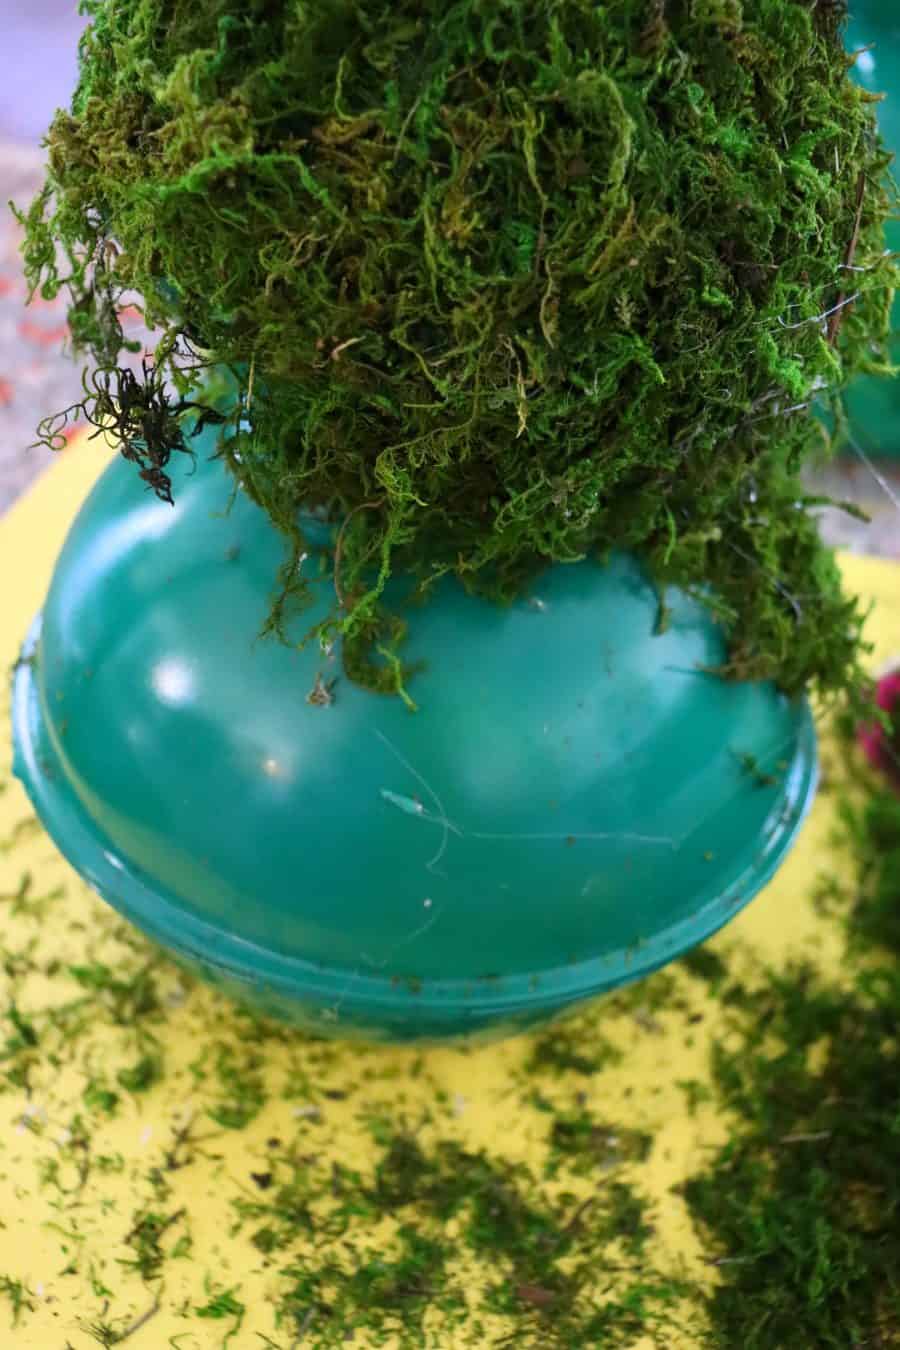
Take your E6000 and run it along the lip of the bowl. Press the other bowl to it to make a dome. If you are planning on putting these in a place where they might get tipped over, you could glue a rock in the bottom of the bigger set of bowls to keep it from being top heavy.
Rinse and repeat for each set of bowls. Then glue the small bowl on top of the bigger bowl. I set them down and put a book on top of each one to adhere to the bowls.
Create Bunny Ears
While those are setting, take some scissors and snips and cut off those bunny ears! My daughter came home to two earless bunny heads on the counter! The dollar tree has lots of bunny heads, so you can take your pick. I used two different ones and I liked them both!
You also could DIY your own set of ears with foam core board or with some wire.

Hot glue the ears on top of the stack of bowls.
At this point, I was like- MENTAL NOTE: Remake a version of these as a snowman for winter! you could just get another size of bowl and not add the ears!
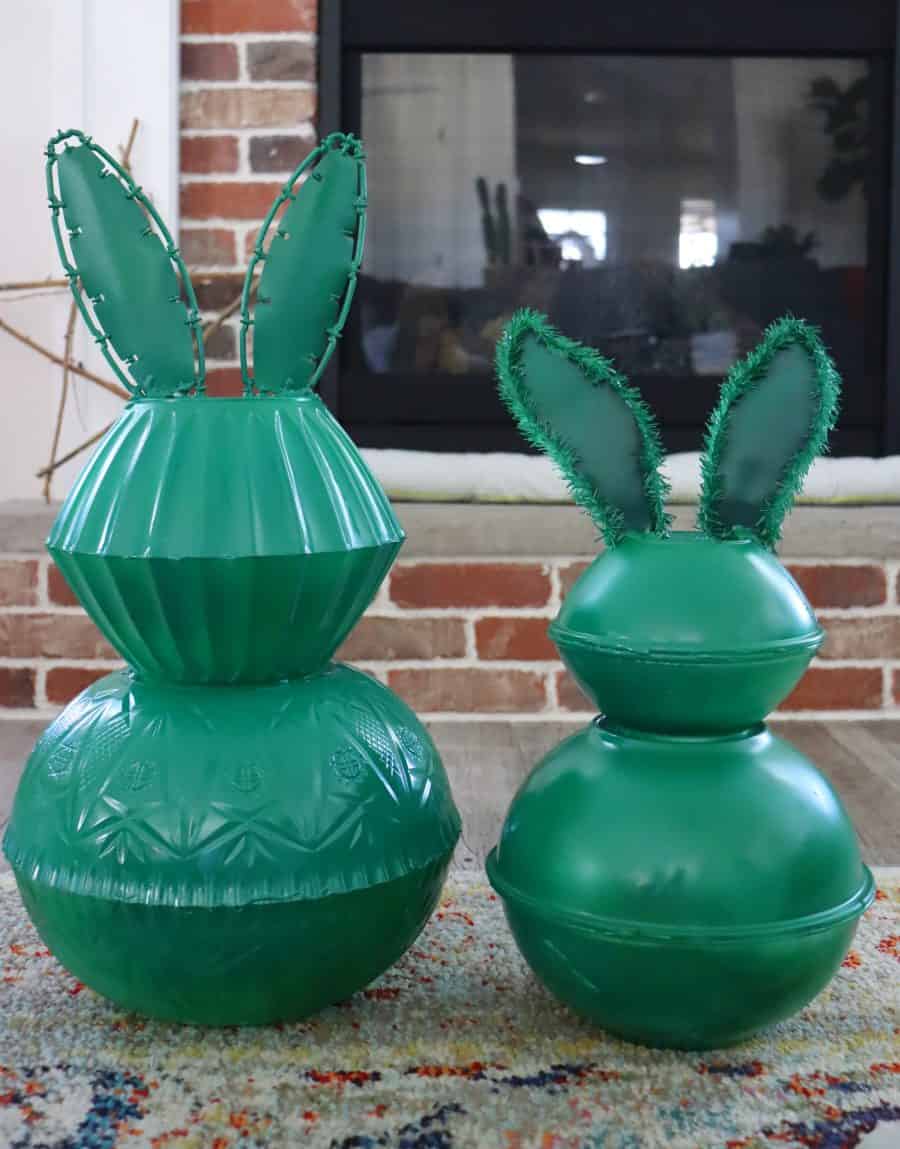
Spray Paint the bunny
Time for spray paint! This is an important step because it’s really hard to cover every tiny inch of the bunny with moss. The green paint will help hide any spots you miss!
Add the Moss
Then you are going to start laying down hot glue in 3-inch sections onto the bowl and pressing moss against it. It takes quite a bit of hot glue.

If it was nice outside, I would have tried some spray adhesive to make it go faster. It took about an hour and a half to cover the bunny. The hot glue would set quickly so you could only do small sections. If you were doing these as a craft night with the girls, it would be a fun night of gluing, talking, and hanging out!
If you end up trying spray adhesive and it works, let me know!
Once it’s all covered, take some scissors and give it a little trim. You can also use a hairdryer or heat tool to melt any glue gun hairs that you have!
I did not cover the very bottom with moss. I wanted it to sit flat on any surface!
Embellish the Moss bunny
You can add any fun embellishments: ribbon, flowers, cute spring sign! I put some sticks into a triangle for the bunny nose and whiskers. You can also add a bunny tail!
I would not recommend these rabbits be exposed to the elements!
I’m not going to lie. I love these cute guys. Way more than I thought I would! I want to make another of the giant size so I could have one on each side of my front door for Easter.
Save for later
Too busy to get crafting today? No problem! Pin this post to remind yourself about this project later! Sharing my projects helps me reach more people, allowing me to continue sharing free content!
Easter projects
If you loved these giant Easter Bunnies- You will love these projects:
- Floral napkin mod podge eggs
- Play-Dough Activity Mats for Spring
- CUTEST and Easiest Easter Breakfast
- Paint Chips Easter Garland
Mabel Standridge says
Awesome, will try to make 2or maybe 4
Ginger Kreigh says
I use the spray adhesive and it worked great. Also because some of the Moss wasn’t that great I bought a small amount of mass colored paint mix it with some water and put it in a cheap spray bottle to fill in the brown spots. Worked like a charm
Kimbo says
great ideas! Thanks for letting me know!
Michelle Finke says
You said not to expose to the elements. And then you said you want to put two by front door…..
Kimbo says
My front door is a covered front porch- and if you live somewhere like Arizona that doesn’t get snow or rain very often they should be fine!