
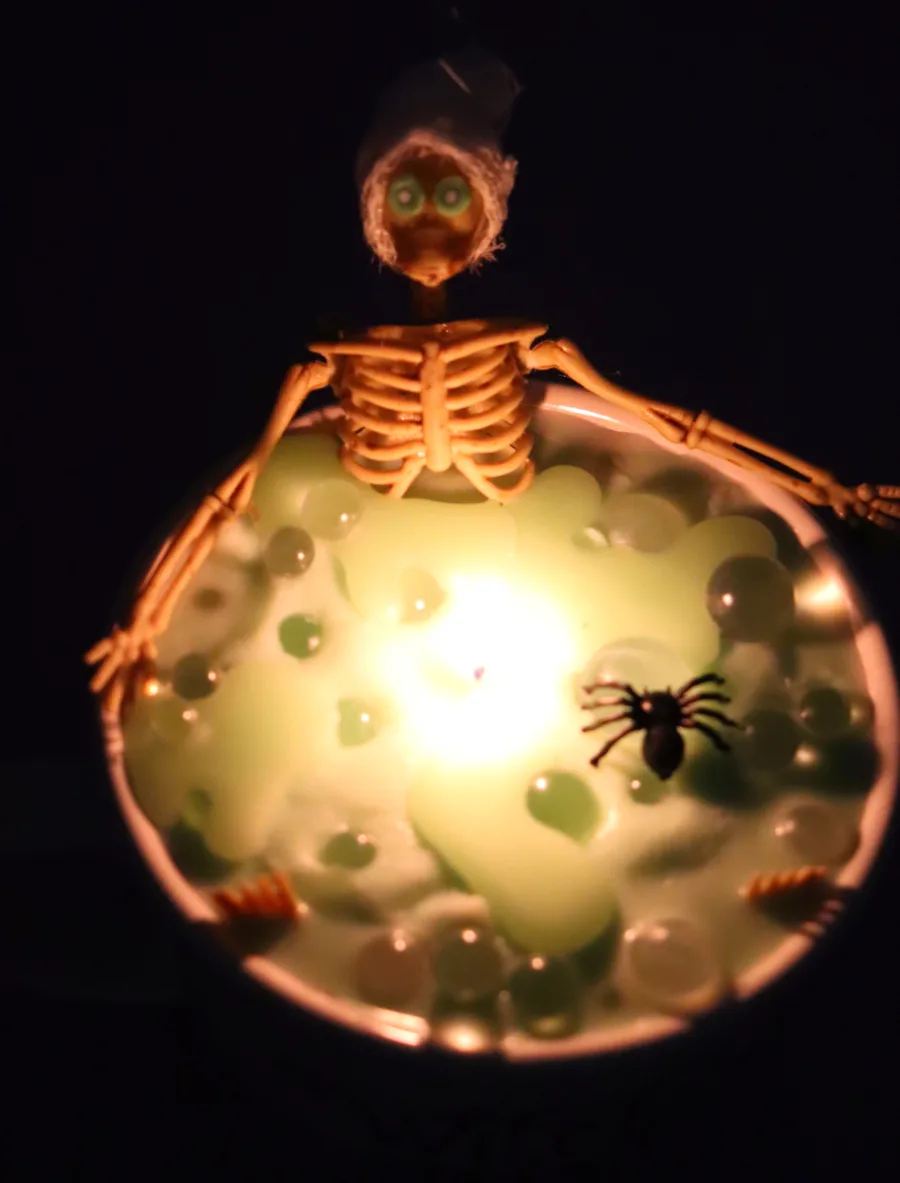
Gather all the inexpensive supplies to make this totally cute Dollar Tree Skeleton Candle for Halloween!
This candle is so fun to make and totally customizable! It’s pretty inexpensive and would make a totally fun craft night project! I’ll walk you through how to make this fun spooky candle! Please keep in mind I’m not a candle expert just a hobby I dabble in! Leave any tips and tricks in the comments!
Supplies to make Dollar Tree skeleton Candle
Most supplies can befound at your local dollar-tree which makes this pretty affordable! You can also grab supplies from local craft stores or even Walmart!
- Bowls or cups (no plastic!)
- Skeleton garland from Dollar Tree
- Eyeballs, bones, skulls etc if you want to go that route!
- 3 candles (give or take depending on how big your bowl or cup is!)
- Wick
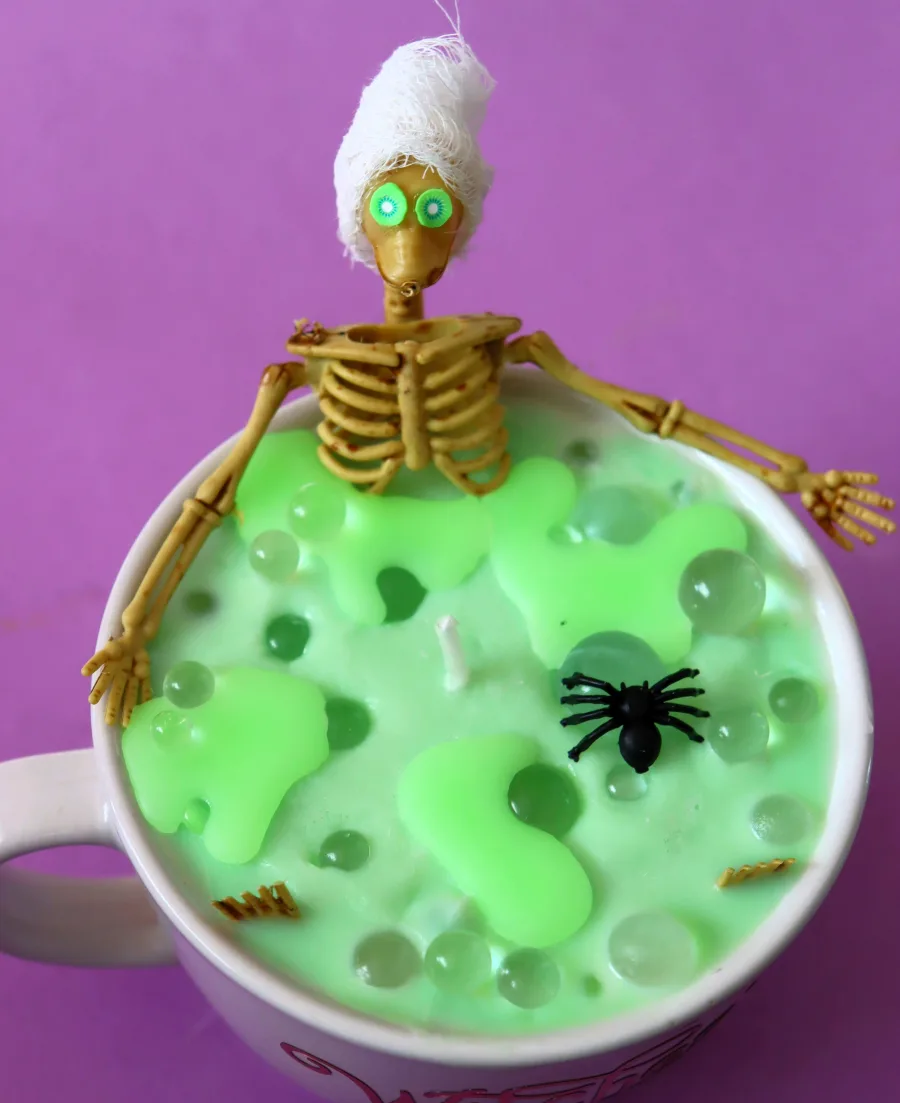
- Clear beads for bubbles (optional)
- Scented Oil
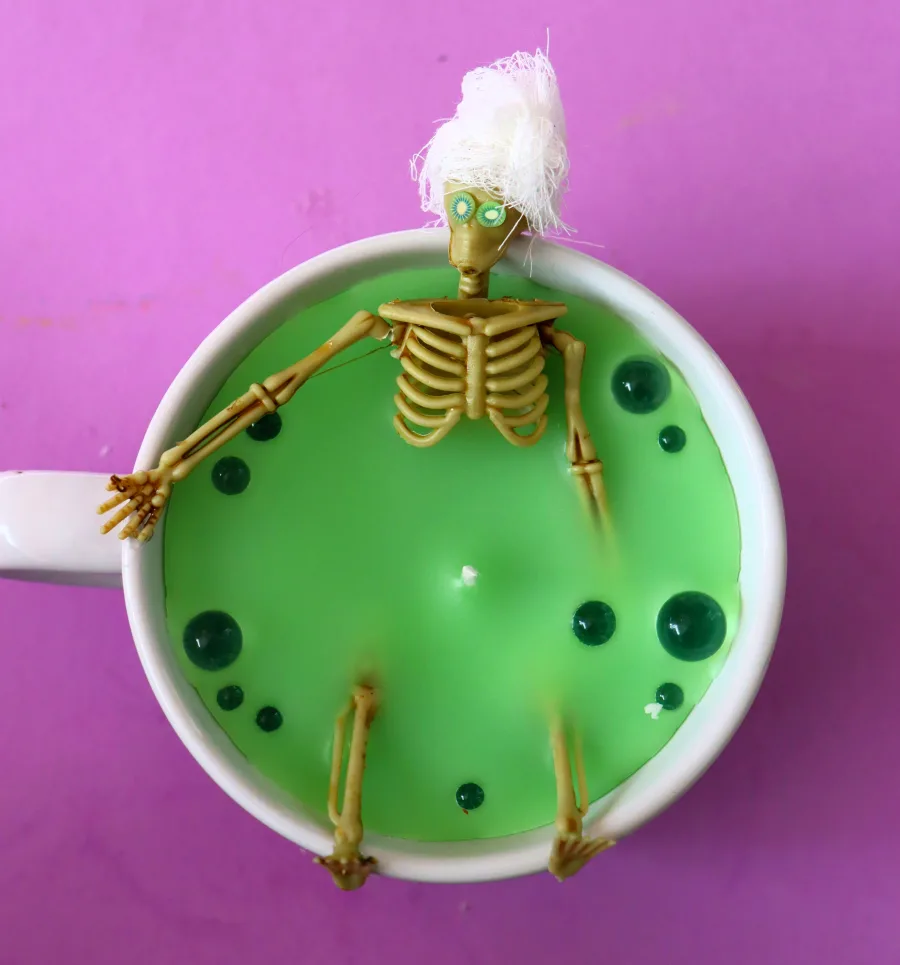
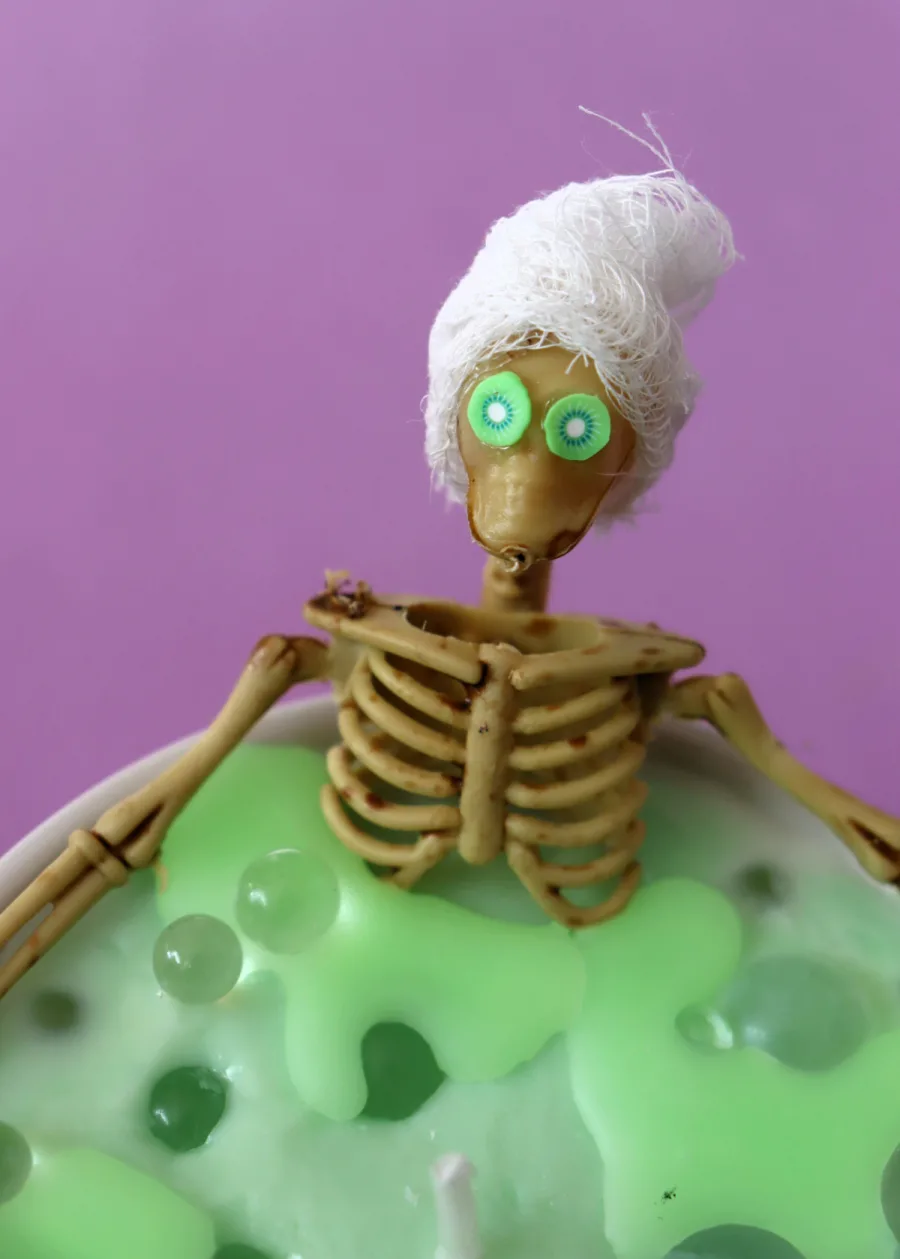
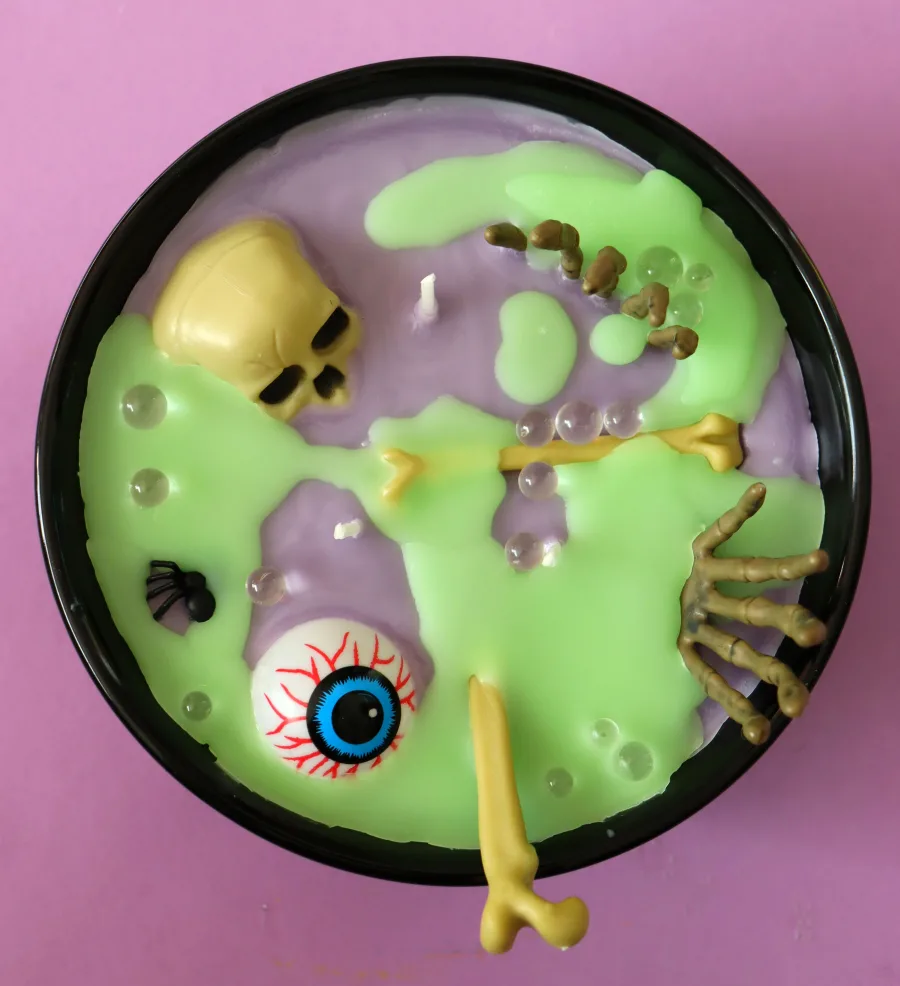
If you want to make it look like the skeleton is taking a bath, I used these fruit slices that my daughter had in her slime kit to make it look like cucumbers on the skeleton’s eyes!

These candles are really fun because you can customize them in various ways! You can add scents, colors, or shimmers to make it look like a potion! Dollar tree had a variety of colors of these tall religious candles, so you can make orange, purple, green, or white bath/potion candles!
I actually have this candle-making set that is a great starter pack! You can forgo buying the tall candles and just melt your own wax!
I also purchased this set of autumn-scented oils!
How to make the Halloween candles
Since we did these as a craft night, I laid out all the supplies on a tray for the ladies to pick what they wanted to use!
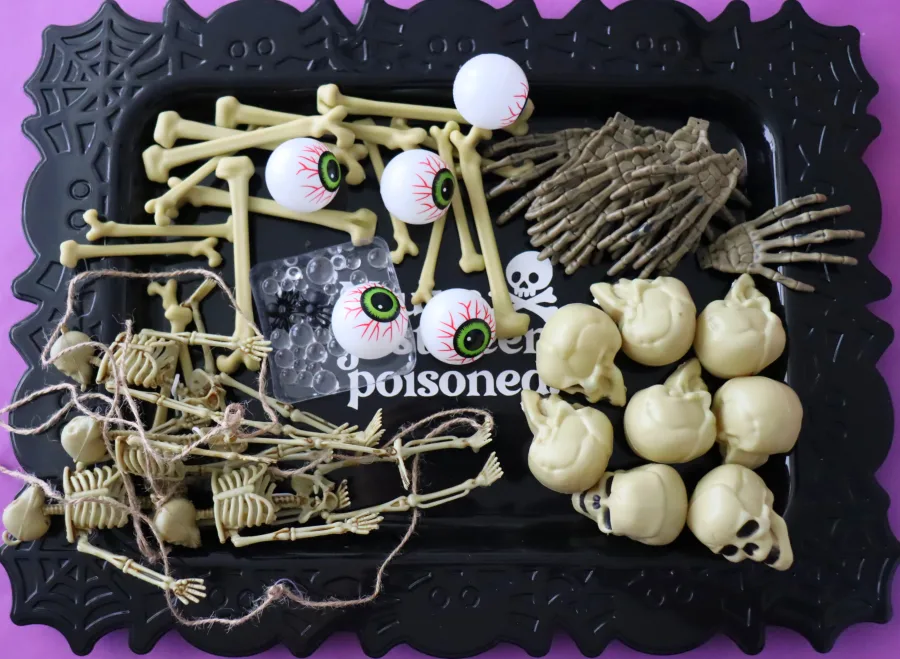
They can pick their bowl or cup, the color of candles, what scent they want, and what Halloween things they want to put in their candle! It’s a fun way to create a unique craft without having to buy too many different items!
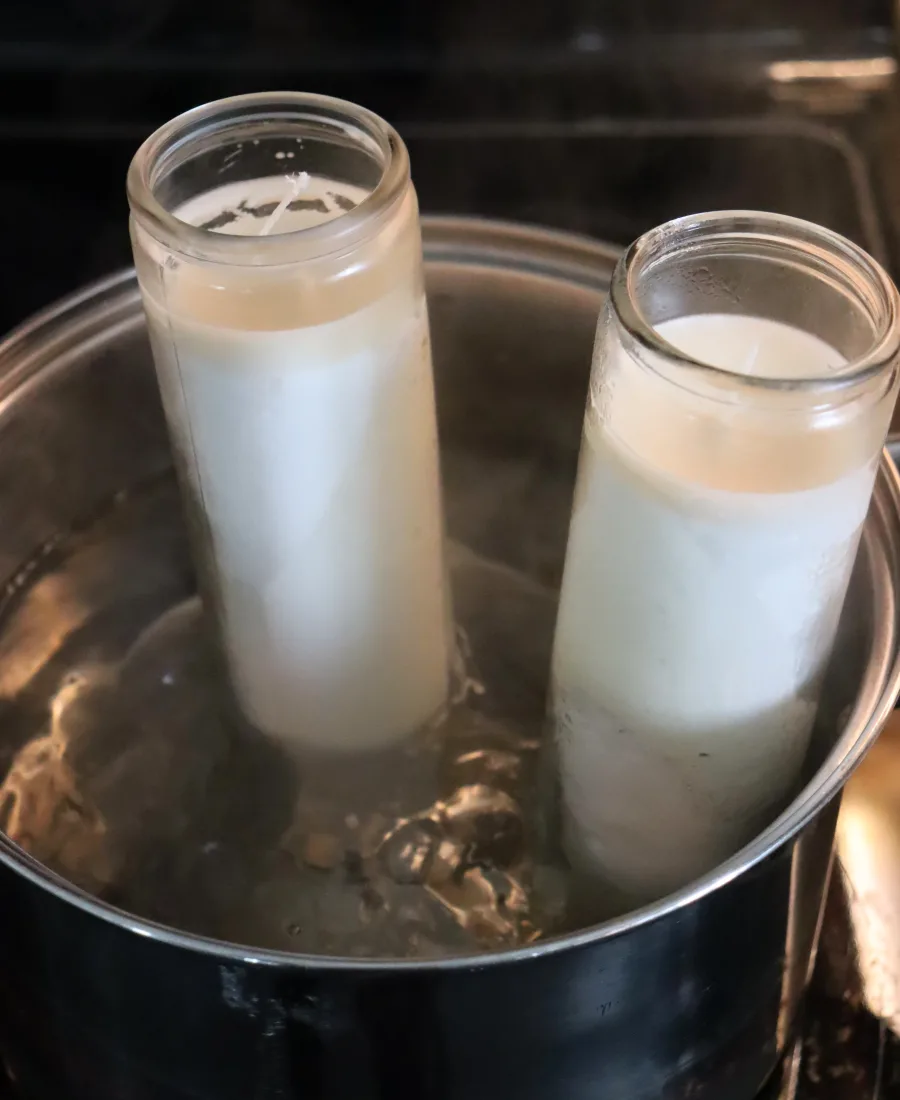
Melt the wax
First: Heat up the wax. We placed our candles in boiling water. They did take a few minutes to melt down because the candles were so tall. You might want to get a bigger pot than mine if you are in a hurry.
While the wax is melting, place the wick in the bottom of the bowl. If the bowl is big, you can place three wicks. The kit I bought comes with sticky tabs. Just peel off the covering and stick the wick to the bottom. You can also use a little hot glue to secure the wick down instead.
Add coloring and scent
Once the wax is melted, we add our scents and any coloring directly to the glass jars that the candle comes in. It’s easier to stir these up instead of trying to stir around the wicks.
The general rule of thumb is 1 ounce of fragrance for 16 ounces of wax! Too much oil fragrance won’t mix and can be a fire hazard!
Add the wax
Before you add the wax, you want to hot glue the skeleton into place. I glued his arms and feet so he will stay put so the skeleton doesn’t get too close to the wax!
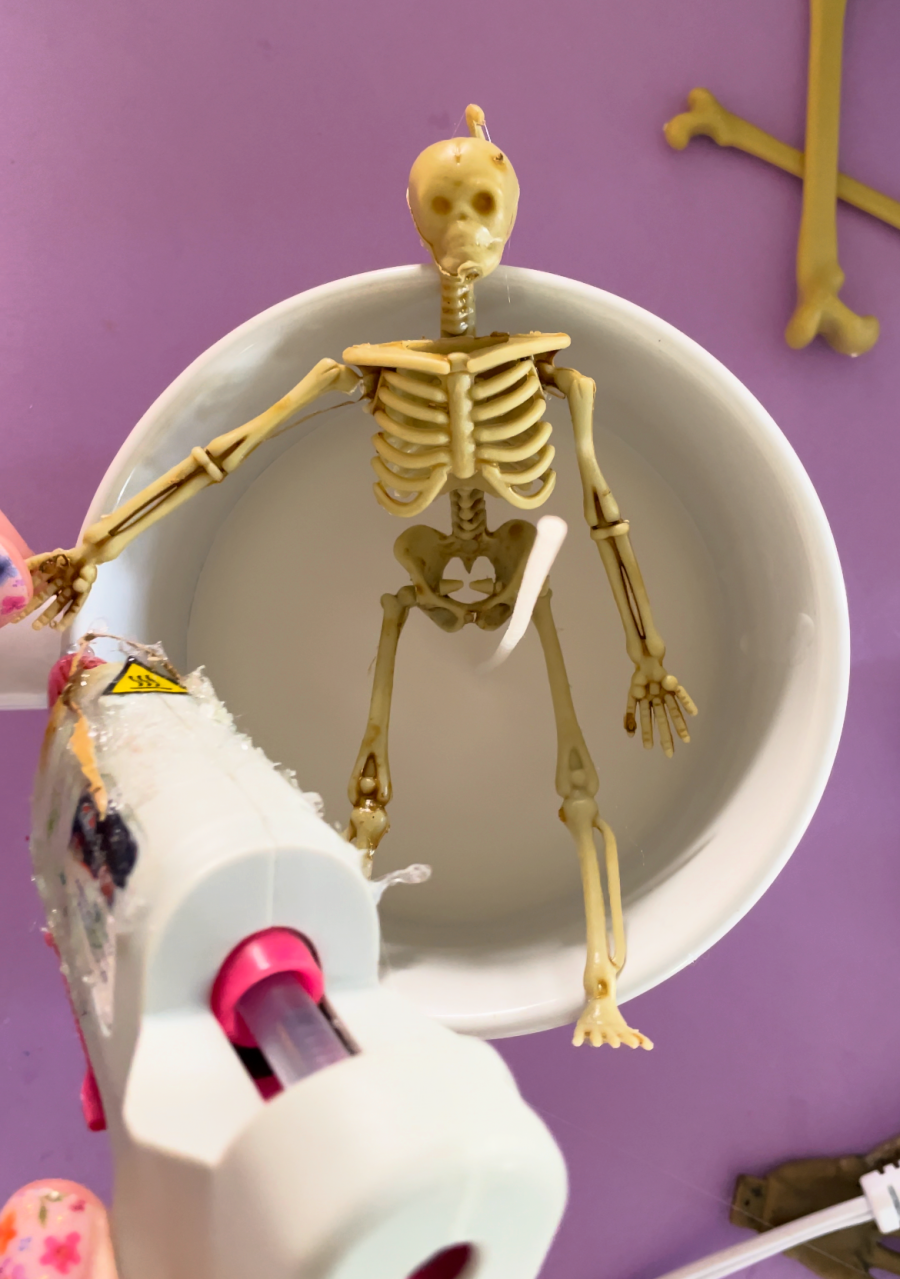
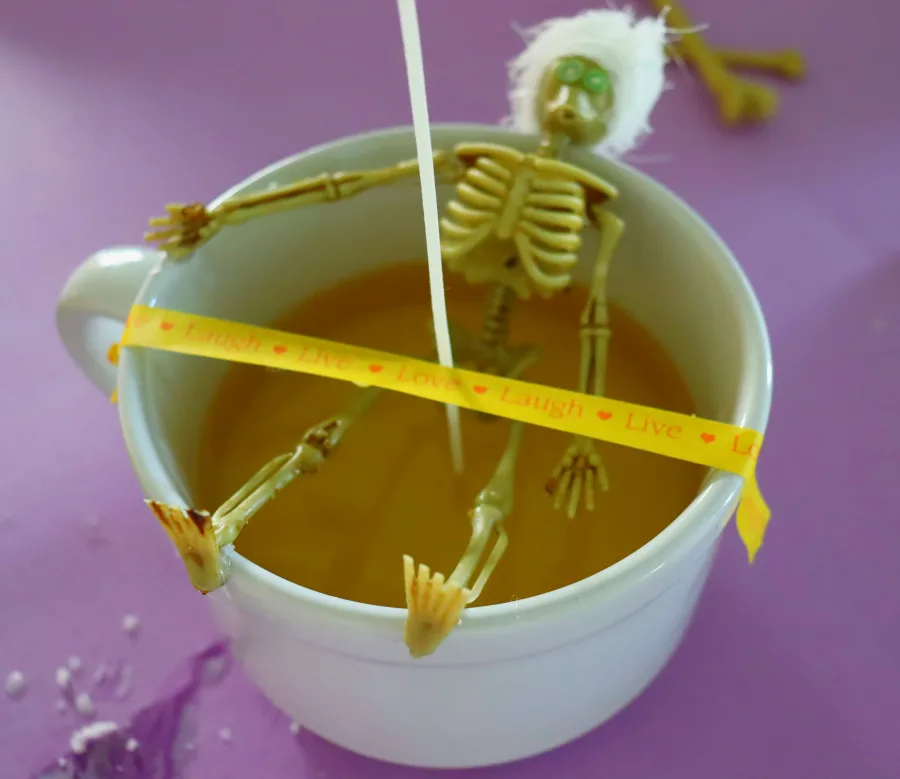
The wicks will start to bend as the wax hits them. I have wax holders with the kit I bought, but they were too small for those bowls. We used some washi tape to hold them up!
WARNING:
Since these skeletons are plastic, they will melt if the flame gets too close. That’s why I like to hot glue the skeleton, so as the wax melts it doesn’t slide your skeleton down by the wick. You can also snip apart the skeleton so his upper half is one side and his lower half is on the other side so no part is by the open flame!
Adding bubbles and embellishments
If you want to add any bubbles, you need to let the wax start to harden. If you drop the beads or bubbles into the wax when it’s still hot, they will sink right to the bottom. You want to wait until there is a little bit of a crust on the top layer. Just carefully add in bubbles. If they sink, wait a few more minutes. Keep in mind that all your embellishments should not be flammable.
I waited until the candle was pretty much hardened to add my towel and cucumbers. The towel was just some scrap cheesecloth I had! any white fabric will work! I adhered with a little hot glue.
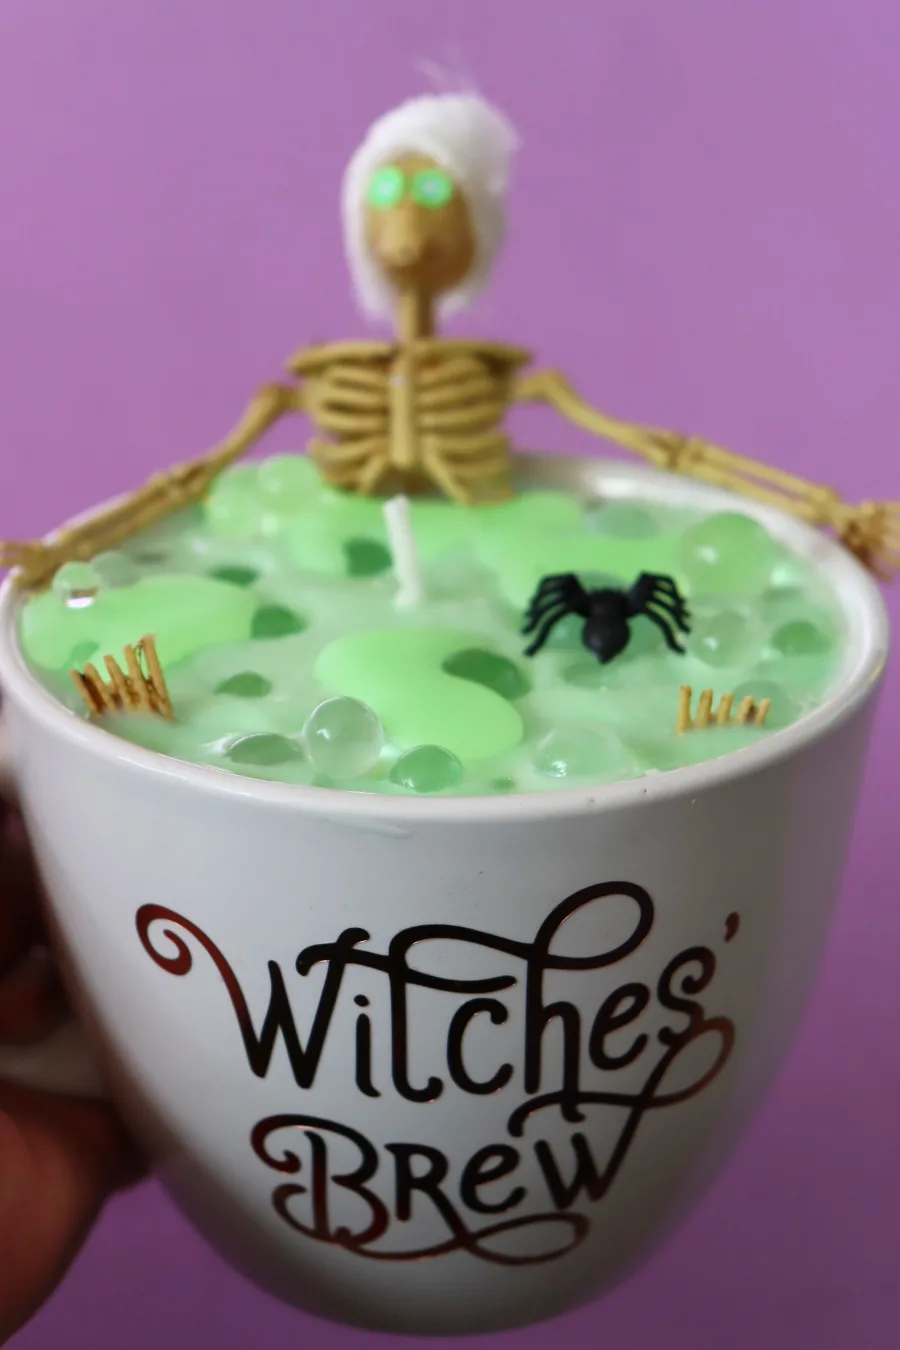
We also added some fun vinyl to the cups! Another fun optional embellishment!
Once the wax is set, snip off the wick to about 1/2 inch!
Here is another fun candle idea! Looks like a witch’s potion!
We just poured a little bit of green wax on top of the purple once it was hard! Looks so cool!
Candle Tips
I am in no means a candle expert. Just one of the many hobbies I like! Here are a few tips I have to make your candle look the best as possible!
- Dont move the candle around as it cools. Let it set up to avoid getting any air bubbles.
- If your surface doesn’t look good- has holes or cracks- take a hair dryer and heat it up and smooth it out.
- Candles are supposed to cure before you light them! Let them sit for a few days!
- Too much fragrance is not always a good thing! The oil can separate if there is to much and could be a potential wire hazard.
- If you are melting wax pellets instead of the candles from the dollar tree, check temperatures. The wax has a certain window that it needs to be poured at! (I didn’t notice the Dollar Tree candles having any problems at any temperature! Some boiled for a few minutes, some boiled for way longer! They all came out pretty smooth!
Candle Usage:
Always set candle on heat-resistant surface and avoid drafts. Always burn within sight and extinguish before leaving room. Don’t burn near things that catch fire. Keep away from children and pets. Don’t extinguish with water. Always let wax harden before relighting, touching or moving. Trim wicks if they get too long! Bowls and cups might be hot to the touch when pouring in wax and when candle is lit for long periods of time! Please be careful with any open flame!
Save for later
Too busy to get crafting today? No problem! Pin this post to remind yourself about this project later! Sharing my projects helps me reach more people, allowing me to continue sharing free content!

Nadine Centeno says
What did you use for the cucumber on the skeletons eyes in the skeleton candle??
Thanks
Kimbo says
It’s little things you add in to resin or slime! https://amzn.to/4dxgk3Y