
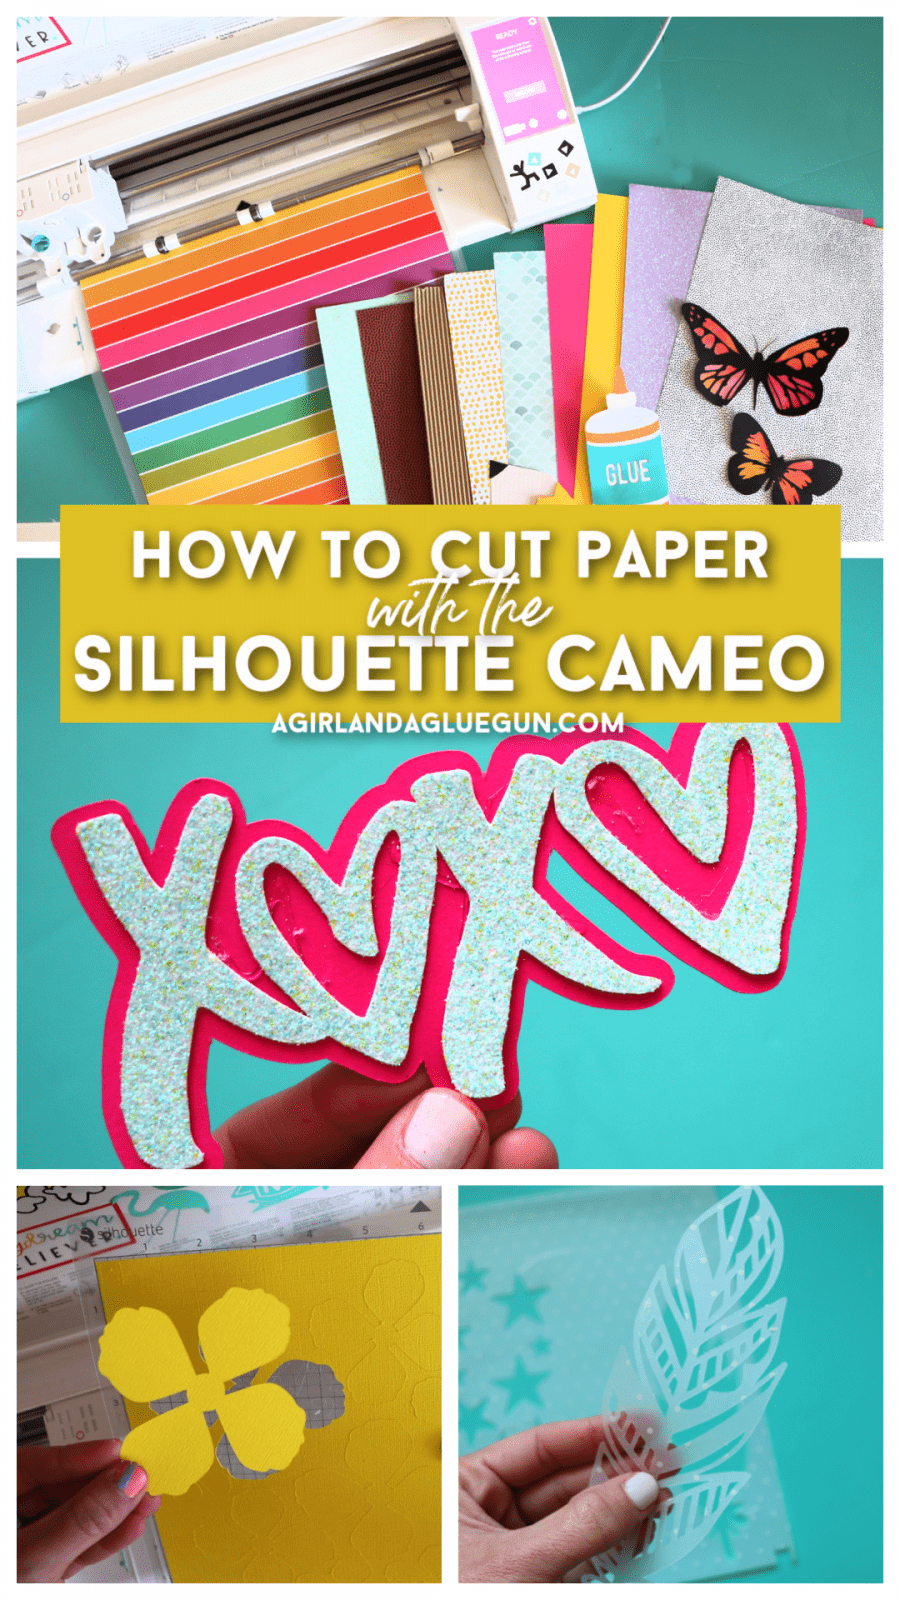
Everything you need to know about cutting paper with the Silhouette Cameo! We go over what kinds of paper are out there, designs that work best, and cutting it out with start to finish!
This post may contain affiliate links. If you purchase something through the link, I may receive a small commission at no extra charge to you.
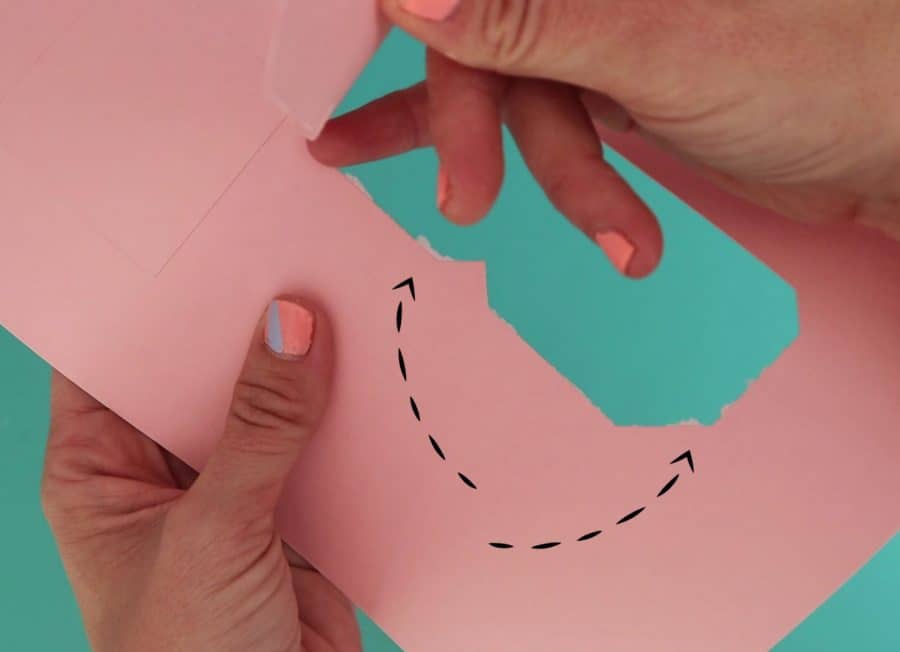
Cutting paper can be tricky. Anything for the first time can be tricky- But if you don’t know how to cut paper correctly- it results in lots of jagged edges and rips!
So the next episode of my Silhouette Love series- we are going to discuss cutting paper with the Silhouette Cameo!
Things you need to cut paper with your Silhouette Cameo
If you need a silhouette Cameo these are currently my favorite bundles:
- White one: https://amzn.to/3dfe2cr
- black one: https://amzn.to/3bXP42e
- Pink one: https://amzn.to/2P5moLN
In the video- I am using a cameo 3- cut settings will be the same regardless of what cameo edition you are using!
- Newish blade – a sharp blade cuts the best! (I’m using a rachet blade but a autoblade works just as well!)
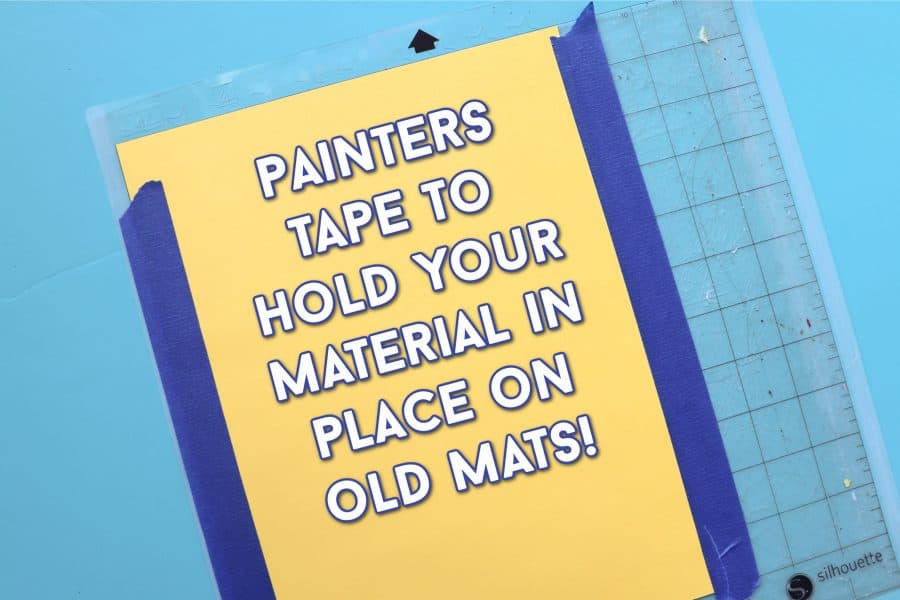
- oldish mat– a new mat is so sticky that it can tear the paper after it’s been cut. I like mine a little dirty! If it’s too dirty- the paper can move when cutting! Just add some painter’s tape to keep the paper from shifting!
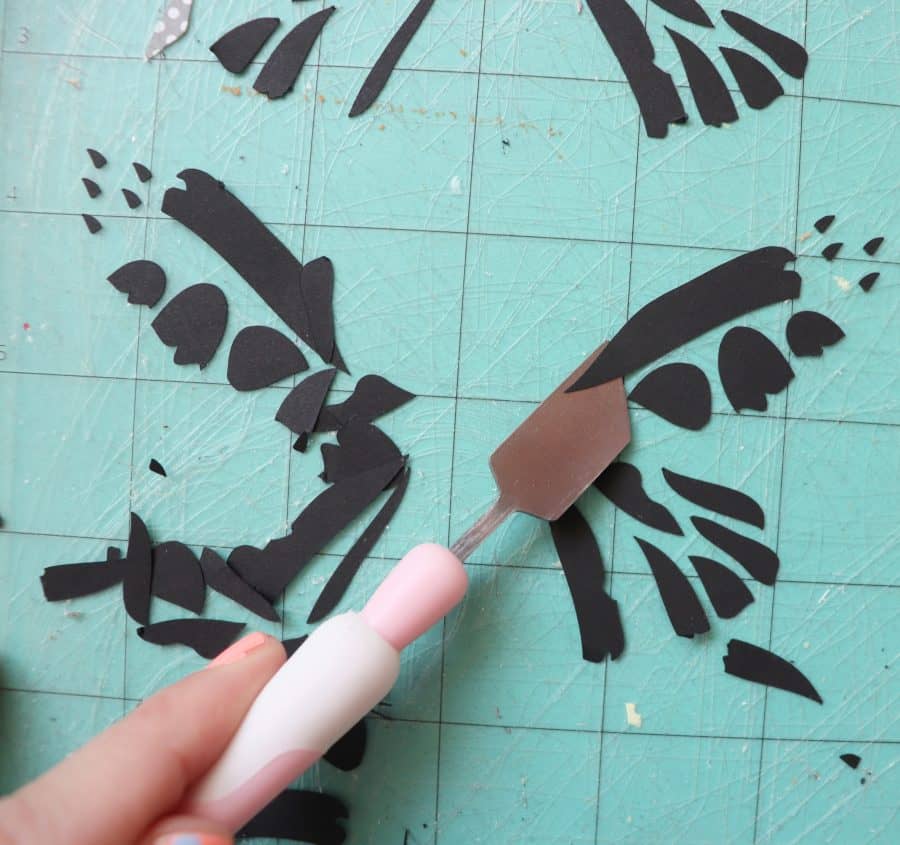
- Spatula: https://amzn.to/2OQEUrc
Spatulas make it easy to clean up your mats with the cardstock negative space. Just push it along the mat!
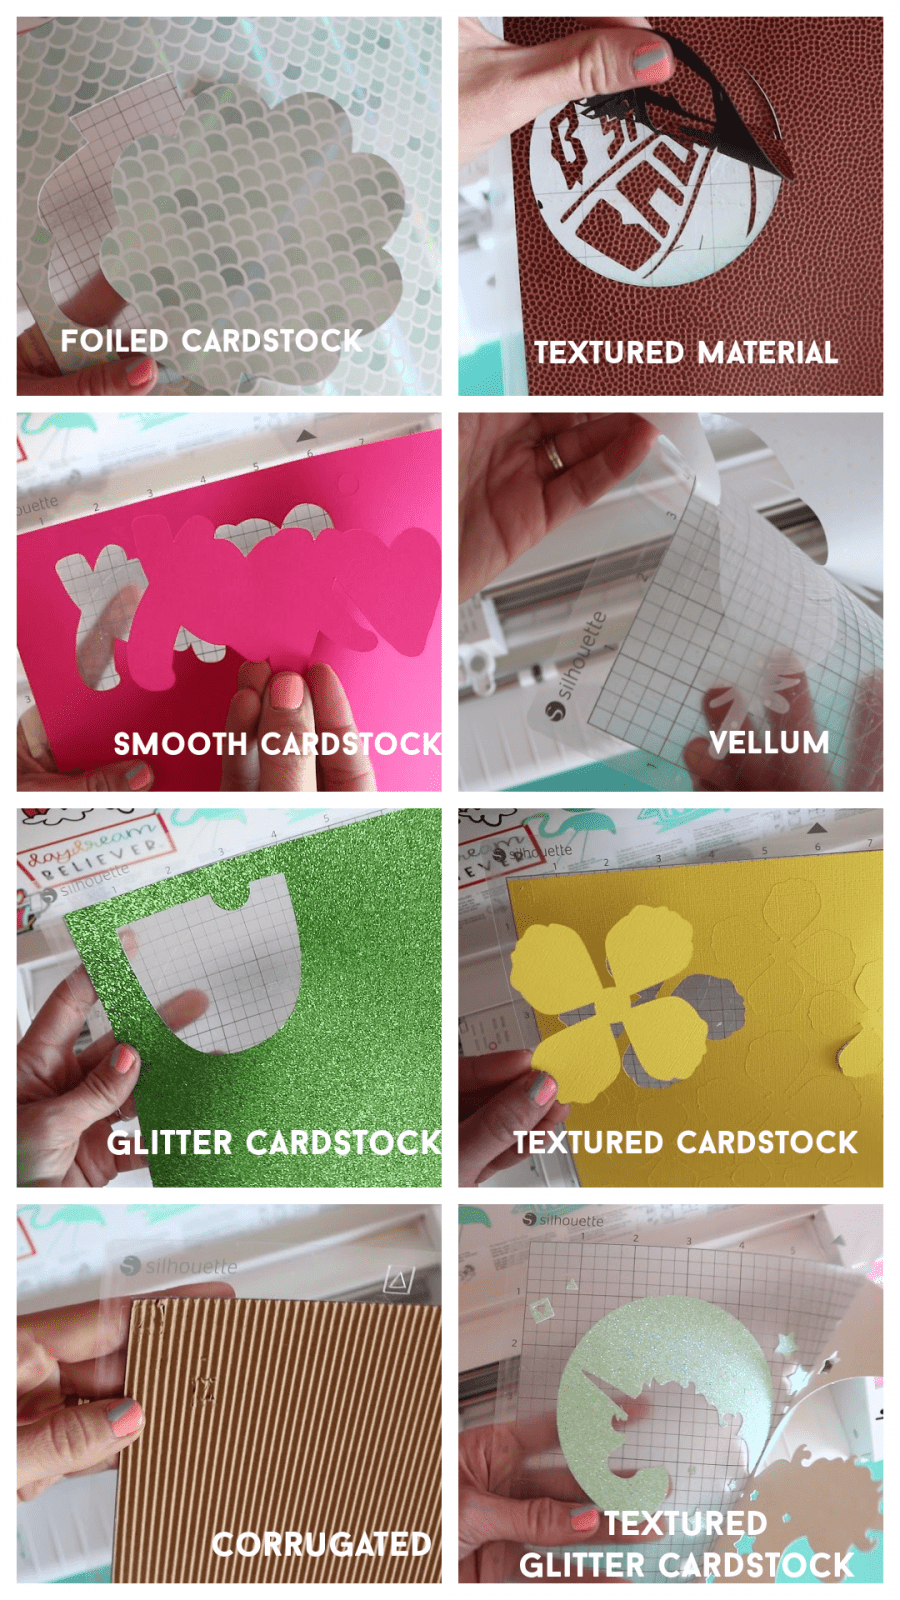
Paper Materials you can cut with a Silhouette Cameo
Here are some of the different kinds of cardstock that we are going to try out with out silhouette cameo! I tell you what each cut settings are for each one- but keep in mind that all settings will vary depending on blade newness and thickness of paper!

How to cut paper with the silhouette cameo:
Here is the video: It breaks it down so much easier than trying to show photos!
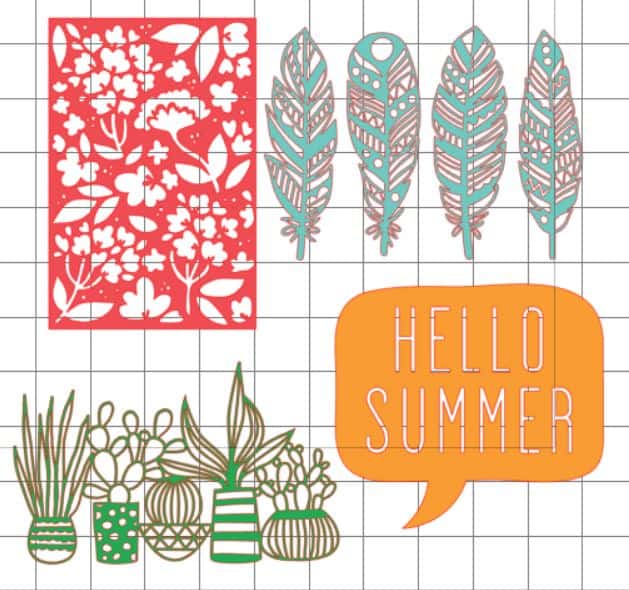
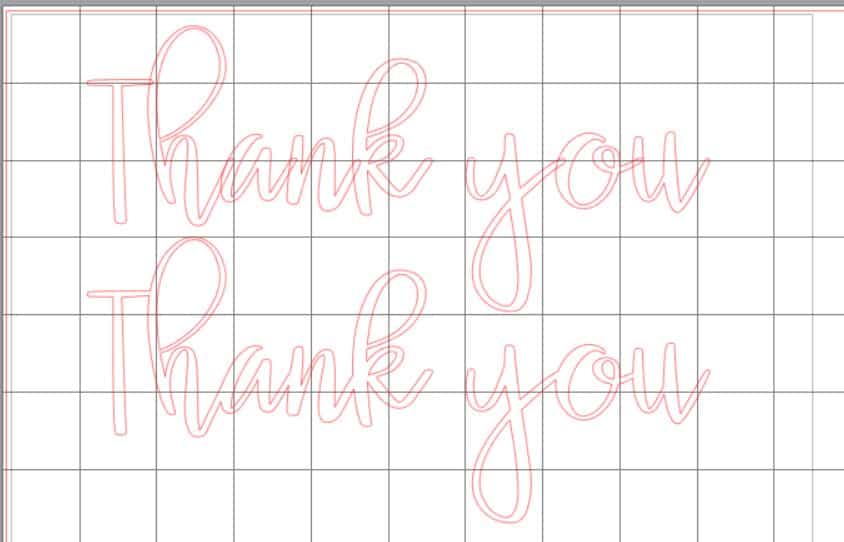
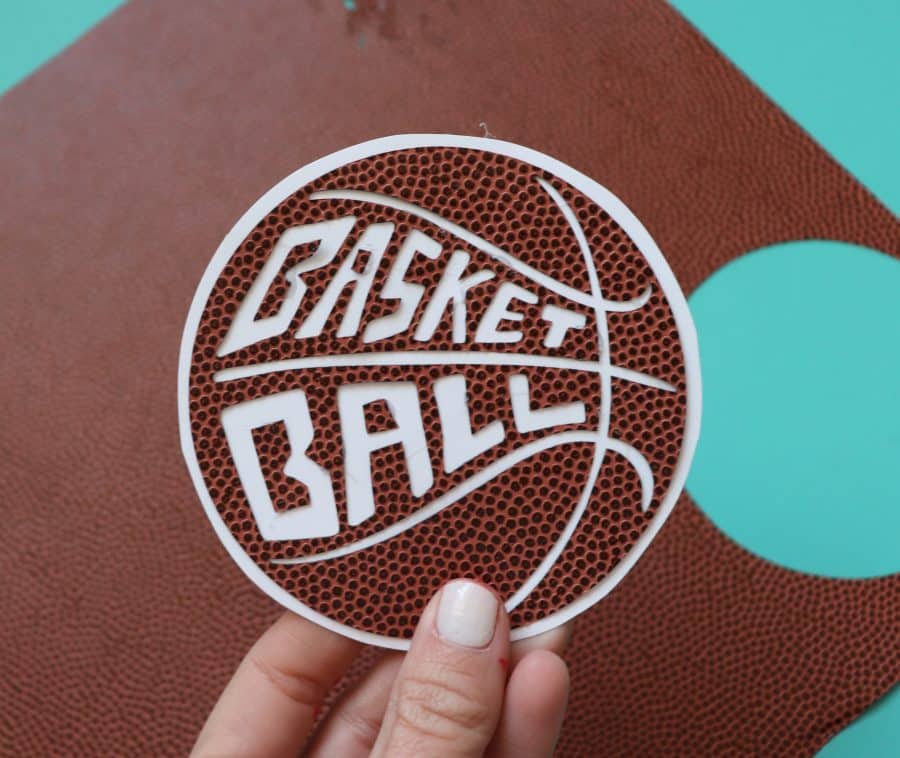
In the video I go over things to look for when choosing files- like these- all connected and makes it great for paper!
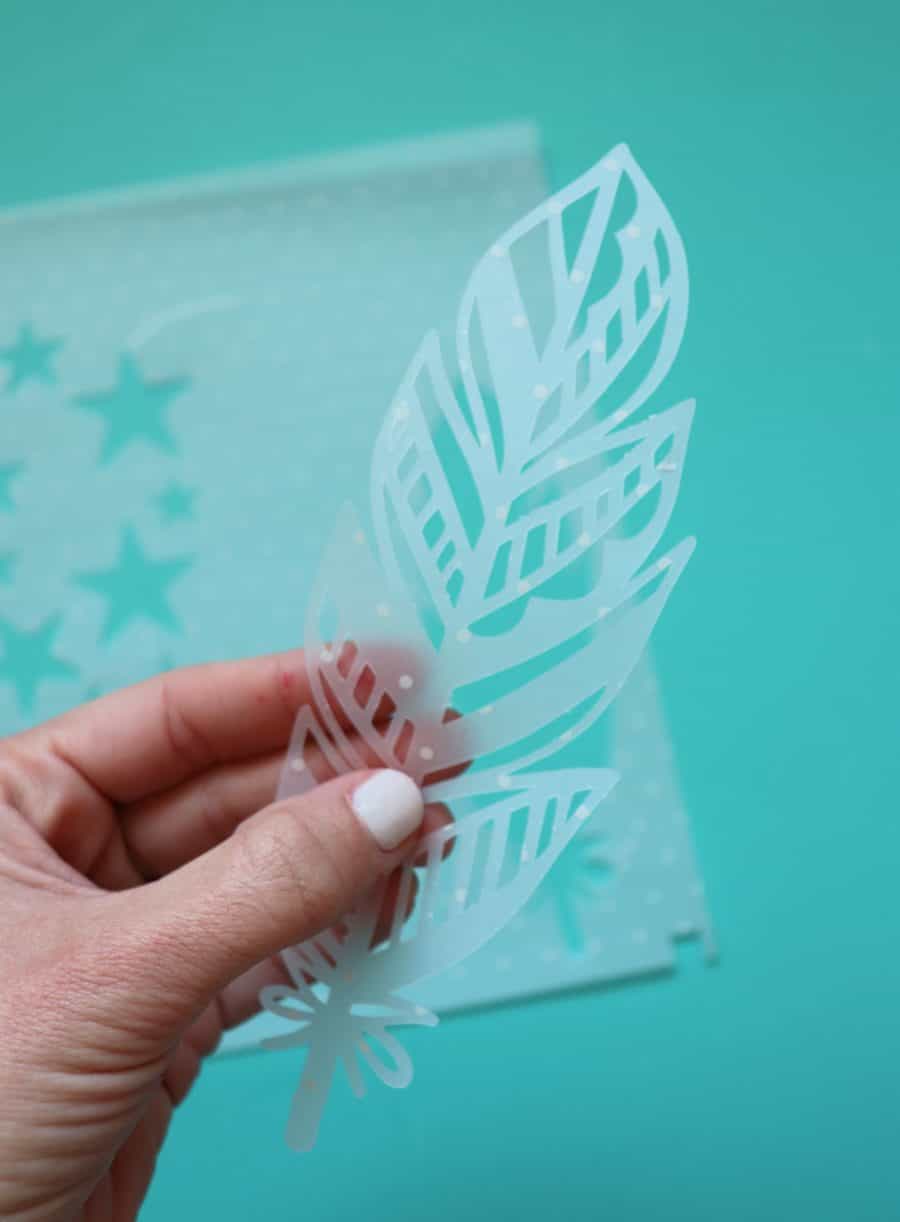
And these– all adorable- but horrible to cut out with paper. You would have to transfer over each piece individually! TIME CONSUMING! 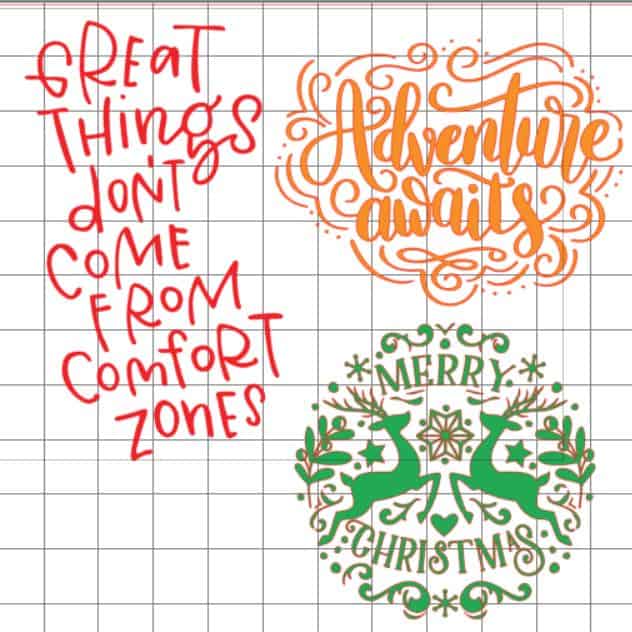
Also- stay away from distressed fonts
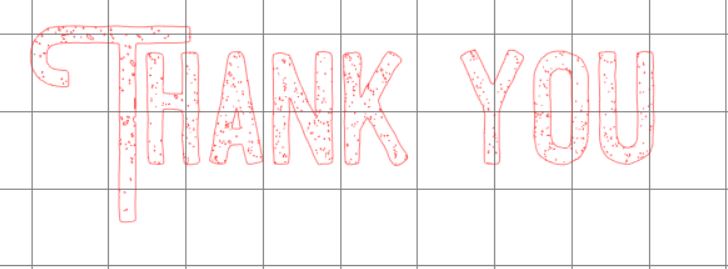
and make sure to weld (right click and find weld) when using your fonts so they cut as one continuous piece!
Design links used in the video:
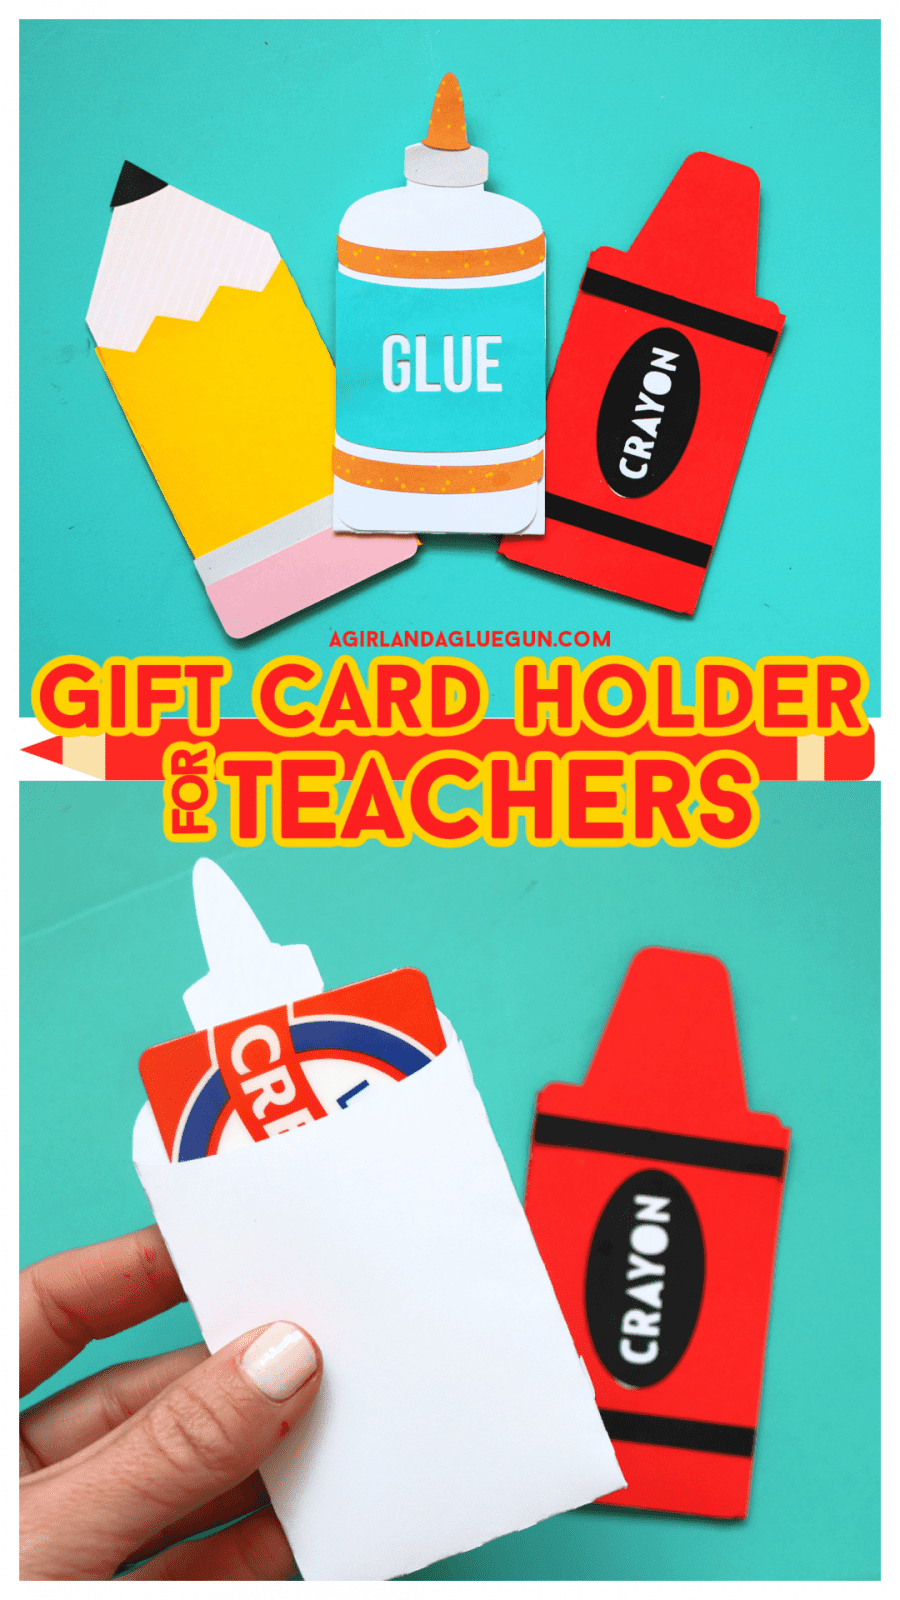
My favorite things are these teacher gift card holders! Search Amy Robison in the Silhouette Design Store
- pencil:91597
- glue:91594
- crayon: 91588
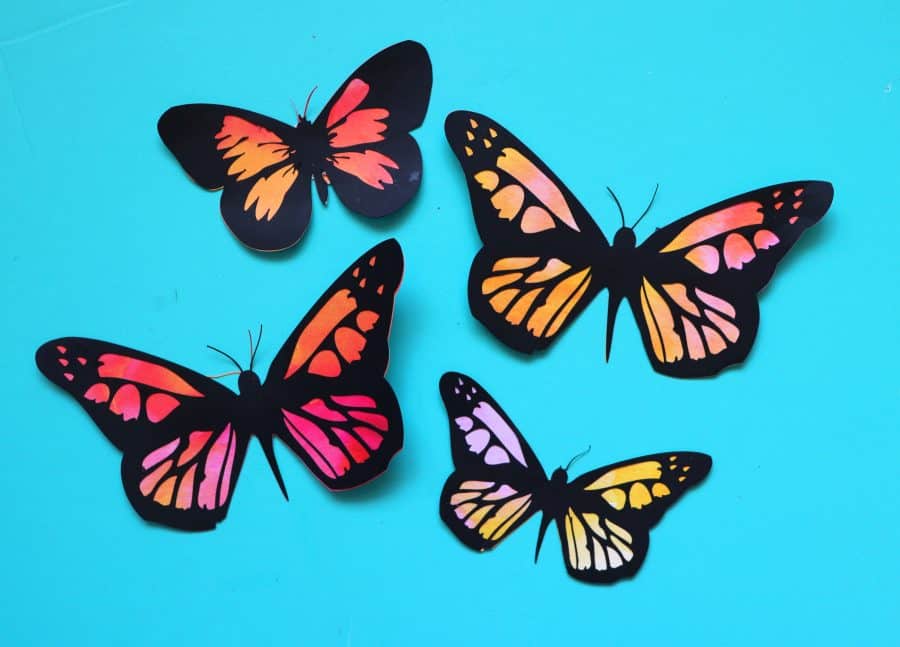
Butterflies: 45159
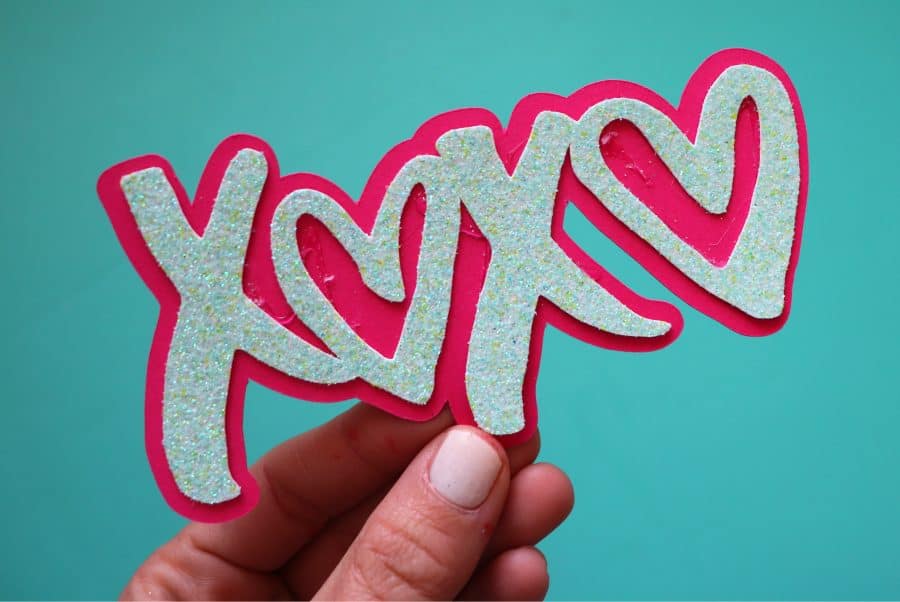
xoxo: 118205
Basketball: 173701
feathers: 311528
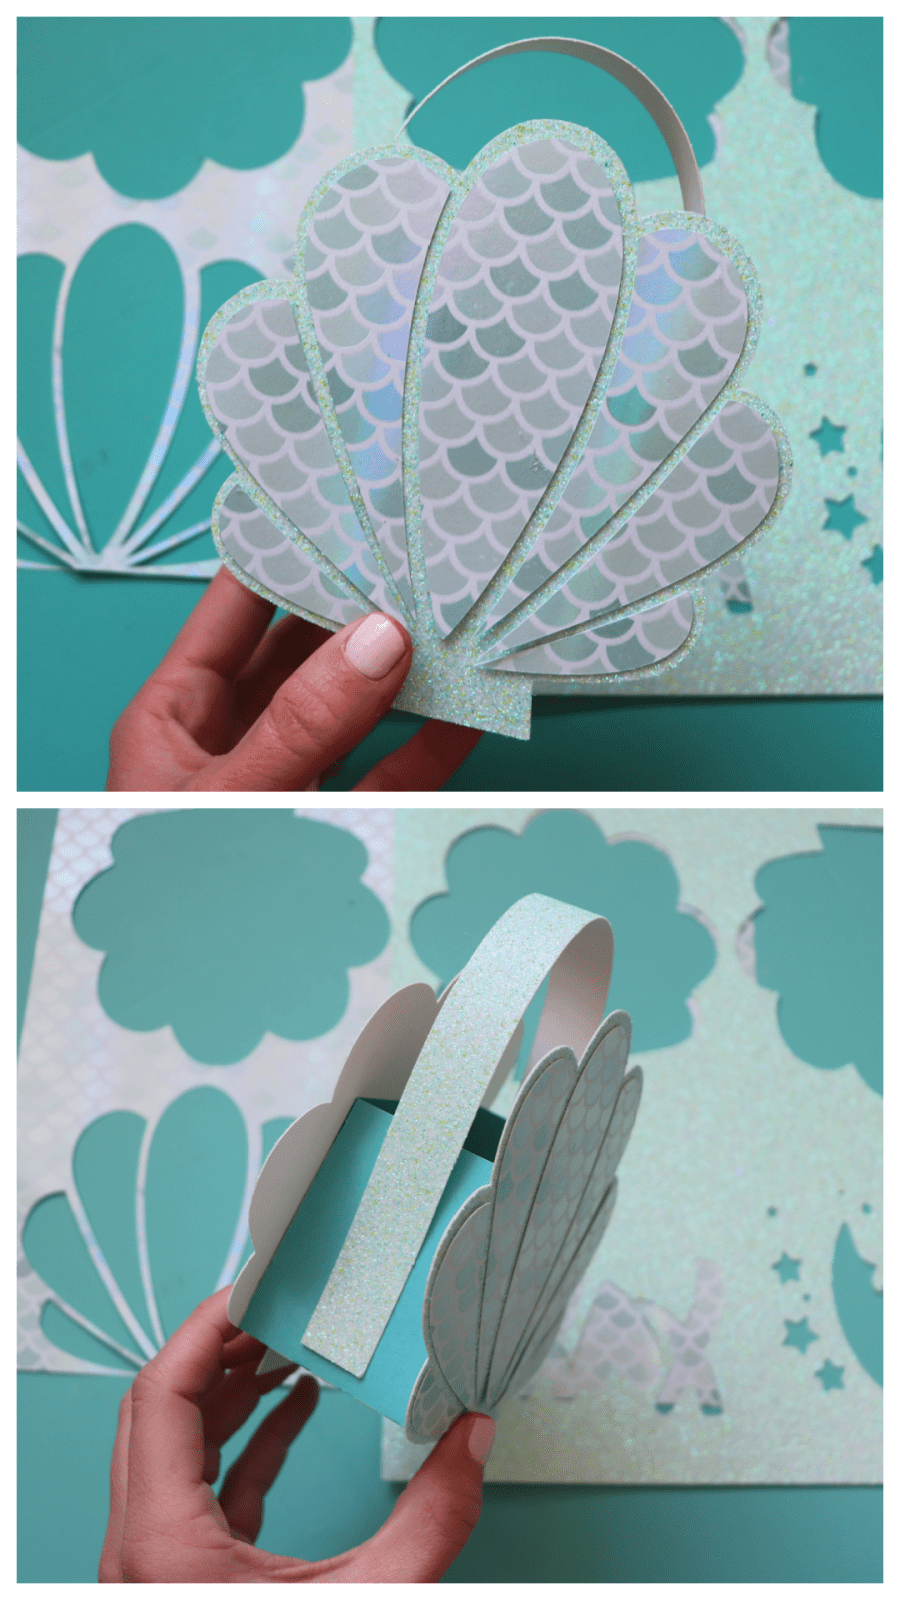
Shell bag: 319489
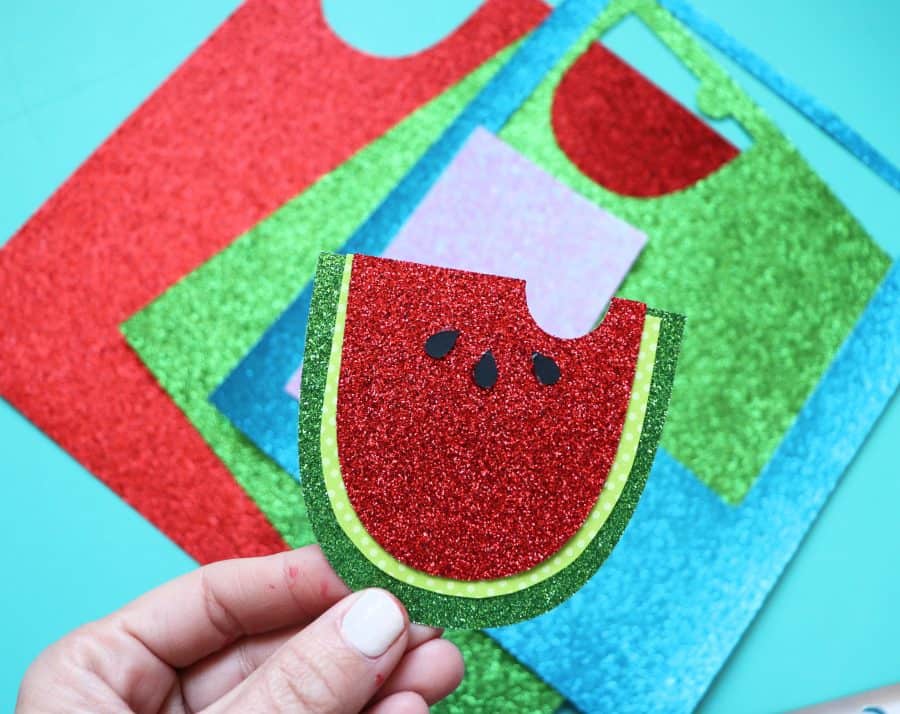
Watermelon: 61254
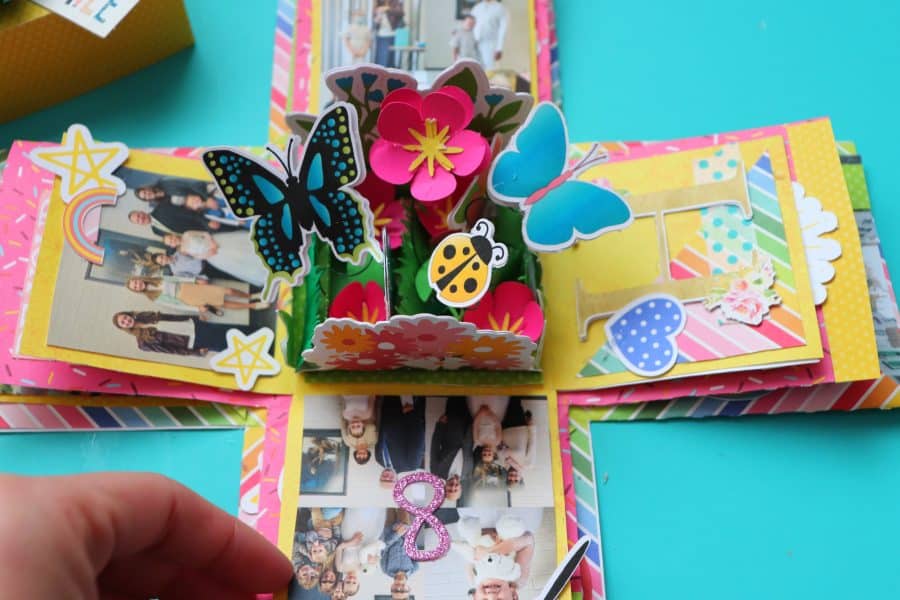
Explosion box: 238987
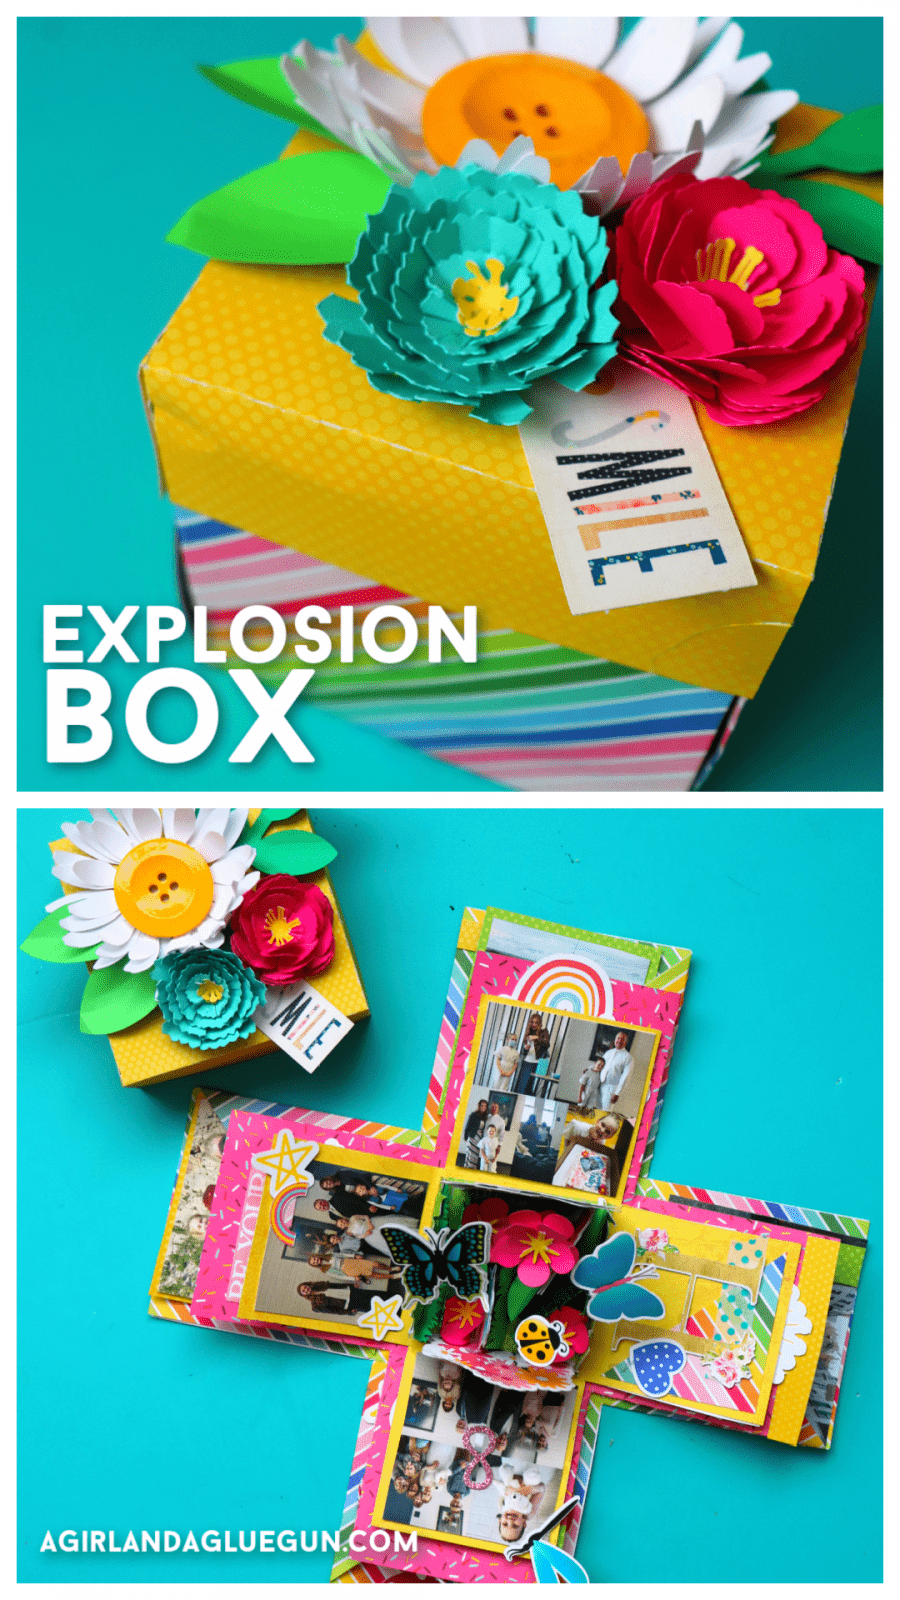
These are so fun! Pull the lid off and layers of fun pictures and quotes!
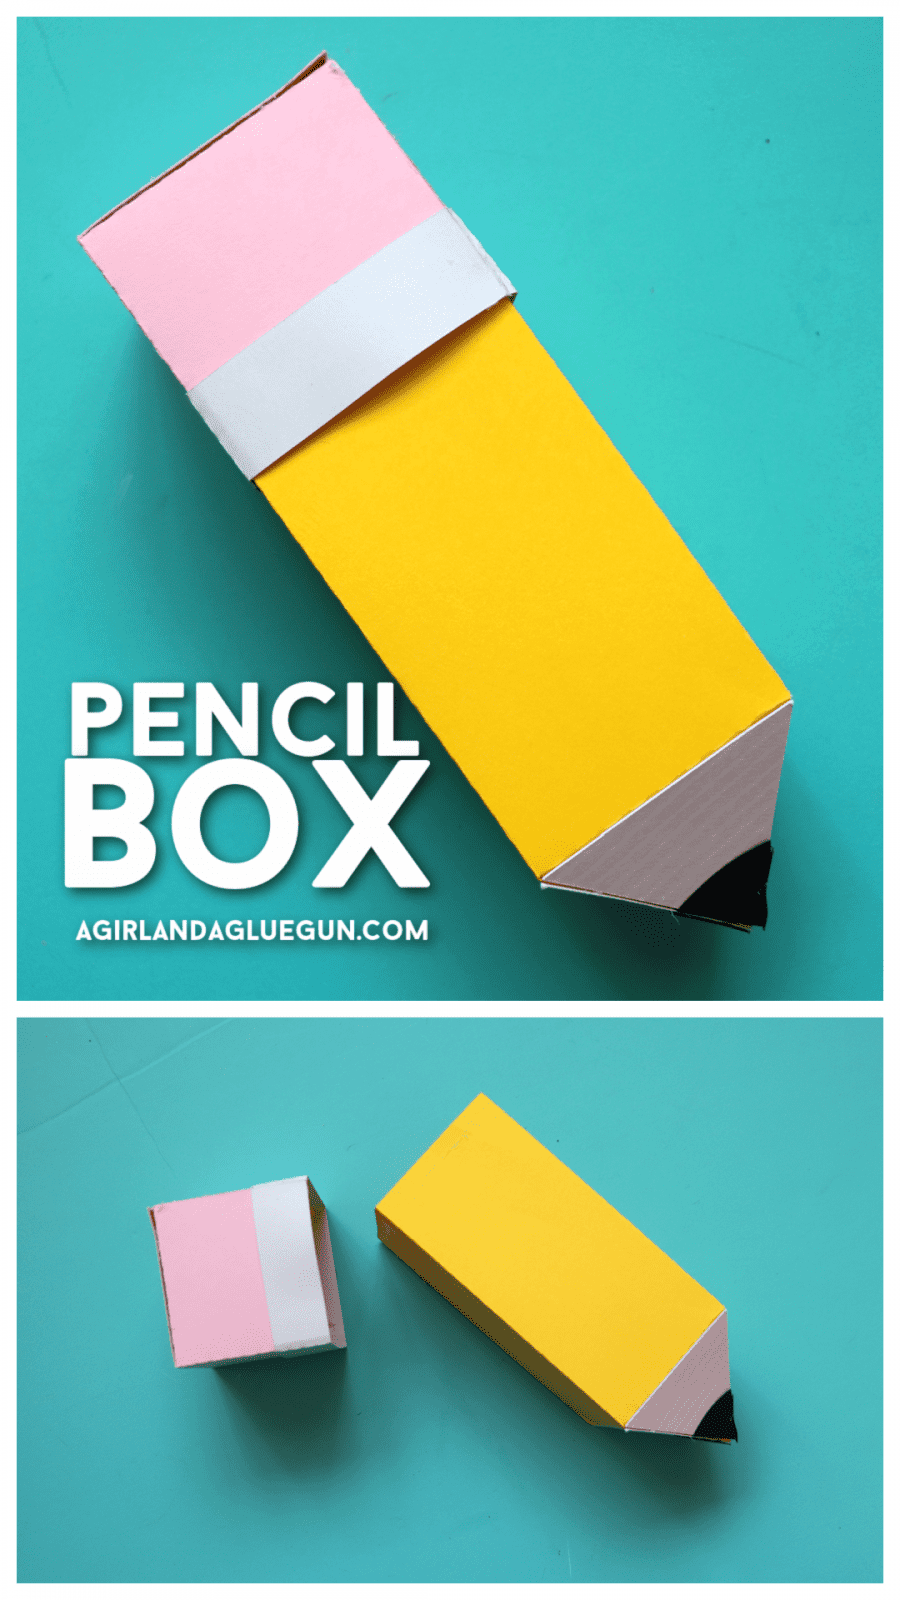
Pencil box: 64599
You can also go here to check out my fun Strawberry gift idea!
Leave a Reply