
This post may contain affiliate links
This is the question I get asked all the time–How I create my free cut files! I’m sure there are more than a few different ways to do it…but let me show you my ABSOLUTE FAVORITE way! (and sadly…this is the more expensive way than the way I used to do it.) But if you are serious about cut files –INVEST in yourself! I splurged and bought this for myself last Christmas and it’s has literally been my favorite thing!
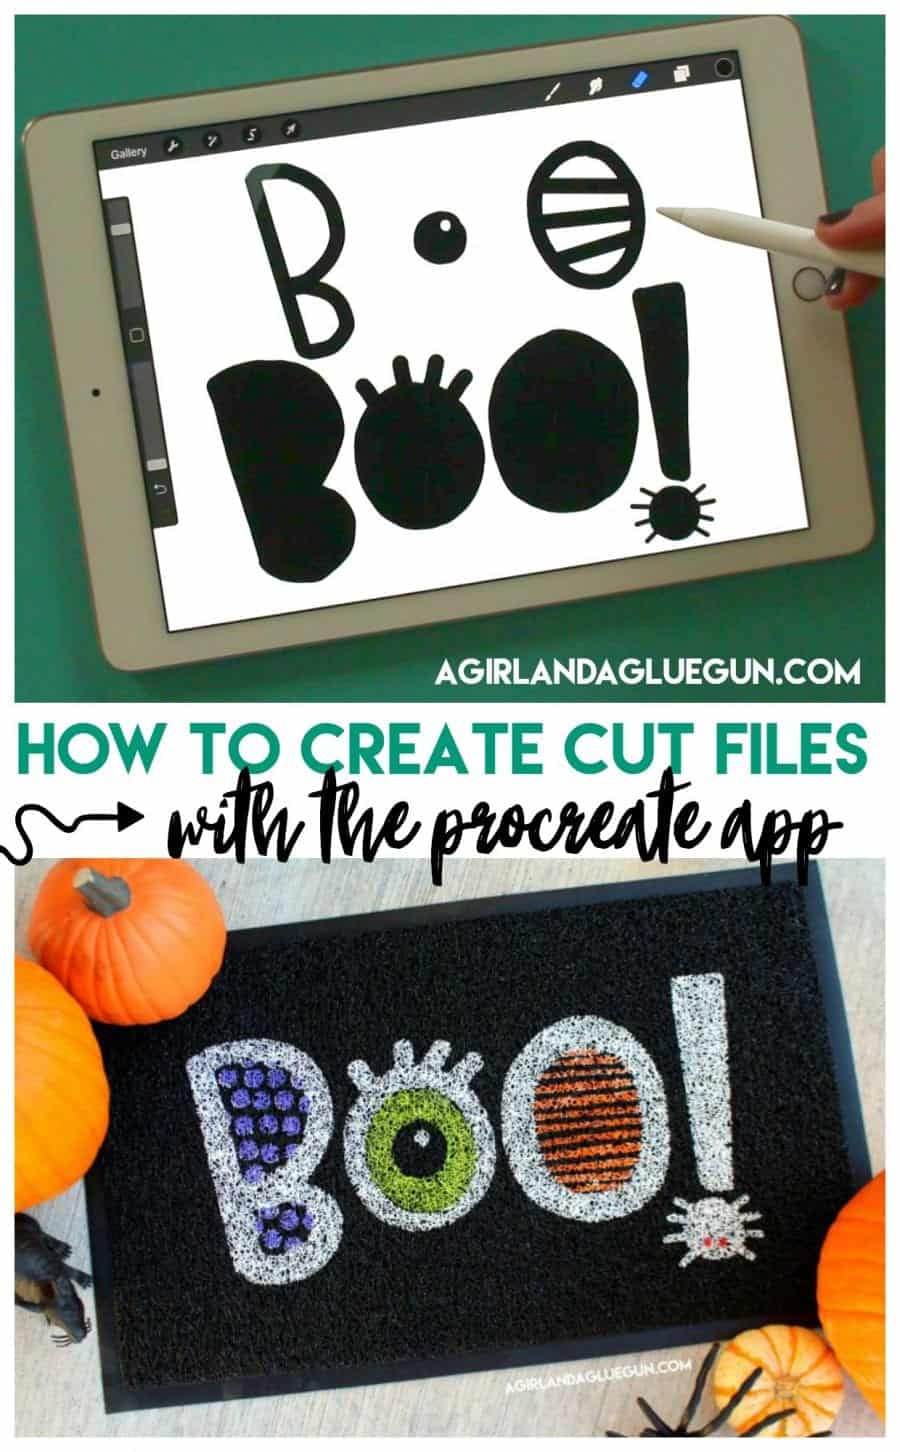
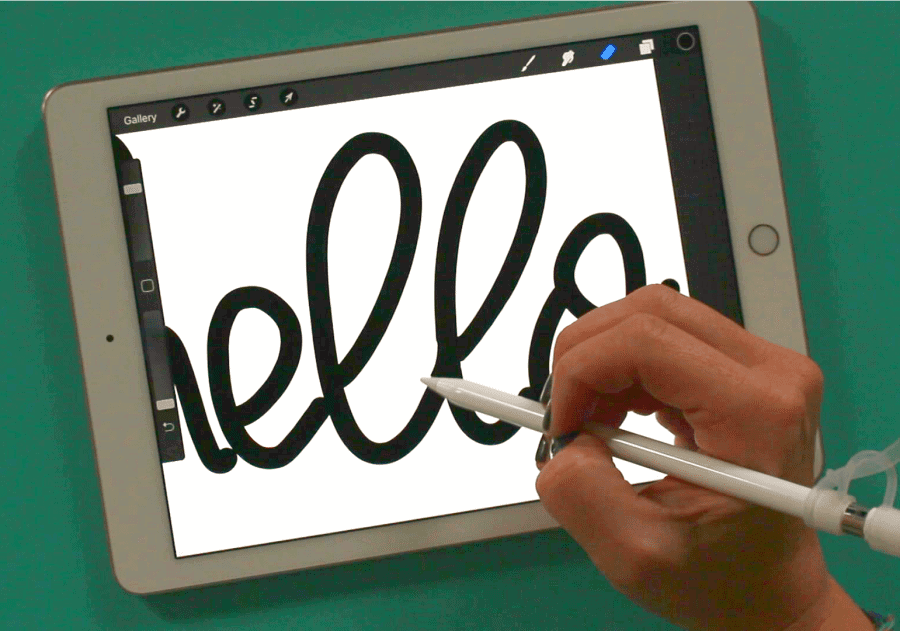
I create all my free cut files using my ipad Pro, My ipencil, and the Procreate App.
You can play around with the software using any ipad and stylus…but the ipencil really makes the difference in nice tiny little lines and smooth edges! Luckily…the Procreate app has lots of amazing tutorials and how tos and forums. BUT…since you can do SO MUCH with this app…I got overwhelmed easy! So I put together a basic run down of how it works, and the features I use the most. I know I haven’t even scratched the surface on what it can do. There is a button that I have no idea what it does–so I’m still learning too!
I put together a video…because I can’t really explain how to use it…much better to SHOW you
Grab some popcorn and enjoy!
FYI: After I made this video…I updated the app. So it looks a little different. The buttons are still all in the same spot -it just looks more streamlined!
Like I stated in the video…I have been lettering for a long time. So I thought I would just pick up the pencil and be a natural. It was probably a whole month before I was like…boom. I got this. I remember putting it down a few times and thought…well geez…this was a HUGE waste of money! BUT KEEP AT IT! I literally played around with it each chance I could. Figured out the brushes I love…and downloaded some lettering templates to get the hang of it!
You can just insert the image of lettering guides and practice practice practice!
I have a few ones here: Free practice sheets
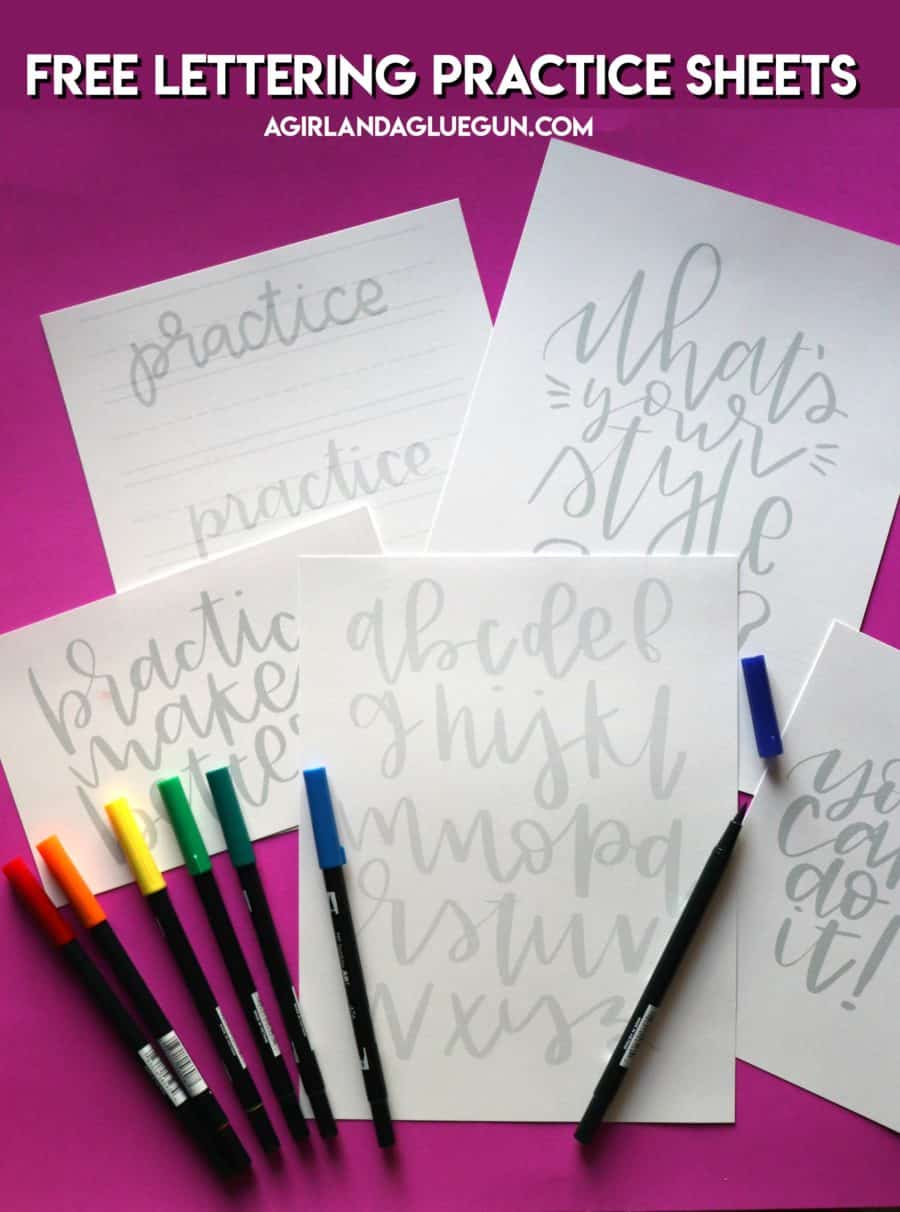
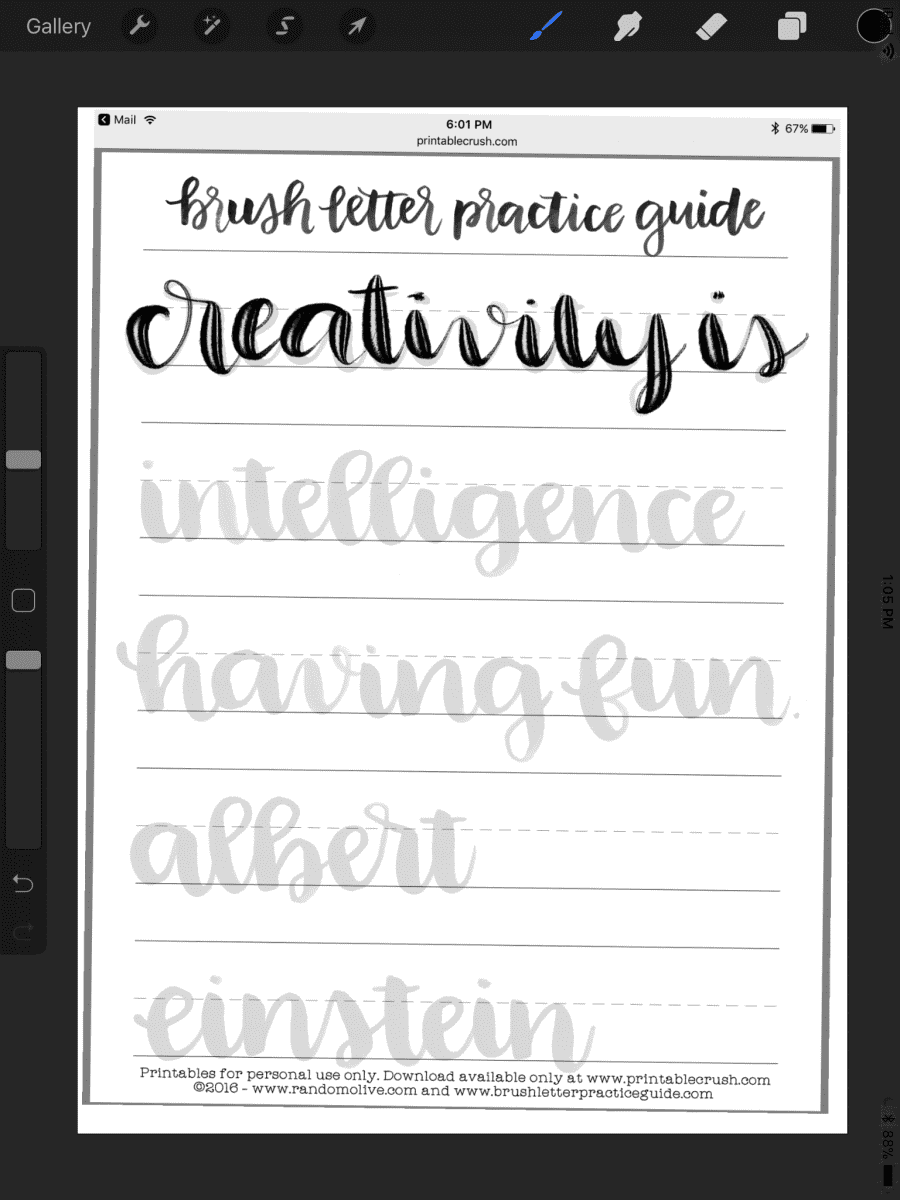
(I love this one from printable crush! )
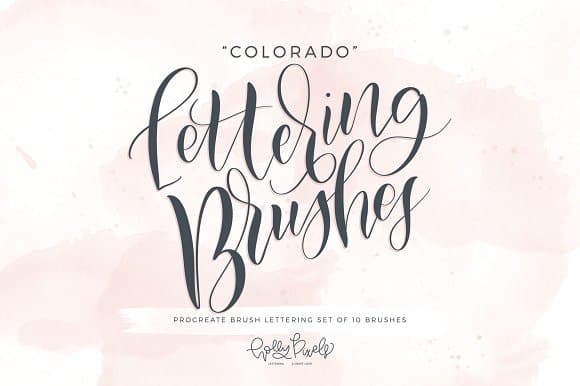
THESE are the brushes I purchased. There are 25 of them and a variety of fun options!
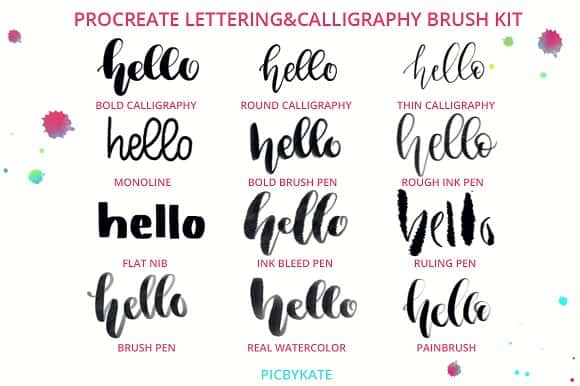
I actually use the bold calligraphy and monoline that come with procreate the most!
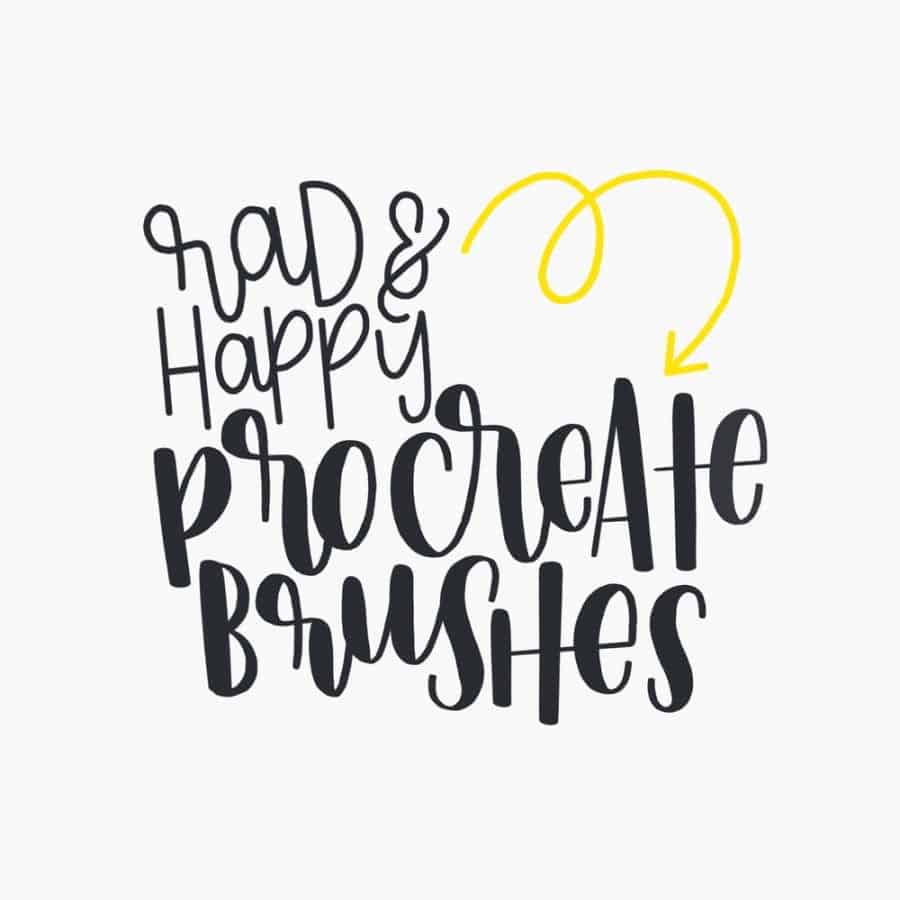
and I love these from Rad and Happy!
Now…the way I used to do it…was sketch out on paper. Ink it up with black marker and try try try to make it perfect. If I messed up, I started all over. After I had something I was okay with, I took a picture of it. I would upload it to picmonkey and adjust the exposure to make the black black and the white white. After I saved that, I would then turn it into the svg (post for that coming soon!) It totally worked. BUT , like I said, If you mess up….you start all the way over!
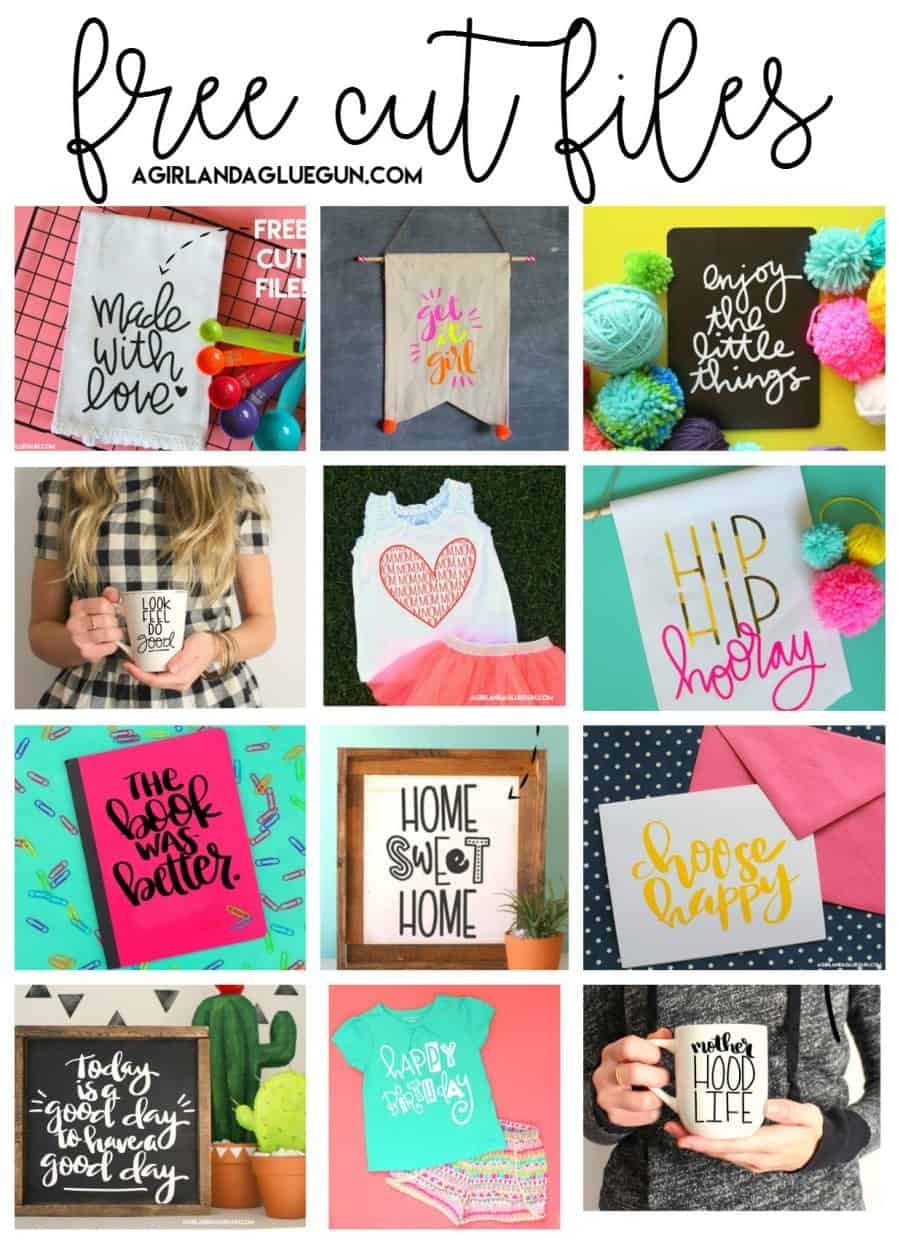
You can check out all my free cut files!
Tori says
Thank you Kimbo!! I had no idea about iPad and iPad Pro. I just bought a new iPad in June and wish so bad I’d known about this! Cause I didn’t get the pro :/ I’d love to make my own printables, cause ya know, I need to add ONE more craft to my hobby list!! I think I drive my husband crazy with it all! Crochet was my last “new” hobby and it has quite literally taken over the house. Yarn stash everywhere! Haha! But there’s paints and Cricut supplies aplenty too ?