
Beauty and the Beast is my favorite disney princess. She was the first one with brown hair, loves to read, and being isolated in a big castle sounds IDEAL! So I can’t wait to see the new movie! We are actually planning a trip to Disneyland this year (my kids have never been! It’s a tradegy!) If you are a Disney fanatic and are planning a trip –make sure to check out Get Away Today! They have great deals and seriously takes the stress away from planning trips!
A few friends and I thought it would be fun to share some Beauty and the Beast ideas as part of a blog hop. We’re all so excited about the new movie and we wanted to give one lucky reader a chance to take their family to watch the movie with a $100 Fandango gift card! This giveaway is sponsored by the following bloggers, so please visit each link to see their amazing Beauty and the Beast inspired ideas.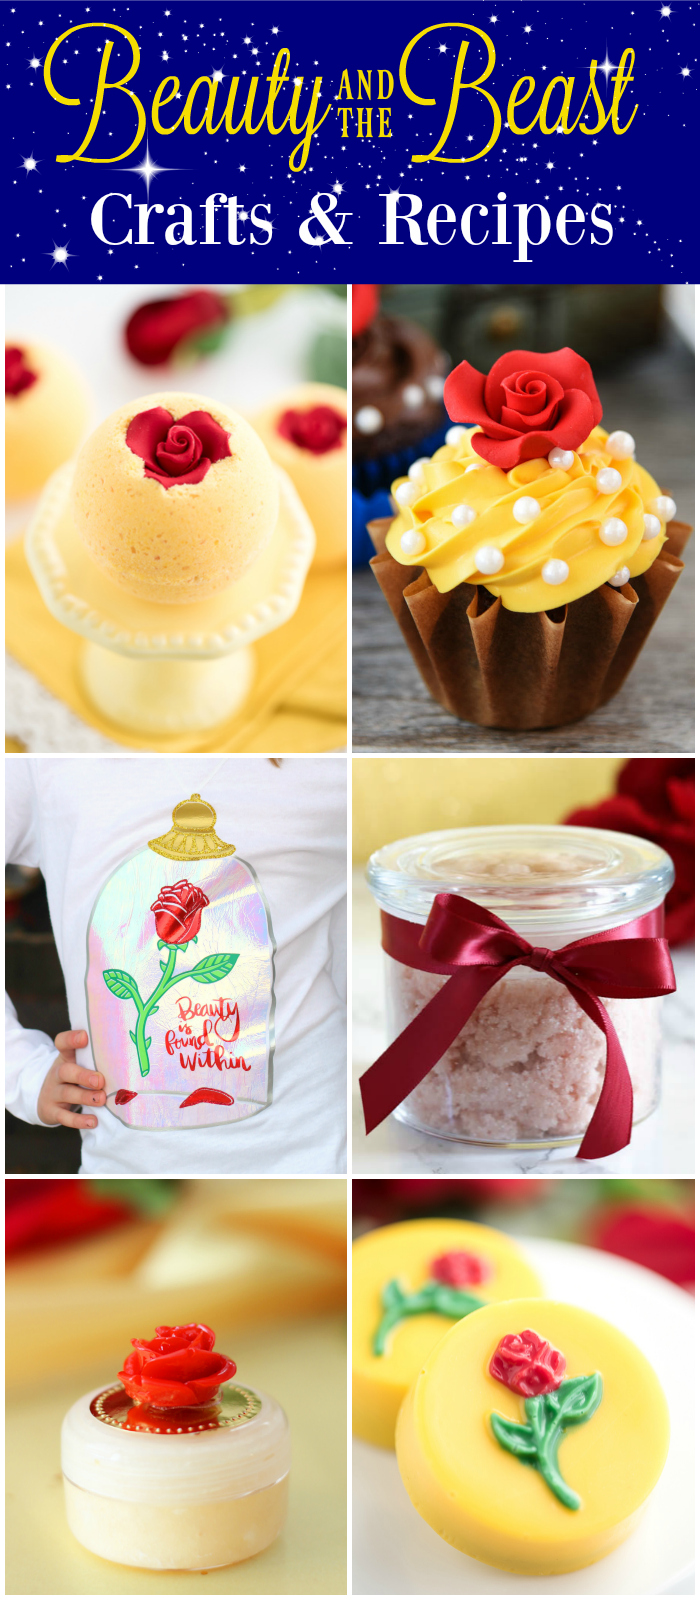
Beauty and the Beast Bath Bomb from A Pumpkin & A Princess
Beauty and the Beast Cupcakes from Cupcake Diaries
DIY Enchanted Rose T-Shirt from A girl and a glue gun
Vanilla Rose Salt Scrub from Girl Loves Glam
DIY Lip Gloss from My Sister’s Suitcase
Beauty and the Beast Cookies from A Pumpkin & A Princess
To enter use the Rafflecopter below. You can earn extra entries by pinning the collage image of our projects once a day. Giveaway ends 3/10/17 and winner will be notified vie email. Winner must reply within 48 hours.

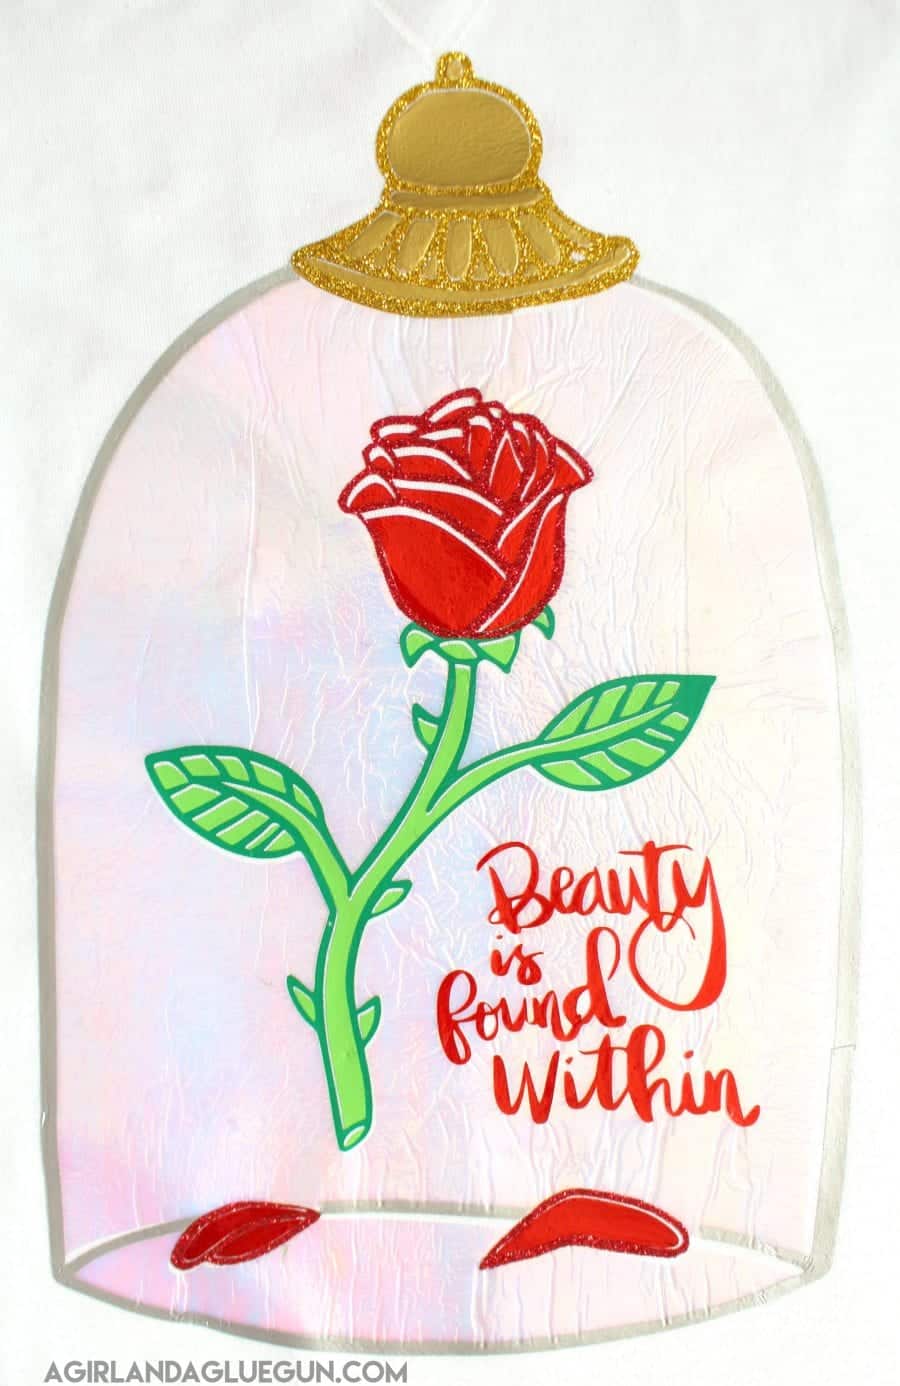
Let’s talk about my project! It’s a free cut file for this disney shirt!
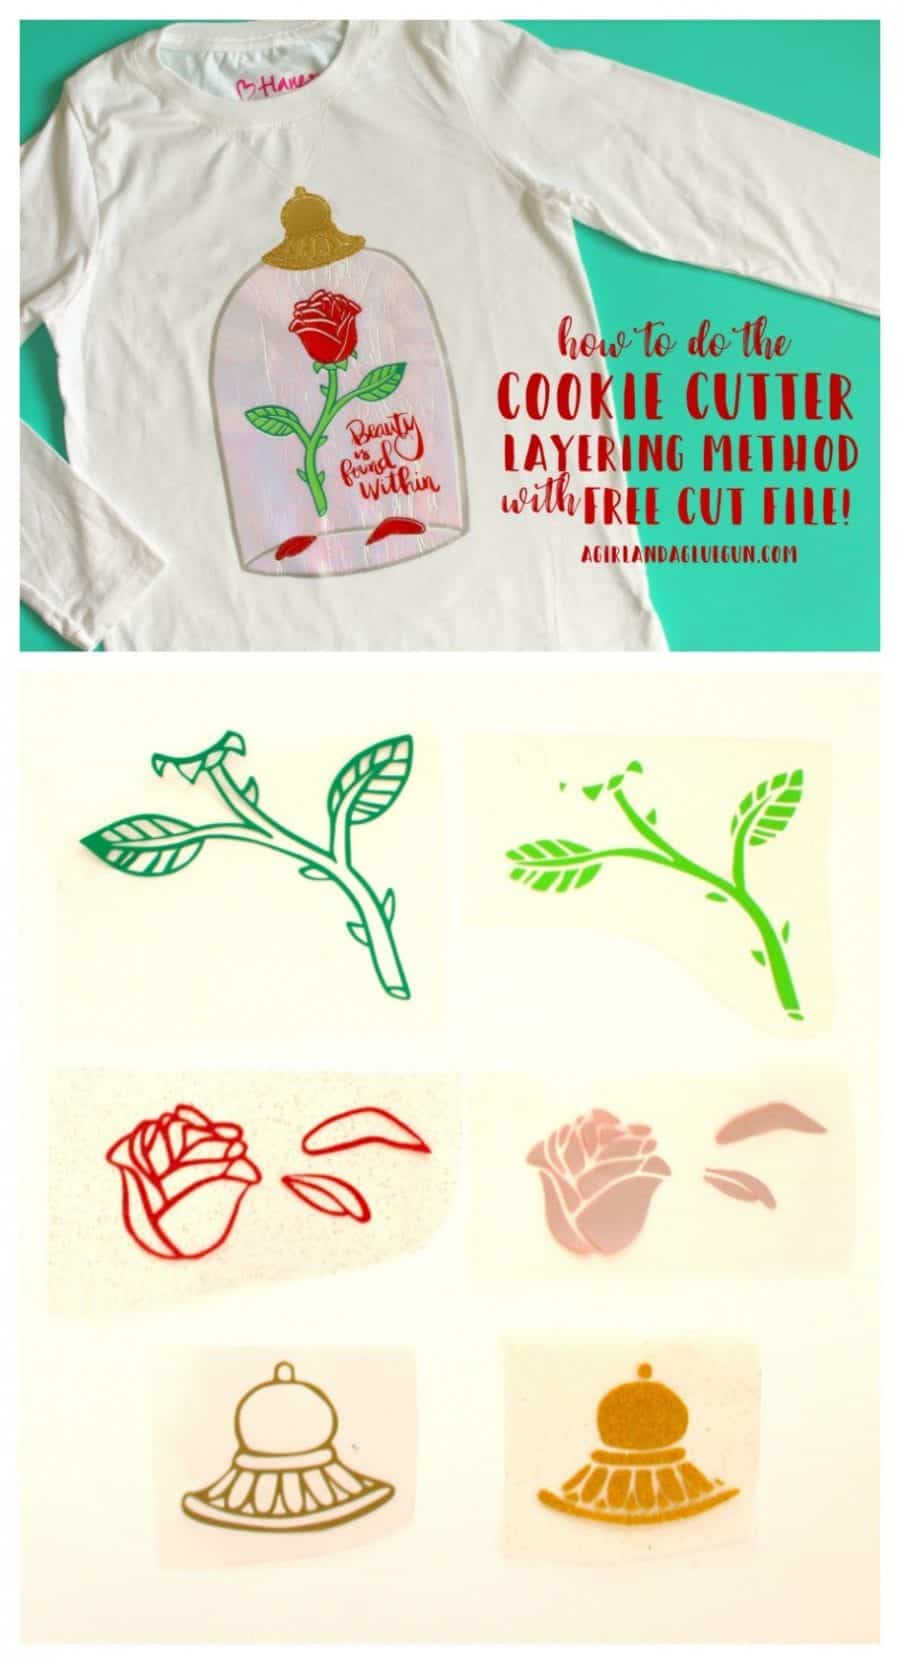
Plus a tutorial on how to the cookie cutter method to layer your vinyl! some vinyl can’t be layered on (like the glitter) and sometimes If you have multiple layers it can look bulky…so this method helps with both!
By the looks of it, You would think I was making a Christmas craft! Such pretty vinyl! (I get all my vinyl from Expressions Vinyl. The green, silver, and the non glittery gold are easyweed. The red and gold sparkle are GLITTER!!! The other red is electric! Super shiny! and the back main piece is holographic in pearl. It catches the light and has a glassy look to it.  (You can grab the free cut files down at the bottom.) When you open them up (in silhouette cameo–the cricut will be a little bit different!) I assemble them how I want. You can opt to leave off the words or make the rose bigger etc!
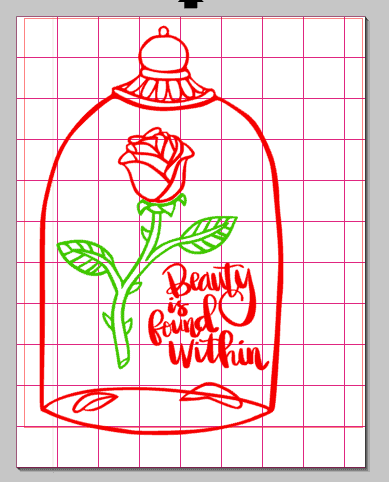
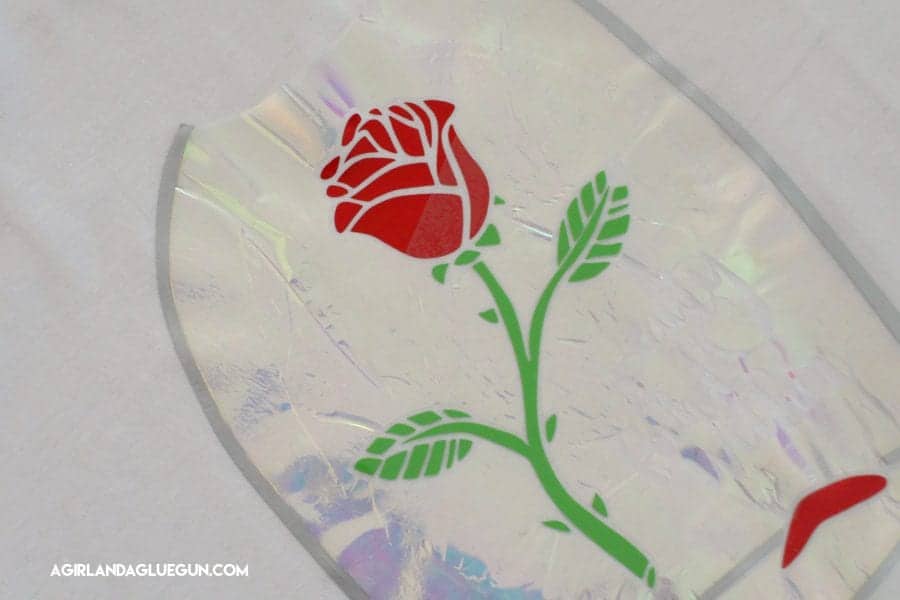
and then size them all how you want. You will want to cut two of the whole design together. The main layer is the holographic and nothing can be layered on the holographic so where all the flowers and words are going to be, needs to be cut out. The second cut will be the thin silver outline.
If you notice–My vinyl has a light and dark of each color. One is the outline and one is the filled in part. 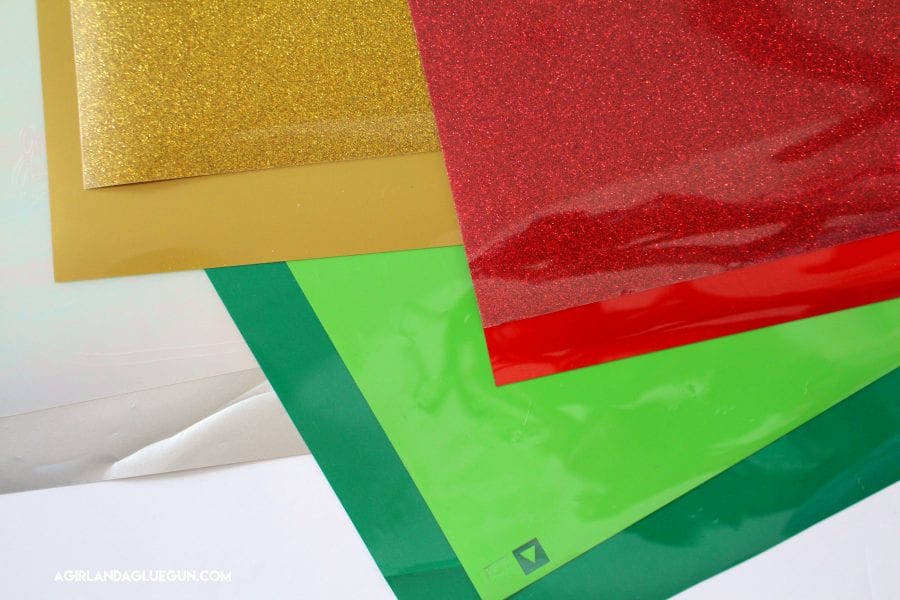
Then, without resizing anything. I pull everything except the rose and cut two of it. 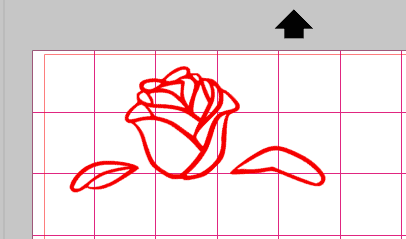
and then pull off everything except the stem and cut two of that. 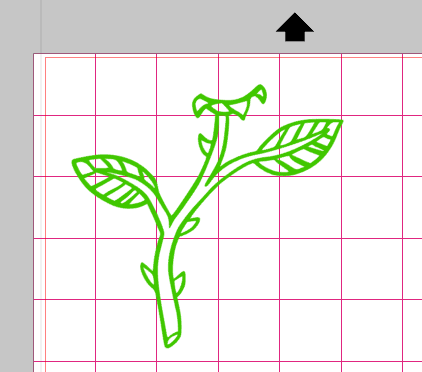
and keep going until everything (but the words) has two cuts.
Since I’m using so many different types of vinyl–each cut setting will be different because of the thickness. Make sure to check the machine settings HERE for each type!
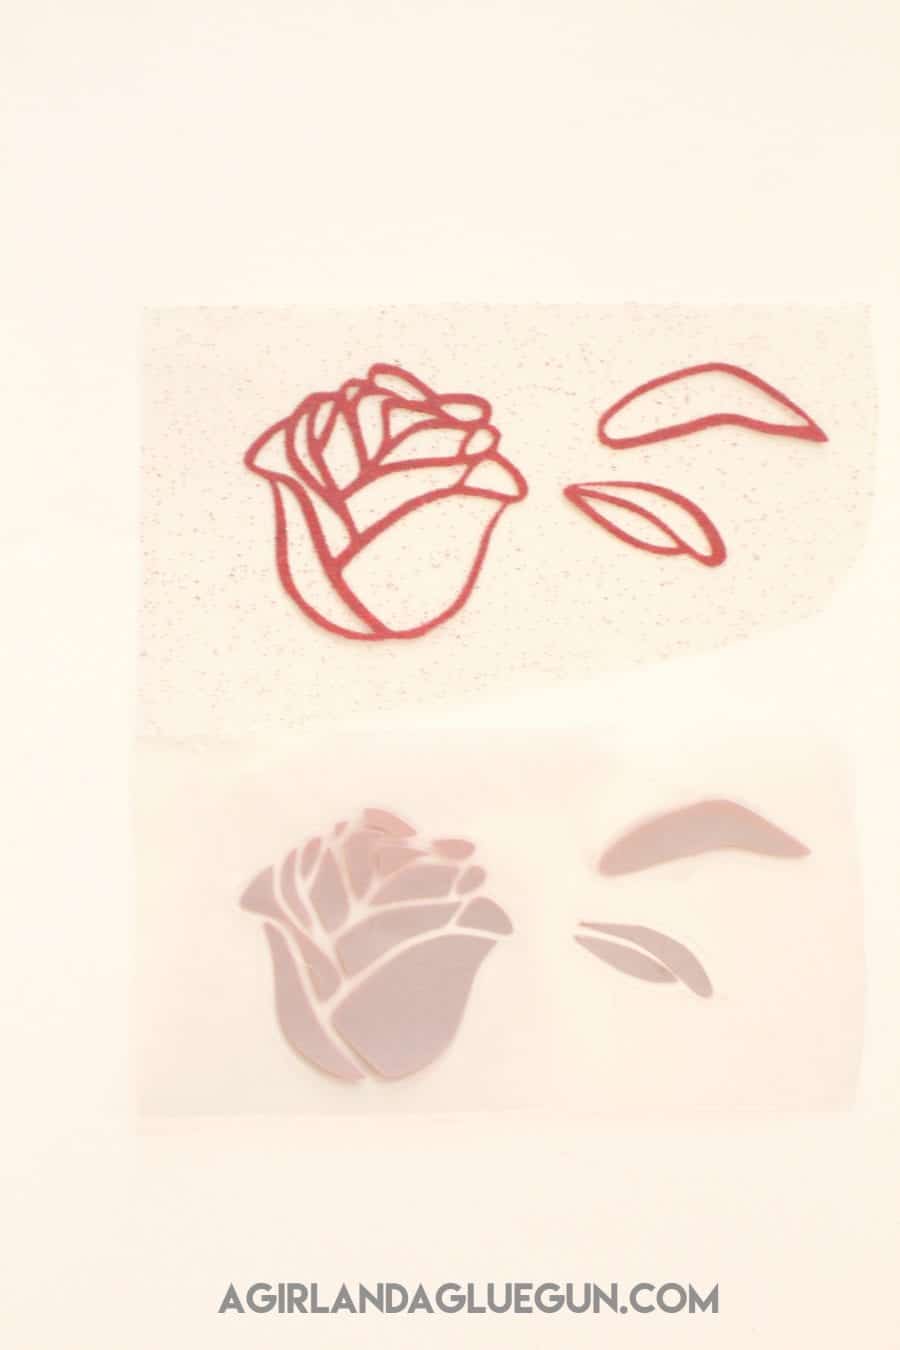
Then weed. You will want to pay attention to what you are weeding. I weed the outside of all the pieces, and then on the dark (since it’s the outline) I weed away the middle and on the light green, I weed away the outline.
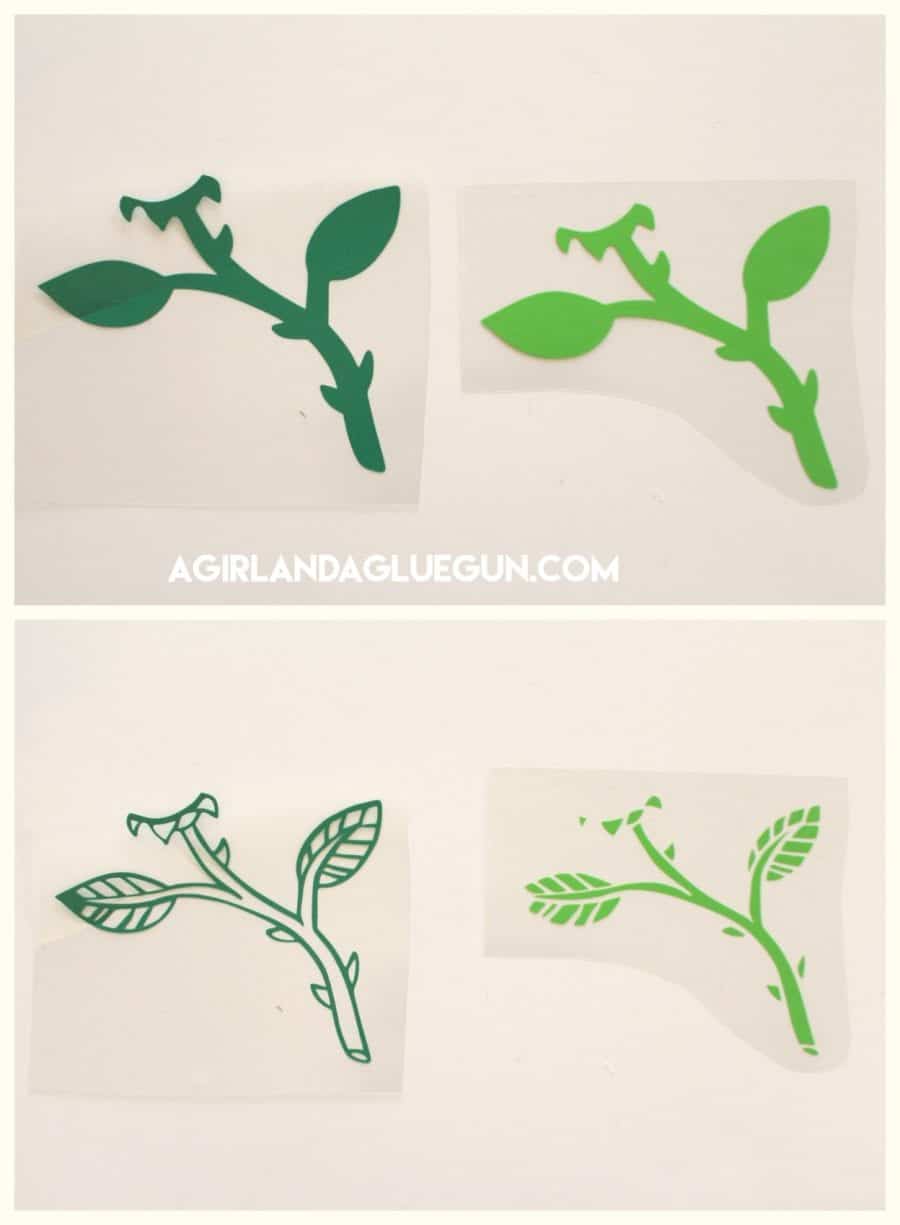 etc etc etc! For all the pieces. The most tedious part is the holographic because it has EVERYTHING you need to weed away. all the inside pieces.
Grab your project and your vinyl pieces and lets assemble. Since each layer has a carrier sheet over it…You have to do this part in steps. I iron on my holographic vinyl first and use it as a guide to know where my other pieces go. The only problem with holographic is that is has to be a cold peel. So when ironing on each layer you will want to let it cool a little bit or it will start pulling up the holographic. So holographic piece is on, peel off carrier sheet and lay down the red layer. I place that big carrier sheet over to protect all my layers and iron the red flowers on. (I also tried to iron on smooth pieces of vinyl FIRST….the glitter is pretty thick so It should go on last.)
ALSO…I’m not pressing for the whole time….just long enough to get it tacked down. I do one final press at the end.
Peel up the red carrier sheet and add green.
It takes some time…but it’s so fun to see it come together. You just place your pieces (like a puzzle) and fit them in place and iron them down. 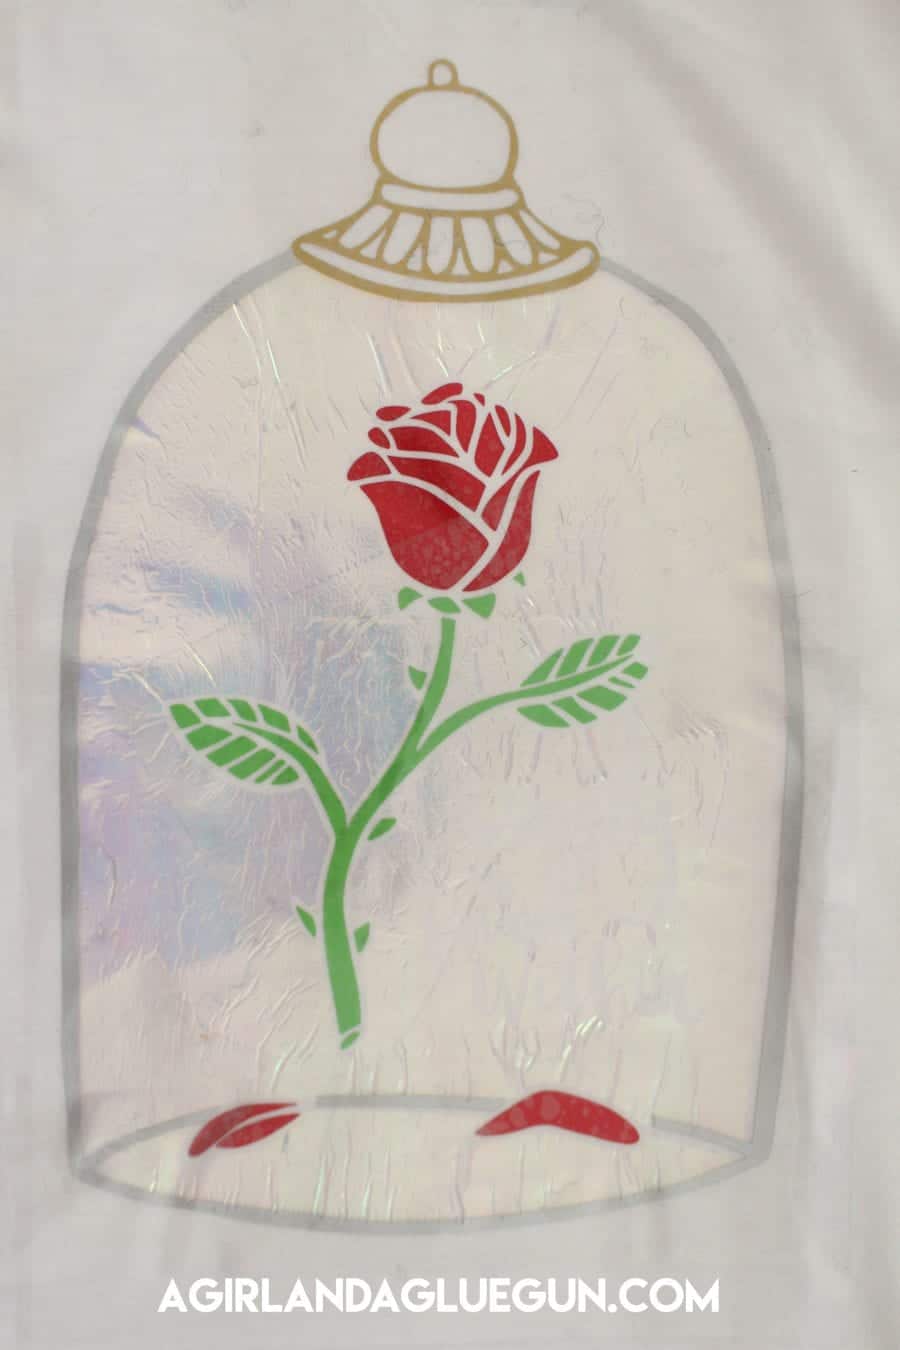
After all the pieces are on, I do one BIG PRESS for a full 15 seconds with my iron. (PRESSING FIRMLY!) Still using the big leftover carrier sheet! 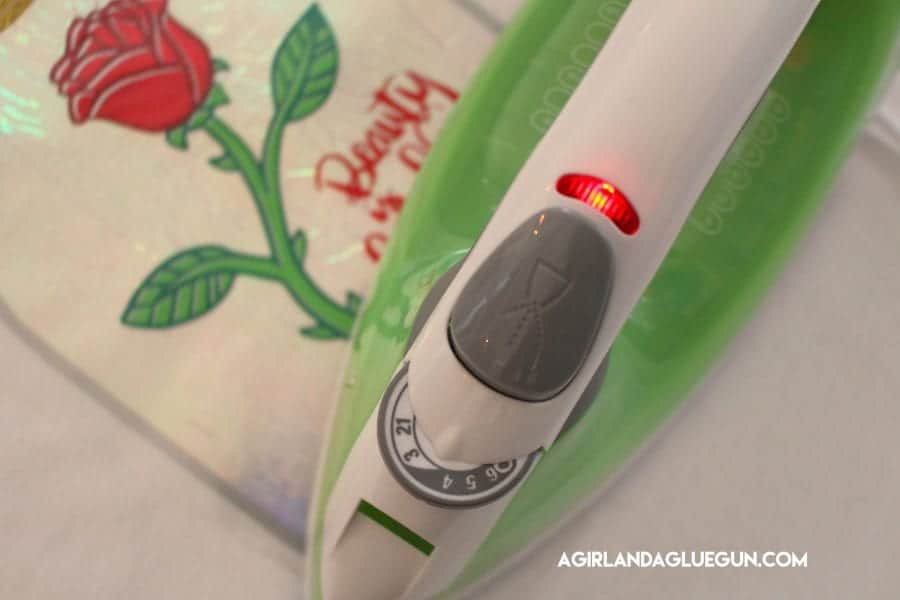
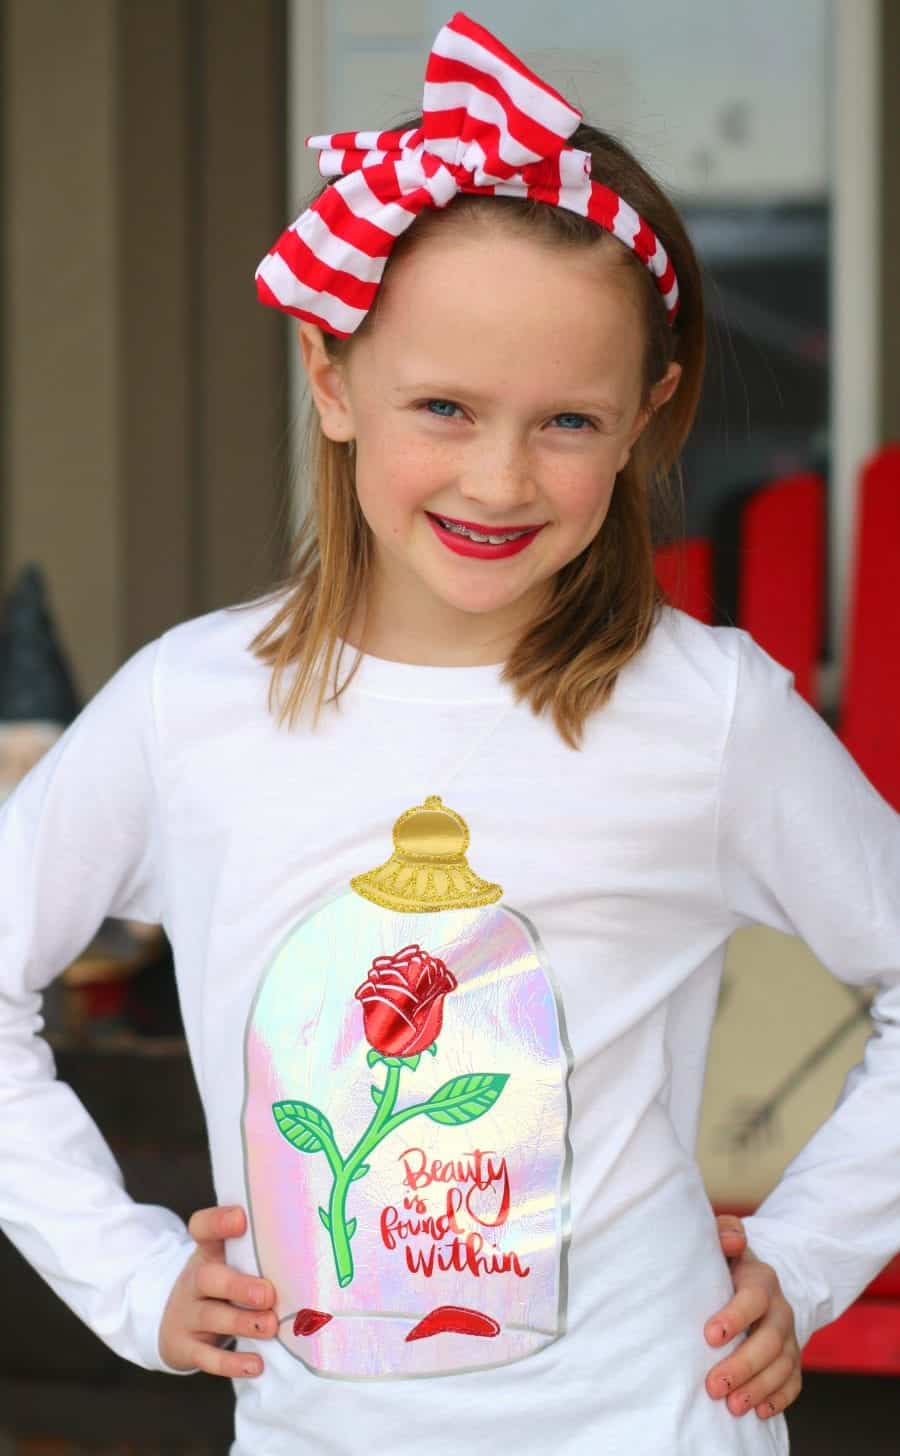
and peel off the carrier sheet to reveal your awesome new project!
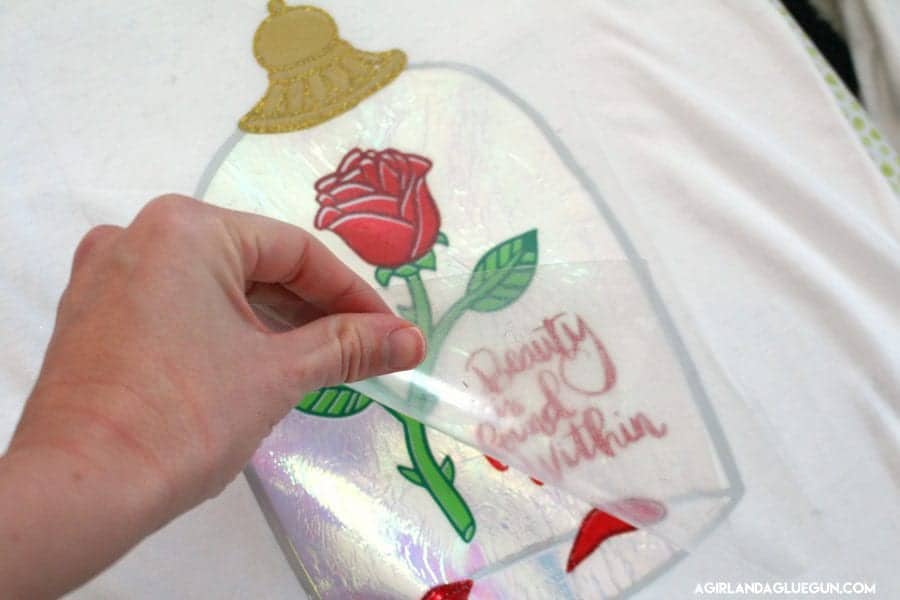
One thing to note. Iron on vinyl shrinks a little when applied to your project. It’s not really noticeable on most things..but that is why the red flower doesn’t quite match up….although I did like the pops of white in there. It must have been that electric red vinyl that shrunk up more than normal!
Daughter is currently wearing it to school! She was so excited! 

Here are the free cut files
SILHOUETTE CAMEO FILE HERE
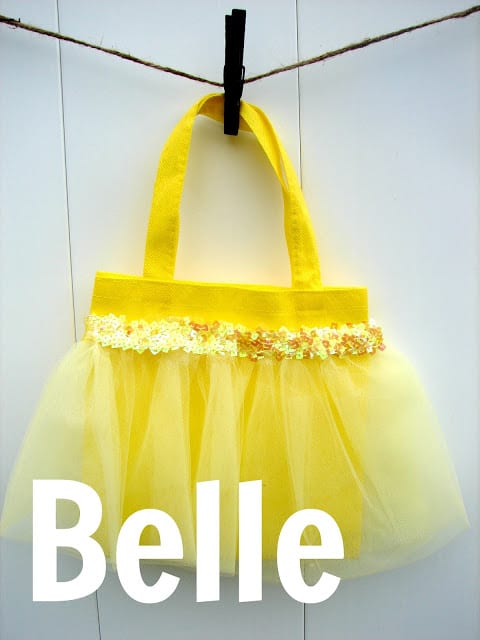
You can also check out this fun princess bags made with hot glue post!
Remember–If you are looking to book a fun trip–check out Get Away Today!
Leave a Reply