
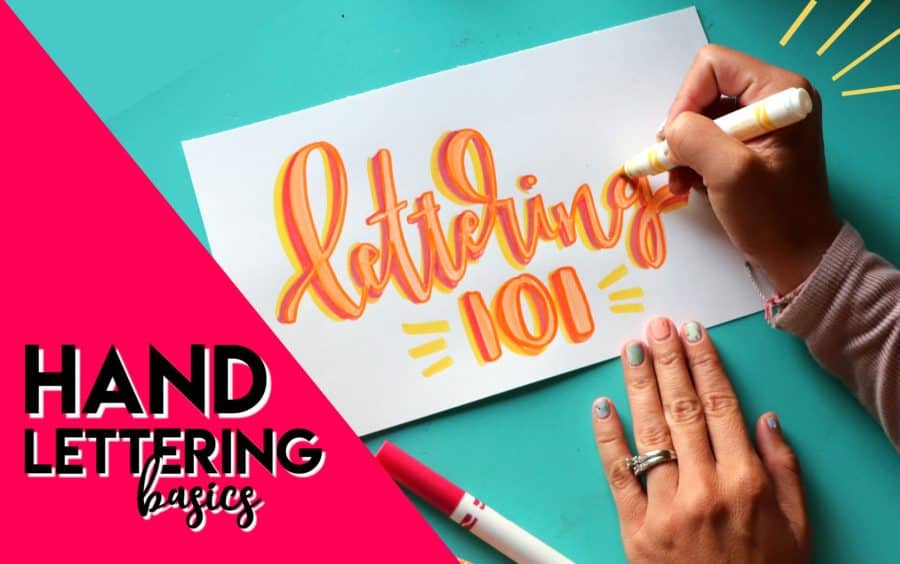
One of the questions I get asked the more is how do you start lettering! So I sat down and created a whole video going over the basics to start hand lettering! So grab your closest marker and let’s get crafty!
Here is the whole video!
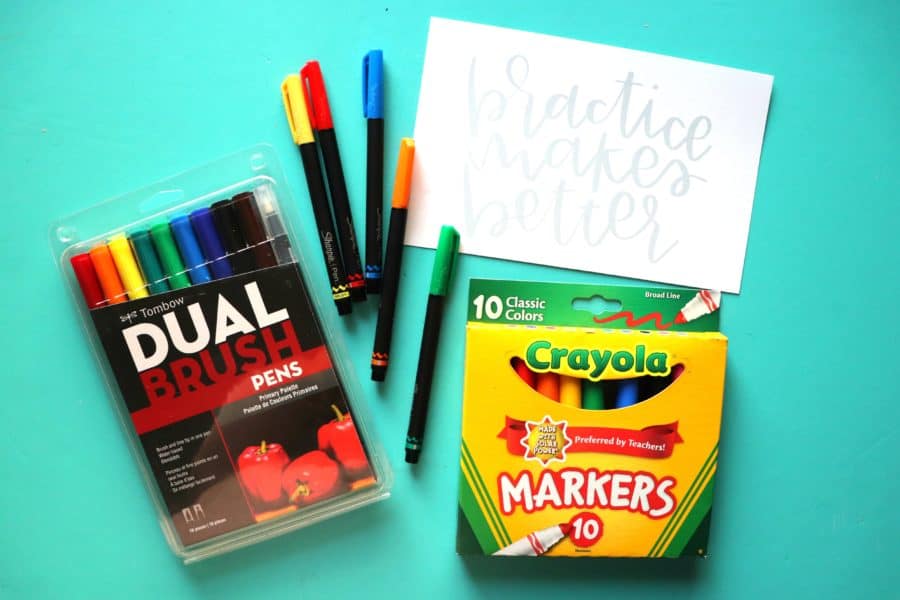
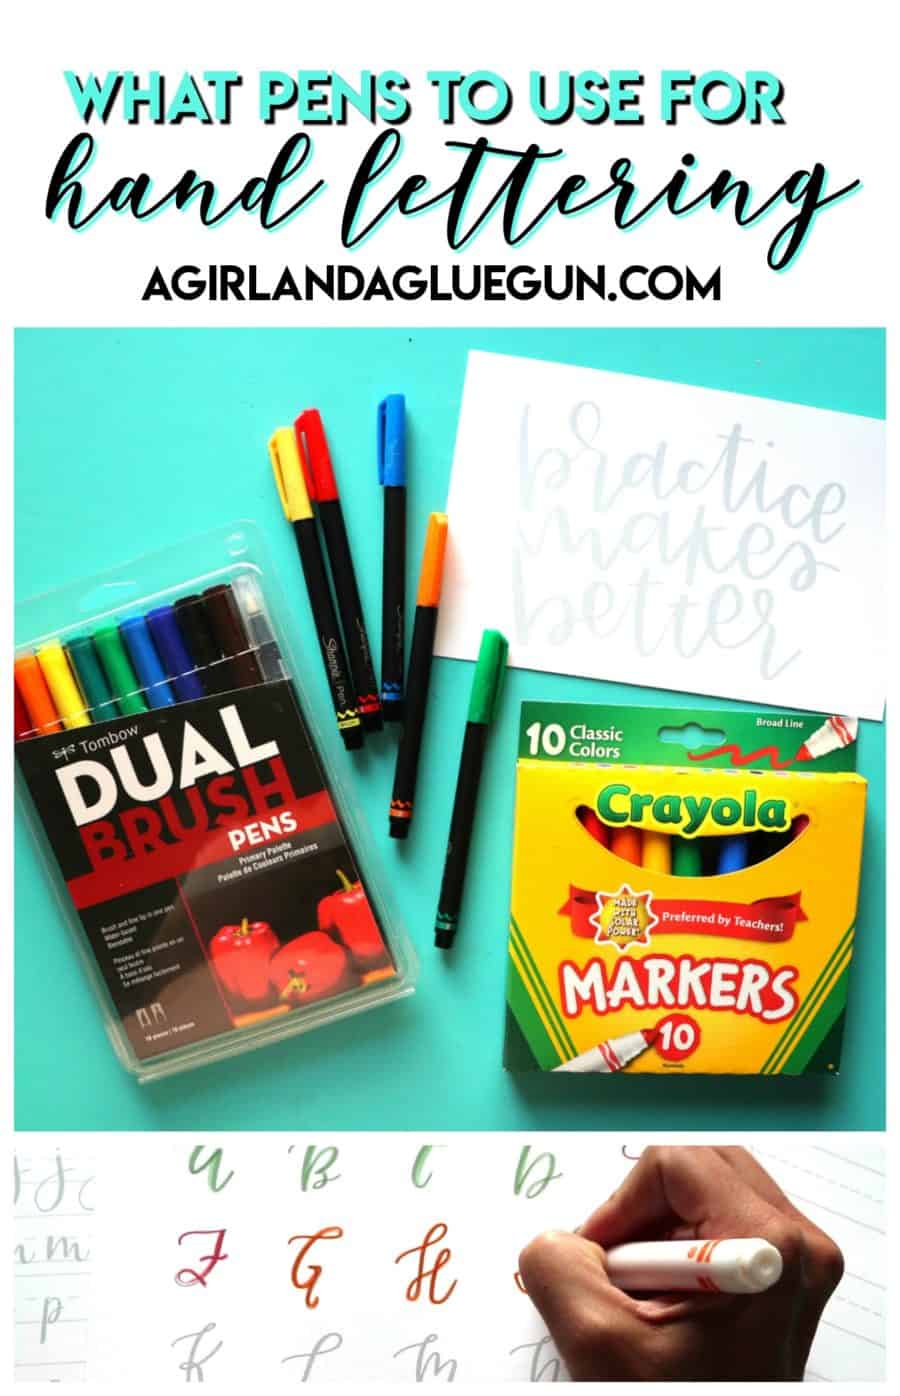
What pens to use for hand lettering!
(affiliates links!)
- Crayola markers: https://amzn.to/2X7sXOT
- Sharpie brush pens: https://amzn.to/2DgD38W
- Tombow basic color set: https://amzn.to/3fckdx4
- Tombow pastels: https://amzn.to/2X929ho
- Tombow Galaxy: https://amzn.to/3hHYsqE
- I didn’t mention this- but a notebook for practicing: https://amzn.to/2X4LY4B
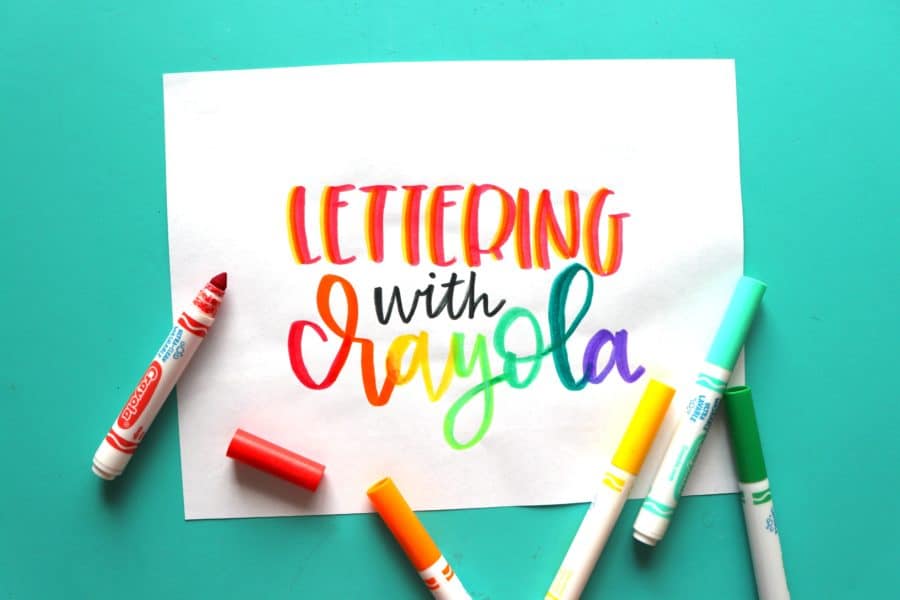
Yup. You will see that crayola is totally on that list! It is not the pen- it is the practice! So don’t let the fact that you don’t have a fancy expensive calligraphy pen! Grab a crayola marker and just start! I created this whole thing with crayola! I linked to the one with all the fun colors cause that’s my jam.
I would like to mention—there are LOTS of brush pens. an Overwhelming amount! I stick with what I know because I would spend my whole grocery budget on trying them all out or buying all the colors in them!
Hand lettering step 1
You are going to need some practice sheets!
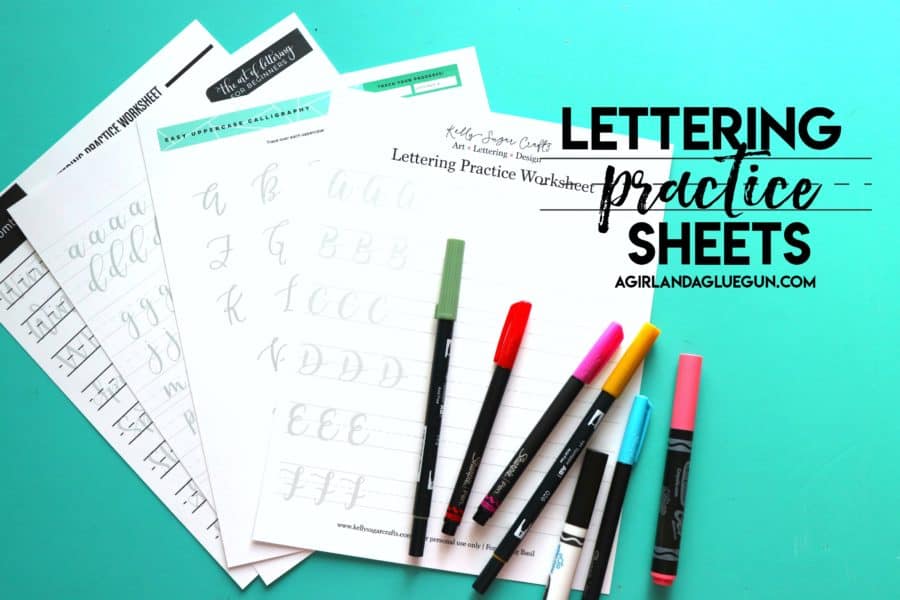
Lettering practice sheets are a good way to get the feel for the pens! You don’t have to think about it- Just trace. The basic rule is thin up strokes, thick down strokes.

Just because it can be overwhelming- here are some of my favorite free hand lettering practice sheets!
FREE LETTERING PRACTICE SHEETS
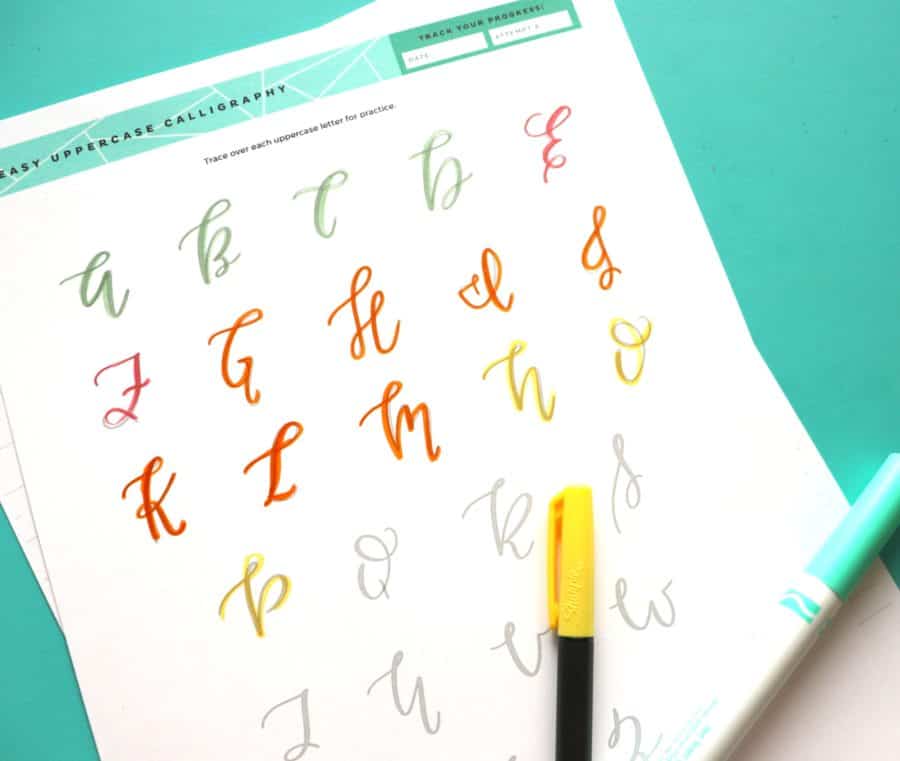
The one I use in my video is this gorgeous abc one from printable crush!
Alphabet from Kelly sugar crafts
Alphabet and practice quotes from me!
Alphabet sheets from homeschool on
Free practice sheets from Dawn Nicole
Practice quote from printable crush
I also have a lettering themed pinterest board!
Hand Lettering Step 2
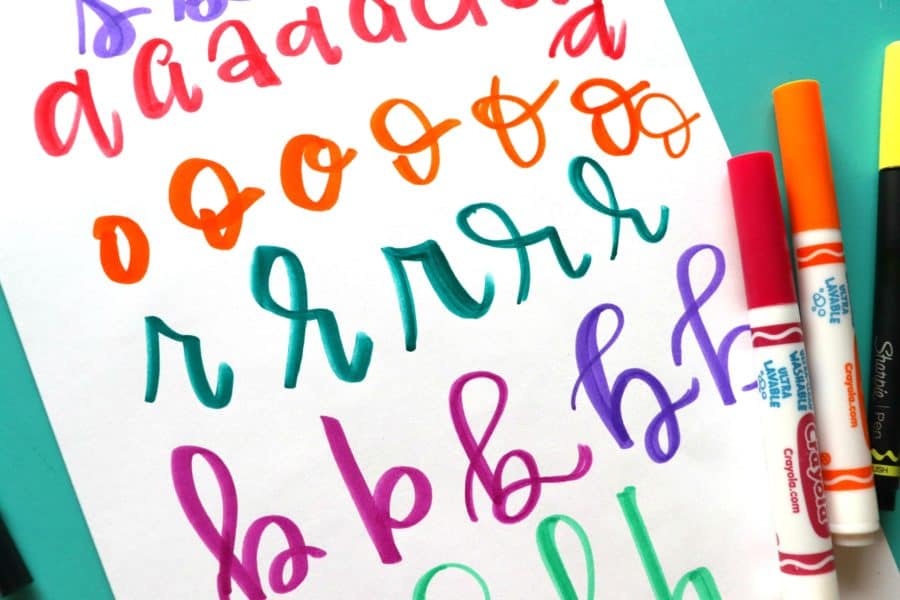
Finding your style

Once you are comfortable with your pens or makers or weapon of choice….It’s time to find your style. Your font. Your lettering. I literally went through a whole tablet. Pages of the same letter over and over. big swoops, small swoops. tall, squatty. I wrote words over and over again. I wanted to know how I like to write my ts, my ls, my bs. I can letter fast because I know how my y looks so it flows easily because I practiced it so much! (this is where that lettering book would be awesome to fill up!)
This is what my papers looked like:
If I felt uninspired, hated any or I mean…how do you do zzzzs? I would hope on pinterest or any lettering accounts I follow and examined their letters. I love how heidi swapp does her loops. (b, h, l, etc) . (weird right?) I love how ipadlettering does her ms and ns. So I would look at them and try them out and see what I liked!
YOUR GOAL with your finding your style is that if someone sees a sign you created, they can look at it and know it belongs to you!- think handwriting. You can see an envelope with your mom’s handwriting and know right away that it’s hers. And it’s easier to letter because you aren’t thinking about each and every letter as you write it!
Hand lettering step 3, 4, 5, 6
practice.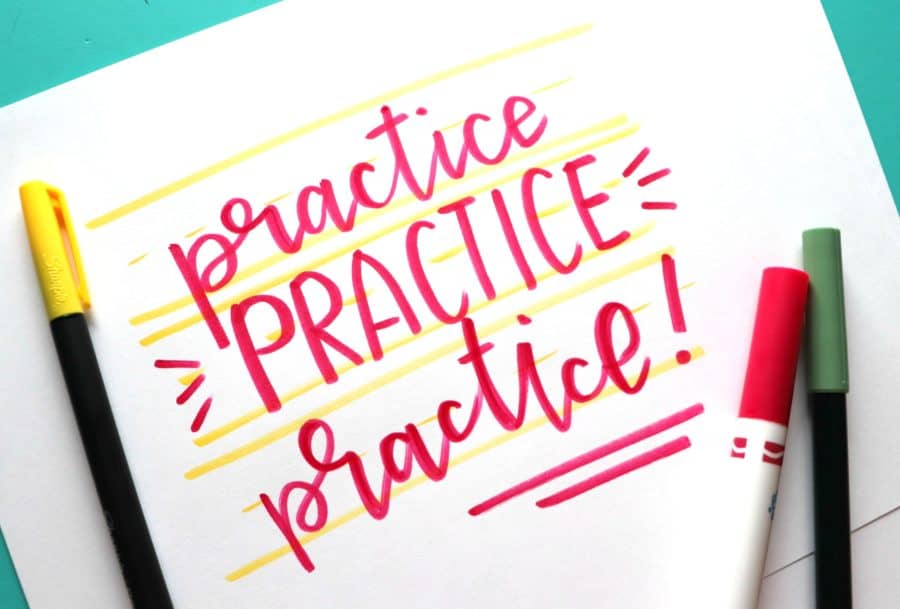
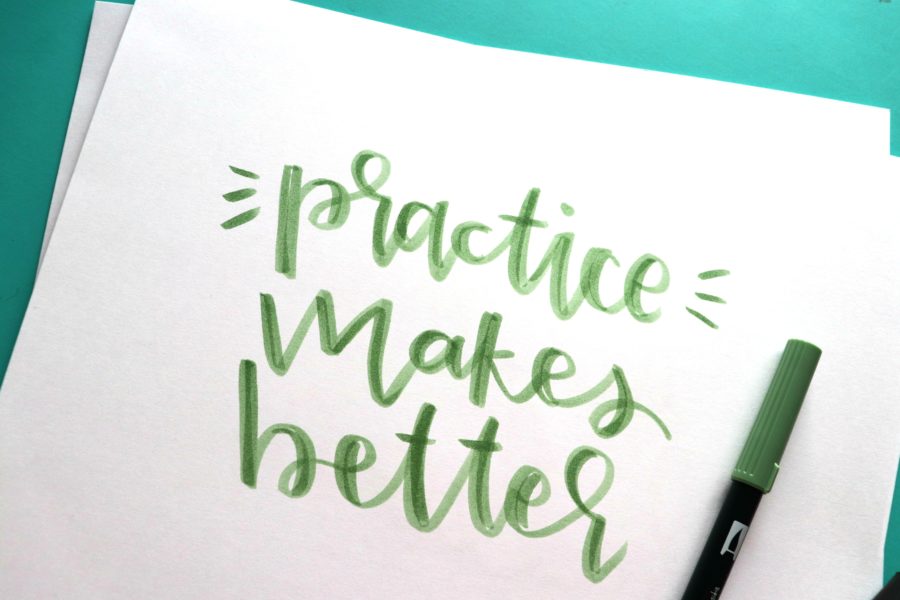
If you watched the video- you know that this word is important. You will always need to practice. I still practice. I still try out new swoops and swirls and printables I designed a few years ago aren’t nearly as smooth and pretty as now days! Practice. Practice. Practice. Write letters to your kids, address envelopes, listen to cool podcasts and write words that pop out to you! Write your favorite quote over and over in different styles. PRACTICE.
Hand lettering HAVE FUN
Let’s be honest. Lettering should be fun! If it wasn’t- you wouldn’t want to do it for hours! So have fun. Add fun colors, Add shadows. Try mixing it up with block fonts and cursive fonts

Always try bounce lettering! It’s where the word doesn’t stay in line (throw out what your kindergarten teacher taught you!) Bounce it around. Look at the bottom practice:
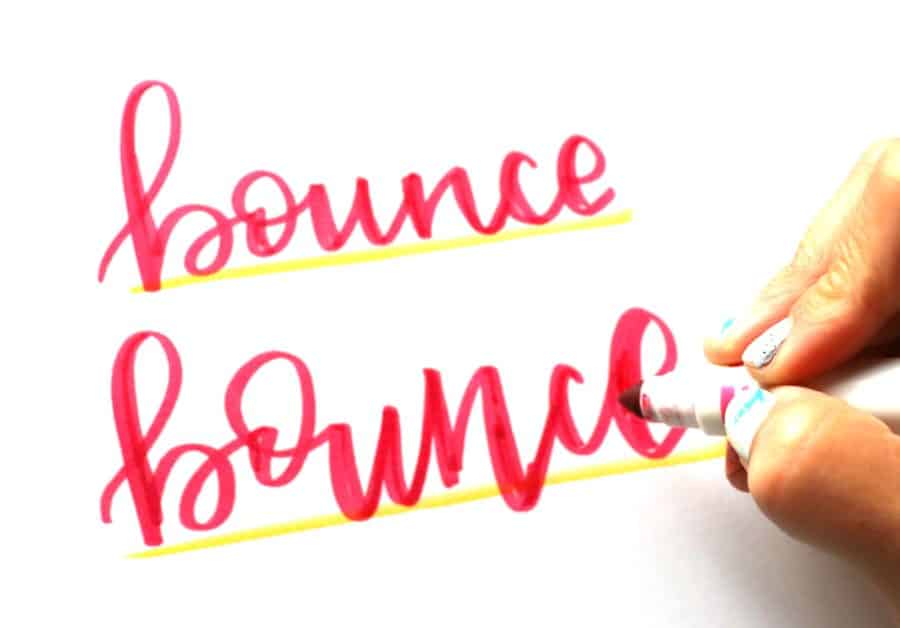
The n dips below, the o goes up higher. The e is way bigger than the c next to it! Bounce lettering is one of my most fun techniques!
One thing I didn’t mention is lifting your pen between letters! Some people do. Some people don’t! personal preference IMHO. Don’t get caught up in the technical stuff like that! Just let if flow how you want!
Okay. That’s all I know! (that’s not really ALLL I know!) But I wanted to give you basics and not overwhelm you! As you gain more experience you can get into more technical stuff and add swirls and curls and outlines and fancier pens etc!
Let me know if you have any questions and I will try my best to answer them!
I do have some of these books below! My daughter loves to practice with them! They are a great resource!
Here is an image if you want to pin and save it for later!
Leave a Reply